Blanket Stitch Tip for Binding
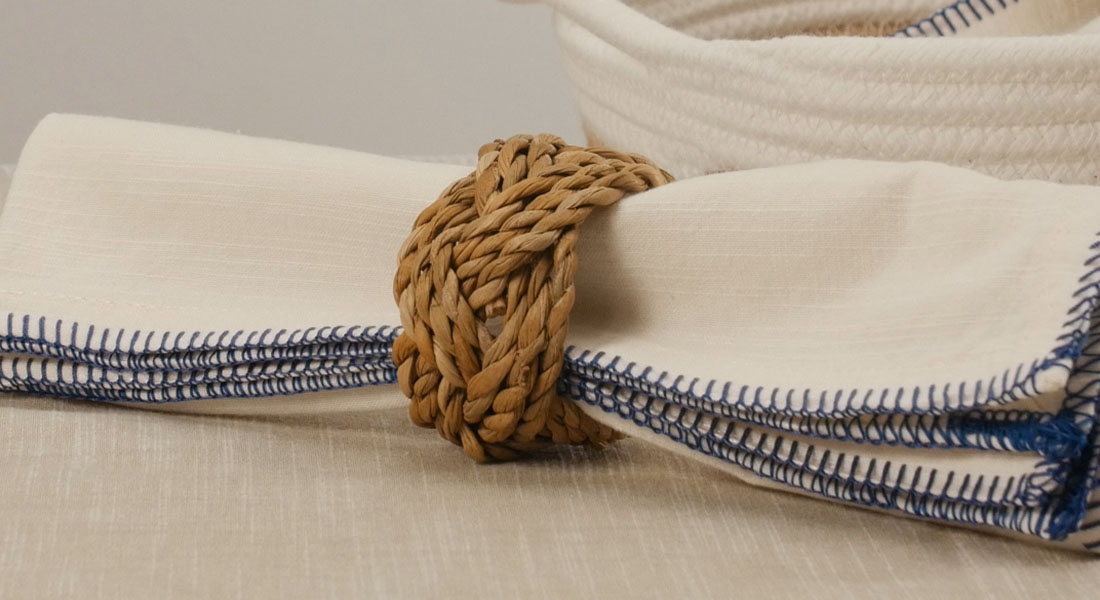
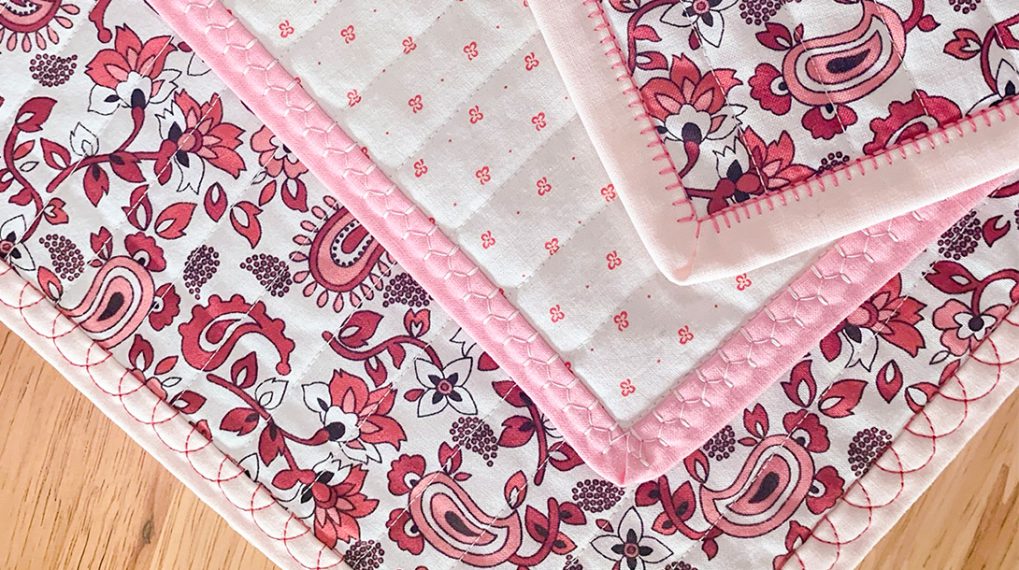
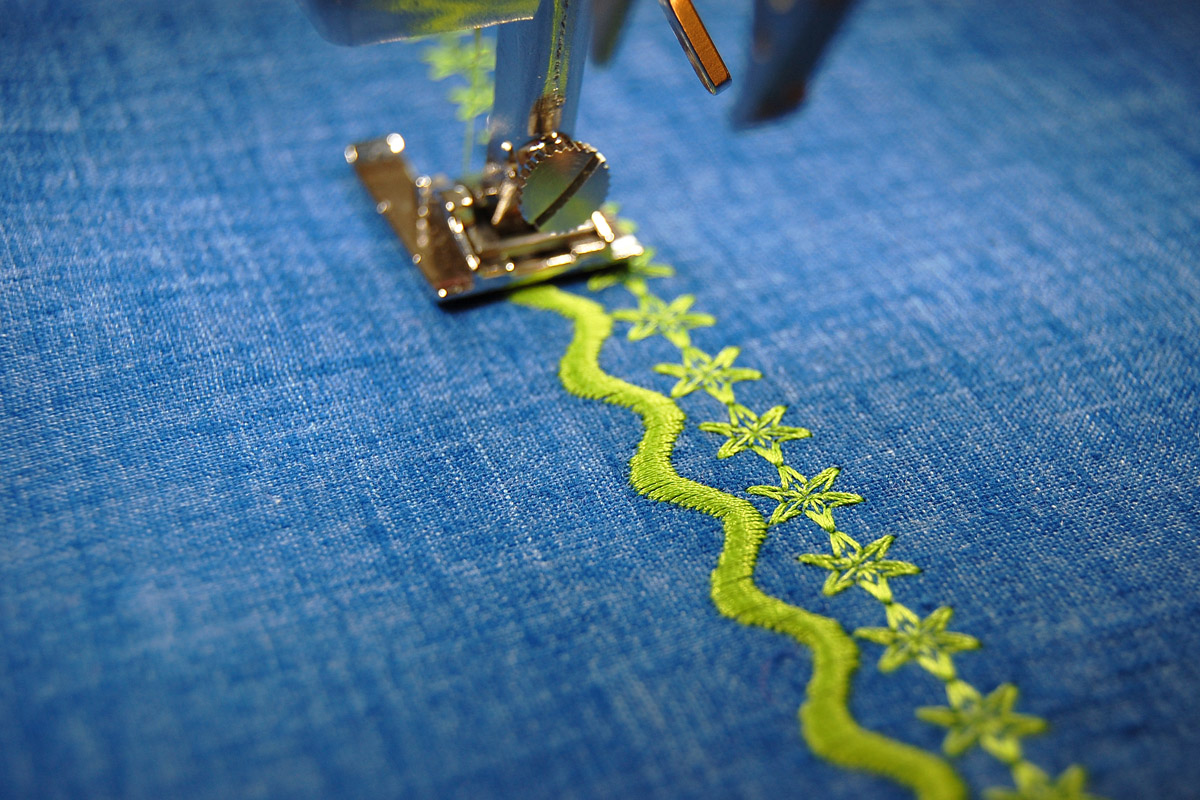
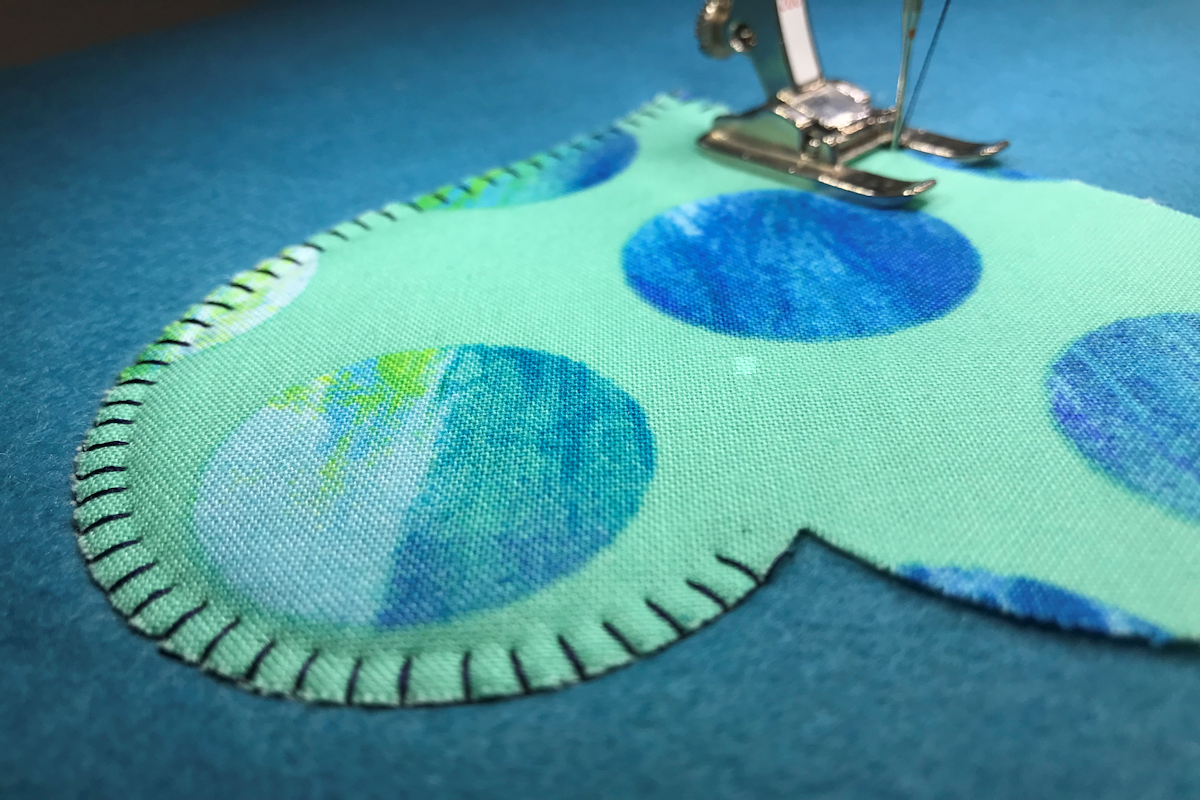
The fused binding is a fast and easy way to bind your next wall quilt. But do you know how to dress it up even more? My favorite decorative stitch on my BERNINA 750 QE is the lucky number 1330. This blanket stitch finishes the fused binding perfectly. And with the right thread color, adds another decorative element to your quilt design.
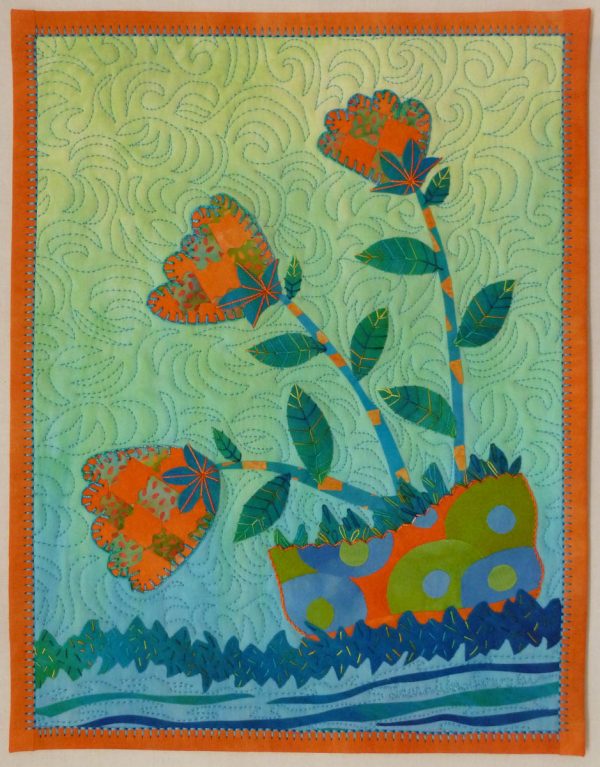
Here’s my blanket stitch tip of how to add a fine flourish to your fused binding using the blanket stitch on your machine.
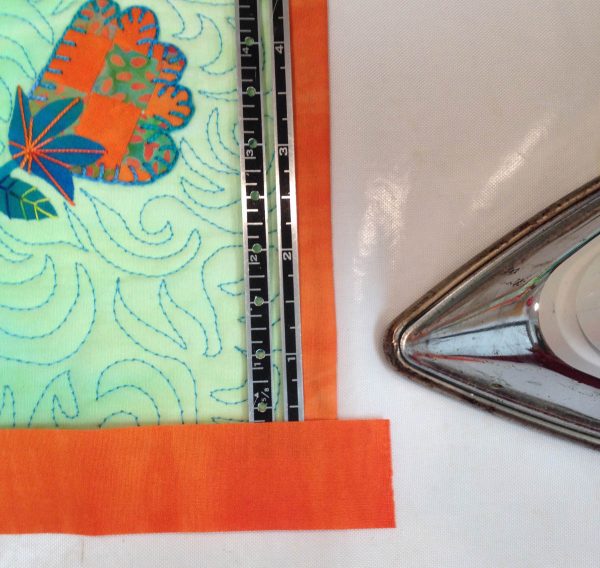
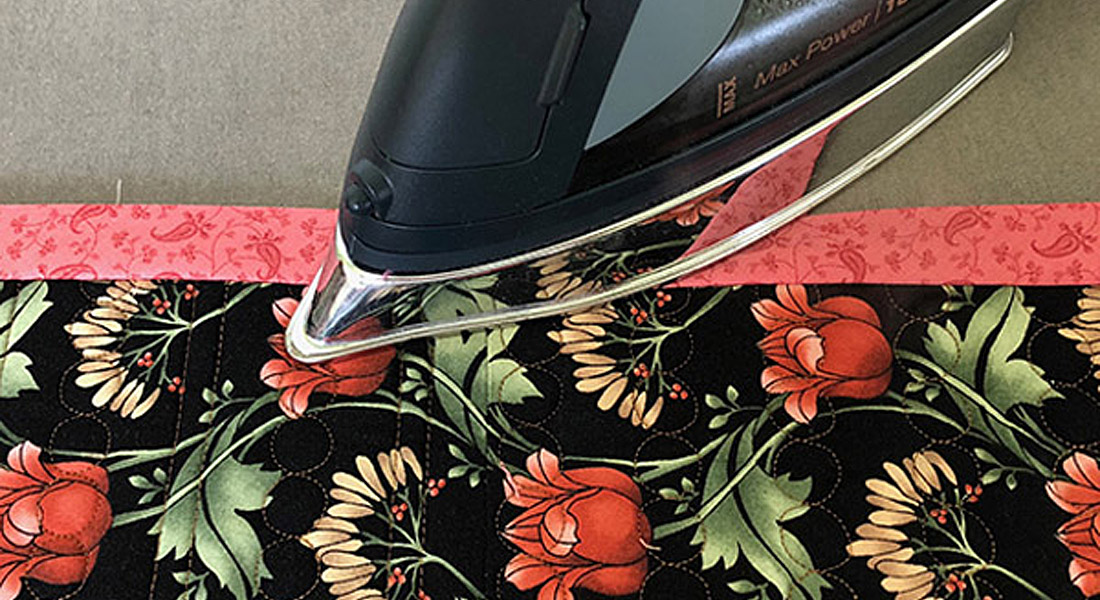
First, bind your quilt with a fused binding. More about fused binding technique you can read in my post called How to add a Fusible Binding here on WeAllSew. For our blanket stitch method, the fabric strips should be cut with a straight blade on your rotary cutter. Do not use a decorative blade.
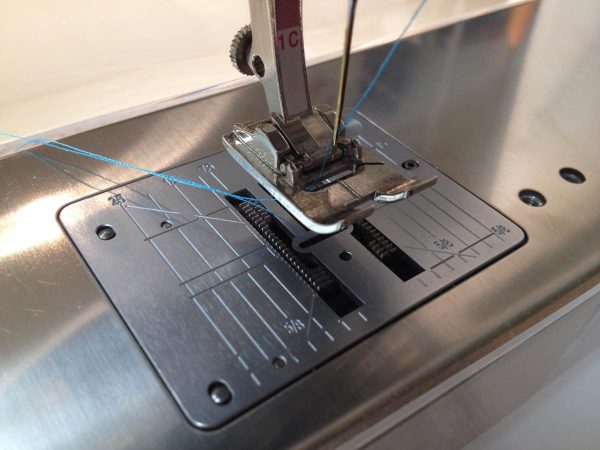
Set Up Your Machine
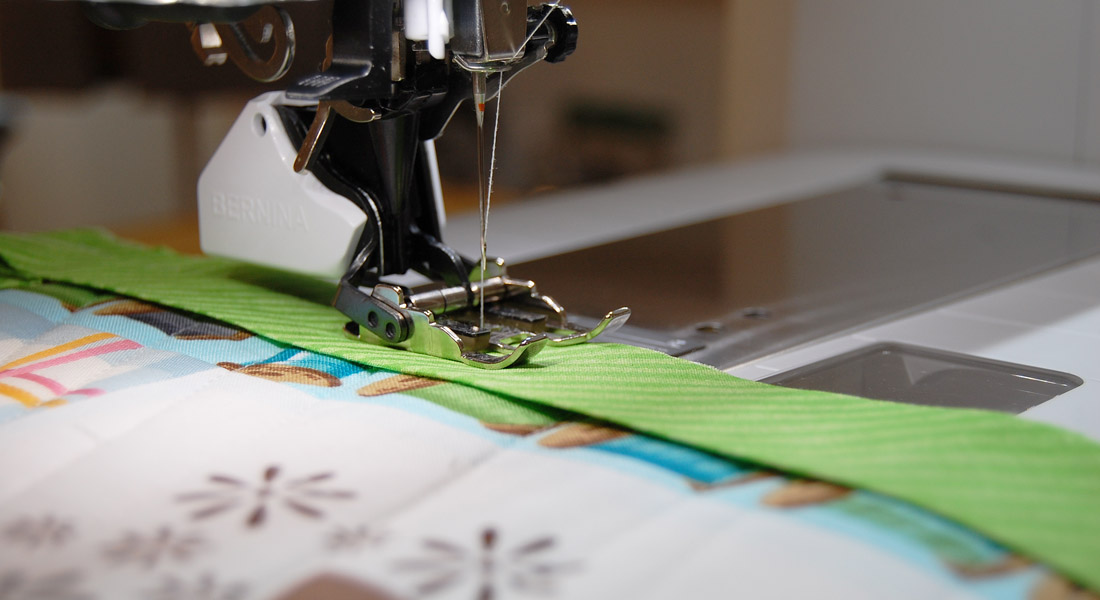
Use a 9mm stitch plate with a narrow needle opening (5.5 mm) for decorative stitches.
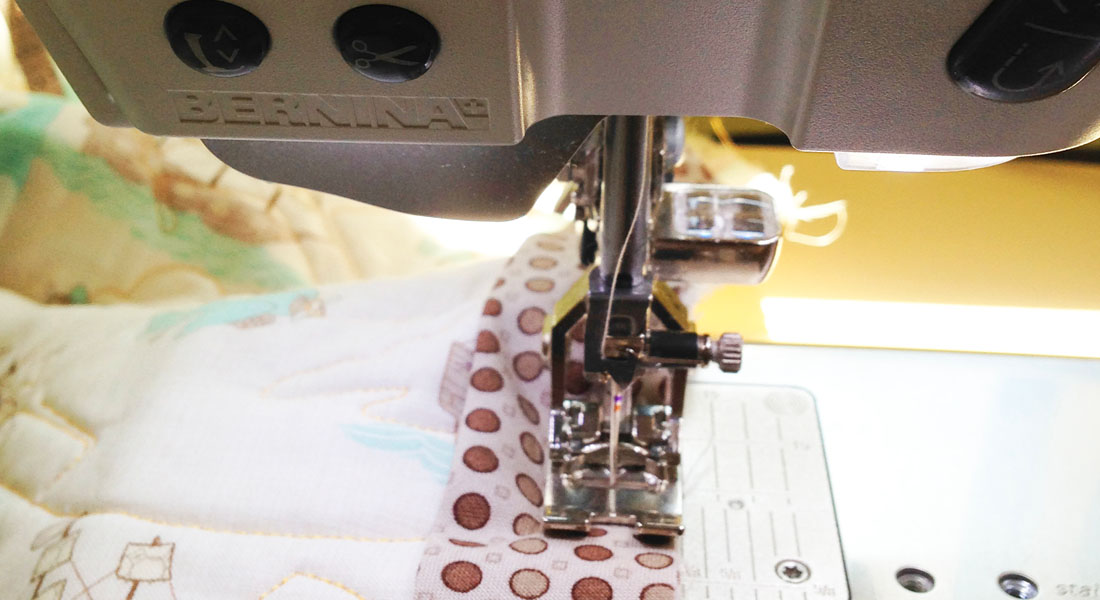
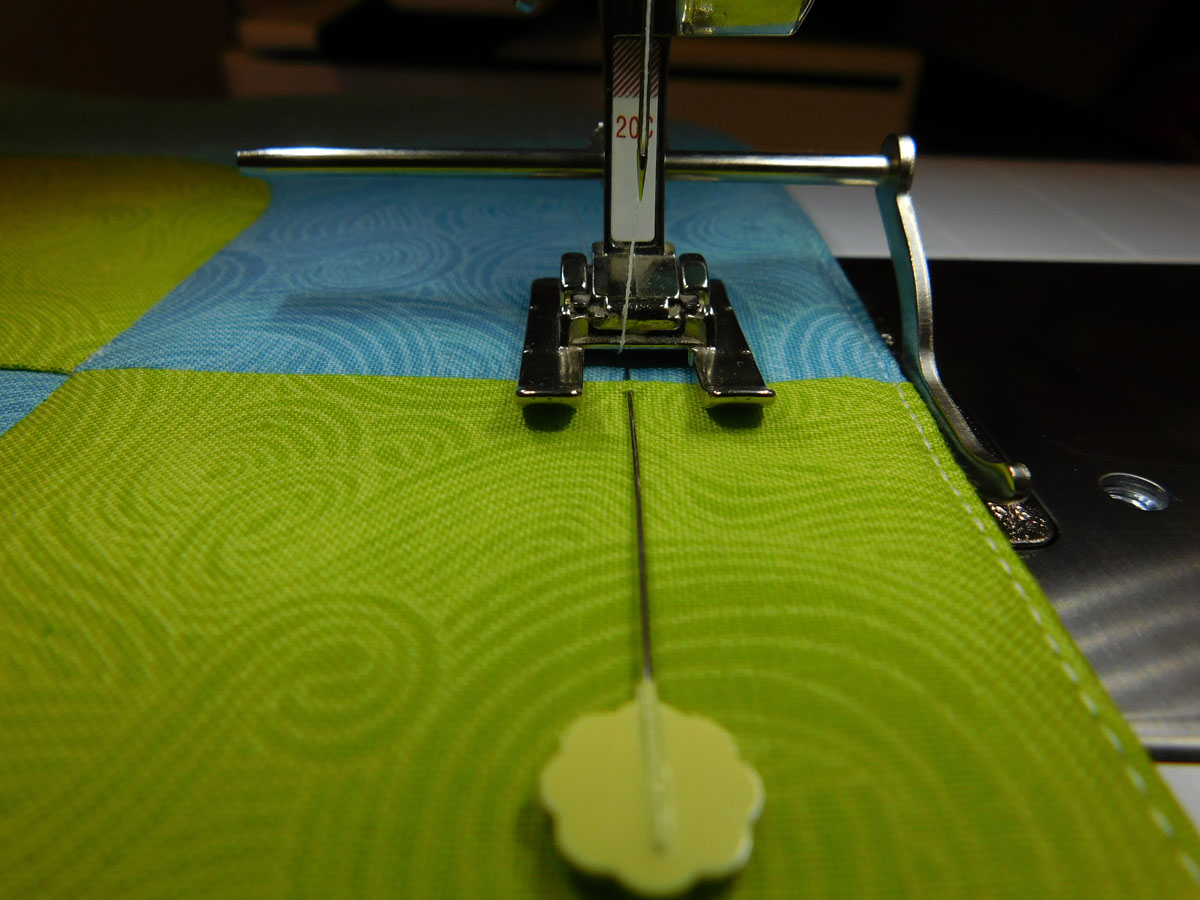
Use a BERNINA Reverse pattern foot #1C or other reverse pattern foot.
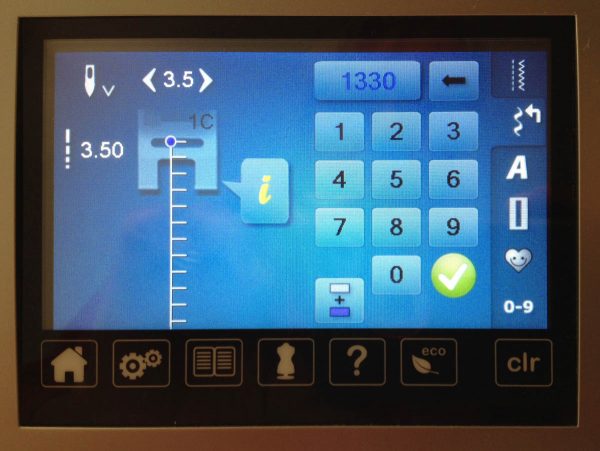
Select stitch #1330 or a comparable blanket stitch on your machine.
Select the mirror setting on your machine so the “teeth” of the blanket stitch go to the right.
Move the needle to line up with the center mark of the foot. This way the center mark of the foot and the forward stitches will run along the left edge of the binding.
Use a 3.5 stitch length and a 3.5 stitch width or change to your own preference.
Place the machine in the needle down position when stitching.
Starting the Blanket Stitch
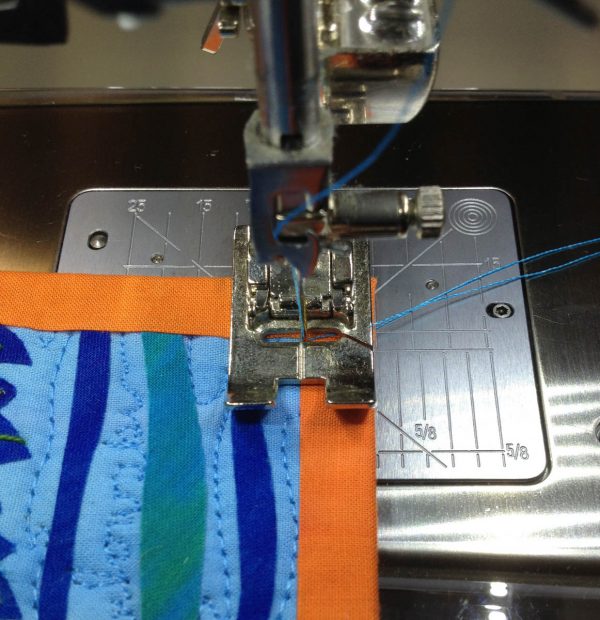
Start at the bottom corner of the quilt.
Insert the needle into the quilt where the side binding and bottom binding form a corner on the quilt top.
Lower the presser foot so it runs parallel to the bottom binding. Make sure that the center line of the foot is aligned with the left edge of the binding.
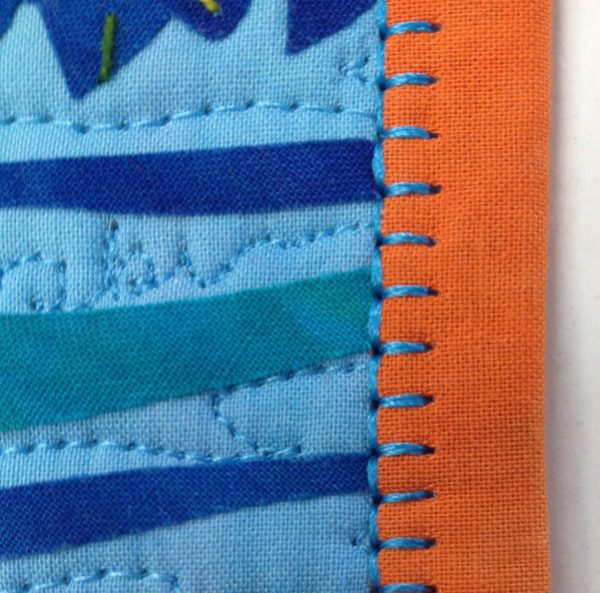
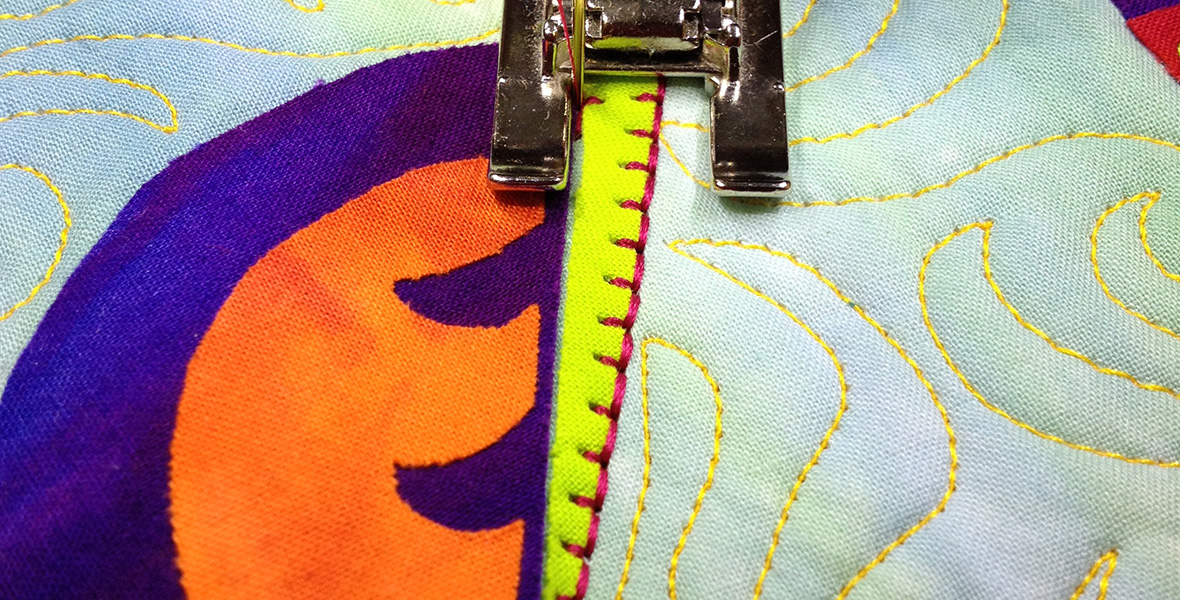
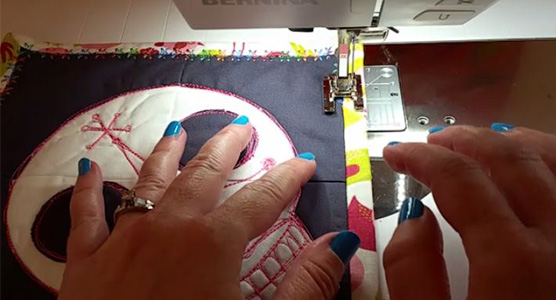
Stitch down the left edge of the binding. The “teeth” or blanket stitches going sideways should bite into the binding and the stitches going straight ahead should line up with the edge of the binding.
Turning the Corner
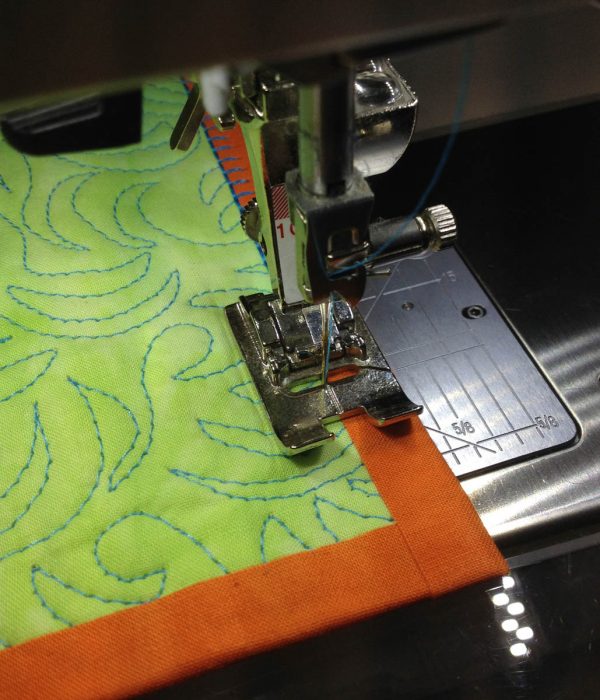
Stop stitching about 1” before the corner.
Continue to stitch but slow down. Count how many stitch repetitions the needle makes before it changes directions. For the 1330 stitch, the machine takes 5 stitches going forward and back ending in the forward position. Then it takes 4 stitches going sideways (left to right) ending in the same stitch position where it started. The machine then repeats that same sequence.
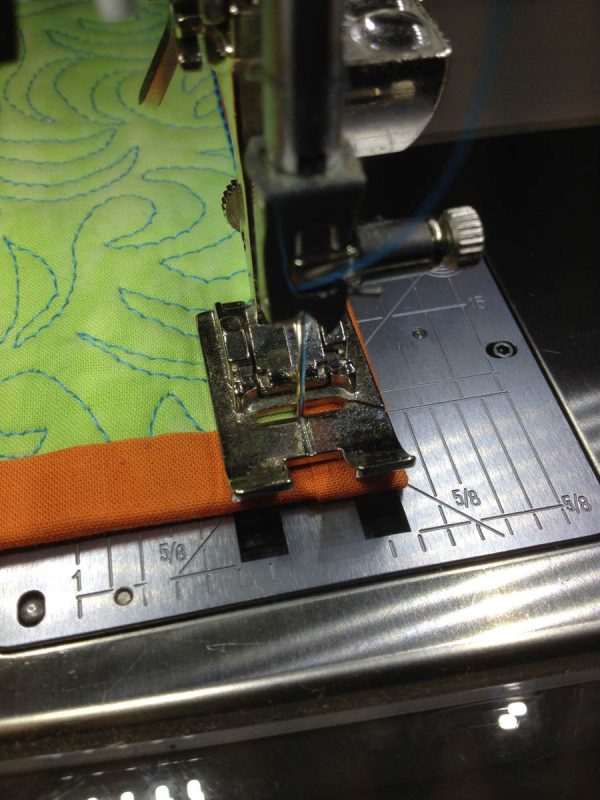
When you get to the corner, end the stitching on the final sideways stroke of the needle. (This will be at or very near the corner where the two binding fabrics meet.) Leave the needle imbedded in the fabric and raise the presser foot.
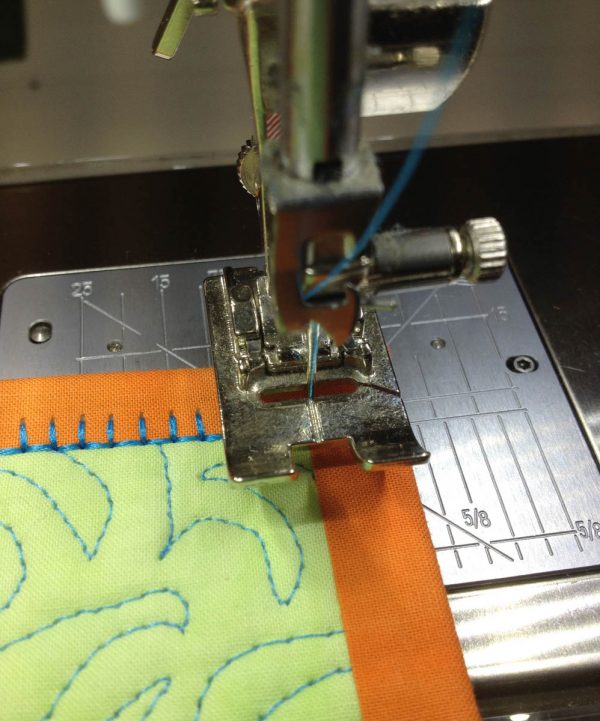
Pivot the quilt so the center line of the presser foot runs parallel to the left side of the next binding edge. Drop the presser foot.
Continue stitching around the quilt using this same corner pivot technique until you get close to the final corner.
Finishing the Blanket Stitch
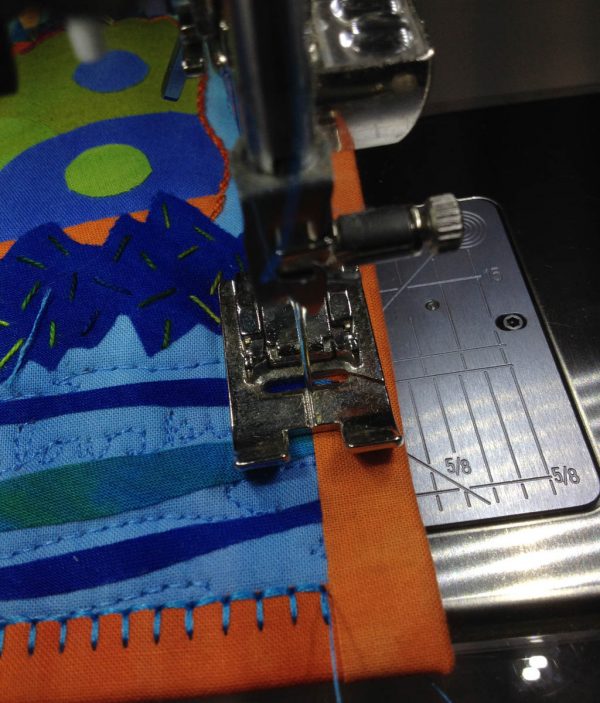
Continue stitching to the final corner of the binding. The last stitches should be the sideways sequence at the very corner of the binding.
Raise the needle and presser foot, remove the quilt from the machine and clip the threads about 4” long.
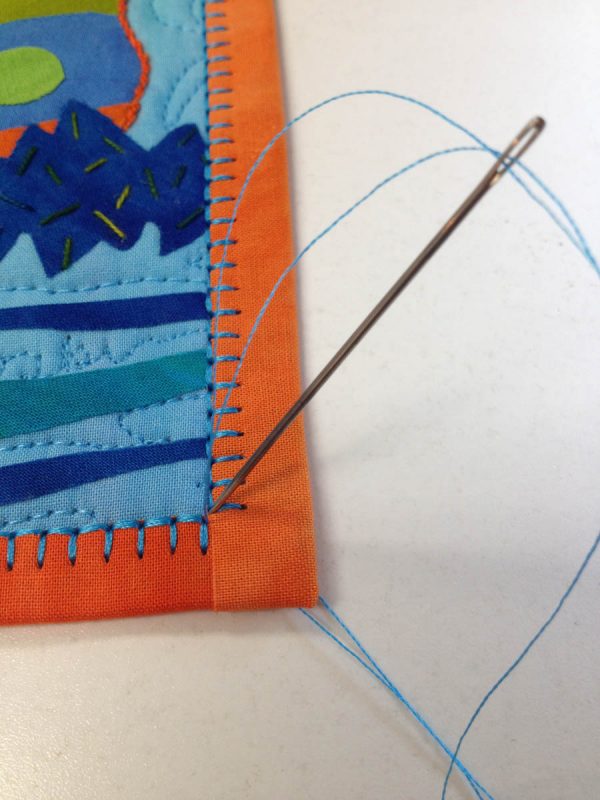
Thread the top threads through a long eyed embroidery needle and bring them to the back of the quilt at the corner.
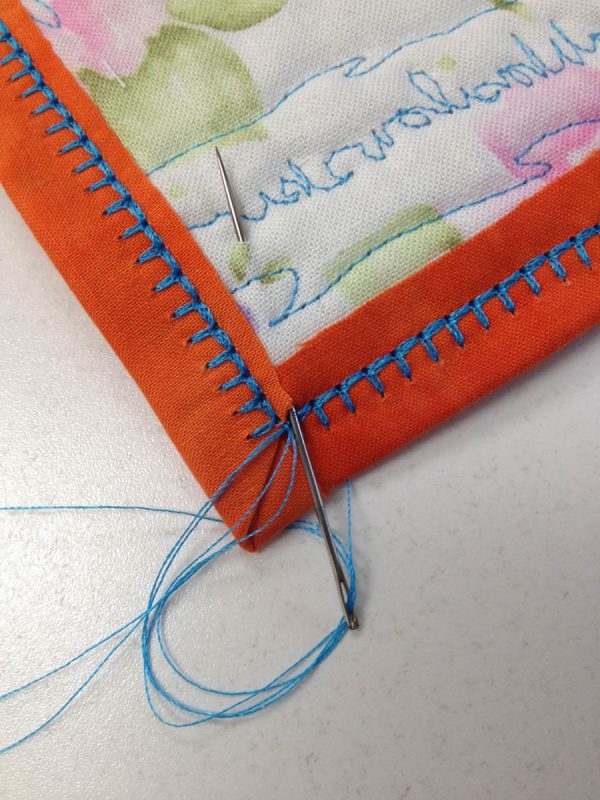
Tie all the threads together. Using the same embroidery needle, bury the threads between the backing and batting layers and clip off the thread ends.
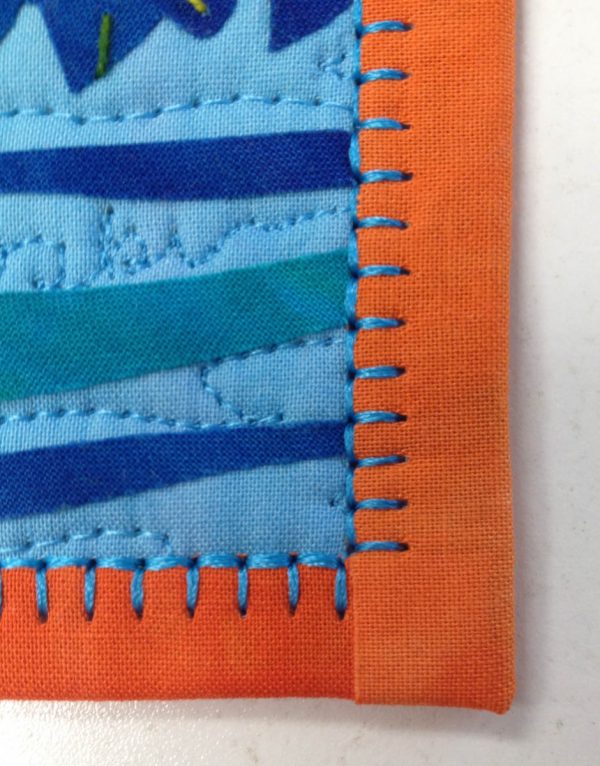
I love this blanket stitch finish on my quilts. It not only repeats the hand-embroidery blanket stitch in the piece but it’s another way to add colorful threads and a decorative edge to the work. Try it and see if you don’t agree!
What you might also like
16 comments on “Blanket Stitch Tip for Binding”
-
-
Thank you! I’m a big fan of the blanket stitch and my BERNINA 750 QE makes it easy.
-
Laura, do you remember what thread (and weight) you used? I thought it might be your hand dyed thread, but I think it’s too shiny.
-
I used a size 40 Isacord thread. My size 12 hand-dyed pearl cotton thread would work too but I like the 40 weight shiny thread for this project.
-
-
-
-
Cool idea!
-
Thanks! Glad you like it.
-
-
Great tutorial! I have been using the Blanket Stitch binding for a few years now. Love it! I’ll have to check out the fused binding method. Generally, I just sew the binding onto the BACK of the quilt and then turn to the FRONT to do the Blanket Stitch. The only problem with my method is that I sometimes forget that I need to do that first stitch down on the back first instead of the front, which is how I used to do it and hand stitch the binding down on the back. Old habits die hard! 😉
-
Thank you! Please do check out the Fused Binding. It’s fast and easy.
-
-
Nice technique! Thank you for sharing.
-
So glad you like it!
-
-
what thread are you using?
-
I’m using a 40 weight Isacord thread and a Size 14 titanium coated embroidery needle.
-
-
I really like the front of the quilt with the blanket stitch, but looking at that last photo of the back of the blanket, do you leave it like that – not trimmed?
-
Hi Ann,
Yes, I usually leave it looking untrimmed. It’s an art quilt and the back is seldom seen when it’s hung on the wall. Also, I want to make sure the binding is caught by the stitching so I let the edge of the fabric go beyond the stitching. For a quilt with thicker batting, that excess width of the binding is important too.
However to make it look neater, you could make the binding slightly smaller by about 1/8″. If it measures about 1 1/8″ wide rather than 1 1/4″ wide, the edge of the binding on the back would may still be caught by the stitches and look neater..
-
-
I like The look of the blanket stitch, but I think I would apply a decorative edge to the back of the binding too before fusing the strip to the quilt. the edge would be stable afresh applying the fusible, and when complete the back would have two stitches on it. I’m just thinking what I might try. It might not work. I just don’t like that ragged look.
-
Great idea Kathleen!
-
Leave a Reply
You must be logged in to post a comment.



Great tutorial for the blanket stitch. Looks great with a fused binding!