Make a Stitch Sampler Book
Quilter, Pat Holly, shares this fantastic project, creating a stitch library, making it so simple to see all the decorative stitches your sewing machine can make at a glance!
The first project I do after I acquire a new machine is to create a reference book of all the different stitches the machine makes. I have found this to be quite a time saver and helpful for my sewing projects. It will show you how there is a difference in the little picture or icon of a stitch and what it actually looks like when stitched out. I use these books all the time!
Materials needed to make a stitch sampler book:
- Muslin fabric—you will need a fat quarter (18″ x 20″) for every 55 stitches you want to stitch out.
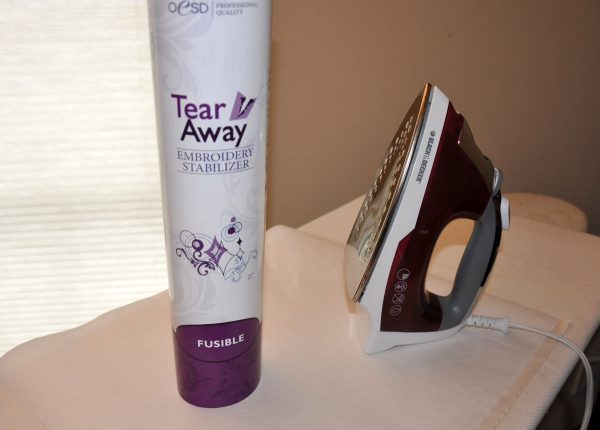
- Fabric Stabilizer—I like OESD Fusible Tear Away Embroidery Stabilizer, either 10″ or 15″ width. Have enough to stabilize the amount of fabric you are using.
- Thread—use good quality thread in to top and in the bobbin. I used average weight cotton thread (50/3 Mettler) in the top and Superior Thread “The Bottom Line” in the bobbin. I used a color that contrasts with the muslin.
- Card Stock Paper—8 ½” x 11″ white card stock paper (65 lb). You will get 12 rectangles from each sheet.
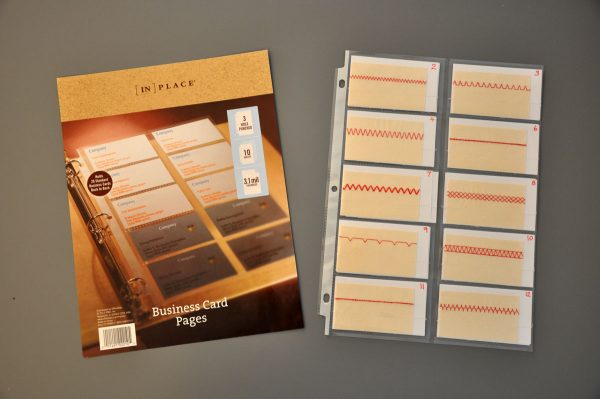
- Business Card Pages—these are found at an office supply store. There are ten pages per pack and each page holds 20 cards.
- Three-Ring Binder—the size will depend on how many sheets you fill. For some of my books, I used the narrow ½” size. The most recent one I made needed a wider 1½” binder to hold all the pages.
Prepare the Fabric:
I find it easier to work with either fat quarters or half-yard cuts of fabric. To have a sample of the stitch made most accurately, the fabric needs to be stabilized. You can do this by starching the fabric until it is very stiff (like a piece of paper), or using a fusible stabilizer.
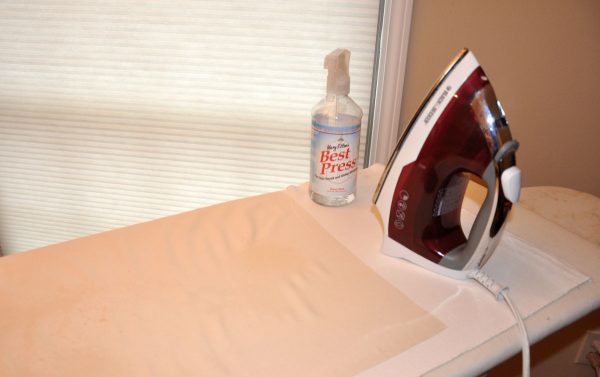
I found that I really like the result with an iron-on stabilizer. Cut the stabilizer to fit across the width of the fabric. Following the directions that come with the stabilizer to fuse in place. Repeat until the whole piece of fabric has stabilizer fused to it. Carefully align the two edges of the stabilizer so there are no gaps and all of the fabric is covered. I just leave the stabilizer in after stitching—I do not tear it away.
Cut Fabric Rectangles:
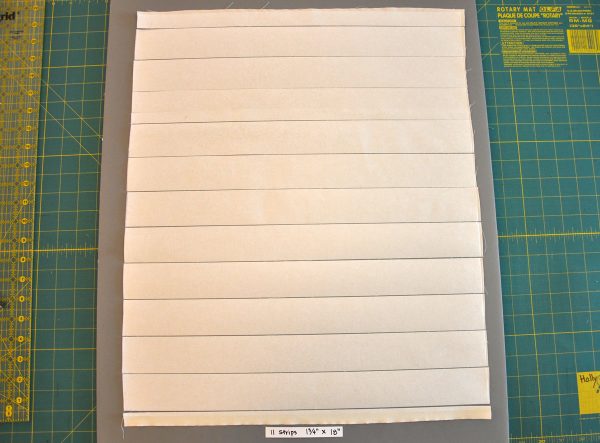
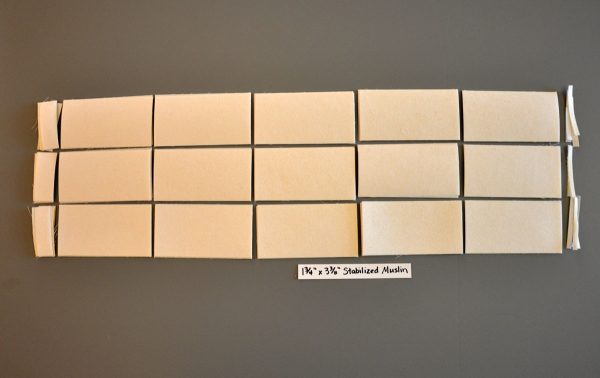
Start at the selvage edge and trim that away. Cut 1¾” strips across the 18″ width. You should get eleven strips from the fat quarter.
Stack strips into three piles (4, 4, 3). Cut the strips into rectangles 3″ – 3/8″. You can get five from one strip so there will be 55 rectangles from a fat quarter.
Stitch the samples:
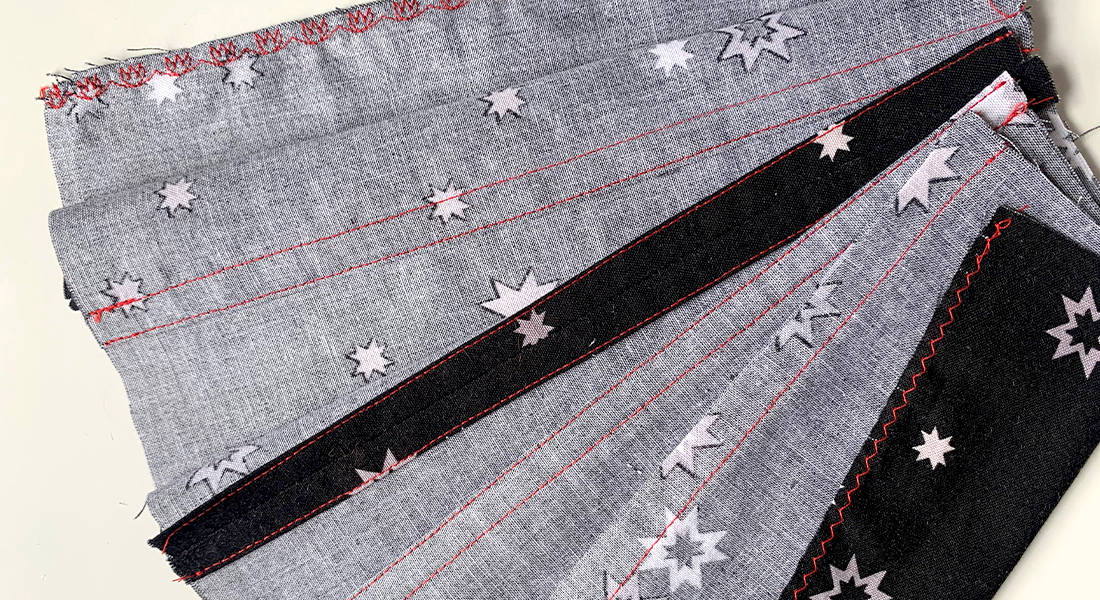
Look at your machine and decide what stitches to stitch out. Remember, even the practical stitches can be used for other than their “practical” intent. Also, what you see on the machine itself or in the machine’s manual is sometimes not exactly what the stitch will look like when stitched out. Select a stitch. I used a fine tip black marker to note the number of the stitch along the edge of the fabric rectangle.
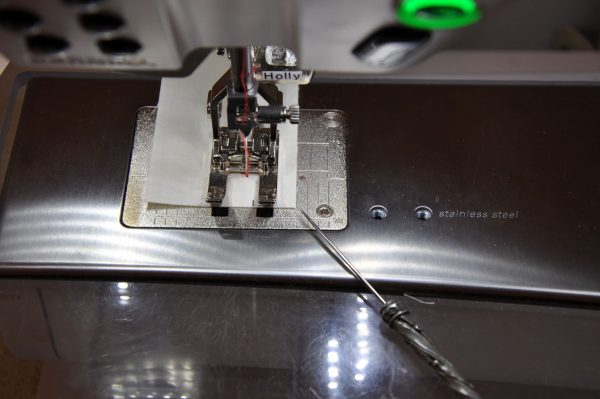
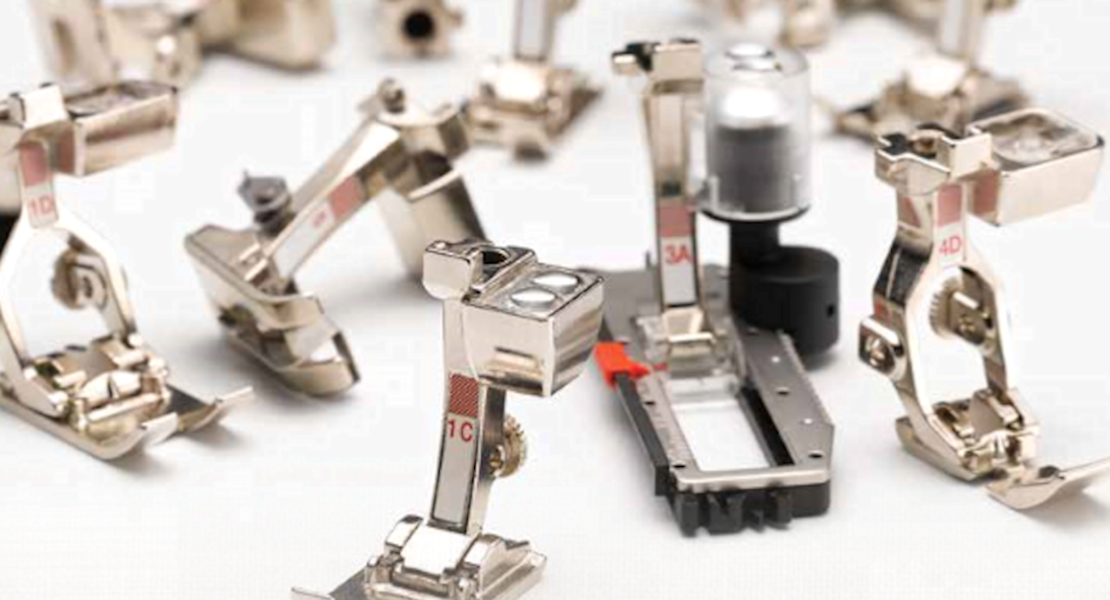
I like to use the Open embroidery foot #20/20C/20D. This gives you great visibility as the stitch is being made. I chose to align the right side of the rectangle with the 5/8″ guideline on the needle plate. As you begin stitching, keep the right edge of the rectangle right along that guideline. Don’t hold the fabric tight—as some of the more complicated stitches are being formed, there will be movement forward and backward. If you hold the fabric too tight, you can cause the stitch to be formed out of alignment.
I keep my eye on the right side edge of the fabric, gently guiding the fabric and make sure that edge is right along the guideline rather than watch the needle and stitch being formed. When stitching, I don’t make any adjustments of the width, length or other options. I want this stitch out to be an example of exactly what the default setting is on the machine. However, when I decide to use a decorative stitch, I know there are many options to make changes in length, width, mirror image, etc. The possibilities are endless!
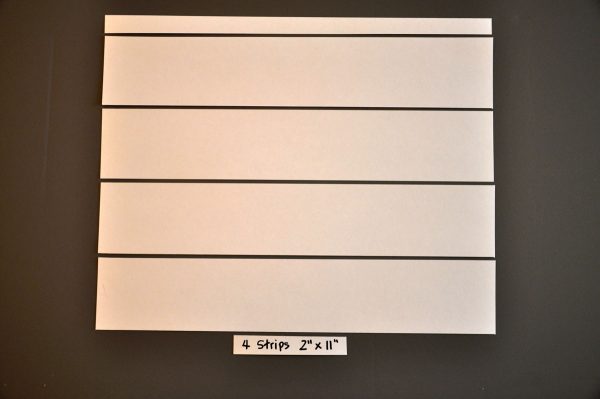
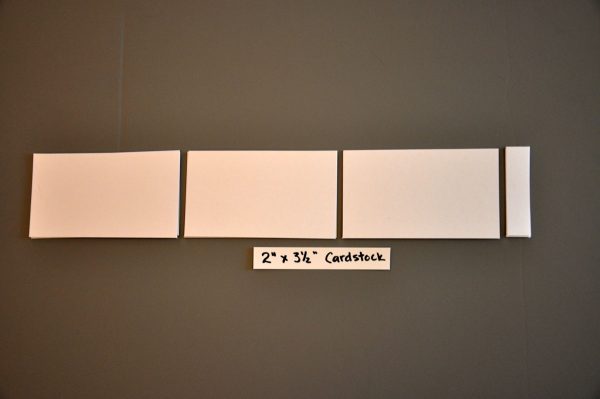
After I have stitched as many stitches as I want, I will prepare the card stock paper. The 8 ½” x 11″ sheet is cut into four 2″ strips (2″ x 11″).
Stack the strips and cut into 2″ x 3½” rectangles. You will get 12 rectangles from each sheet. Cut enough so you have one card stock rectangle for each fabric rectangle.
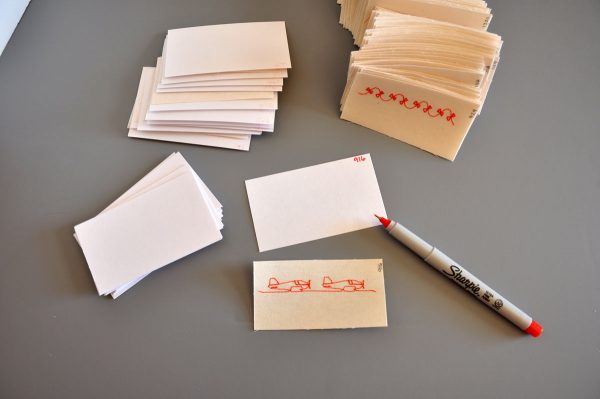
Write the stitch number on the upper right corner of the paper rectangle.
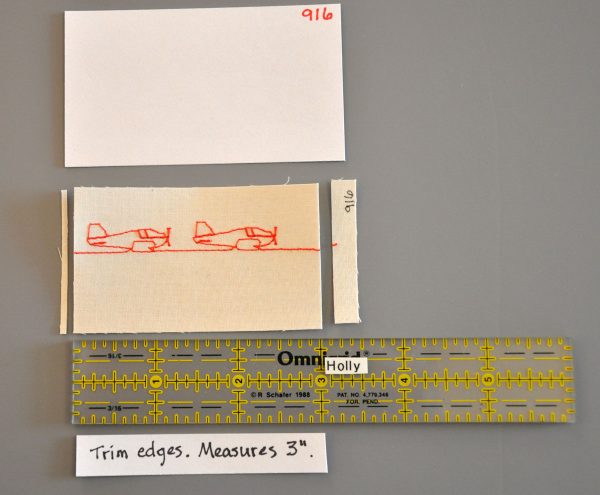
Trim the fabric rectangle along the short edges, removing the number and making the rectangle measure 1¾” x 3″.
Keep the fabric rectangle with its card stock rectangle. Stack these up then go back to the sewing machine.
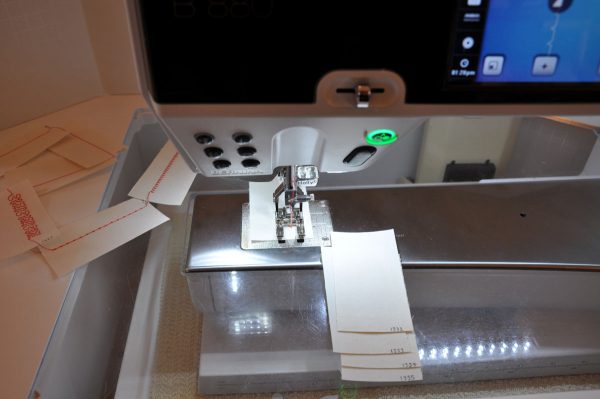
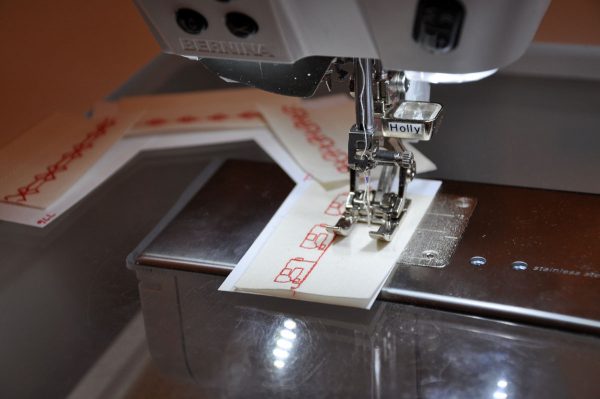
Place the fabric rectangle on top of the card stock rectangle, lining up the bottom and right side. I changed the thread to a white color and used a regular length straight stitch to sew the fabric to the paper. Again, I used the 5/8″ guideline on the needle plate and aligned the right edge along this line. You can chain sew these and have a nice assembly line going!
Assemble the stitch book:
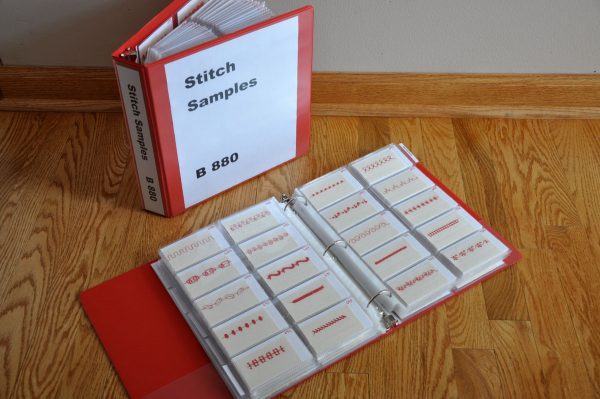
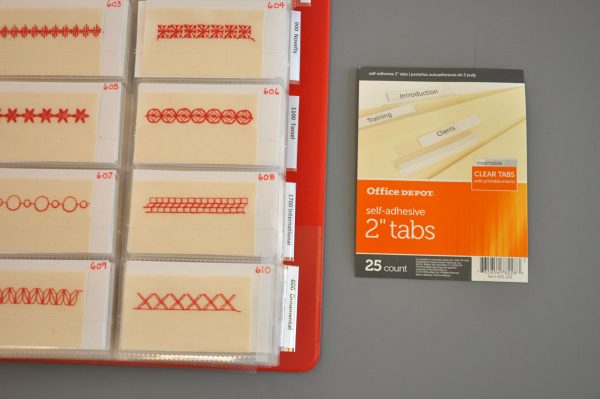
Snip the samples apart and load them into the business card pages.
Place pages in binder. I like to use folder tabs to indicate the groups of stitch types.
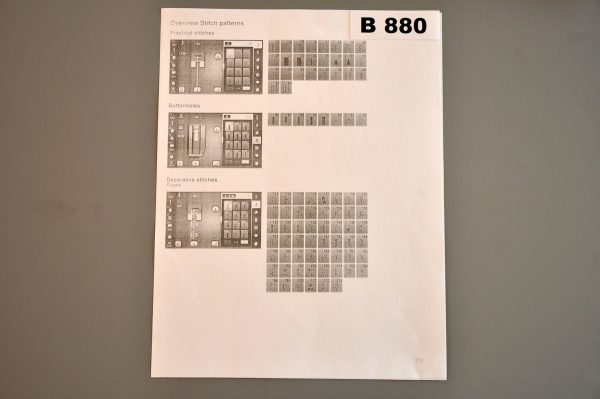
I also like to photo copy the pages out of the sewing manual that shows the groups of stitches.
Label the binder and you are all set! Advantages to having stitch samples on individual cards—you can pull out the samples and see how they look next to or combined with other stitches. You can pull out the cards that show similar stitches to test which ones you might want to use.
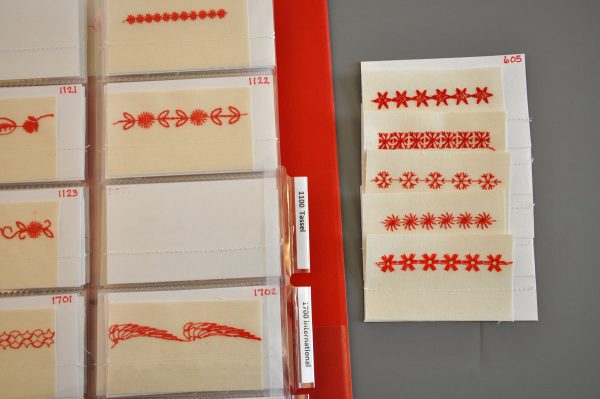
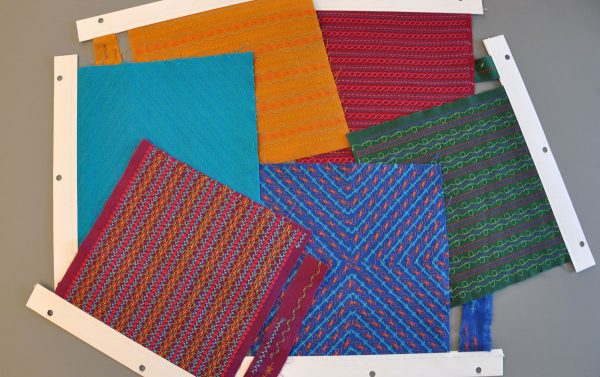
Enjoy thinking of how you can use the many different stitches on your machines! Here are some of the examples I made combining stitches. These can be used as decorative backgrounds for applique blocks. The fabric samples are sewn to white card stock then punched with holes to fit in a 3-ring binder.
What you might also like
20 comments on “Make a Stitch Sampler Book”
-
-
I have often thought of doing this very project. You are right; the stitches look different from the
little pictures. Thanks so much for the tutorial and how to. I am looking forward to a fantastic
reference for future projects. -
I love this idea! Please let me know the width and length you used for most of your stitches.
-
Hi,
Thanks for your question – for the stitch width and length, I did not change anything. I wanted to see exactly what the stitch looked like with the default settings.
Hope this helps!
Pat
-
-
dvf11, refer back to text: “When stitching, I don’t make any adjustments of the width, length or other options. I want this stitch out to be an example of exactly what the default setting is on the machine. However, when I decide to use a decorative stitch, I know there are many options to make changes in length, width, mirror image, etc. The possibilities are endless!” (I overlooked this first time through too!)
-
I just purchased a 790 and have never machine embroidered or did much with decorative stitching with my old Bernina 1120 (which I still have). Would you recommend stitching out the embroidery designs in this fashion too?
-
Hi,
Thanks for your question!
When I began using the embroidery attachment on my 830, I wanted to see if any of the overall designs would work for my background embellishment idea. I did set up the embroidery module and stitched out about a 4″ x 6″ rectangle filled in with stitches to test out threads and to see how I liked the design. I think this is a great way to help learn how to use your embroidery feature on our great BERNINA machines and create a reference book for these stitches.
Hope this helps!
Pat
-
-
Along with stitching out a sample my machines’ embroidery designs I also use my embroidery threads. This way I can see the designs and also my thread inventory, rayon, polyester, cotton etc. as stitched out.
-
This is a great idea. I will try it and present it to my quilt guild.
-
I found that making a stitch sampler book is totally invaluable. I start out with the default settings for the stitch and then make changes to the length, width, balance etc. It is totally amazing the different variations you can get from one stitch design.
-
Don’t forget about the backside of the stitch. Sometimes it will be the more interesting one. You might want to rethink leaving the stabilizer on the back, because by tearing it away it is much easier to see the back side and its potential.
I have also seen stitches from our machines used as decorative touches on expensive linens, with the bobbin and top threads different colors- for example black bobbin and white top thread It can make for a ghostlike effect when there is just a tiny bit of the dark bobbin thread showing. -
what size needle is used to do this with
-
Hello berninajan, you can use a needle size and type that works well with the fabric you choose for your samples. If you are using a medium weight woven cotton, try a sharp or microtex needle in a size 75/11, 80/12, or 90/14.
-
-
WOW! What an amazing post! Thank you for taking the time to show us how to make a stitch sampler from all of the decorative stitches on our Berninas. It’s fantastic.
-
This is a fantastic idea. Thank you. Neat and tidy and does not take up much room.
-
I created a stitch library for a dinosaur quilt I made. I didn’t created a second library of stitches I wanted to use in my quilt and then I change those up but adjusting the width and the length.
The original Stitch library has served me well. I’m working on baby blankets today and I have it out and I’m using it again. It’s worth making one and it’s a lot of fun using all those stitches that come with your sewing machine. -
I love this! so I did one for myself, I pull it out often!
I left my fabric in long strips and stitched out each one and then cut into the correct size. The first few wanted it suck down so leaving the long strips kept the fabric from sucking down and kept them in order. I am so glad I did this little exercise. It was fun and now I can see how each stitch looks and how big they are. -
This is such a great idea. I’ve been working on my own stitch book this holiday weekend. Seeing the actual stitch out vs. printed in a book or displayed digitally is an invaluable resource.
A TIP: Here’s a tip that’s been so helpful when piecing quilts. Use a bit of scrap fabric to start the stitching, then move to the piece you’re actually stitching. Helps with the issue of smaller pieces getting “sucked into” the plate, and also lets you check tension etc.
-
I am in the middle of this project, and am very glad I am doing it. Just for anyone’s info though, the stitches in the 200 number series (at least on a Bernina 880 plus) require a larger piece of fabric than that of the 100 series. (Those are the only 2 sections I have done so far.) I am using the business card method, but am going to redo section 200, and do that one on an 8×11 piece of muslin. I am thinking that the other sections will be okay on the smaller pieces.
-
Great idea and nicely executed .
Leave a Reply
You must be logged in to post a comment.



This is a great idea, thanks!