Colossal Blocks Quilt-Along Week 3: Piecing the Top
Welcome to Week 3 of the Colossal Blocks quilt-along! In Week 1 you can find a complete list of materials and tools needed to make the quilt, and in Week 2 you can learn how to cut the blocks and lay out the design. This week it’s time to stitch the top together, and next week we’ll finish the project with quilting and binding.
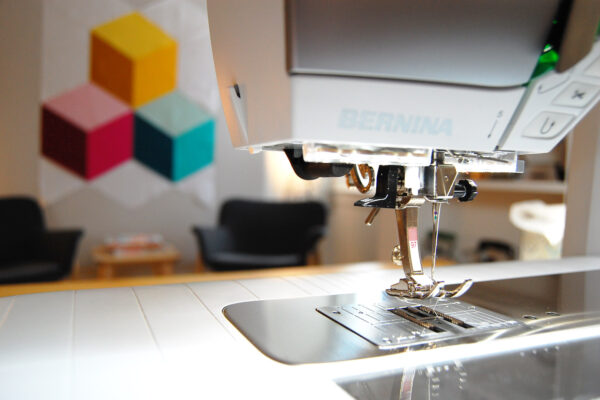
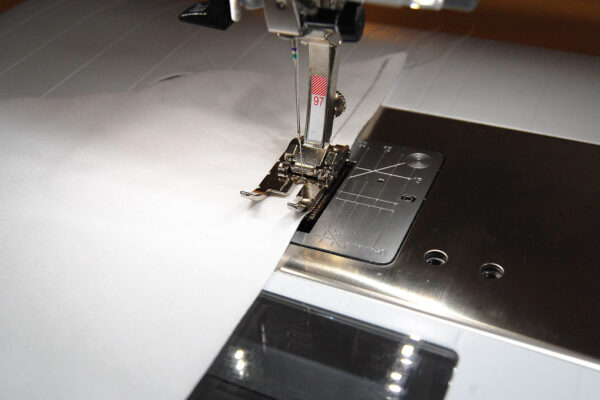
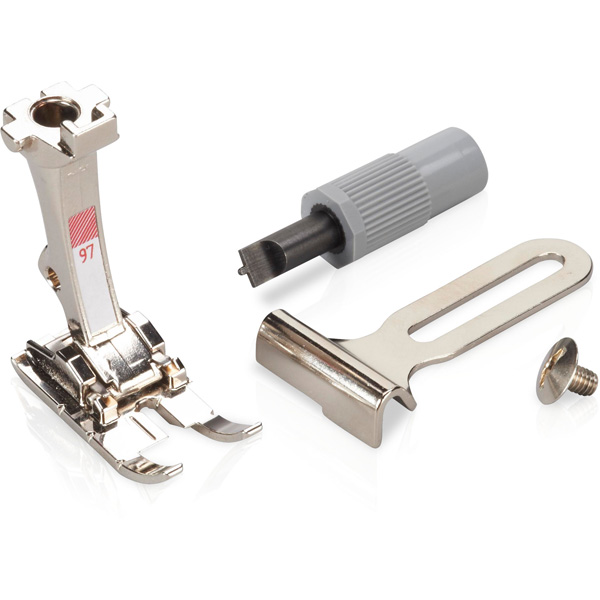
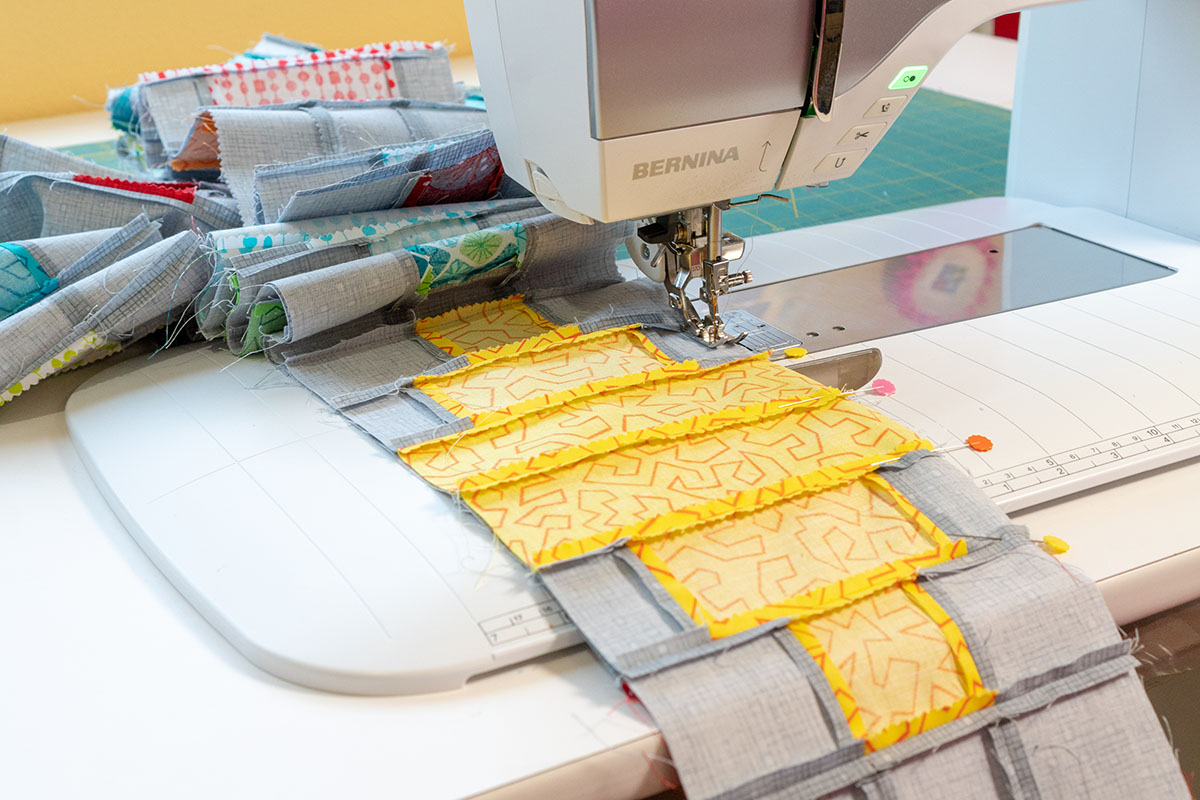
First, set up your sewing machine to stitch the patchwork. It’s helpful to use either a presser foot made specifically for sewing patchwork with a quarter-inch seam (I use the Patchwork foot #97), or a foot made to sew straight stitches (like the Jeans foot #8). As mentioned in the Week 1 post, I am piecing this quilt top with a Mettler Metrosene 100% polyester thread for added strength with use and multiple washings.
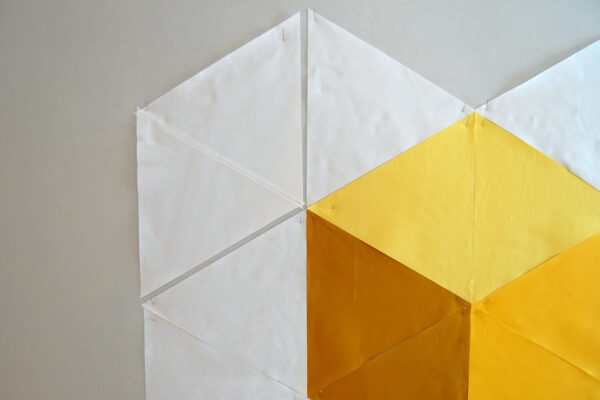
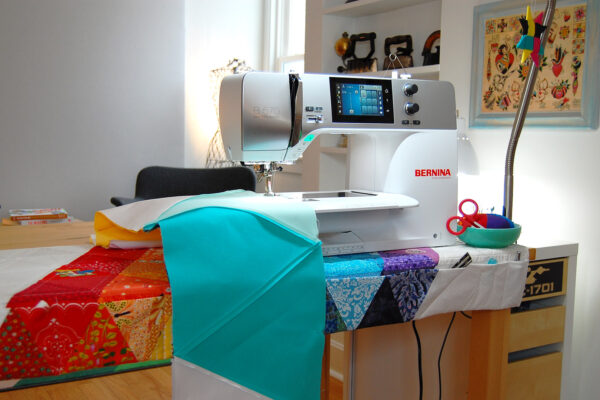
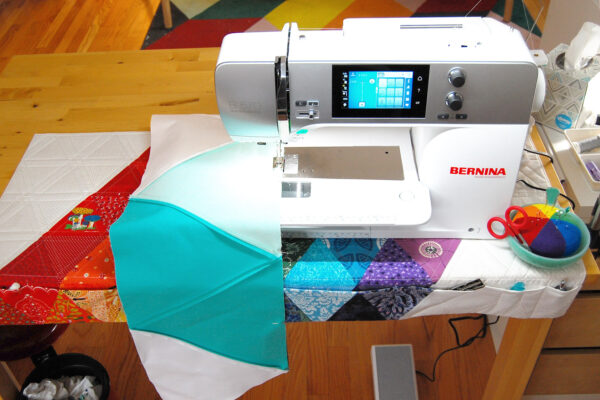
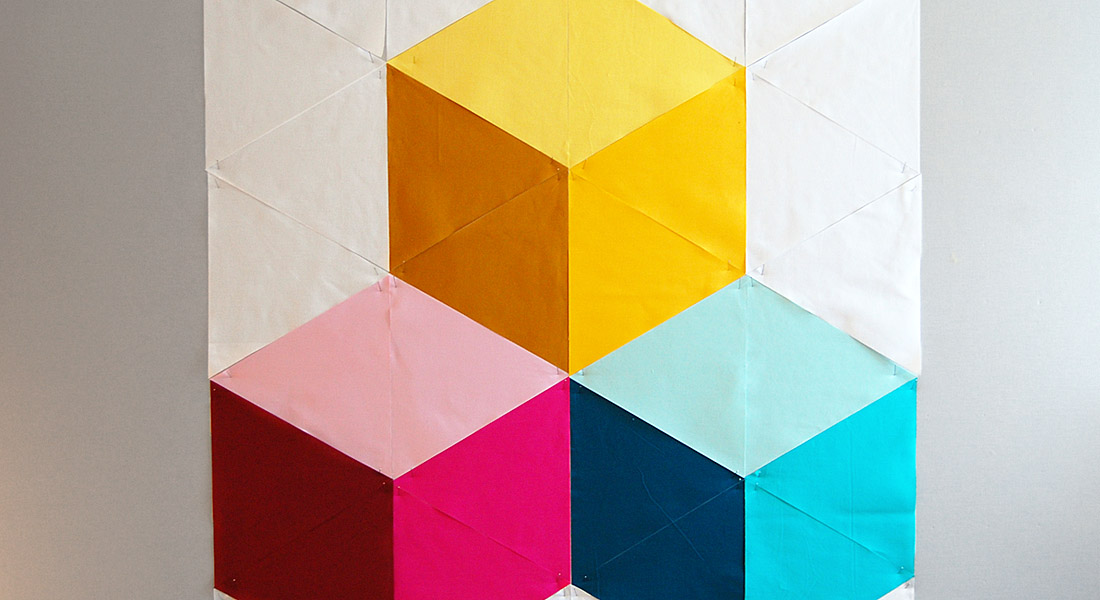
Normally in quilting the patchwork is sewn across in rows. In this quilt, the patchwork forms vertical columns that will be sewn together. I start with the column on the left, sewing the first two triangles together at the seam.
The BERNINA patchwork feet are all made to help you stitch the perfect quarter-inch seam just by lining up the edge of your seam with the foot.
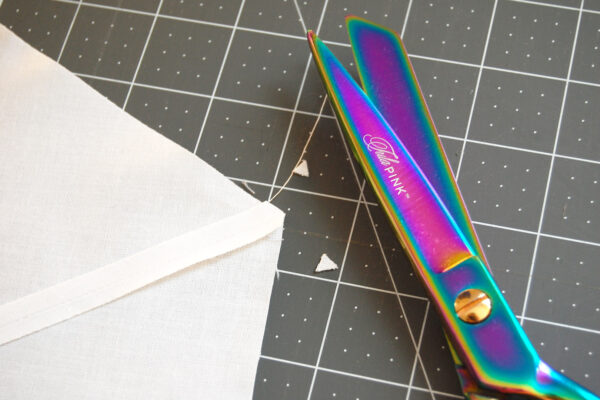
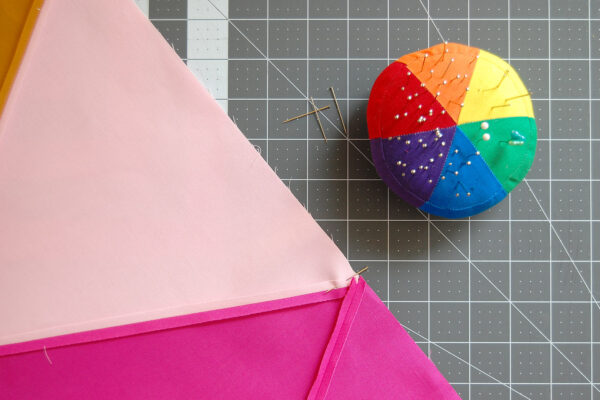
Press after stitching each seam. If you prefer to press to one side or the other, please do so. I prefer pressing seams open as I sew. You can also clip off the pointy bits of the seam allowance that stick out past the patchwork.
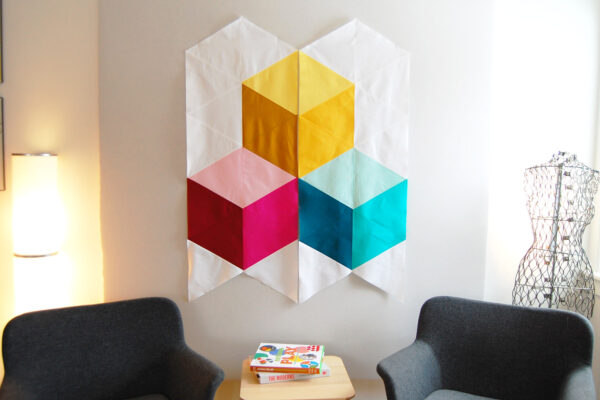
I always place the previously sewn patchwork back on my design wall to make sure that I am sewing the next piece together on the right seam. Since these triangles are all the same size, sometimes it’s easy to lose your place!
Keep stitching until you have sewn the entire first column together. Move on to the next column, following the same steps above.
When you have finished sewing all four columns of patchwork together, it’s time to start sewing these vertical columns together. I like to sew the two on the left together, then the two on the right, leaving just one central seam in the middle (I feel like it’s easier for me to match seams and points this way).
Lay the long seam on your work table or a flat surface to pin. Carefully match the individual seams together as you pin.
Sew along the entire long seam using your patchwork foot to get that perfect quarter-inch seam.
It may help you to sew slowly and deliberately. I use the slide speed control on my B 570 QE to slow down the motor. This way, I can put the pedal to the metal and not try to worry about how fast or slow the speed is – it’s already set at slow-and-steady.
After stitching the two sides together, carefully match seams and sew the center seam.
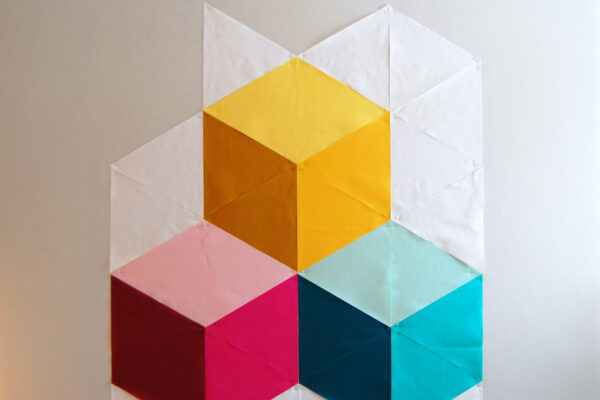
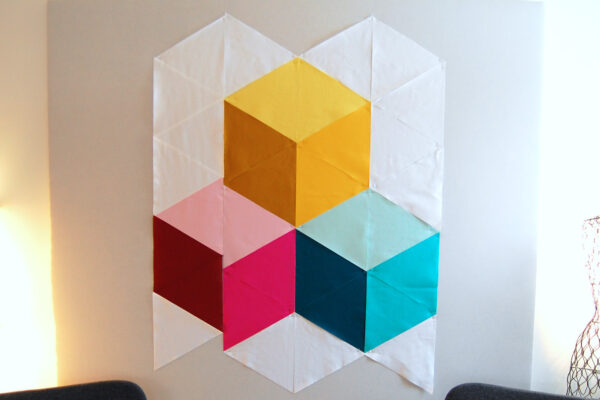
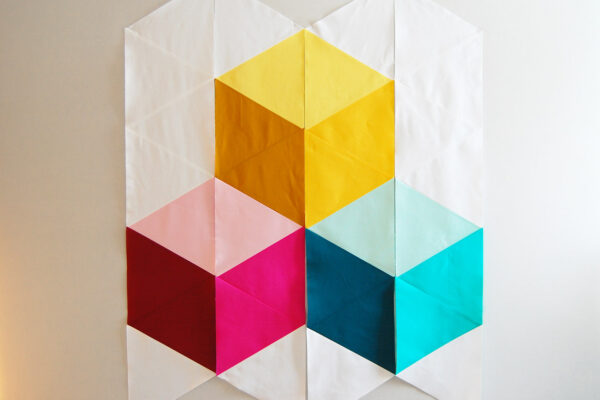
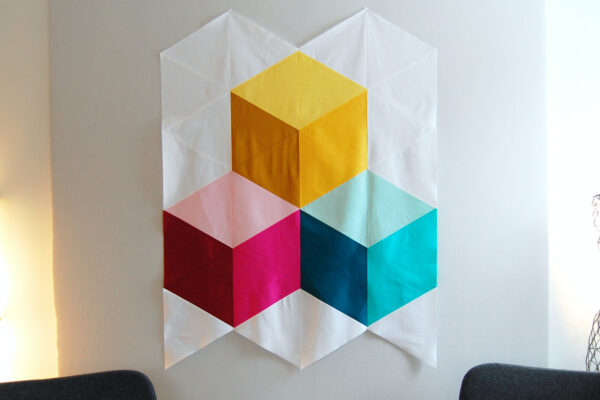
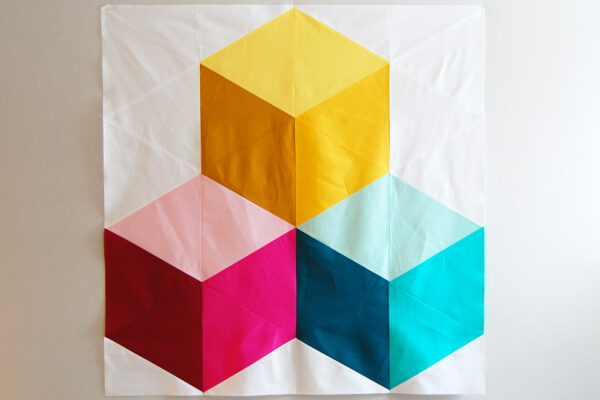
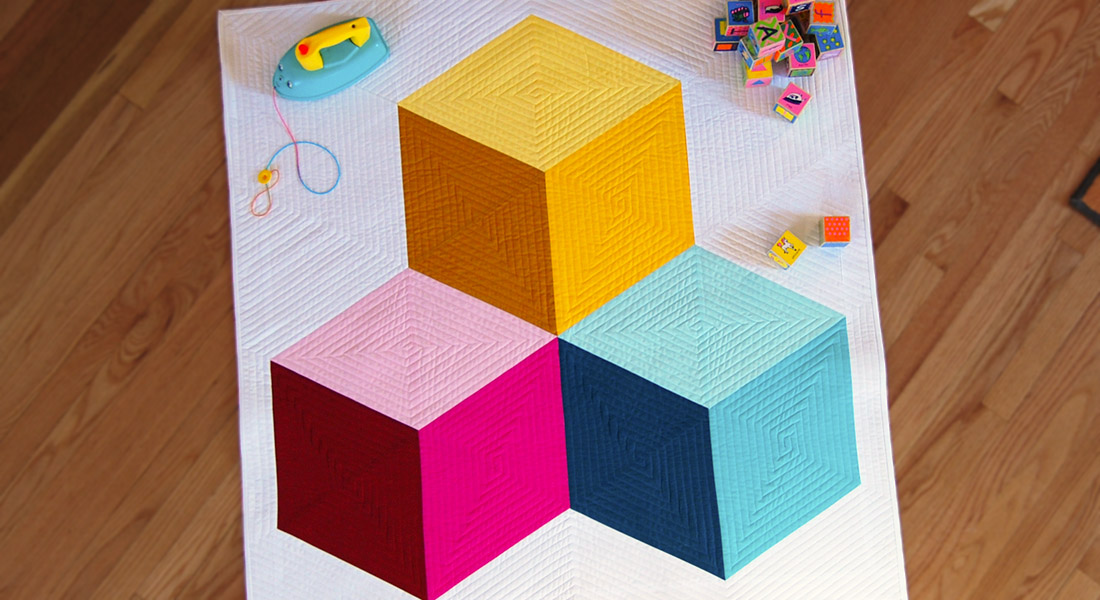
Now it’s really looking like gigantic blocks! Time to trim off the extra and sew on the border.
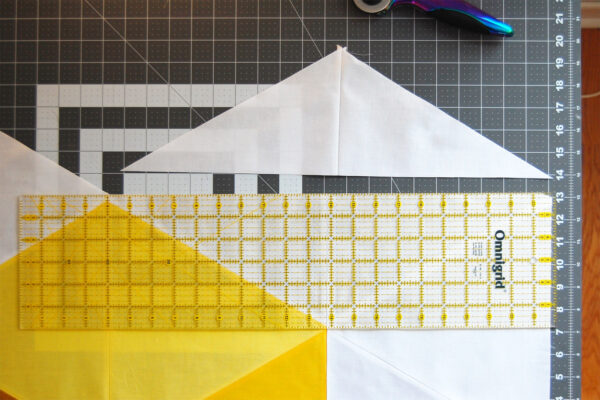
Using a large cutting mat and ruler, carefully trim off the extra triangles on the top and bottom of the quilt top to create straight edges.
Now grab your extra background fabric left over from Week 1, and cut 4 strips the full width of the fabric at 2 1/2″ wide.
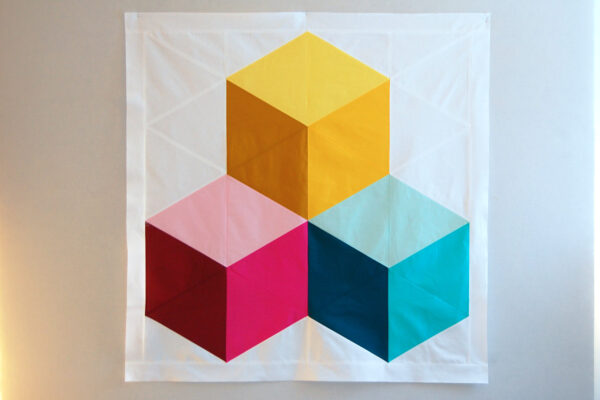
Sew one of these 2 1/2″ x width of fabric strips on each side of the top. Press the seams after sewing.
Sew the remaining 2 1/2″ x width of fabric strips to the top and bottom of the quilt. Press seams after sewing.
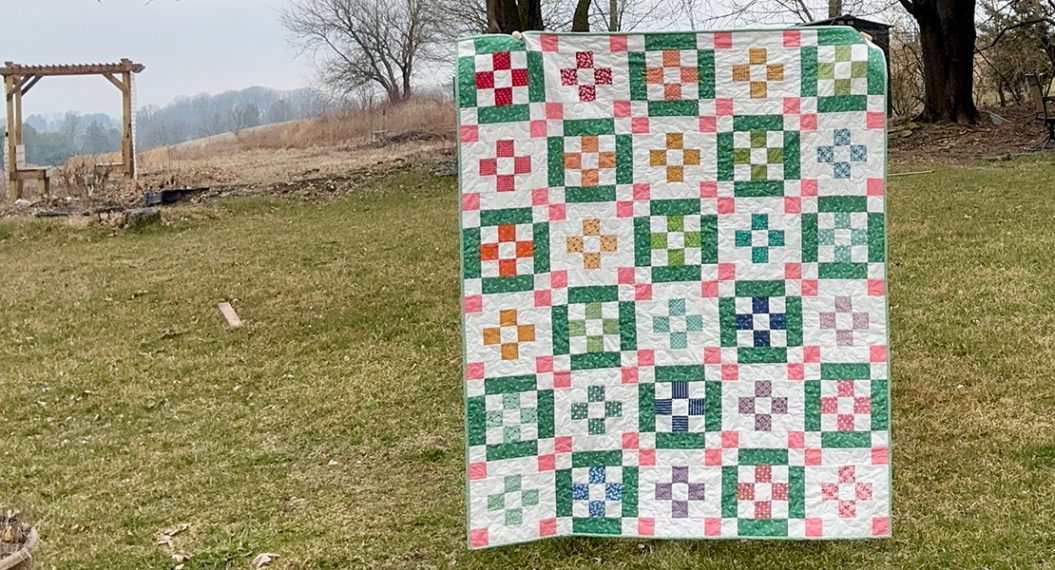
And you’ve just completed the top! Next week we’ll look at different ways you can add quilting to your Colossal Blocks baby quilt, finish it off with binding, and I’ll share some pre-washing tips for baby quilts that expect to see lots of cuddles.
What you might also like
One comment on “Colossal Blocks Quilt-Along Week 3: Piecing the Top”
Leave a Reply
You must be logged in to post a comment.
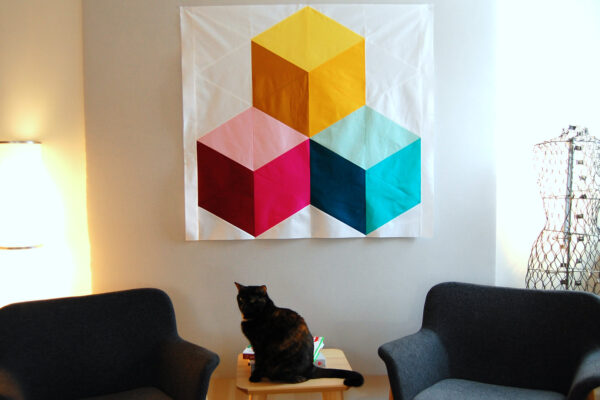




I have to compliment the black kitty’s Mama because your little kitty so sweetly enhanced the picture! What a good kitty sitting so pretty and straight!