Free-motion Fills Table Runner
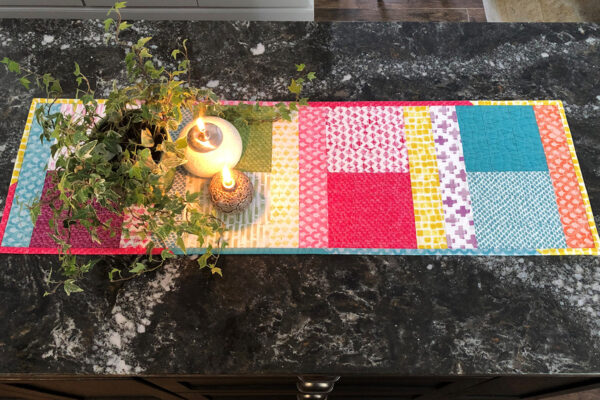
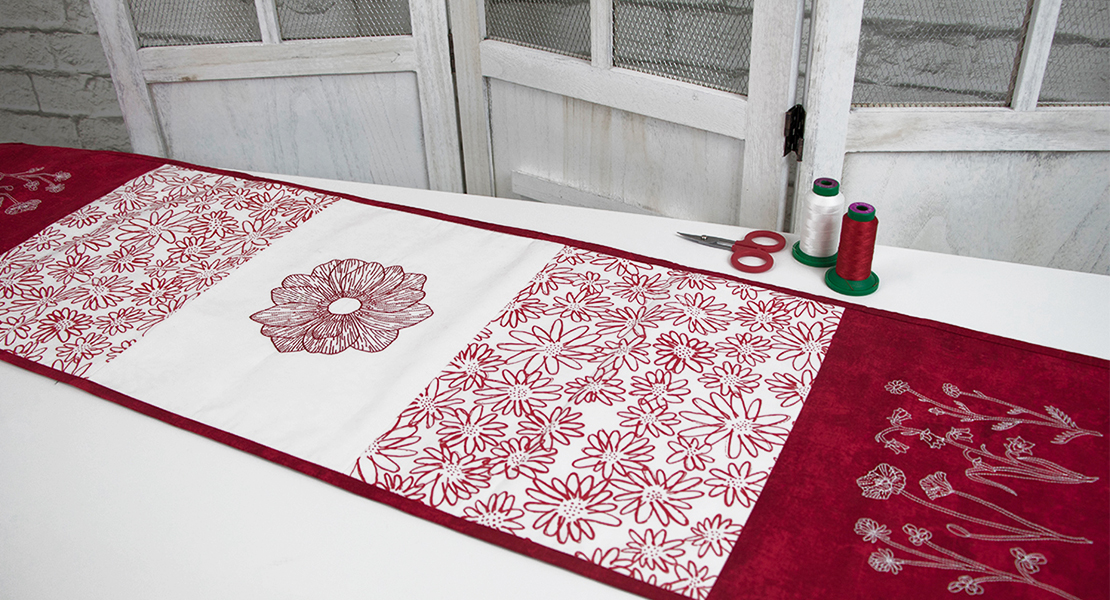
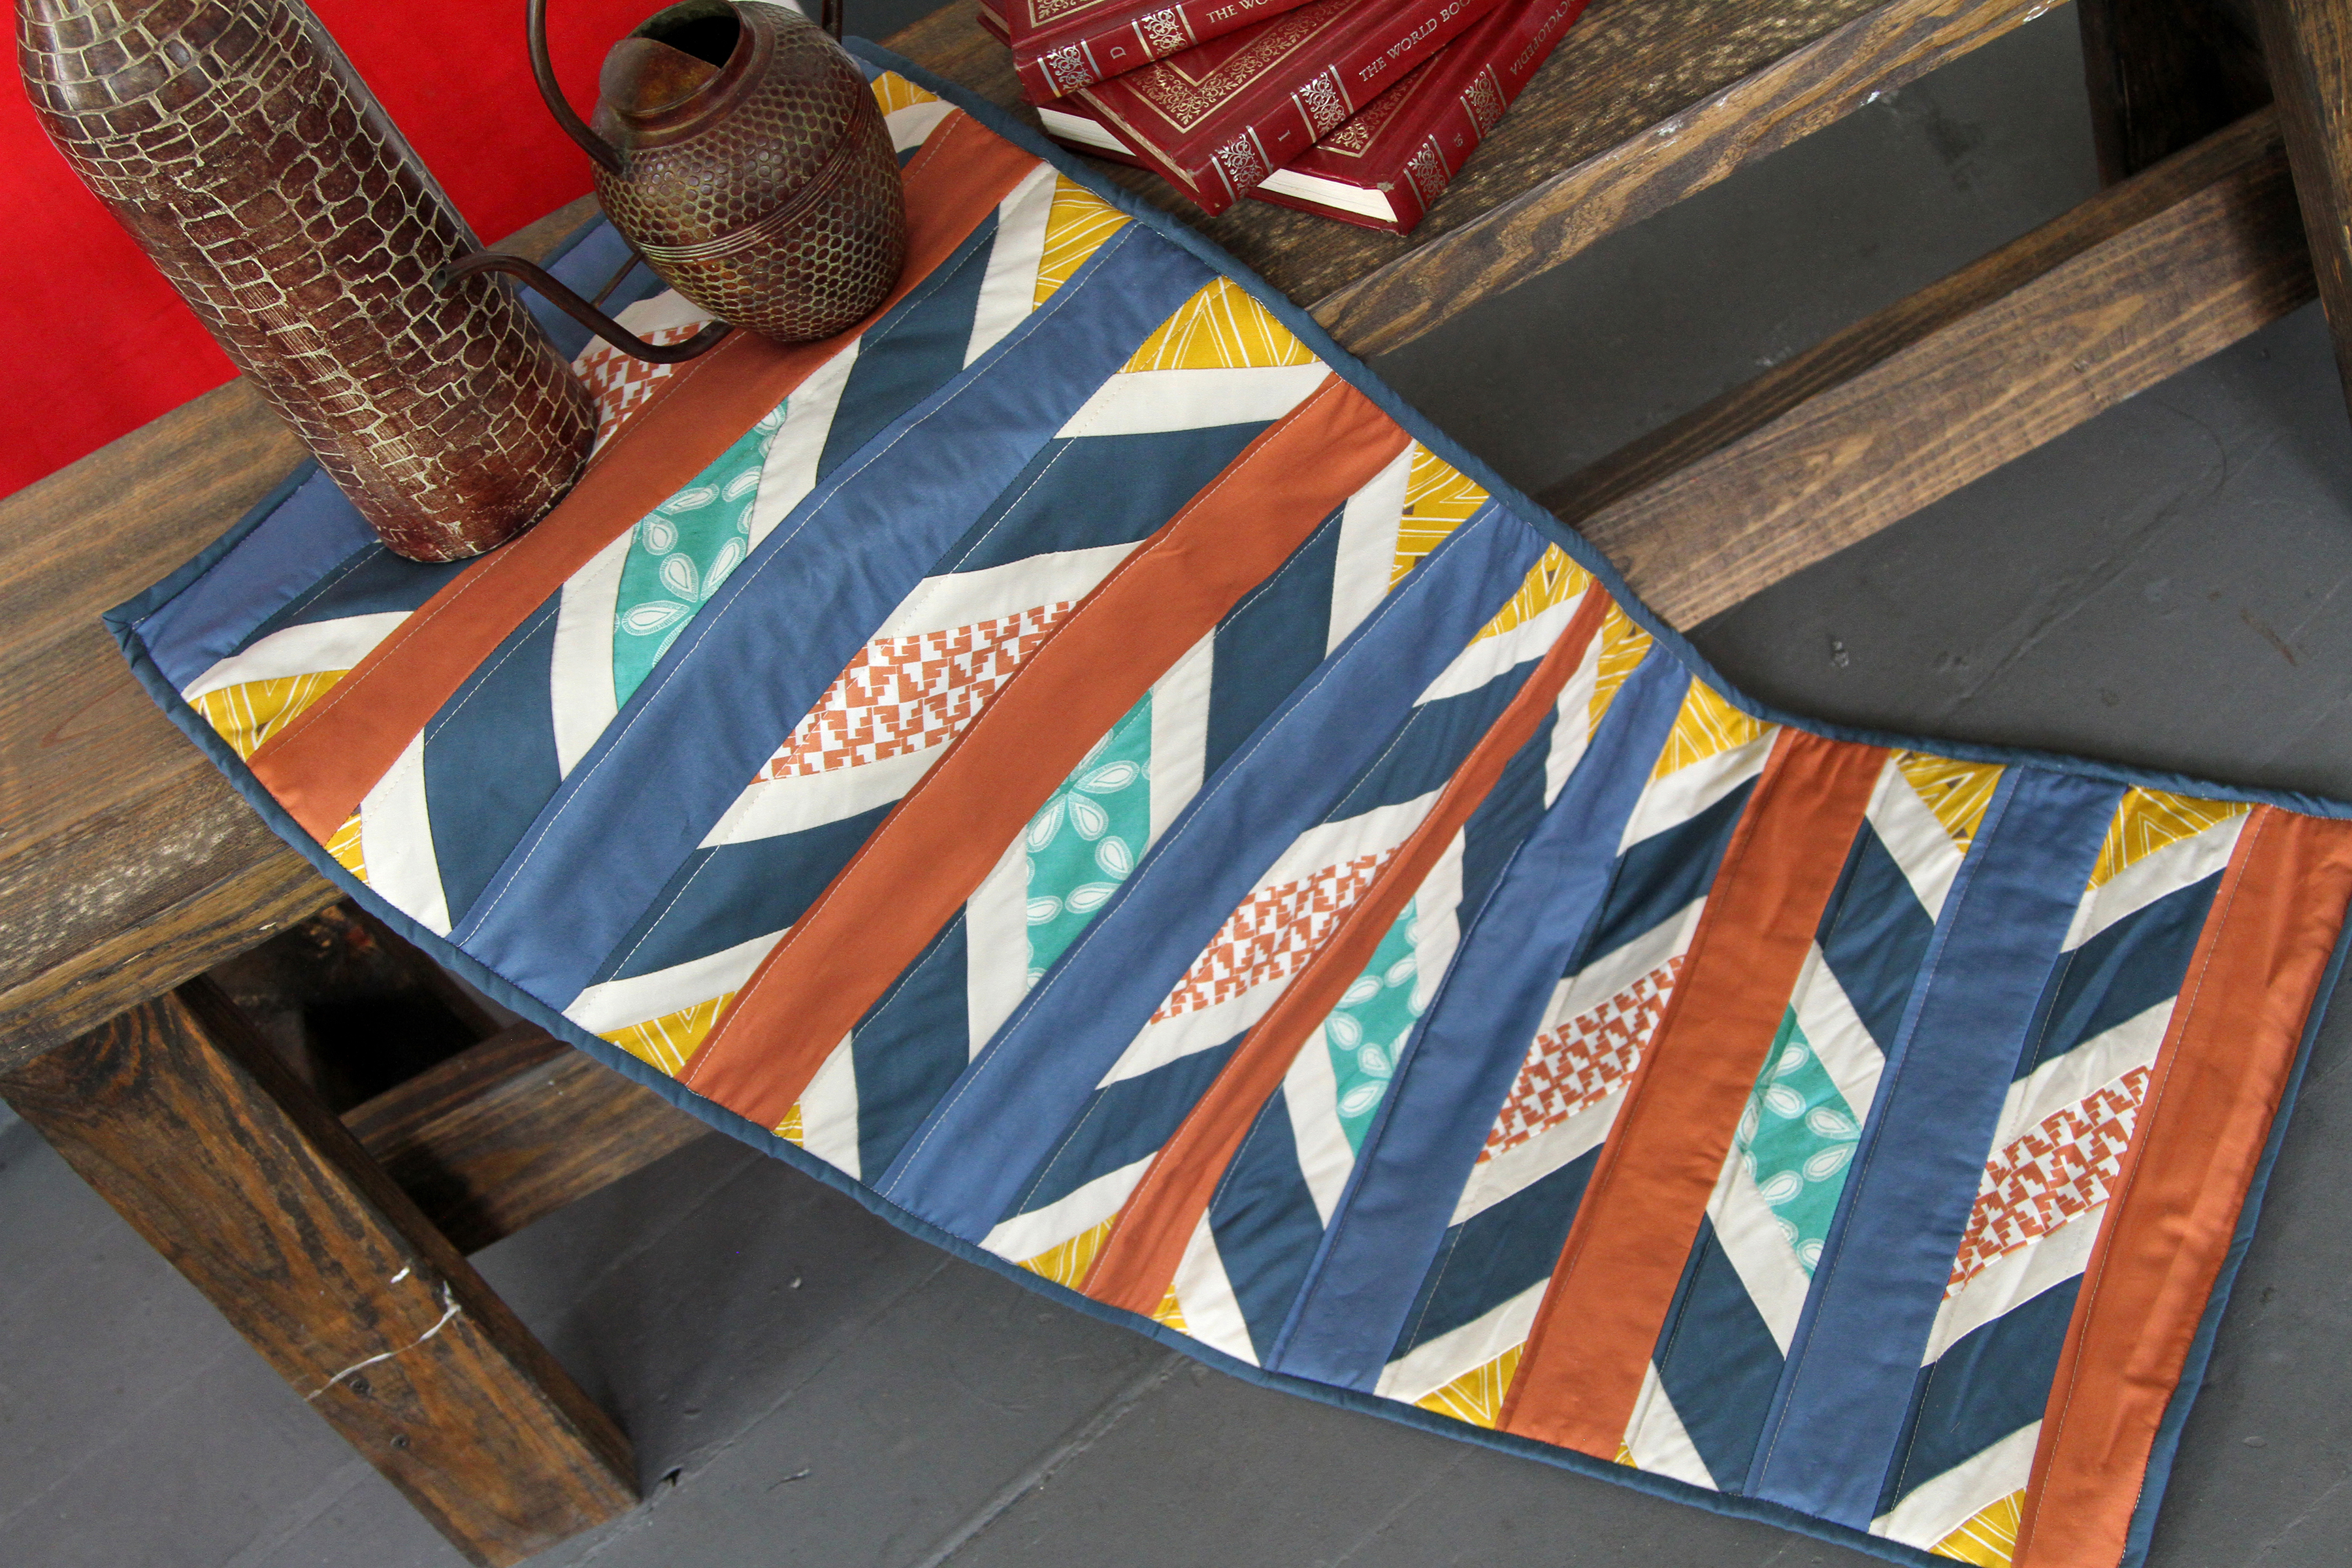
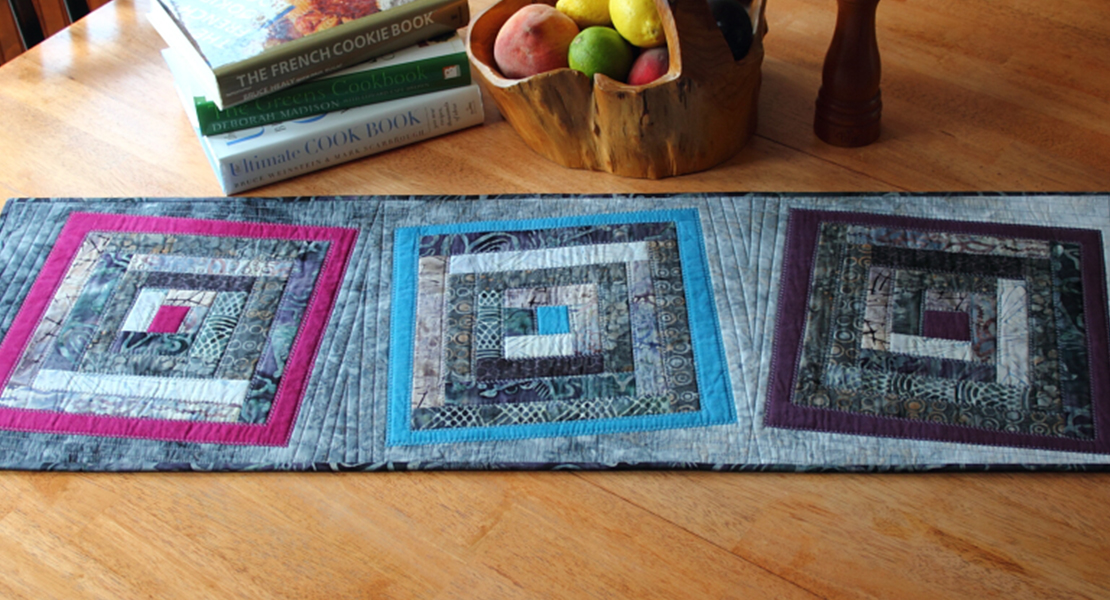
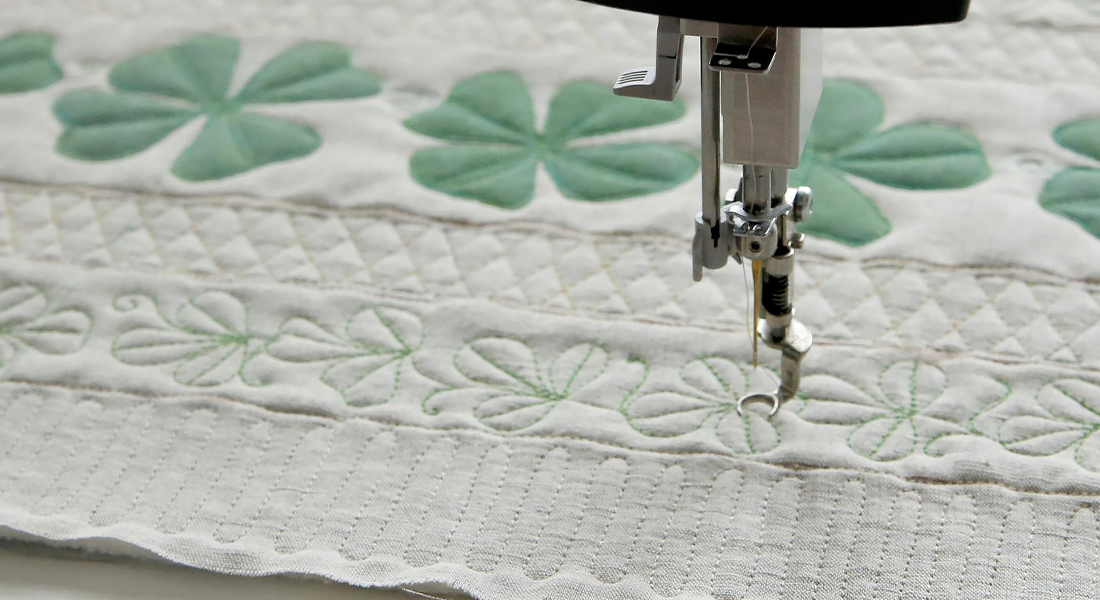
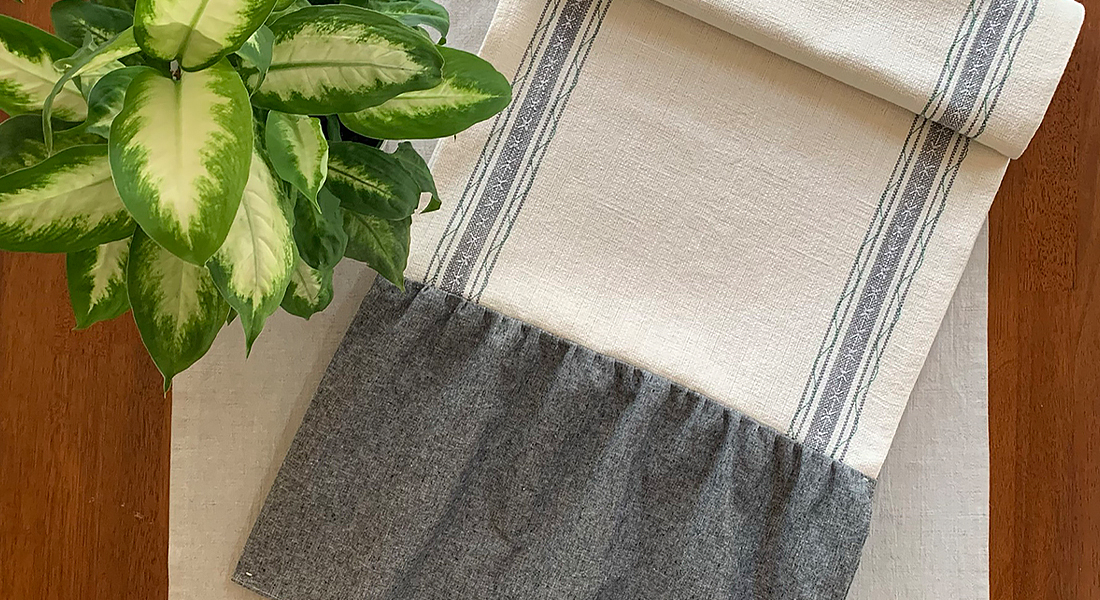
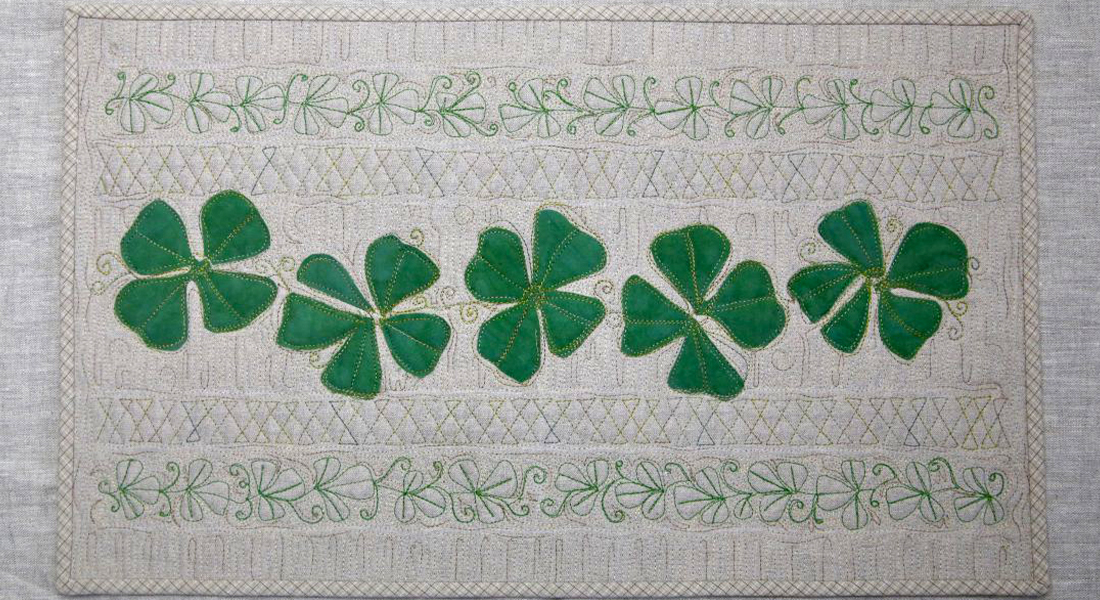
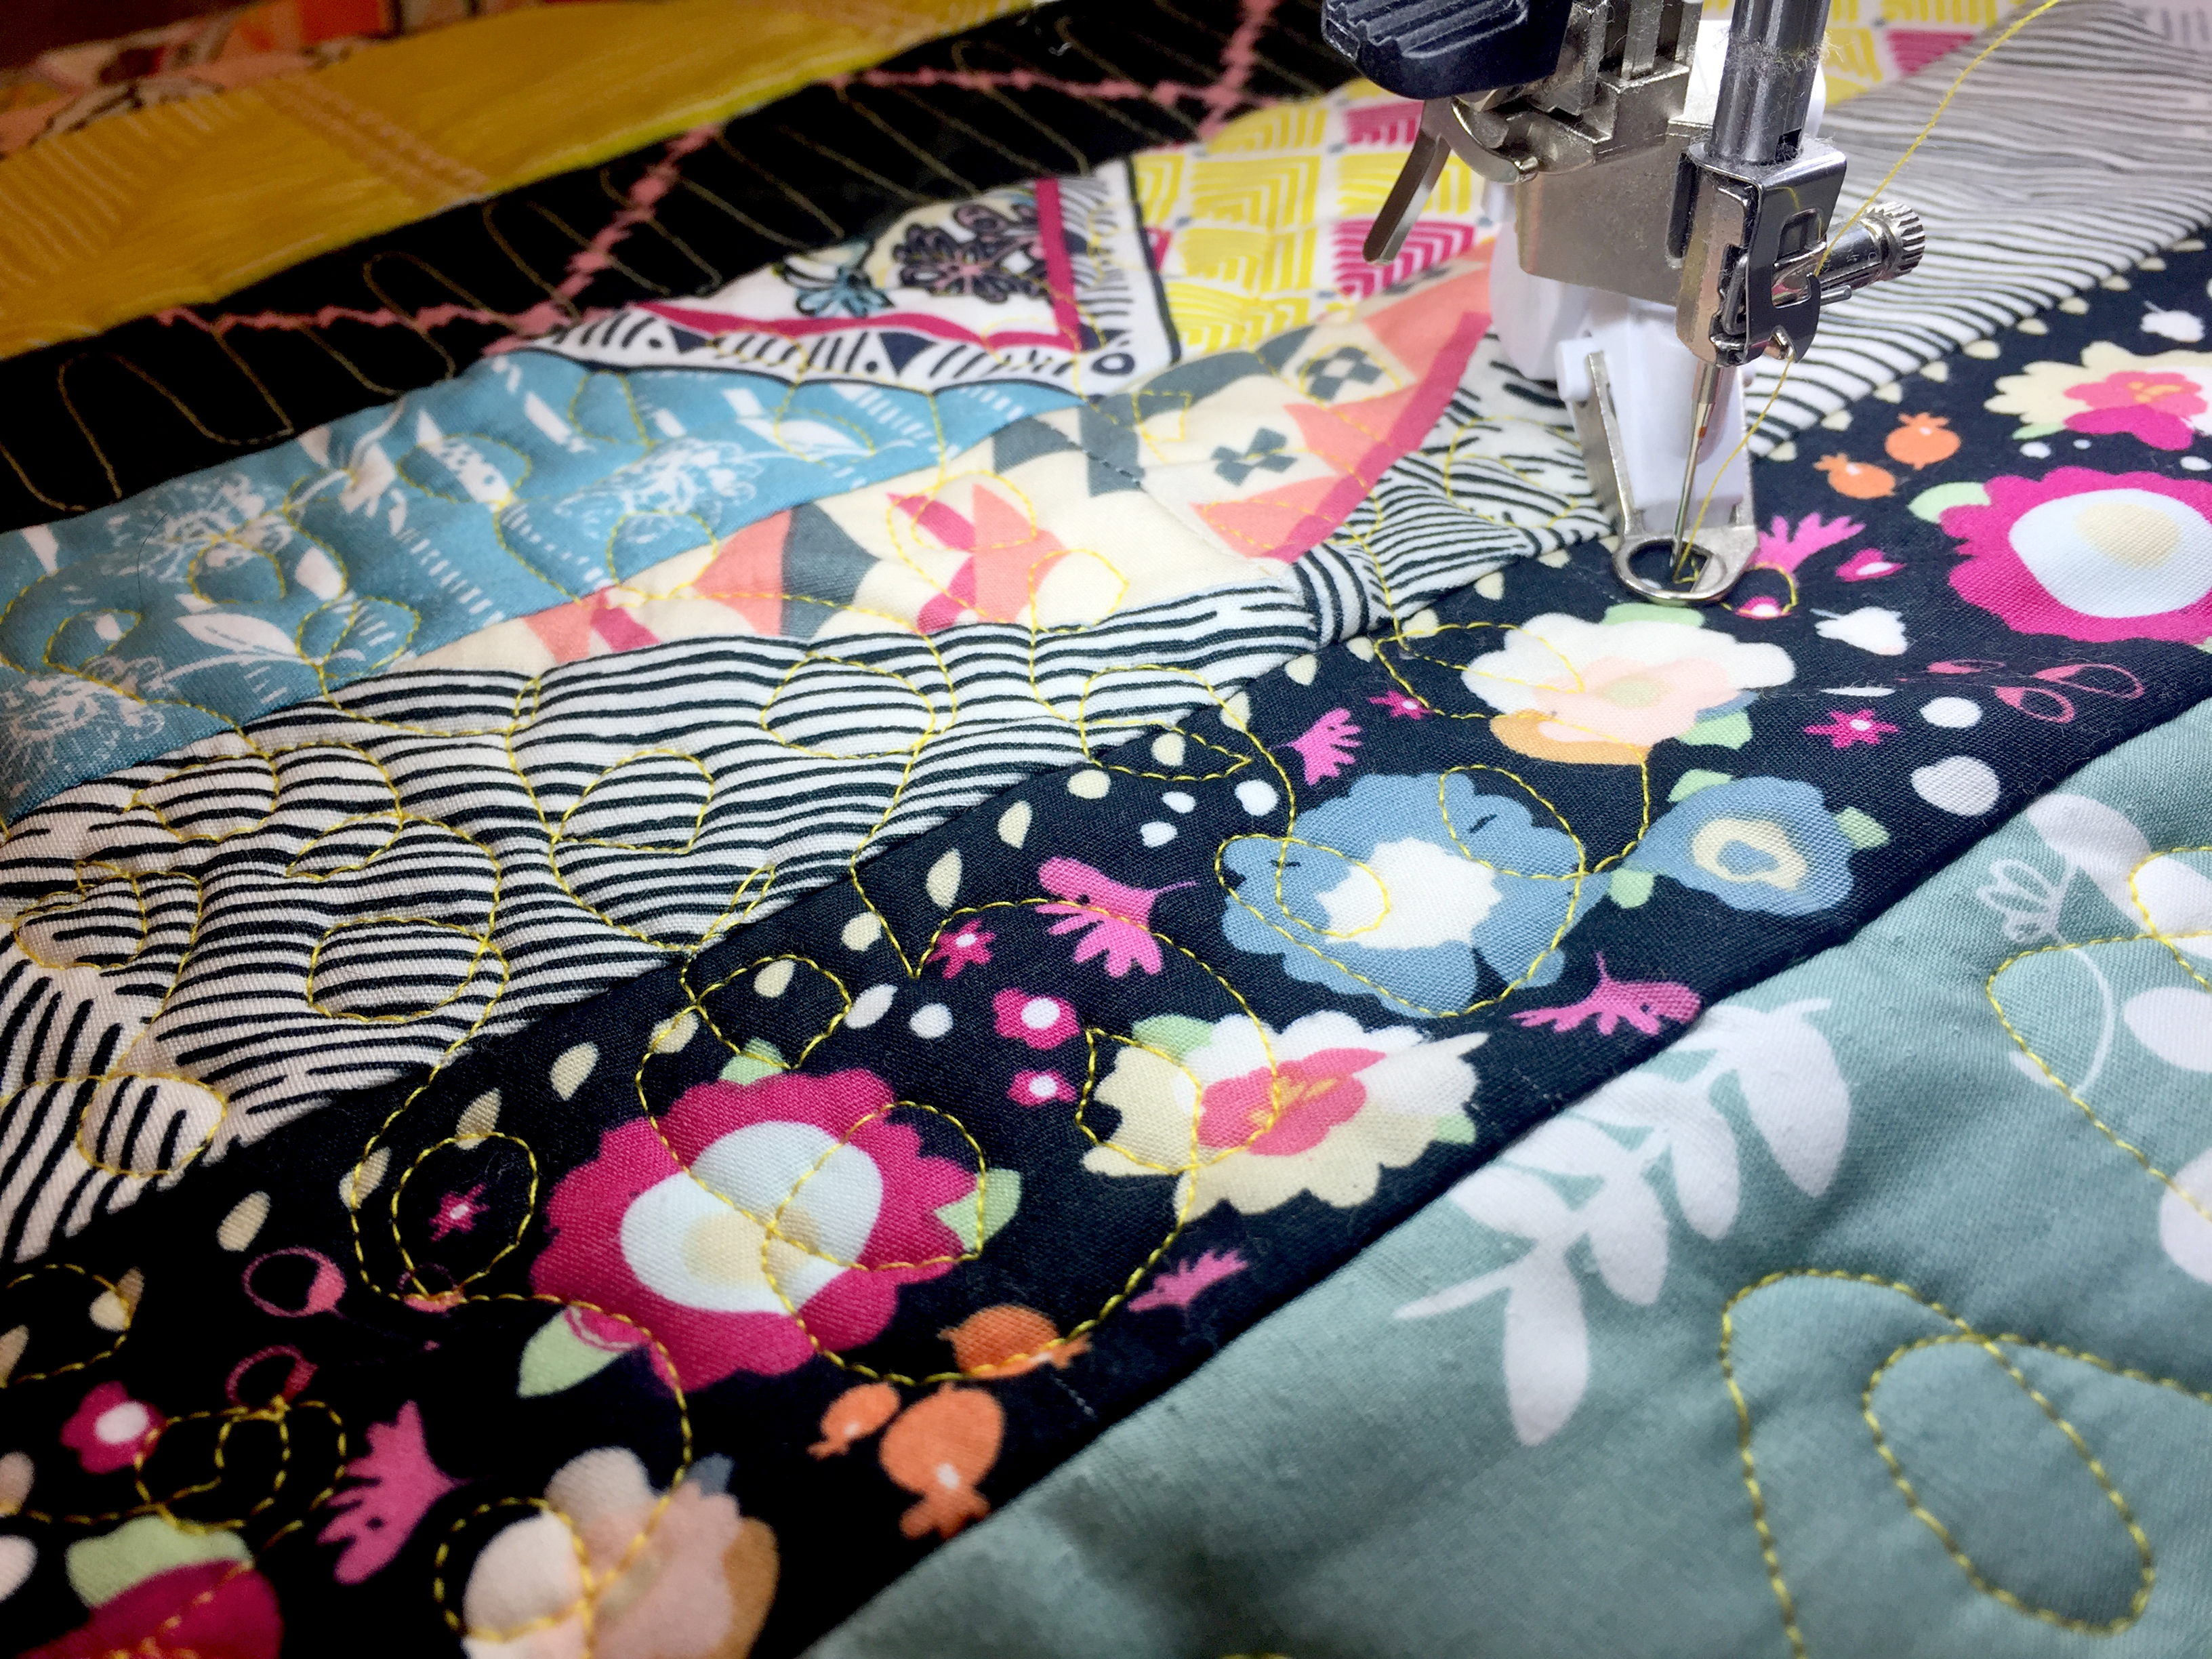
This Strip-pie Table Runner is a great project to get you started with free-motion quilting. We will be using blocks and strips to define specific areas to quilt. We will then take you through four beginning quilting fills. My project is made from Benartex Stip-pies; the By Hand collection by Amy Friend.
Materials to Make a Free-Motion Fills Table Runner
- By Hand Strip-pies by Benartex or other pre-cut 2 ½” strip set
- 1/2 yard backing
- 1/2 yard batting
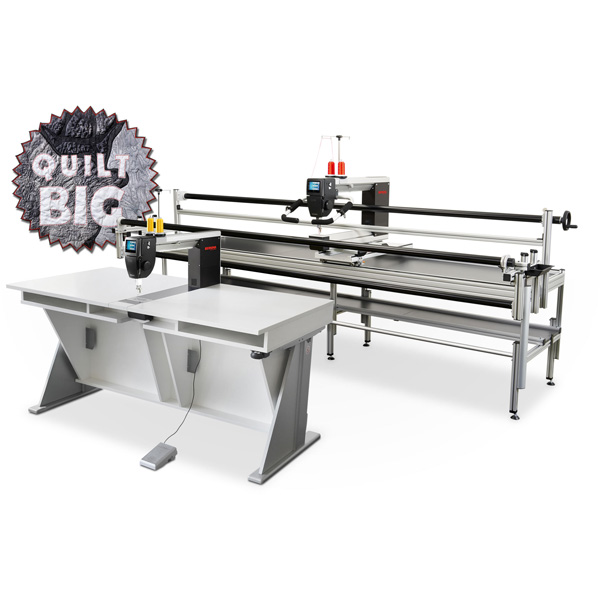
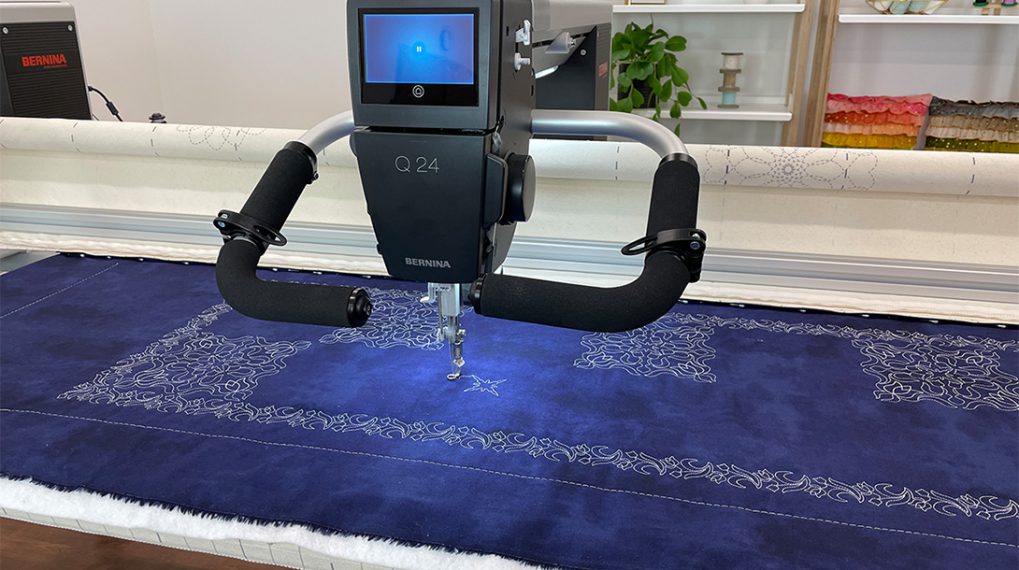
- BERNINA 570 QE Sewing Machine (I used the BERNINA Q 20 Sit-Down Longarm Machine to quilt the runner but the quilting may also be done on a domestic machine such as the BERNINA 570 QE machine.)
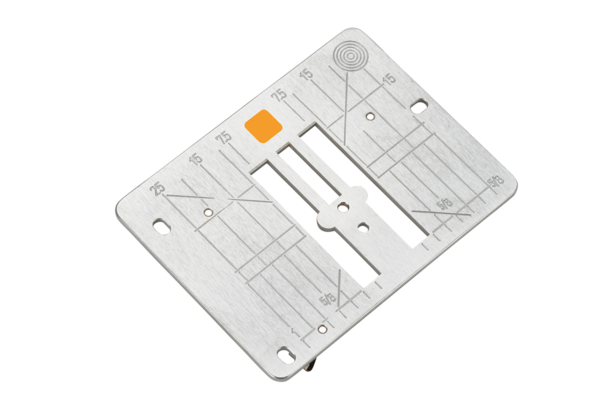
- Straight Stitch Needle Plate
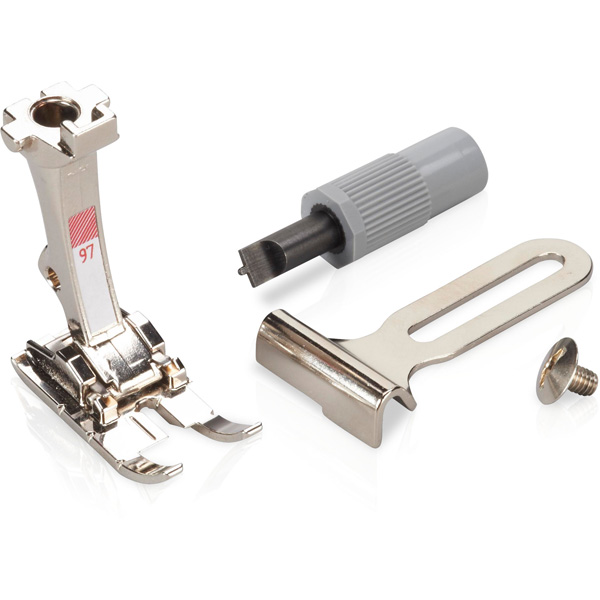
- 9 mm Patchwork Foot #97/97D
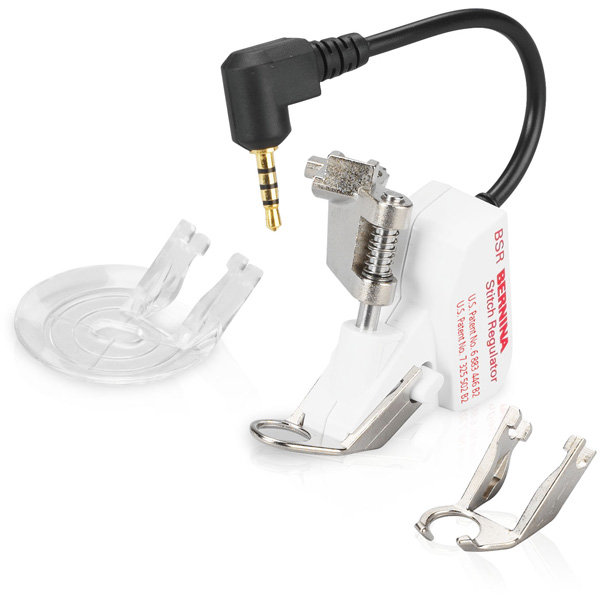
- BERNINA Stitch Regulator #42 (The BERNINA Stitch Regulator is built into the Q 20)
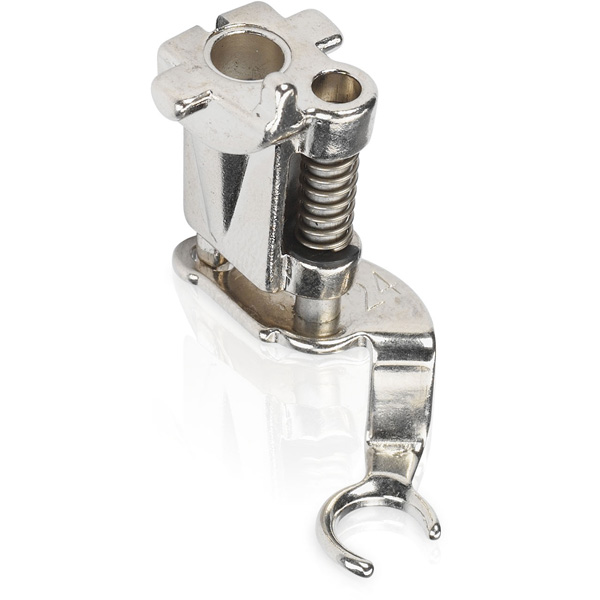
- If quilting with the Q 20 you will need a free-motion foot such as the Freehand Embroidery Foot #24 or the Ruler Foot #96
- #80 Jeans Needle
- Cotton Thread
- Rotary Cutting Equipment
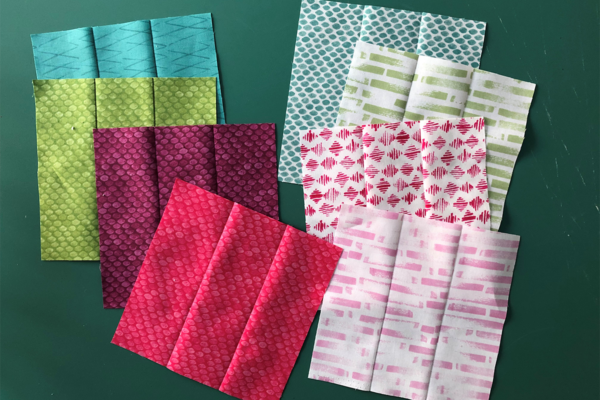
So let’s get started. Select 4 light fabric strips and 4 dark fabric strips. From each of these fabric strips, cut three 7″ lengths.
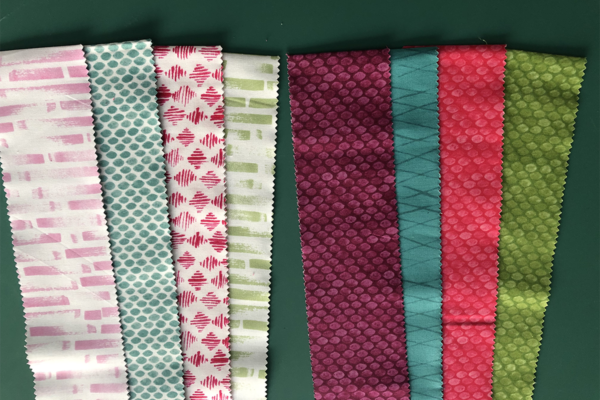
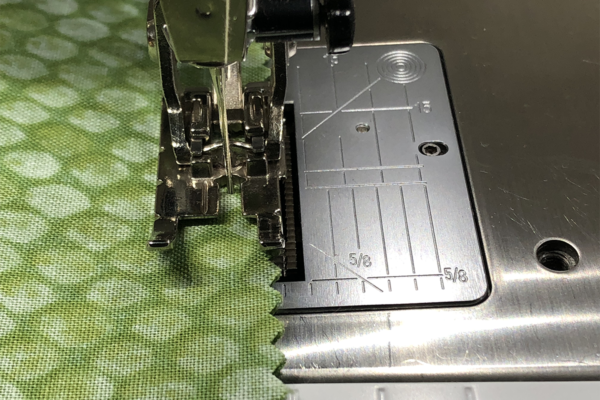
Set up the sewing machine for piecing by attaching a straight stitch needle plate, inserting a #80 jeans needle and attaching 9 mm Patchwork Foot #97 or #97D. If using Dual Feed, engage the Dual Feed mechanism.
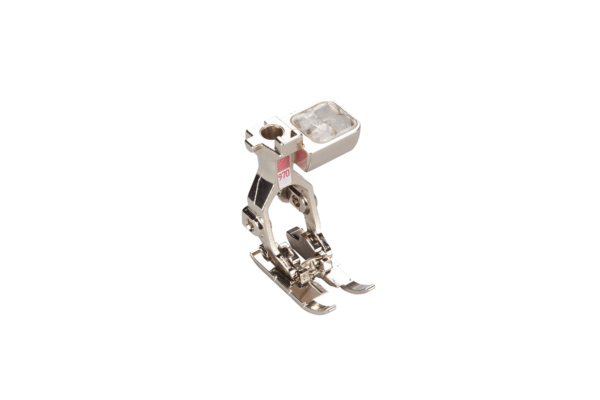
I find it helpful to decrease the presser foot pressure by at least 10 to 15 numbers. Seam the three like strips together.
Press seam allowances all in one direction. Square up each of the sewn strips to a 6 1/2″ block for a total of 4 light blocks and 4 dark blocks.
Seam the two blocks together so that the seams in the dark square is running horizontally and the seams in the light squares are running vertically.
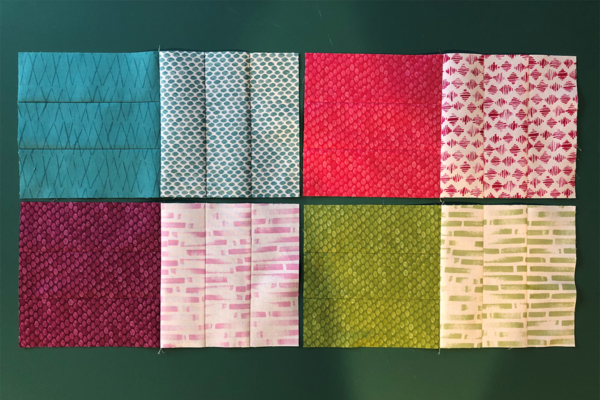
Measure across the two blocks. They should measure 12 ½”.
Cut 8 light strips the 12 ½” length (or whatever measurement matches the width of the two blocks). Stitch the strips to the block sets as shown in the photo.
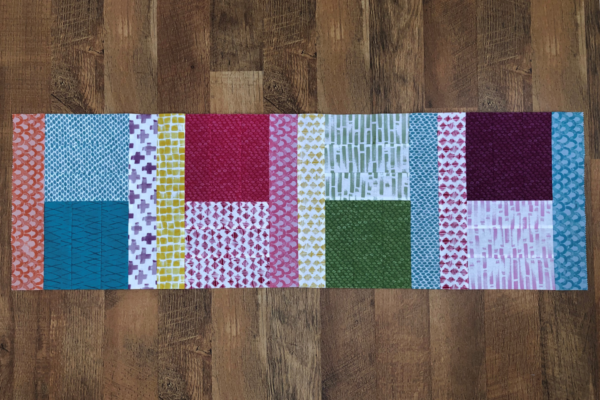
Layer the table runner with batting and backing, baste.
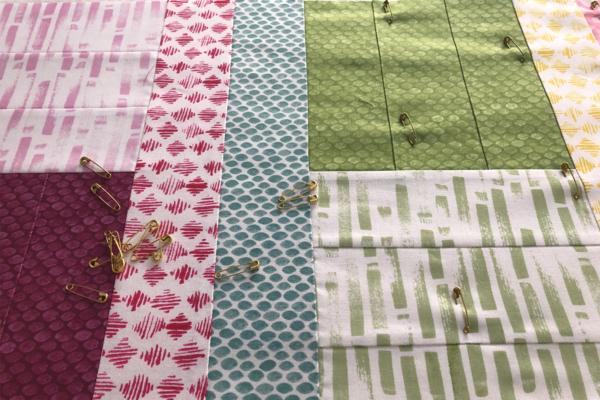
We are going to be using the blocks and strips to try different free-motion fills. But before we start on the table runner, I am going to have you start by practicing the fill with pencil and paper.
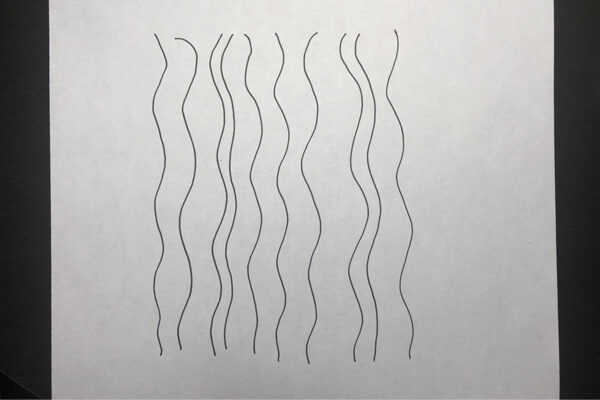
The dark 6” square made up of the 3 strips will be treated as a solid square and we are going to quilt it in a wavy plaid fill. Begin by drawing wavy lines on a piece of 8 1/2″ X 11″ paper. Draw vertical lines, varying the curves and the distance apart.
The next step is to draw horizontal lines.
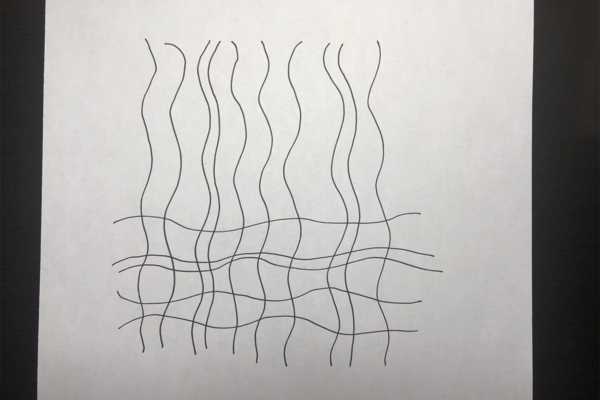
When comfortable with drawing the design, move to the dark squares on the table runner. Place a free-motion foot on the machine and lower the feed dogs. Pull up the bobbin thread when you begin. Stitch the Vertical lines.
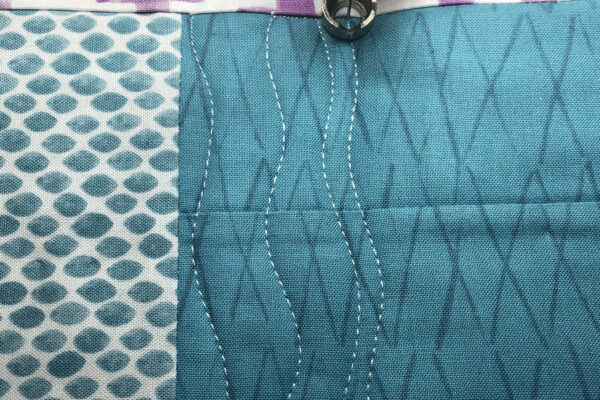
When the square has been filled with vertical lines, stitch horizontal lines to fill the square. You have now done your first Wavy Plaid fill!
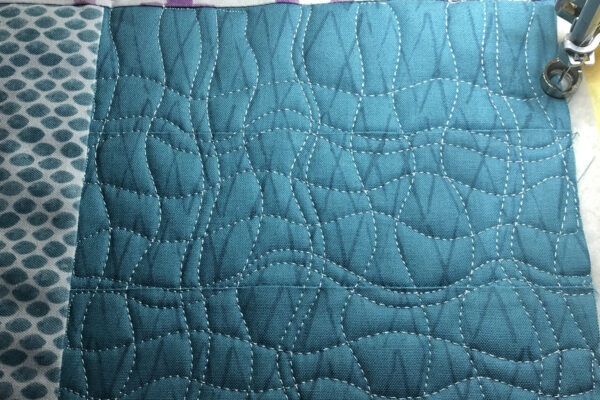
I think it is time to step back and admire your work! The rest of the fills for this table runner project will be done in the individual strips.
Let’s continue with the Back and Forth Fill. Go back to paper and draw lines 2″ apart. Draw a line from the first line to the second line, round the corner and draw the line back up to the first line. Continue across the strip.
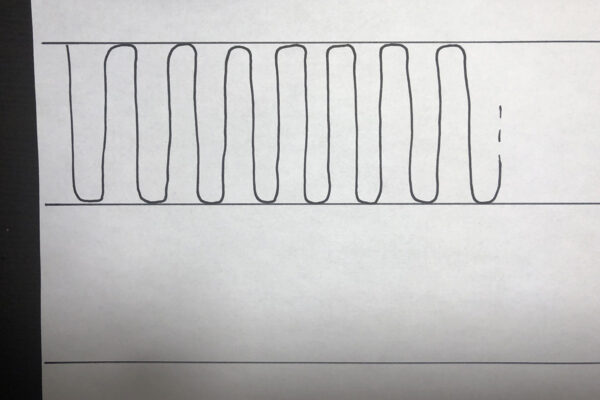
Move to the table runner and stitch in one of the strips. Do not stitch all the way to the seams as it is too easy to over shoot the seam.
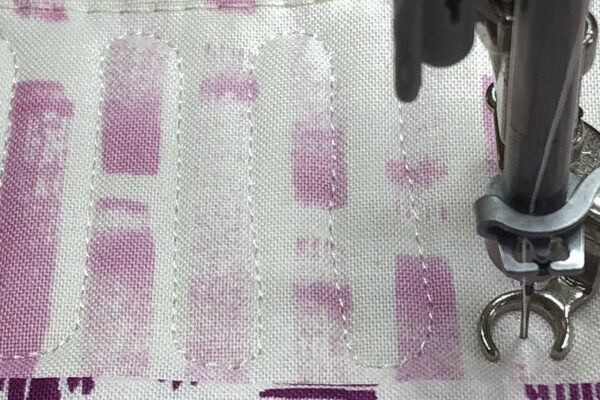
Now that you have the Back and Forth fill down, we will use a similar movement to create the Back and Forth Loop Fill.
Once again go back to paper and pencil. The first time doing this fill, I like to mark where the center of the loop will be. I have determined that I want my loops to be 3/4″ apart. Place a small mark 3/4″ from the edge of the paper and then subsequent marks 3/4″ apart across the bottom line. On the top line, place the first mark 3/8″ from the edge and then 3/4″ apart from there. Now, beginning about half way between the two horizontal lines, draw at an angle up to the right side of the first mark. Loop around to the left and then down at an angle to the right of the mark on the bottom line. Continue across the space making alternating loops as shown in the photo.
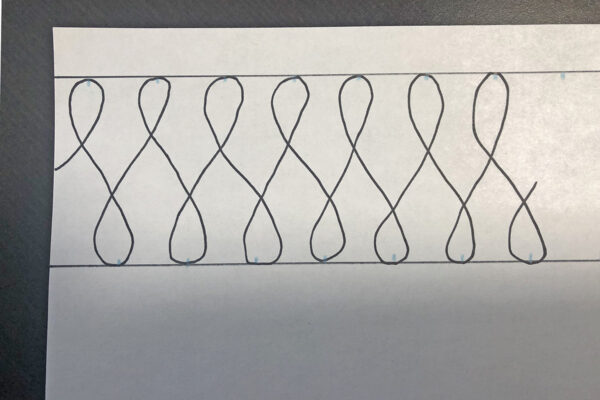
Once you are comfortable drawing on paper, stitch the design on the chosen strips of the table runner.
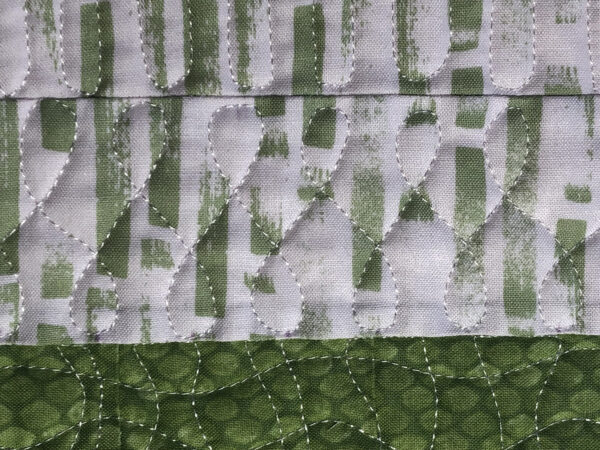
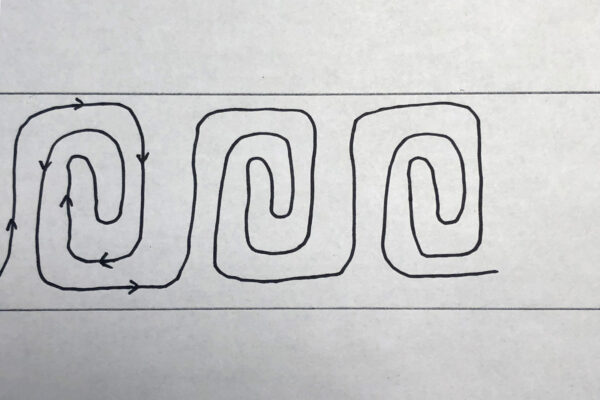
For our final fill, we will build on what you have already done. Go back to pencil and paper and draw spirals. You will start at the bottom and draw up and over and down like you did for the Back and Forth Loops except this loop will be wider. Don’t come all the way down to the bottom before moving to the left. Continue up, down and over, making a spiral as shown by the arrows.
Practice as much as you need to before going to the table runner. Stitch within the strips of the runner.
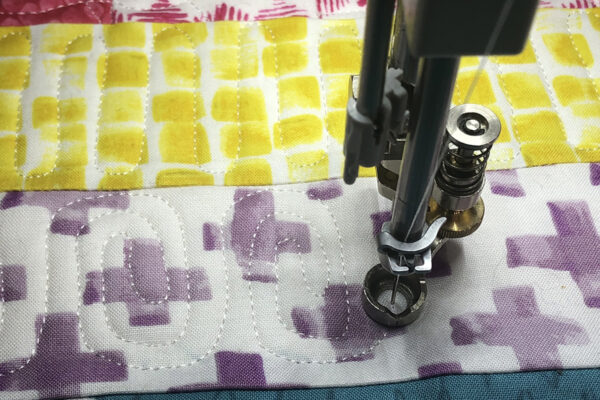
You are now ready to finish your runner. Remember the more you practice drawing and quilting, the better you will be!
Trim the edges of the runner. For the binding, use different lengths of the 2 1/2″ strips. Seam them together, using a mitered seam, end to end until you have a minimum of 110-inch length. Press in half lengthwise and bind the runner.
