Pennant Banners
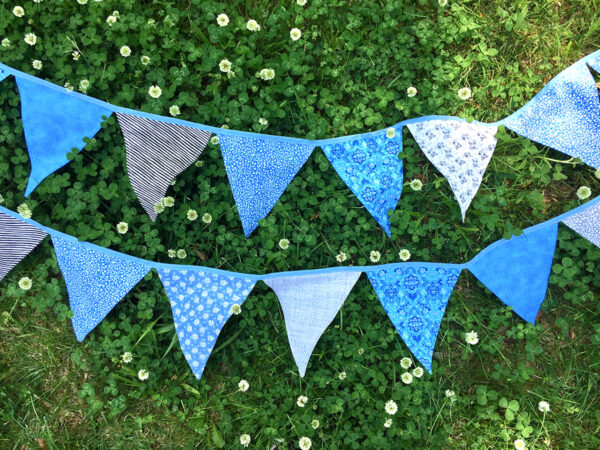
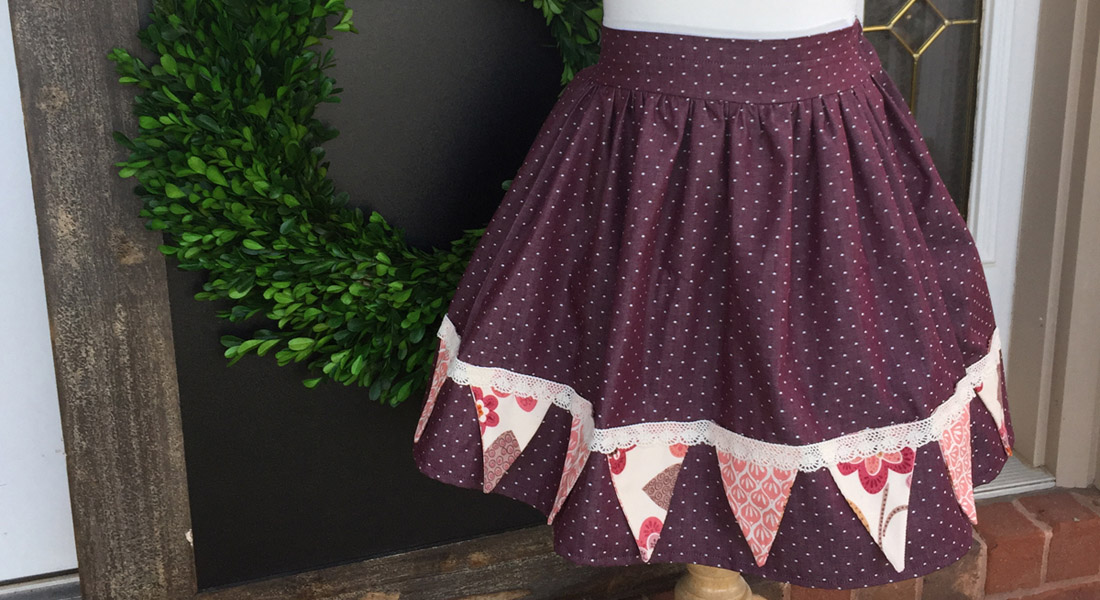
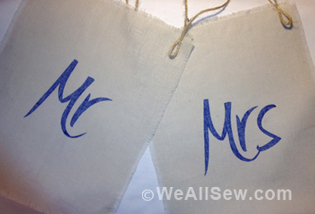
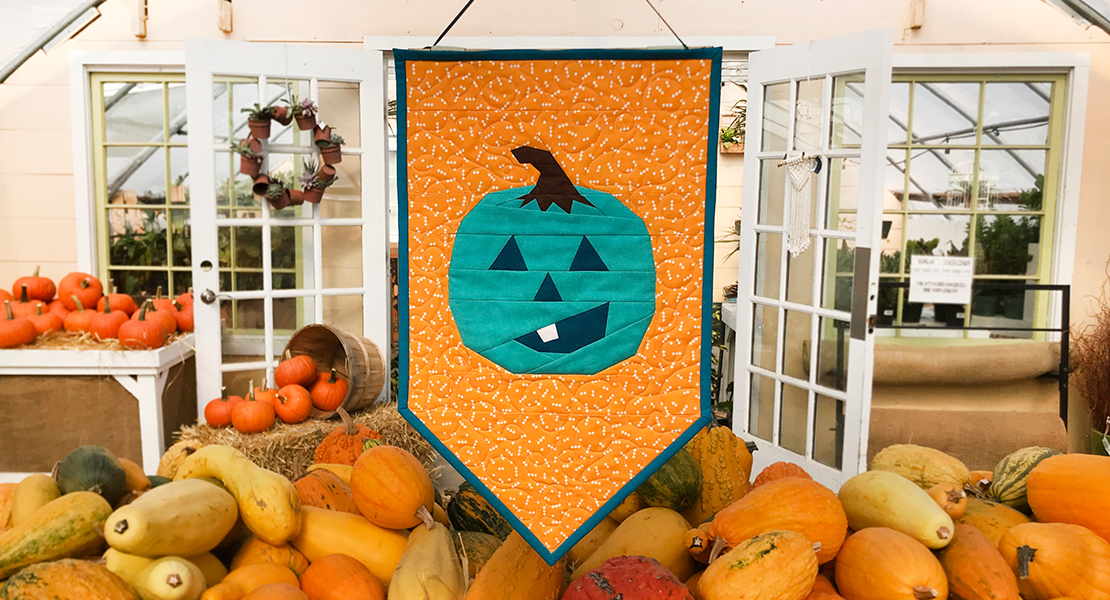
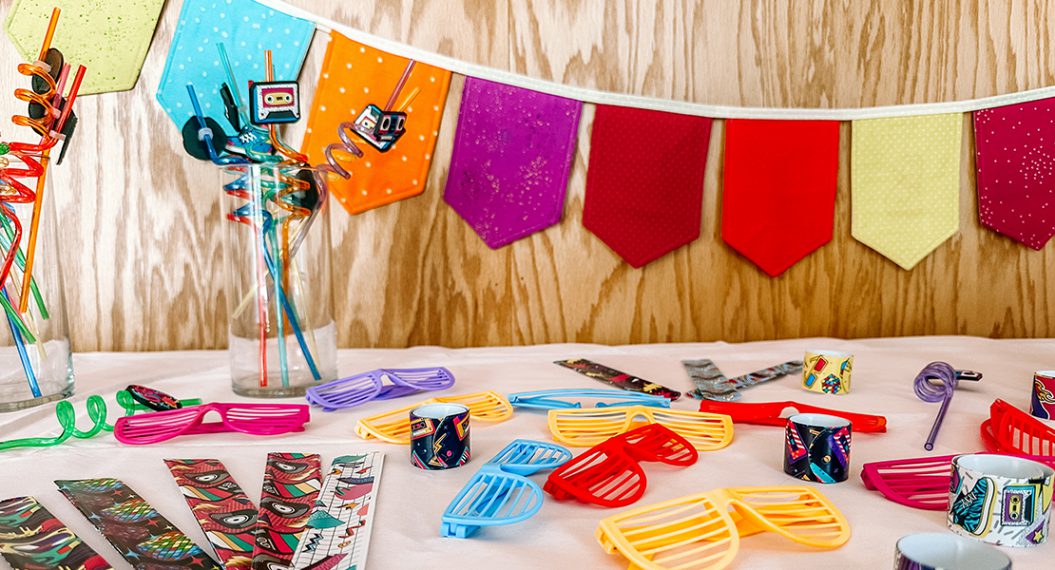
These pennant banners are a fun way to decorate for a special occasion (think baby shower, Easter, graduation, Fourth of July or Halloween). Decorating with them lends a festive air to any space. I’ve made them for my daughters’ graduation parties, and then given them to them to decorate their dorm rooms. You can make them in different sizes, too. Tiny ones would look darling in a baby’s nursery.
Materials to Make a Pennant Banner
Finished size = 3 yards
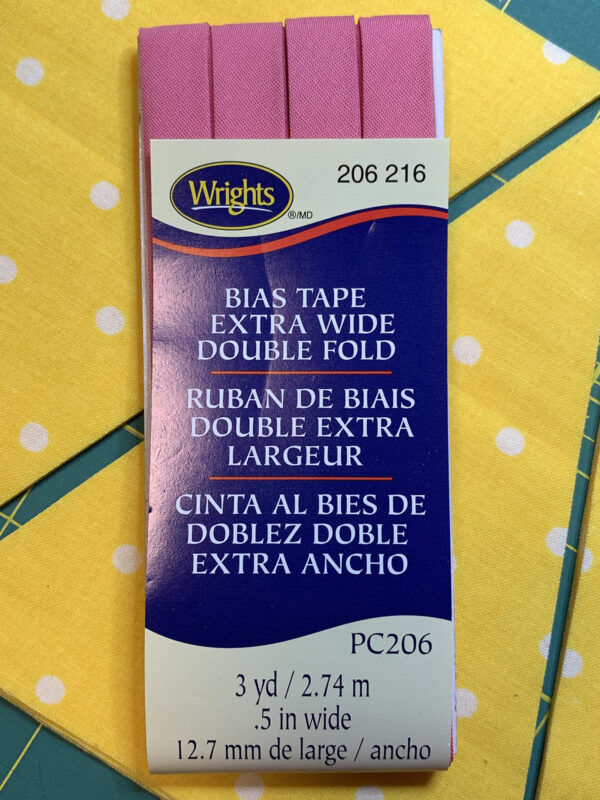
- 3 yards bias tape (5” wide)
- three fabric strips of different colors 6” x 40-42”
- water erase marker
- matching or contrasting thread, 50-weight
Using store-bought bias tape to string the pennants makes this a quick and easy project. It comes in lots of colors to coordinate with your fabrics.
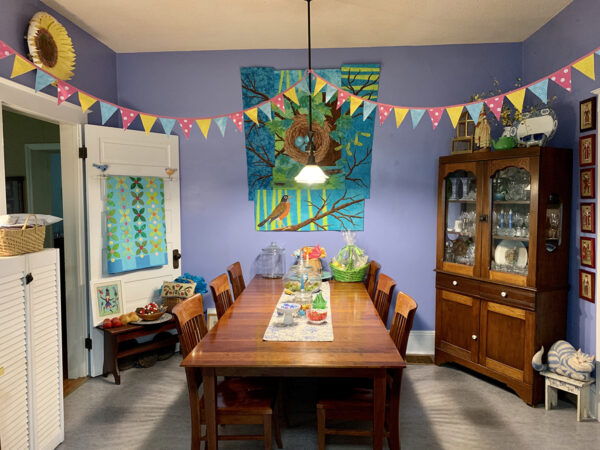
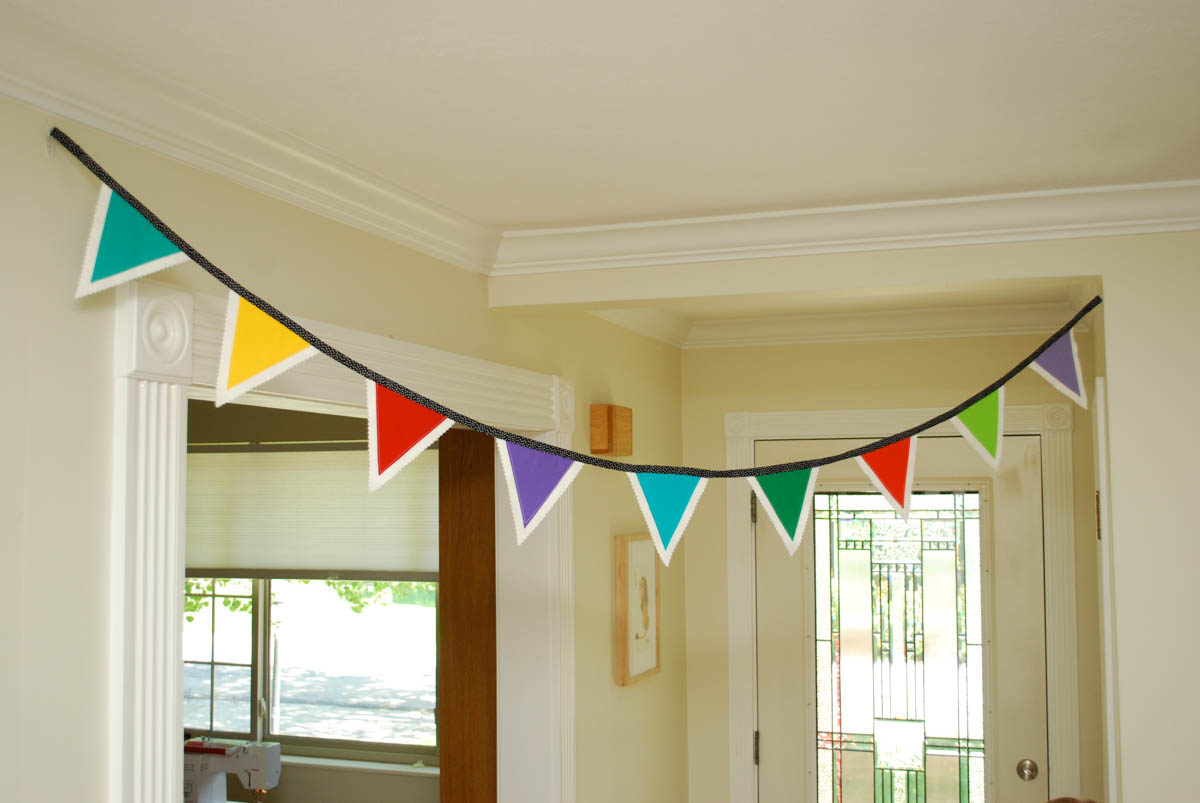
The photo below shows two pennant banners hung in my kitchen for our Easter celebration.
From three different fabrics, cut one strip from each that is 6” x 40-42”.
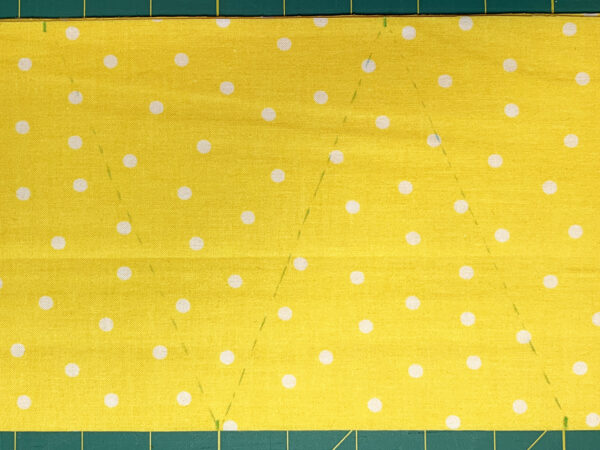
Fold each strip in half, right sides together (it should now measure 6” x 20-21”and using a water erase marker, mark every five inches along the top edge. TIP: If you fold right sides together, you will have pairs of triangles ready to stitch together that match up perfectly.
On the bottom edge, mark every five inches, staggered with the marks on the top, so that the bottom marks are centered 2-1/2” between the top marks.
Use a rotary cutter and ruler to cut the triangles. You should end up with 7 pairs for each fabric strip. I cut 7 each of blue, pink and yellow.
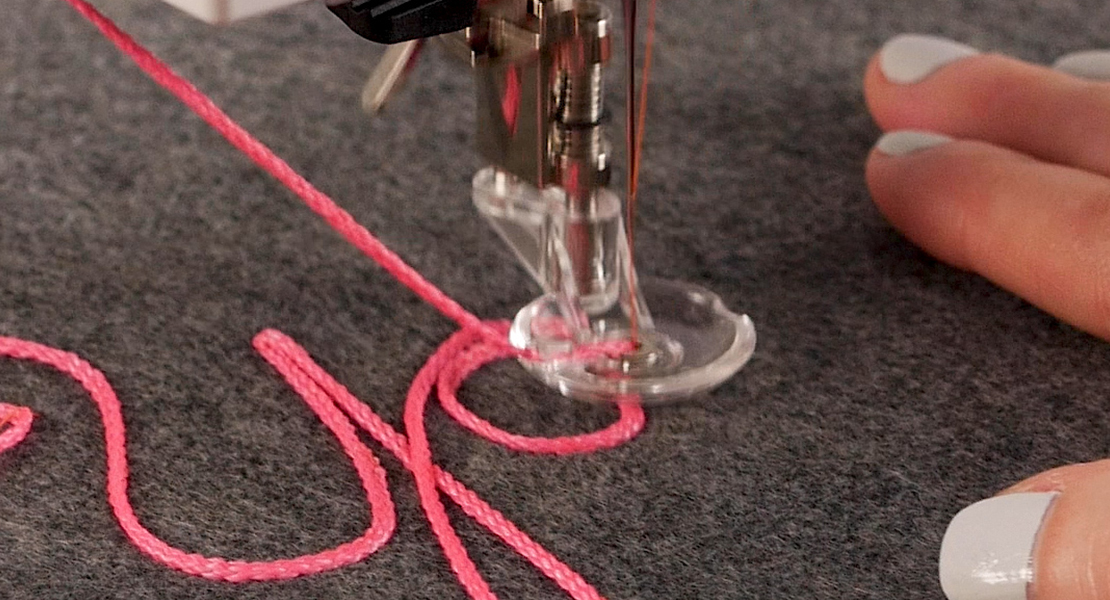
Install Patchwork foot #97D and engage the Dual Feed (this is very helpful in this project where you are sewing on the fabric bias).
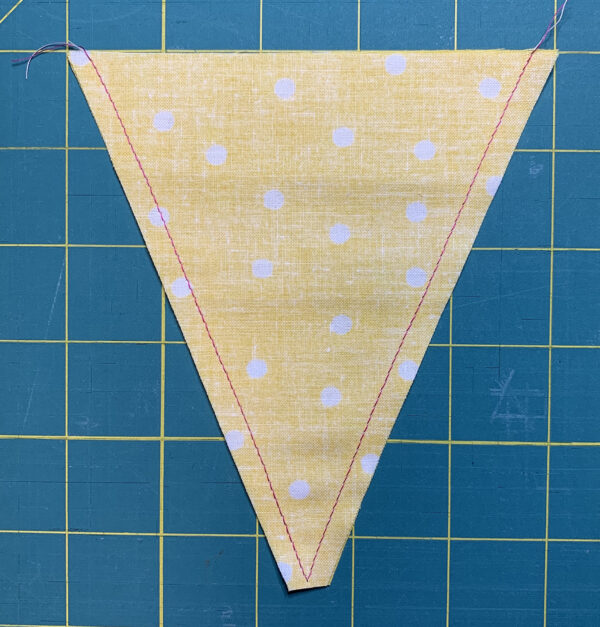
Using matching thread, sew a ¼” seam down one long side of the triangle set, pivot, and sew up the other side. There’s no need to backstitch.
TIP: You can chainstitch the triangle pairs to save time. (Chainstitching is when you sew one set together, then sew the next set without cutting the thread until you stitch all the sets together.)
NOTE: I used contrasting thread for illustration purposes only.
Clip the bottom corner close to the stitching line. To get very pointy corners, you might want to also cut off a bit of fabric on both sides of the point.
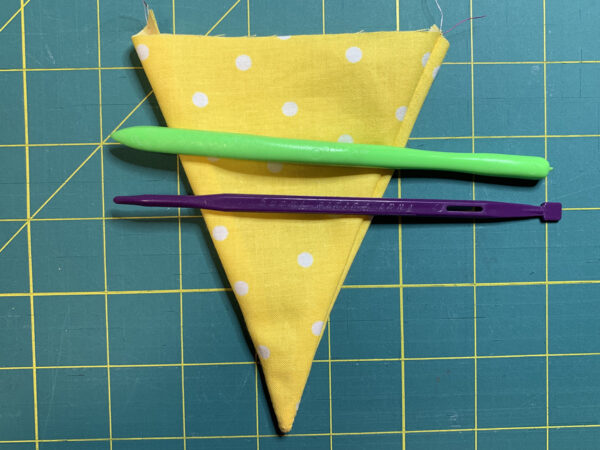
Turn the pennant right side out, and using a tool like the ones below, push out the bottom point. (The purple tool below is “That Purple Thang.”)
Press flat, making sure that the seams are right on the edges of the pennant.
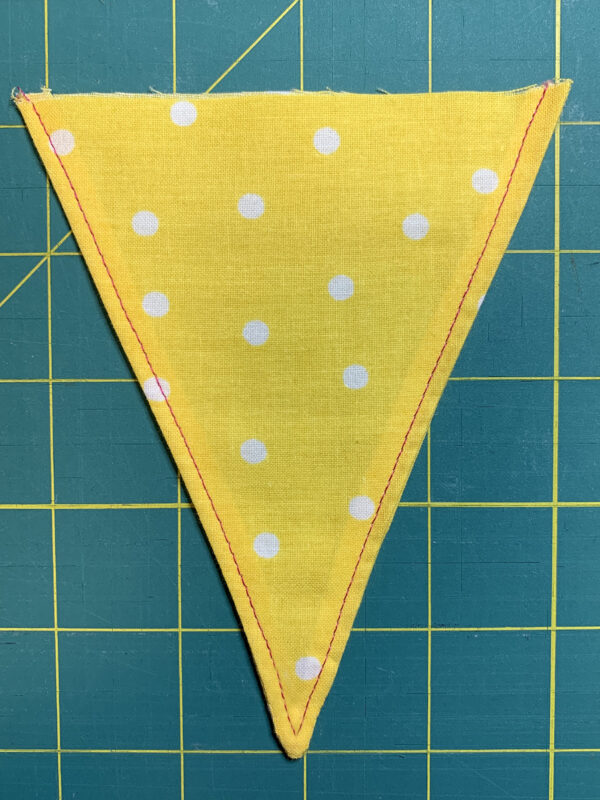
Topstitch about 1/8” along the long edges, using matching or contrasting thread. TIP: When you pivot, it can be hard to start up the next side because there’s no fabric for the feed dogs to grab. Try using a pin to grab the tip and push it back as you start sewing again. A stiletto also works. Chain topstitch all the pennants. NOTE: I used contrasting thread for illustration purposes only.
Trim dog ears and threads.
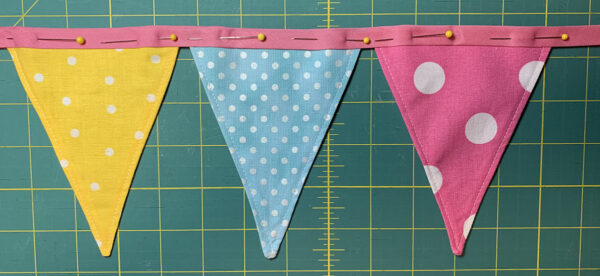
Unfold your bias tape. One side of the fold should be a bit shorter than the other. Place this side up; it is the side you will stitch. Mark 10” from each end with a water erase marker or a pin. Start pinning the pennants inside the bias tape. You’ll want to use two pins, one on each side of the pennant, to hold it securely for sewing. Each banner uses 20 pennants.
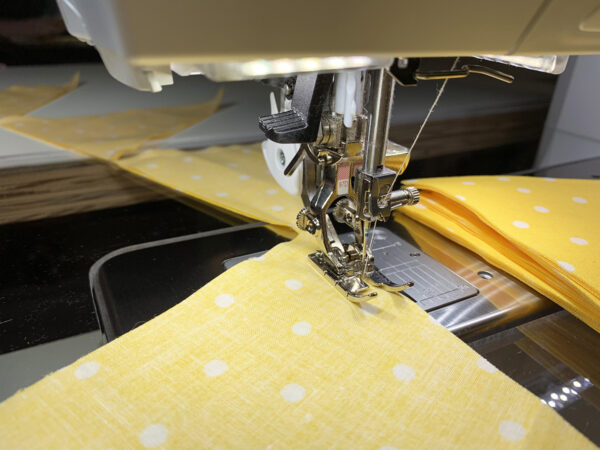
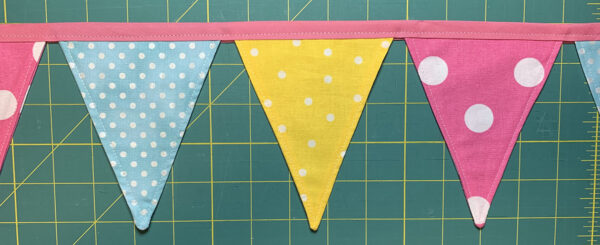
Topstitch about 1/8” along the bias tape, starting at one end, sewing the pennants inside the fold of the bias tape, and stitching to the other end of the tape.
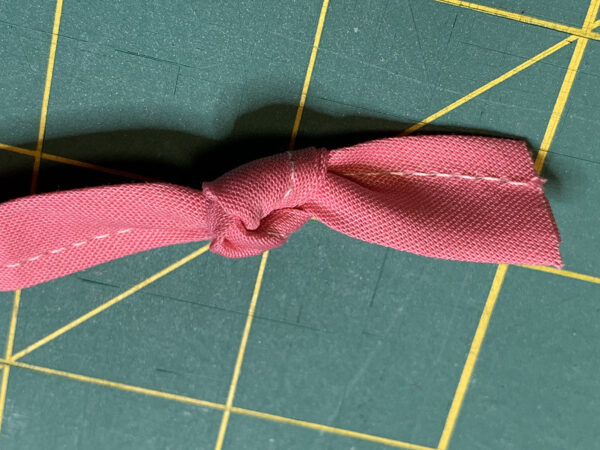
Tie a knot close to the end of the bias tape. (Alternatively, you can backstitch at each end of the bias tape.)
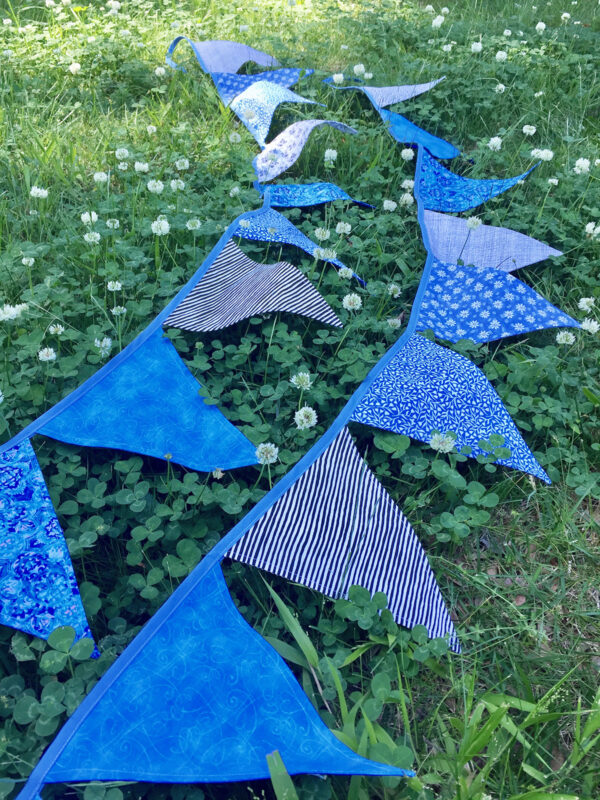
Hang up your pennant banners and get ready to celebrate!
