Grow With Me Romper
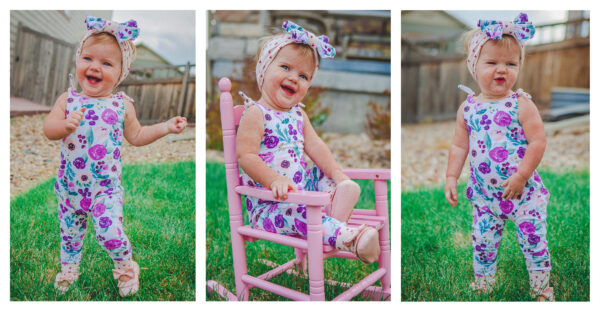
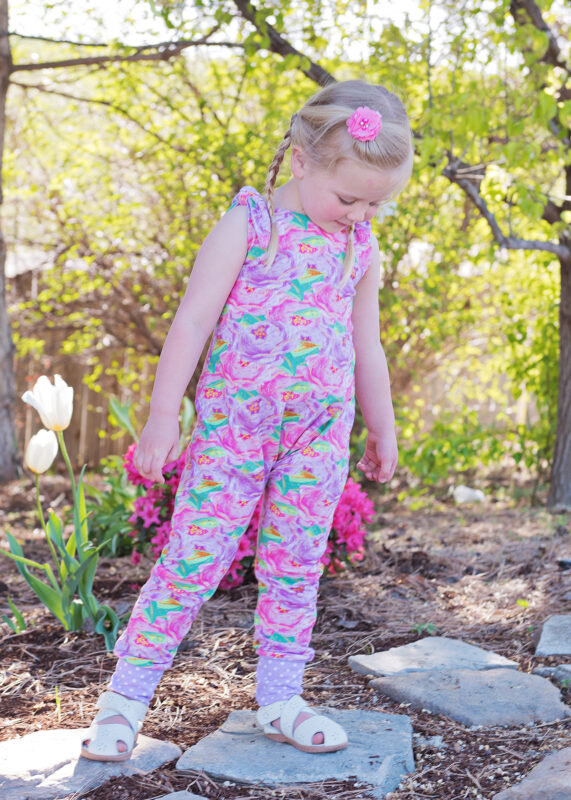
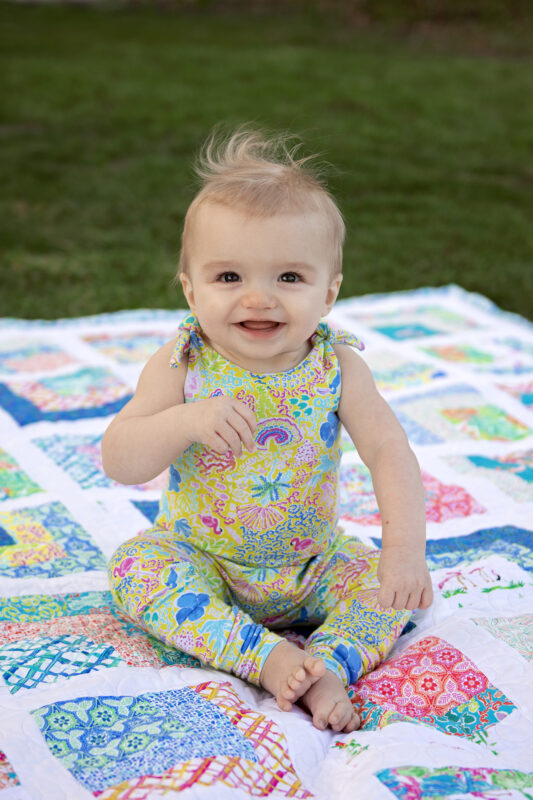
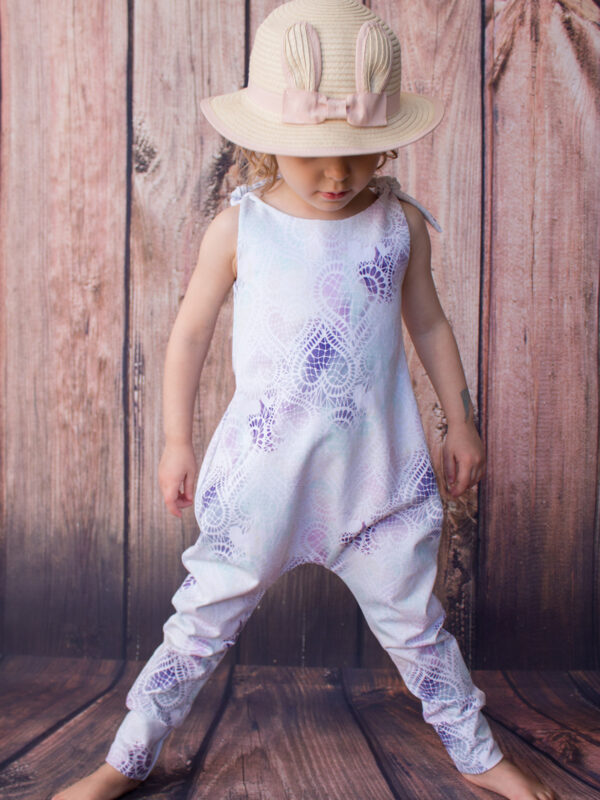
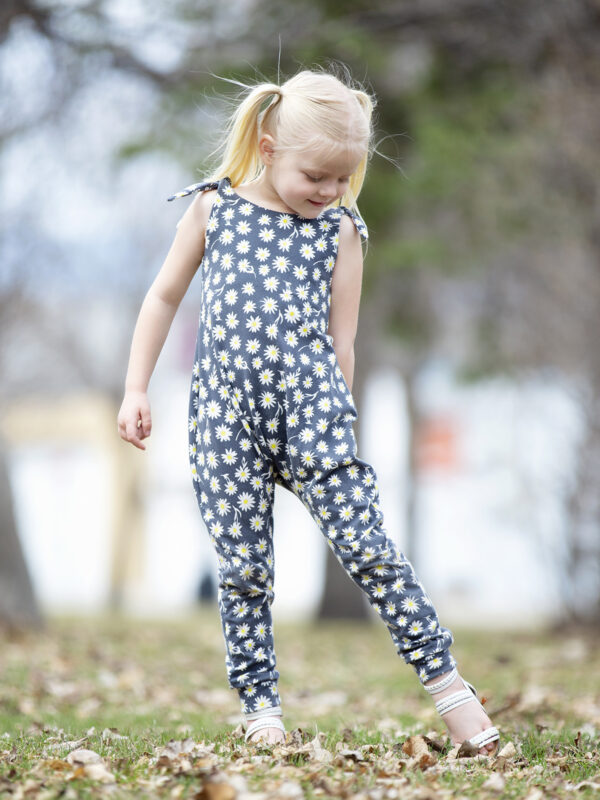
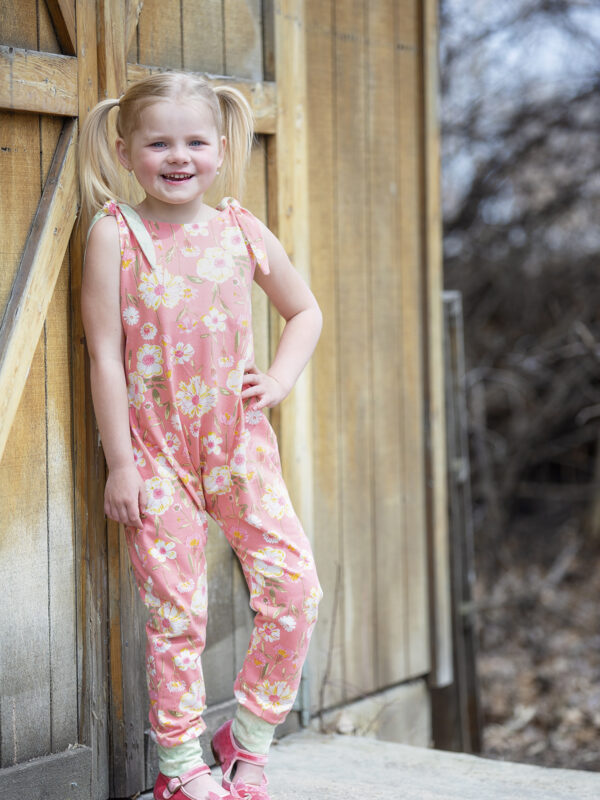
Hello everyone! I am Katie Skoog, owner and designer over at Simple Life Pattern Company. We design baby and girls patterns and I am also a fabric designer for Art Gallery Fabrics. You can see all our creations in our Facebook group and I am excited to share with you a pattern I created just for BERNINA. The Grow with Me Romper is perfect for everyday play. The pattern features a scoop back, making it easy to slide on and off for potty trained toddlers. The high front neck, tie straps and long leg cuffs make this a great romper that will last years. Simply adjust the ties or unroll the cuffs as they grow. The Grow with Me Romper includes sizes NB all the way through 5t! So grab some knit fabric and lets get started!
Photos above by Kari Morrison
Photo by Kyla Sorenson
Materials to Make a Grow With Me Romper
- Knit fabric, see chart below
- Pins
- Scissors
- Coordinating thread
- Download the Simple Life Patterns Grow With Me Romper pattern
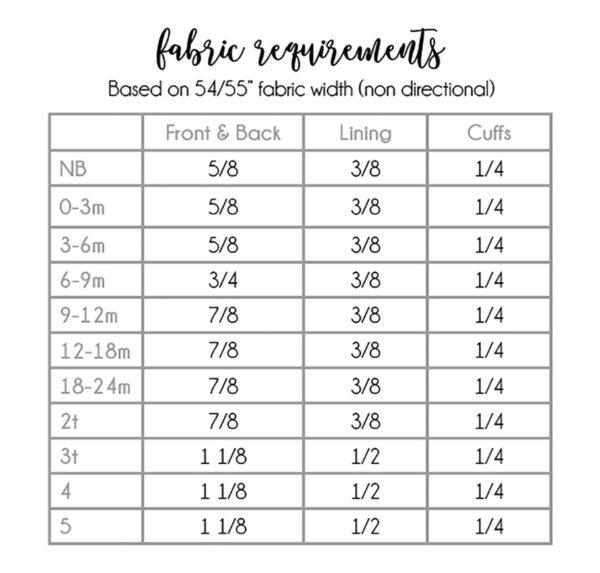
Here are the fabric requirements needed for each size. I LOVE Art Gallery knit fabrics, so I used a gorgeous floral print from Sharon Holland. I also used Aurifil 50 weight thread for this project.
Photo by Colleen Fifield
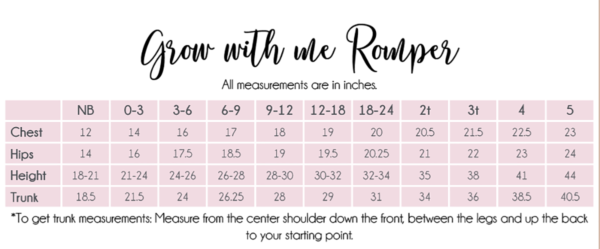
Now, lets choose a size. Measure the child and base the size off their chest and trunk measurements.
Photo by Eleri Kerian
Please note: When working with knit fabrics, you will need to sew your pieces together using a stretch stitch. This is stitch #6 on your BERNINA (check your stitch chart or manual).
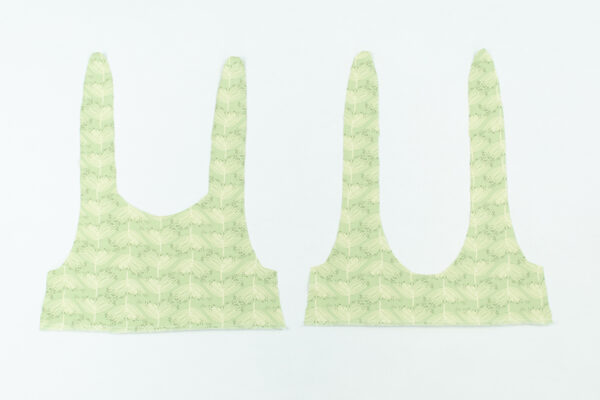
Step 1: If you want to finish the raw edge of your lining, you can serge / zig zag stitch along the bottom edge of your lining pieces.
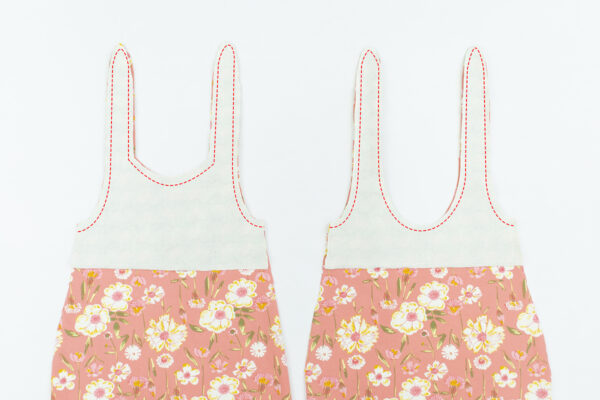
Step 2: Lay your main romper front piece right side up. Take your front lining piece and place it on top of the main, right sides together. Match up the neckline and straps. Sew/ serge from the bottom of one armhole, all the way around to the bottom of the other armhole. Repeat with the back main and lining pieces.
Step 3: Clip all your curves, especially around the top of the tie pieces. Use a bodkin or a turning tool and turn the pieces right side out. Press flat.
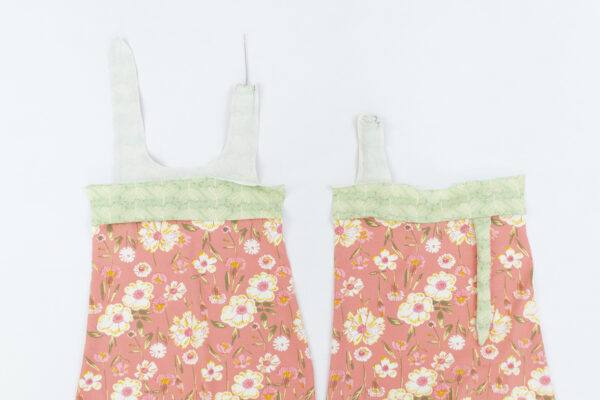
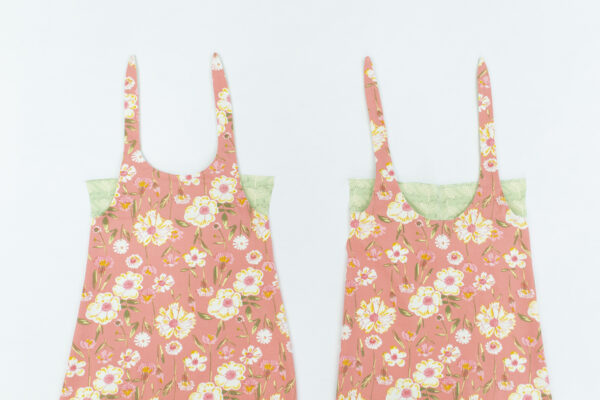
Step 4: Lay your front piece right side up. Take the lining and flip it up. Repeat with the back piece.
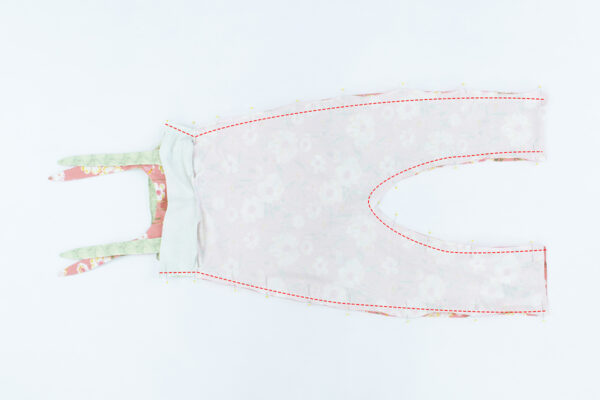
Step 5: Flip your back piece onto your front piece, right sides together. Be sure your lining pieces are flipped up. Match up the raw edges and pin. Starting at the top, sew / serge down the side seam. Repeat with the other side. Align the leg inseam edges and pin. Sew / serge the inseam.
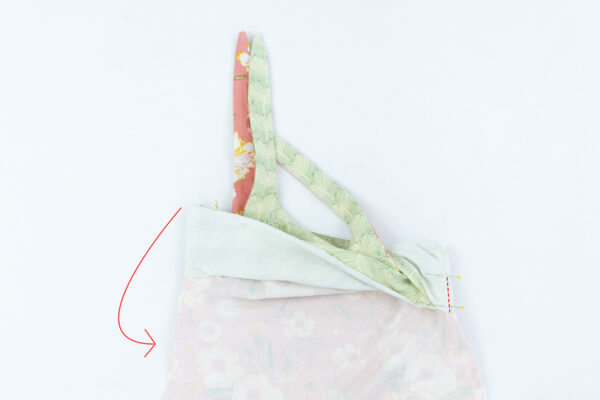
Step 6: We need to secure the lining in place so it doesn’t ride up or shift when worn. With the romper wrong sides out, flip the lining up. Take the lining on one side and flip it down. Your two lining pieces will now be on top of your two main pieces and pin in place. You will sew the bottom inch or so in place inside the seam allowance, be sure to backstitch. Do not sew outside of the seam allowance. Repeat with the other side. Turn the romper right side out.
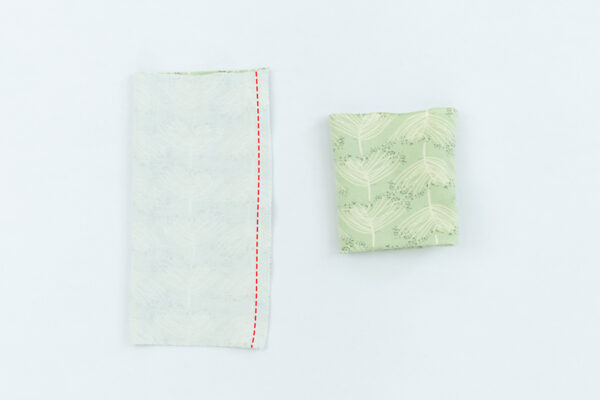
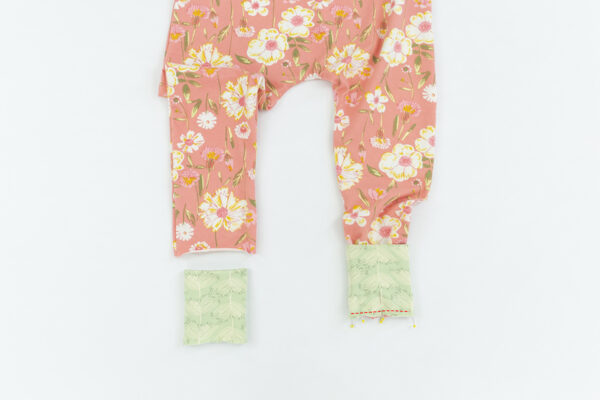
Step 7: Take your leg cuff piece and fold it in half widthwise. Match up the raw edges and sew / serge along the seam. Turn the cuff and start to turn it right sides out. Match up the raw edges. The cuff will now be right side out on the outside and inside. Repeat with the other cuff.
Step 8: Lay your cuff so the raw edges are facing down and the seam is facing the inside of the leg. Slide the romper leg in through the cuff. Match up the leg raw edge with the cuff raw edges. Match up the leg seam with the cuff seam. Sew / serge in place. Repeat with the other leg cuff.
Thats it! How easy was that! This is such a fun and easy sew, I hope you give it a try!
We would love to see all the rompers you make! You can share them in our Facebook group or on Instagram. You can use the official hashtags: #BerninaUSA #WeAllSew #SLPco and #SLPcoGrowWithMe when posting your rompers. You can also shop all our patterns on our website as well. Www.TheSimpleLifeCompany.com
What you might also like
9 comments on “Grow With Me Romper”
-
-
We are so happy to hear you like it! We’d love to see the ones you make in our facebook fan group.
-
-
I don’ t seem able to download this pattern
Can’t find where it is.?? Thankyiy-
You can find the download under the material section in the tutorial.
-
-
Hi! I may be just missing it, but I can’t find how to put the pattern pages together. Specifically, where do pages 9 & 10 fit in? I am making a size 2T. Thank you
-
From what I can tell, you just need to stack the even numbered pattern pieces and the odd numbered pieces together like a tower. Number one being the top and two being the other. Three, four, Five, six, seven, eight, And nine, ten will have some shared bits. Hope this helps others.
-
-
Hello everyone, so I am having a problem with trying to print out the pattern, it says file has a password, does anyone know what that means.
Thank you for your help. -
how do i hack this to use woven cotton instead of knit?
-
I cannot figure out how the pattern pages lay out. Can you provide that please? Thank you! I’m looking forward to making this pattern for all three of my girls.
Leave a Reply
You must be logged in to post a comment.










Thank you so much for the free pattern! I look forward to making these adorable rompers for my granddaughters.