Reusable Baby Wipes
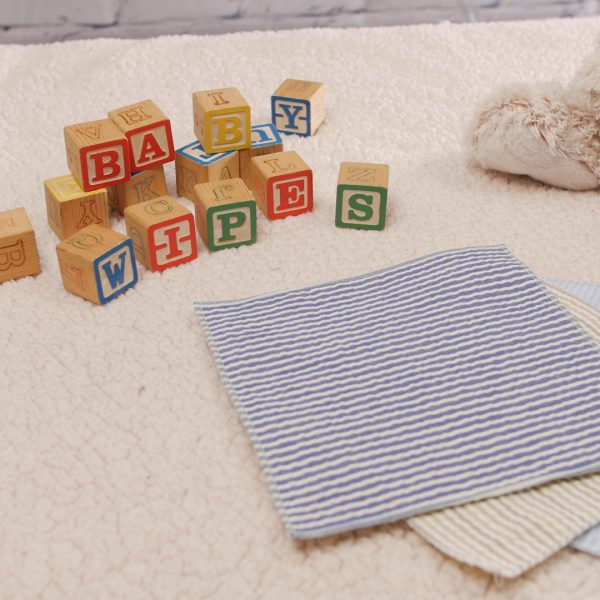
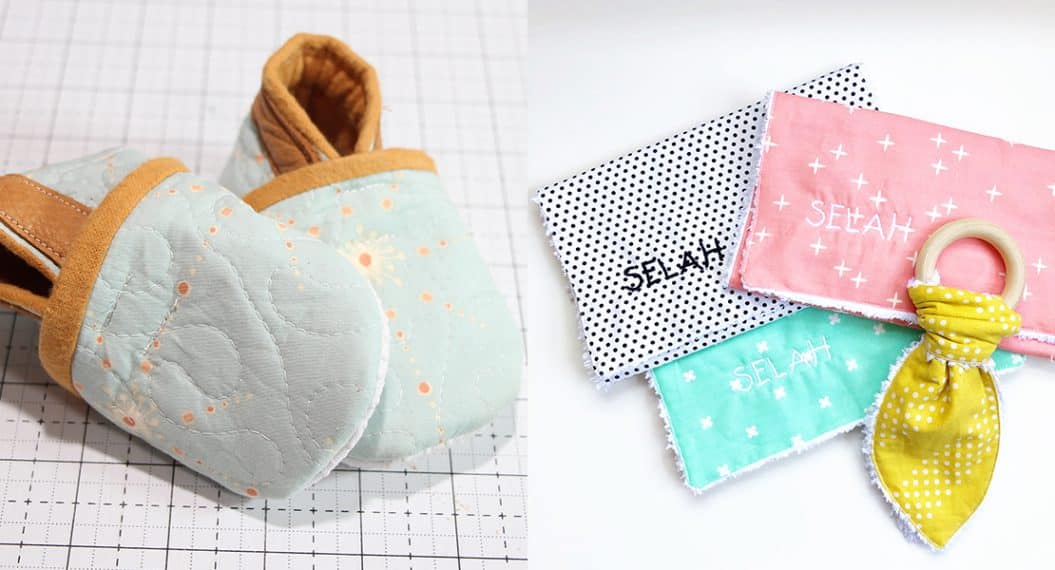
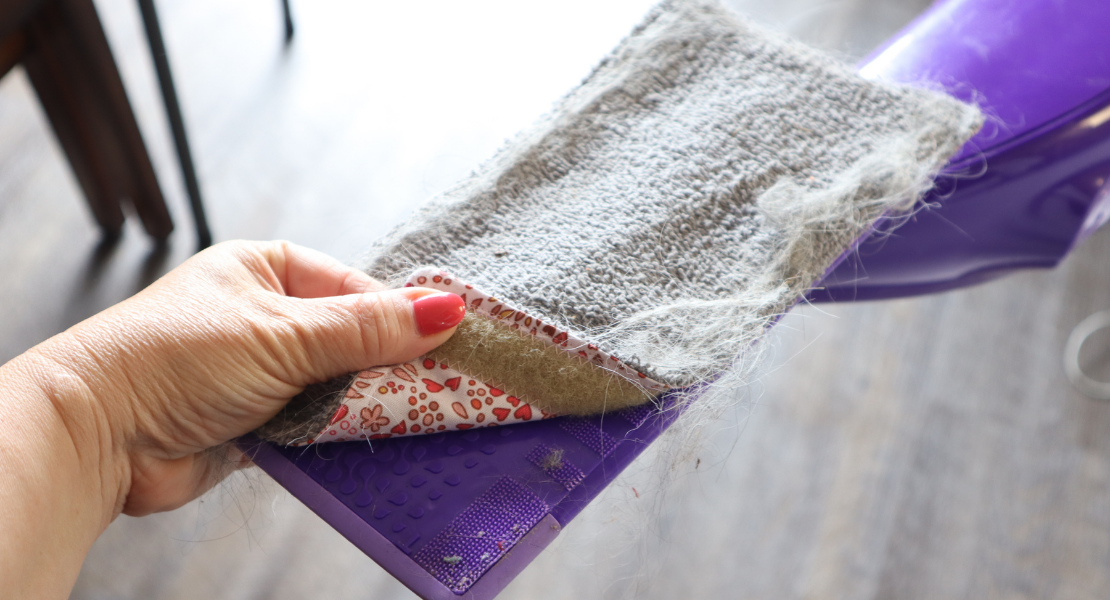
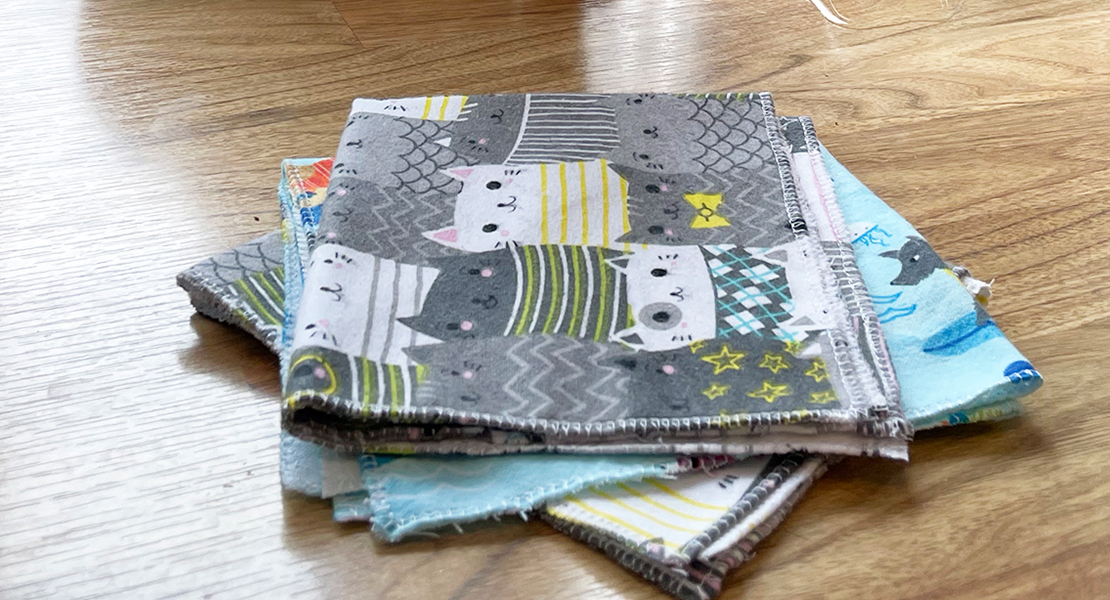
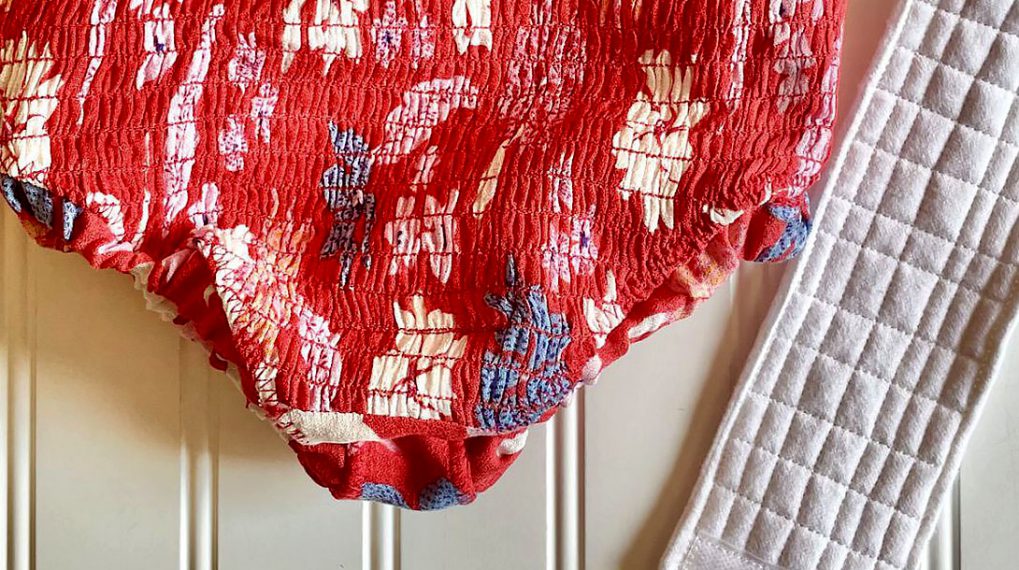
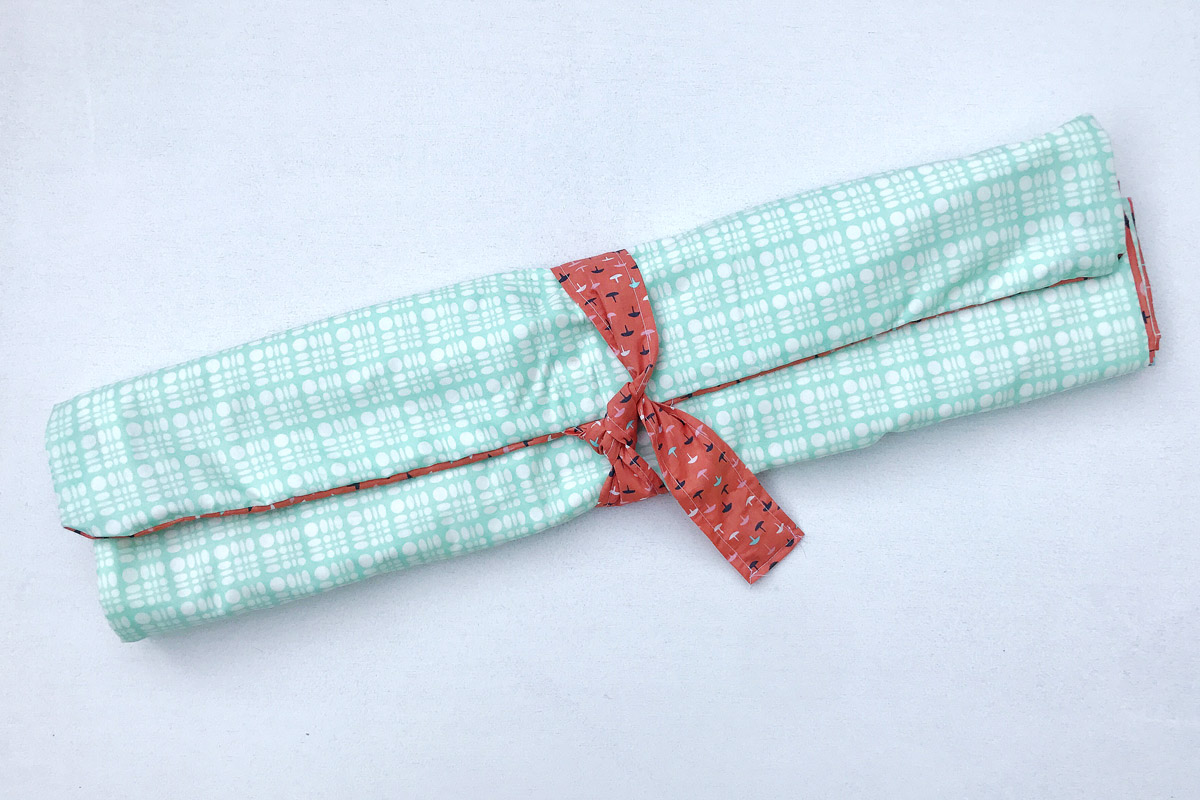
Reduce and reuse…and maybe even upcycle some flannel receiving blankets or towels to make some super soft and useful baby wipes. This concept could easily be applied to other projects like paper towels or make-up wipes too. Just change the size of the material you are working with and the same idea applies.
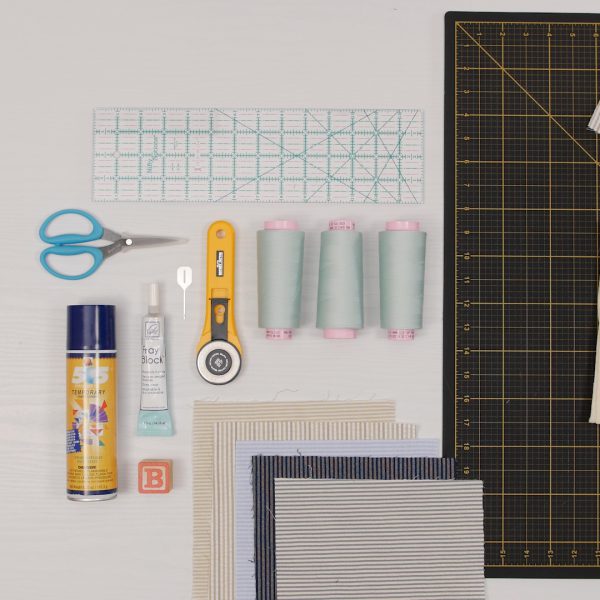
Materials for Sewing Reusable Baby Wipes
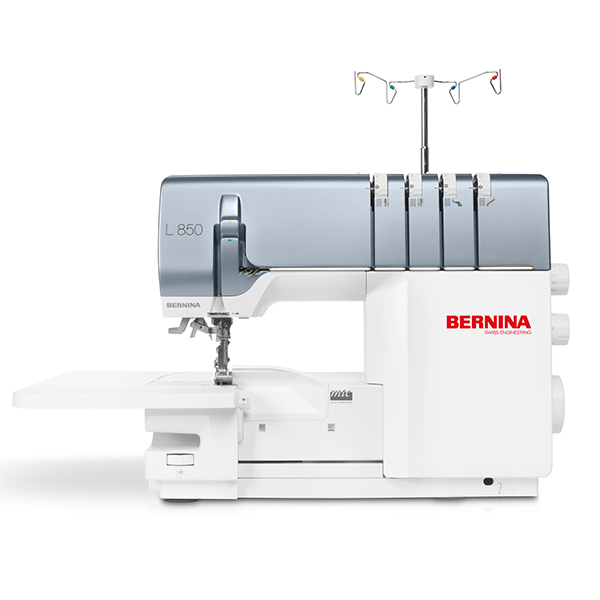
- BERNINA L 850
- Fabric – as many as you wish to make
- Flannel – Back
- Seersucker – Front
- Seracor serger thread – 3 spools
- Rotary Cutter, Mat and Ruler
- 505 Spray
- Fray Block
- Hookey Serger Thread Hook
- Scissors
Steps to Sew Reusable Baby Wipes
Step 1. Cut & Prepare Fabric
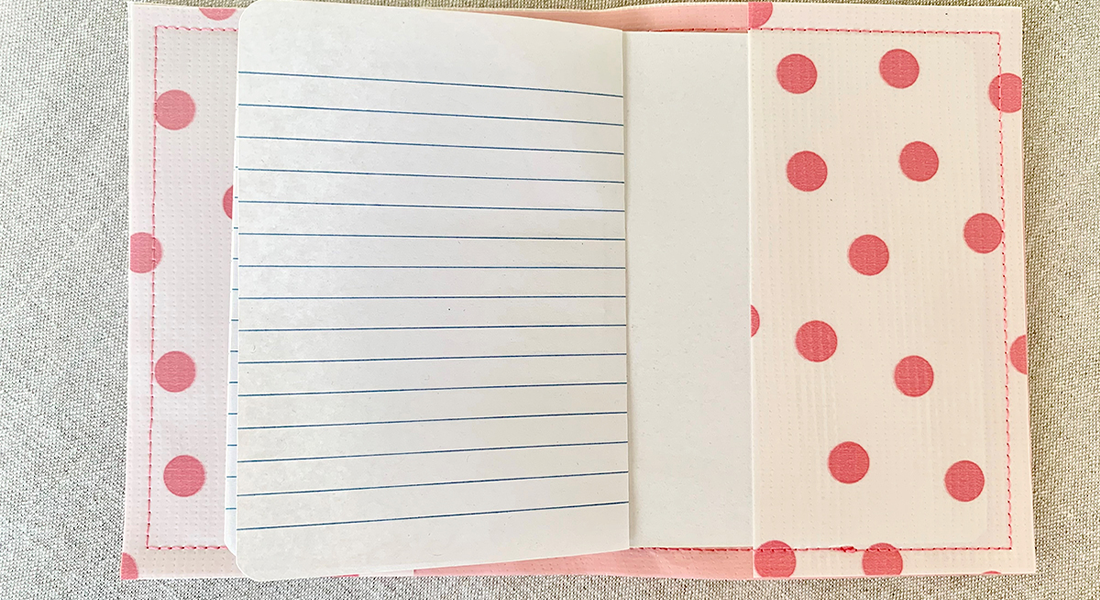
Pre-wash the fabric before cutting and sewing. Flannel, especially, will shrink a bit when washed and dried. It is also easier to tell the front side of a solid color flannel after it is washed because it is smoother than the back. The seersucker variety that I used was given to me as a fat quarter bundle by a friend—I wish I could find these again, they were so lovely. Determine the size that you would like to make based on your project. You can use this method to make many reusable products: make-up wipes work well at 3” square and un-paper towels could be 11” square to fit onto a standard roll.
The size square that I determined would work well for this project was 8” Square.
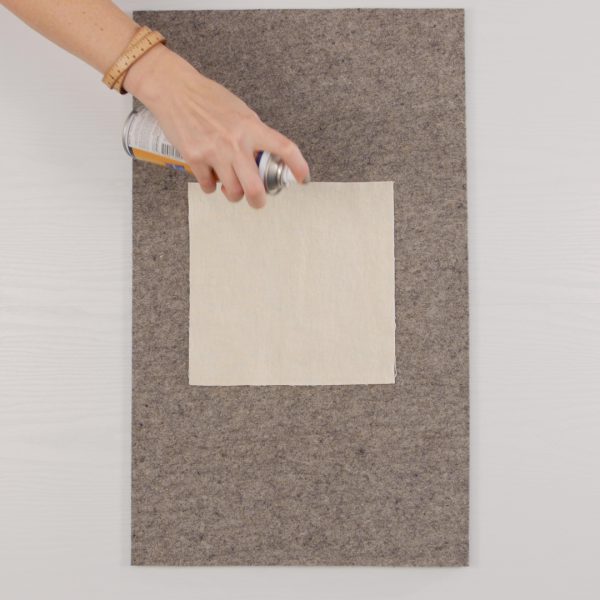
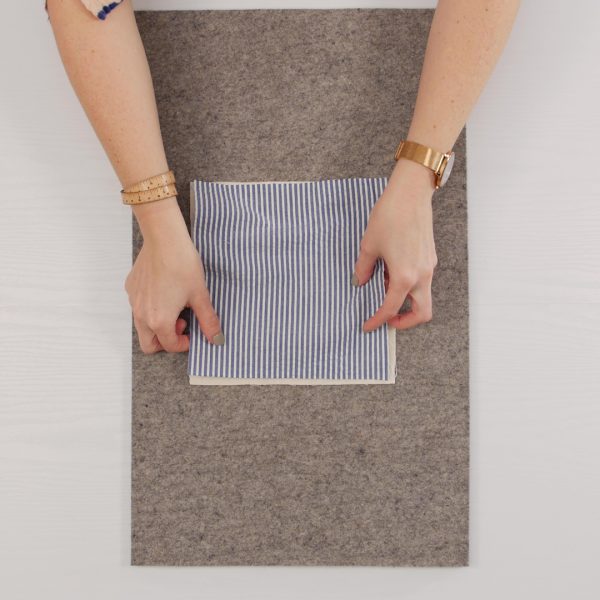
Use temporary spray adhesive, like 505 Spray, to join flannel (back) and seersucker (front) before cutting. Starting with fabrics aligned makes for perfect edge finishing. You can do this with smaller cut pieces or join larger fabric cuts to sub-cut the squares from. When using this spray, make sure to cover your surface with newspaper or butcher paper as the overspray will build up over time. It is always a good idea to do this step in a ventilated area (garage, driveway, patio etc.), if possible.
Tip: When I have used this method for make-up wipes, I preferred to cut the fabric into long 3” strips and sew pieces from this strip.
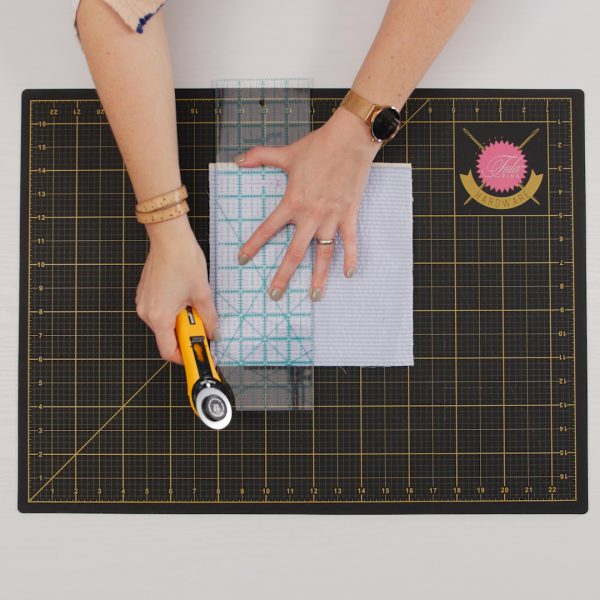
Sub-cut as many squares as you would like to make. I prefer to cut with a rotary cutter, ruler, and self-healing cutting mat for projects like this. Trimming the fabrics together will give you the best results.
Step 2. L 850 Setup the 3-Thread Narrow Seam
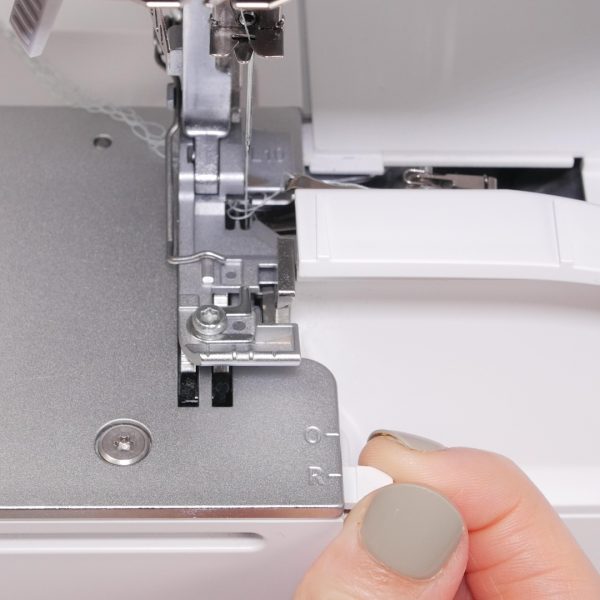
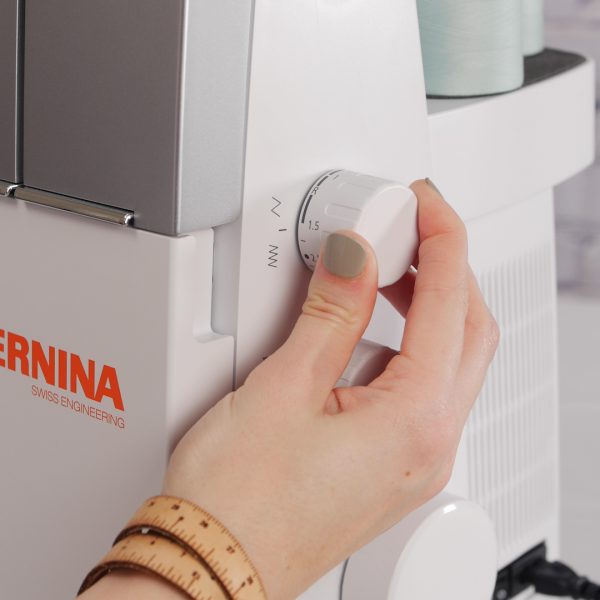
The 3-Thread Narrow Seam is Stitch #7 on the L 8 Series Overlockers. I love this stitch because it is basically a standard balanced overlock, but the rolled hem selection lever is moved to the “R” position. This means that the stitch finger retreats under the stitch plate allowing the edge for the fabric to curl under slightly making a trim and tidy edge finish. It is different from a rolled hem because the tensions are left in balance with one another and the stitch length is not necessarily as short.
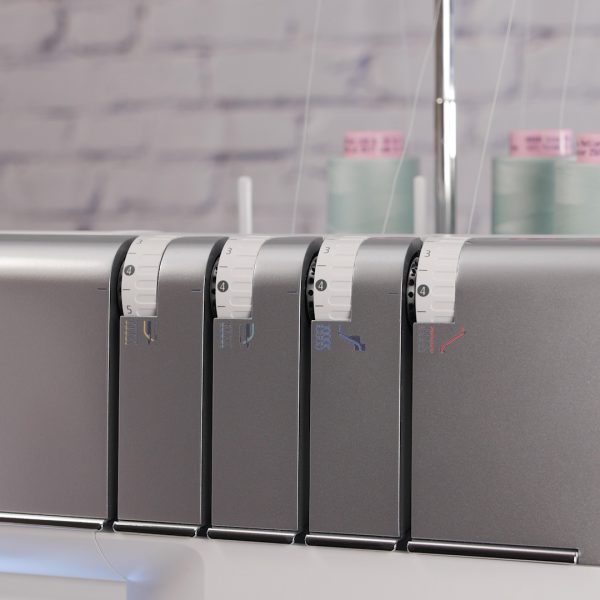
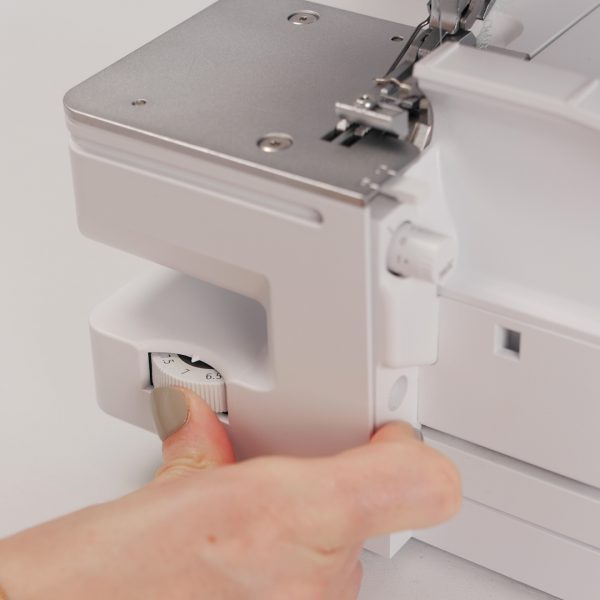
Do a little practice sewing on some scrap fabric until you achieve a stitch result that you think looks nice. For this fabric combination, I liked the cutting width set to 7 and the stitch length between 1.5-2. I used standard all-purpose serger thread, Seracor, in both loopers and the right needle.
CW- Cutting Width
R/O- Rolled Hem Selection Lever
SL- Stitch Length
DF- Differential Feed
ULC- Upper Looper Converter
Step 3. Overlock the Edges
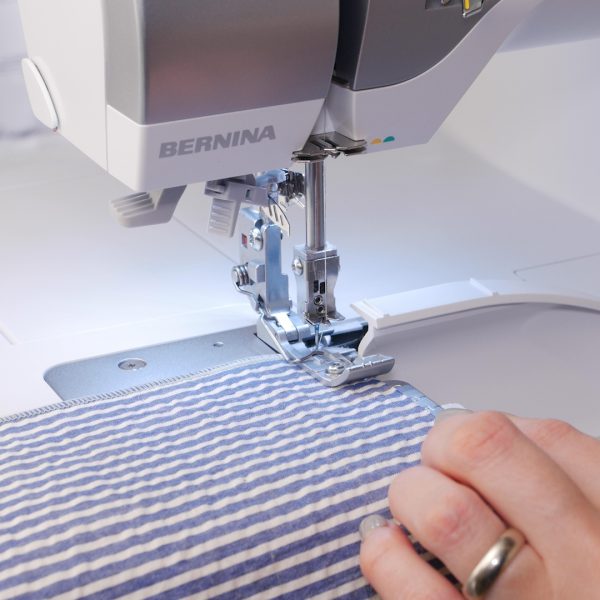
With this project my intention was to show and teach how to continuously sew all four sides, using the back-kick on the foot control for needle down and the BERNINA Free Hand System to turn perfect corners on the overlocker. This takes only a little bit of practice to perfect, and this is a great kind of project to gain those skills.
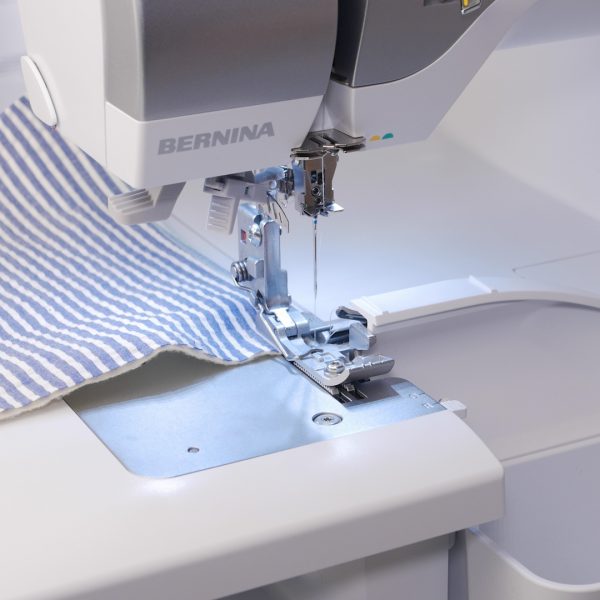
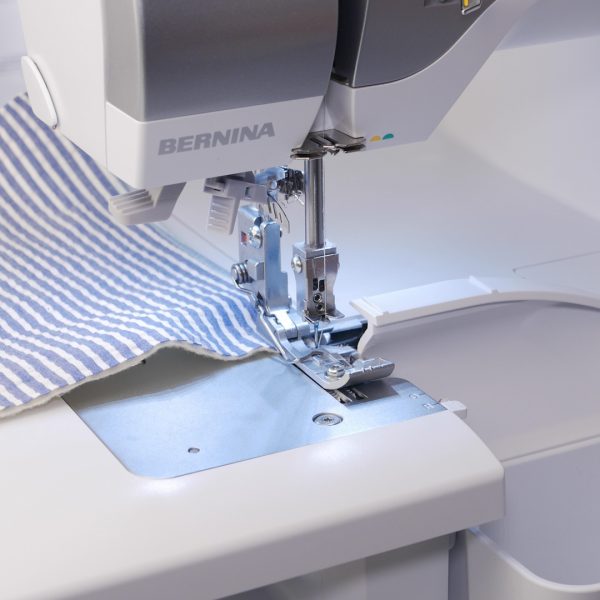
Sew along the first side of the seam, slowing down as you near the end. Use the back-kick function on the foot control, raising and lowering the needles until you are just one stitch off the edge of the fabric. Then using the Free Hand System to raise the presser foot and carefully turn and reposition the fabric edge in front of the needle to sew the next side. Repeat this process for all four sides.
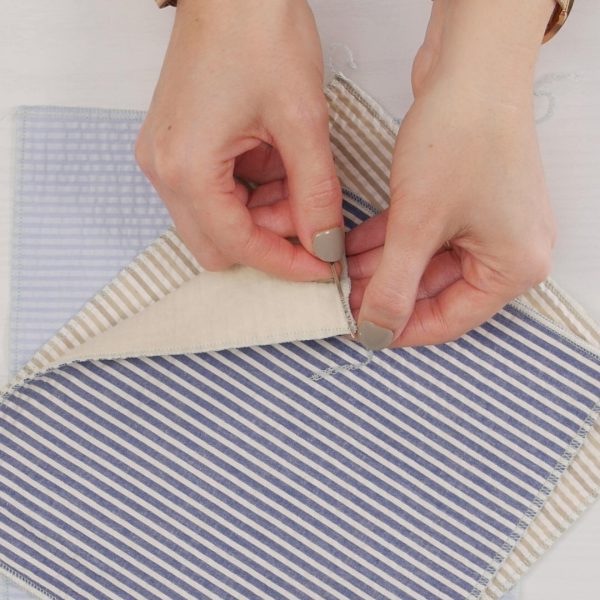
When you reach the end, chain off with enough thread tail that you can tuck it into place to secure. These wipes will be getting some wear and tear, so you’ll want to preserve those thread ends to survive through multiple wash loads.
Tip: Using the 3-thread Narrow Seam means that the stitch finger is out of the way entirely, making it easy to reposition the fabric. If the stitch finger were being used for the stitch (like a basic overlock stitch), it would then be helpful to release the threads from the stitch finger by disengaging it temporarily (Rolled Hem Selection Lever = R). Don’t forget, in this situation, you would also need to remember to engage it <O> when you move to the next side.
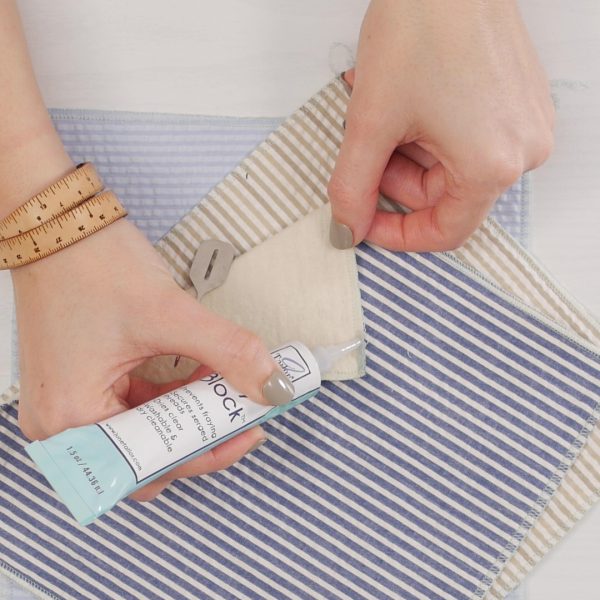
Use the Hookey tool to pull the thread tails under the stitches and seal the seam with Fray Block. This is the only seam that needs to be finished because you have successfully turned the corners while sewing on all the others.
Step 4. Make the Cleaning Solution
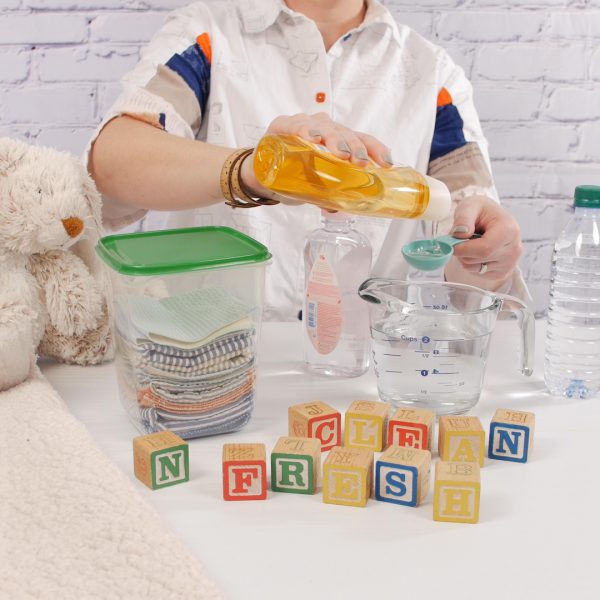
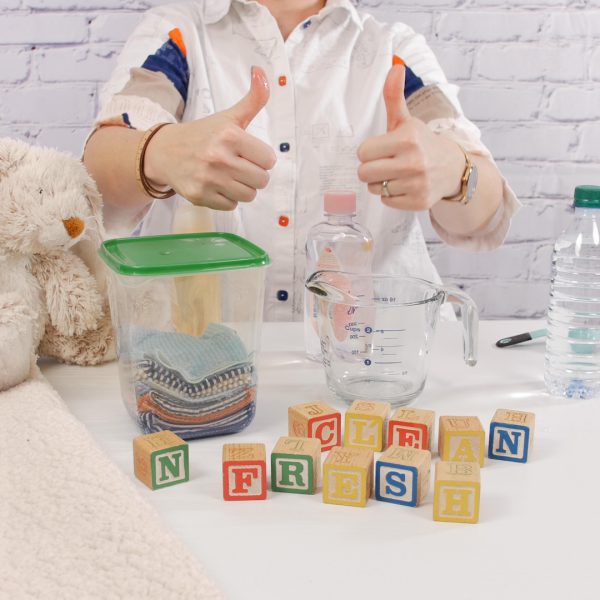
Mix your favorite soap solution, load the reusable wipes into a container with a lid, and add the solution. The recipe that I chose was very simple and nice smelling—however because I have no babies to try this out, that is the best review I can offer.
Soap Solution:
2TBS- Baby Soap (or Castile Soap)
1TBS- Baby Oil
2 Cups– Water
This simple act of sewing reusable wipes will reduce consumption while generating less waste. It also makes a really fun baby shower project, especially if you are hosting your sewing pals—that is why I made them originally. Keep your serger corner turning skills sharp by replacing your cotton make-up wipes and kitchen paper towels too. Happy Serging!
