How to Sew with Authentic Mud Cloth
Hello everyone!! Kymona here, with a special project, sewing with Authentic Mud Cloth.
I was browsing one of my favorite fabric shops and came across a particular fabric called Mud Cloth. The patterns on each of the different fabrics were intriguing to me, so I had to learn more. I order a couple of yards. Waiting for the fabric to arrive, I did some research, and here is what I found.
Mud Cloth is also known as Bogolan-is handmade in Mali, West Africa. Bogolan means something made by using mud. Cotton from the region is handwoven into strips then sewn together. The fabric is then dyed and hand-painted with organic material, including fermented mud and plant matter, such as leaves and bark.
Mud Cloth is a handmade textile, and each piece is a one-of-a-kind item.
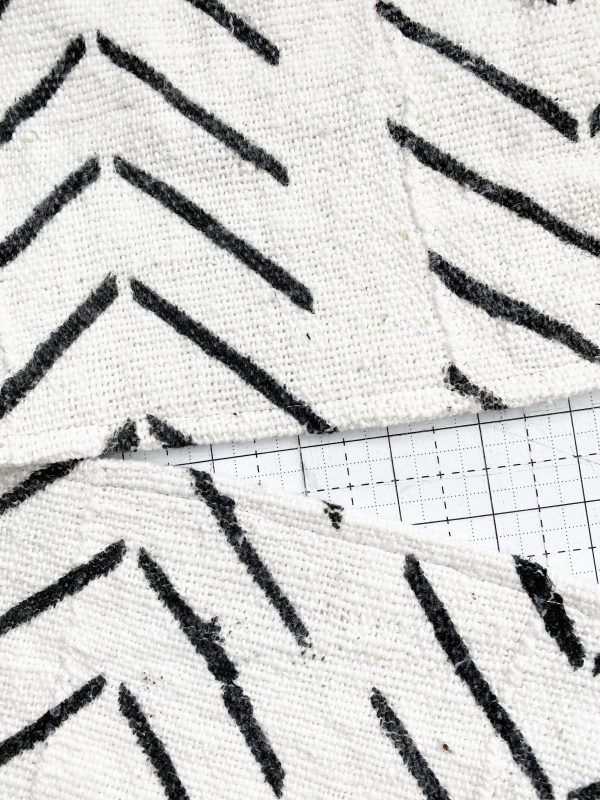
Let’s Take a Look at the Authentic Mud Cloth I Choose:
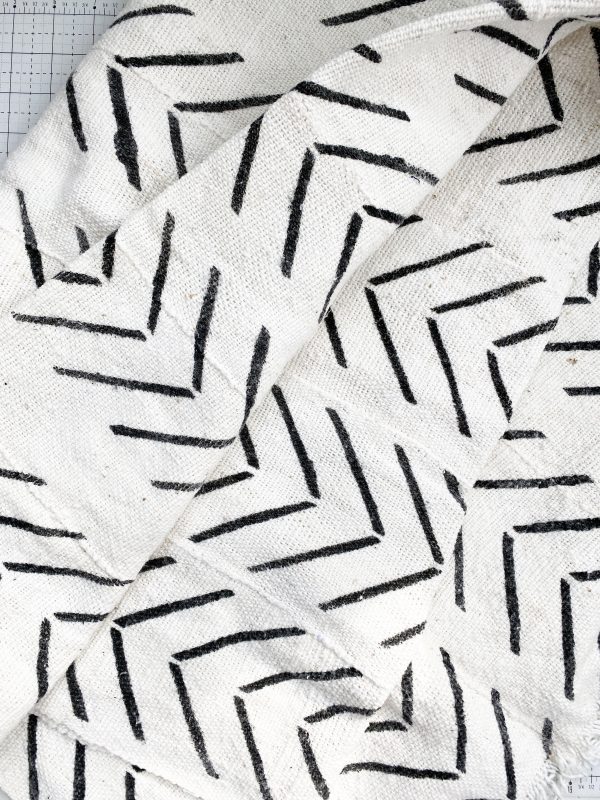
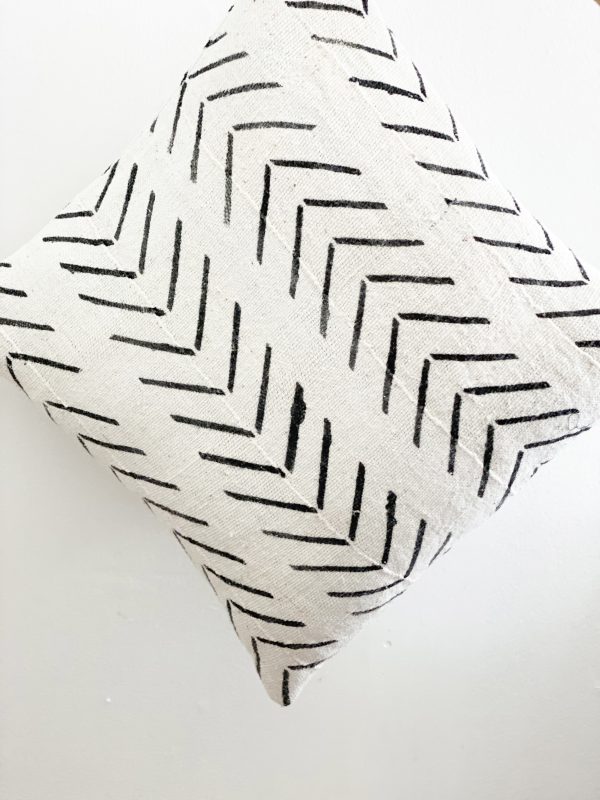
Isn’t this amazing? I love the design, and the fact that someone made this by hand makes this textile that much more special.
I’m going to make a big pillow cover with is fabulous mud cloth fabric.
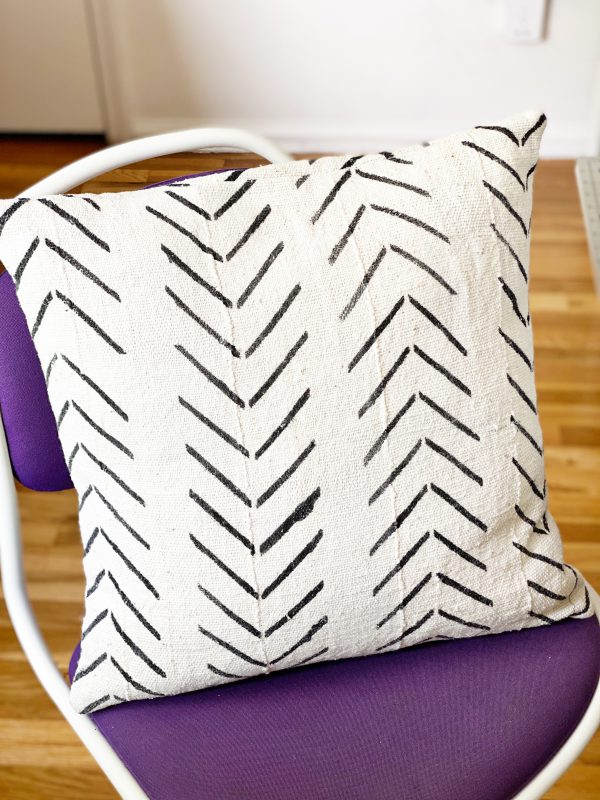
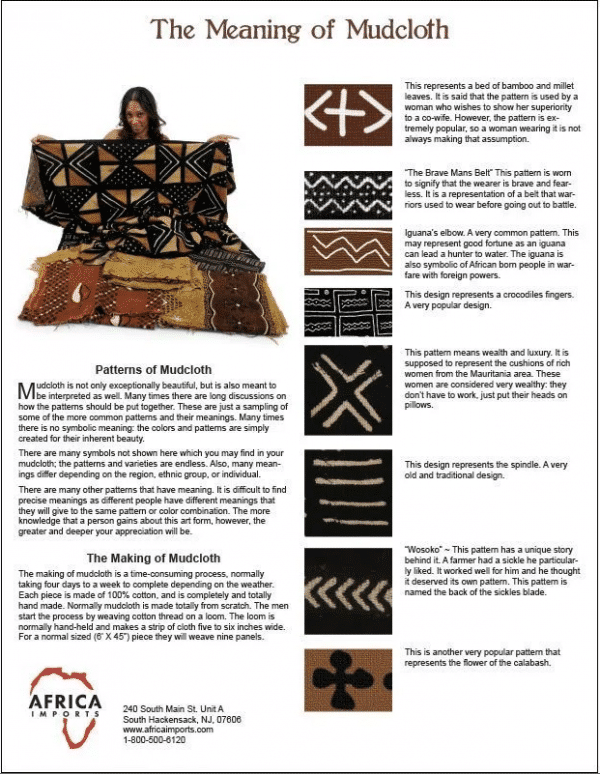
While doing my research, I found out that the pattern is called Wosoko. This pattern has a unique story behind it. A farmer had a sickle he particularly liked. It worked well for him, and he thought it deserved its own pattern. The pattern is named for the back of the sickle’s blade.
Materials to Sew with Authentic Mud Cloth
- Authentic Mud Cloth
- Thread
- Rotary Cutter and Mat
- Quilting Ruler
- Clips
- 20 x 20 Pillow form
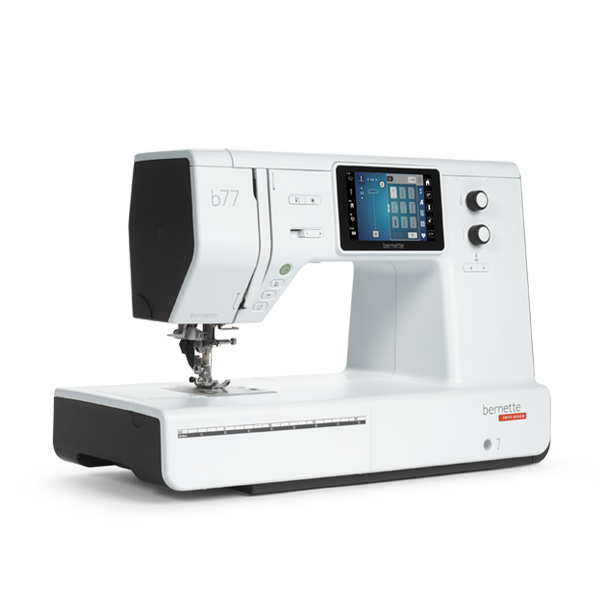
- bernette 77
Instructions to Sew with Authentic Mud Cloth
Step 1: Wash the Fabric
Wash this fabric on the delicate cycle or hand-wash it to remove excess dye, as dye transfer is possible.
Hand to dry.
Step 2: Cut the Fabric
Cut one piece of fabric to 20 inches by 20 inches (front piece).
Using a quilting ruler of the same size makes it easier and faster to cut each piece out.
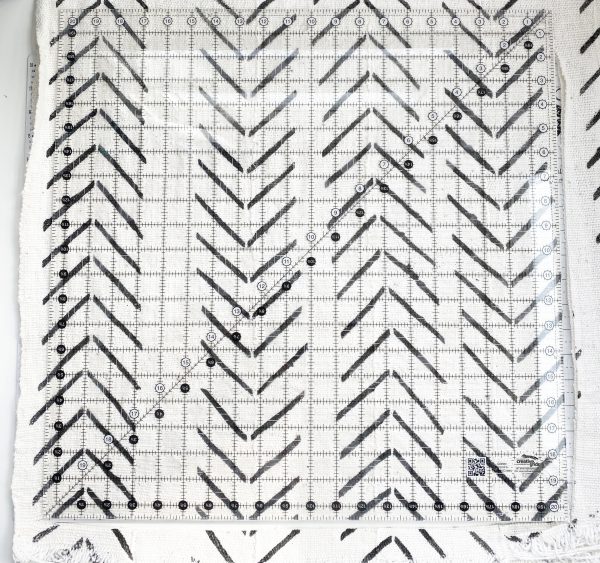
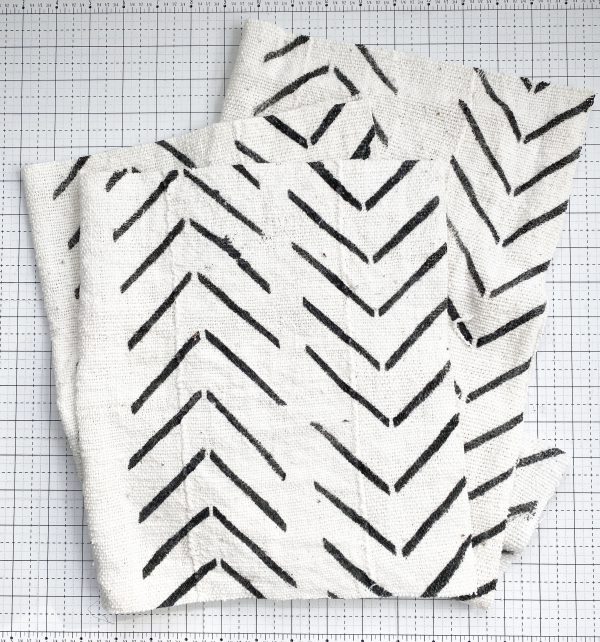
Cut two pieces of fabric to 20 inches by 12 inches (back pieces).
Step 3: Prep the Back Pieces
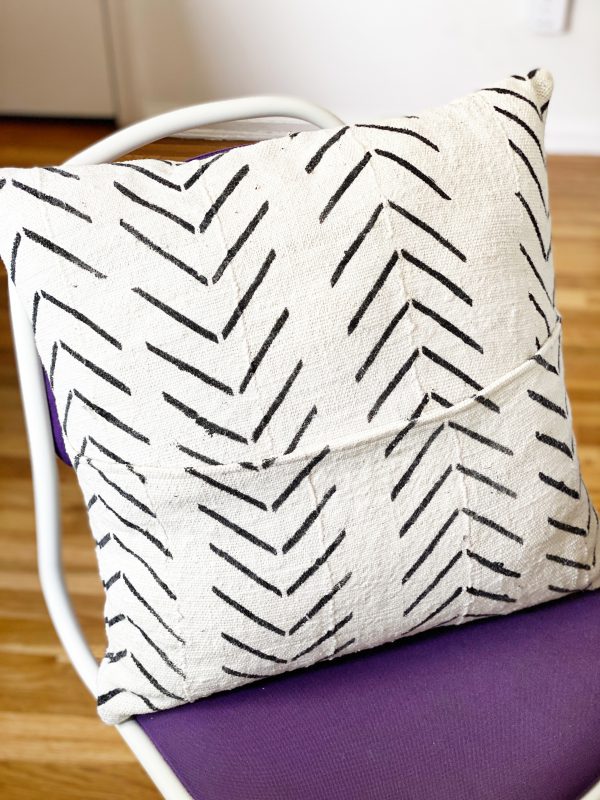
Since the fabric has a particular design, line the two pieces up so that the designs match on both sides of the authentic mod cloth.
On both pieces, fold under the longest edge a half an inch and clip.
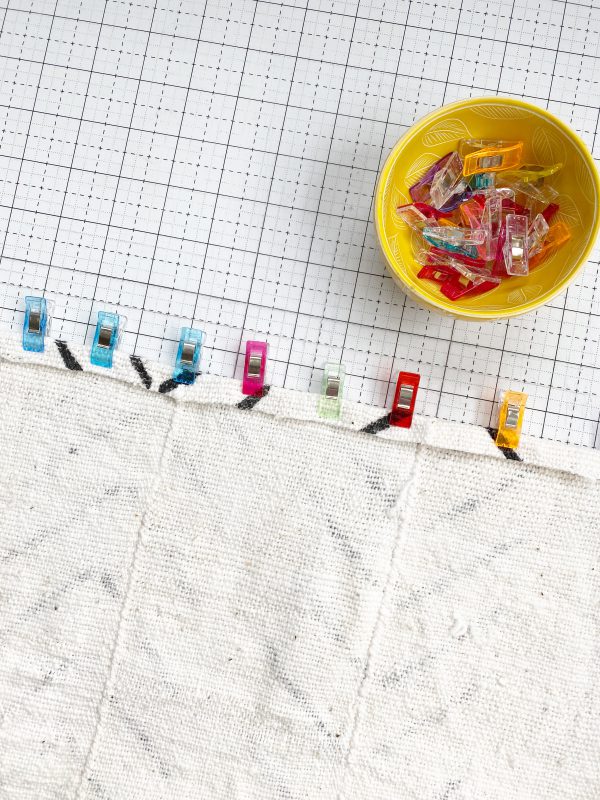
Stitch 1/4 of an inch from the folded edge on both pieces.
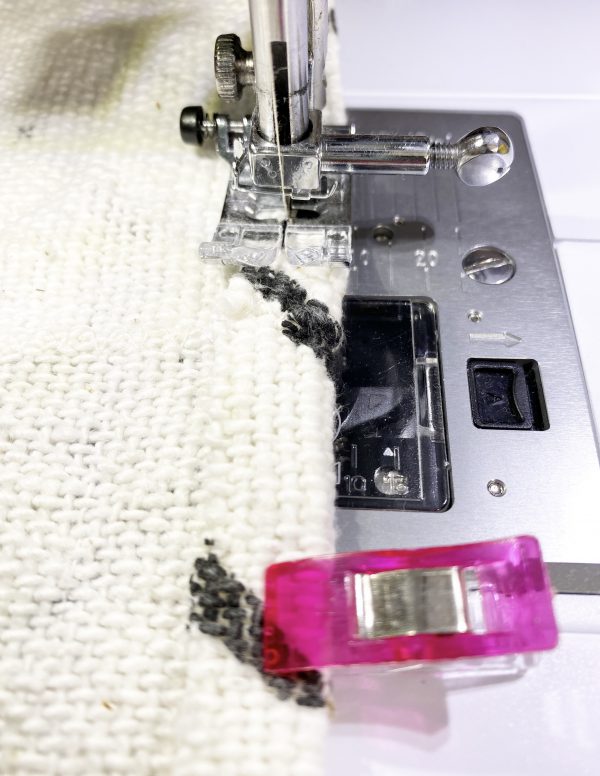
Now you have the back pieces with clean edges to create the envelope closure.
Step 4: Sew the Pieces Together
Place the front piece down, right sides up.
They place the back pieces down right sides down make sure the sewn edges are in the center, and the raw edges met the raw edges on the front piece.
Clip all the way around.
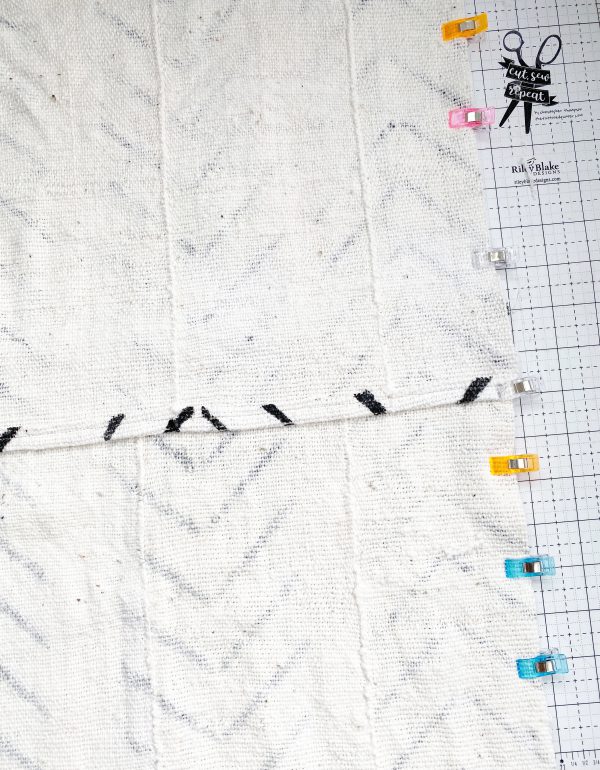
With a half-an-inch seam allowance, stitch all the way around the entire piece.
Backstitch a couple of times over the envelope closure on both sides since this will open and close frequently.
No need to leave an opening for turning since the envelope closure will open.
Step 5: Trim the Edges and Corners
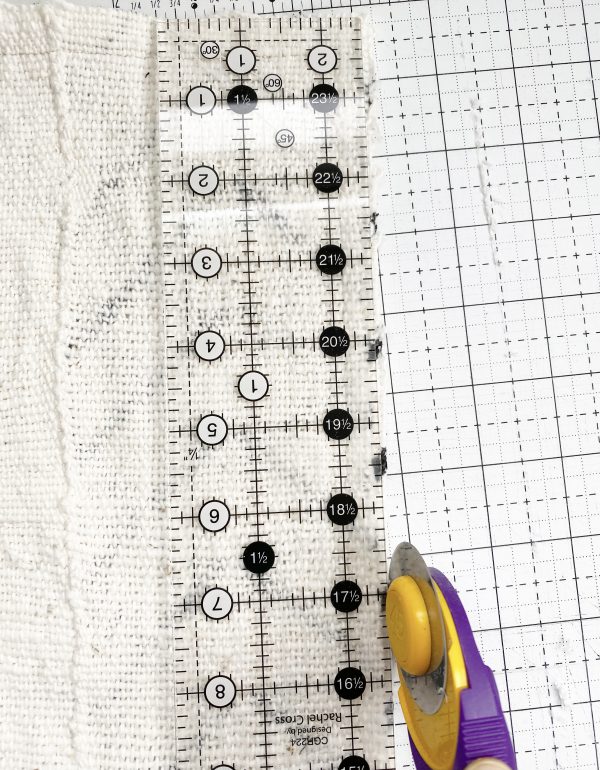
Before turning the pillow cover inside out, trim the edges and corners to prevent the extra bulk.
Step 6: Turn Inside Out & Add Pillow Form
Turn the pillowcase inside out and insert the pillow form. It should fit nice and snug.
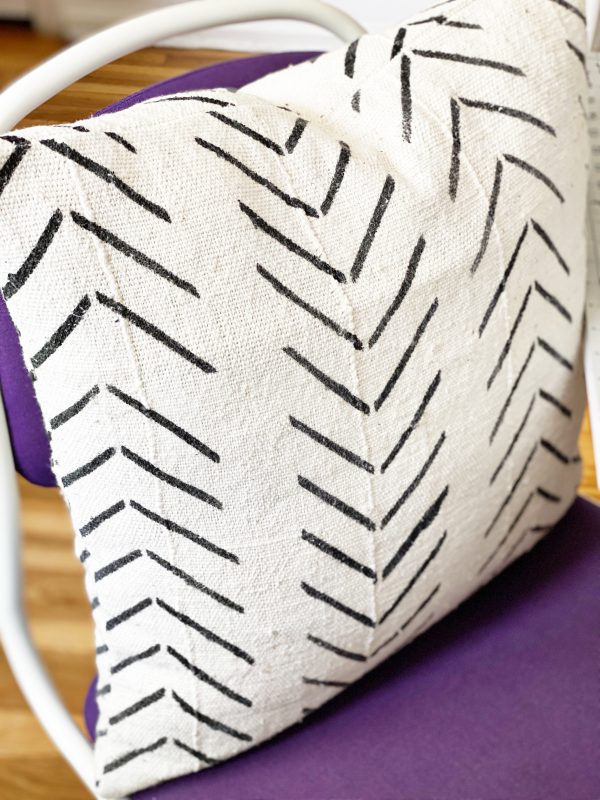
Such beautiful home decor using authentic mud cloth!
Working with this authentic mud cloth was fun, and I can’t wait to make other items for my home.
Additional Resources:
Learn more about Mud Cloth by clicking the links below.
- Bogolan – Patchwork & Quilting 2011
- The Meaning of Mudcloth and Chart
- Mud Cloth From Mali: Its Making and Use
Shop where I bought the Mud Cloth: Sew Creative Lounge
I can’t wait to hear about your Mud Cloth make!
