BERNINA 125th Anniversary Quilt-along: Part I
Welcome! I’m BERNINA Expert and Amanda Murphy, and we are so pleased to have all of you out there joining us for the BERNINA 125th Anniversary Quilt-along! Whether you plan to sew the quilt as shown or can’t wait to put your own spin on this design, we are thrilled to have you sew along with us in the coming months!
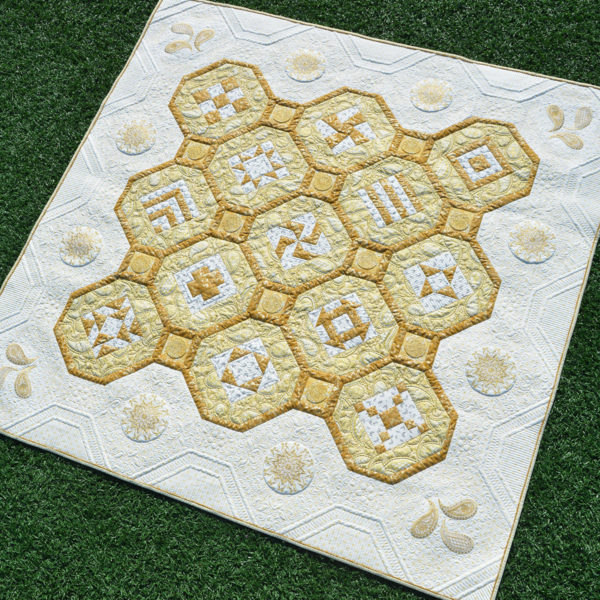
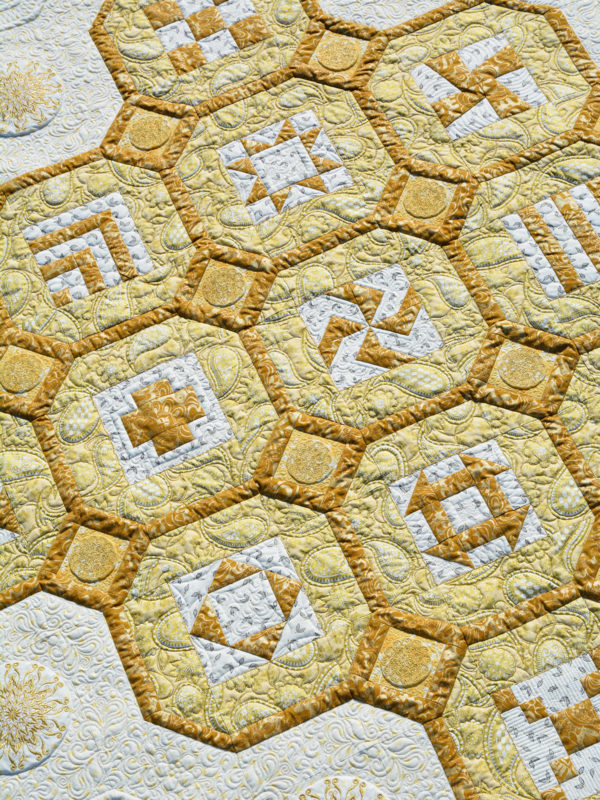
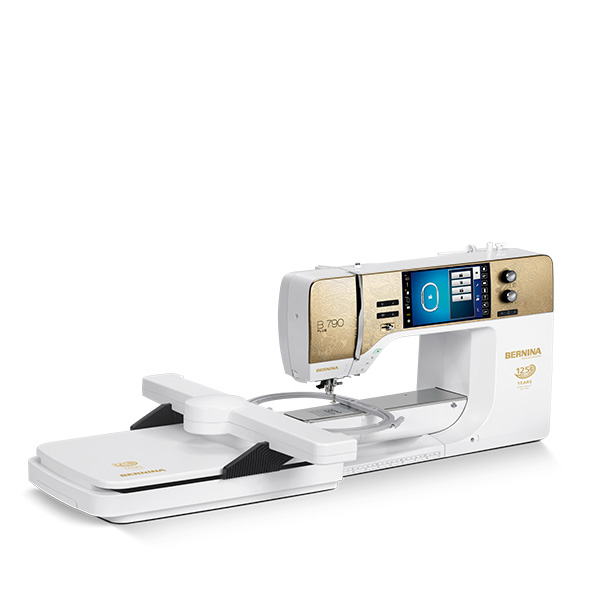
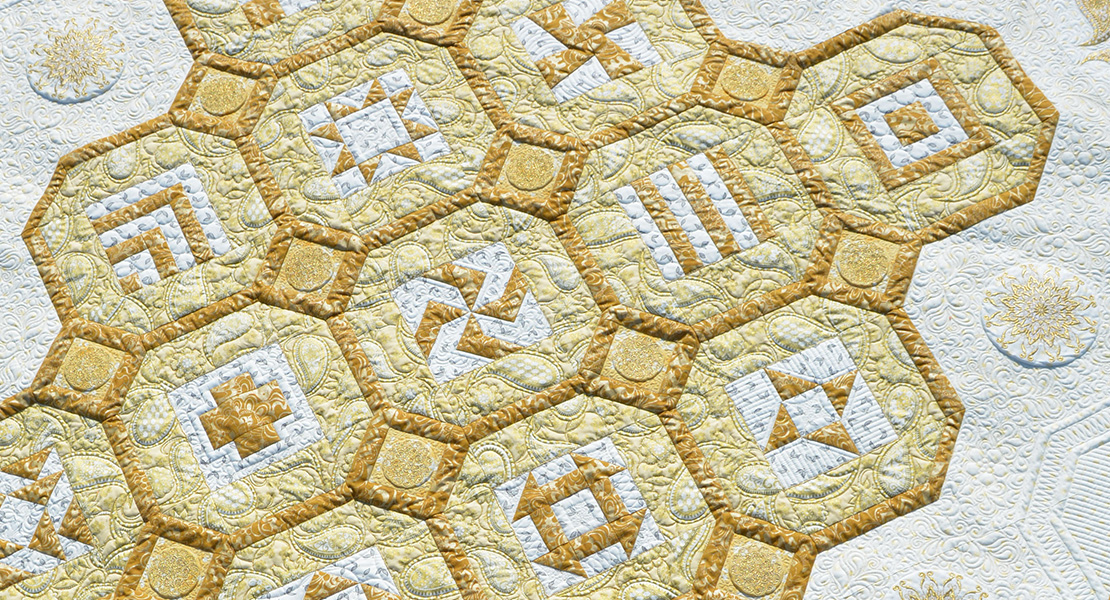
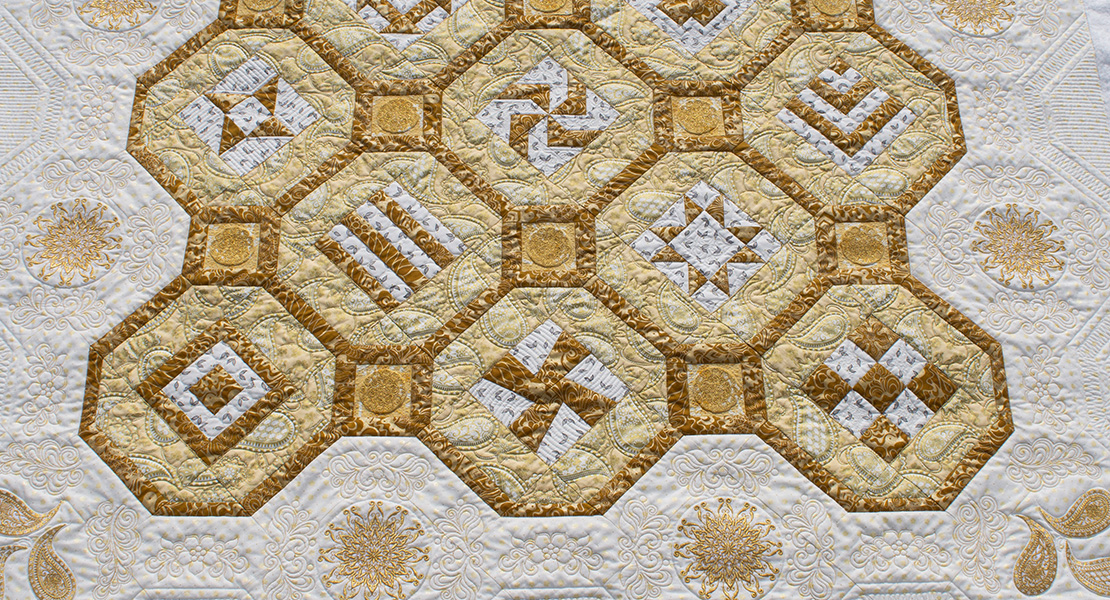
This is the BERNINA 125th Anniversary Quilt. Kits for this quilt are available from your local BERNINA store and are being bundled with 125th Anniversary Edition Machines.
This month I’ll be sharing the inspiration behind the quilt and the Jubilee fabric line, and we’ll complete the cutting, and piece the first half of the feature blocks. (There is a link to the free PDF instructions for this month at the bottom of this post.)
When BERNINA approached me with the opportunity to design this quilt I knew that, professionally, it was the honor of a lifetime. I’m still pinching myself! True to form, BERNINA really wanted to create a project (and a fabric line!) to honor their customers. They kept saying that the celebration wasn’t about them—rather, it was about their customers and their experience of BERNINA machines. And you know, that way of thinking really defines BERNINA. The focus of this family-owned company is ALWAYS on the customer and user experience.
So where to begin? BERNINA had created a paisley motif to define the 125th Anniversary campaign material, but beyond that I was inspired by the history, elegance, and sophistication of the BERNINA machines. The convergence of art and technology with traditional and modern aesthetics are also recurring themes in the sewing world today, and are represented by this company that is 125 years young, (to borrow a phrase from the President of BERNINA of America). I hope that I have captured that feeling in the finished piece.
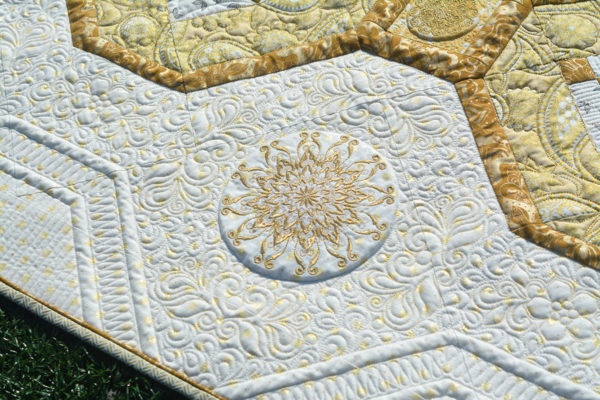
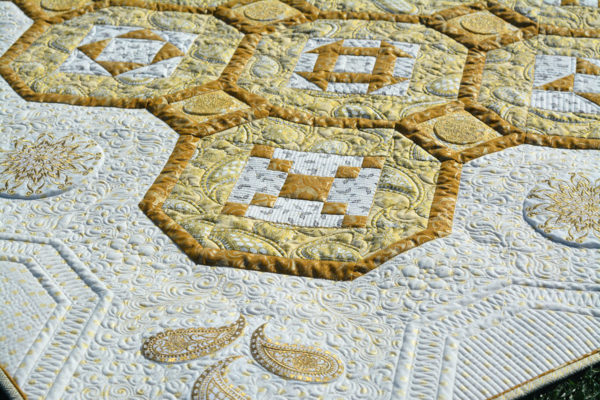
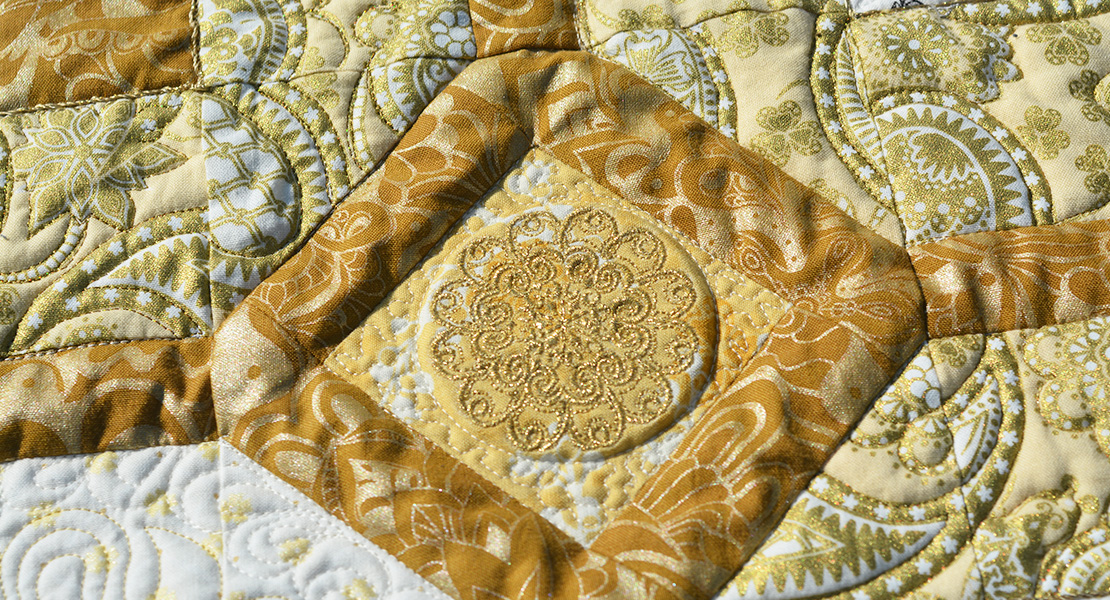
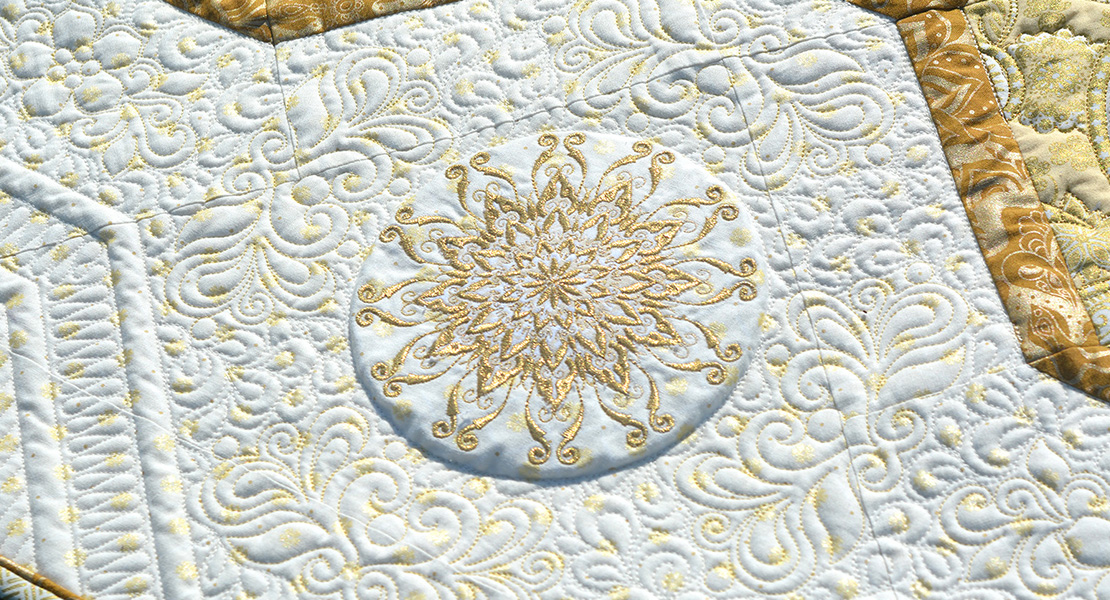
(The BERNINA 125th Anniversary Quilt detail.)
Kits for this quilt are in a Gift with Purchase bundled with the BERNINA 125th Anniversary Edition machines!
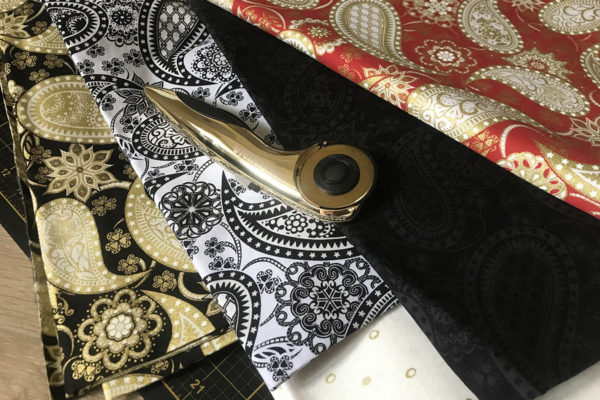
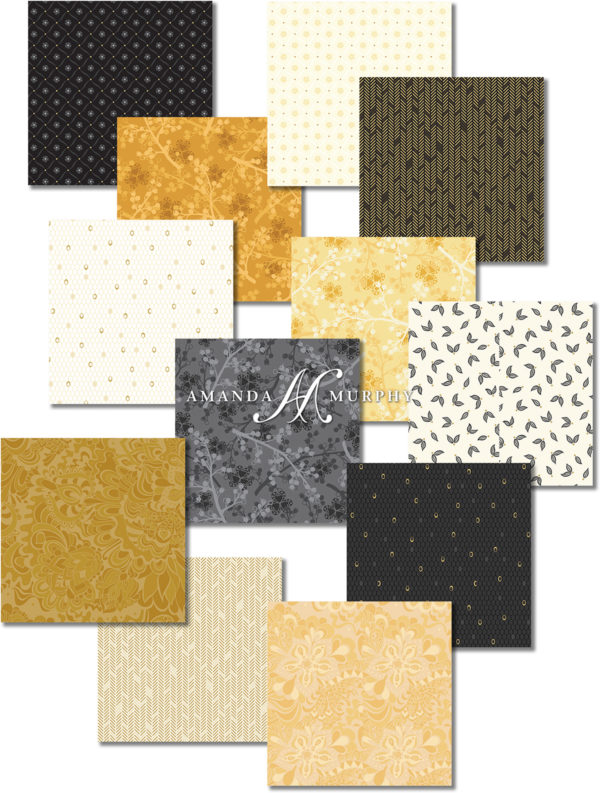
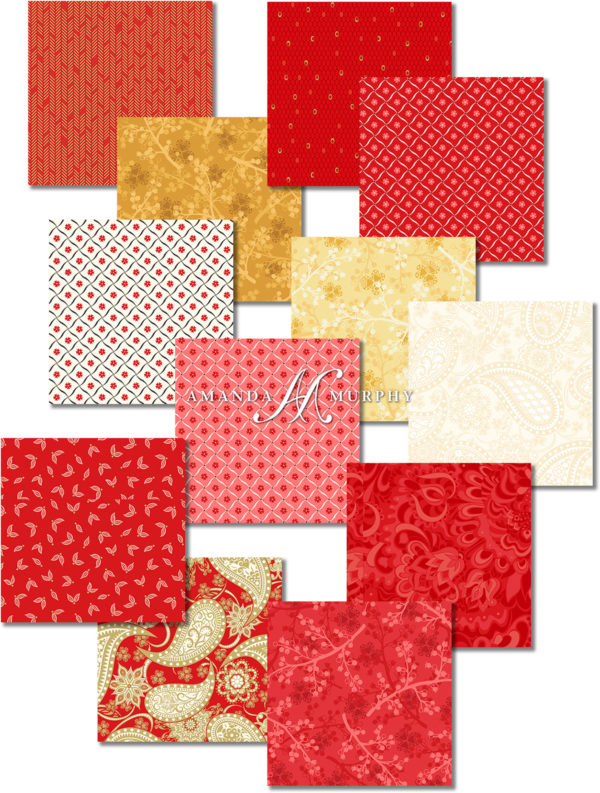
The fabric line, like the quilt itself, has both modern and traditional elements. In keeping with the visual theme of the Limited Edition machines, the BERNINA 125th Anniversary Quilt features the gold and cream color story, but the full fabric line also incorporates blacks and charcoal greys, reds, and beautifully printed pearl and metallic inks. (Thank you, Benartex!)
(Some of the paisley feature prints from the Jubilee line, pictured with the golden rotary cutter from the golden scissor set bundled with the Anniversary Edition machines.)
(Some selections from the black and gold color stories of Jubilee.)
Some selections from the red color story of Jubilee
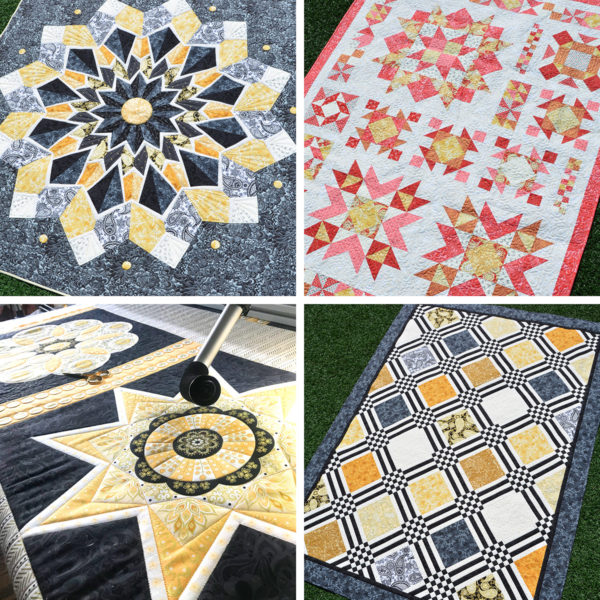
With these additional prints, you can make quilts with a wide variety of looks. Here are some of the other projects that I made using these fabrics. You can order these patterns at your local BERNINA store. If you don’t have a dealer nearby you can also find them on my website.
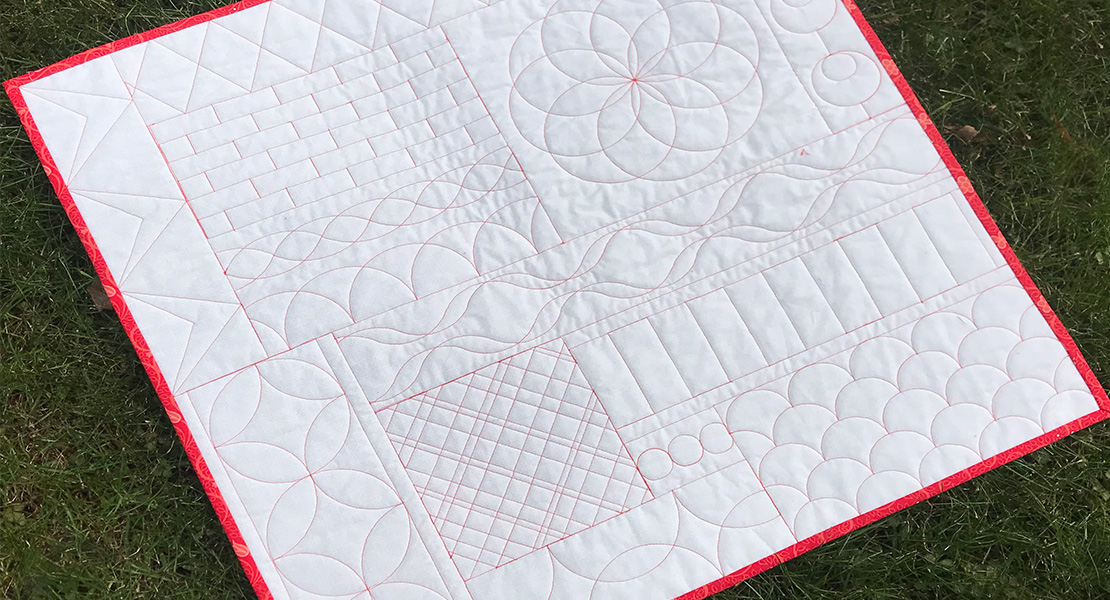
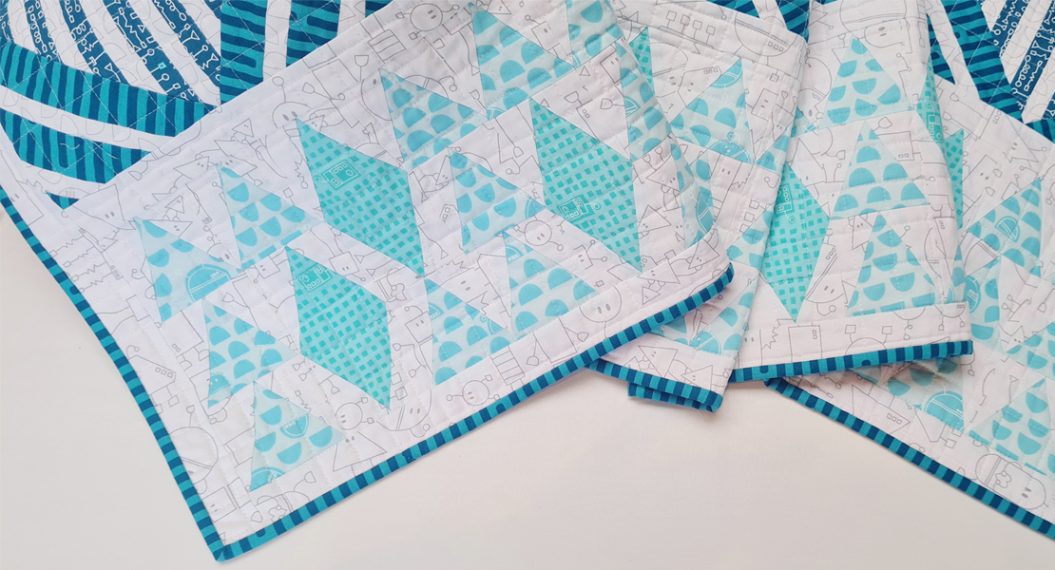
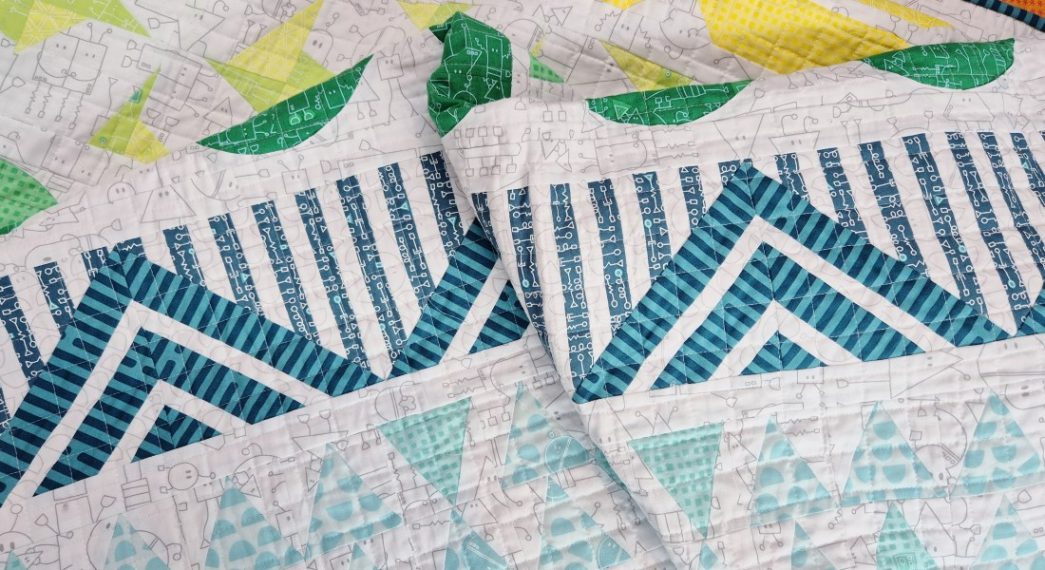
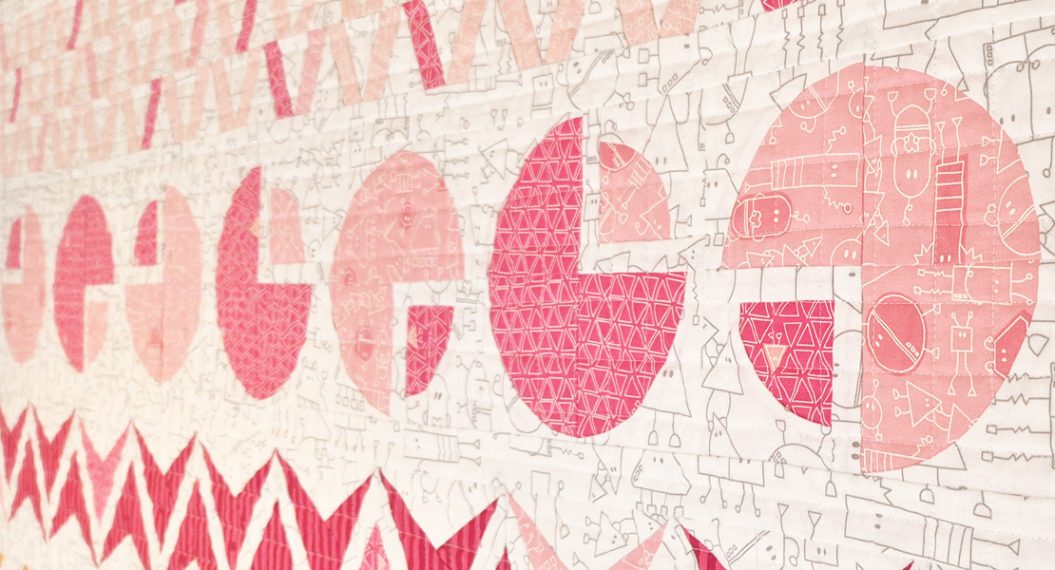
(Clockwise from top left: Diamond Jubilee, Ruby Jubilee, Platinum Jubilee, Jubilee Ruler Panel with Guide.)
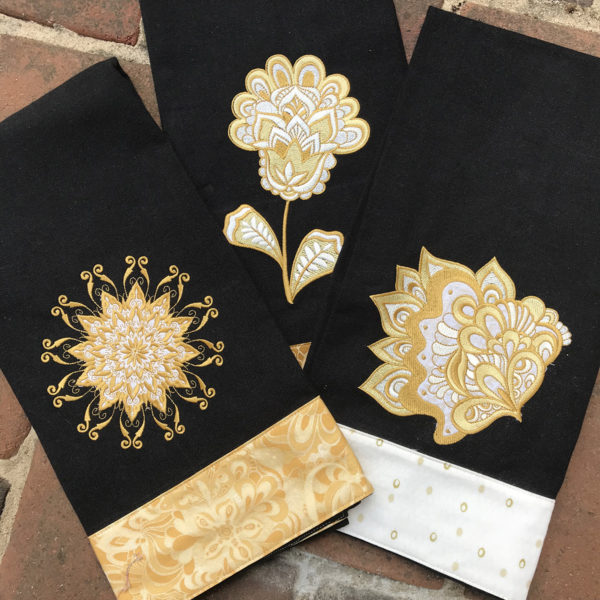
The BERNINA Exclusive Jubilee Embroidery Collection, featuring coordinating embroidery motifs, is available through your local BERNINA store. We’ll be sharing some of these motifs as part of the celebration on WeAllSew, but there are many more in the full collection than are in the quilt.
(Just a few of the motifs from the Jubilee embroidery collection.)
BERNINA 125th Anniversary Quilt-along Q&A
Since I frequently teach in BERNINA stores across the U.S.A., I thought I’d start out by answering some of the questions that I have been getting.
Question: Do I have to have a BERNINA sewing machine to sew along?
Answer: Absolutely not! We’d love to have as many people participating as possible!
Question: Do I have to have an embroidery-capable machine to sew along?
Answer: No, you do not! You can use fussy-cut fabric instead or eliminate the embroidery alltogether. There is also a Jubilee embroidery panel available that features the motifs that are embroidered on the quilt in exactly the same size. You can back that panel in paper-backed fusible web and cut out and appliqué the motifs onto the quilt top for a similar look.
Question: I have purchased the printed directions from my BERNINA store/or I have received them in a bundle with the Anniversary machine. Can I sew ahead?
Answer: Certainly. However, if you have one of the early printed sets of instructions, please be aware there is a correction page that you should download here.
BERNINA Jubilee Quilt Instructions Correction Page
FYI, these corrections have been incorporated into the PDF version of the instructions on this site.
Question: Where can I get the Jubilee fabrics?
Answer: You can purchase a kit or buy yardage at your local BERNINA store.
Question: Can I pre-wash the Jubilee fabrics?
Answer: I did not pre-wash my fabrics for this quilt as Benartex cautions against washing any pearlized prints in hot or warm water. Benartex also recommends that you lower the heat of your iron when dealing with these fabrics.
Questions: Can I use my own fabric while quilting along?
Sure! You can use the fabric of your choice. It is not a requirement to use the Jubilee fabric collection if you participate in this quilt-along.
Question: Can I participate in the quilt-along after it has started?
Absolutely! All you need to do is catch up with the monthly steps and share your progress posts on the WeAllSew community section. See details on how to enter further below.
Question: Will there be prizes!
Answer: Yes—and amazing ones at that! Have a look!
Grand Prize: A BERNINA 7 Series Anniversary Edition machine!
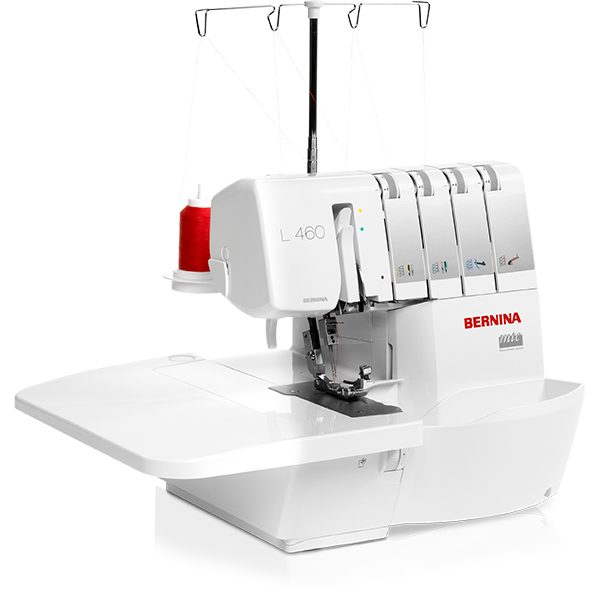
First Runner Up: BERNINA L 460
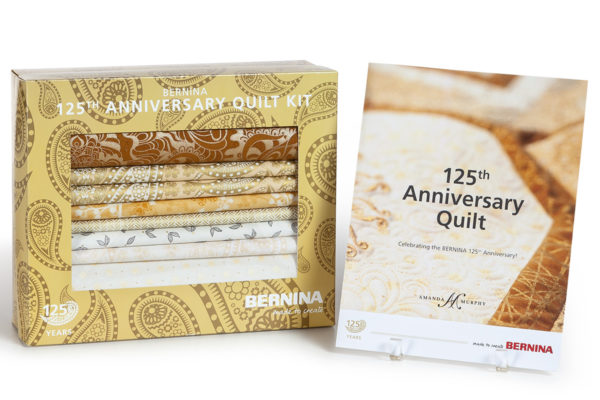
 First Prize: The BERNINA 125th Anniversary Quilt Kit
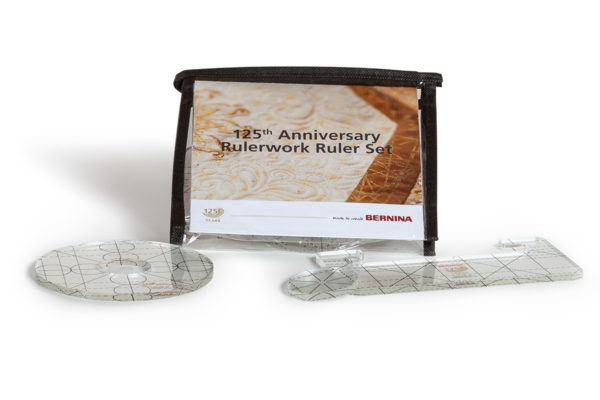
Second Prize: The Golden BERNINA 125th Anniversary PresserFoot #1 in a Commemorative Tin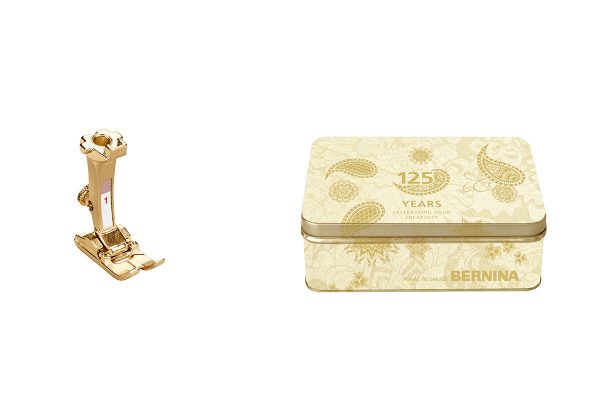 Third Prize: The BERNINA 125th Anniversary Rulerwork Ruler Set (set of 3 rulers).
How to quilt-along and be eligible to win the great prizes?
In order to be eligible to win the great prizes, participants are required to upload images of their progress while creating the quilt including the final quilt at the end of the quilt-along.
It is a six-month quilt-along. Participants will need to upload their progress images six times to the WeAllSew community sections OR can upload their six-step progess in a single community post prior to the end of the quilt-along including a description. All six-step progress images including the final quilt will need to be uploaded by March 15, 2019 at 11.59 pm CT at the latest.
Please see contest rules here.
How do I upload my progress to the WeAllSew Community Section?
Click here for step-by-step instructions on how to upload your images and description to the WeAllSew community section.
BERNINA 125th Anniversary Quilt-along Schedule
Part I: September 10, 2018
- Cutting and piecing of blocks
Optional: Embroidery feature: cornerstones: September 26, 2018
Part II: October 3, 2018
- The other half of the pieced blocks
Part III: November 7, 2018
- Sashing and Cornerstones
Optional: Side border embroidery: November 14, 2018
Part VI: December 5, 2018
- Borders, cutting
Optional: Corner border embroidery and in-the-hoop directions for bigger machines as well as other directions for 5 Series machines: December 19, 2018
Part V: January 2, 2019
- Assembly
Part VI: February 6, 2019
- Quilting
BERNINA 125th Anniversary Quilt-along Part I Instructions
BERNINA 125th Jubilee Quilt Piecing Directions Part I
If you’d like to learn more about the fabrics I’ve chosen you can watch this video:
Start off by cutting all the pieces.
Note: If you are working from an original set of printed instructions rather than the PDF above, remember to download a correction sheet here before starting to cut!
In the instructions you will find the yardage requirements along with the fabric SKUs that I used in the original version.
If you would prefer to choose your own fabrics, I’ve made a coloring page to help aid your decisions. I would recommend choosing a strong color, either dark or light compared with the other colors in the quilt, to do the octagonal framework of the design. I would also stay away from directional prints, particularly for the border.
BERNINA 125th Jubilee Coloring Page
I’ve been experimenting in recoloring this design in red and cream. You can download a fabric requirement sheet for a red and cream version of the quilt here.
BERNINA 125th Jubilee Red and Cream SKUs_SM
The BERNINA 125th Anniversary Quilt in Red and Cream
NOTE: The main thing to remember when cutting is that the large triangles you cut for the side borders and corners out of Fabric D need to be cut to the larger measurements if you plan to incorporate embroidery or appliqué.
If you don’t plan to incorporate these elements you will most likely choose to cut down your border size in the final stages of piecing for better proportions.
If you aren’t sure what you’d like to do, then cut using the larger measurements just to be safe!
Cutting the 125th Anniversary Quilt
Setting up Your Machine
Next we’ll piece blocks A-F. I have some piecing tips for these blocks that I thought I’d share.
Blocks A, B, and C: Piecing Basics
Flying Geese: Block D: Flying Geese
Block E: Templates
Block F: Half-square Triangles
Blocks A-F from the Red and Cream Color Story
That is it! I’ll be back in two weeks to get you started on some optional embroidery elements. I’ll also be back the first Wednesday of every month with more instructions for piecing and quilting.
Happy quilting and HAPPY ANNIVERSARY, BERNINA!
Amanda Murphy
What you might also like
69 comments on “BERNINA 125th Anniversary Quilt-along: Part I”
-
-
What country are you from?
-
USA. Georgia. Customer of Augusta Sewing Center formerly Branuams. Have taken several of your classed
-
I recognize your name! I am sure RJ and Nick are stocking the Jubilee 125th Anniversary Collection. It is BERNINA branded. BERNINA of America will generously be giving away the embroidery designs without the placement lines as we go along and I’ll be explaining how to modify them, but if you would like the designs with the placement lines or the digitized quilting motifs I used you must purchase the collection.
-
Amanda Murphy what do you mean by the digitized quilting motifs? I am trying to decide if i will invest in joining this sew-along and wondering what this bit is?
thank you -
Look in at the quilting on the border of this quilt. You’ll see some flowers and feathers. They are digitized, which means that they can be done on the embroidery machine or with automation. They are also completely optional – you could just fill the border with free-motion quilting if you prefer and it would still look great!
-
-
-
-
-
My local Bernina store does not have an quilt kits. Where can I purchase one?
-
Many stores in the US do have them. You can call around or if you join my Facebook Group, Quilting with Amanda Murphy, and post in there looking for one, it is likely a dealer who is willing to mail order will post back.
-
I just joined your group. can’t wait to learn.
Lynda-
Glad to have you!
-
-
-
katie300, we will gladly ship a kit your way! Please contact us: [email protected] or 717-637-4685.
-
BERNINA World of Sewing still have some kits available. They are located in Raleigh, NC but I am sure they can ship it out to you. They can be reached at 919-782-2945.
-
-
katie300, we will gladly ship a kit your way! Please contact us: [email protected] or 717-637-4685.
-
Hi, I would have loved to participate in the Quilt-along, but as I recently found out, Bernina no longer supports the .art format for embroidery files, for the older machines. I signed up for a Hoopsisters class a month ago, bought all the fabric, notions and thread, paid for the class, only to find out that my dealer can’t get the .art files, even straight from HoopSisters. The software(s) that were able to convert those files to .art, can no longer do so. There is no way I will ever convince my husband to let me upgrade to a new machine, just to be able to do new embroidery designs. You have no idea how disappointed I was to find this out.
-
tinker1029, The info you received is a bit misleading. It’s true, .art is a high quality file that many companies (including Hoopsisters) don’t digitize in. But designs from Bernina or their sister-company OESD (www.embdesignstudio.com) always include .art files. If you’d like to purchase the Jubilee embroidery to join the quilt along, contact us at 717-637-4685 or [email protected]. Bernina does have a digitizing software with capabilities of converting file formats, called DesignerPlus V8.1. But you can always use .exp if no .art files are provided.
-
I’m surprised no one has responded to your comment yet. I am way far from being an expert on this, but my understanding is that we can continue to use the FREE ARTLink software from Bernina to read non-art files and convert them to .art for our older machines. There is an E-book about it from Bernina called JustEmbroiderIt-eBook-ARTLink8-EN.pdf . I have version ARTLink 7 and need to upgrade to 8. Although I haven’t done but a handfull, I have successfully converted .exp and .pes files to .art for my 440. The software is downloaded and installed on a computer. Then most any format of embroidery file can be opened. Some manipulation is possible, too. At that point, as I remember, I had the option of creating an .art file and/or sending it directly to my 440 to stitch…. Hope you are able to check it out and that it enables you to get back to the Hoopsisters project!!!
-
A bit more awake this morning. Read through the PDF for ARTLink 8. I think the information you need about using non .art files is on page 7 of the PDF. Looks like you can open a non .art file and then use the “write to Machine” icon to put it to the machine (like I have to do with my 440) or to a USB that some Berninas require.
-
-
I don’t have knowledge about Hoop Sisters, but I do think that ART files are included on the BERNINA 125th Anniversary collection if you are inquiring about this quilt. Check with your dealer just to be sure.
-
Just read your note about needing to use .art files on your older machine. If your machine is a Bernina 200 or 730, it has always been able to read both .art and .exp file: we dealers just found it better for you to use .art files. They are purer than other formats. But using the .exp files, you can comfortably stitch the 125th Quilt, and other companies quilts, like Hoop Sisters. And then, if you own an older 440 or 630/640, you can still open .exp files using the Editor Lite program, or Artlink, and happily embroider them on your machine. Hope this helps, and look forward to seeing your work!
-
-
What is the finished size of this quilt? Could it be made in a smaller size and if so would it still be eligible for prizes?
-
It is 65-1/2” square. Yes, you could modify it and still be eligible for the prizes, although the instructions will only be given for this one size. Many who choose to forego embroidery will likely cut down the borders so they are more in proportion to the quilt top. There are lots of possibilities.
-
Thank you. It’s nit too big so I won’t have to make any changes!
-
-
-
Looking forward to seeing the progress & the quilt making as this QAL unfolds. Lovely fabric
-
Thank you!
-
-
How do I buy fabrics fo this quilt
-
You can purchase the BERNINA 125th Anniversary Quilt kit at your local BERNINA store or you can choose any fabric of your liking to quilt-along with Amanda.
-
-
Should I preshrink the fabric before cutting out the pieces?
-
You could press it if you would like, but Benartex does not recommend washing any pearlized prints in hot or warm water. They also recommend lowering the heat of the iron when dealing with pearlized prints.
-
-
Do you have to live in USA to compete….I am Australian.
-
To participate you do not need to be in the US. We’d love to have you regardless. But to be eligible for the prizes you do, because the prizes are sponsored by BERNINA of America.
-
I should add… that is why we are making the directions available for free online – so everyone can participate!
-
-
-
I can not locate the link for the pdf version. Can you please advise where it is specifically or provide the link in your reply. Thank you.
-
-
The instructions skip from page 7 to page 14. I found pages 10 – 13, but where are pages 8 and 9??
-
-
-
I have a Janome embroidery machine- I have the MC 9900 and the Quiltmaker 15000. I am taking this as a class and planned to take my MC9900 since it is easier to travel with. I leave my large machine , the 15000 at home- would my hoop be large enough for the embroidery designs? I purchased the embroidery kit. Thank you for your time.
-
I’m just not sure since I’m not familiar with Janome’s. I would think it should accomodate the smallest embroidery motifs but not sure about the larger ones. You could always bring the larger machine to class on just those months. If you told what dimensions your hoop sizes accommodate I could be more specific.
-
-
I forgot to give dimentions for my hoop: 6.7″ x 7.9″ is largest on the MC9900. Thank you.
-
Oh whoops – just saw this. The smallest design could definitely fit in the hoop. The medium design could – if you used the file in the embroidery collection WITHOUT the placement lines. I’ll give directions on how to do that in mid-November. If you want to use the file with the placement lines you’d need to bring your bigger machine. For the largest designs on the corners you have a choice: you can embroider it all in one hooping on a bigger machine, or you can multihoop it on the smaller. I will be giving you templates for multi-hooping.
-
Thank you so much!
-
-
-
Amanda, trying to get everything I will need for the quilt but am having trouble with two items. The spool of Dazzle 1000, is this the razzle dazzle thread and what is color number, is it metallic? Also the Hologram 8155, I have not been able to find it either. Any Sugggestions? Katherine Jones
-
Both are threads by Wonderfil and both are optional. (Dazzle isn’t the same as Razzle Dazzle, which is made by Superior.) They aren’t used until the last month of the quilt-along so you can definitely hold off on purchasing them until you decide if you’d like to incorporate them. The Dazzle is a metallic cord that I used to couch around the blocks and the hologram is a ribbon-like lightweight metallic I used to quilt the paisley areas. There are many other threads that are on the market that are good choices as well. In the meantime, you can always go into your local quilt shop and ask them for a recommendation on a metallic you can quilt with/couch over. Or you can always just forego the metallic in quilting.
-
Does anyone have a source for the Wonderfil threads? My local dealer does not carry it. I looked on line and found a Wonderfil site, but their shipping is outrageous! Thanks for your help.
Sharon
-
I would recommend consulting Wonderfil’s website.
https://www.wonderfil.ca/boutique-locations/
-
-
-
-
I just started today. Right after I learned enough online to turn on my brand new sewing machine (B880 PLUS AE)! Wow. That bobbin!!
The fabrics are just beautiful and I am looking forward to learning how to use the embroidery module so I can do the motifs. What an amazing show case for me to learn my new machine and all its features!
-
I am really enjoying the videos. It is a great project for getting acquainted with my Anniversary Edition. My first fancy sewing machine! Can’t wait for the embroidery!
-
Amanda on page 7 of the jubilee pattern why are we fusing a 4 x 4 OESD fusible woven stabilizer to the 7.5 X 7.5 squares. i do not see where it is ever fused?
-
It is fused onto the wrong side of the fabric in preparation for embroidery. The direction is in the second paragraph of the right column on page 7. But there will be a post with videos coming on later today that should really help you.
-
-
The Block B that I just completed I do not see in the picture of the finished quilt. I am hoping I didn’t do something wrong. I thought I had used the amended PDF instructions. I just wanted to ask about this?
-
I just replied but in the wrong place and want to be sure you see this.
“It is there – no worries! Scroll up to the photo at the top of this post. It is in the bottom right corner. It might look a little different because of the way it is quilted, which masks the piecing of the light shapes. If you still don’t see it let me know and I’ll try to create a graphic that points it out.”
-
-
It is there – no worries! Scroll up to the photo at the top of this post. It is in the bottom right corner. It might look a little different because of the way it is quilted, which masks the piecing of the light shapes. If you still don’t see it let me know and I’ll try to create a graphic that points it out.
-
I have jumped ahead to the embroidery on the Border Side Triangles and the direction to mark the placement lines 4 1/2″ from each short side put the cross hair way up the triangular piece of fabric-perhaps it should say 4 1/2″ from the tip of the triangle which looks more like the picture in the instructions-am waiting to stitch until I hear from someone:(
-
It is 3-1/2”, not 4-1/2”. That will be coming out later with videos and a PDF, but since you are working ahead the center is about 3-1/2” from the edges. If you are using the files with the placement lines you can omit the step of drawing the center crosshair and just align the edges of the triangles on the placement lines. I can’t place a photo here but there will be a sneak peek on the post coming out tomorrow. Please let me know if you are still confused because I could send you a photo in email.
-
-
I learned a lot from the video Amanda. I am glad to join your group. Off to check out The BERNINA</ Exclusive Jubilee Embroidery Collection.
-
I learned a lot from the video Amanda. I am glad to join your group. Off to check out The BERNINA Exclusive Jubilee Embroidery Collection.
-
I have the first blocks done. I do not have the directions. I am using your PDFs. What happened to pages 8 – 13. Are they coming in November. I have ordered your rulers and the embroidery designs. Looking forward to the next step.
-
Those pages are already out and you can find directions for them on this post: https://weallsew.com/bernina-125th-anniversary-quilt-along-month-2/
-
Hi Amanda, I also downloaded the directions from month 1 and the pages are 1 through 7 and then 14 through 19. I downloaded month 2 instructions and the page numbers go from page 20 through 26. I cannot find pages 8 through 13 anywhere. Unless they don’t exist (perhaps just a numbering error?
Thanks for the clarification!-
The numbers are right. We just aren’t going through in the same order as the printed booklet. Since the embroidery is optional in the quilt along we are scattering it throughout the process, so people can embroider a little each month.
-
-
-
-
Hi Amanda,
I bought Isacord thread 0721 assuming it was for the embroidery motifs. When viewing the embroidery motifs online, I am noticing that the thread looks like a metallic. What is the name and number of the embroidery thread to be used?
Thanks, mccr-
I used Yenmet Mayan Gold. More info about the metallic threading etc. can be found on this post: https://weallsew.com/bernina-125th-anniversary-quilt-along-part-i-embroidery
-
-
I added 7 pictures to my first post. The rules state that I’m allowed a maximum of 12 pictures. Is that per post, or for the 6-8 process posts total? Do I need to distribute my remaining 5 pictures over the remaining 5 required posts? Is it possible for me to edit my post so I can save a few more for the final quilt?
-
When will winners be announced? Thank you for this exemplary quilt along and contest, BERNINA!
-
Dear quiltingmod, the winners of the BERNINA 125th Anniversary Quilt-along will be announced the week of May 27.
-
-
Trying to find out— I screwed up one of the embroidery triangles for Fabric D. I have 32” left after cutting everything in the cutting instructions. Are there more borders, bindings to cut later? Or, am I good to redo this block?
-
If you have already cut the 3-1/4” strips and all the other pieces you should be good. We actually included extra fabric in case there was a mistake. Just to be safe though and conserve fabric, you might consider laying on of the other triangles on top of the yardage to cut an identical piece, rather than cutting a big square and sub-cutting it into corners. Does that make sense?
-
Leave a Reply
You must be logged in to post a comment.




Can’t wait to get started. Are you going to post links for the embroidery designs we will be using or do we need to purchase designs? I have been looking for the designs to purchase but have been unable to find them yet or the ruler panel or the motif fabric.