BERNINA Rulerwork Quilt-along Part 4
It is the final segment of of the BERNINA Rulerwork Quilt Along! I know many of you have been waiting for this because you have posted pictures of your progress in my Facebook Group. I’ve been so excited by the progress you’ve been making! Seriously, having so many people sew along with me on a project like this makes my heart sing!
For those of you don’t know me, my name is Amanda Murphy and I’m a Quilting and Longarm Spokesperson for BERNINA, teacher, fabric designer for Contempo of Benartex, pattern designer, embroidery designer with OESD, and author with C&T Publishing,
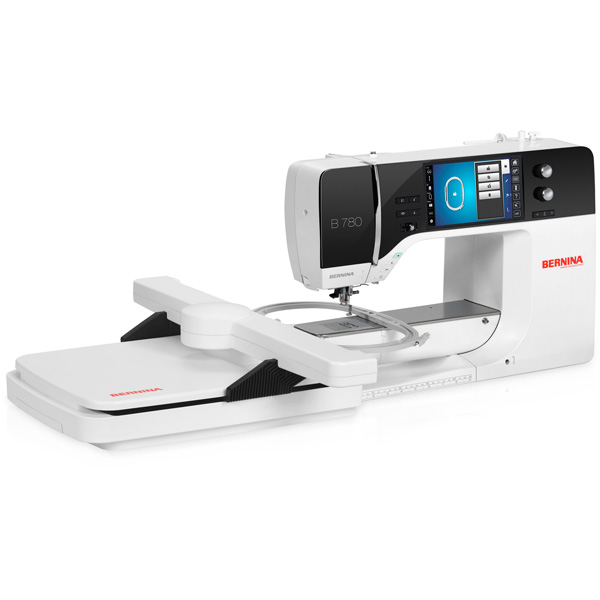
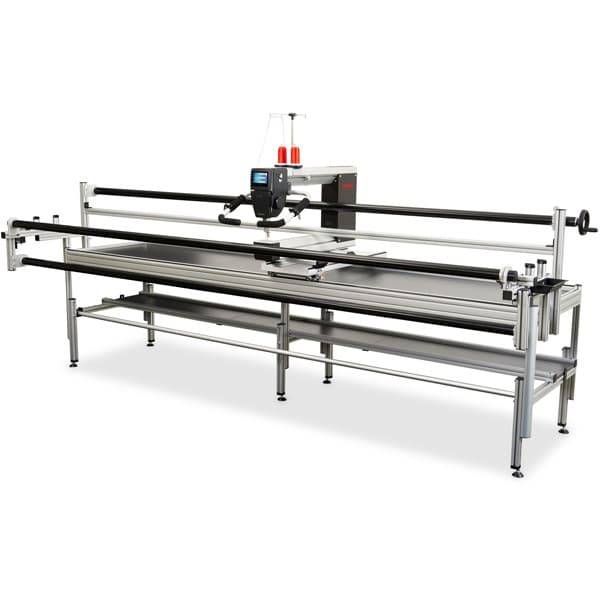
One of my samples was created on the BERNINA Q24 and the other on my BERNINA 780, both with Aurifil thread. If you are sewing on a domestic machine make sure you watch the domestic machine tips from Parts 1 and 2.
Download the Instructions for the BERNINA Rulerwork Sampler for Month 4
BERNINA Rulerwork Sampler Month 4
For our Newbies That Just Joined the Quilt-along:
Visit Part I, II and III of the Rulerwork quilt-along here
BERNINA Rulerwork Quilt-along, Part one
BERNINA Rulerwork Quilt-along, Part two
BERNINA Rulerwork, Quilt-along, Part three
Download the Set of Accompanying Instructions of the Rulerwork Quit-along Part I, II and III
BERNINA Rulerwork Sampler Month 1
BERNINA Rulerwork Sampler Month 2
BERNINA Rulerwork Sampler Month 3
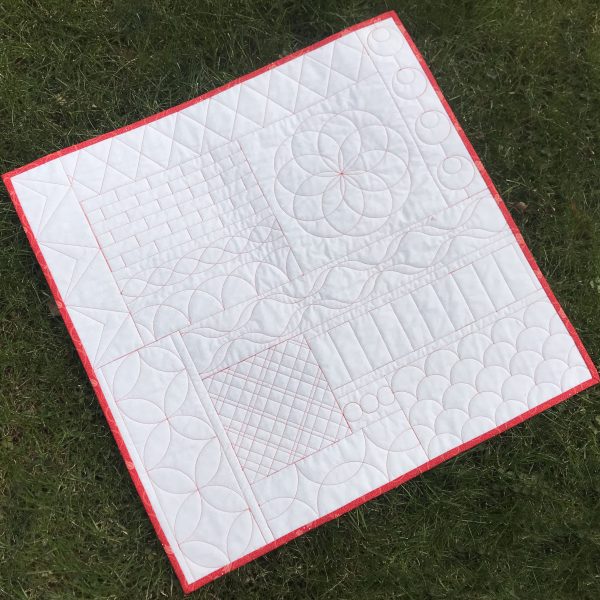
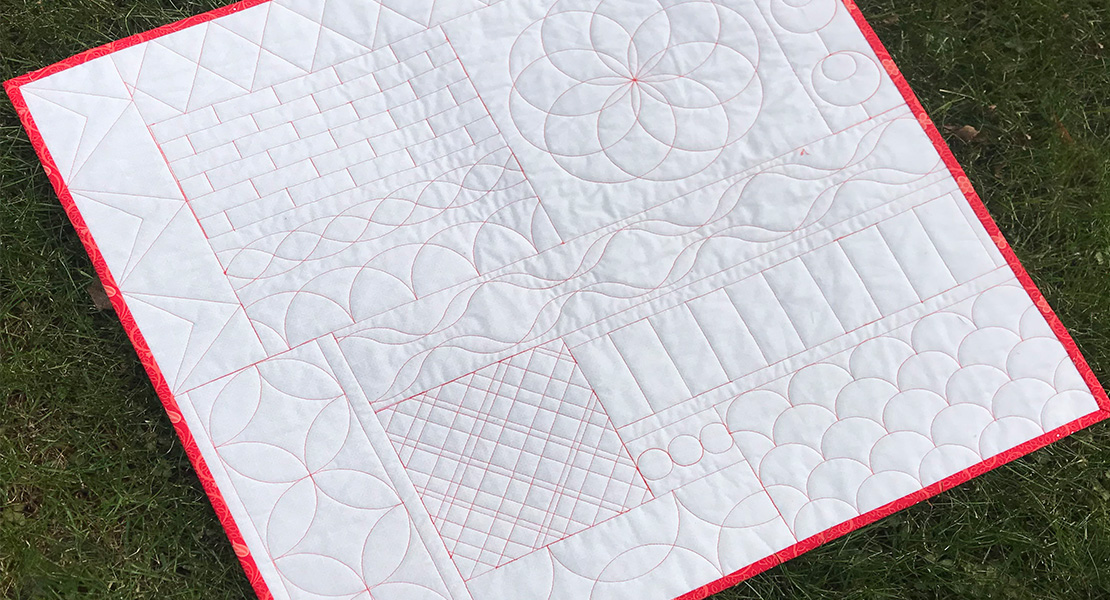
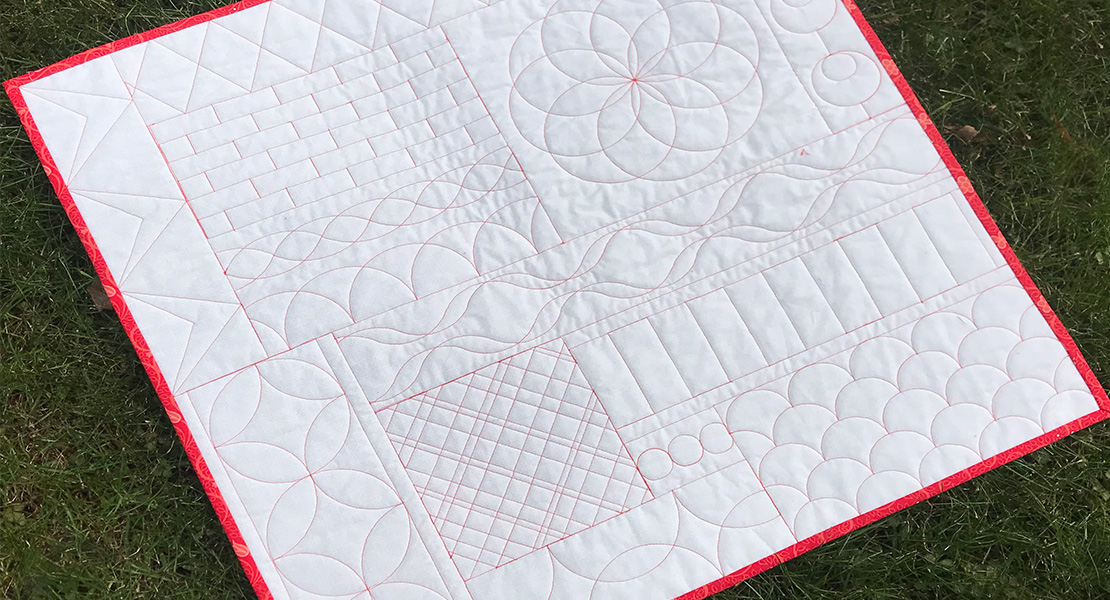
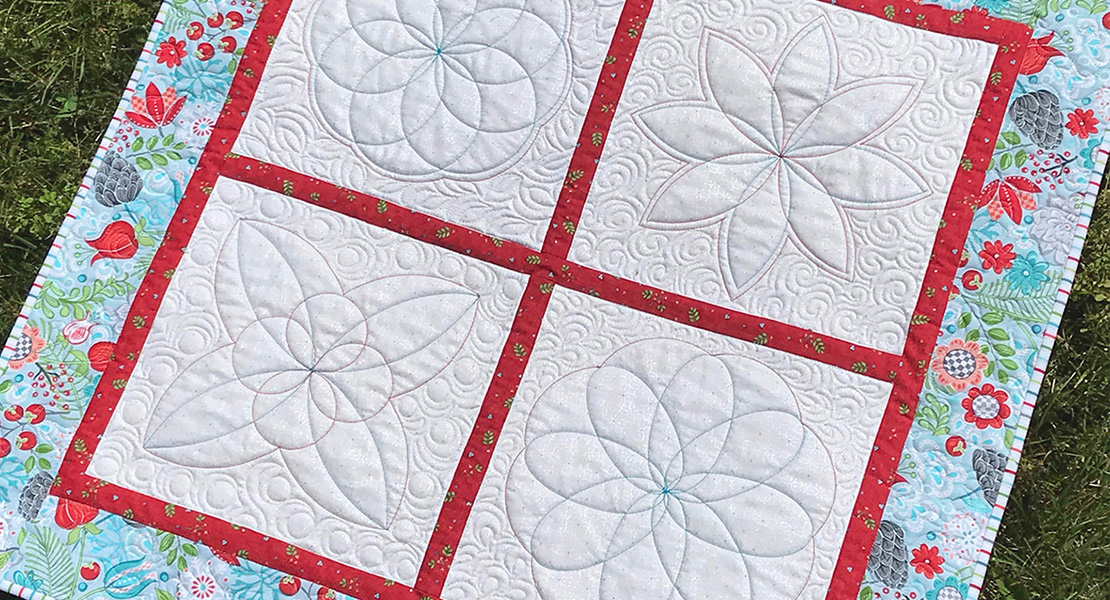
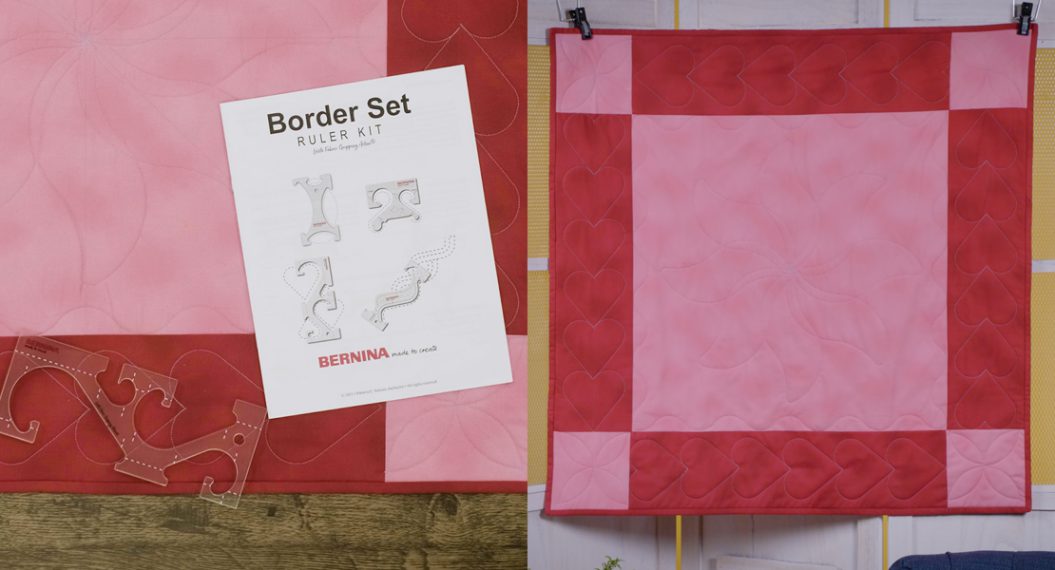
Here is a preview of what we’ll be working on….
Overview of Month 4 Quilting of the BERNINA Rulerwork Sampler
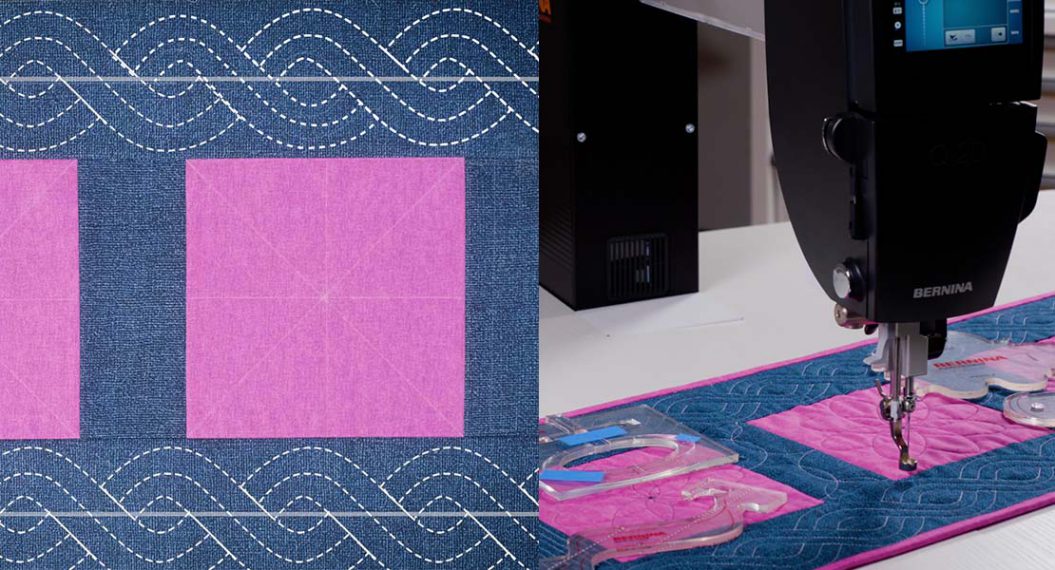
For this post, I’ve filmed a video the next 3 sections of the BERNINA Rulerwork Quilt-Along Sampler.
Quilting Area 11 of the BERNINA Rulerwork Sampler
Quilting Area 12 of the BERNINA Rulerwork Sampler
Quilting Area 13 of the BERNINA Rulerwork Sampler
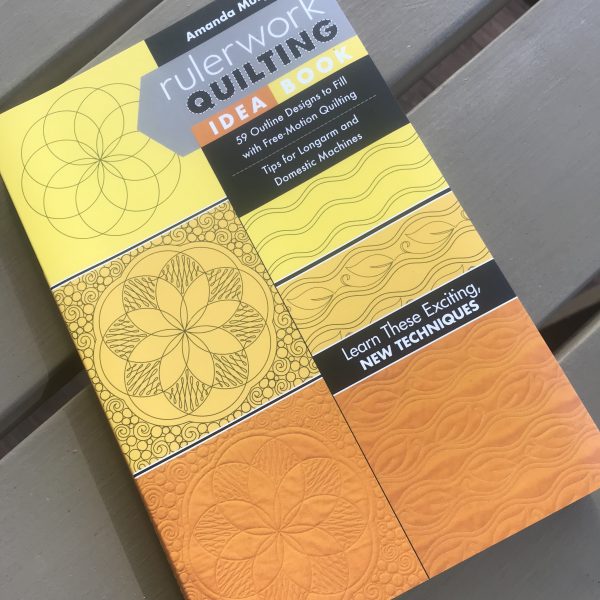
Since this is the last segment of the BERNINA Rulerwork Quilt-along, please continue to follow me on my Facebook Group, Quilting with Amanda Murphy, and also keep an eye out for me here on WeAllSew in the future! And if you’d like more rulerwork designs, check out my new Rulerwork Idea Book for C&T Publishing.
Happy quilting and enjoy your sampler!
Amanda
What you might also like
14 comments on “BERNINA Rulerwork Quilt-along Part 4”
-
-
I see that the Area 11 video has been fixed and is complete. Thank you.
-
-
I am using the Westalee 4″ arc ruler for lessons 11 and 12, but can’t figure out how to make the full circle for lesson 13. The biggest circle template I have is 2″ and it’s an inside circle, not outside like you are using Amanda. Can you help me? Is there a different ruler I can use?
-
Unfortunately the 4” arc doesn’t work like a full 4” circle would, so you might have to significantly modify the design if you want to use that ruler. Or make up another design. That being said, I know Westalee makes a 4” circle tool. I think it is part of their Simple Circles line.
-
Hi Amanda, Well, I finally did figure out how to use the 4″ arc to make the complete circles. I just made an extra mark on each line at the 2″ place and then flipped the arc over carefully lining it up. Worked just fine this way. I really enjoyed making this sampler. I look forward to more projects that you share here. Thanks!!
-
Glad you figured it out!
-
-
-
Wanted to say that an inside circle versus an outside circle doesn’t really matter as long as it quilts a circle that is 4”. Of course, you might have to align it a bit differently if it was an inside circle but it will still have 90 degree markings, etc. The arc makes a great curve, but doesn’t have these markings.
-
-
The way she showed using the rulers was so helpful. Now I won’t be afraid to try doing the quilting myself. Thank you so much.
-
You are welcome! Glad you enjoyed it!
-
-
How do I print the Part 11, 12, 13. Love your videos.
-
the pdf for part 4 is at the top of this column under the photo of the sampler
-
-
I just got a Bernina Ruler Foot and set of rulers. I just finished you 4 part sew along for ruler work. Thanks so much. It was much easier watching the videos as I went along. Vickie
-
Hi Amanda,
I have a new-to-me Bernina Q20 sit-down quilter and have been trying to learn ruler work and free motion quilting. This series has been wonderful and I have enjoyed trying all the quilting ideas. Thank you for this!
Lori in Tennessee -
Hi! Amanda,
So……..how can I avoid (or what am I doing wrong) my initial thought is I’m putting too much pressure between the ruler and foot. …..I have a Bernina 820 and the ruler foot…I’ve not used it much because have found more than once that as I raise the pressure foot to remove the quilt or change the bobbin etc, that the foot actually falls off. And yes, I hate to say it, this has happened while stitching, which freaked me out as I think I’ve killed my machine, though it recovered itself. This hasn’t happened for any other foot. Even when sewing bags and stitching over lots of layers. I’m thinking of going to your ruler work class in the PNW at Quality Sewing and vacuum but would hate to hurt one of the beautiful machines they let use use in class, if it is something in my technique.
Linda
Leave a Reply
You must be logged in to post a comment.



I have really enjoyed this series. I did notice that the Area 11 video is not complete. It stops at the beginning of the second part of the last motif. Hope this will be fixed and made available.
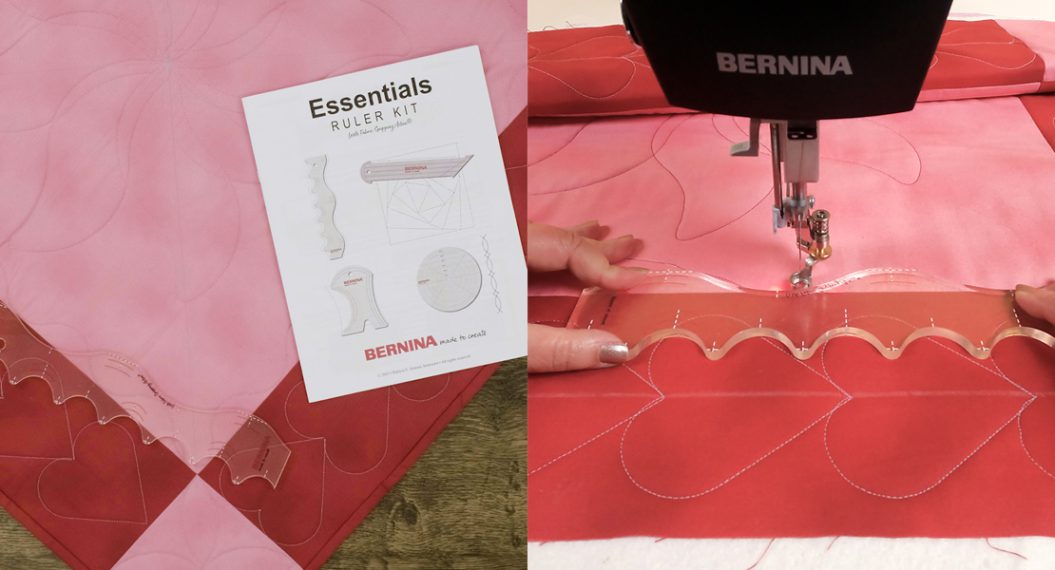
I had also hoped that the other rulers in the Bernina set would be demonstrated. Hope that this in the works for further tutorials. I love the way Amanda explains and demonstrates the techniques.