Decorative Stitch Binding
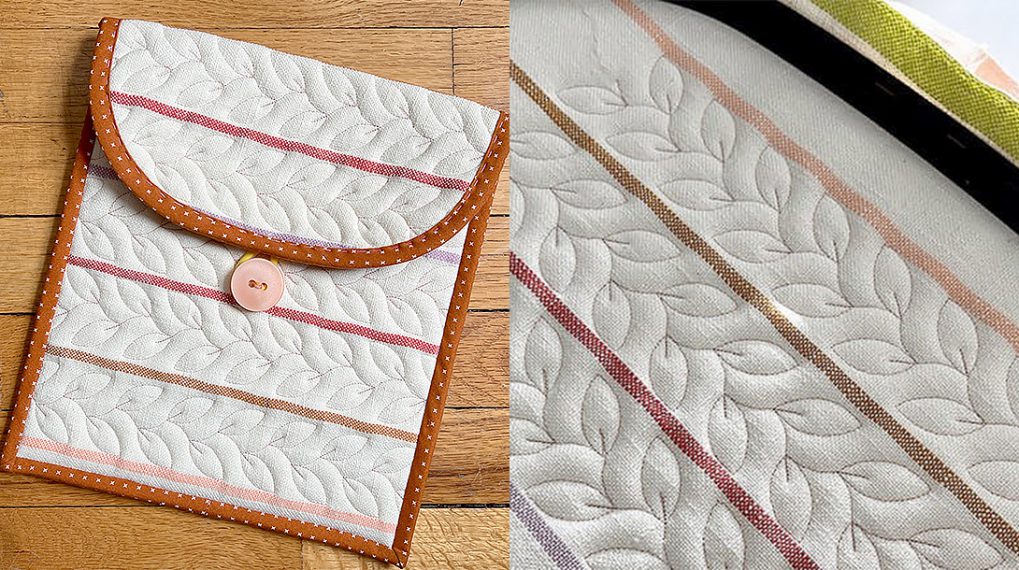
![MTC_Decorative_Stitch_Binding_01_beauty_shot_BERNINA_WeAllSew_Blog_1200x1600px[1]](https://weallsew.com/wp-content/uploads/sites/4/2022/09/MTC_Decorative_Stitch_Binding_01_beauty_shot_BERNINA_WeAllSew_Blog_1200x1600px1.jpeg)
Do you like machine binding? Do you like decorative stitches? Combine the two and create beautiful decorative stitch binding. Use thick thread in a contrasting color to bring pizzazz to your binding or use thin thread in a similar color for a subtle effect. Some decorative stitches are easier than others for this binding technique. Pay attention to the decorative stitch pattern and how it stitches out. This will be important for stitching the corners. I will show you 3 different decorative stitches on binding and 3 different ways to turn the corners. Now, find some orphan blocks or make some small quilt sandwiches and let’s get started!
Machine Set Up
- BERNINA 770 QE PLUS
- Open Embroidery Foot #20C/20D
Supplies
- Mettler Silk Finish Cotton Thread 40 wt
- Binder clips
- Roxanne Glue Baste It
- Stiletto
- Nifty Notions Mini Iron
- Pressing Mat
Prepare Binding
At this point, your quilt should be ready for binding. For this binding technique, cut your binding at least 2 1/2” in width. The binding used in this tutorial is 2 3/4” wide.
With traditional French binding or double fold binding, the binding is stitched to the front of the quilt and then hand-stitched to the back. For this sewing technique, stitch the binding to the back of your quilt first.
Here is a link with detailed steps on how to sew binding to the quilt, miter corners and join binding ends. Remember for this binding technique to sew binding to the back first, not the front!
With the quilt right side up, add small dots of temporary glue, such as Roxanne Glue Baste It, along one side. Finger press binding down so it is just over the stitch line.
![MTC_Decorative_Stitch_Binding_02_glue_basting_BERNINA_WeAllSew_Blog_1080x1080px[1]](https://weallsew.com/wp-content/uploads/sites/4/2022/09/MTC_Decorative_Stitch_Binding_02_glue_basting_BERNINA_WeAllSew_Blog_1080x1080px1.jpg)
Use heat of iron to dry glue quickly. I love the Nifty Notions Mini Iron for small applications like this! Do the same for all sides.
![MTC_Decorative_Stitch_Binding_03_ironing_BERNINA_WeAllSew_Blog_1080x1080px[1]](https://weallsew.com/wp-content/uploads/sites/4/2022/09/MTC_Decorative_Stitch_Binding_03_ironing_BERNINA_WeAllSew_Blog_1080x1080px1.jpg)
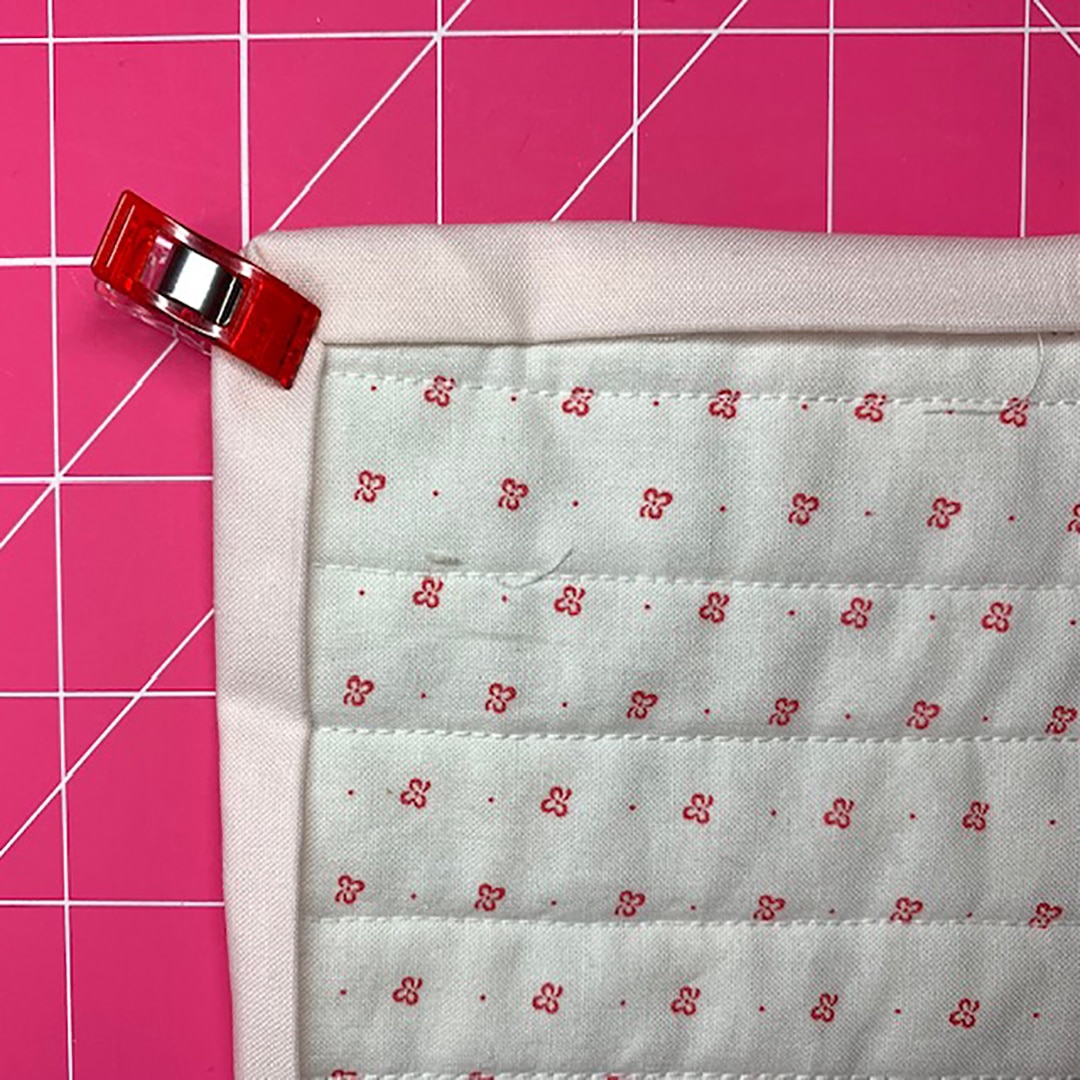
Fold corners into a nice miter and clip.
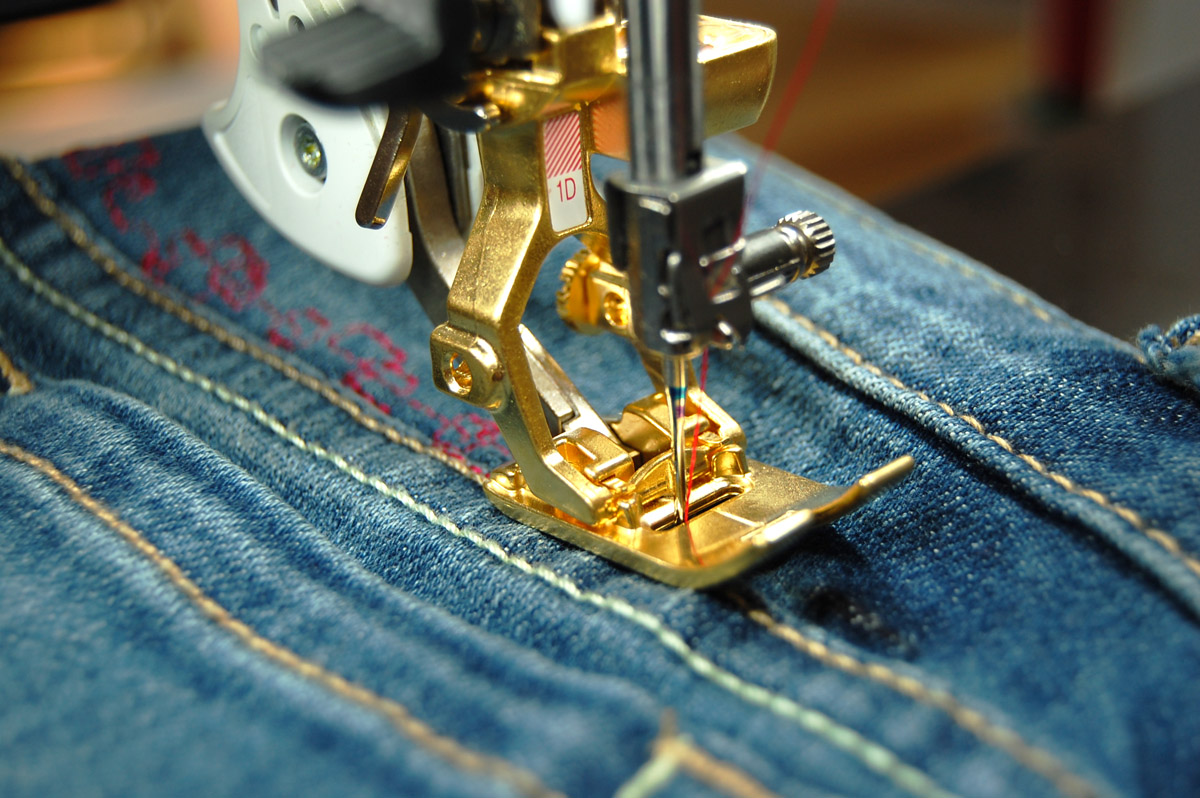
Open Embroidery Foot #20C/20D
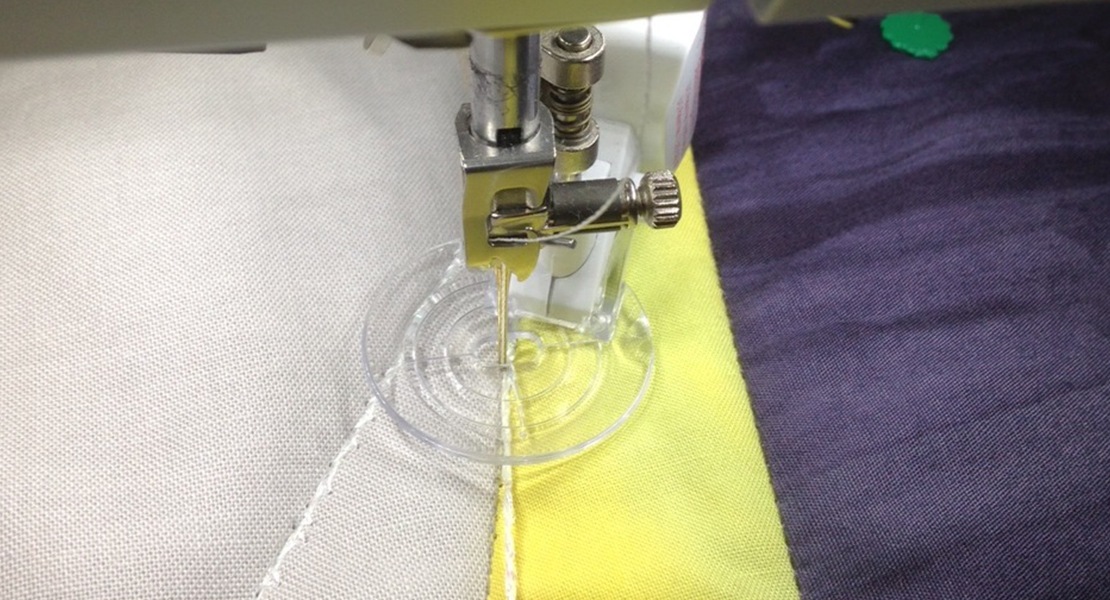
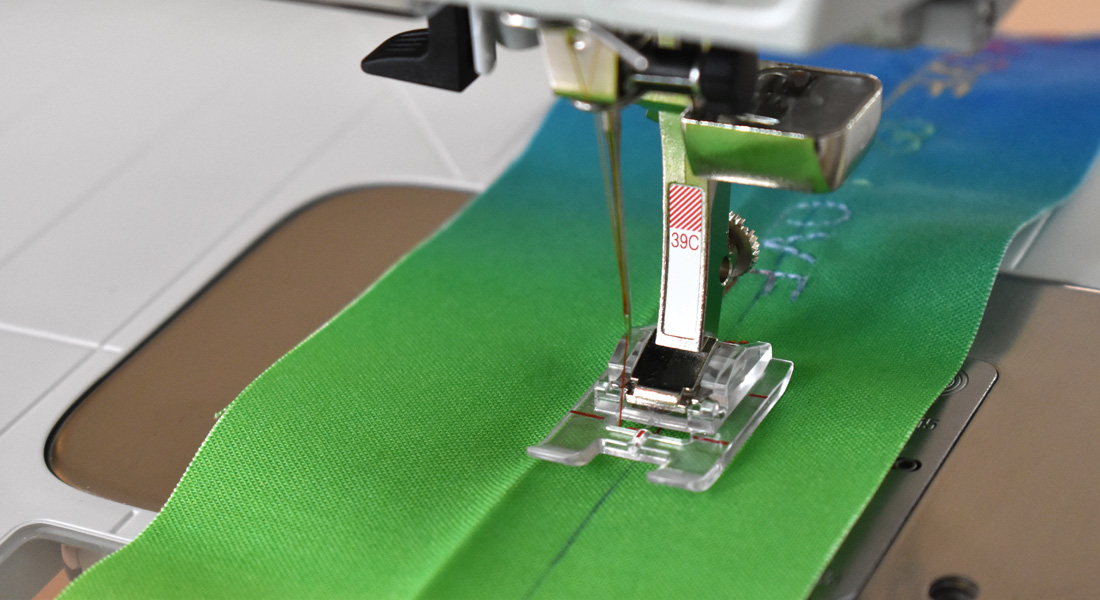
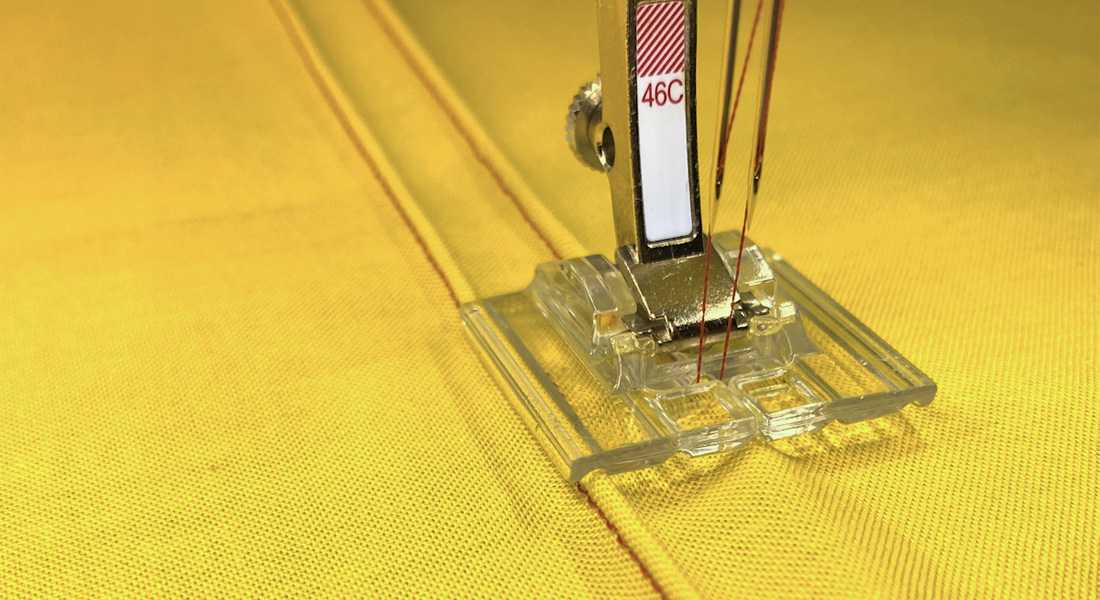
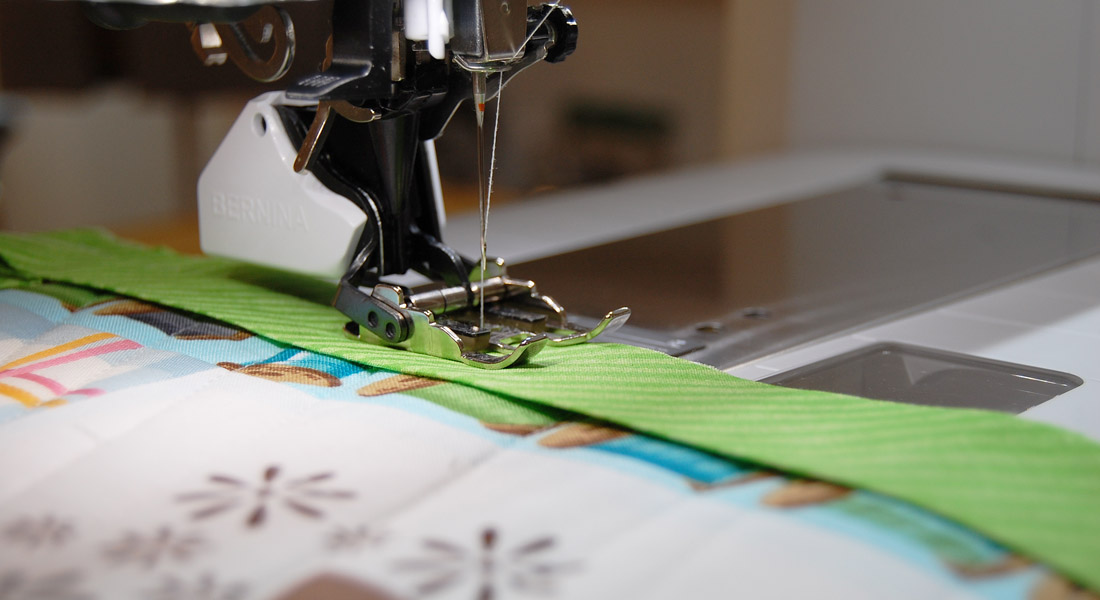
Attach Open Embroidery Foot #20C or #20D to your machine. You can use Open Embroidery Foot #20, but you are limited to a maximum stitch width of 5.5 mm. Place binding under the foot and align so the left side of binding is up against the inside left toe of the foot. This is the placement for all three decorative stitches I am showing today.
![MTC_Decorative_Stitch_Binding_05_foot_placement_BERNINA_WeAllSew_Blog_1080x1080px[1]](https://weallsew.com/wp-content/uploads/sites/4/2022/09/MTC_Decorative_Stitch_Binding_05_foot_placement_BERNINA_WeAllSew_Blog_1080x1080px1.jpg)
Machine Set Up Tips
Make sure Needle Stop Up/Down is in down position. This prevents the fabric from shifting under the foot when pivoting or making minor adjustments.
![MTC_Decorative_Stitch_Binding_06_simulator_needle_down_BERNINA_WeAllSew_Blog_800x480px[1]](https://weallsew.com/wp-content/uploads/sites/4/2022/09/MTC_Decorative_Stitch_Binding_06_simulator_needle_down_BERNINA_WeAllSew_Blog_800x480px1.png)
Attach and use your Freehand System. This makes turning corners super easy and quick.
![MTC_Decorative_Stitch_Binding_06a_FHS_BERNINA_WeAllSew_Blog_1080x1080px[1]](https://weallsew.com/wp-content/uploads/sites/4/2022/09/MTC_Decorative_Stitch_Binding_06a_FHS_BERNINA_WeAllSew_Blog_1080x1080px1-1.jpg)
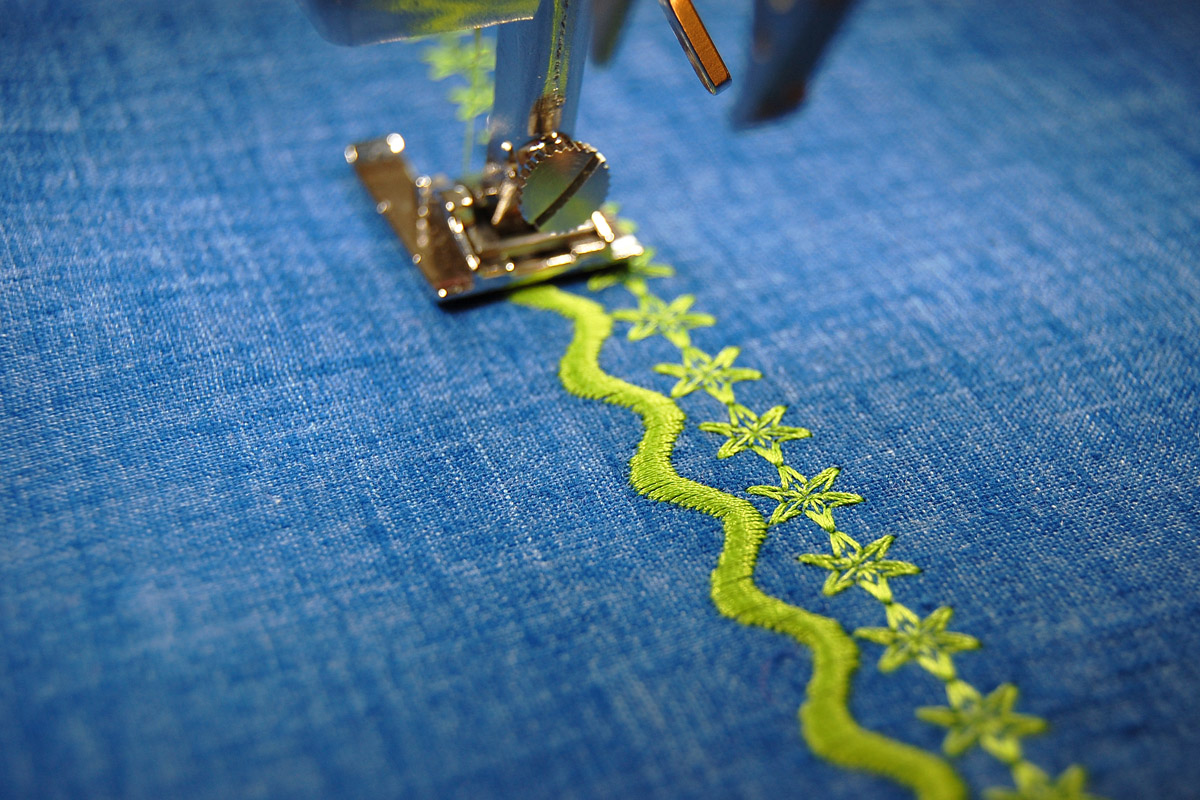
Decorative Stitch #1310
This is a good stitch to start with if this binding technique is new to you. Select Decorative Stitch #1310 in the Quilting Stitches Menu. In the Information Menu, touch Mirror Image Left/Right. Move Needle Position to -5. Here you can adjust your stitch width and length if desired. Mine is at the default stitch length and is set at a width of 3.5 mm.
![MTC_Decorative_Stitch_Binding_07_simulator_1310_BERNINA_WeAllSew_Blog_800x476px[1]](https://weallsew.com/wp-content/uploads/sites/4/2022/09/MTC_Decorative_Stitch_Binding_07_simulator_1310_BERNINA_WeAllSew_Blog_800x476px1.png)
Grab some practice fabric and sew paying attention to the stitch pattern. With this stitch pattern, you want the first 3 stitches (forward-back-forward) to stitch in the quilt fabric, not the binding. Then, the “spine” of the stitch pattern will stitch into the binding.
![MTC_Decorative_Stitch_Binding_08_blanket_stitch_on_side_BERNINA_WeAllSew_Blog_1080x1080px[1]](https://weallsew.com/wp-content/uploads/sites/4/2022/09/MTC_Decorative_Stitch_Binding_08_blanket_stitch_on_side_BERNINA_WeAllSew_Blog_1080x1080px1.png)
As you get close to the corner, slow down.
![MTC_Decorative_Stitch_Binding_09_blanket_stitch_at_corner_BERNINA_WeAllSew_Blog_1080x1080px[1]](https://weallsew.com/wp-content/uploads/sites/4/2022/09/MTC_Decorative_Stitch_Binding_09_blanket_stitch_at_corner_BERNINA_WeAllSew_Blog_1080x1080px1.jpg)
The trick here is to get the third stitch directly into the corner, then pivot 45 degrees, stitch the spine at a diagonal, pivot 45 degrees and continue down the next side.
Here, I have pivoted 45 degrees. I will sew the spine of the stitch pattern at a diagonal into the corner.
![MTC_Decorative_Stitch_Binding_10_blanket_stitch_on_diagonal_BERNINA_WeAllSew_Blog_1080x1080px[1]](https://weallsew.com/wp-content/uploads/sites/4/2022/09/MTC_Decorative_Stitch_Binding_10_blanket_stitch_on_diagonal_BERNINA_WeAllSew_Blog_1080x1080px1.jpg)
Here, I have pivoted 45 degrees again to start sewing down the next side.
![MTC_Decorative_Stitch_Binding_11_blanket_stitch_turned_BERNINA_WeAllSew_Blog_1200x800px[1]](https://weallsew.com/wp-content/uploads/sites/4/2022/09/MTC_Decorative_Stitch_Binding_11_blanket_stitch_turned_BERNINA_WeAllSew_Blog_1200x800px1.jpg)
Here is a close-up of what a nicely stitched corner looks like with a blanket stitch.
![MTC_Decorative_Stitch_Binding_12_blanket_stitch_corner_BERNINA_WeAllSew_Blog_1200x800px[1]](https://weallsew.com/wp-content/uploads/sites/4/2022/09/MTC_Decorative_Stitch_Binding_12_blanket_stitch_corner_BERNINA_WeAllSew_Blog_1200x800px1.jpeg)
Here is how the stitch looks on the back of the quilt.
Decorative Stitch #725
Select Decorative Stitch #725. Stitch length and width are personal preferences. I find decorative stitch patterns that are wider and shorter create more of a flat, stiff binding than those that are narrow and longer.
![MTC_Decorative_Stitch_Binding_13_simulator_dense_stitch_BERNINA_WeAllSew_Blog_350x563px[1]](https://weallsew.com/wp-content/uploads/sites/4/2022/09/MTC_Decorative_Stitch_Binding_13_simulator_dense_stitch_BERNINA_WeAllSew_Blog_350x563px1.png)
![MTC_Decorative_Stitch_Binding_14_simulator_wide_stitch_BERNINA_WeAllSew_Blog_350x592px[1]](https://weallsew.com/wp-content/uploads/sites/4/2022/09/MTC_Decorative_Stitch_Binding_14_simulator_wide_stitch_BERNINA_WeAllSew_Blog_350x592px1.png)
For this tutorial, increase Stitch Length to 3.75 mm and keep Stitch Width at 9 mm.
![MTC_Decorative_Stitch_Binding_15_simulator_725_BERNINA_WeAllSew_Blog_800x472px[1]](https://weallsew.com/wp-content/uploads/sites/4/2022/09/MTC_Decorative_Stitch_Binding_15_simulator_725_BERNINA_WeAllSew_Blog_800x472px1.png)
Go into Machine Settings and activate Securing Stitches at Pattern Begin function.
![MTC_Decorative_Stitch_Binding_16_pattern_begin_BERNINA_WeAllSew_Blog_800x480px[1]](https://weallsew.com/wp-content/uploads/sites/4/2022/09/MTC_Decorative_Stitch_Binding_16_pattern_begin_BERNINA_WeAllSew_Blog_800x480px1.png)
Go into Programmable Buttons and select Automatic Thread Cutter & Securing Stitches icon. Activate the Securing Stitches.
![MTC_Decorative_Stitch_Binding_17_program_cut_threads_BERNINA_WeAllSew_Blog_800x478px[1]](https://weallsew.com/wp-content/uploads/sites/4/2022/09/MTC_Decorative_Stitch_Binding_17_program_cut_threads_BERNINA_WeAllSew_Blog_800x478px1.png)
Start at the top of one side and stitch until you are close to the next corner. Check placement and touch Pattern End. Decide if you have room for one more stitch pattern. ![MTC_Decorative_Stitch_Binding_18_near_corner_BERNINA_WeAllSew_Blog_1200x800px[1]](https://weallsew.com/wp-content/uploads/sites/4/2022/09/MTC_Decorative_Stitch_Binding_18_near_corner_BERNINA_WeAllSew_Blog_1200x800px1.jpg)
When you are as close to the corner as possible, touch the Cut Threads button. Remember we have programmed this button to cut threads and secure the stitch automatically. Turn quilt and start on next side. Do the same for all three sides.
![MTC_Decorative_Stitch_Binding_19_sewing_725_BERNINA_WeAllSew_Blog_1080x1080px[1]](https://weallsew.com/wp-content/uploads/sites/4/2022/09/MTC_Decorative_Stitch_Binding_19_sewing_725_BERNINA_WeAllSew_Blog_1080x1080px1.png)
Here is what the corners will look like. You are securing stitches at beginning and end on each side. Secure stitches at end of stitch pattern to keep things symmetrical. This is why the Pattern End button is so great!
![MTC_Decorative_Stitch_Binding_20_finished_725_BERNINA_WeAllSew_Blog_500x501px[1]](https://weallsew.com/wp-content/uploads/sites/4/2022/09/MTC_Decorative_Stitch_Binding_20_finished_725_BERNINA_WeAllSew_Blog_500x501px1.jpg)
Decorative Stitch #783
This stitch takes a little practice. Don’t start here if you have not done this technique before. Select Decorative Stitch #783. Increase stitch length to 3.5 mm.
![MTC_Decorative_Stitch_Binding_21_simulator_783_BERNINA_WeAllSew_Blog_800x482px[1]](https://weallsew.com/wp-content/uploads/sites/4/2022/09/MTC_Decorative_Stitch_Binding_21_simulator_783_BERNINA_WeAllSew_Blog_800x482px1.png)
Start at the top of one side just under the mitered fold. Your goal is to have the straight part of the stitch in the quilt fabric and the curve on the binding. Use a stiletto to help keep the binding flat and in place. The tricky part of this stitch pattern is that the straight stitches sew in reverse. When you are about 1” from the corner, slow down.
![MTC_Decorative_Stitch_Binding_22_near_corner_close_up_BERNINA_WeAllSew_Blog_640x480px[1]](https://weallsew.com/wp-content/uploads/sites/4/2022/09/MTC_Decorative_Stitch_Binding_22_near_corner_close_up_BERNINA_WeAllSew_Blog_640x480px1.jpg)
The goal is to finish at the bottom of the curve in the stitch pattern as close to the corner as possible. If needed, sew 2-3 short straight stitches or use the handwheel to place needle in corner. A little fiddling won’t be noticeable.
![MTC_Decorative_Stitch_Binding_23_needle_in_corner_BERNINA_WeAllSew_Blog_1200x800px[1]](https://weallsew.com/wp-content/uploads/sites/4/2022/09/MTC_Decorative_Stitch_Binding_23_needle_in_corner_BERNINA_WeAllSew_Blog_1200x800px1.jpg)
Use the Freehand System to pivot. Press the Pattern Begin button on machine to start stitching down the next side. Do the same for all sides.
![MTC_Decorative_Stitch_Binding_24_sewing_783_BERNINA_WeAllSew_Blog_1080x1080px[1]](https://weallsew.com/wp-content/uploads/sites/4/2022/09/MTC_Decorative_Stitch_Binding_24_sewing_783_BERNINA_WeAllSew_Blog_1080x1080px1.png)
Here is a close-up of what a nicely stitched corner looks like with this decorative stitch. Again, this one takes some practice.
![MTC_Decorative_Stitch_Binding_25_close_up_783_corner_BERNINA_WeAllSew_Blog_1200x1600px[1]](https://weallsew.com/wp-content/uploads/sites/4/2022/09/MTC_Decorative_Stitch_Binding_25_close_up_783_corner_BERNINA_WeAllSew_Blog_1200x1600px1.jpeg)
I hope you are excited to go play with decorative stitch binding! After you try the ones in this tutorial, experiment with other decorative stitches. With your machine’s built-in stitches, the possibilities are endless! Enjoy the journey and never stop learning what your BERNINA can do for you!
![MTC_Decorative_Stitch_Binding_26_end_shot_1_BERNINA_WeAllSew_Blog_1200x1600px[1]](https://weallsew.com/wp-content/uploads/sites/4/2022/09/MTC_Decorative_Stitch_Binding_26_end_shot_1_BERNINA_WeAllSew_Blog_1200x1600px1.jpeg)
![MTC_Decorative_Stitch_Binding_27_end_shot_2_BERNINA_WeAllSew_Blog_1200x800px[1]](https://weallsew.com/wp-content/uploads/sites/4/2022/09/MTC_Decorative_Stitch_Binding_27_end_shot_2_BERNINA_WeAllSew_Blog_1200x800px1.jpg)


What you might also like


7 comments on “Decorative Stitch Binding”
-
-
The back looks just as nice. I promise! There are different tips and tricks on lining up the stitching on the back. Here I am securing the front binding with basting glue right above the stitching line. This keeps the binding in place as I’m sewing and keeps the stitch looking good on the back. It takes a little practice but you’ll find what works for you!
-
Update: we added an image of the blanket stitch on the back of the quilt. The key to insuring good placement of the stitch on the backside is basting the binding above the straight stitch with temporary glue.
-
-
I am very glad you added a picture of the back side of the quilt for the first pattern (blanket stitch). The blanket stitch was the first one I tried. I assume you do a 1/4″ seam on the back side to attach the binding – correct? (You referred to “Stay Gold Quilt Along, Part 6″ – which I did review.) I started with a 2 1/2″ wide binding and the stitching on the back was 3/8″ away for the binding edge. ?? – didn’t look like your picture. So I tried the 2 3/4” binding. So on the back side, it was closer but still not on the binding. I am using a Bernina 770 QE with the #20D foot. Any suggestions?? I did not have Roxanne Glue Baste It available to me, so I ordered it online at Amazon tonight.
Also, when I did “Print this page”, I was getting pictures half on one page and rest of the picture on the following page throughout the whole article. I’ll see if I figure out a workaround. A number of our ladies in our Quilters for Kids group are seniors and hand binding is a challenge, so some of us have switched over to machine binding. I’m hoping something like this would help. Thanks much for article.-
Hello. So glad you are trying this binding technique. I did sew on binding at 1/4″. You mentioned you did not have a temporary glue available. Did you secure the binding to the backside another way? It’s very important the binding on the back is secured somehow just above the seam allowance. This way when you are stitching the blanket stitch on front, the stitch is being formed on the back close to the binding. Also, make sure needle position is at -5. I hope this helps!
-
Forgot to mention, I checked the Print this Page and the images were not split. Try checking the print settings. You can change the layout or size.
-
-
I would love to try these stitches, but I have a B740 and they are not on my machine. I’m sure there is no way to add them in……
Leave a Reply
You must be logged in to post a comment.

Is it possible to see the reverse side? Whenever I do machine binding, my back doesn’t line up.
Thanks.