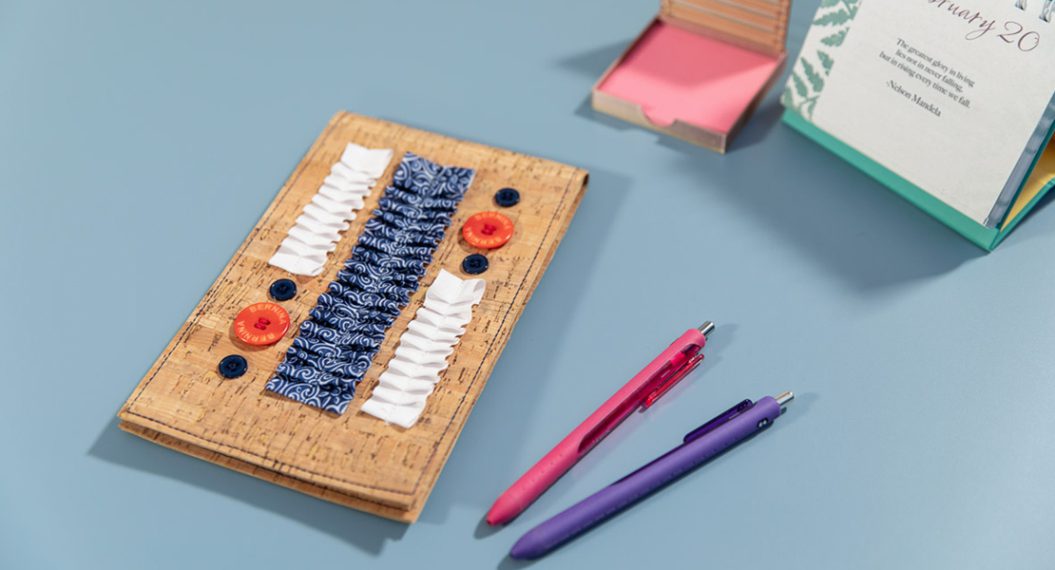
DIY Notepad Folio on the Overlocker, Part Two
Welcome to Part Two of the DIY Notepad Folio! Now it’s time to put it all together. Refer here for the needed supplies.
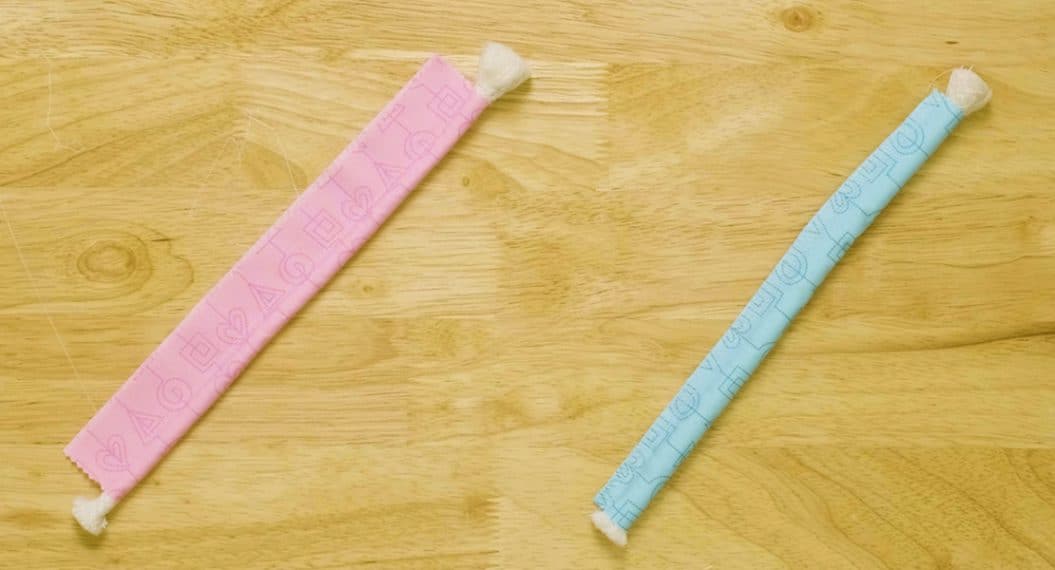
Step 1: Make the Pockets
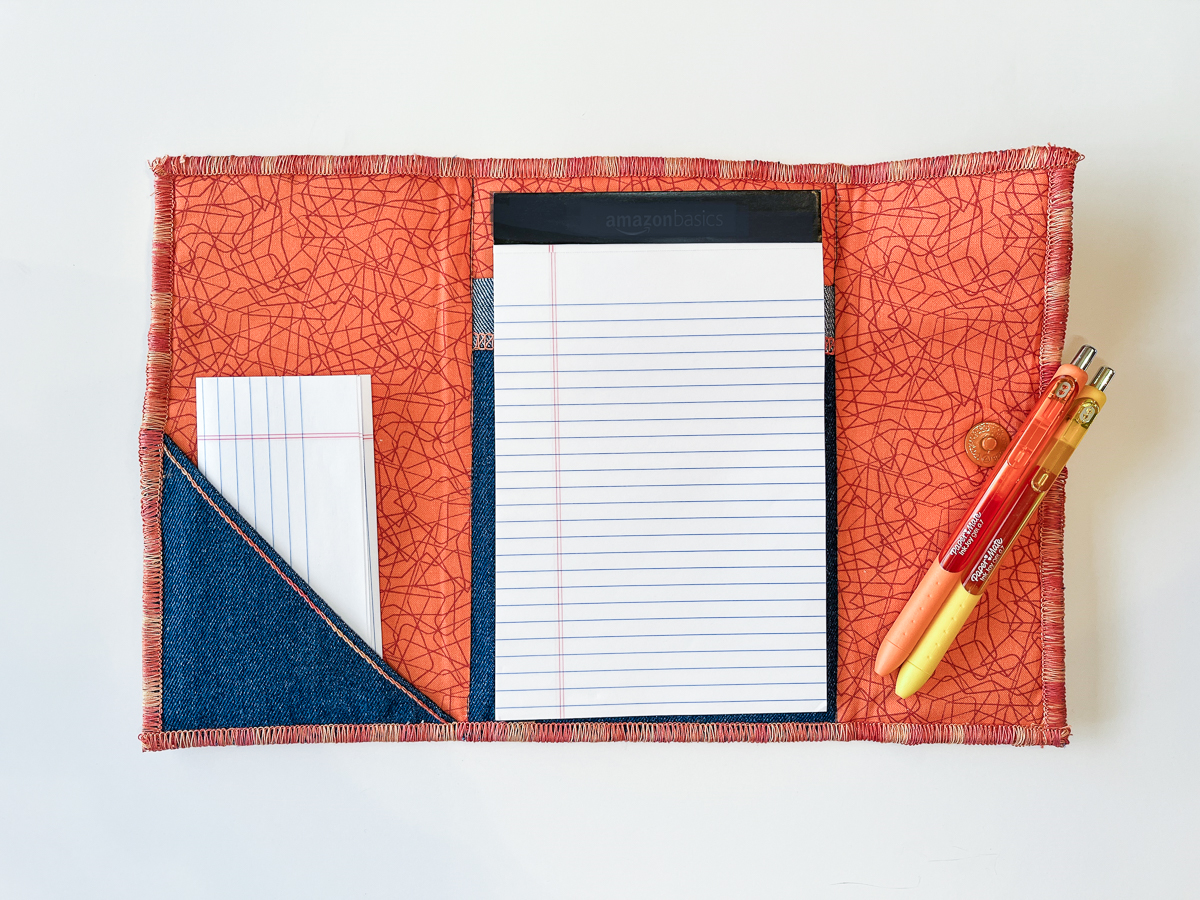
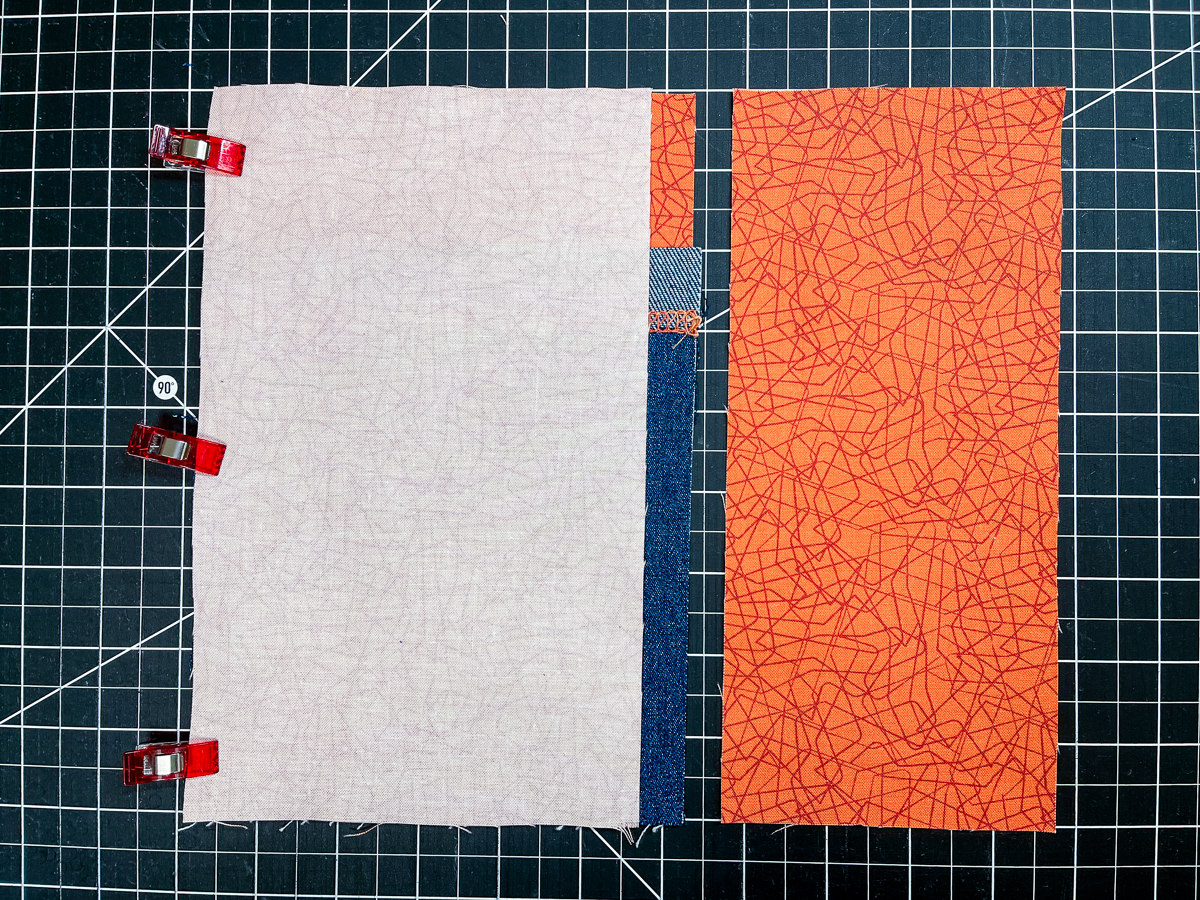
There are three pockets on the folio: a front pencil pocket, a pocket to hold the notepad, and a corner pocket to hold miscellaneous notes or paper.
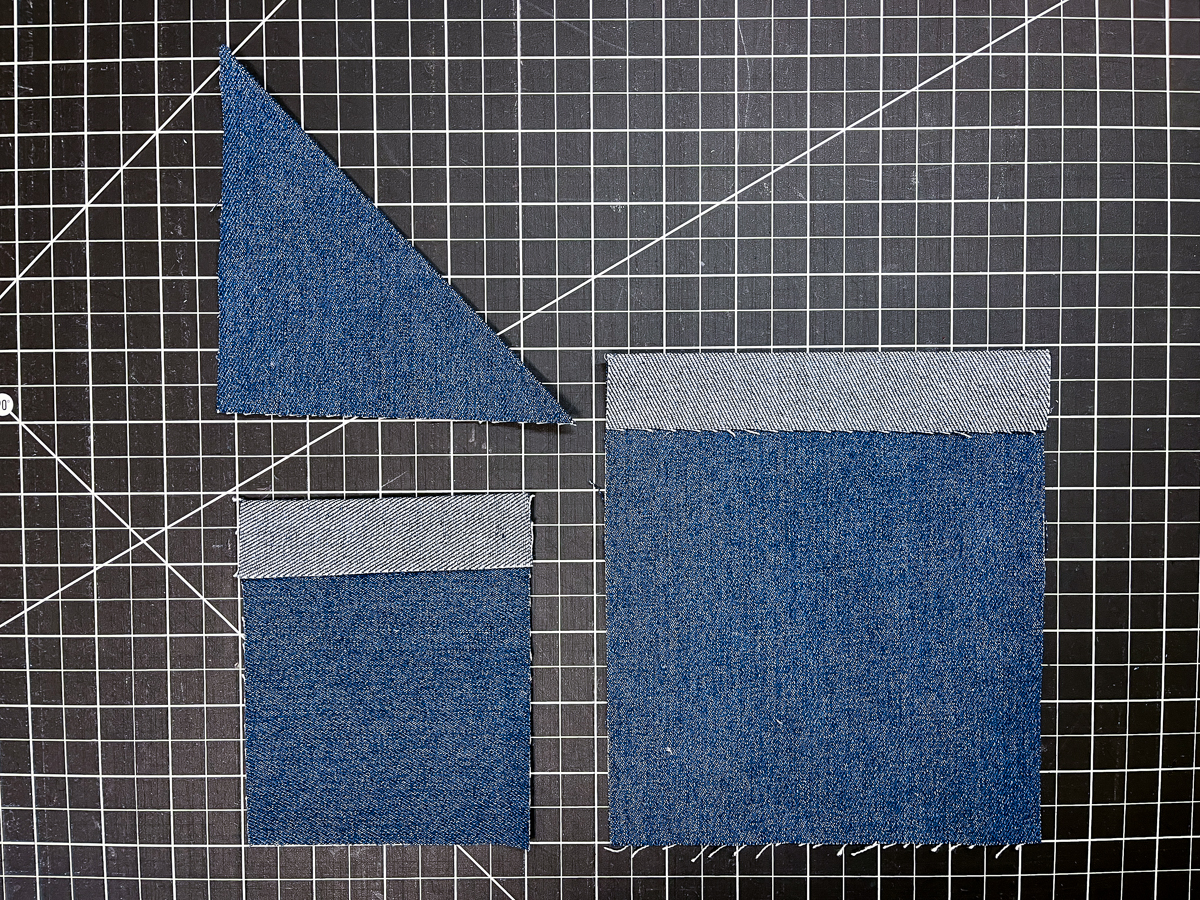
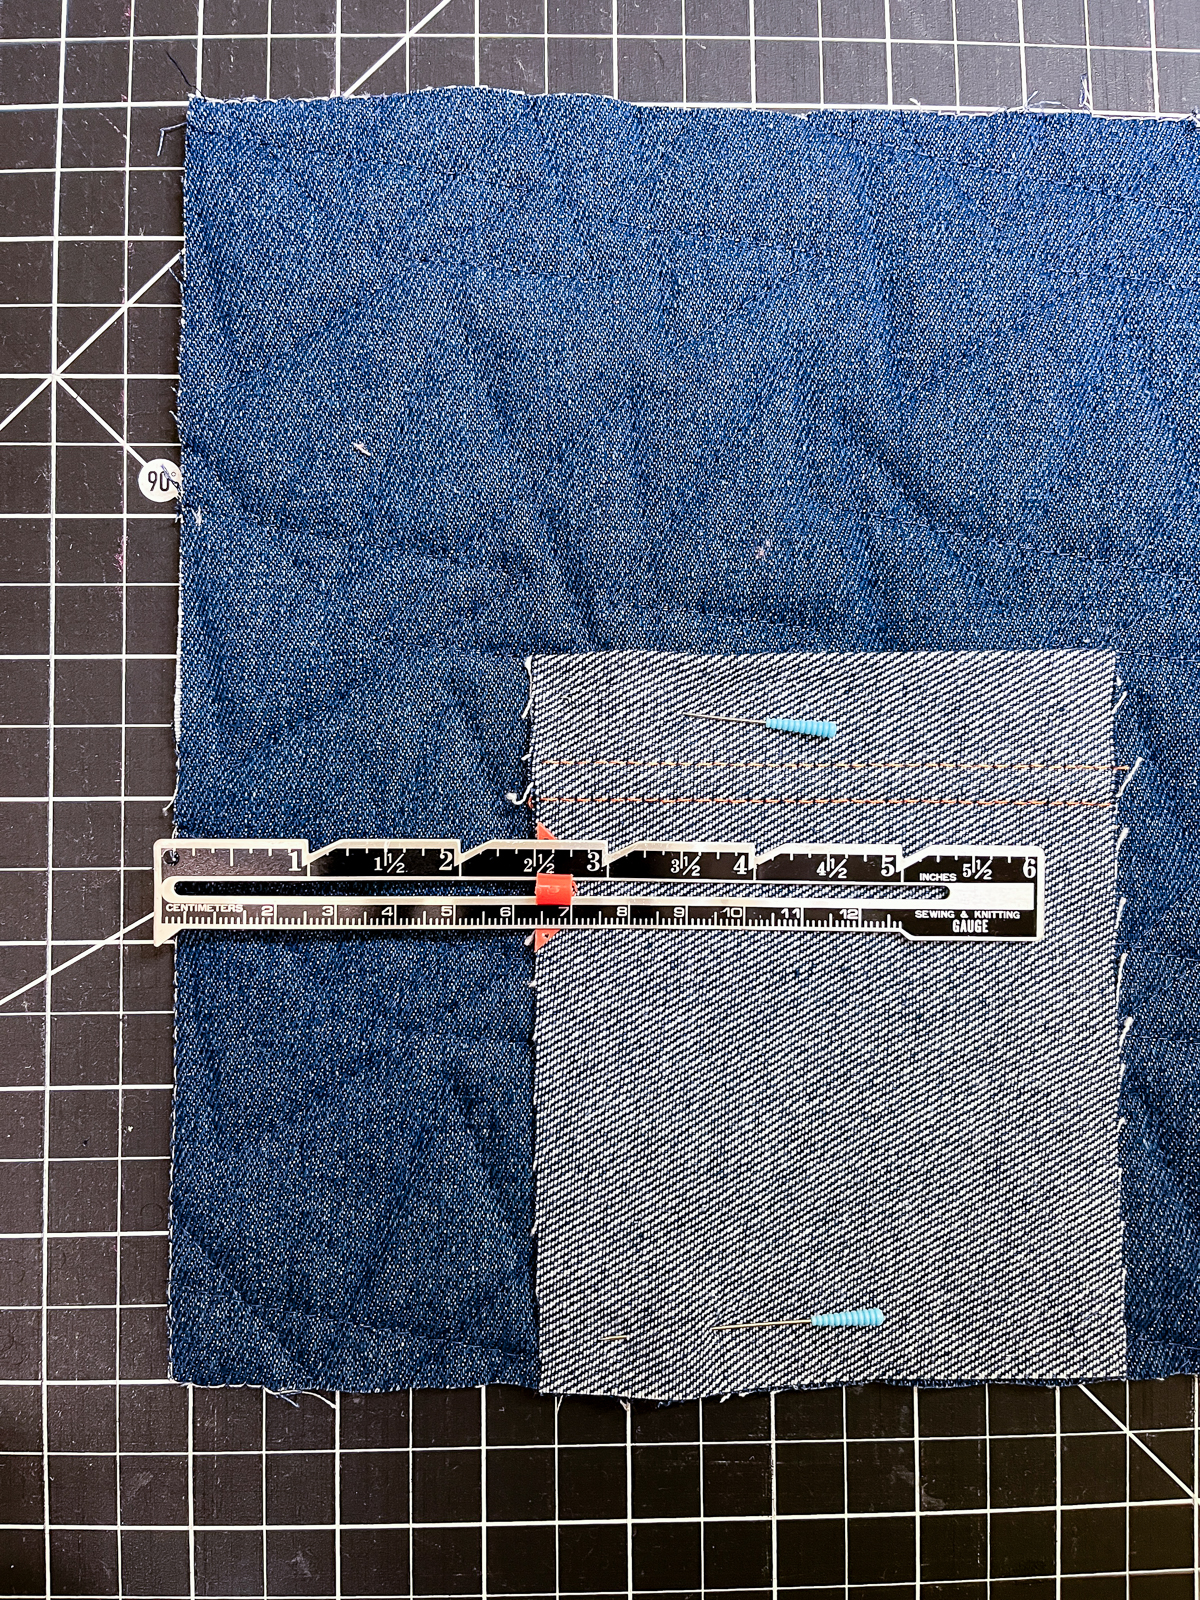
Press 1” to the right side on one short edge of both the pen pocket and notepad pocket. Press the 5” square in half diagonally, wrong sides together, to make the corner pocket.
Set the overlocker for a 3-thread Coverstitch 6mm LC-RC #22. Thread the looper with 12 weight thread and the needles with coordinating serger thread.
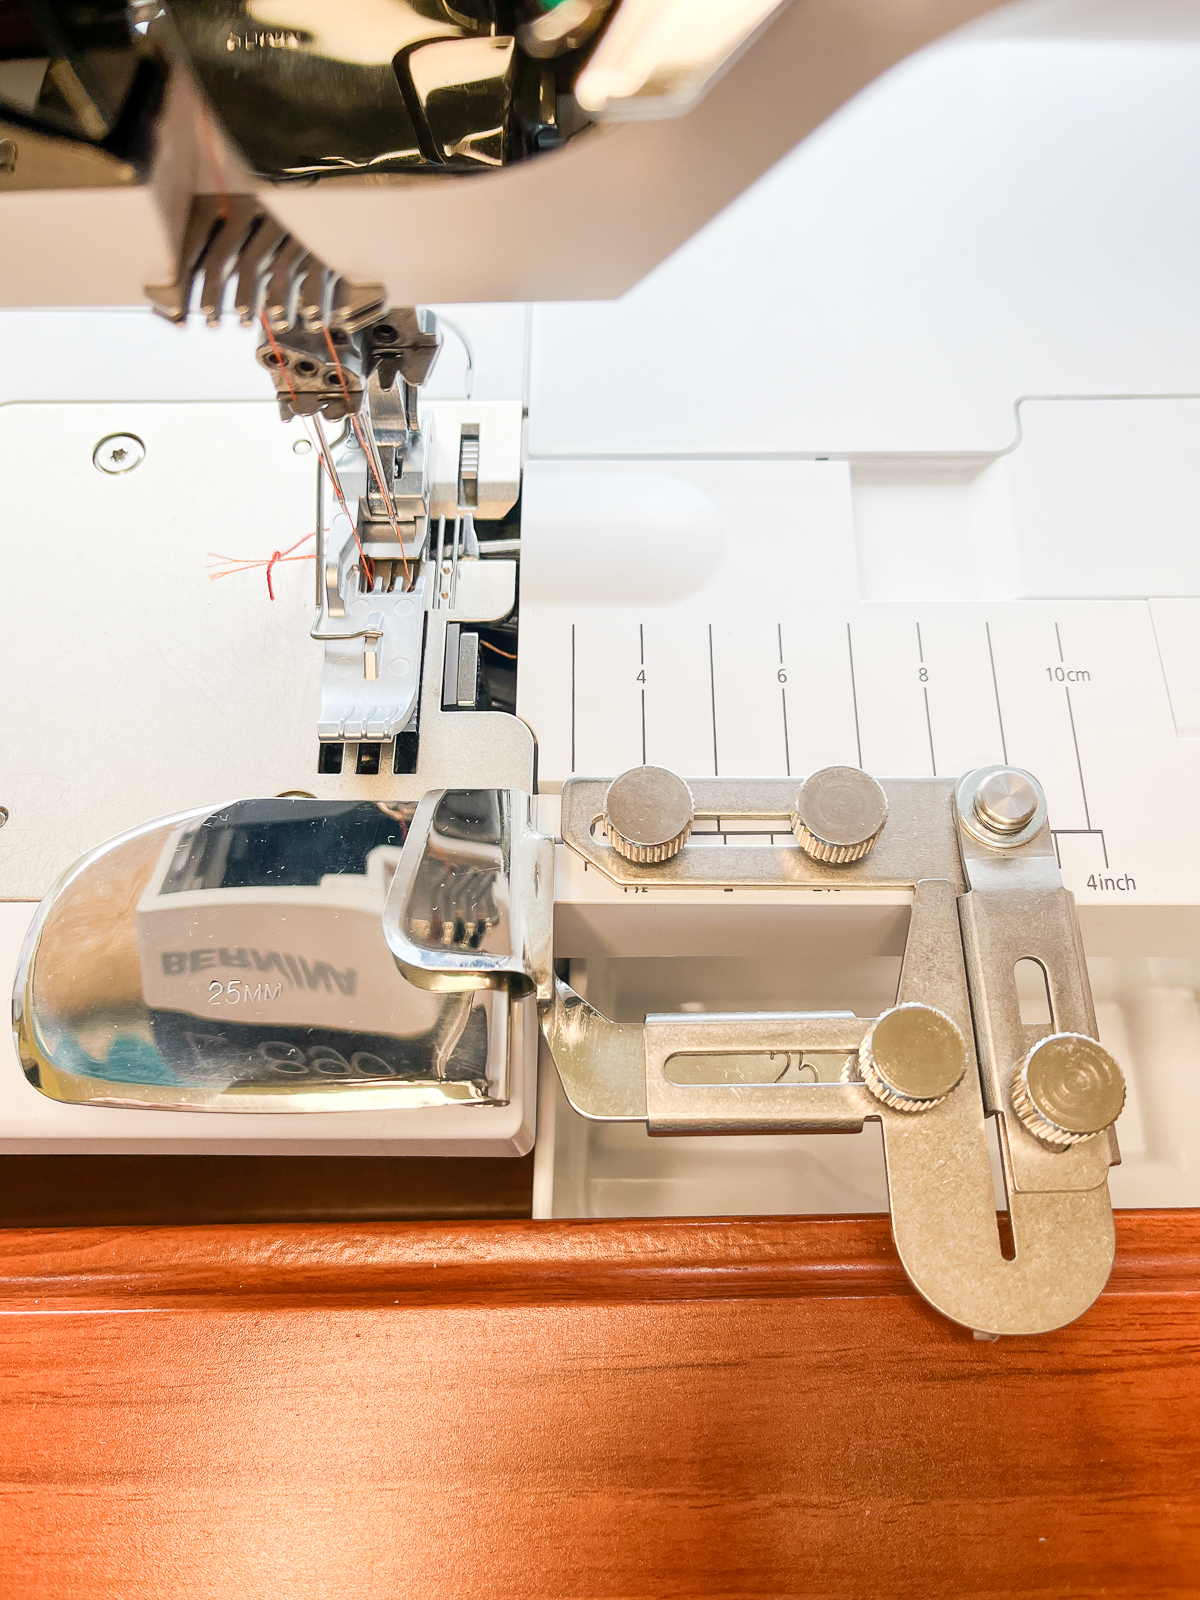
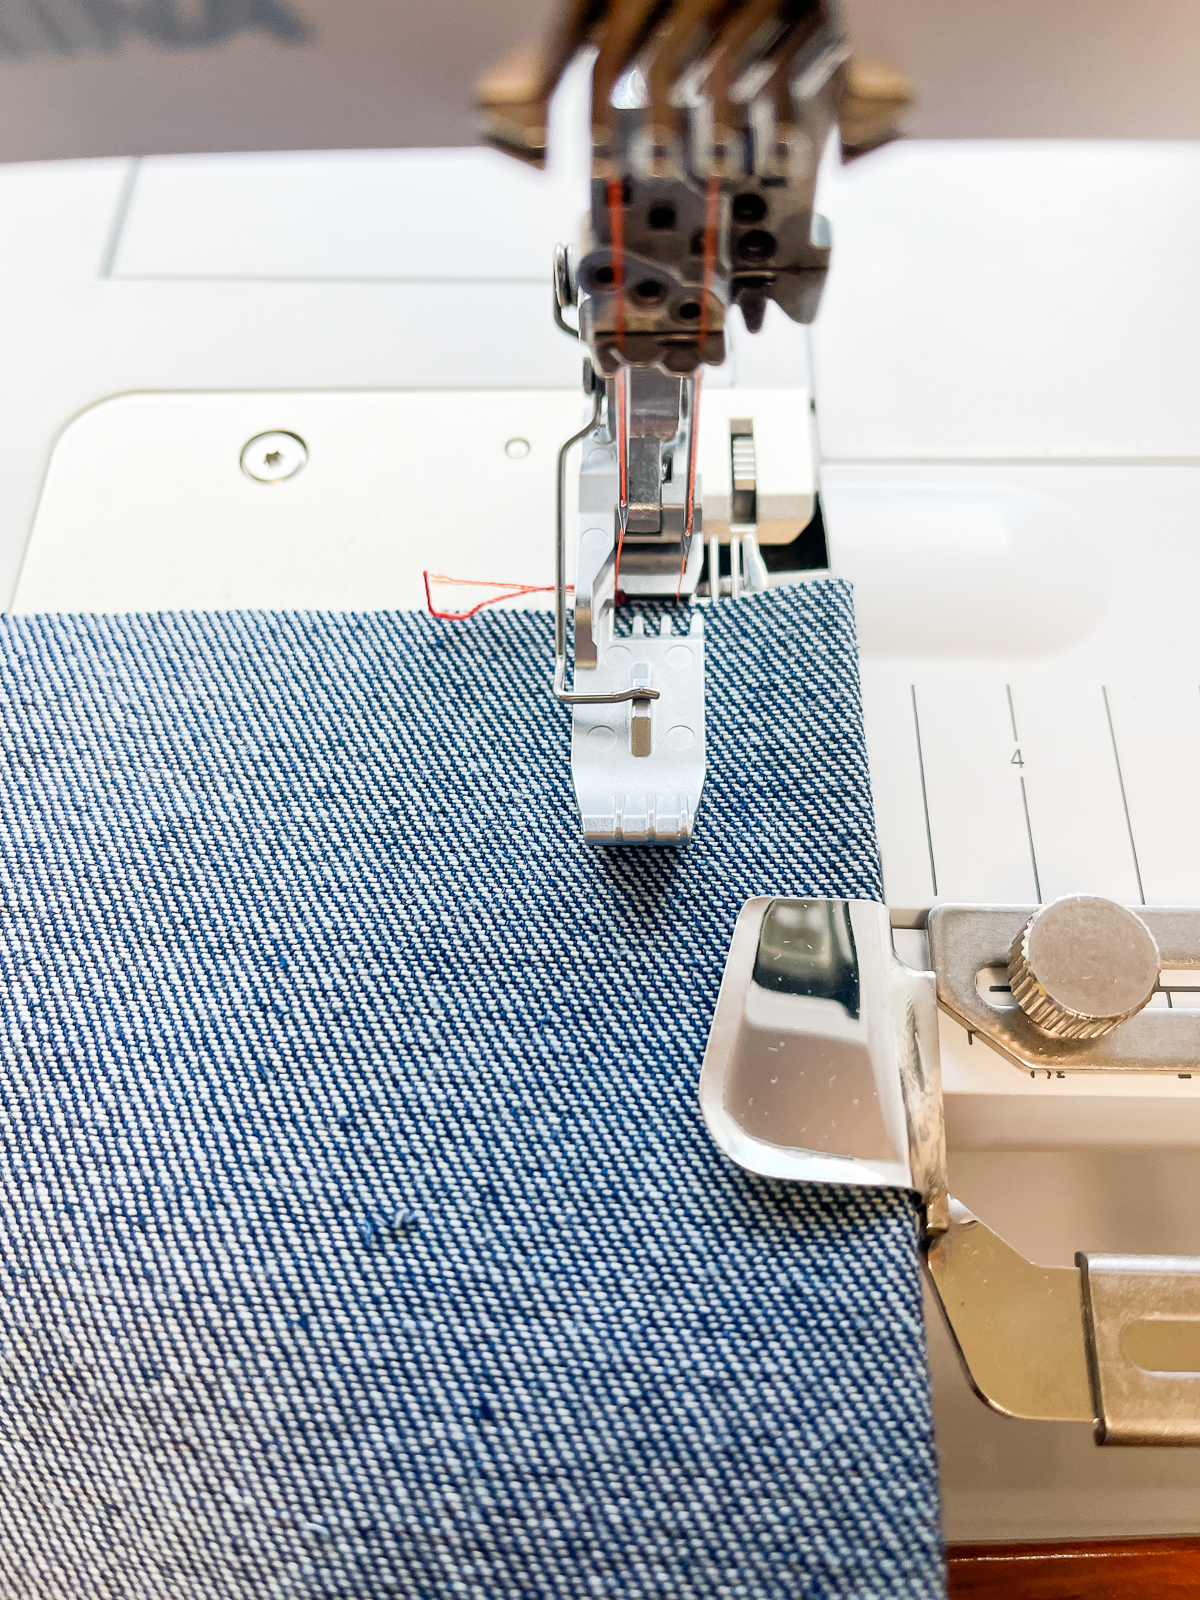
Attach the Accessories Holder to the Coverstitch Insert and insert the Coverstitch Hemmer #C31. This attachment is used for sewing 1” (25mm) hems. Swing the hemmer into place so that the fabric edge guide on the bottom of the attachment is even with the left needle. There should be a small amount of space between the hemmer and the front of the presser foot.
Swing the hemmer out. Insert the pen pocket into the hemmer. Stitching will be on the wrong side of the denim.
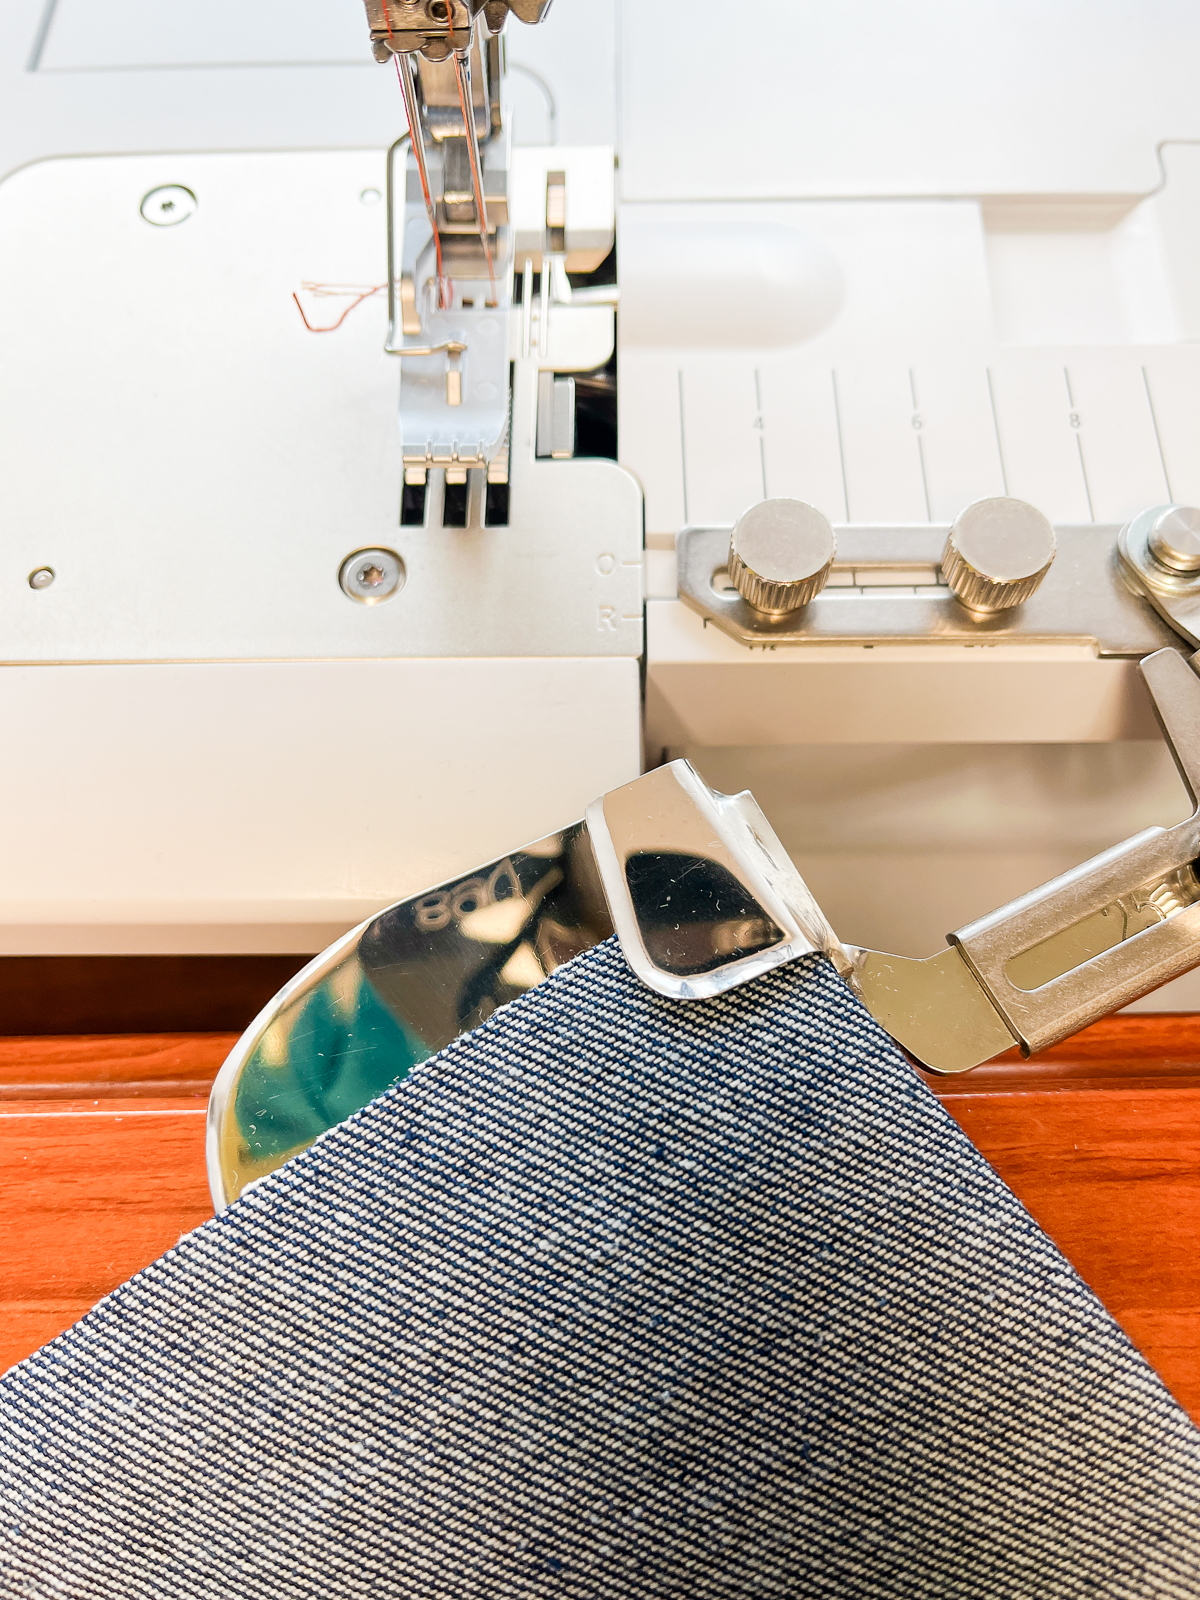
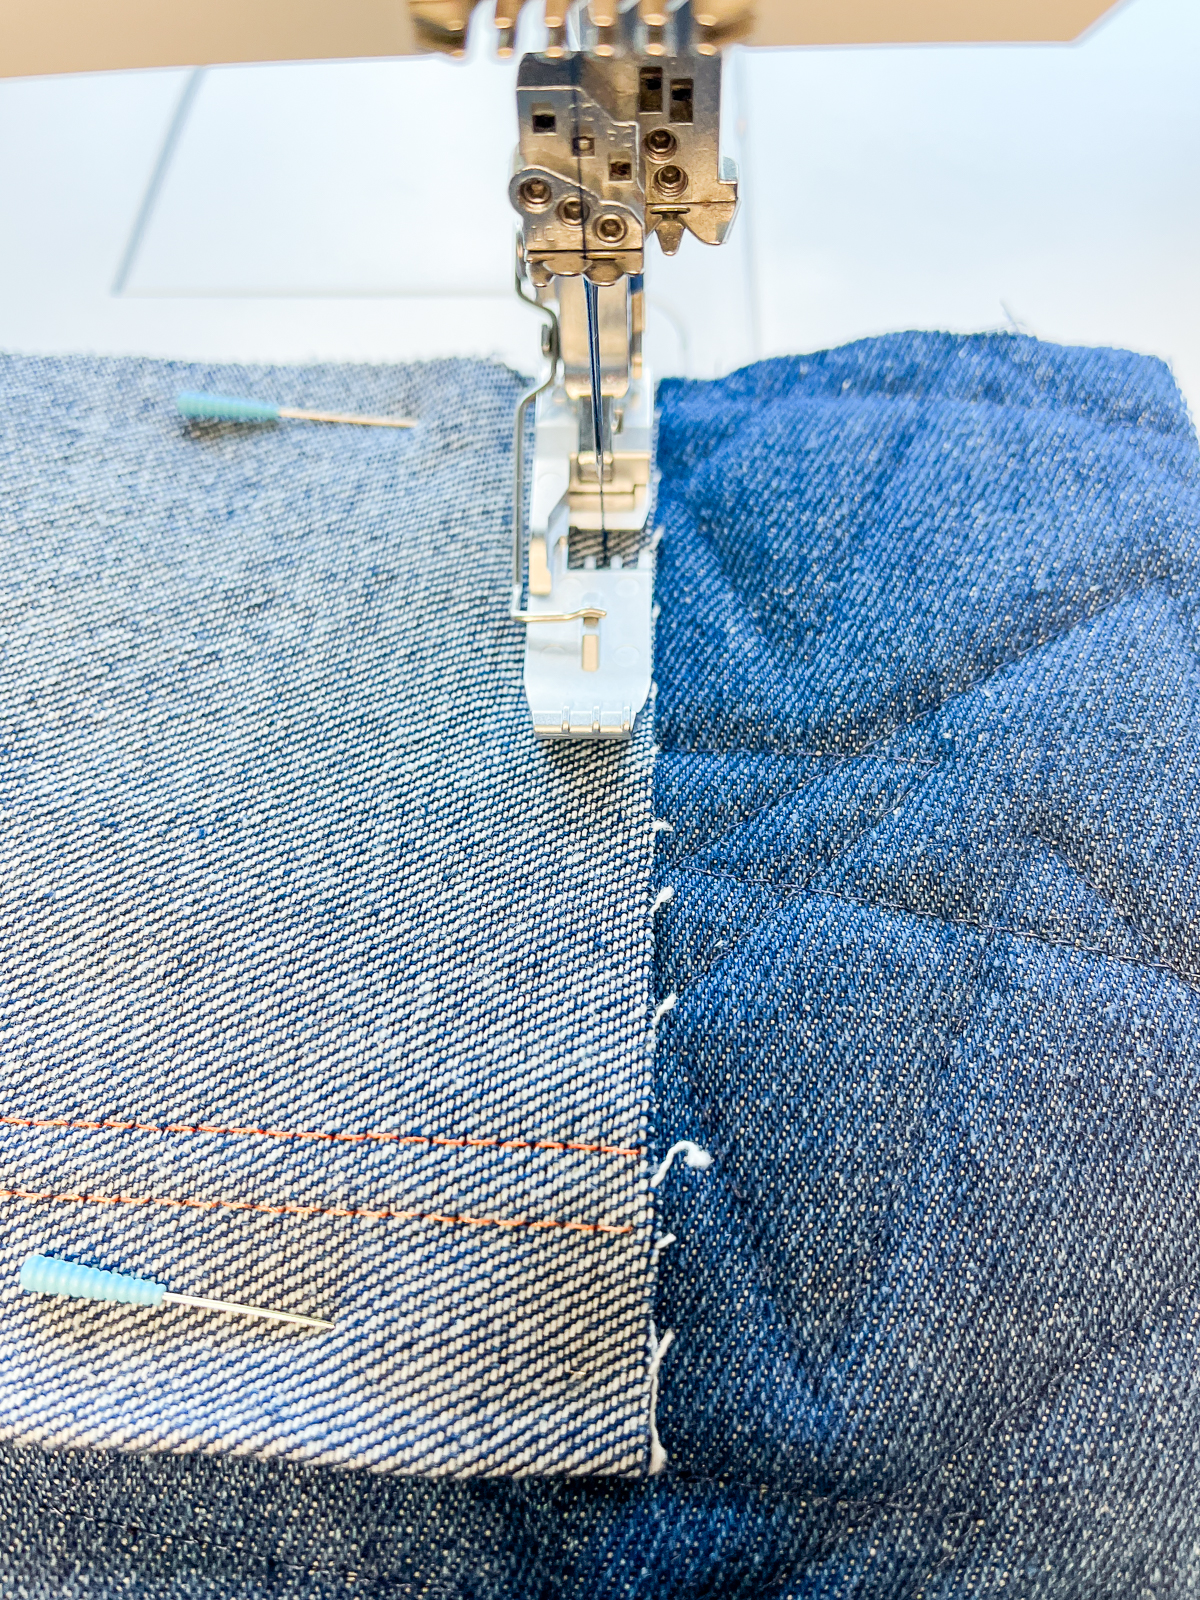
Swing into place. The fabric should move easily through the attachment. Make sure the fabric is under the needle.
Sew the hem. Turn and look at the coverstitch. The left needle should be on the very edge or just off the edge of the hem so that the raw edges are covered. Excess fabric may be trimmed with appliqué scissors or the hemmer placement can be adjusted.
Tip: I recommend testing the hem on practice fabric first. If the stitching is too far to the right, move the hemmer to the right. If it is too far to the left, move the hemmer to the left.
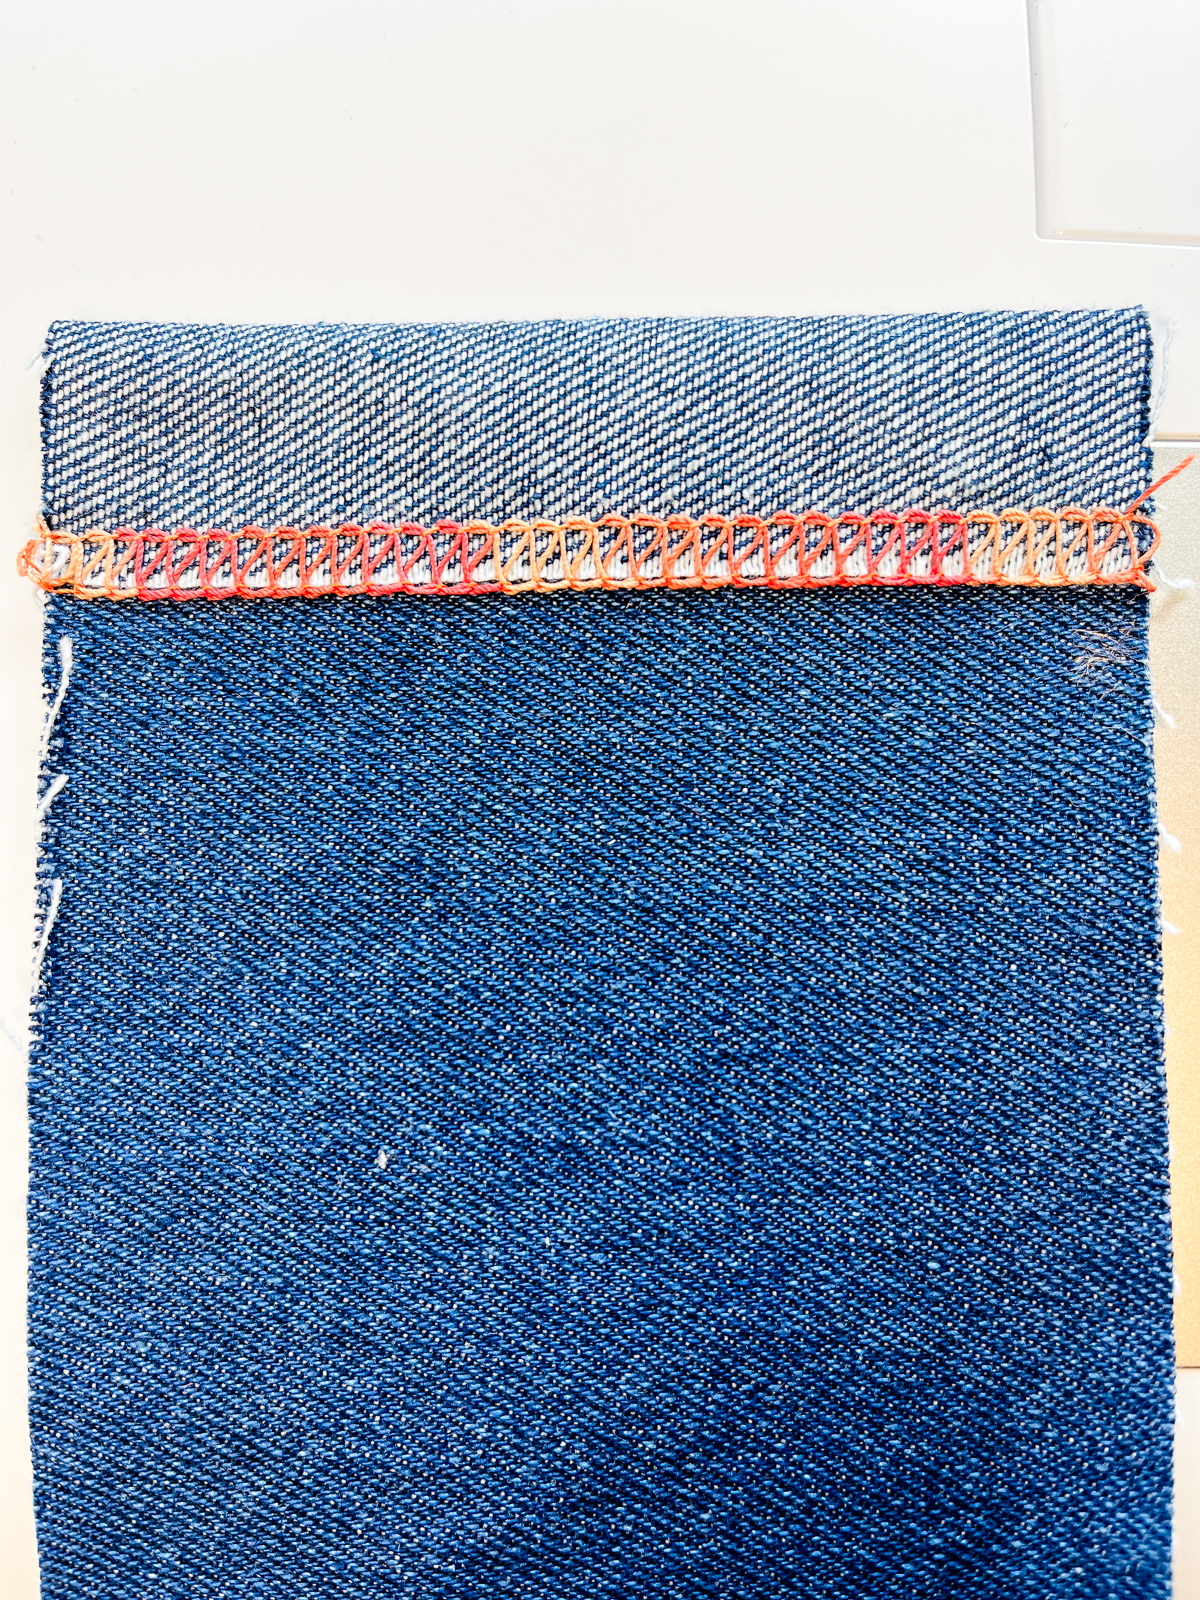
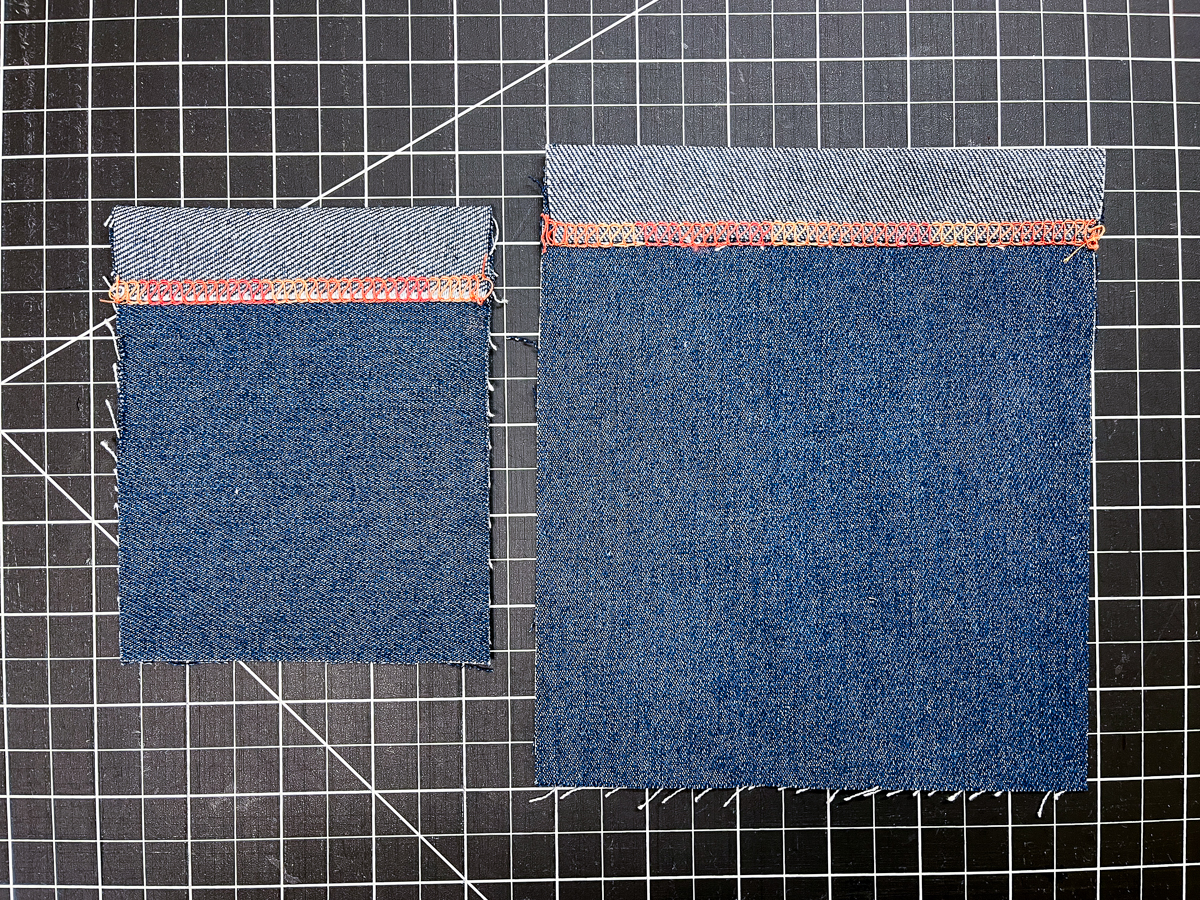
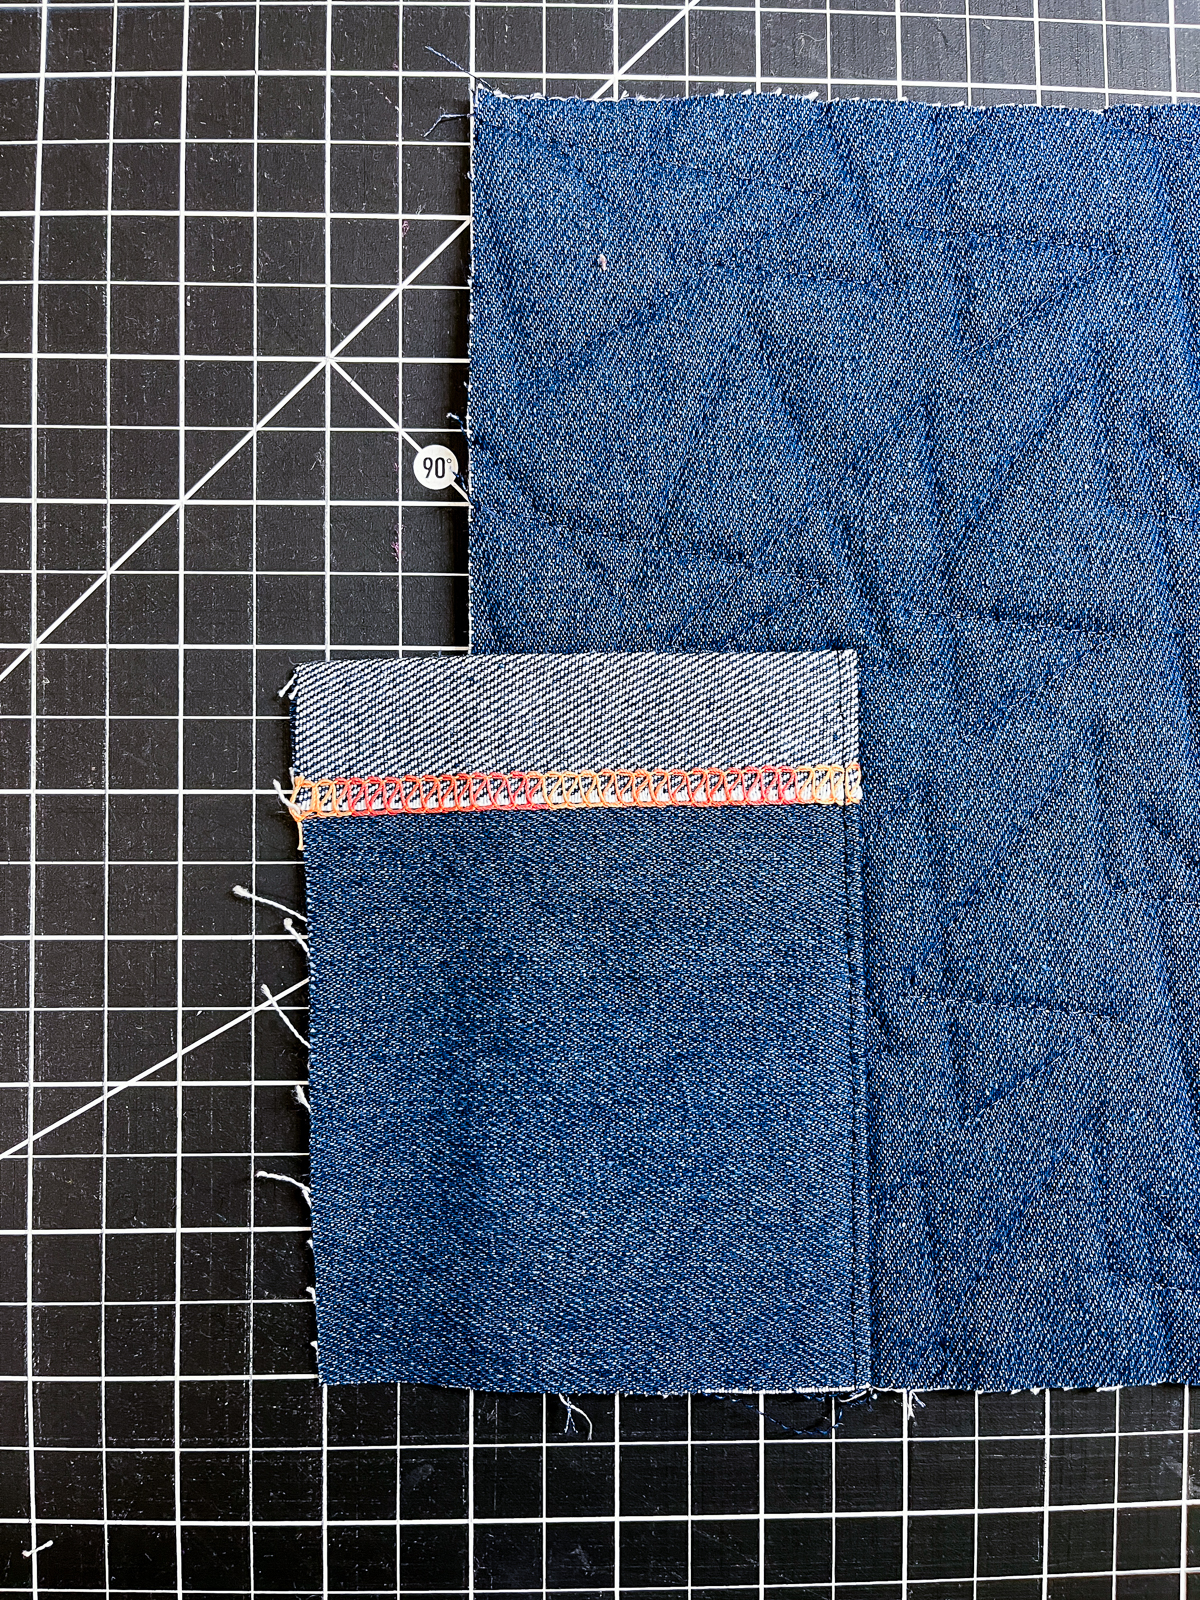
Repeat the steps above to hem the notepad pocket. The lighter wrong side of the denim is a nice contrast on the pocket fronts and the decorative thread in the chain looper is also showing on the right side.
Tip: I like to use a leader and ender of scrap fabric when I’m coverstitching edge to edge as on these pockets. This gives my stitching a tidier start and finish.
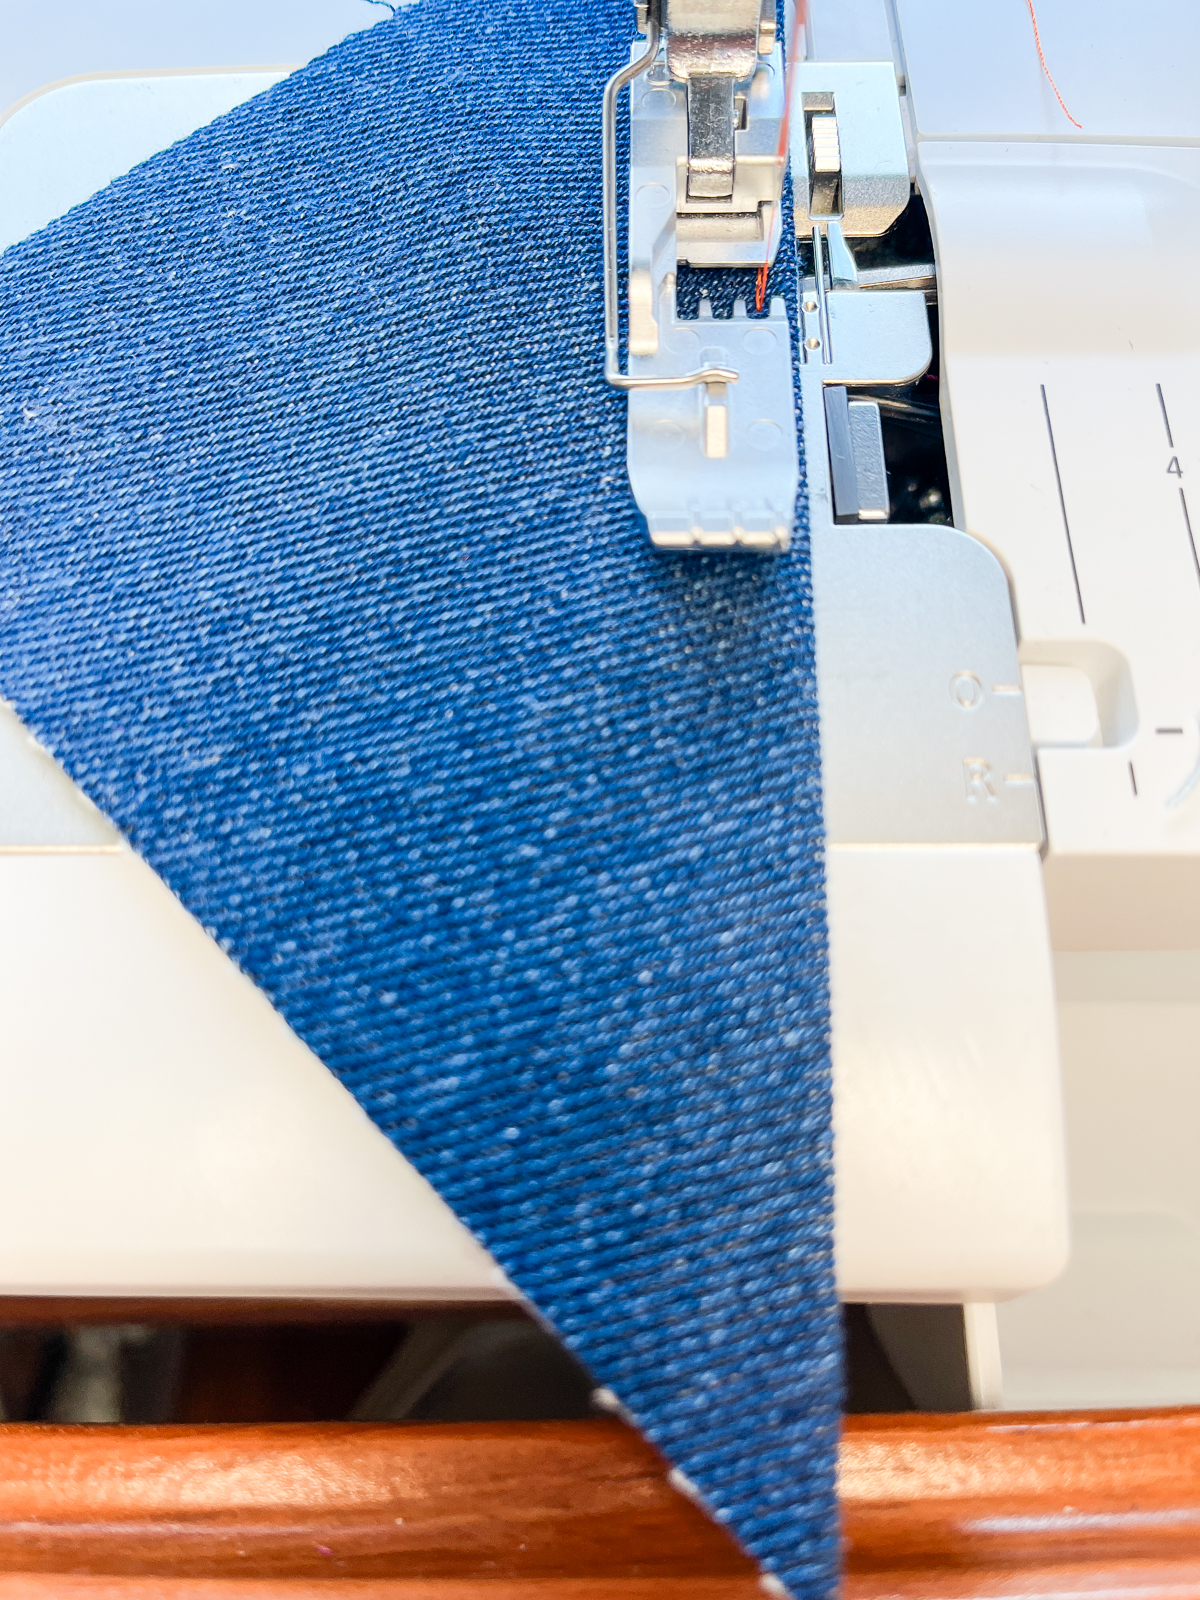
Set the machine for a 2-thread Chainstitch RC #16 with the same decorative thread in the chain looper. Guiding the fold along the right edge of the Cover-/Chainstitch Foot #C13, topstitch the corner pocket. Again, a leader and ender are helpful when starting and stopping on the very edge of the fabric.
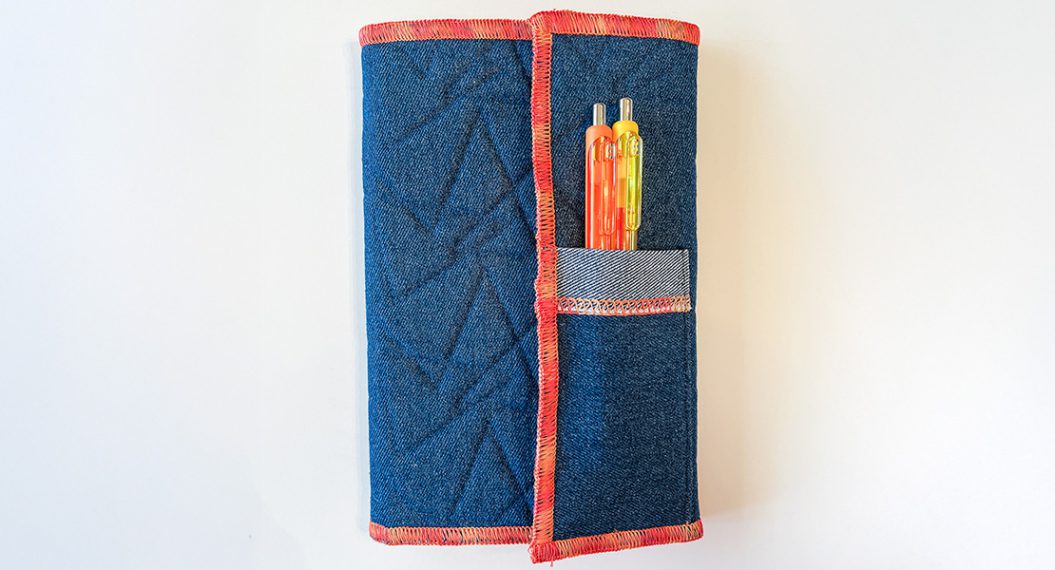
Step 2: Attach Pen Pocket
Set the machine for a 2-thread Chainstitch CC #32 with serger thread in the needle and looper that matches the denim. With the quilted denim facing up, place the pen pocket 2 1/2″ in from the left edge, right-side down, with the raw edge along the bottom of the folio.
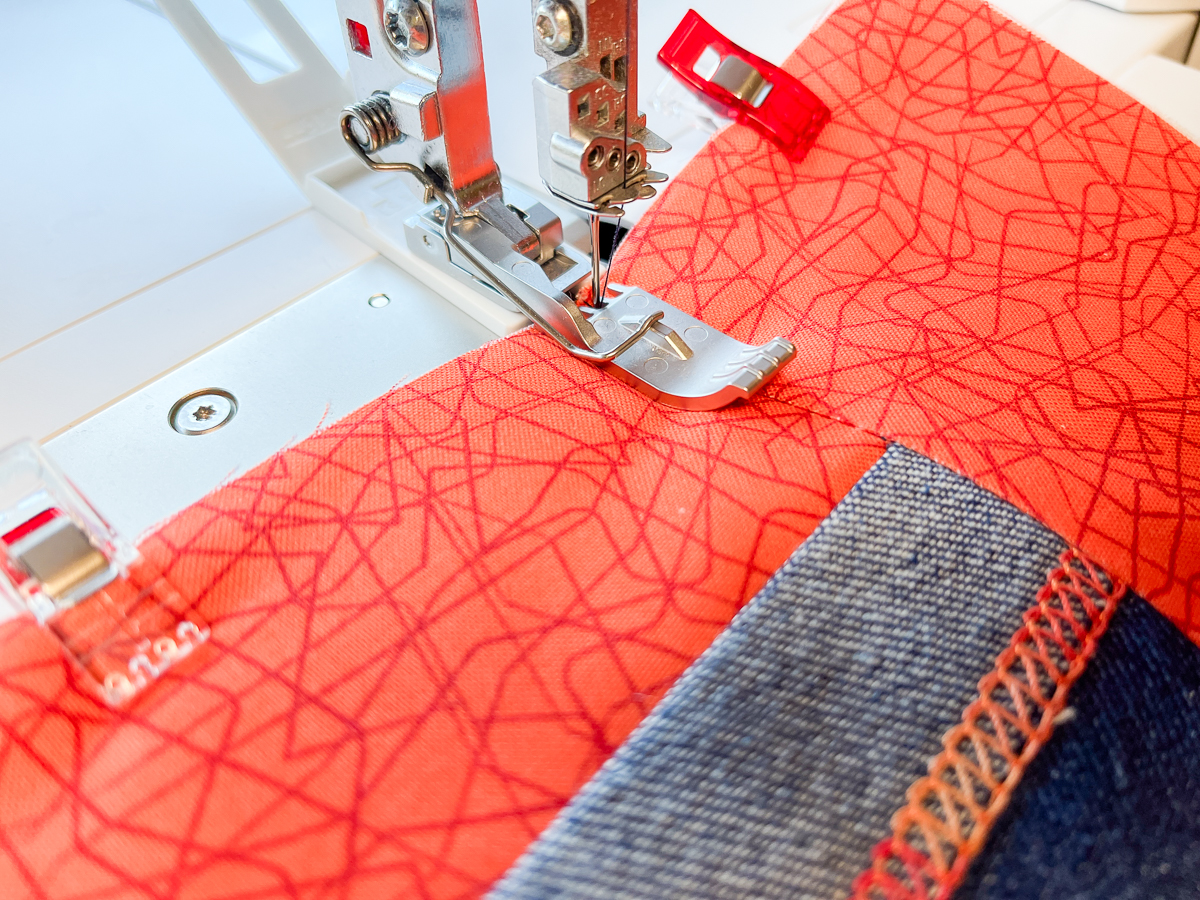
Sew the left side of the pocket, guiding along the right edge of the presser foot (1/4” seam).
Flip the pocket piece to the right side and press well. Edgestitch along the fold. Trim excess fabric from the side.
Step 3: Sew the Lining Side
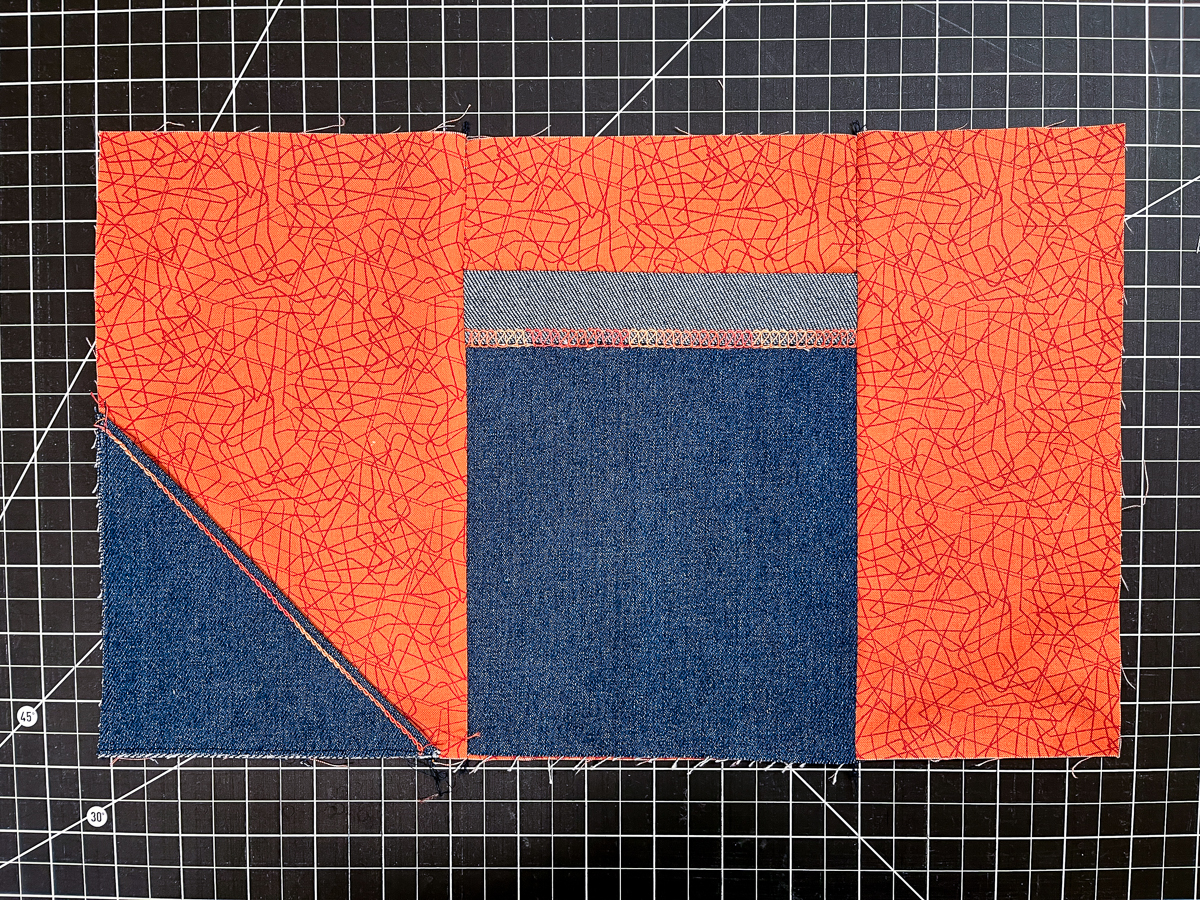
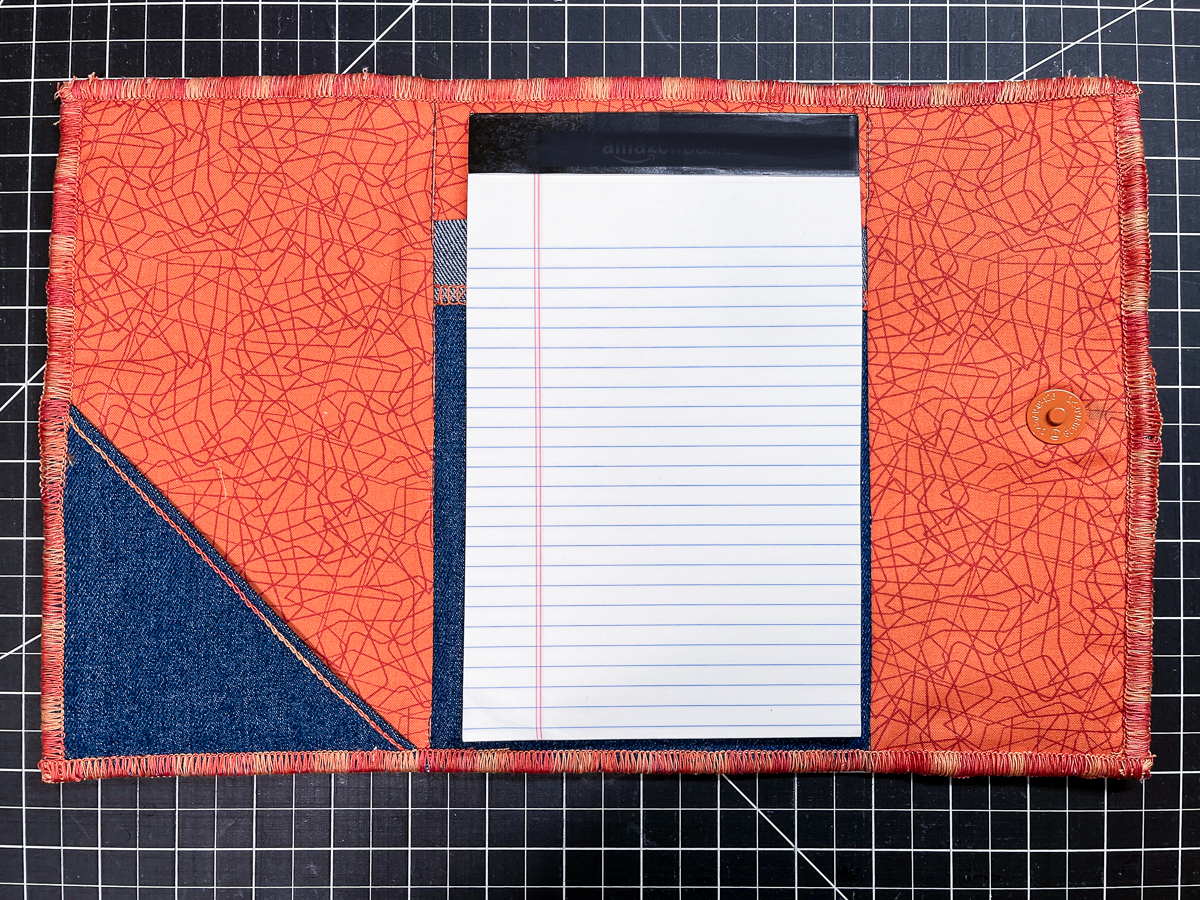
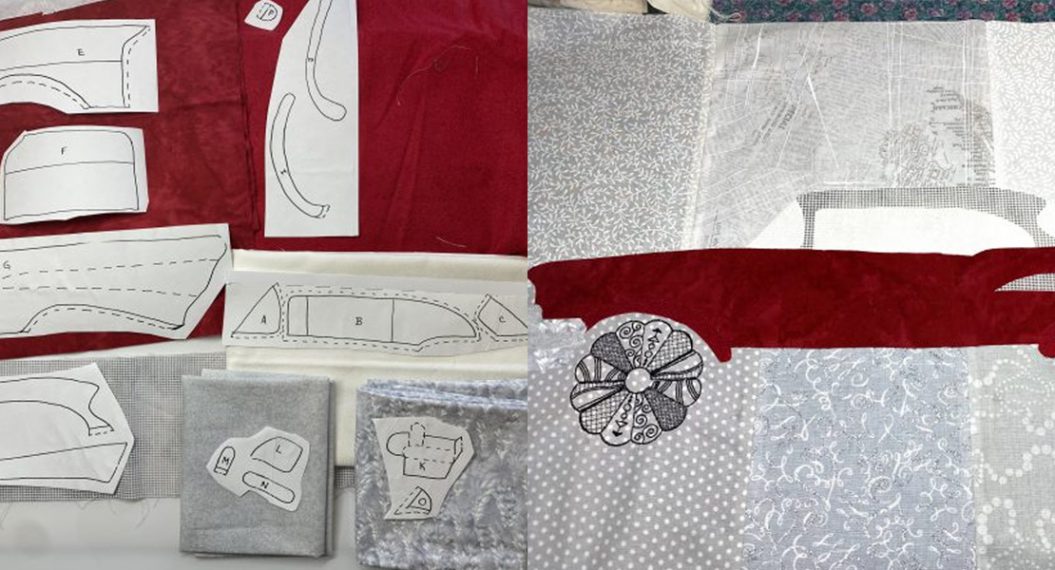
Lay the lining pieces as shown. The notepad pocket is on top of the center lining piece with raw edges aligned.
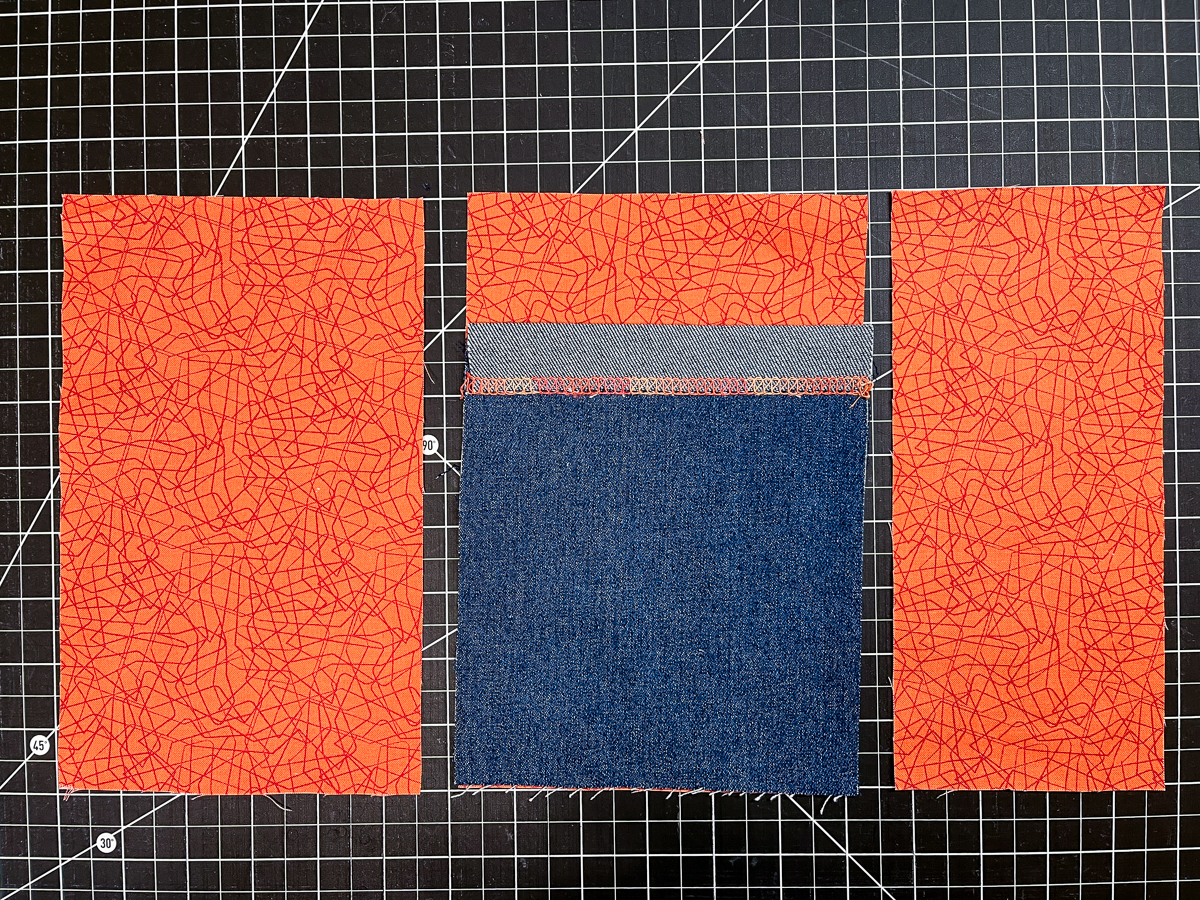
Place the left lining piece right-side down on top of the center lining and pocket piece, aligning the left edges. Sew with a chainstitch and a 1/4″ seam. Press the seam allowance toward the left lining piece.
Repeat with the right lining piece. Attach the corner pocket as shown, stitching close to the raw edges.
Place the lining on the quilted denim piece, wrong sides together. Stitch-in-the-ditch along the two seams through all the layers. Use the OL/CS Height Compensating Tool for a smooth start.
Step 4: Install the Magnetic Snaps
Follow the directions on the magnetic snap packaging or refer to video resources found online. Here are the placement directions. The male end will be on the lining side, and the female end on the denim side.
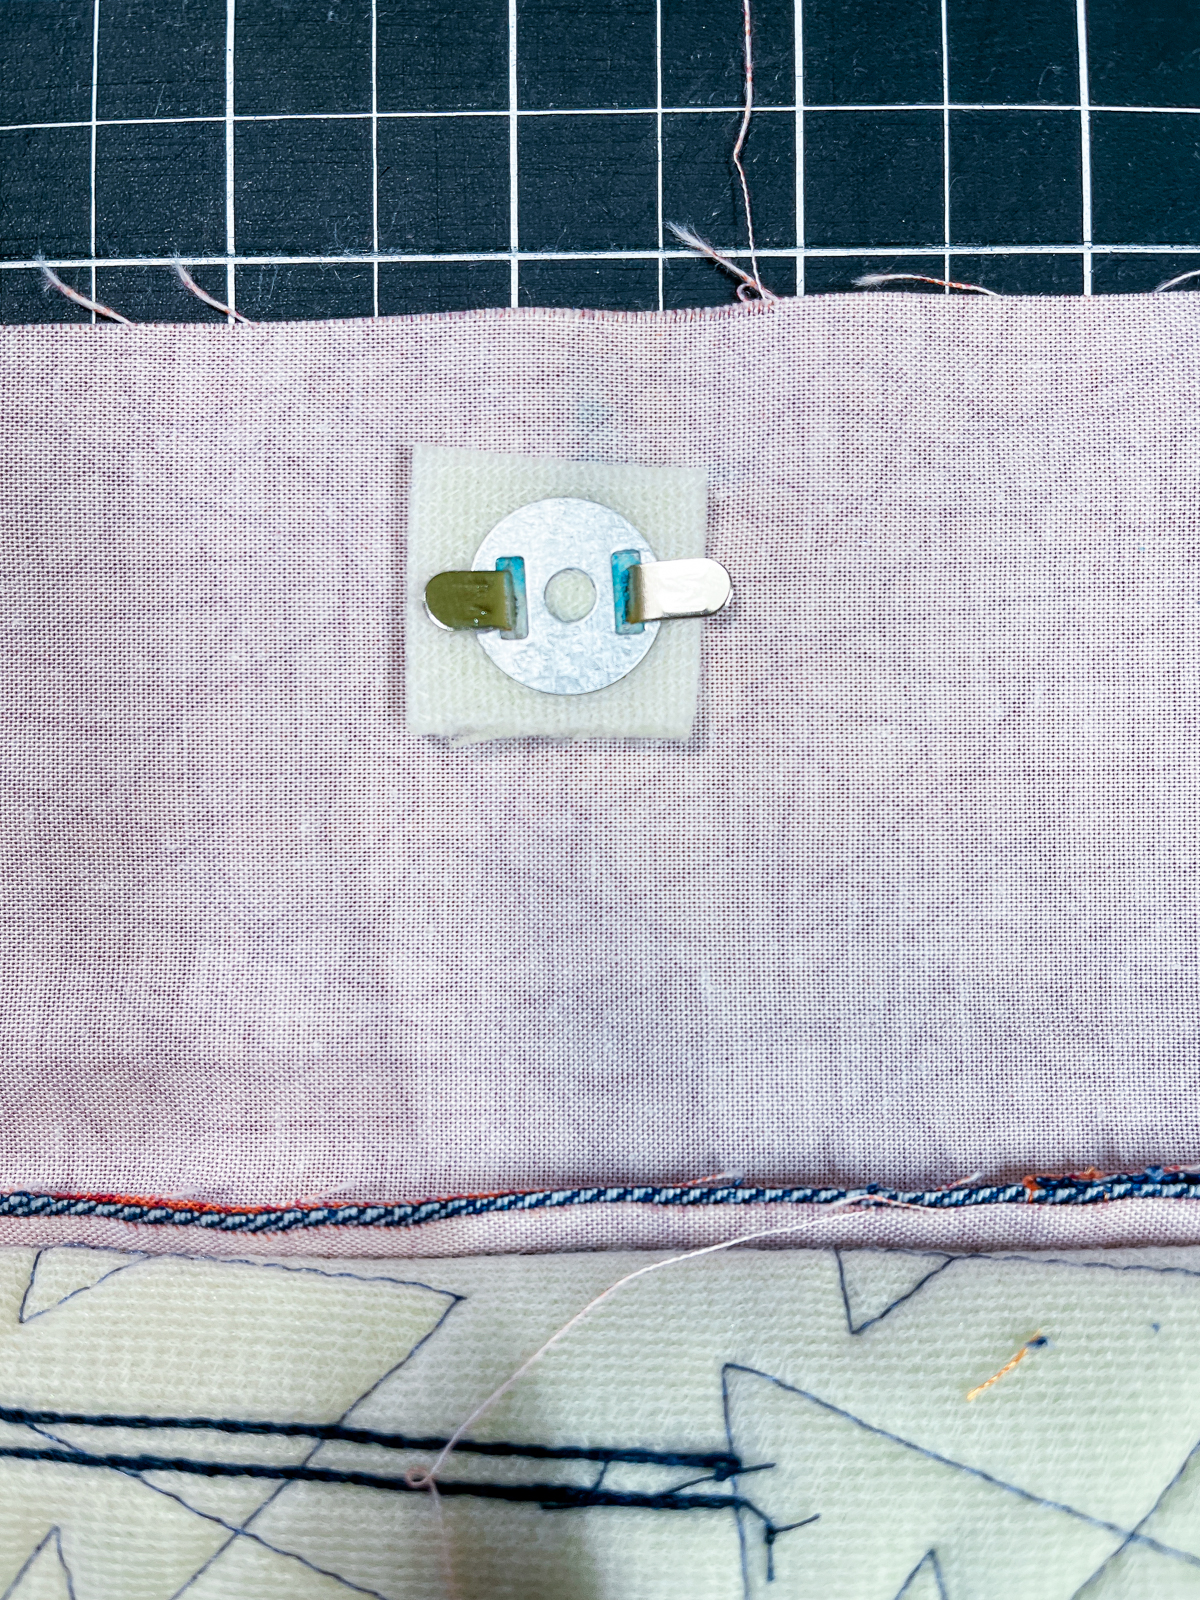
Fold the pencil pocket side away from the lining. On the wrong side of the lining, make a mark 4 1/2″ up from the bottom and 1” in from the short side. Center the magnetic snap washer on the mark and mark the two slits. Carefully cut the two slits. Insert the male end of the magnetic snap from the right side of the lining. Before adding the washer, add a 1” square of the foam stabilizer for more support. Flatten the prongs to the sides.
Insert the notepad into the folio. Close the flaps and note where the snap lands. Mine landed at 4 1/2″ up from the bottom and 1” in from the edge. Mark placement. Install the female end of the snap as before, but this time into the denim/soft and stable layer only. The snap will be on the right side of the denim. The extra square of stabilizer is not necessary.
Step 5: Finish the Raw Edges
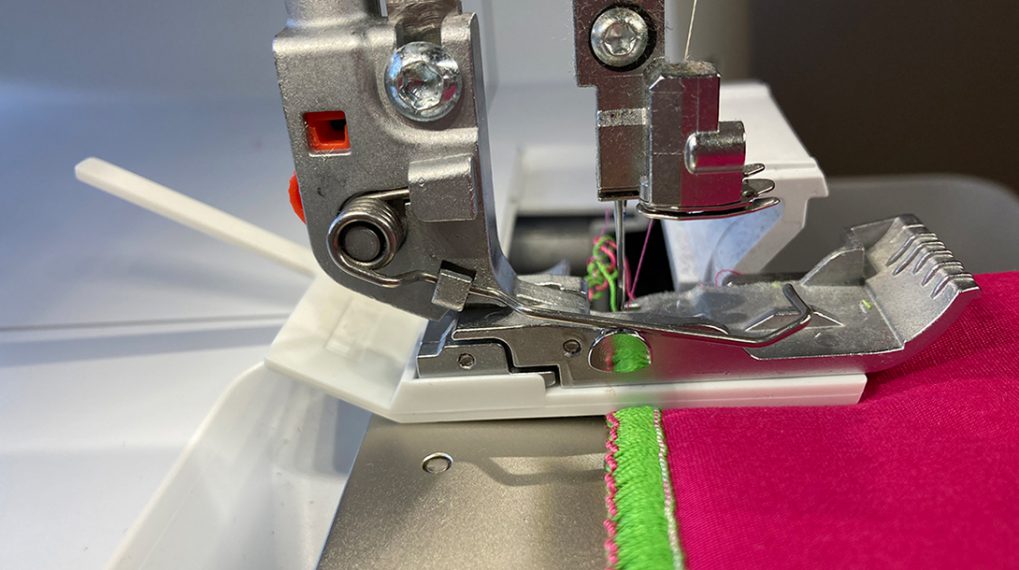
Clip the raw edges together. Set the machine for a 3-thread Overlock Wide (LN) #3. Thread the needle with serger thread and both loopers with matching 12 weight thread. Test sew on your quilting and stabilizer scraps. I decreased the Stitch Length to 2.0 and decreased the Presser Foot Pressure to 3.
Stitch around all edges of the folio on the right side, skimming the knife. Use the OL/CS Height Compensating Tool when the foot is going over the snaps and take your time. For more complete coverage, go around a second time, increasing the Cutting Width to 7 and lowering the knife. Use a large eye needle to bury the thread tails. Add your notepad and pens, and you are ready to go!
Be sure to visit other “vintage” WeAllSew posts for inspiration to add your own creative spin!
Happy Serging!
Used Products

What you might also like


One comment on “DIY Notepad Folio on the Overlocker, Part Two”
Leave a Reply
You must be logged in to post a comment.
What size notebook? Not mentioned in either part 1 nor 2. US or EU size?