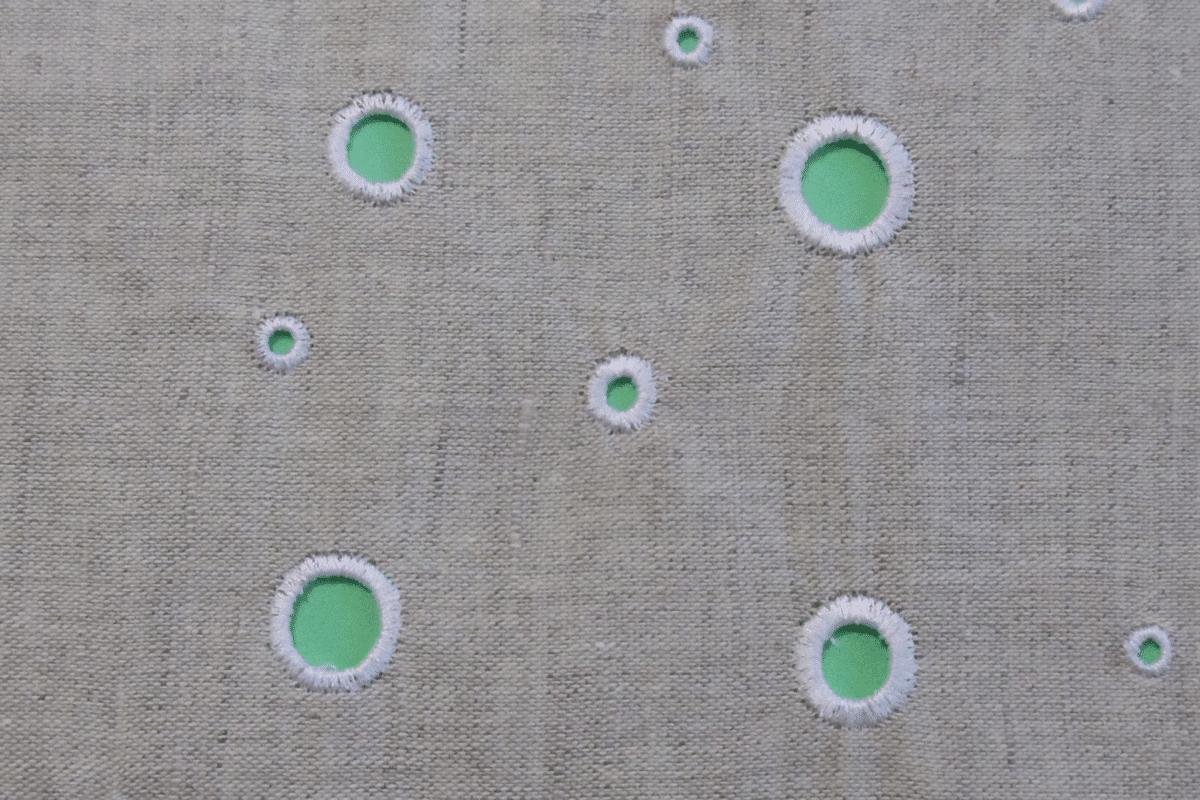
Eyelet Set #82 with Eyelet Foot #92
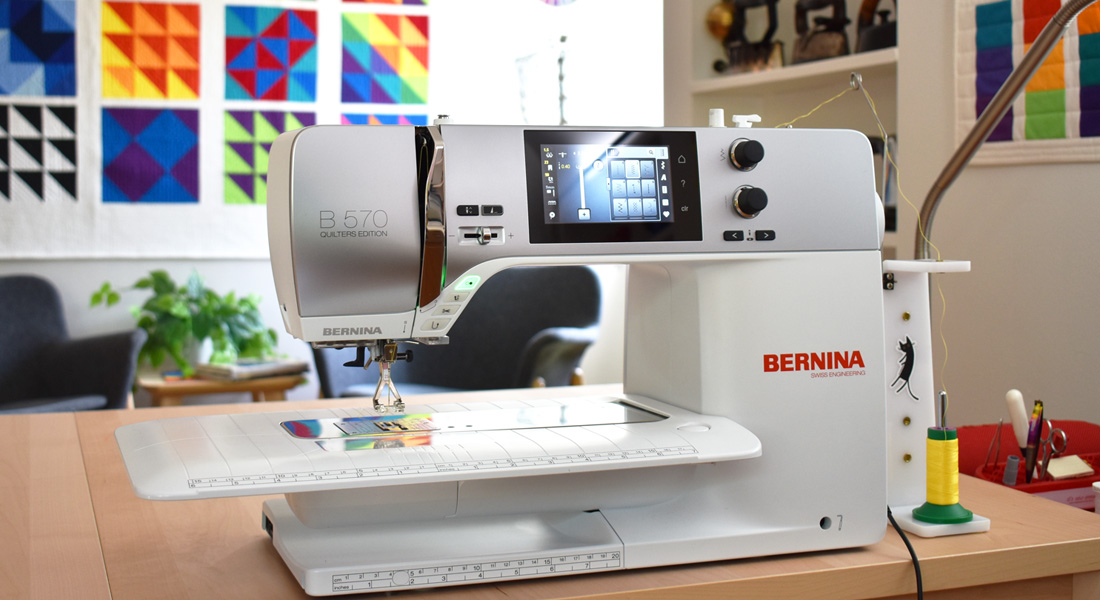
If you’ve never tried free-motion stitching, this is a great place to start. Making embroidered eyelets with Eyelet Set #82 with Eyelet Foot #92 is the easiest free-motion technique you’ll ever sew, and the results will be beautiful the first time you try it! You can create embroidered eyelets to adorn all types of projects from clothing to bags to belts. I make eyelets on my B 790 PLUS but this attachment will work on any BERNINA machine.
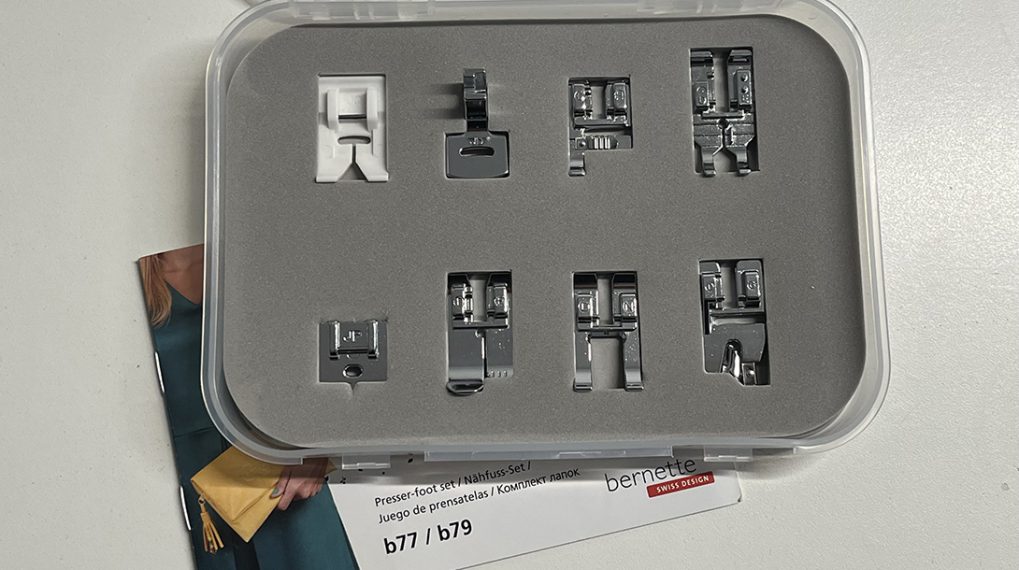
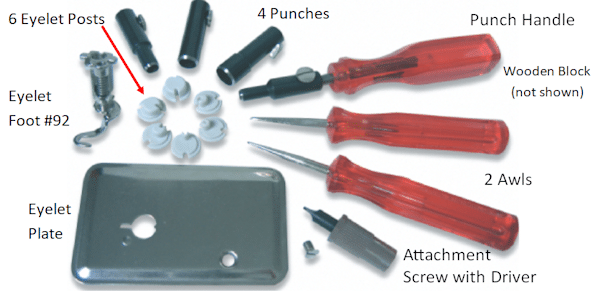
What’s in the Box?
To get started, let’s take a look at the attachment and identify its parts and pieces.
- Eyelet Posts – Six sizes that correspond with the sizes of eyelets that can be made.
- Eyelet Plate with screw – This plate holds a post and attaches to the bed of the machine with a single screw.
- Screwdriver – Designed to fit the included screw; use it to tighten the screw, securing the plate.
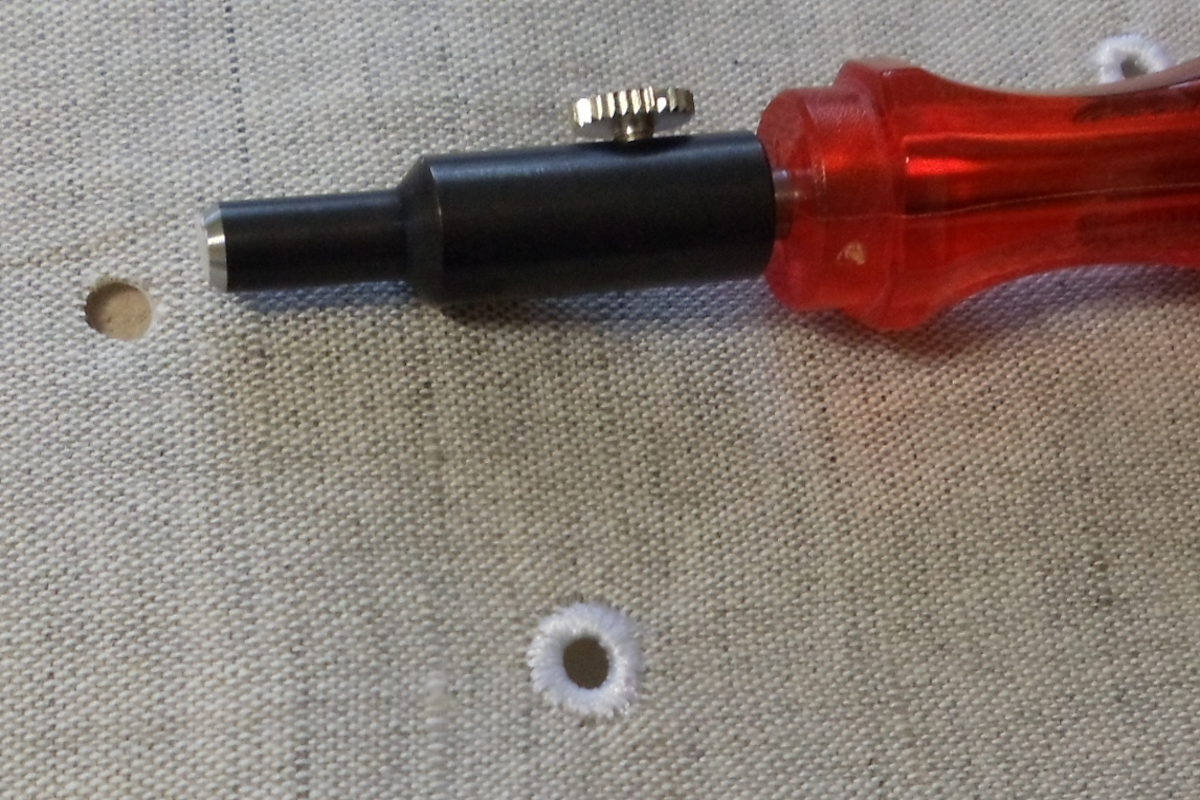
- 2 Awls – Used to make holes in the fabric before stitching the eyelets.
- 4 Punches – Additional options for making holes in the fabric and other materials such as leather and vinyl.
- 1 Punch Handle – Put the desired size punch on the handle; tighten the screw to secure the punch.
- Wooden Block – Placed under the fabric before punching holes.
Machine Setup
Select the post for the desired size of eyelet. The opening in the finished eyelet will be slightly larger than the post.
From the bottom of the plate, push the post into the opening on the plate, aligning the slot on the post with the slot on the plate. Position the plate on the bed of the machine; secure with the screw.
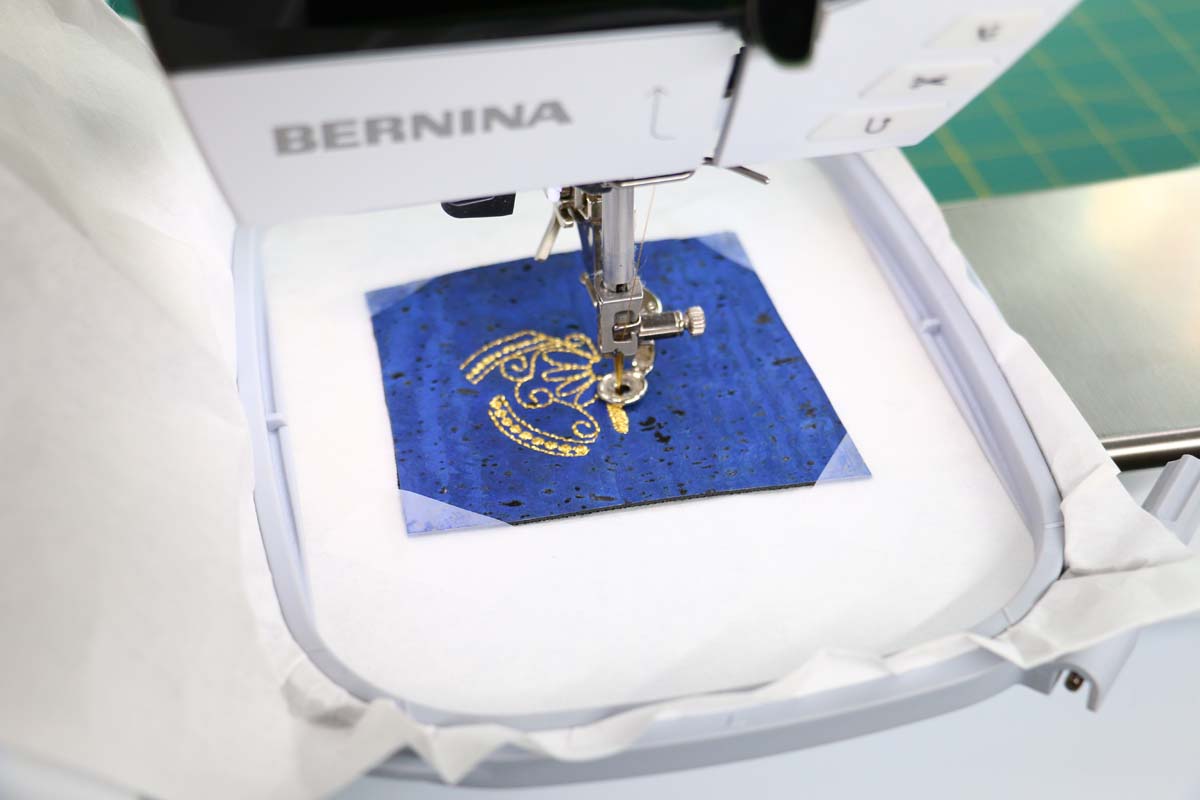
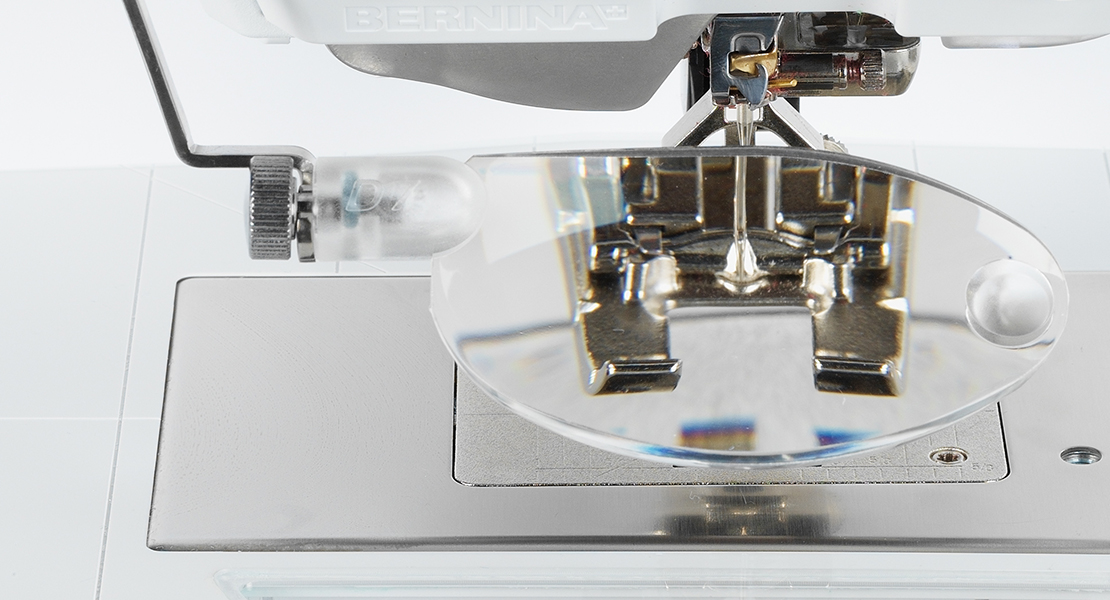
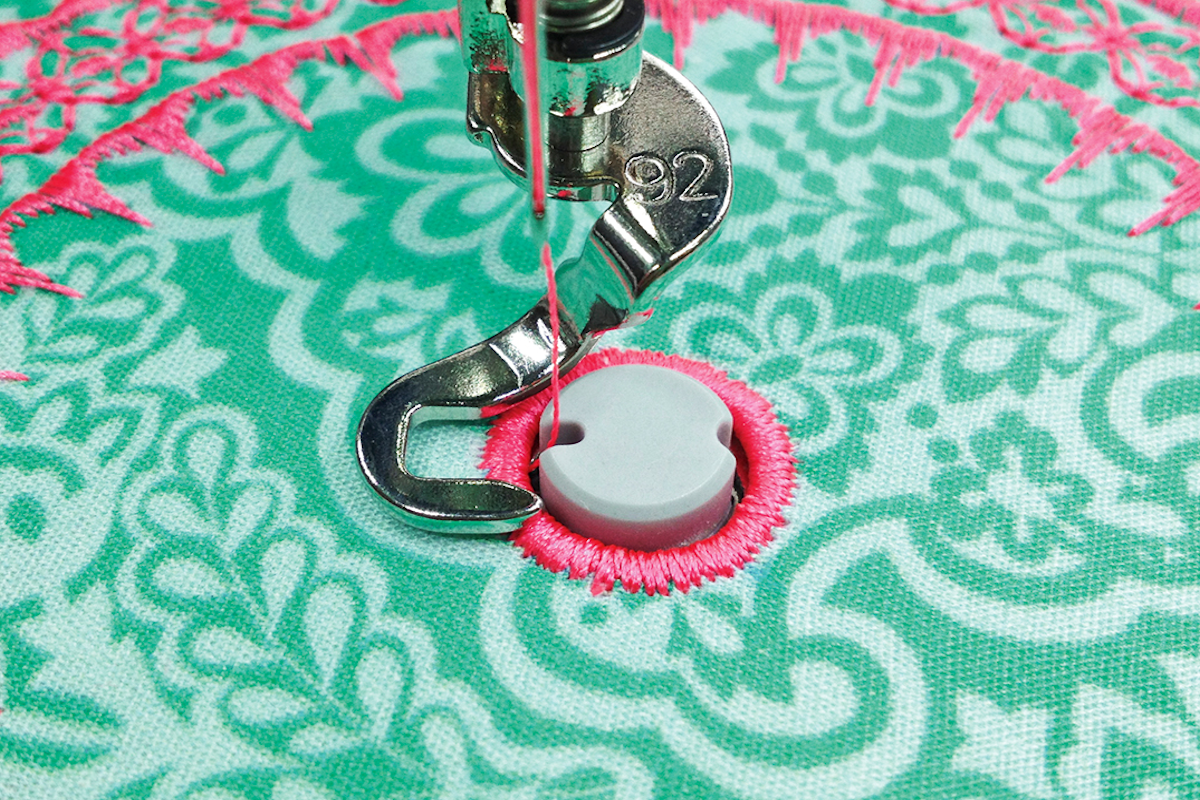
Attach Eyelet Foot #92 to the machine and lower the feed dog of the machine. Adjust the needle position to the right.

Preparation
Hoop the fabric in a hand embroidery hoop. The hoop makes it easier to rotate the fabric around the post as you are stitching. Using a fabric marker, mark the desired position of the eyelet. Place the wooden block under the one of the marked locations on the fabric. Select an awl or punch to make a hole in the fabric. The size of the hole should be slightly smaller than the post.
Stitching Eyelets
Place the hole in the fabric over the post; it should fit snugly and be pushed down as far as it should go.
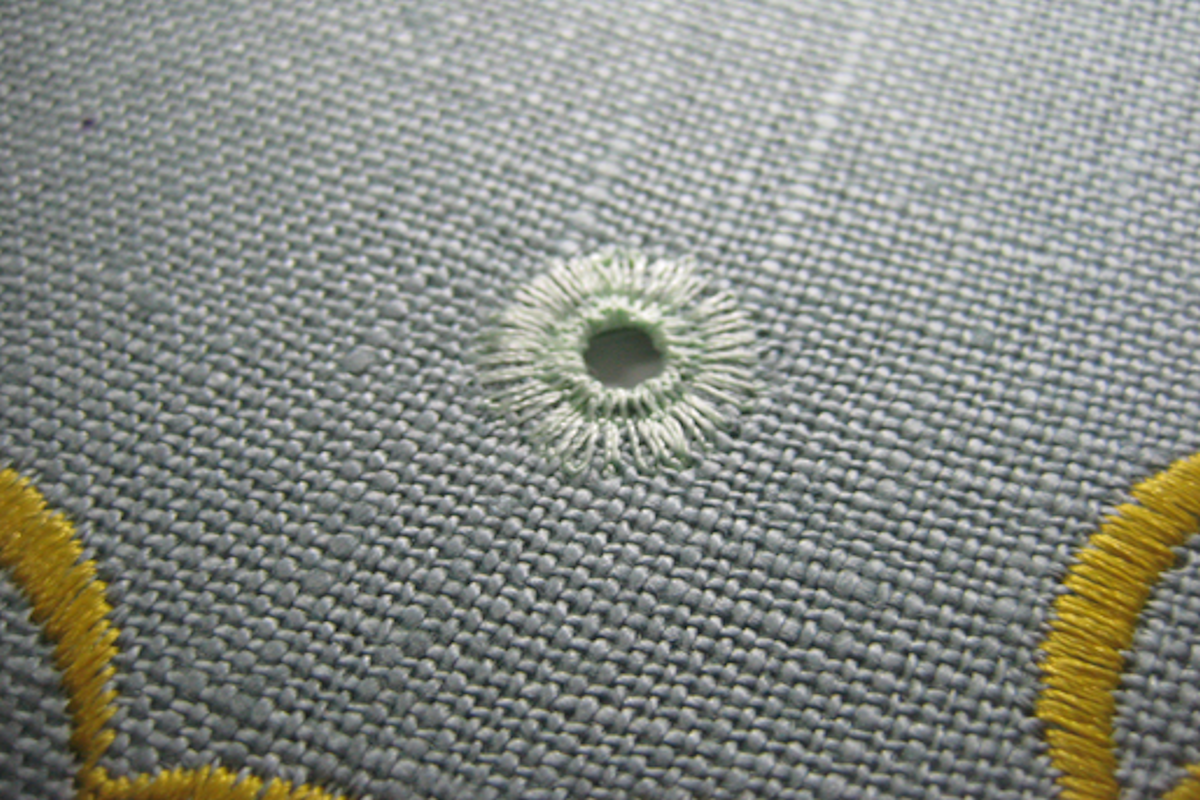
Select the zigzag stitch and adjust the width to 2mm.
Beginning stitching, rotating the hoop at a medium speed as you stitch. This step is sewn to stabilize the edge of the hole in the fabric. It will not look pretty but it will not show in the finished eyelet.
Adjust the zigzag stitch to 4-6mm. Stitch again, rotating the hoop as you sew. Move the hoop at a speed that places the stitches close together (satin stitches). If the eyelet is not as full as you’d like, continue rotating the hoop and stitch it again, filling in the gaps.
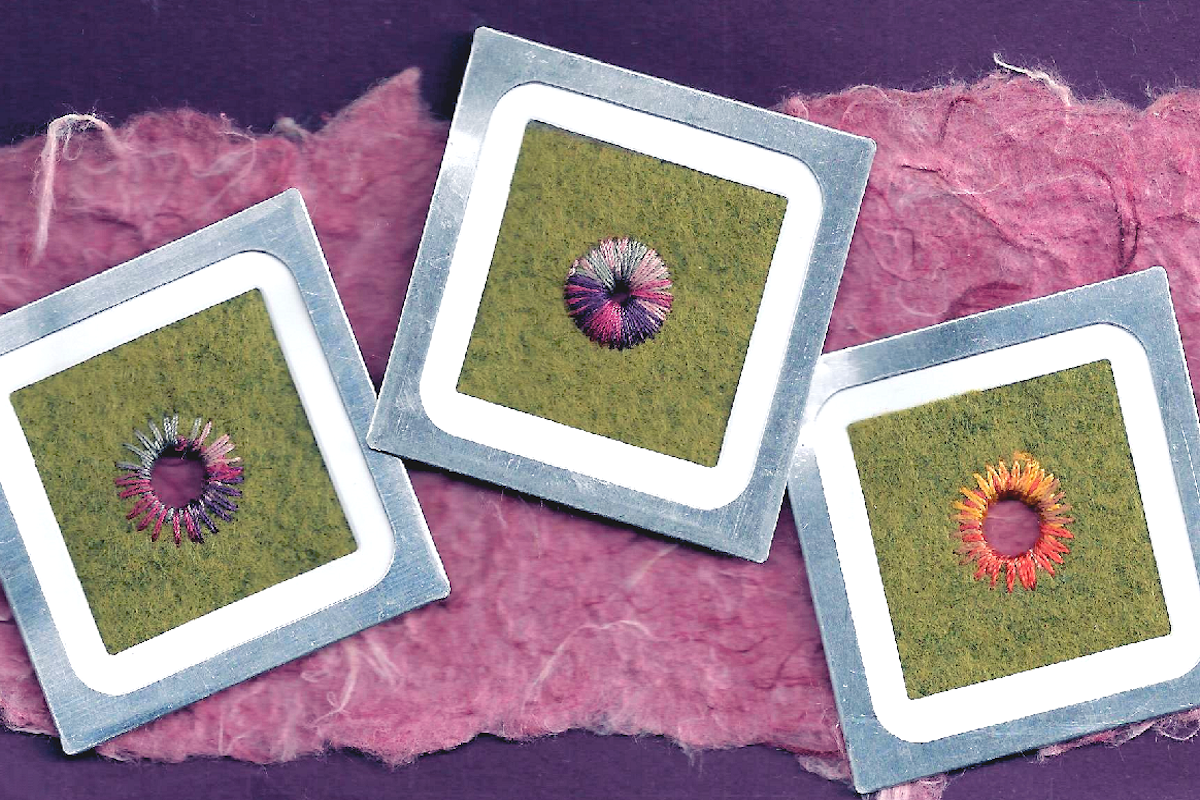
Special Effects
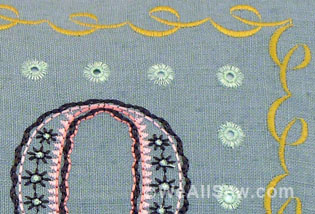
- Use variegated thread for colorful eyelets
- For a “spikey” look to your eyelets, rotate the fabric quickly, leaving gaps in the stitching (right and left eyelets).
- Loosen the needle tension for a dimensional look. The threads “puff up” and makes the center hole smaller (center eyelet).
Decorative Stitch Eyelet
Give your eyelets a unique look by using Stitch #13 instead of a satin stitch. Click here to make a decorative pillow featuring this decorative eyelet.
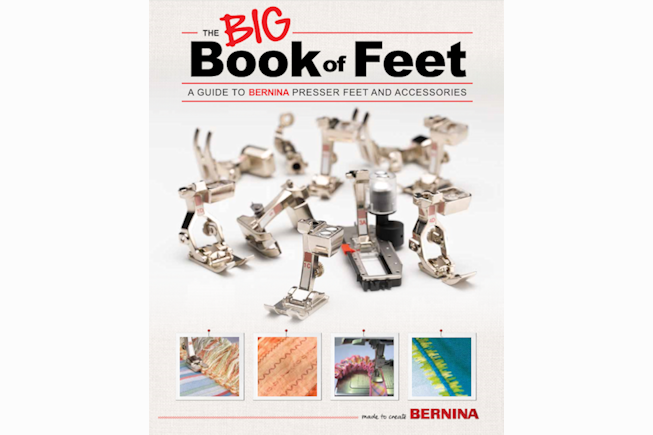
For more information on Eyelet Set #82, see The Big Book of Feet of Feet at your local BERNINA store.