Heart-warming Candy Box Cover and Mug Rug
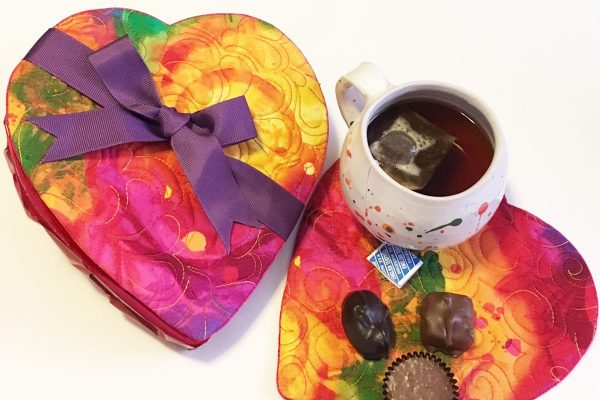
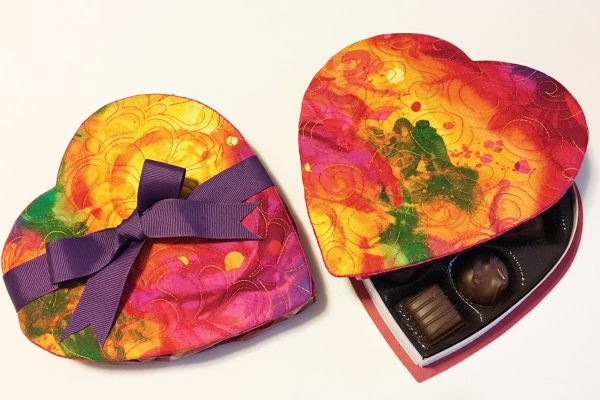
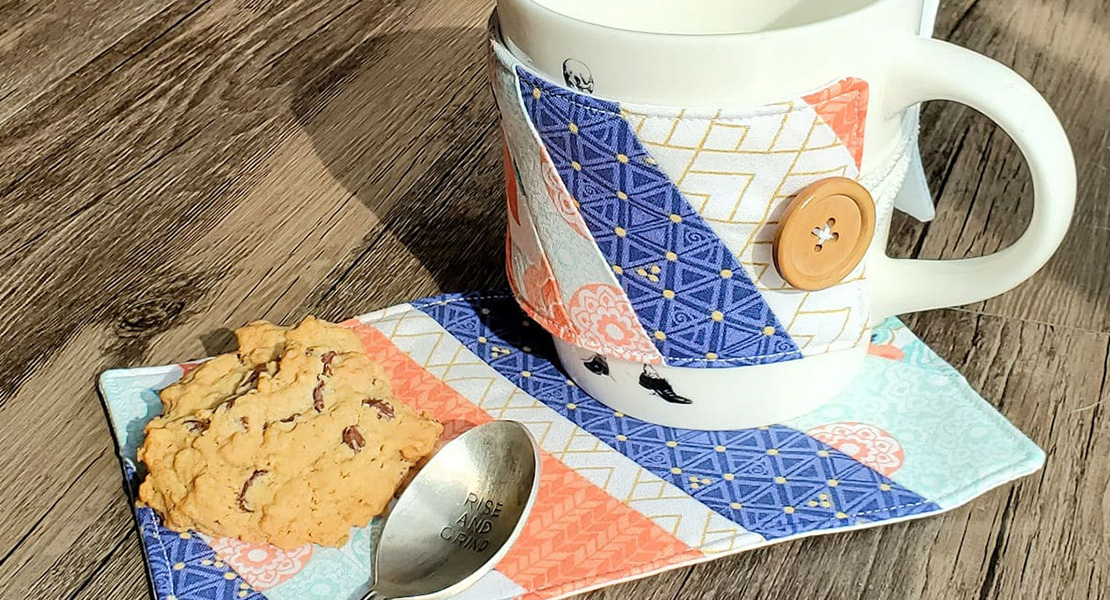
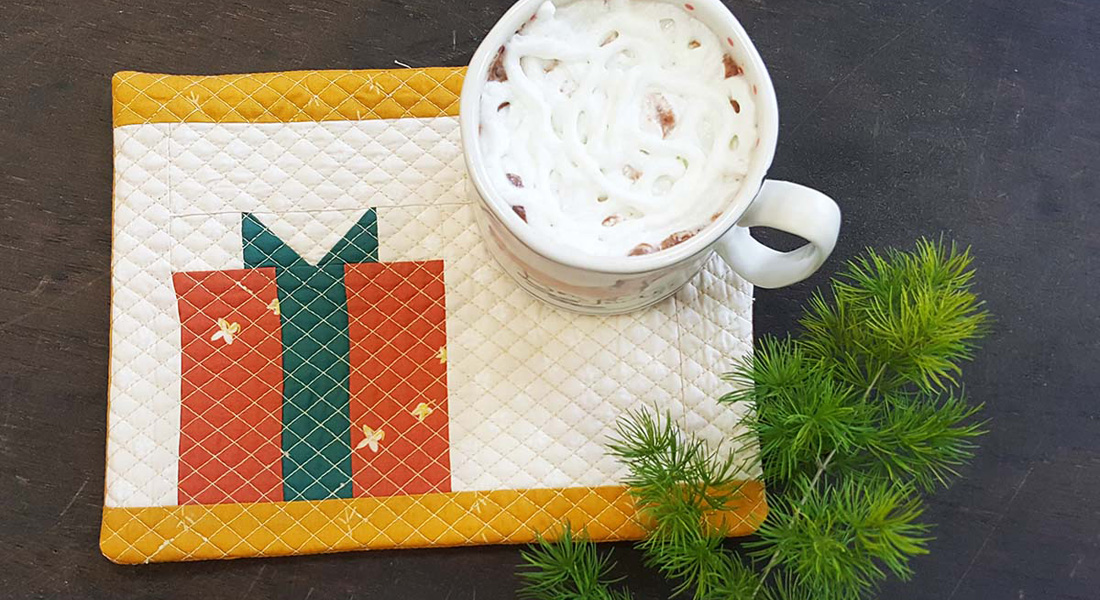
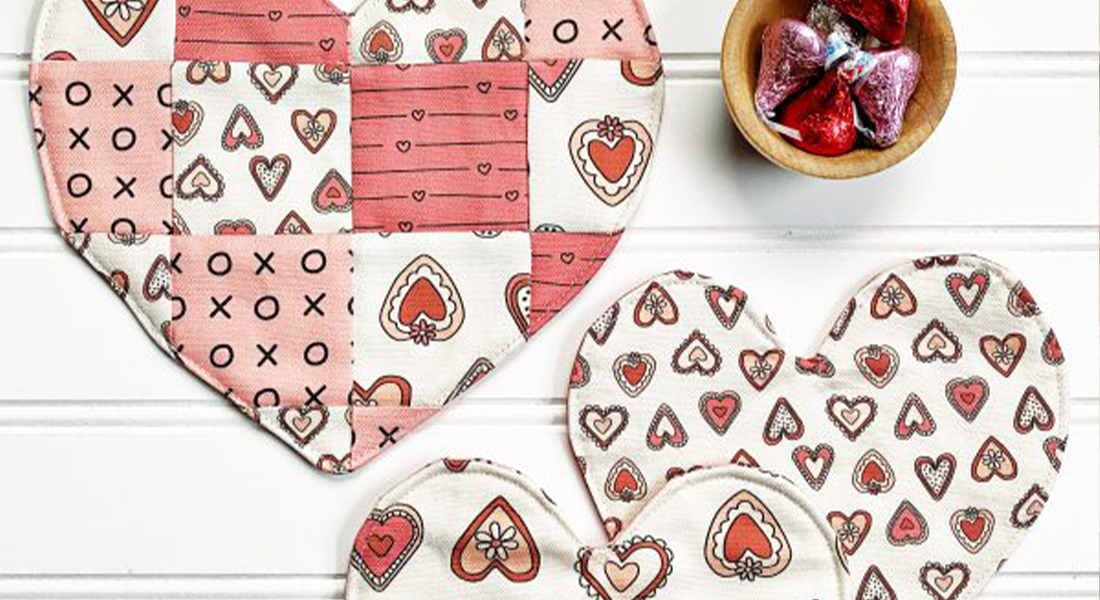
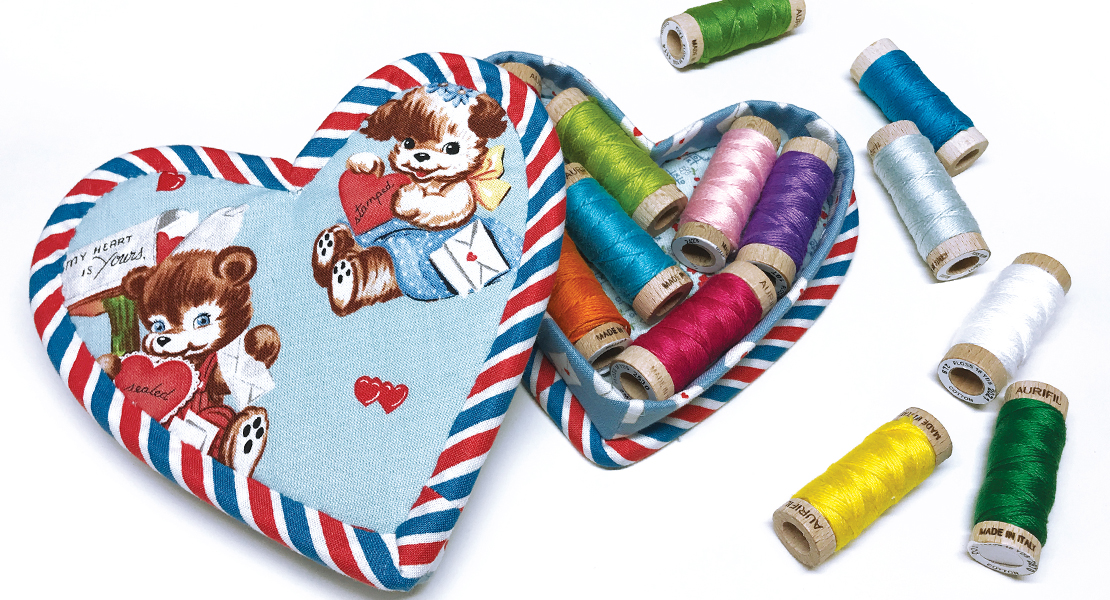
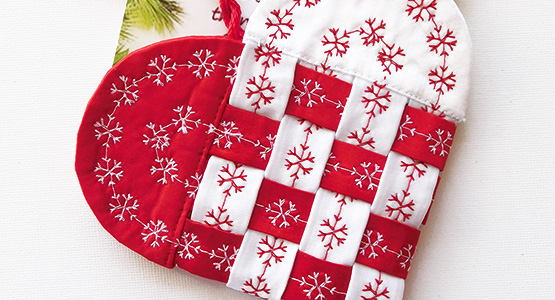
Need a quick project that will be sure to warm the heart of your favorite Valentine? Hi, my name is Teri Tope of teritope.com and I simply love this project. Why, because it combines two of my favorite things, quilting and chocolate. “Sell my clothes I’m going to heaven.” Easily adaptable to any size box of chocolates, you will soon be making oodles of these to surprise your favorite valentines. And the added bonus? Once the chocolates are opened this project serves a dual purpose as it becomes a sweet mug rug. Truly making it the gift that keeps on giving.
Materials Needed to Create a Chocolate Box Cover
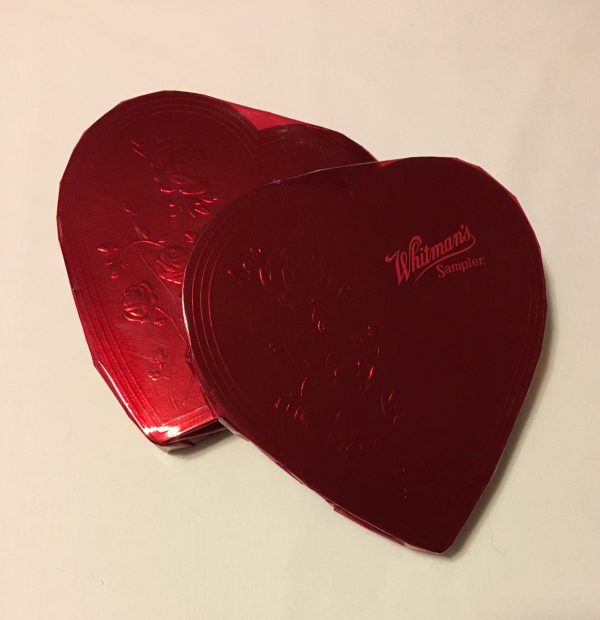
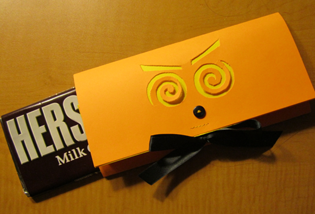
- Box of Chocolates—Demo box is 4.5 ounces of chocolate and measures approx 7.5″ x 8″, this project can easily be adapted to any size box of chocolates. Simply make sure the fabrics and stabilizer are large enough to fit the custom pattern.
- 10″ square cover fabric or custom size
- 10″ square backing fabric or custom size
- 10″ square or custom size of single sided fusible Foam Stabilizer such as In-R-Form or Soft and Stable. This product is fusible foam laminated to napped tricot, soft and formable, easy to stitch, and needle friendly. Shows off quilting and easy to maneuver beneath needle while quilting.
- 1 yard 1″ ribbon
- Decorative thread to quilt
- Sewing machine needle—Sharp 80/12
- Thread to Piece
- Iron and Ironing surface
- Pencil, paper and paper scissors
- Pinking Shears
- Fabric Marking pen
- Hand stitching needle, thread and scissors
- Sewing machine, I sew on a BERNINA 770 QE
- Machine quilting foot
- BERNINA Walking foot #50
- BERNINA Patchwork foot #97D
Directions to Create a Chocolate Box Cover:
Create a custom pattern.
Measure your box of chocolates to make sure it fits on your selected piece of fabric. Demo was made using a 4.5 ounce box of chocolates that measured approximately 7.5″ x 8″. Demo used a 10″ square measurement for fabric and stabilizer. The square should be slightly larger than box actual size.
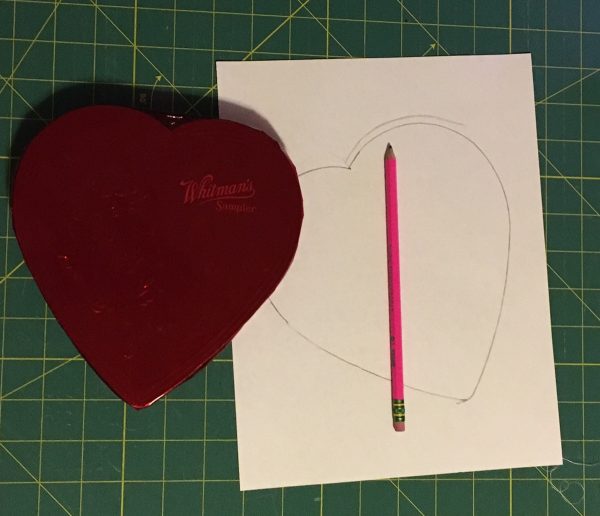
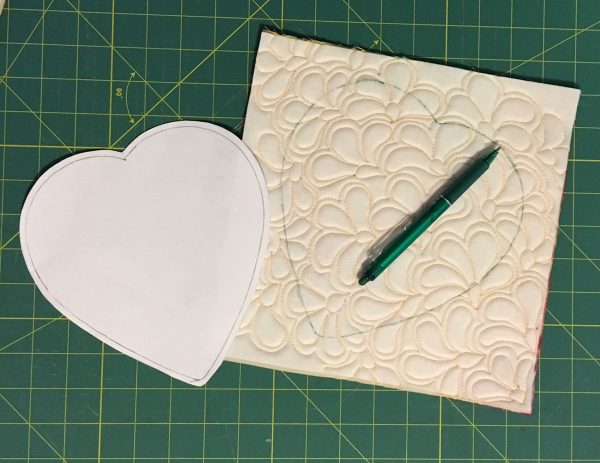
With a pencil and paper trace the top of the box. Carefully trace beneath and around the wrapper, along edge of cardboard box. If you have issues or difficulties tracing, you could always purchase an extra box of chocolate to unwrap and trace lid. Leaving you with snacks while continuing this project. The box top traced line will become our stitching line so it is necessary to draw a second line ¼″ outside of this line. You will use this second drawn line as the cutting line. With paper scissors, cut out heart pattern along the outside drawn line.
Prepare fabrics
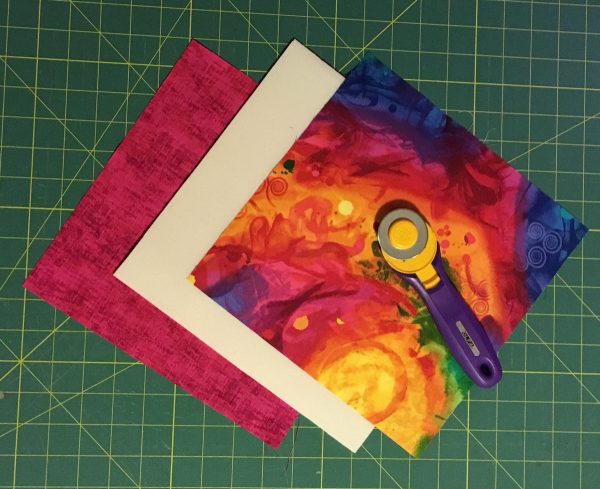
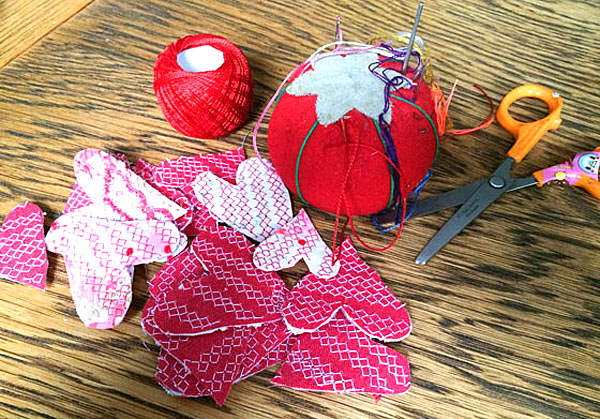
Choose and cut 10″ squares of fabric for cover and lining and a 10″ square of fusible foam stabilizer. Or appropriate sized squares to fit your custom heart drawing.
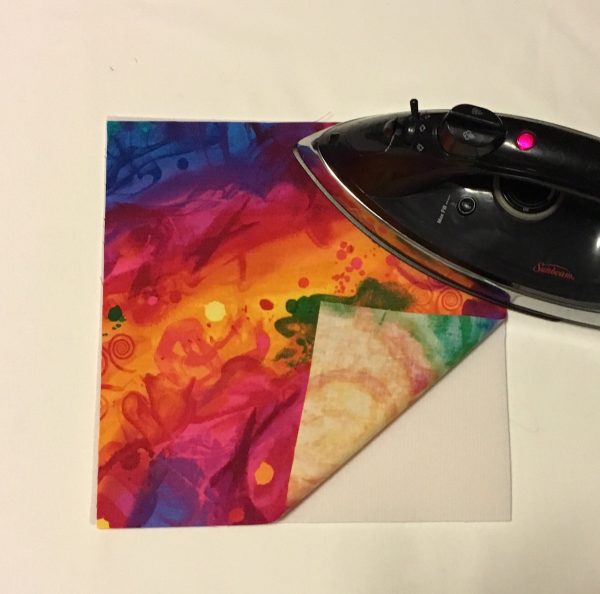
With Iron and following the manufacturers directions, fuse the cover fabric to the foam stabilizer.
Quilting
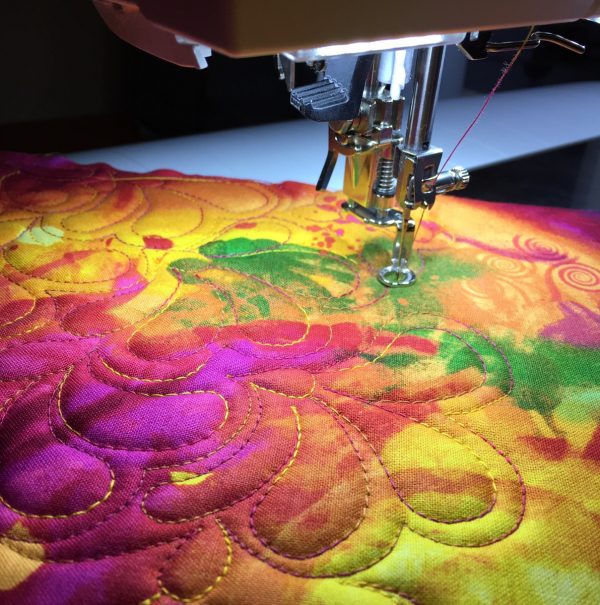
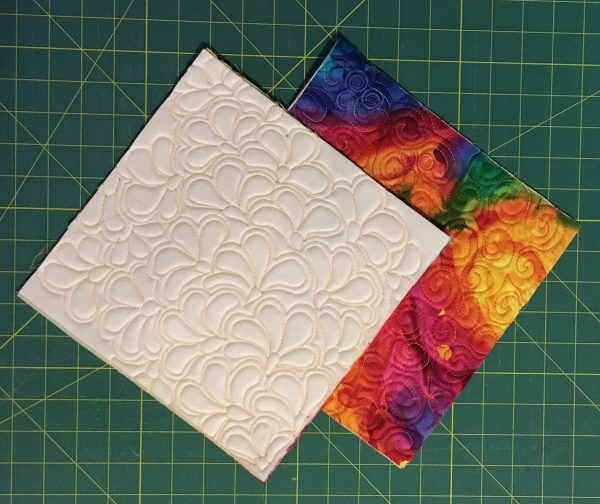
Attach the BERNINA Patchwork foot #97D to the sewing machine. Drop the feed dogs. Now it is time to have a little fun quilting the top of your chocolate box. This is a great project to practice new free-motion designs.
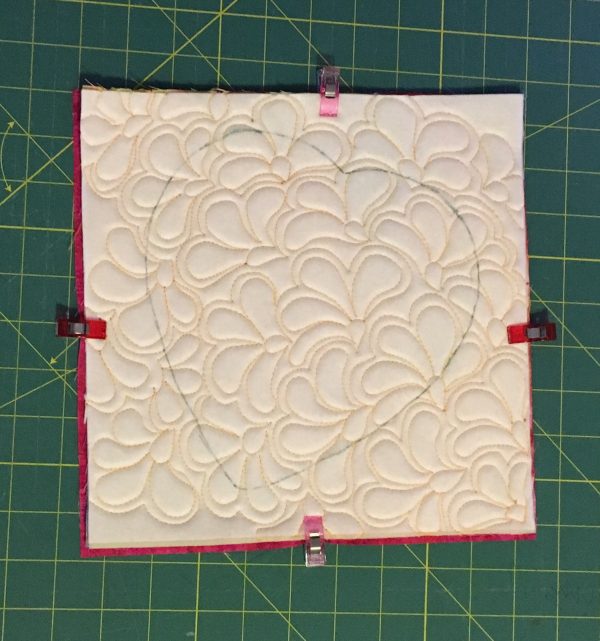
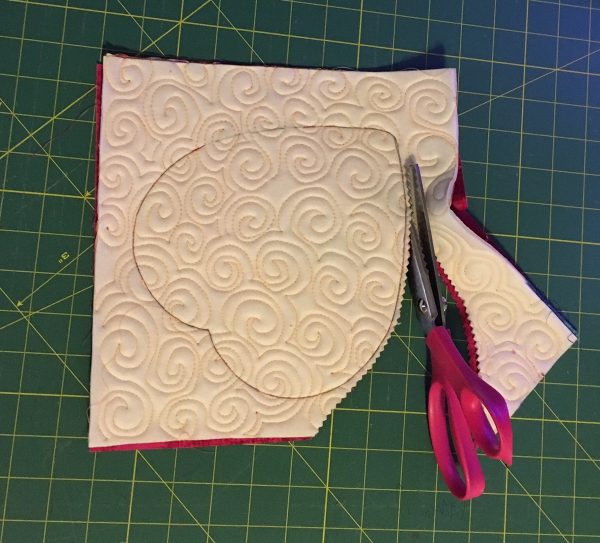
When you have completed the quilting, with a fabric marking pen, trace the heart pattern on the wrong side of the quilted square.
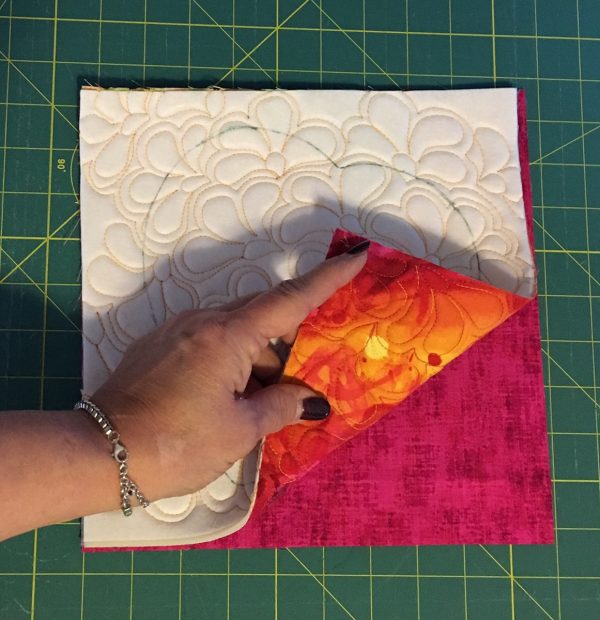
Layer the quilted square and the lining fabric right sides together and clip or pin together along outside edge.
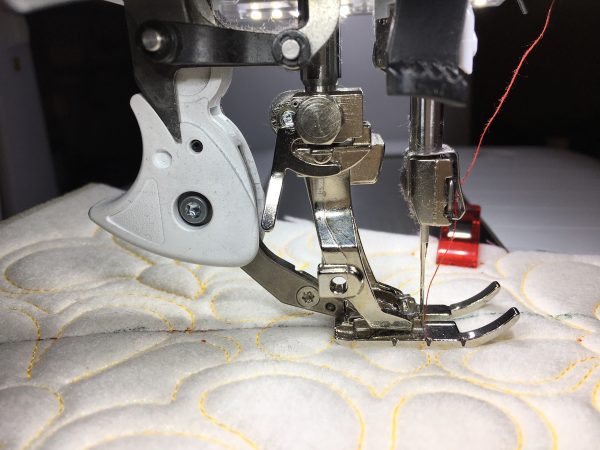
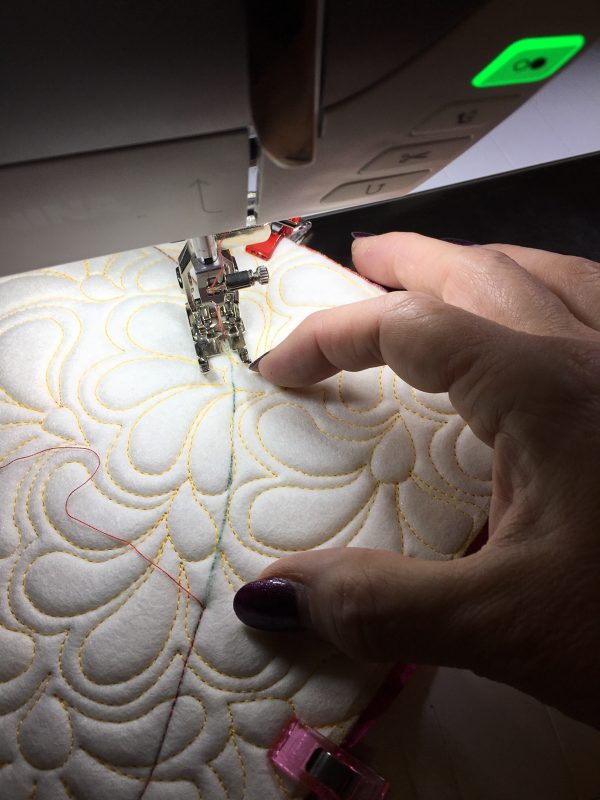
Attach the walking foot or Patchork foot to your sewing machine. Remember to raise the feed dogs if you have not done so. Stitch around the heart on the drawn line.
Leave a 3″ opening so that heart can be turned inside out.
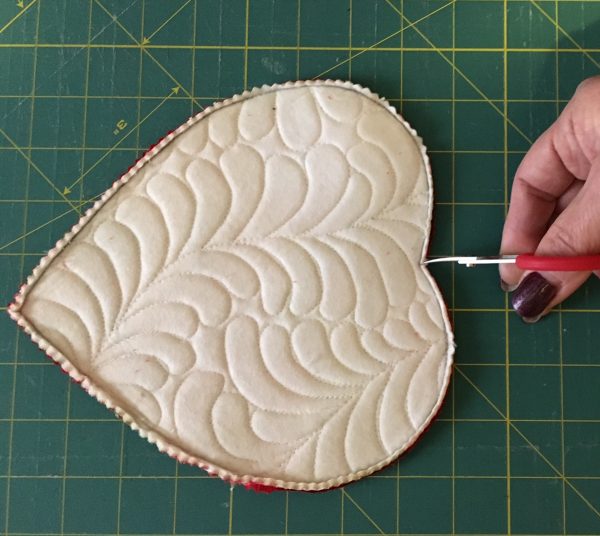
When you have completed the stitching cut out the heart using pinking shears. Cut close to the stitched line but not through it.
With sewing scissors chip inside heart top.
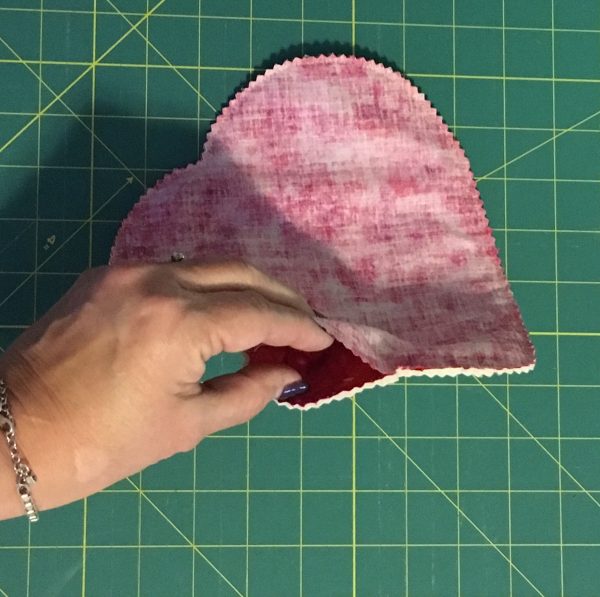
Turn heart inside out through opening and press with iron.
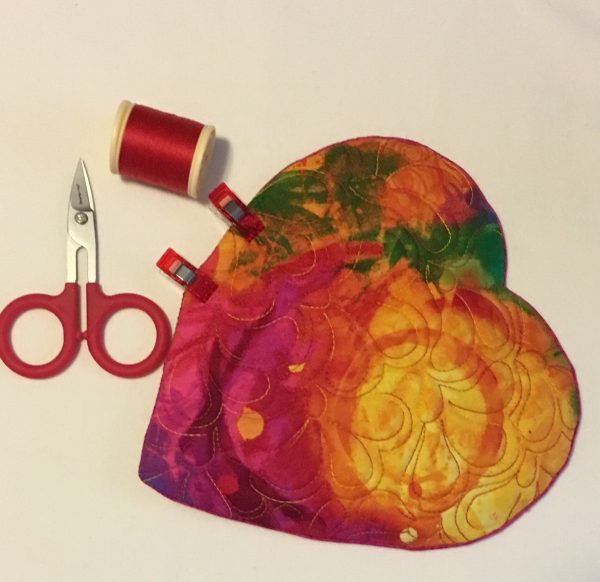
With hand needle and thread stitch opening closed. Press well with iron.
Place quilted heart over chocolate box and tie with ribbon.
Happy Valentines Day!
Yours Teri Tope
What you might also like
One comment on “Heart-warming Candy Box Cover and Mug Rug”
Leave a Reply
You must be logged in to post a comment.





Thank you for your sharing, your tutorial is so practical and easy to understand