How To Add Pleats To A Bodice
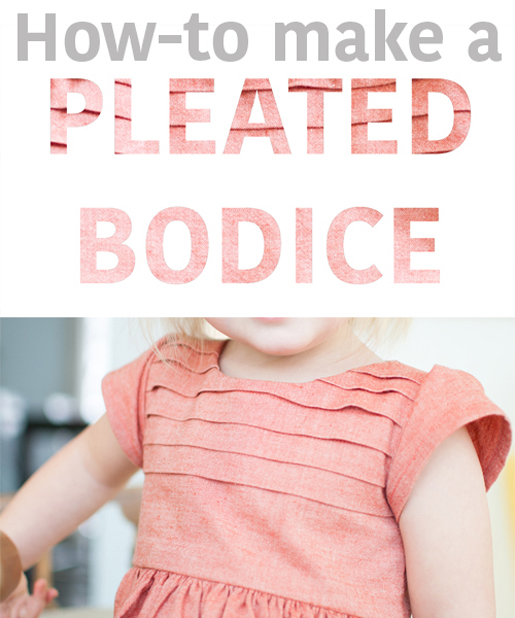
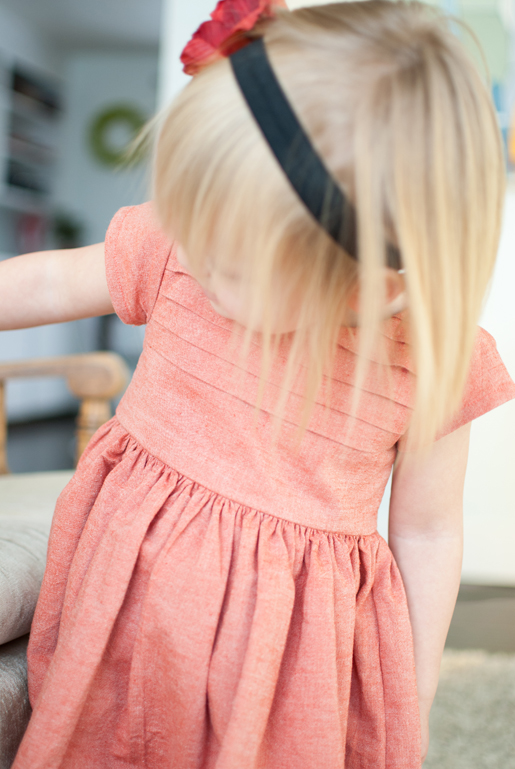
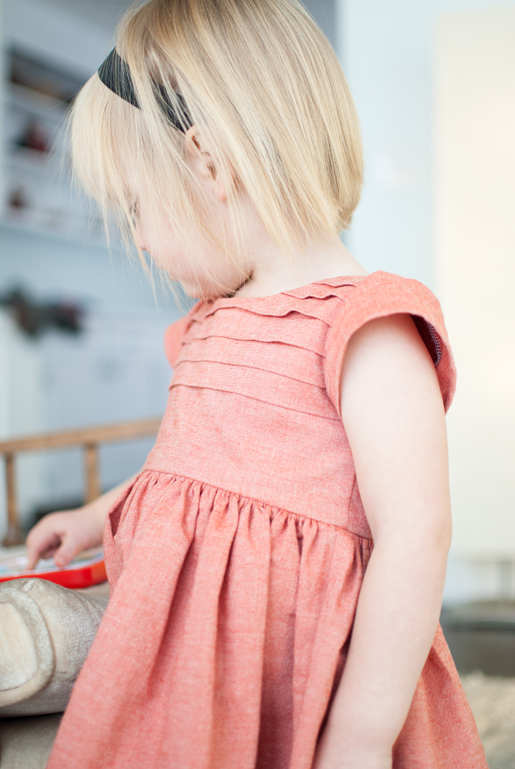
Pleats are one of my favorite details to add to something I am sewing. I love something that is so simple but adds a textured element, especially since I love sewing with solids and those can use a little texture from time to time. Today I will show you how to make a pleated bodice.
The technique will work with any basic bodice pattern you would like to use. (It would work for women as well but place the pleats above or below the bust dart if there is one.) I used one of my own free patterns that can be found here.
Materials:
- Mid-weight fabric. Something that will hold a crisp press and not slip all around as you sew. Here I used Robert Kaufman Essex Linen Cotton in Pumpkin. Most cottons or linens will work great without getting too bulky.
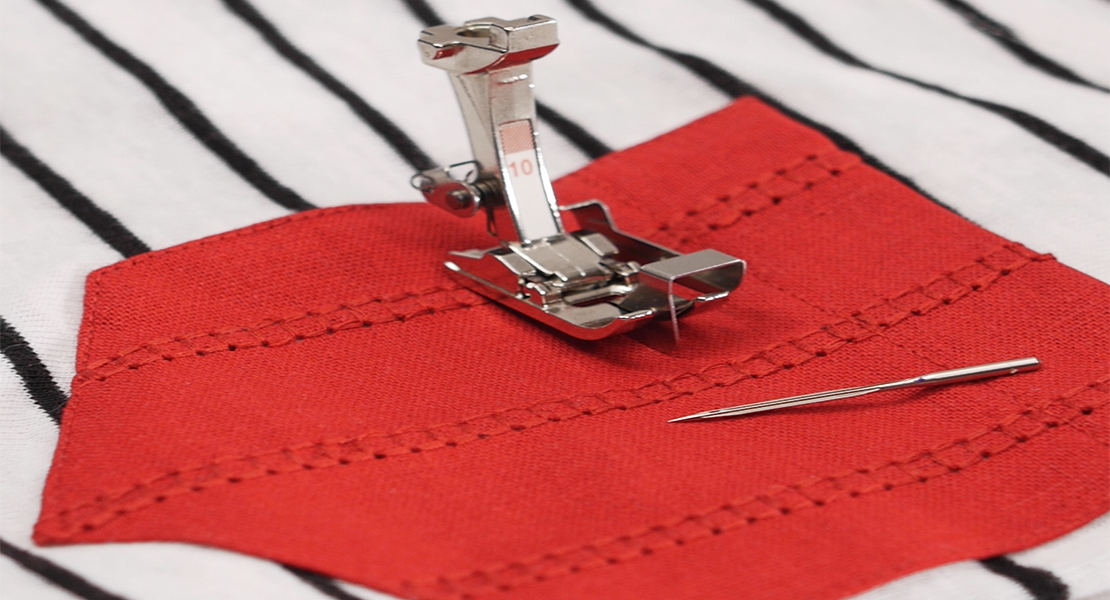
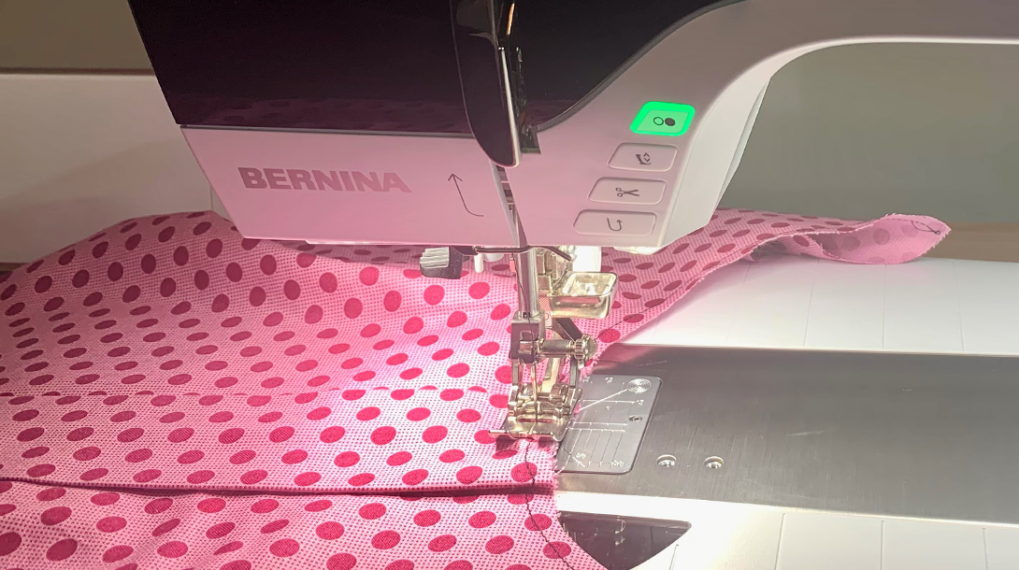
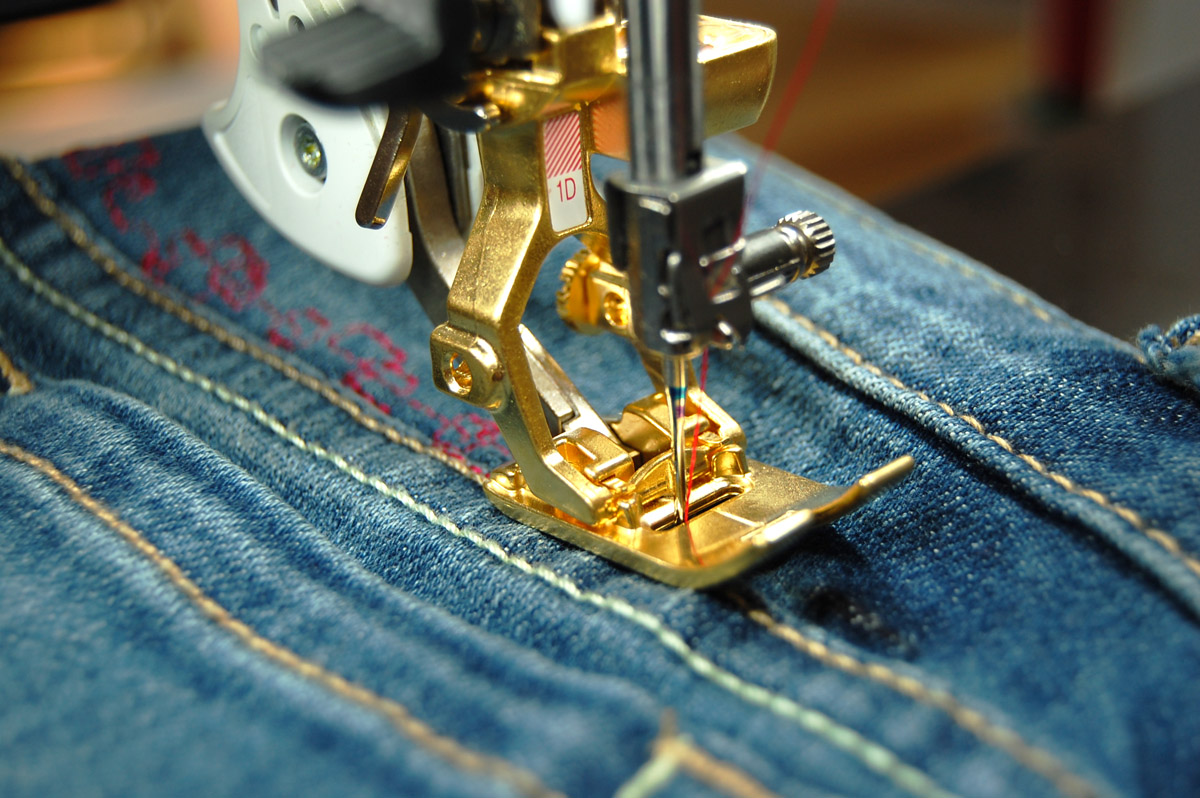
- Standard presser foot (BERNINA Reverse pattern foot #1)
- Iron (with steam is recommended)
Instructions:
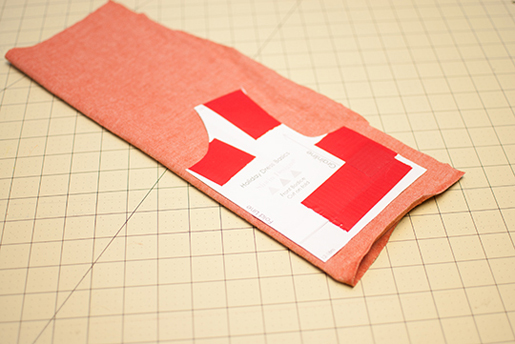
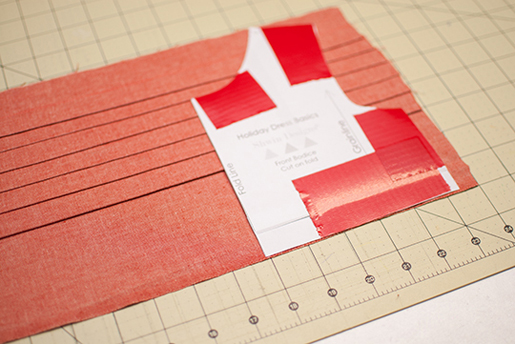
To start off cut out a rectangle of fabric that is taller than the height of your bodice piece and wide enough to fit your bodice piece. (Shown here my fabric is folded since my pattern will be cut on the fold) I cut mine about double the height of my bodice piece to pleat the top half of the bodice using 3/4″ pleats. If you desire larger pleats or want to pleat the whole bodice you will want to cut your piece even longer, 3 to 4 times longer.
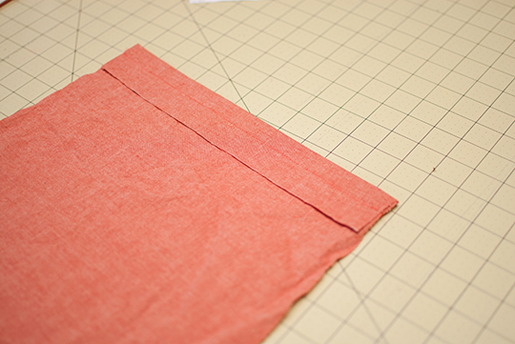
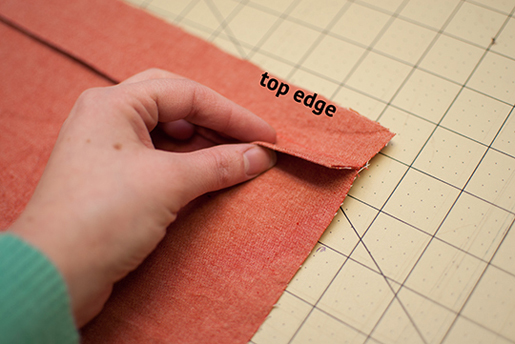
To start fold the top edge down so WRONG sides are together. You don’t want your first pleat to be right at the top so I always fold it over a little extra. (I did about 2″) Then press well.
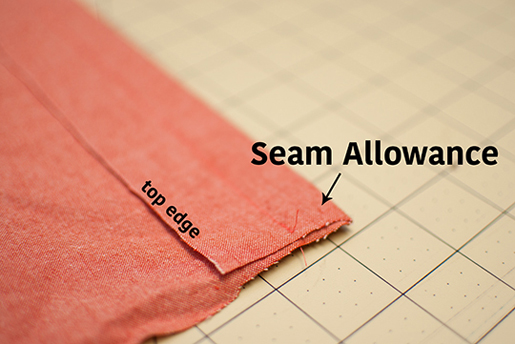
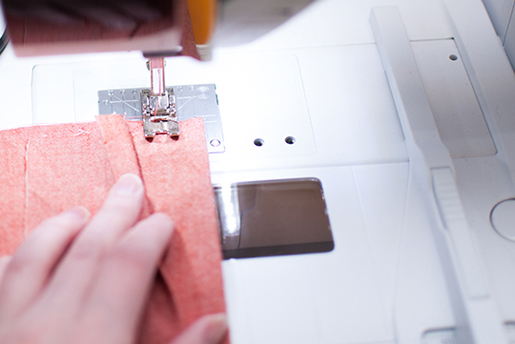
Sew your first pleat in place by sewing along the folded edge. I used a 3/4″ seam allowance since I wanted my pleats to be 3/4″ pleats. You can make them larger or smaller.
Then fold that top edge up and you will see your pleat (fold) standing up in the fabric. Press the pleat downward.
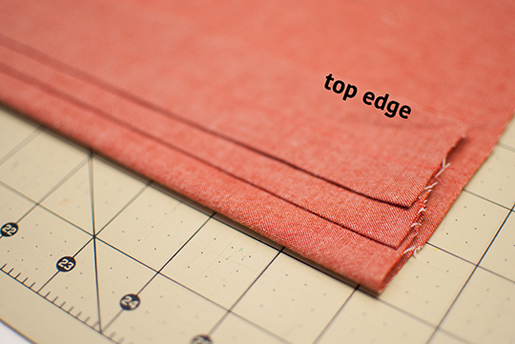
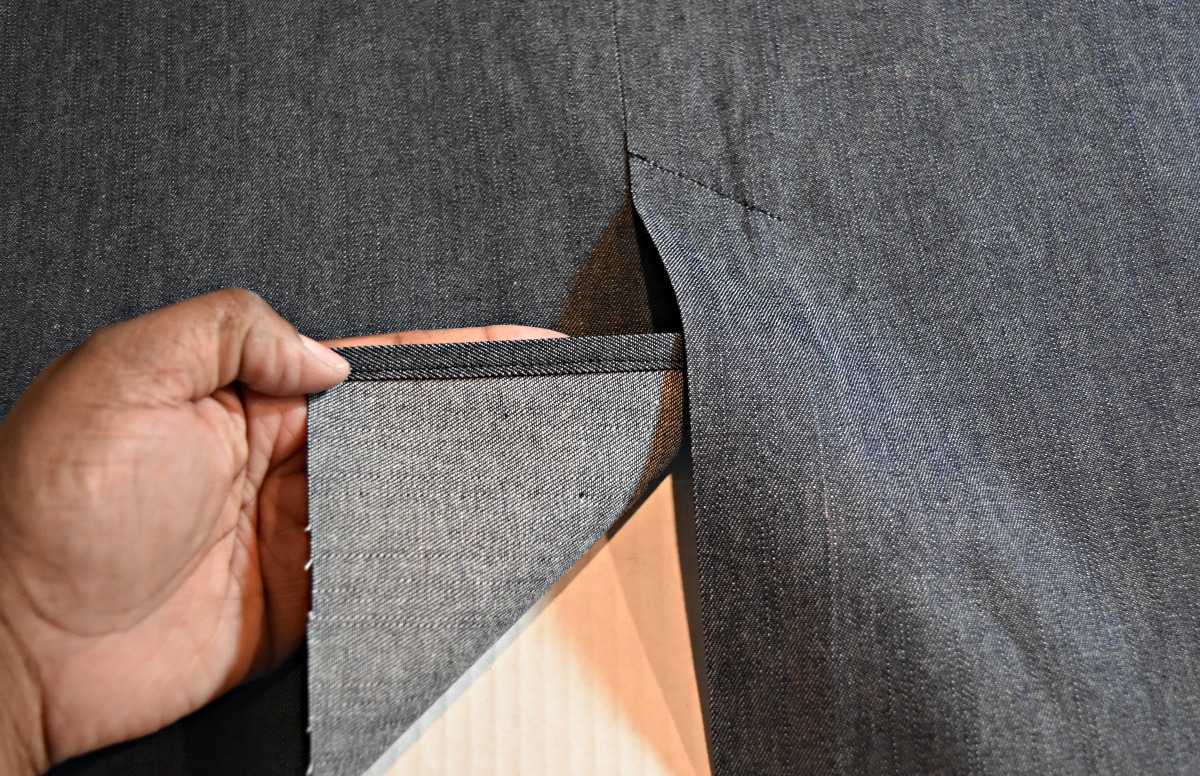
Fast forward a moment and I added the second row already so you can see what’s forming. Here is how you will add additional pleats. With the right side of your fabric facing downward and the top edge towards you. Take the top edge and fold it upward so again WRONG sides are together. The fold will determine the placement and size of the next pleat.
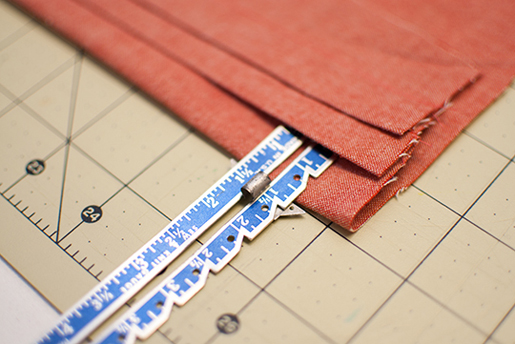
Since my seam allowance is 3/4″ I made each fold just shy of 1.5″ (almost double) I use my sewing gauge to mark the measurement and measure each pleat to be sure I stay nice and even. To measure I place the end of the gauge at the previous stitch line (inside of the pleat) then my fold for the next pleat is at the marking. I slide the gauge all along the edge to be sure my pleat is nice and even and then press well.
Move the previous pleat out of the way and sew the next pleat, again using the same seam allowance each time. (3/4″ for me) I just use a straight stitch and matching thread, although the top pleat will cover the stitch line.
Continue sewing the pleats until your fabric piece is the height of your pattern piece.
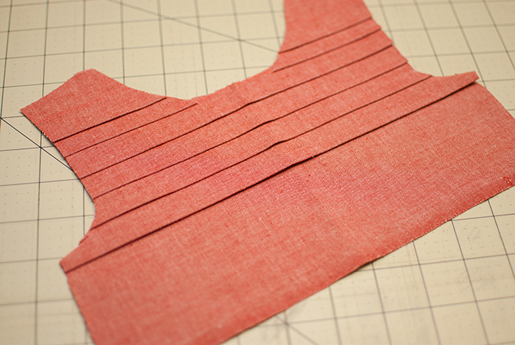
Then cut your bodice piece out from the pleated fabric. I trim away the top edge of the pleat along the neckline since it was just a sliver and would have been in the seam allowance when I finished the bodice; otherwise your bodice is good to go and may be used to complete any dress/top.
What you might also like
One comment on “How To Add Pleats To A Bodice”
Leave a Reply
You must be logged in to post a comment.





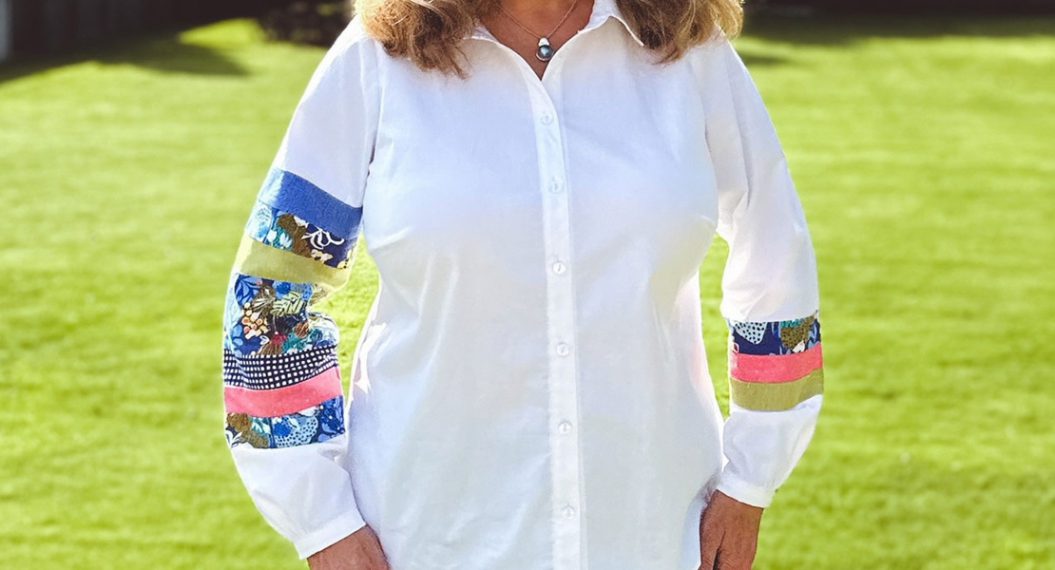




Cute sleeve too. The pleats are the icing on the cake!