Whole Cloth Quilting Tips: Making the Quilt Sandwich
Follow along with Roxane Lessa to see her creative process in making a whole cloth quilt, and visit the first part of the series, Whole Cloth Quilting Tips: Designing the Quilt here. In this post, learn how Roxanne uses double sided fusible webbing to baste the layers of her whole-cloth quilt.
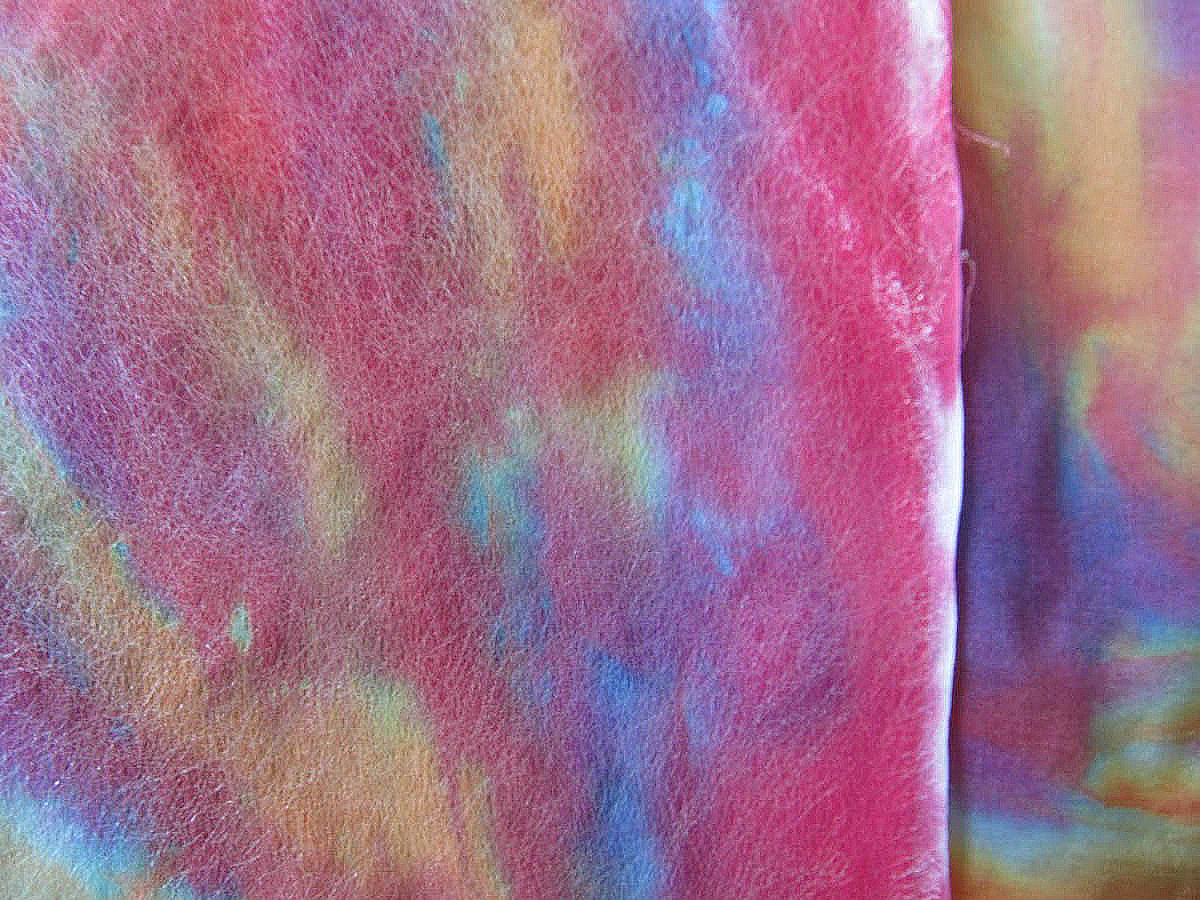
Last time I described how I worked out a rough plan for quilting my abstract dye-painted piece. I had an idea which area I wanted to start quilting in, what threads to use, and what type of patterns to quilt. So without wasting any time, I got out my iron, my roll of Misty Fuse fusible web, some wool batting, and a cotton batik backing fabric.
The first step was to pre-fuse my silk back with white Misty Fuse. I did this by laying out the silk wrong side up on a clean ironing surface, and spreading out a piece of Misty Fuse that covered the whole back of the fabric. Next, I covered the Misty Fuse with a few large Teflon non-stick sheets.

If you don’t have Teflon sheets, a roll of parchment paper will work too. You just need to cover your fusible so it doesn’t get on your iron. After applying dry heat with your iron for a few seconds, the Misty Fuse (M.F.) should melt and adhere to the fabric back. If you’re not sure if the M.F. is sticking, lift up your non-stick sheet and see if the fusible looks shiny and transparent.
Once, your non-stick sheet has cooled (be careful, it gets really hot!), you can simply peel it off the back of your fabric. It’s a good idea to “scrub” off your non-stick sheet or parchment with a kitchen plastic scrubber to remove any bits of fusible that remain. Otherwise, you may get those bits on the front of another quilt! Finally, I put away my silk by pinning it to my design wall for the time being.
As I said before, I had a piece of wool batting and a backing already cut to size and ready to go. I prefer to use wool batting because it doesn’t wrinkle permanently like cotton, and has a nice puffy loft when quilted. If you prefer a different batting, you could use that instead. My next steps were to fuse baste the backing fabric to the wool batting, and finally fuse all three layers together. Why do I like to fuse baste? Well, pins hurt my fingers, make holes in the fabric, and drive me crazy when I’m quilting!
The best way I have found to fuse baste the backing fabric to the batting is by ripping up or cutting small (1-2″ or so) of Misty Fuse and spreading them on top of the wool batting. I tried not to leave more than 2″ between pieces. Next, I spread my backing fabric on top, and with a very light pressure, and dry heat (cotton setting), I fused the backing to the wool batting. I didn’t use pressure because I didn’t want to flatten the wool batting.
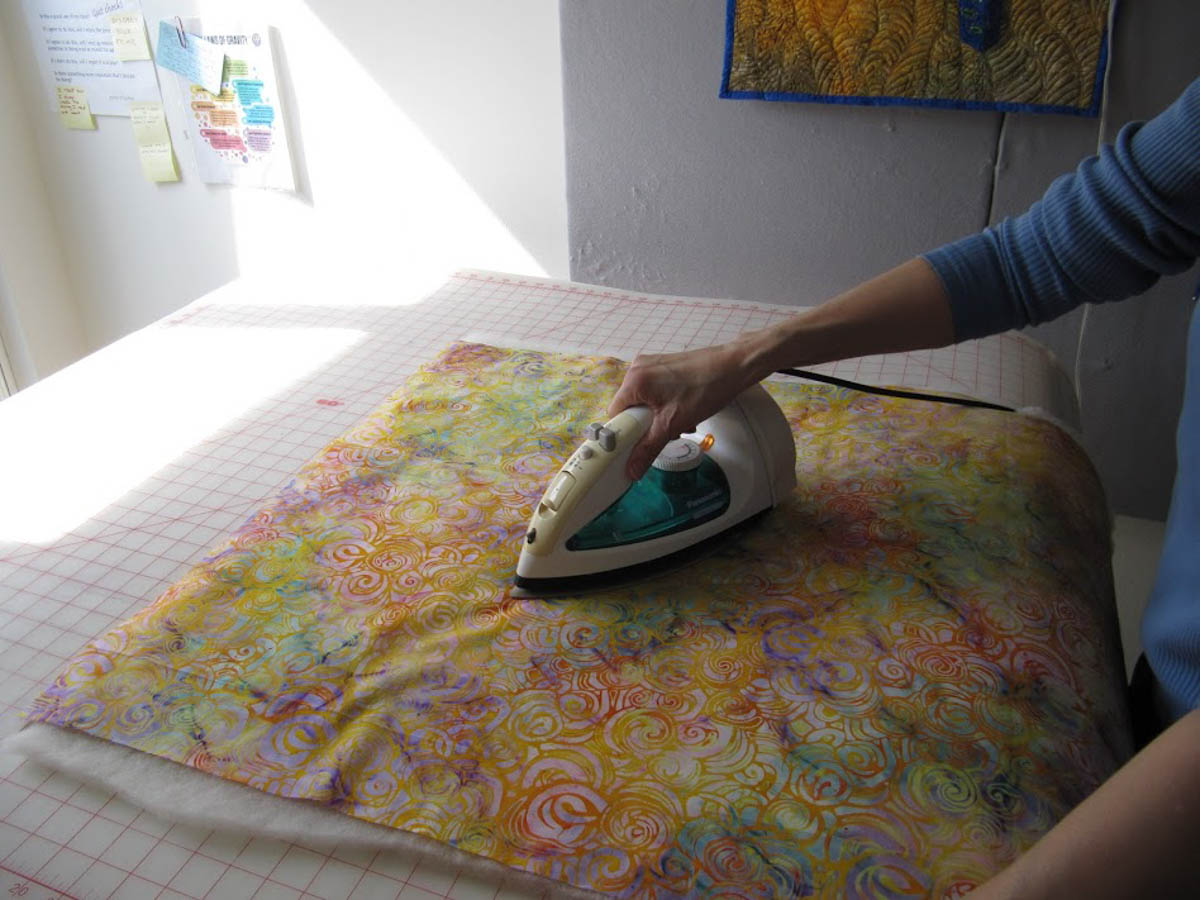
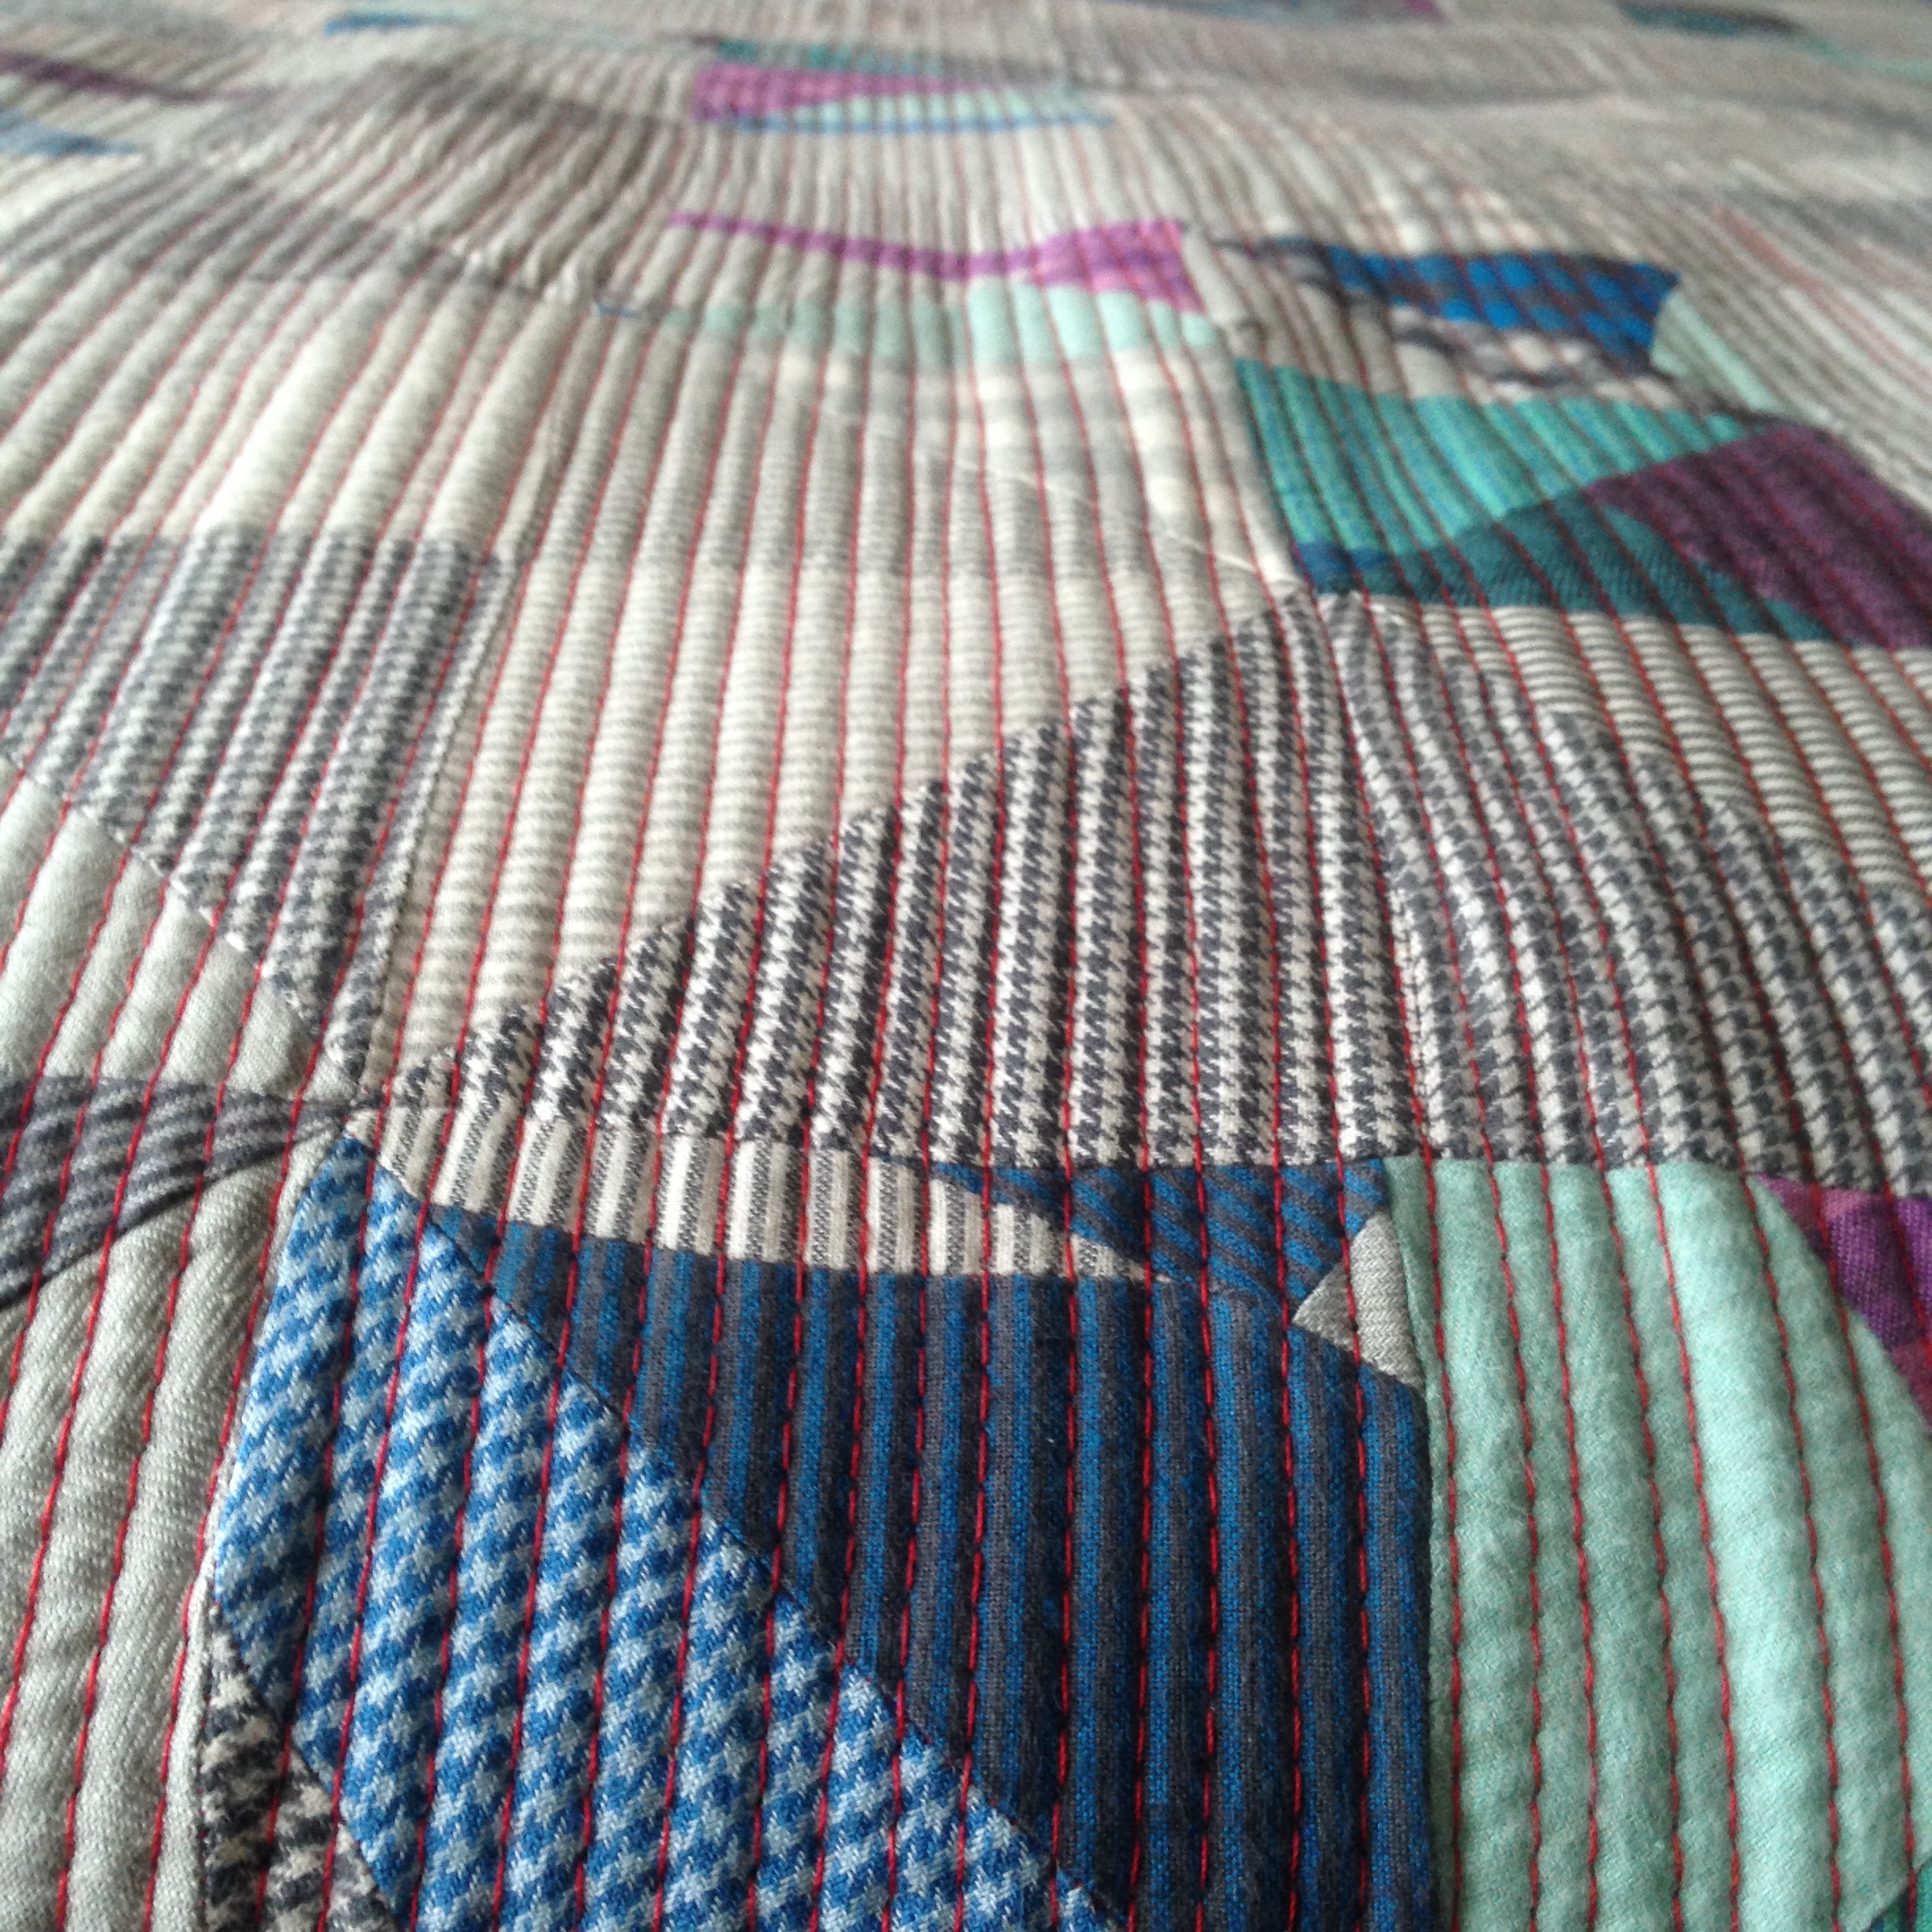
The last step to assembling the quilt sandwich was to layer the silk piece, right side up on top of the uncovered wool side, cover with the non-stick sheet or parchment sheet, and iron with light pressure again. At this point, the fusible that was already applied to the silk adhered to the wool as well.
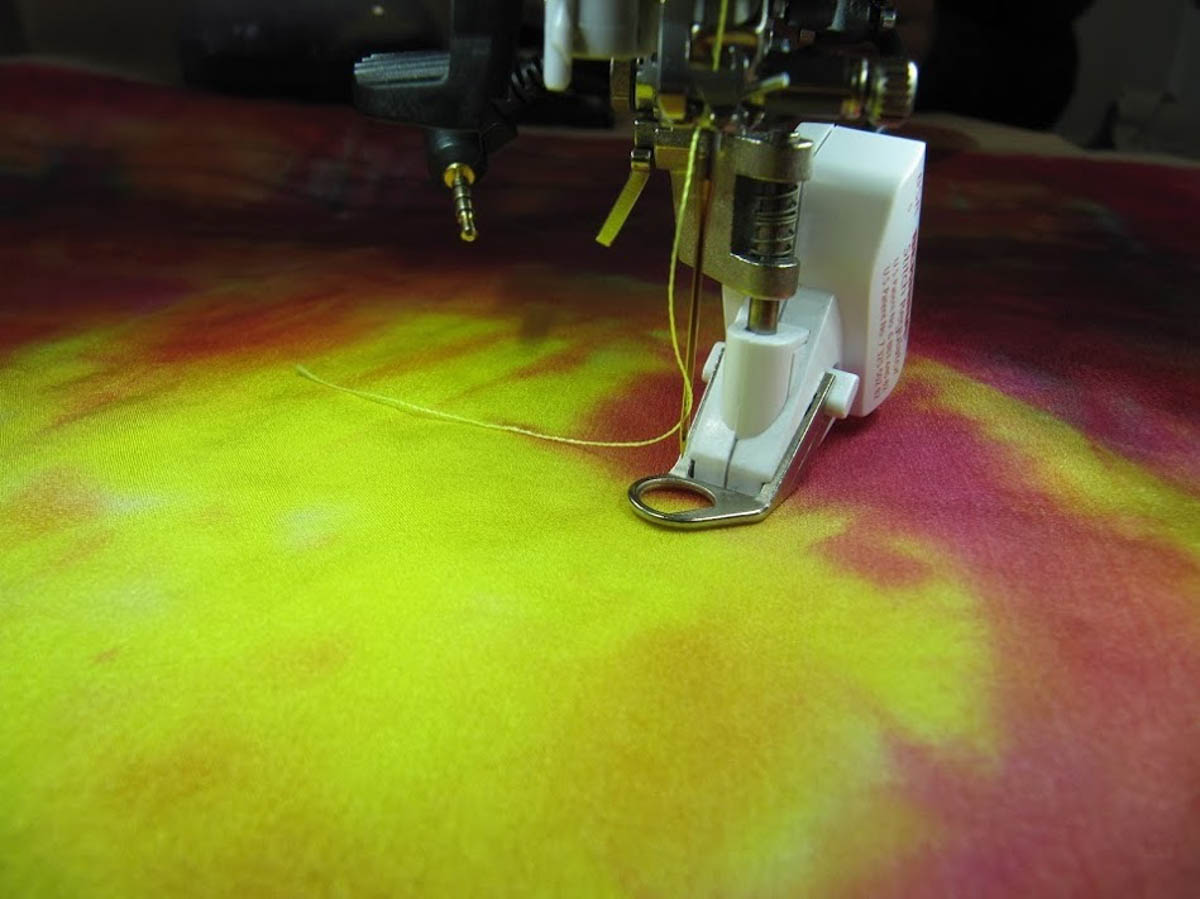
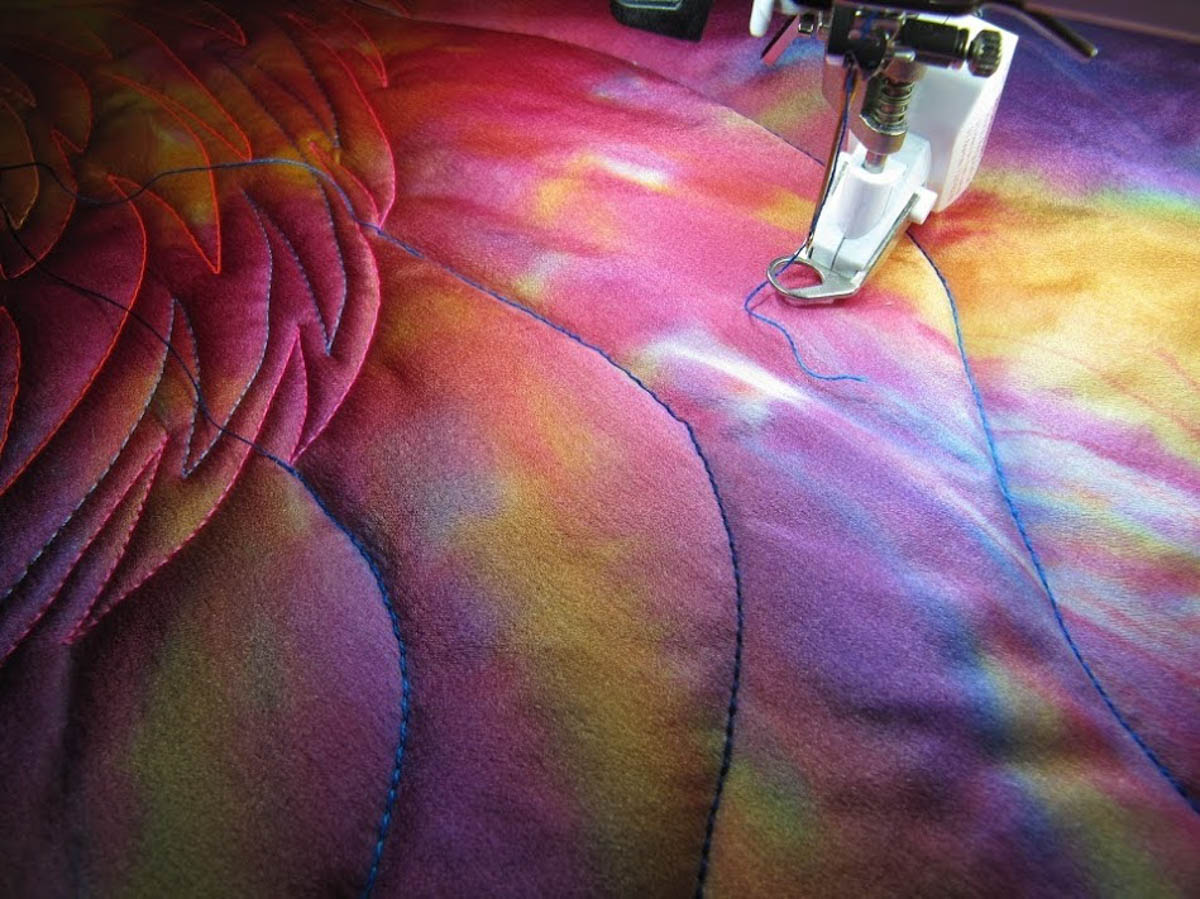
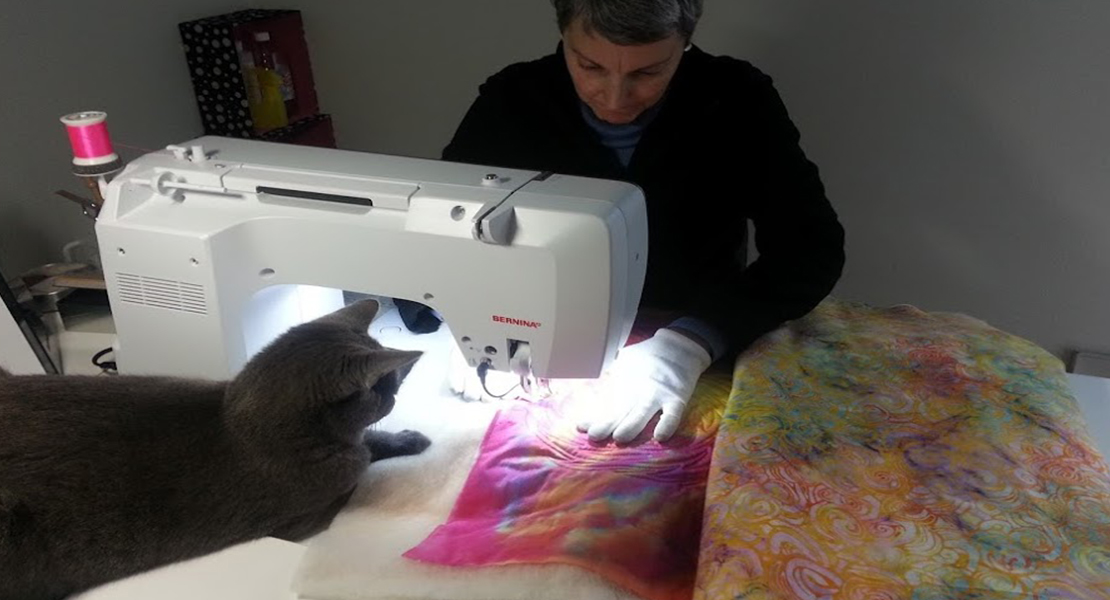
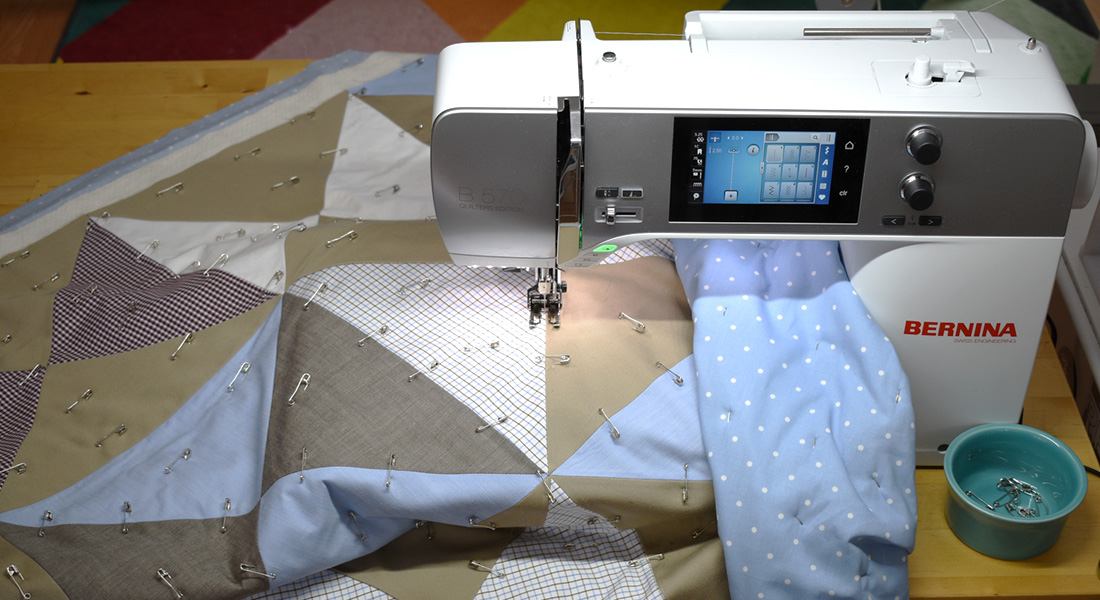
Now all I needed to do was put in my trusty BERNINA Stitch Regulator (BSR), thread my machine, put in a new 12/80 topstitch needle, and test out my tension. Adjusting your top tension is important when you are using different weight threads. Every time I changed thread types, I made minor adjustments in my tension, and tested it out on the very edges of my quilt sandwich.
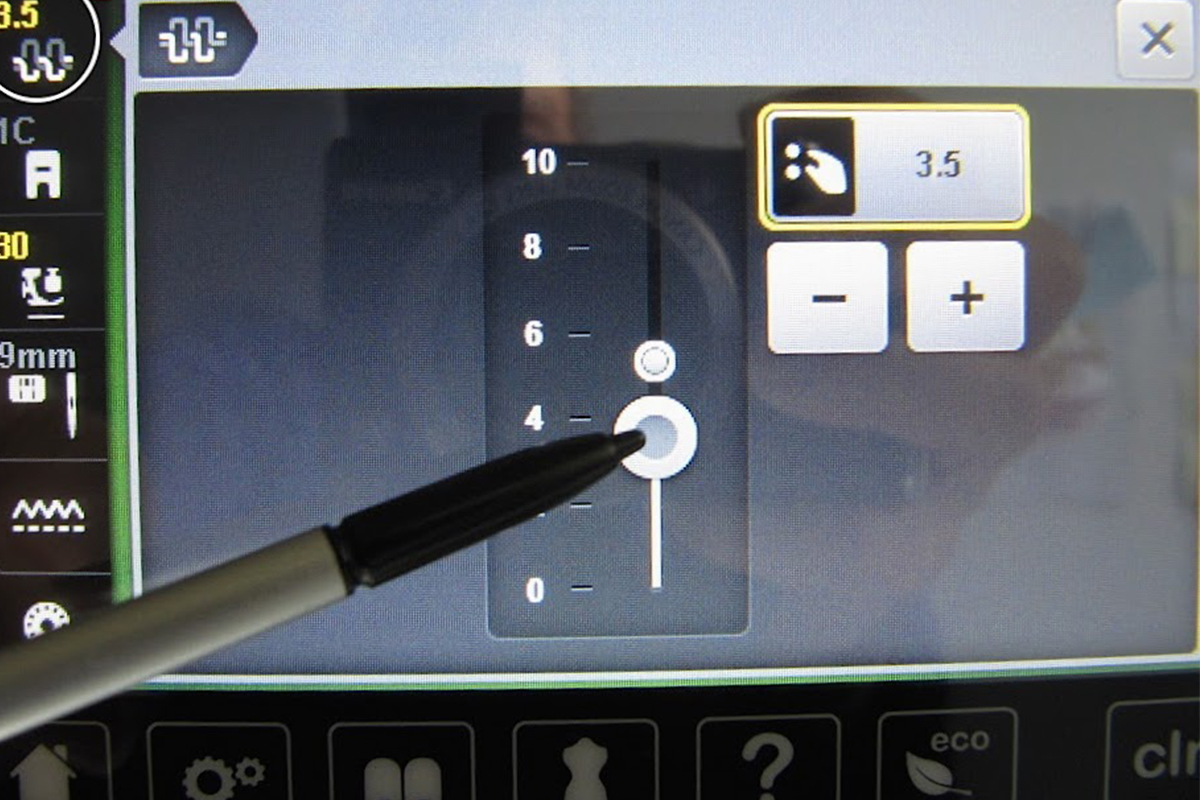
Adjusting tension in the BERNINA 770 QE is super easy. The touch screen’s first icon, in the upper left corner, is the thread tension, and you can adjust it up or down using your stylus or finger. When I was using my heavier threads I loosened it slightly from 5 to 4.5. The default 5 setting was a bit too tight for free-motion quilting. When using my finer polyester threads, I went down to 3.5 so they wouldn’t break or shred.
Free-motion quilting always puts a bit more drag on your thread, and that can cause frustrating breakage if your tension isn’t adjusted to allow for that. As usual, I wound my bobbin with clear Superior threads mono-filament thread. This thread is the ideal bobbin thread, because it doesn’t show, and doesn’t have to be changed with each top thread.
Still with a small amount of trepidation, I slid the quilt under the BSR foot and started free-motion quilting….to be continued!
Used Products


What you might also like


2 comments on “Whole Cloth Quilting Tips: Making the Quilt Sandwich”
-
-
Thank you Ann! I’m glad you get this blog too, lots of yummy quiltiness on here!
Leave a Reply
You must be logged in to post a comment.

These are great tutorials! Thanks so much, Roxane. I appreciate the way that you share your thought processes in choosing FMQ quilting designs as well as instruction on technique. You ROCK!