How to Embroider a Mouse Pad
Hello everyone!! Kymona here to show you how to embroider a mouse pad. So many of us work on computers all day long, and a mouse pad is one of those essential items. So, why not embroider on it.
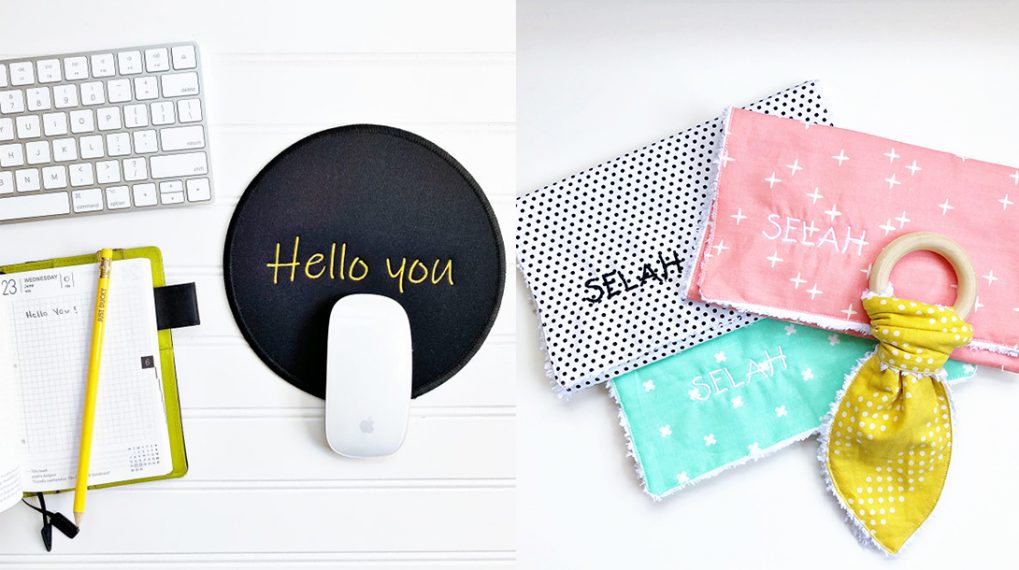
Let me show you an embroider mouse pad!
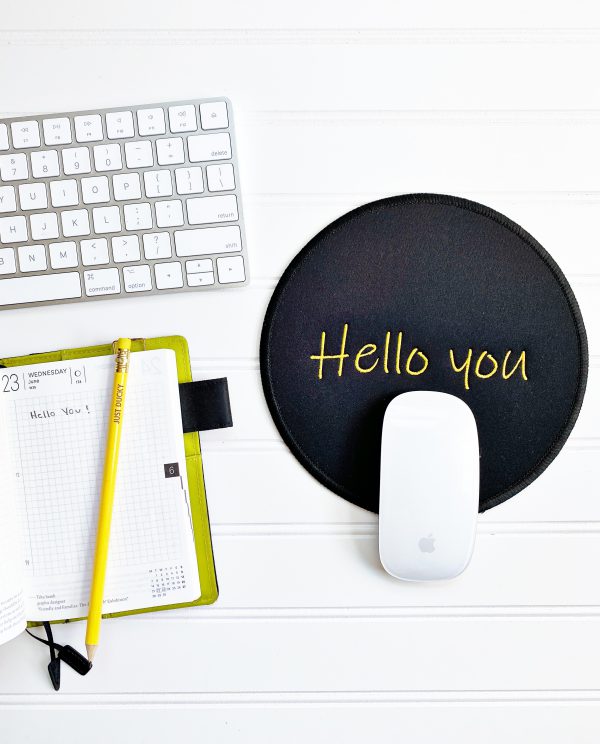
Jaw-dropping, right?! Let’s make one!
Materials to Embroider a Mouse Pad
- Blank mouse pad
- Embroidery Thread
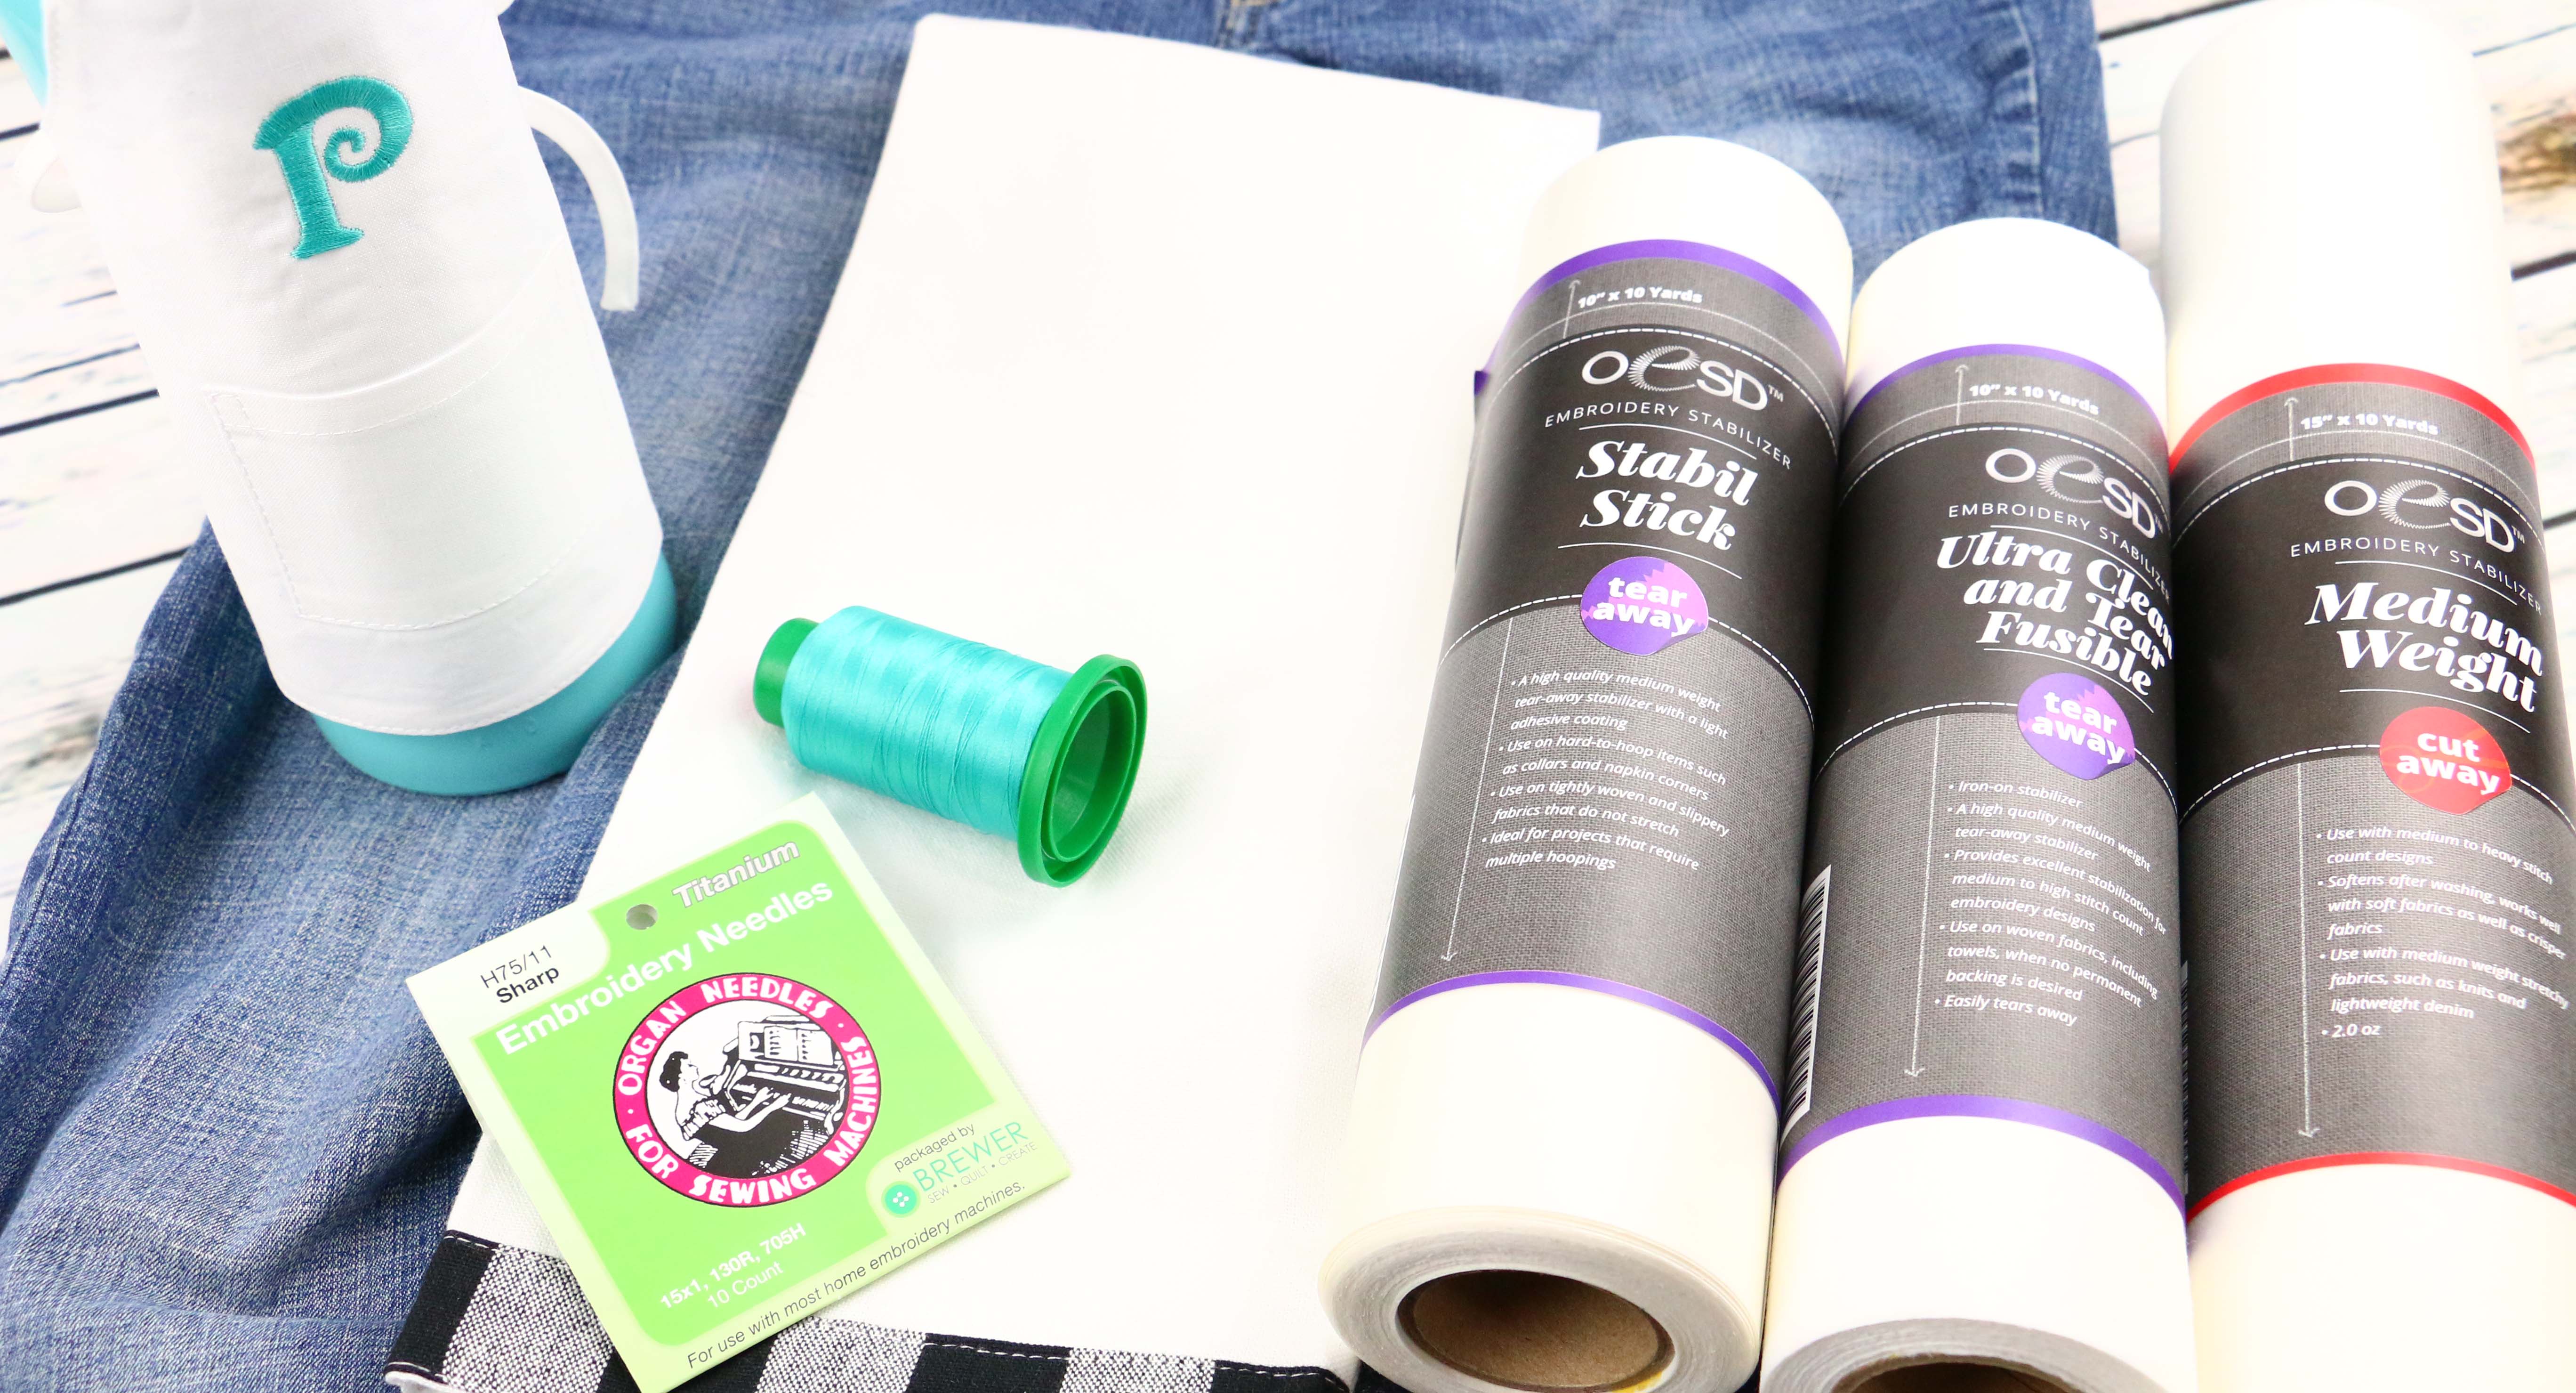
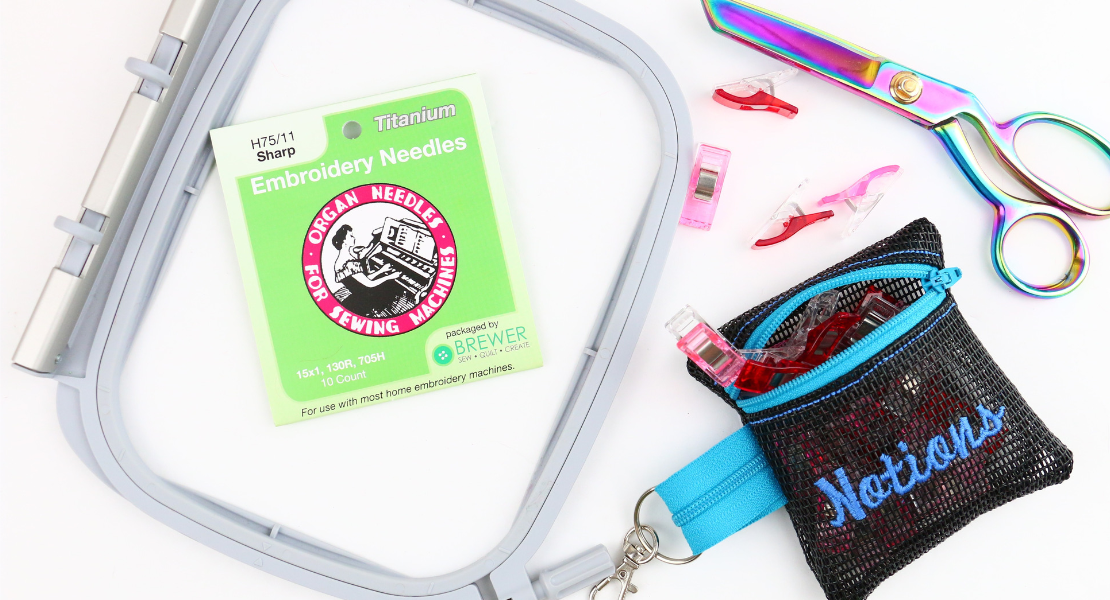
- OSED HydroStick Tearaway Embroidery Stabilizer
- BERNINA Embroidery Software 8v2
- BERNINA 570QE E
- Embroidery Scissors
- Embroidery Stickers
Instructions to Embroider a Mouse Pad
Step 1: Select Hoop Size
Open BERNINA Embroidery Software 8v2.
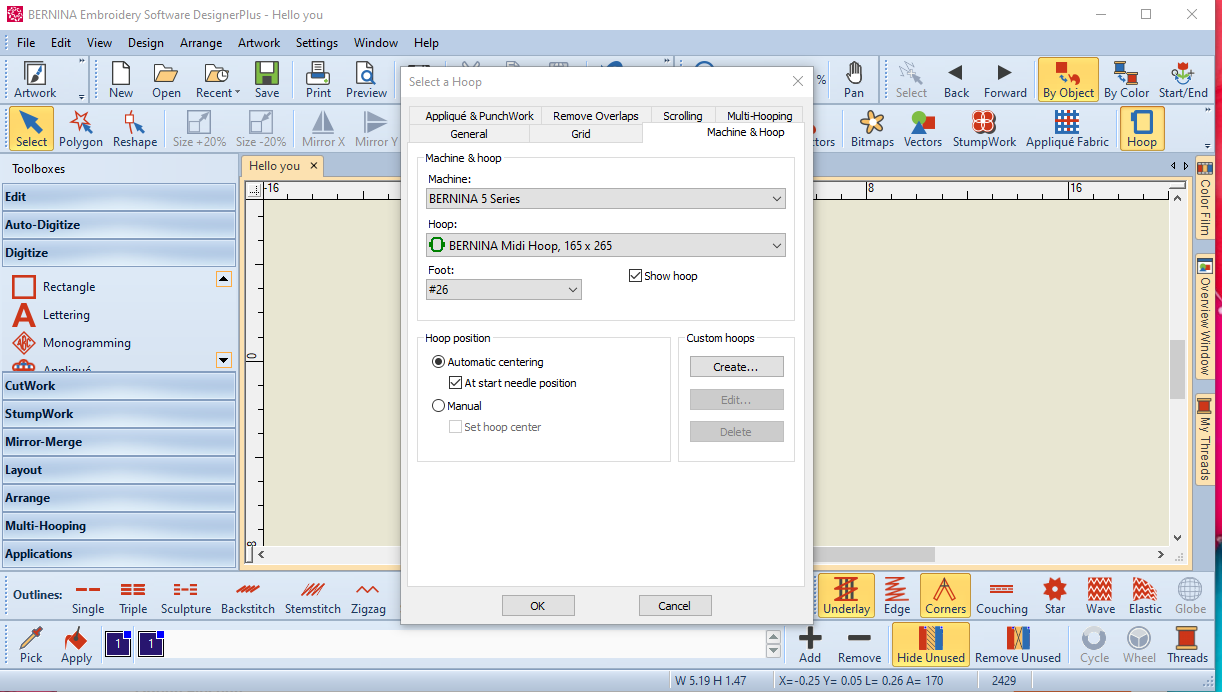
Once the program opens up, right-click on Hoop in the toolbar.
The Select a Hoop window will open up on the Machine & Hoop tab.
Select your machine.
Then select your hoop.
Finally, click on OK.
Step 2: Create the Design
Click on the toolbox labeled Digitize.
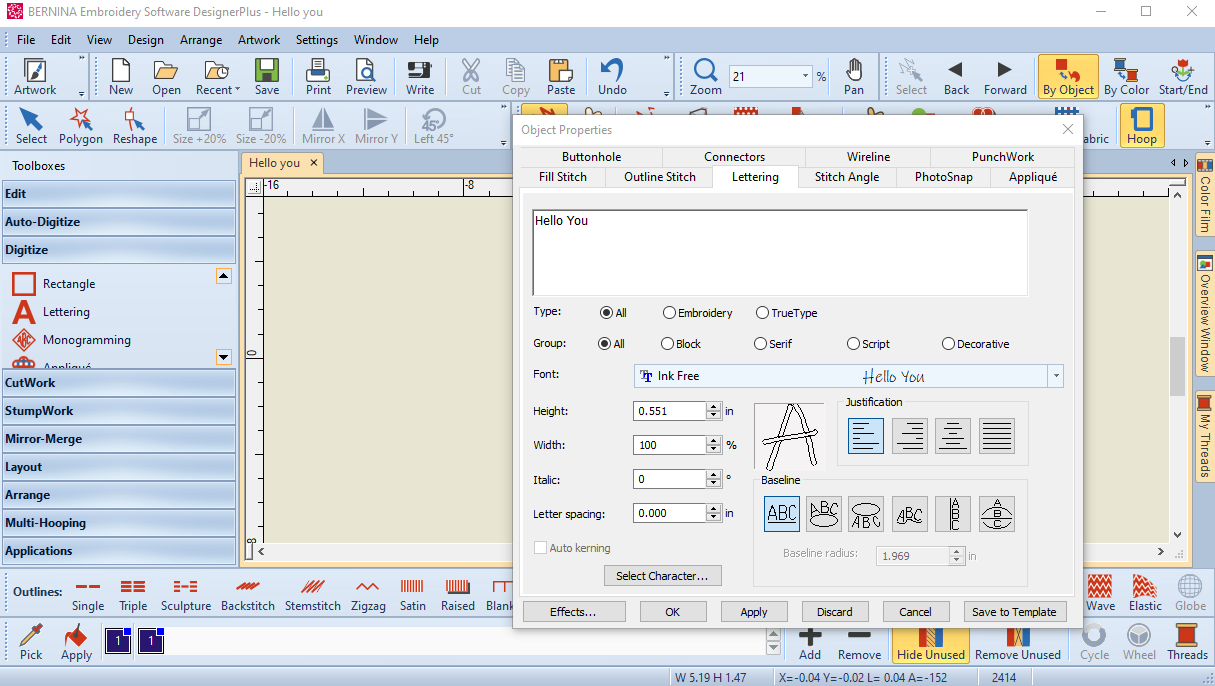
Then right-click on Lettering.
The Object Properties box will open up on the Lettering tab.
Type what you want your sentiment to me; this project – Hello You.
Now select the font that you want to use; this project uses – TrueType font Ink Free.
Click ok to close the window.
You will see your design on the screen in the hoop.
Step 3: Resize, if Needed
This step is necessary if your design is too small 0r too big for the hoop and mouse pad.
If it’s too small, make it bigger by selecting the image and dragging one of the corners to make it bigger.
You will know it’s too big if the design is outside of the red lines in the hoop on the screen. If that is the case, select the image and drag the corner to make it smaller.
Once you like the design, it’s time to stitch it out.
Step 4: Export the Design
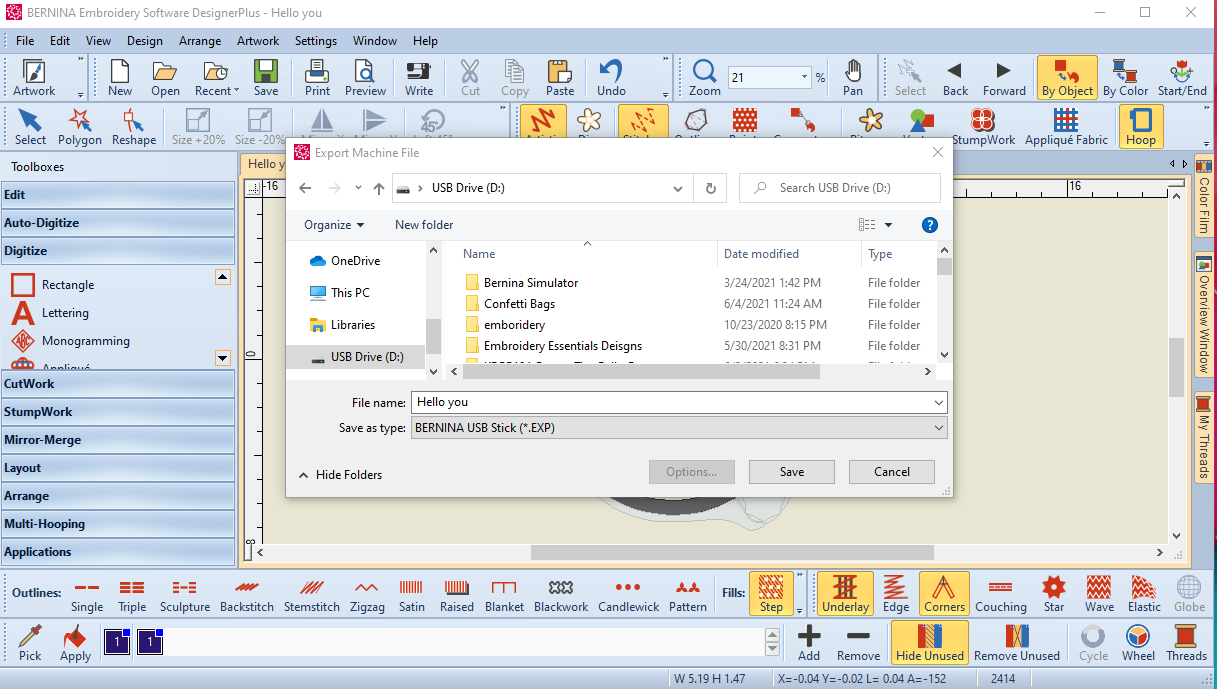
Click on File
Then Export Machine File
Choose the USB designation
Name the design and press save.
Step 5: Hoop the Mouse Pad
Cut a piece of HydroStick Tearaway Stabilizer big enough to fit the hoop.
Mark the center of the mouse pad.
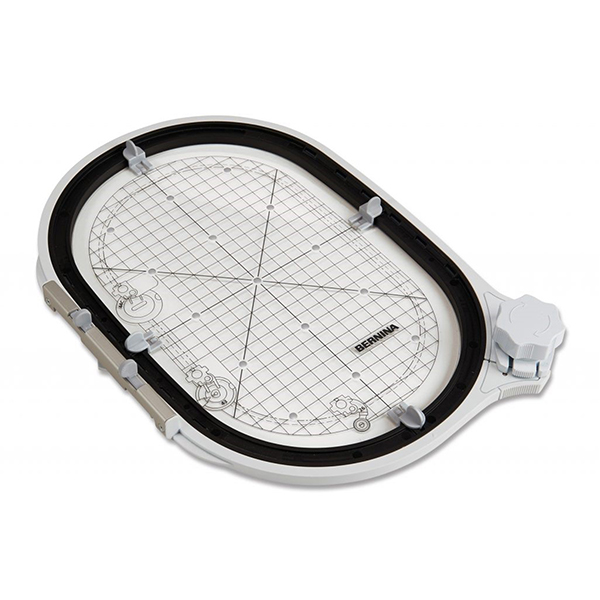
Hoop the Midi hoop with the stabilizer alone.
Use a small water bottle and wet the stabilizer.
Place the mouse pad on top of the wet stabilizer.
It’s ready to be stitched.
Step 6: Stitch out the Design
Attach the embroidery module to the machine.
Lower the feed dogs.
Attach the USB stick to the machine.
Select the USB icon and select your design.
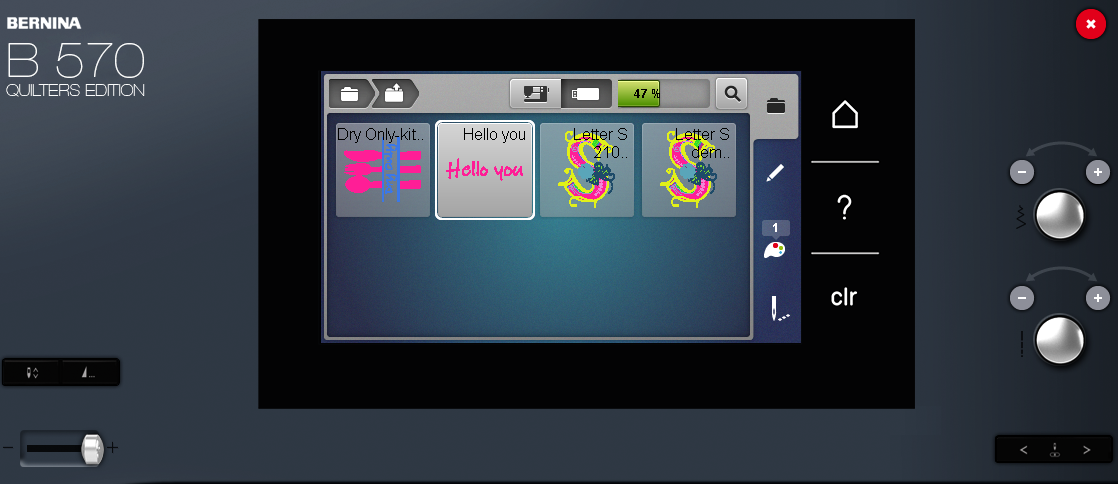
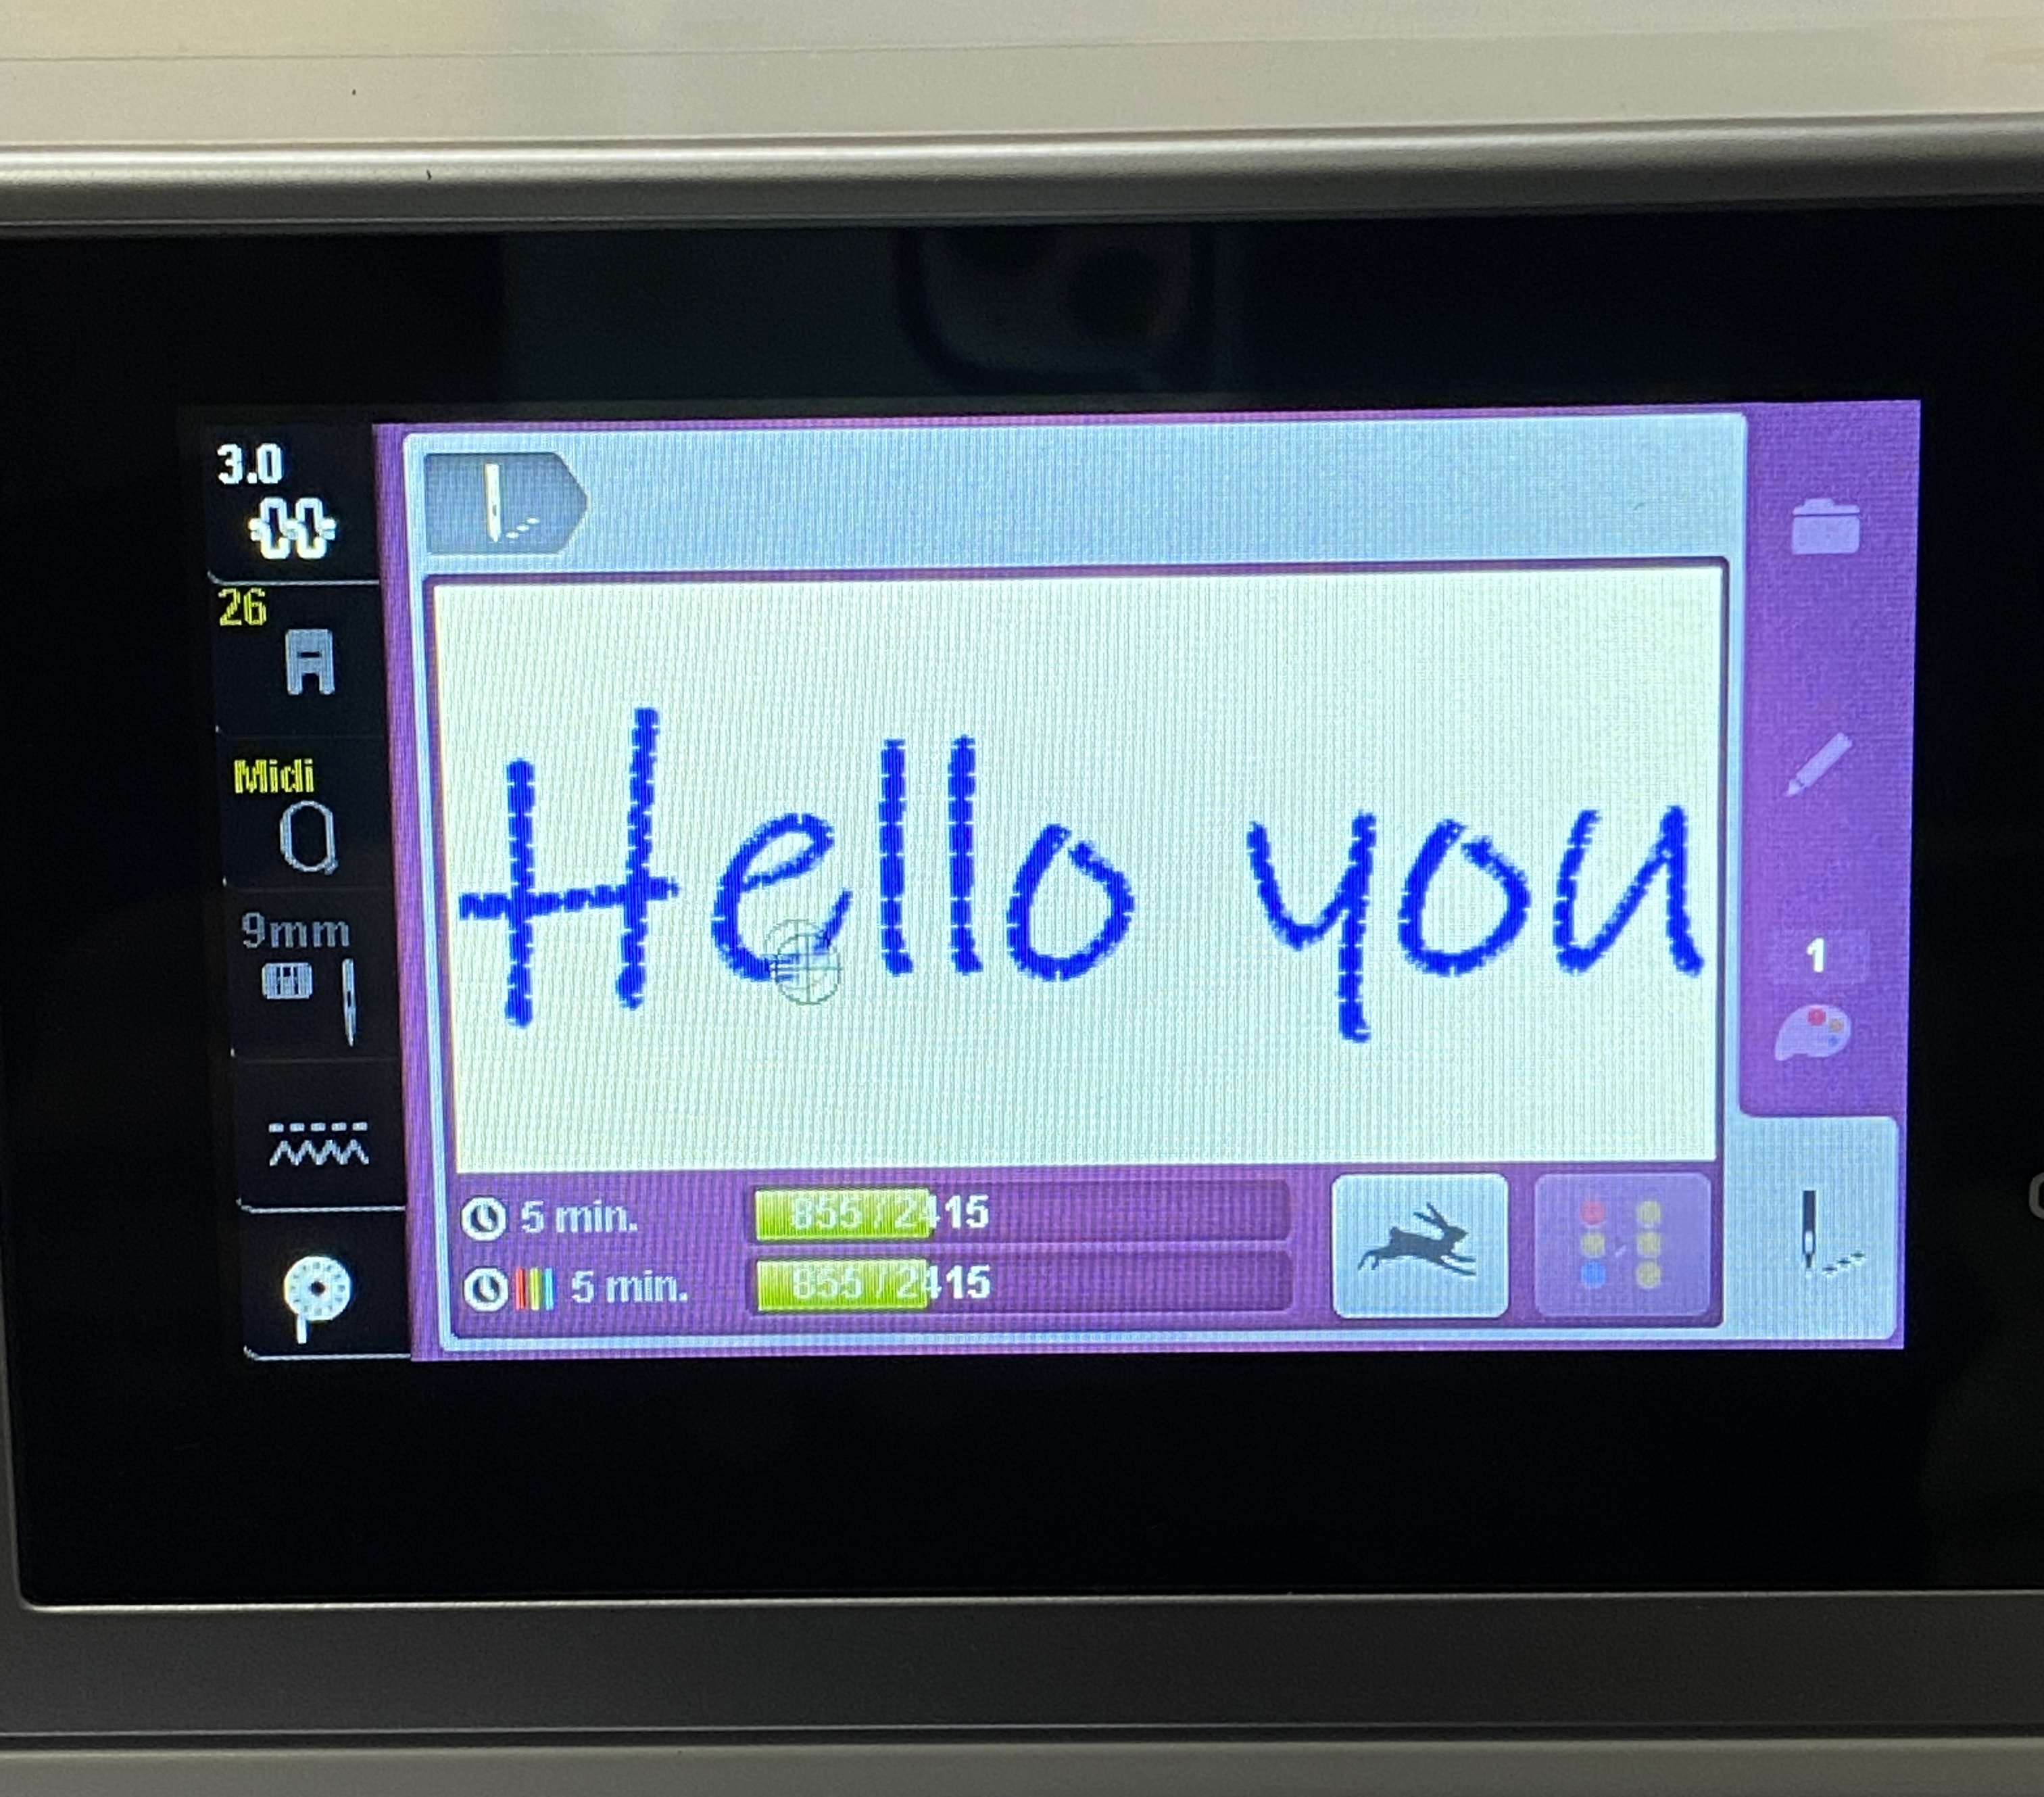
Change the hoop size, and thread the machine with the color of our choice.
Attach the hoop to the machine.
Do a check to make sure the needle will not hit the side of the hoop, and make sure the center of the design matches the center of the mouse pad.
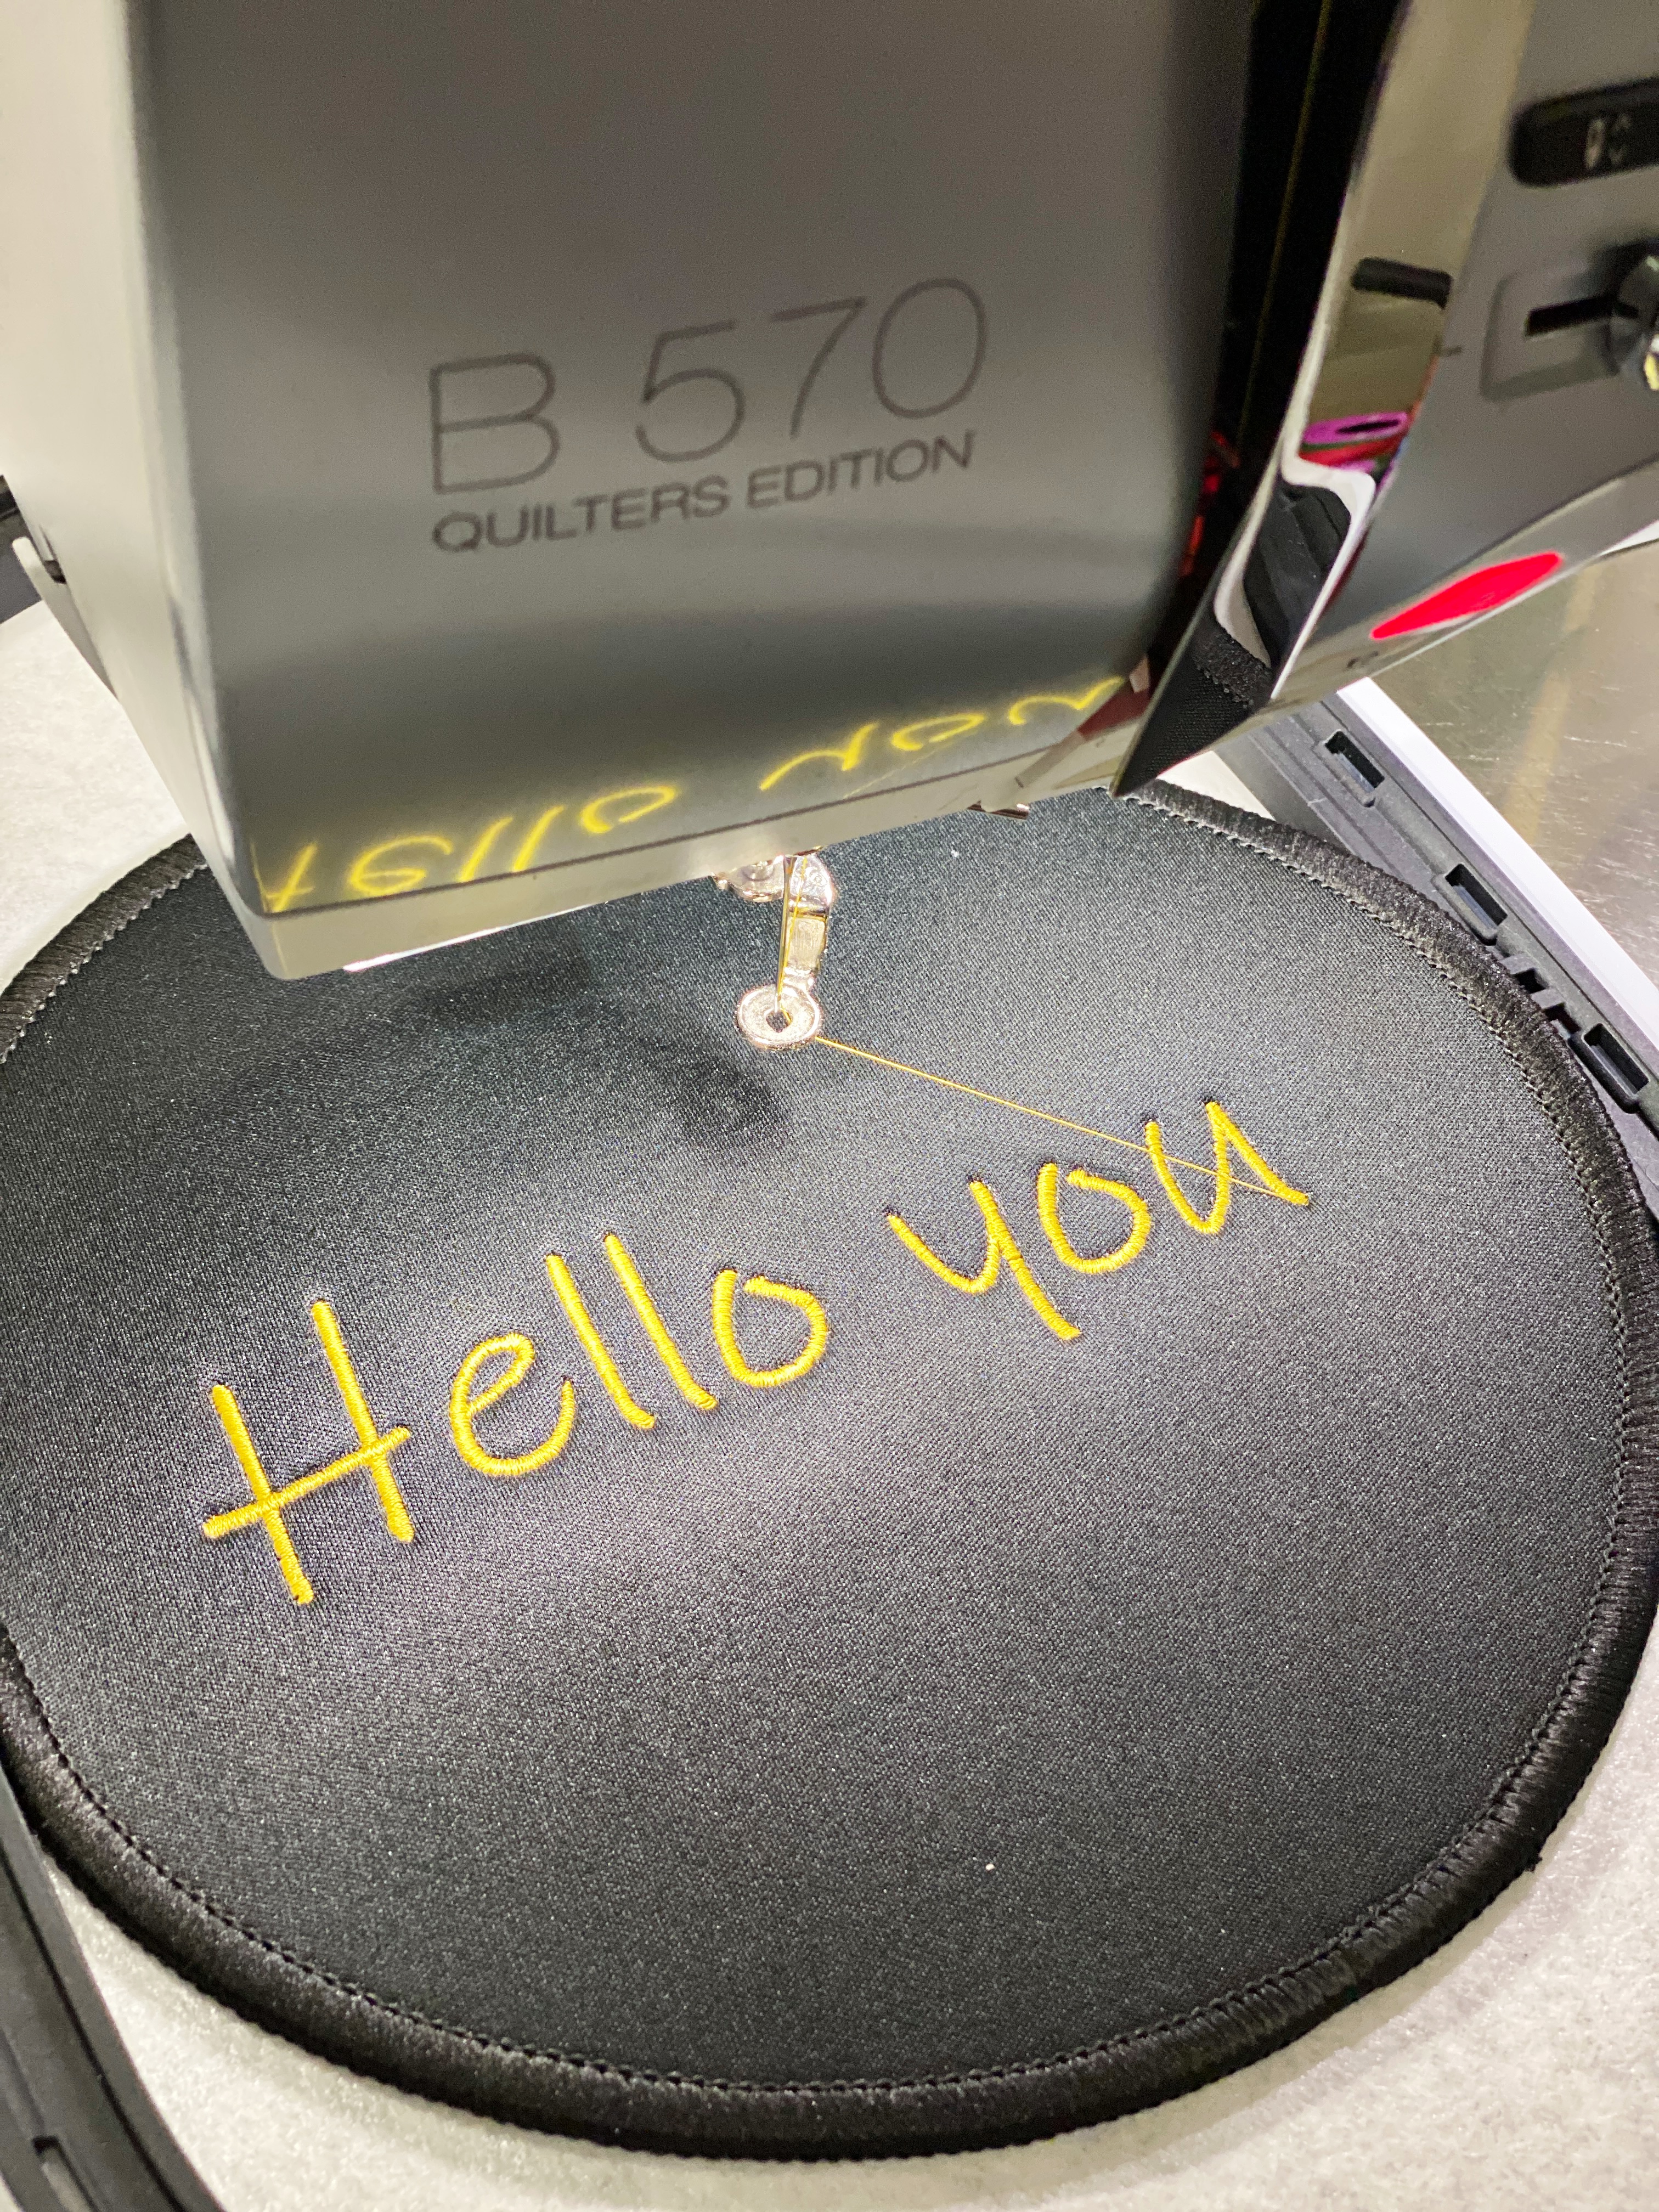
If everything looks good, press start!
Step 7: Unhoop and Clean Up the Design
Once the design is done stitching out, unhoop the stabilizer.
Wet the stabilizer again to tear the mouse pad off of the stabilizer.
Cut any stray stitches, and you’re DONE!!
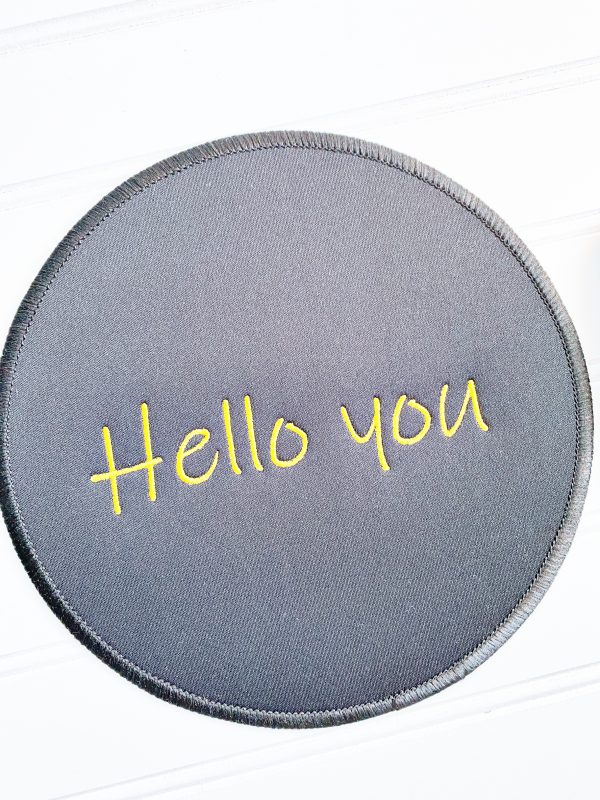
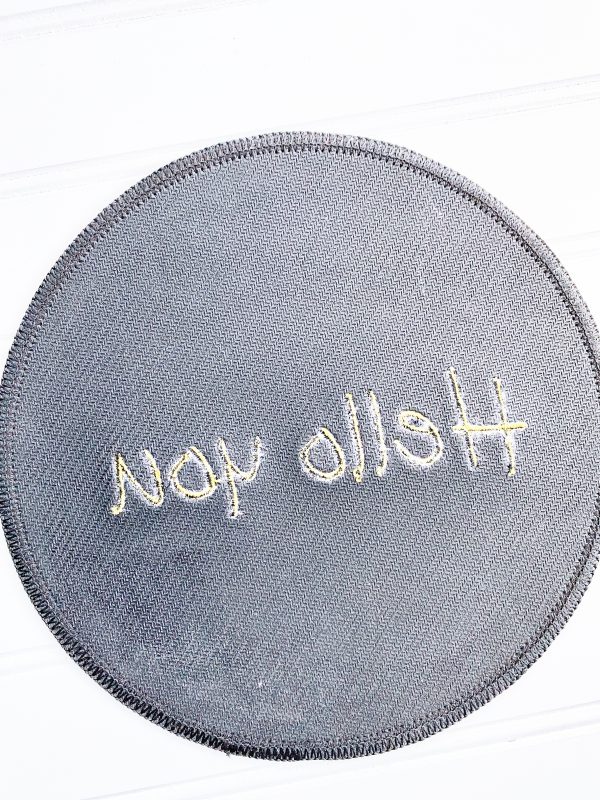
Fun, right?! Looks perfect on any desk.
There are some items we never think to embroider, like this mouse pad. My motto is if it can lay flat, we can embroider on it.
I hope you give this project a try.
What you might also like
3 comments on “How to Embroider a Mouse Pad”
-
-
Hello Kirry48! Thank you so much. Here are the round mouse pads that I used -https://amzn.to/3nPFXVW
-
-
Thank you for sharing a most interesting project! Please, what type and size needle would you recommend?
Leave a Reply
You must be logged in to post a comment.





Great idea. Where did you find this round mouse pad?