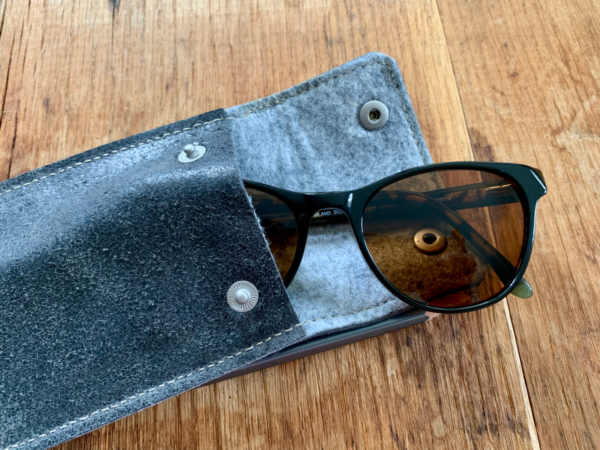
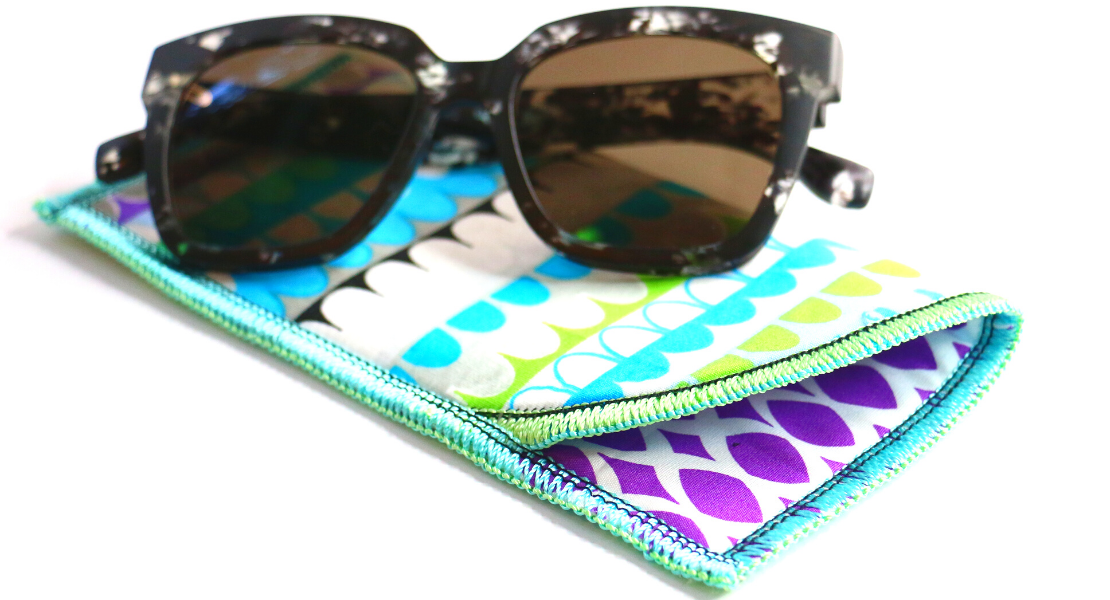
How to Sew a Leather Eyeglasses Case
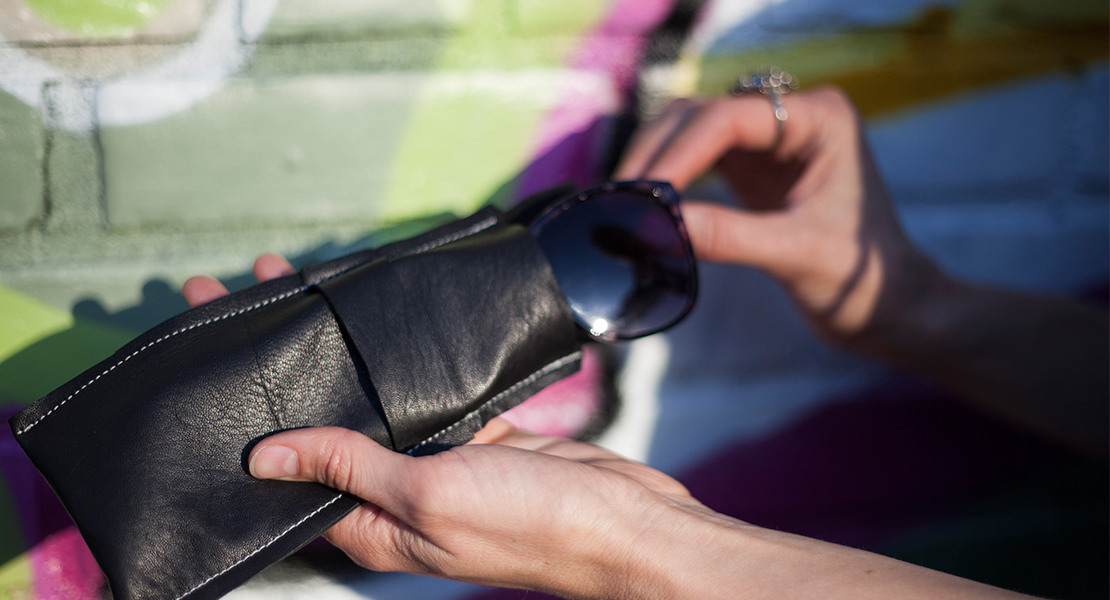
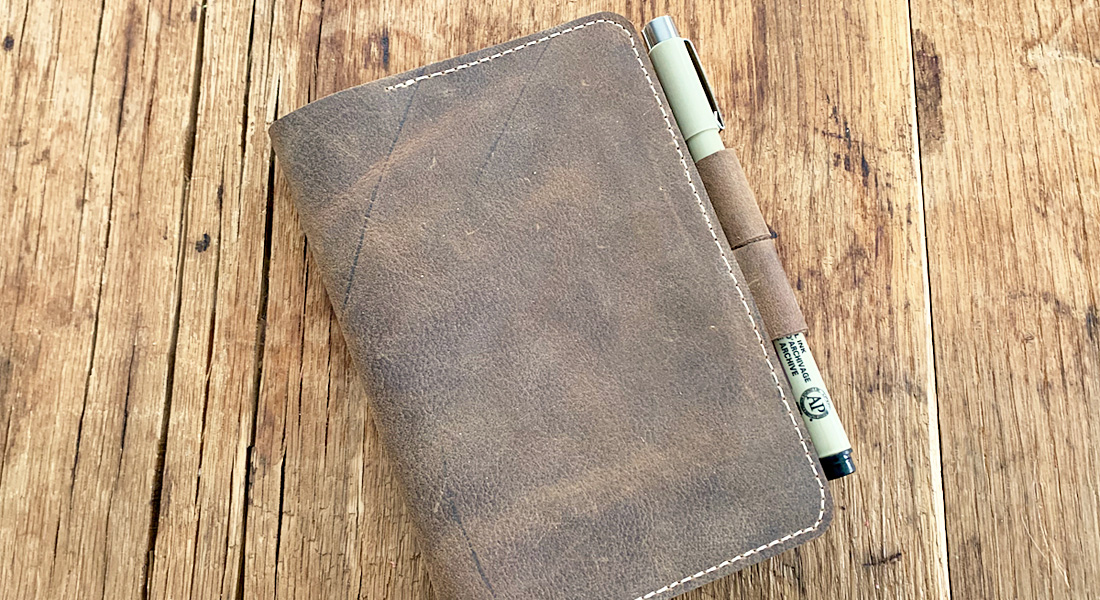
On my last post I talked about getting ready to sew leather on your BERNINA. Hopefully you are all excited to start on your very first project! If you haven’t had a chance to read my preparation post, I suggest you take a few minutes to do that now. For a first project, we are going to make a leather eyeglasses case!
While this is a pretty standard sized case for glasses, you could change the measurements and make a case for pretty much anything. This post will also show how to set metal snaps using a snap setter tool.
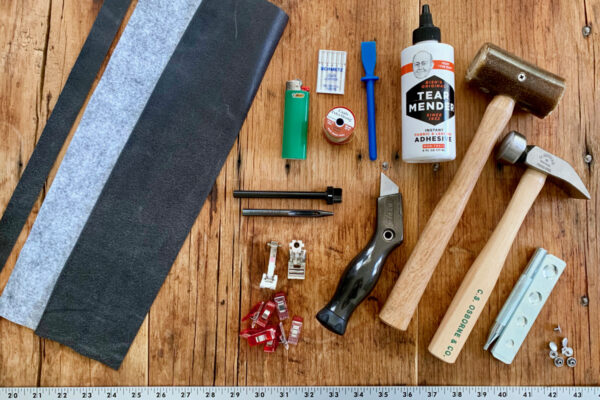
Materials to Make a Leather Eyeglasses Case
- 4″ x 16″ piece of thin leather
- 4″ x 16″ piece of wool blend felt
- Glue for leather, such as Bish’s
- (2) 10mm glove snaps
- Snap setter tool
- #1 (3/32″) hole punch
- Mallet
- Nylon upholstery thread, such as Coats and Clark
- Non stick or roller presser foot (see below)
- Leather needle
- Utility knife and cutting mat
- Steel ruler
- Binder clips or Clover Wonder Clips
- Corner rounding tool
Presser feet
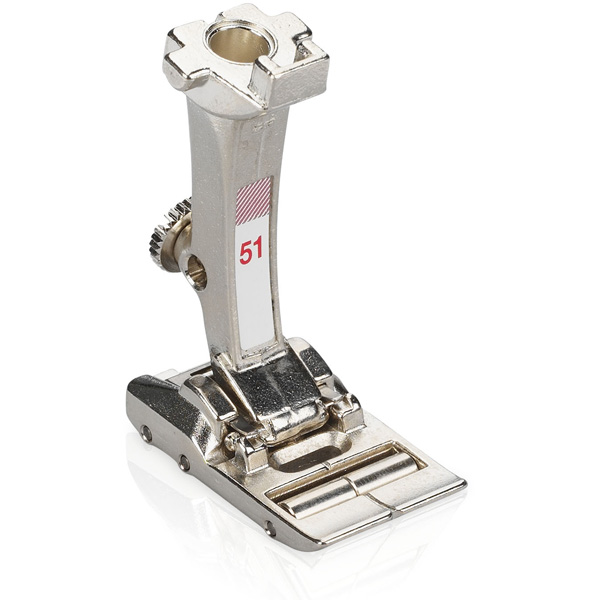
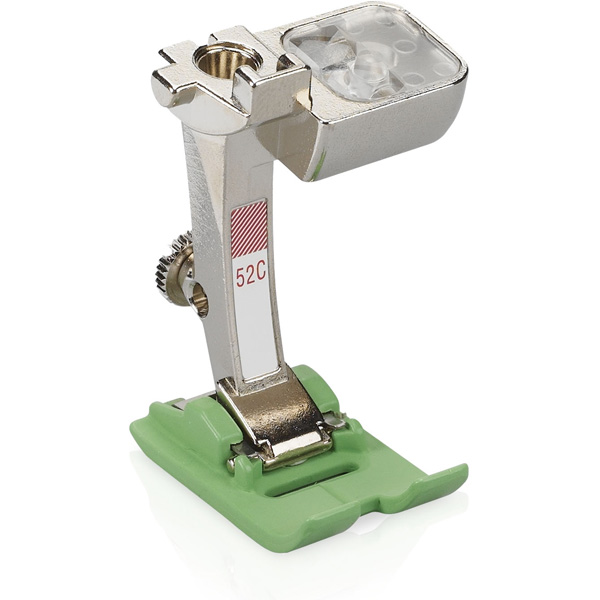
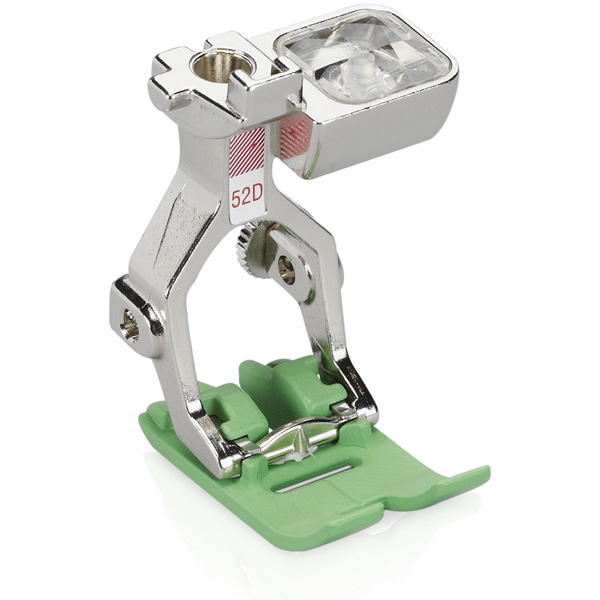
With leather it is best to use a non-stick or roller presser foot so that the leather glides smoothly through your machine. You can use BERNINA Roller Foot #51, BERNINA Zigzag foot with non-stick sole #52, BERNINA Straight-stitch foot with non-stick sole #53 or BERNINA Open embroidery foot with non-stick sole #56.
Instructions for Sewing a Leather Eyeglasses Case
Lining and Cutting the Case
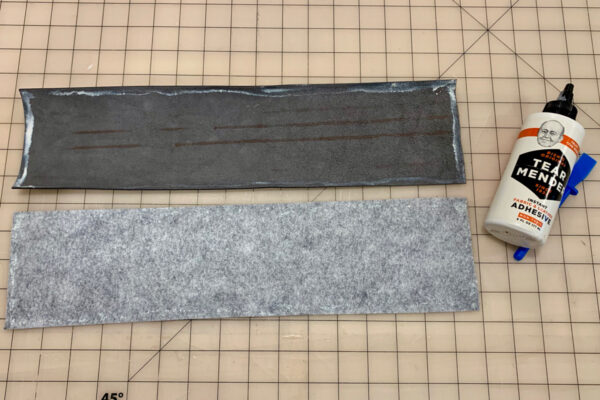
Step 1: Using a brush, your fingers, or a plastic spreader tool, spread a 1/2″ wide coating of glue around the perimeter of the back side of the leather. Repeat around the perimeter of the felt.
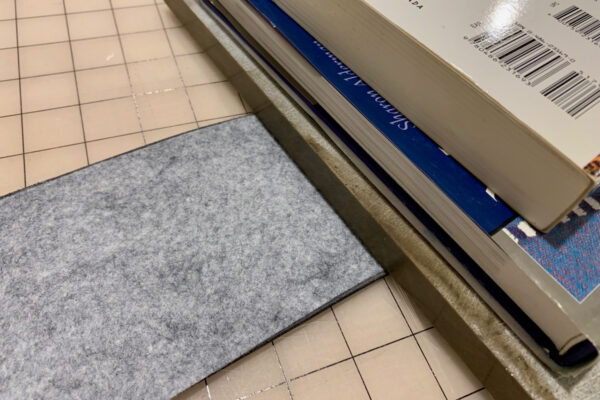
Step 2: Place the two glued surfaces together, and press together with a book or other flat heavy item while they dry for about 10 minutes.
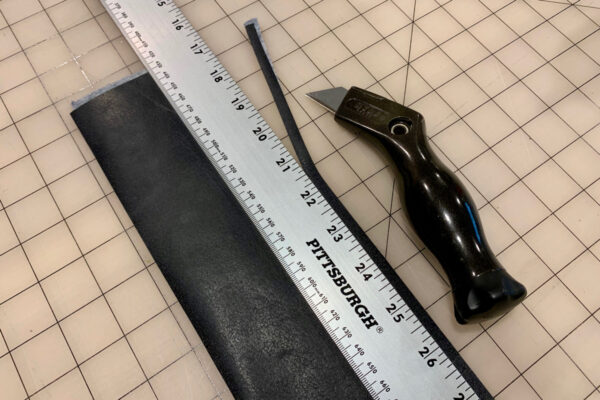
Step 3: Using your steel ruler and your utility knife on your cutting mat, trim 1/4″ from each of the 4 sides of the leather. Make sure to use a mat that is meant for a fixed blade, not a rotary cutting mat. The final dimensions of the felt lined leather should be 3.5″ x 15.5″.
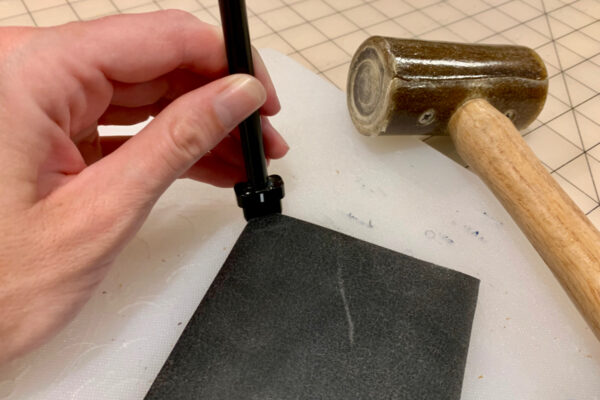
Step 4: Using your corner rounding tool, round two of the corners on a short edge to give the flap of the eye glasses case a finished look. When using tools such a hole punches and corner rounders, you want to punch into something soft, such as a plastic cutting board (the kind from your kitchen), an end grain piece of wood (for example the end of an old stump or log) or a board meant specifically for leather tools.
Setting the Snaps
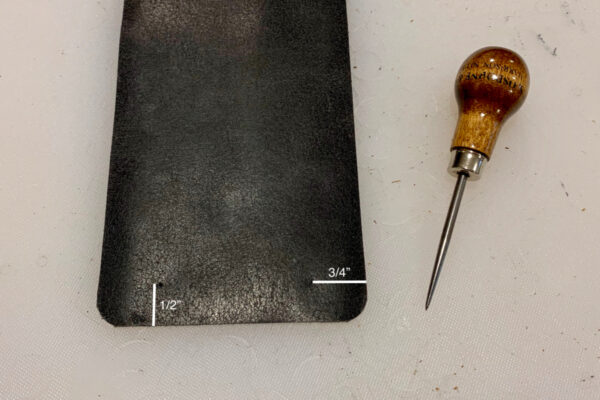
Step 1: Mark two spots on the end of the leather with the rounded corners 3/4″ of an inch in from the long edge, and 1/2″ in from the short edge. You can use an awl or the end of a pencil to make a small indent.
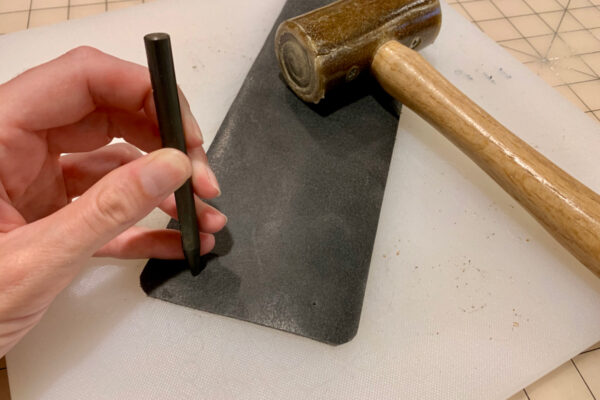
Step 2: Using a #1 hole punch and your mallet, punch a hole at each of the marked spots.
Step 3: On the opposite end of the leather, mark two spots 3/4″ in from the long edge and 1/2″ in from the short edge. Punch a hole at these spots as before.
Note: You may want to test out your first few snaps on a scrap piece of leather until you get the hang of it.
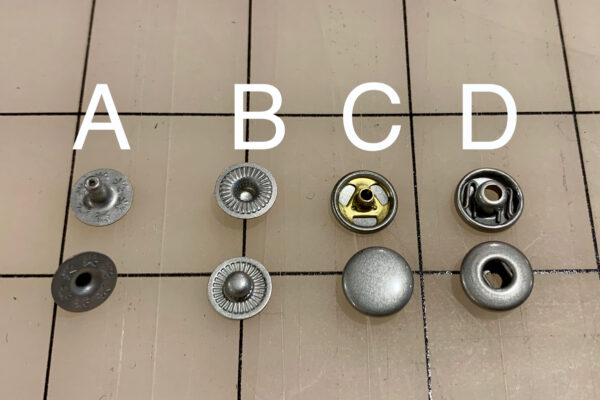
Snaps come in 4 parts. For ease, I will label them A-D below, with top and bottom view showing for each:
A – the bottom stem
B – the top stem
C – the cap
D – the cup
Step 4: Place the leather felt side down on a hard surface that you are not worried about marking. A cutting mat on a heavy table will work. I use a heavy marble tile I bought at a reuse store for $1.
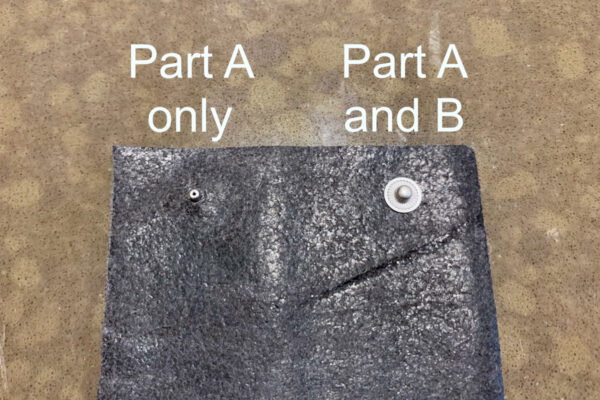
Place one part A in one hole at the non-rounded end of the leather with the stem sticking up and out of the hole, and place a part B over top of it.
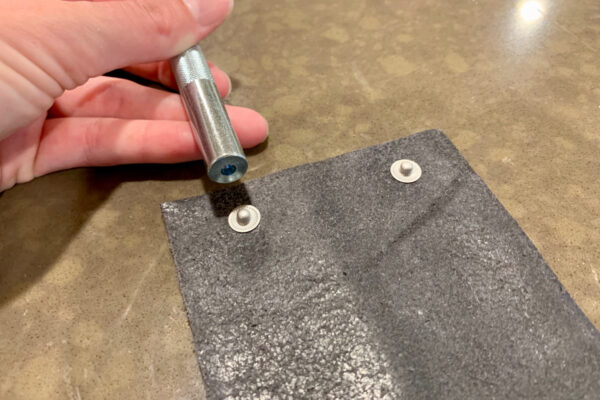
Step 5: Using your snap setting tool with the hole in the end, gently hammer the part B down onto part A.
Repeat for the other hole at the non-rounded end.
We will attach the other end of the snap after we sew together the sides.
Machine Set Up
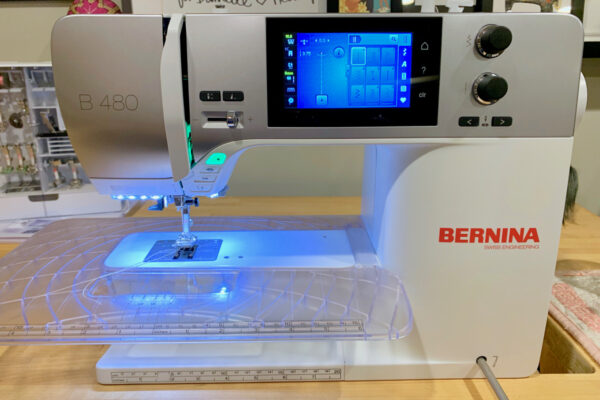
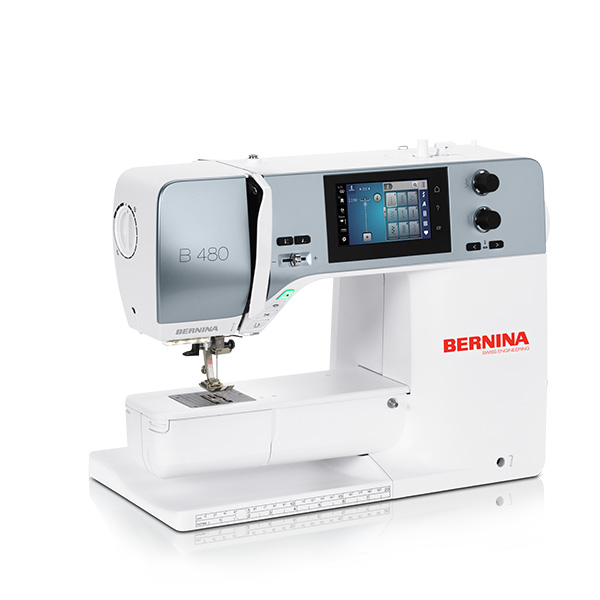
Clean and oil your BERNINA well as per your manual instructions. Oil your BERNINA often when working with leather! Place a leather sewing needle in your machine, along with the straight stitch plate. Change your stitch length to 3.5-4.0. Load the machine with your upholstery thread. I suggest placing two scrap pieces of your leather together and testing out the tension on your machine before you sew your actual project. (I find I need to turn the tension up on the top thread to get an even stitch.) Turn the speed down to low.
Sewing the Sides
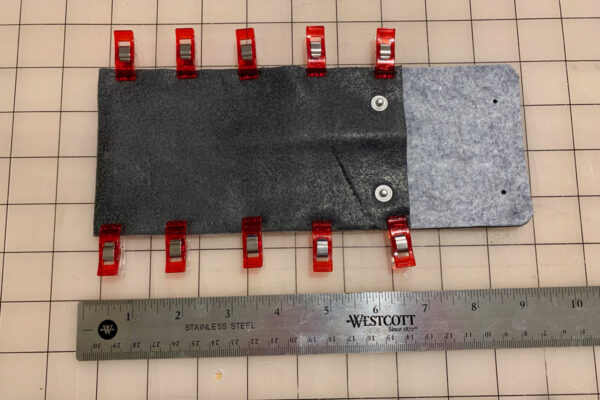
Step 1: Fold up 6 1/2″ of the from the non-rounded end of the leather with the felt sides together. Using binder or Clover Wonder Clips, clip the sides together. Be careful to line up the edges of the leather well.
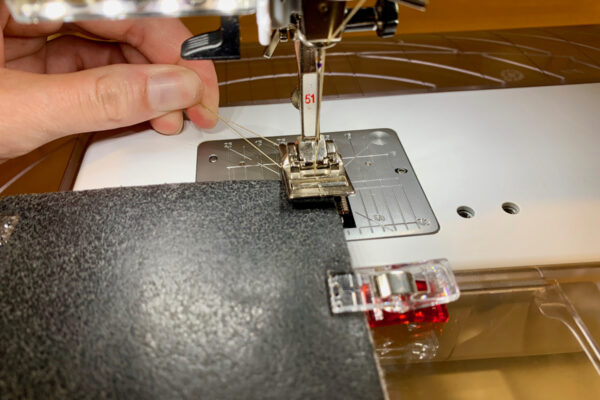
Step 2: Place the case with the felt side of the flap facing down. Holding the long thread tails tightly to the back, begin sewing on the bottom corner of the case, 1/8″ in from the edge. You can take several back stitches at this point and then release the thread tails.
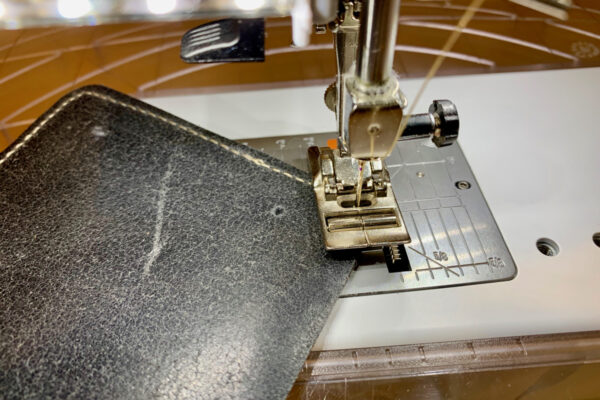
Continue sewing up the case, removing clips as you come to them, up and around the flap, and back down the other side. You may need to lift your presser foot with the needle down and turn slightly to get around the corners.
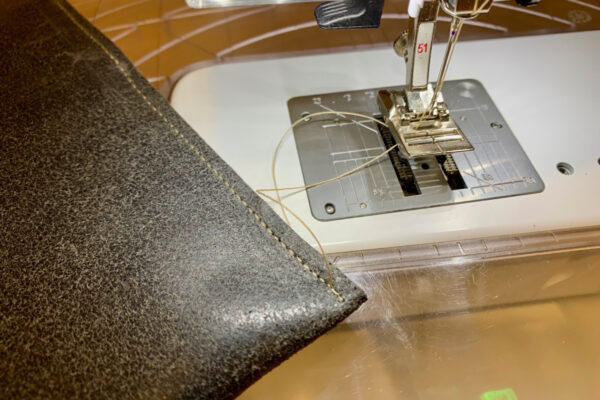
Take several back stitches at the other end. Lift your needle and presser foot and gently pull the project out of the machine so that you can leave yourself a long tail of thread at the other end.
Step 3: Trim your threads close to the leather.
Finishing the Eyeglasses Case
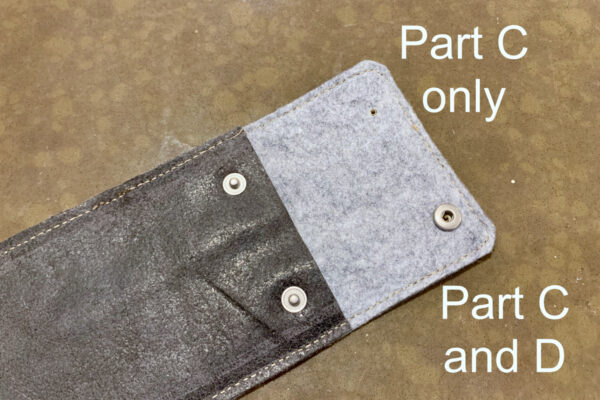
Step 1: Flip the leather over so the felt side of the flap is now up. On the flap, place a part C cap with the stem sticking up and out of a hole. Place a part D over top of the stem.
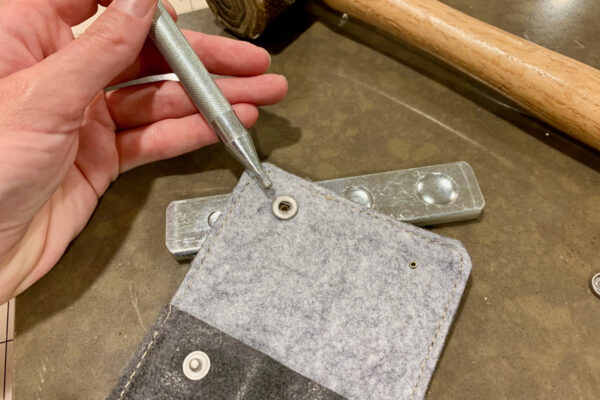
Step 2: Place the part of the snap setter tool with the indents under the cap. Make sure that you have the cap sitting in the appropriate sized cup!
Step 3: Using the tool with the smallest pointed end, gently hammer into the hole to mushroom over the end of part C. You do not need to hammer hard! Repeat with the other snap on the flap end.
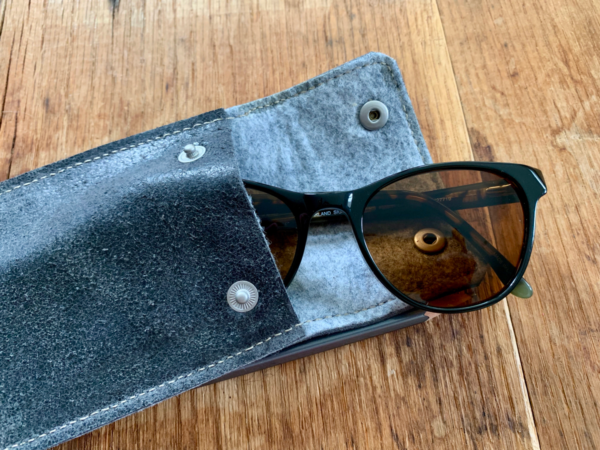
Your eyeglasses case is now finished! Congratulations on sewing a leather project with your BERNINA!
