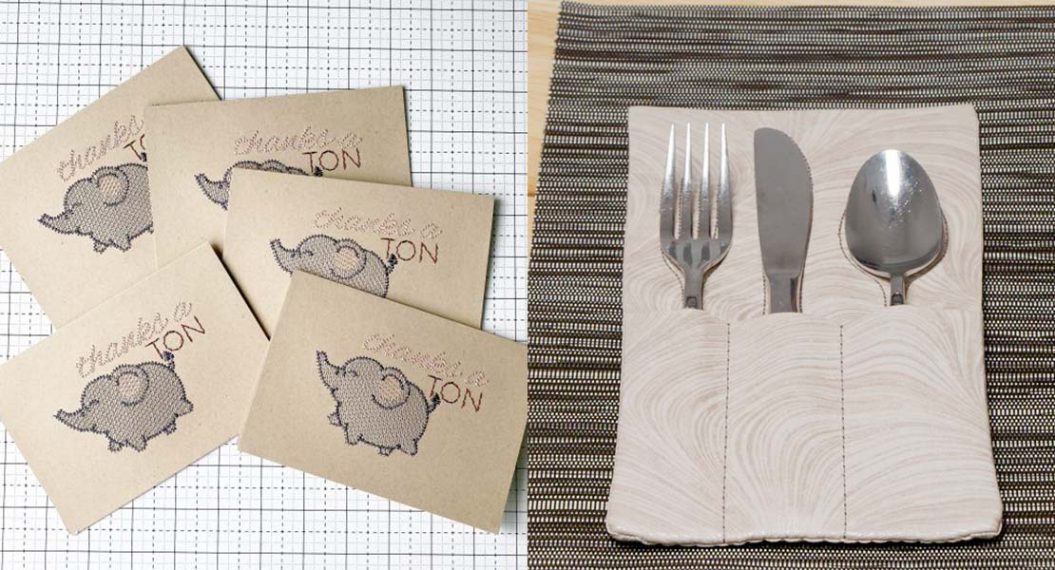
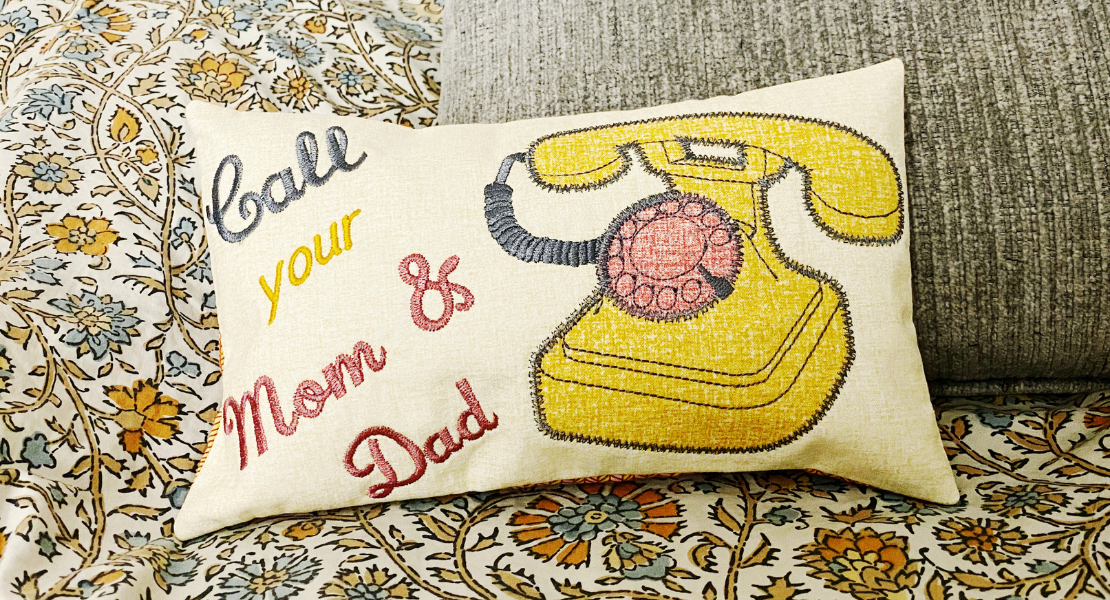
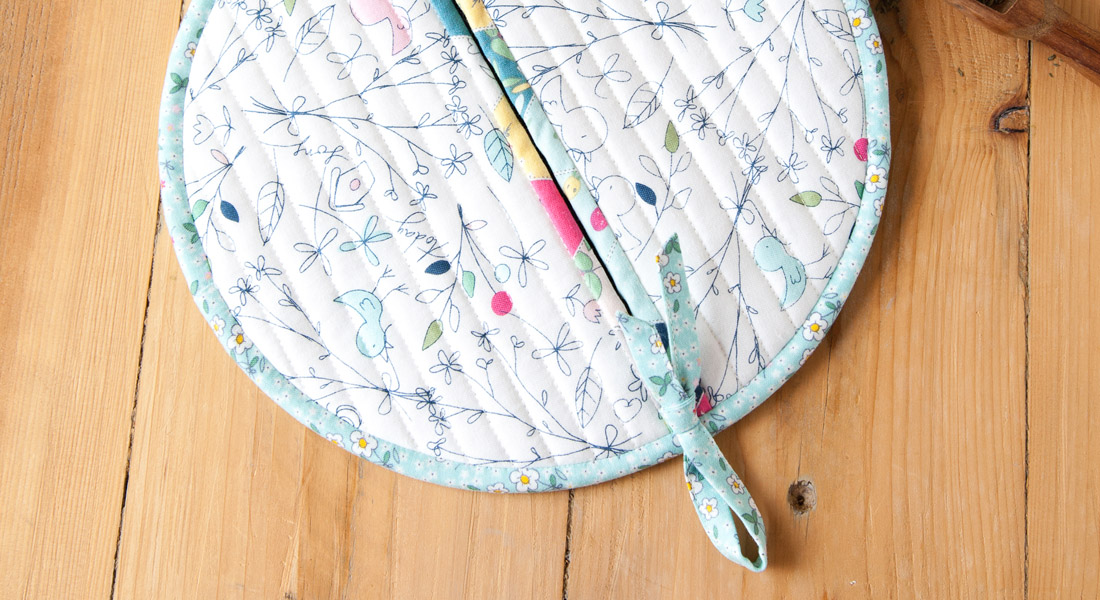
In-the-Hoop Silverware Holder
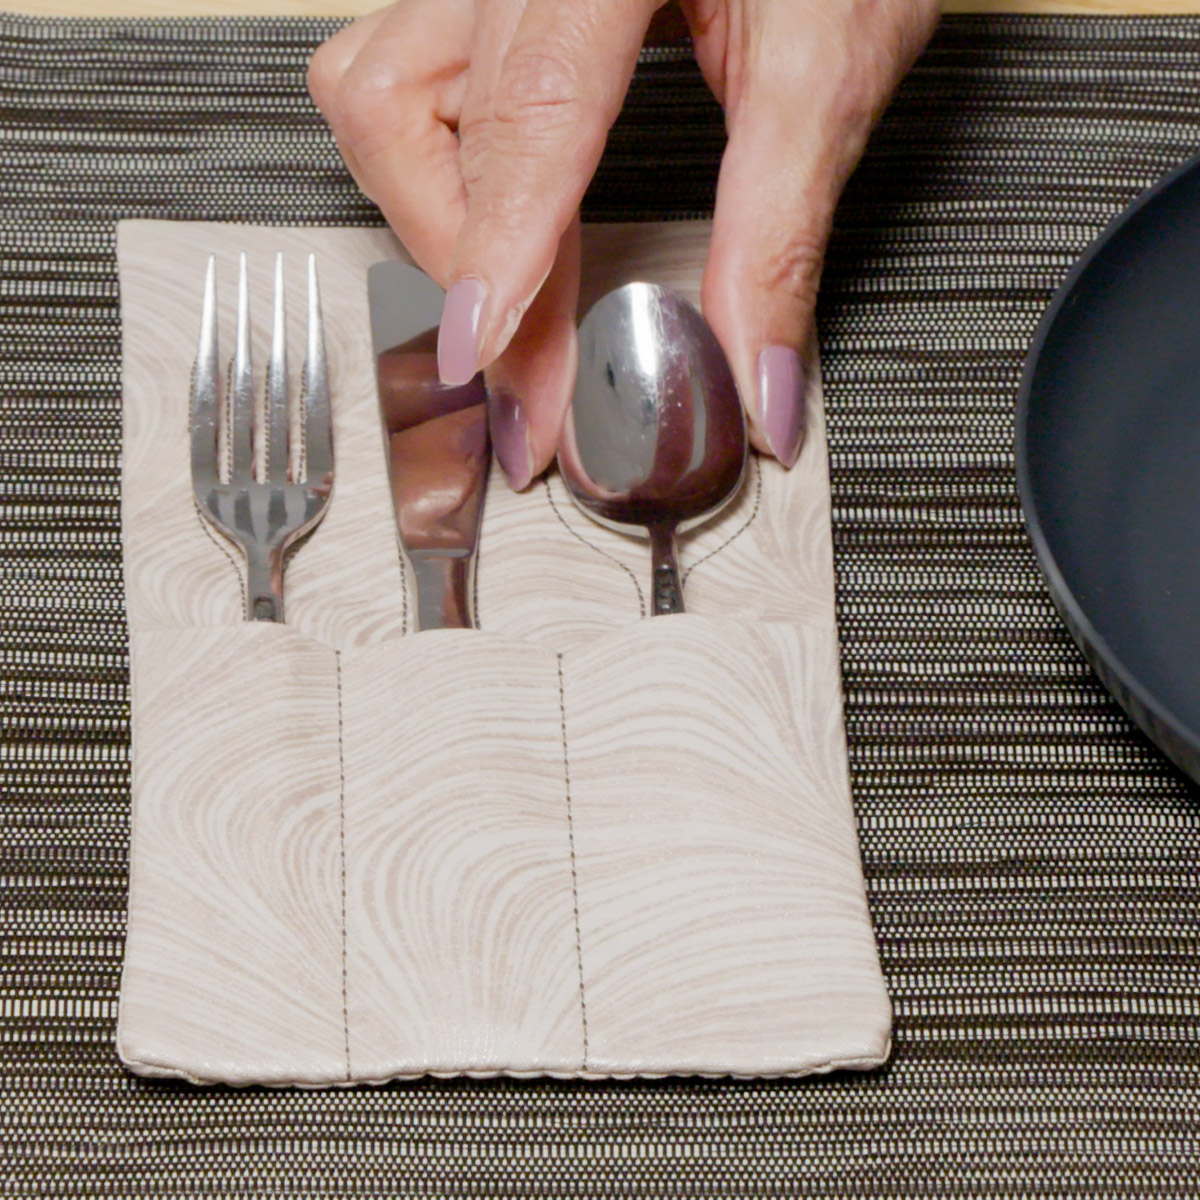
What’s not to love about an in-the-hoop project? Easy to make, easy to create, and the entire project is stitched in the hoop with only minimal hand sewing!

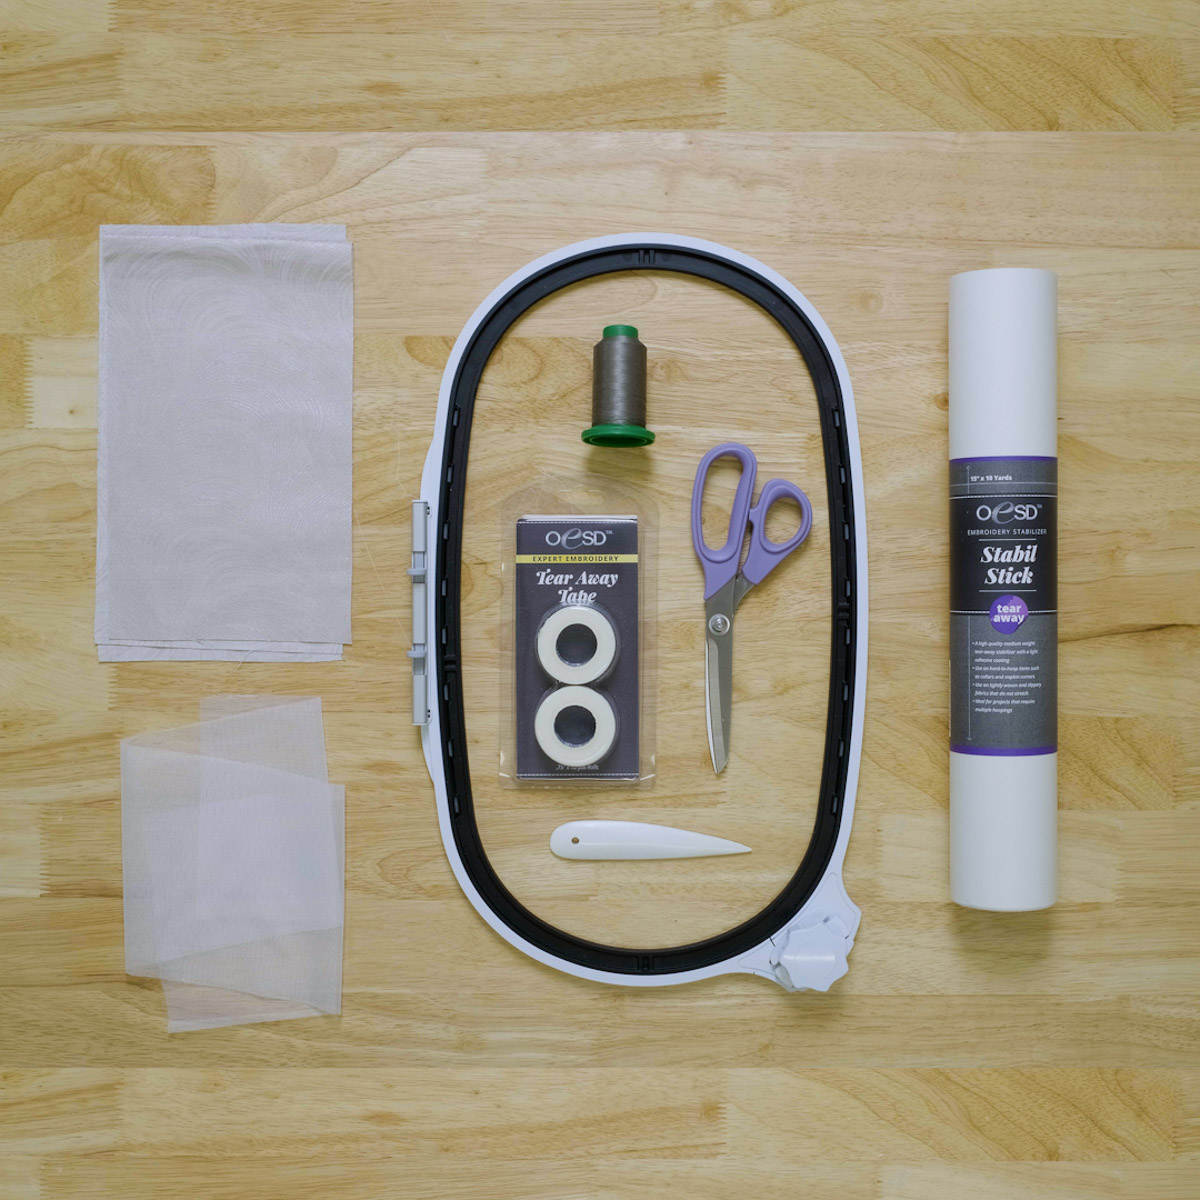
Materials for Making the In-the-Hoop Silverware Holder
- BERNINA Embroidery Software, Creator or DesignerPlus level
- B 790 PRO with BERNINA Embroidery Module with Smart Drive Technology (SDT) attached
- Straight/CutWork Stitch Plate
- 75/11 Embroidery needle
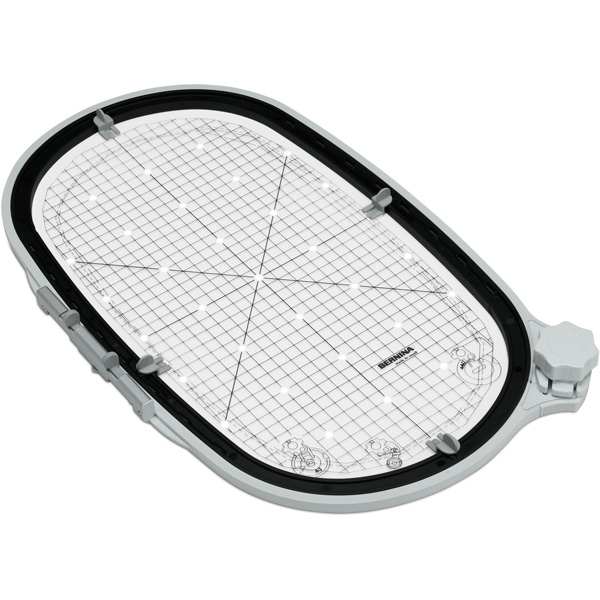
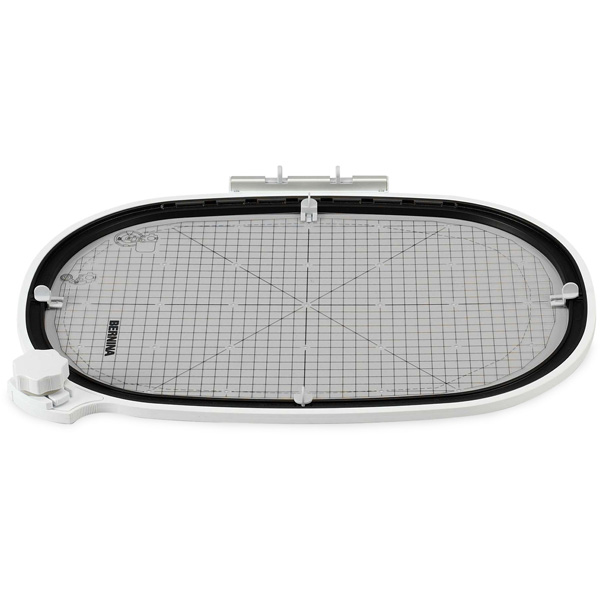
- Mega Hoop, Maxi Hoop, or Jumbo Hoop
- Fabric for each silverware holder:
- For 8 1/2” knives: (1) 6” x 20” main fabric piece and (1) 6” x 10.5” lining piece
- For 9 1/2″ knives: (1) 6” x 22” main fabric piece and (1) 6” x 11.5” lining piece
- Isacord thread
- Bobbin thread to match
- OESD StabilStick TearAway stabilizer
- OESD Expert Embroidery Tape TearAway
- Fusible knit interfacing cut the same size as the main fabric; no interfacing is needed for the lining
- T-pin or OESD Perfect Scoring Tool
- Point turner
- Scissors for trimming
Step 1: Create the Design in the Software
Download the ART file for the silverware design HERE.
Download the software instructions PDF for creating the Silverware Holder HERE.
Follow along by watching this video showing how to create the silverware holder design in the software:
Measure the length of your knife to determine the size of the silverware holder you’ll make.
Create the design in the software.
Step 2: Prepare for Embroidery
Thread your machine for embroidery. Use matching thread in the bobbin.
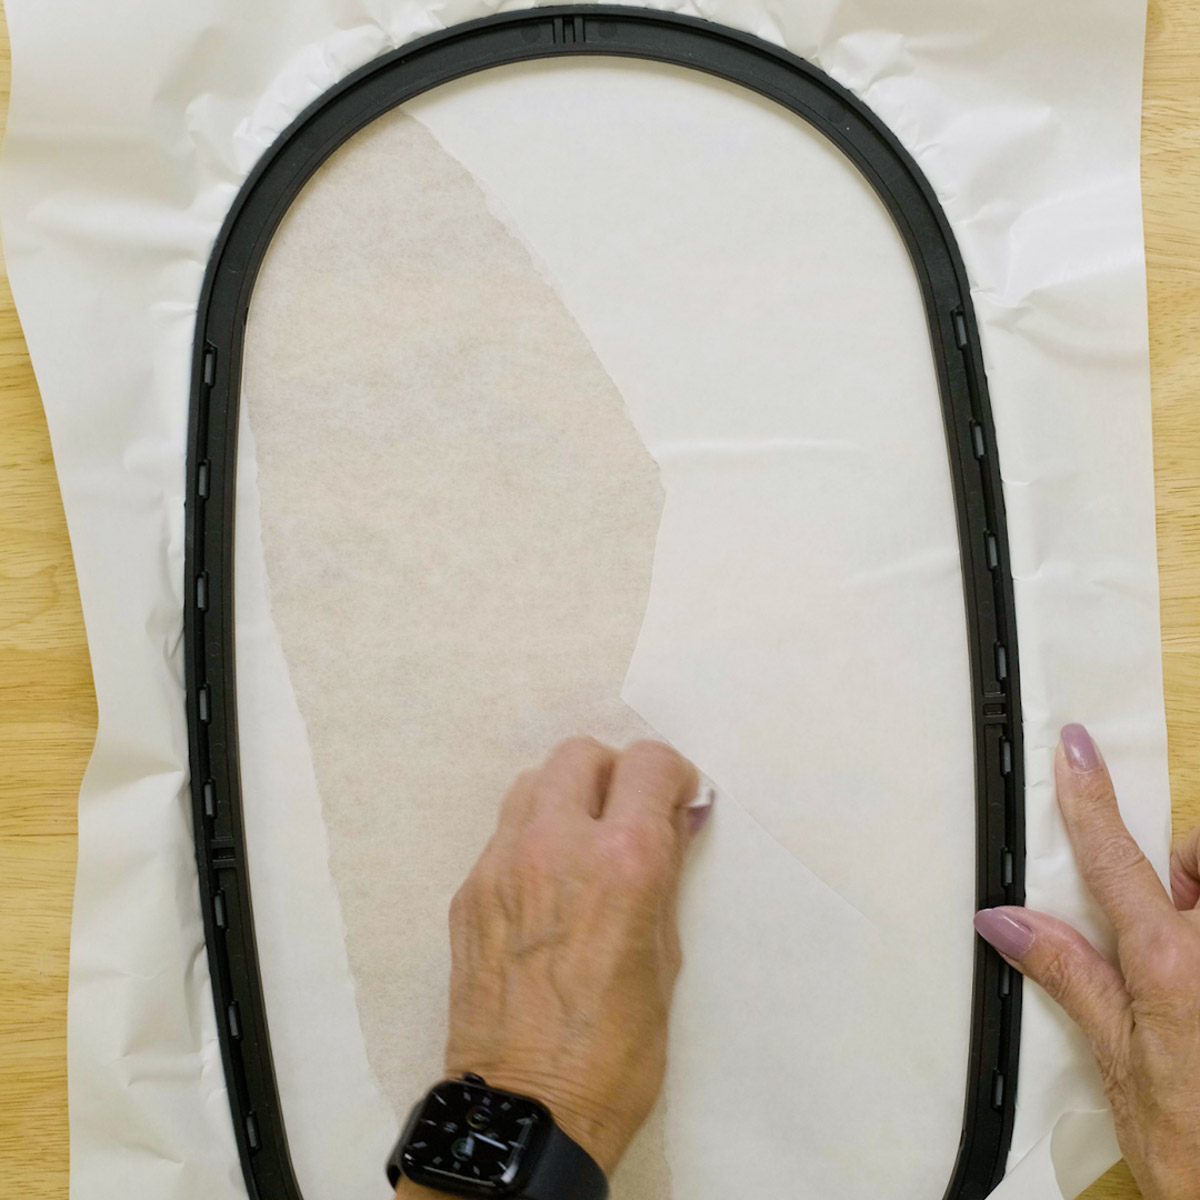
Hoop a piece of tearaway stabilizer to fit your chosen hoop. Score the stabilizer around the edges of the hoop using a T-pin or OESD’s Perfect Scoring Tool and remove the paper topper.
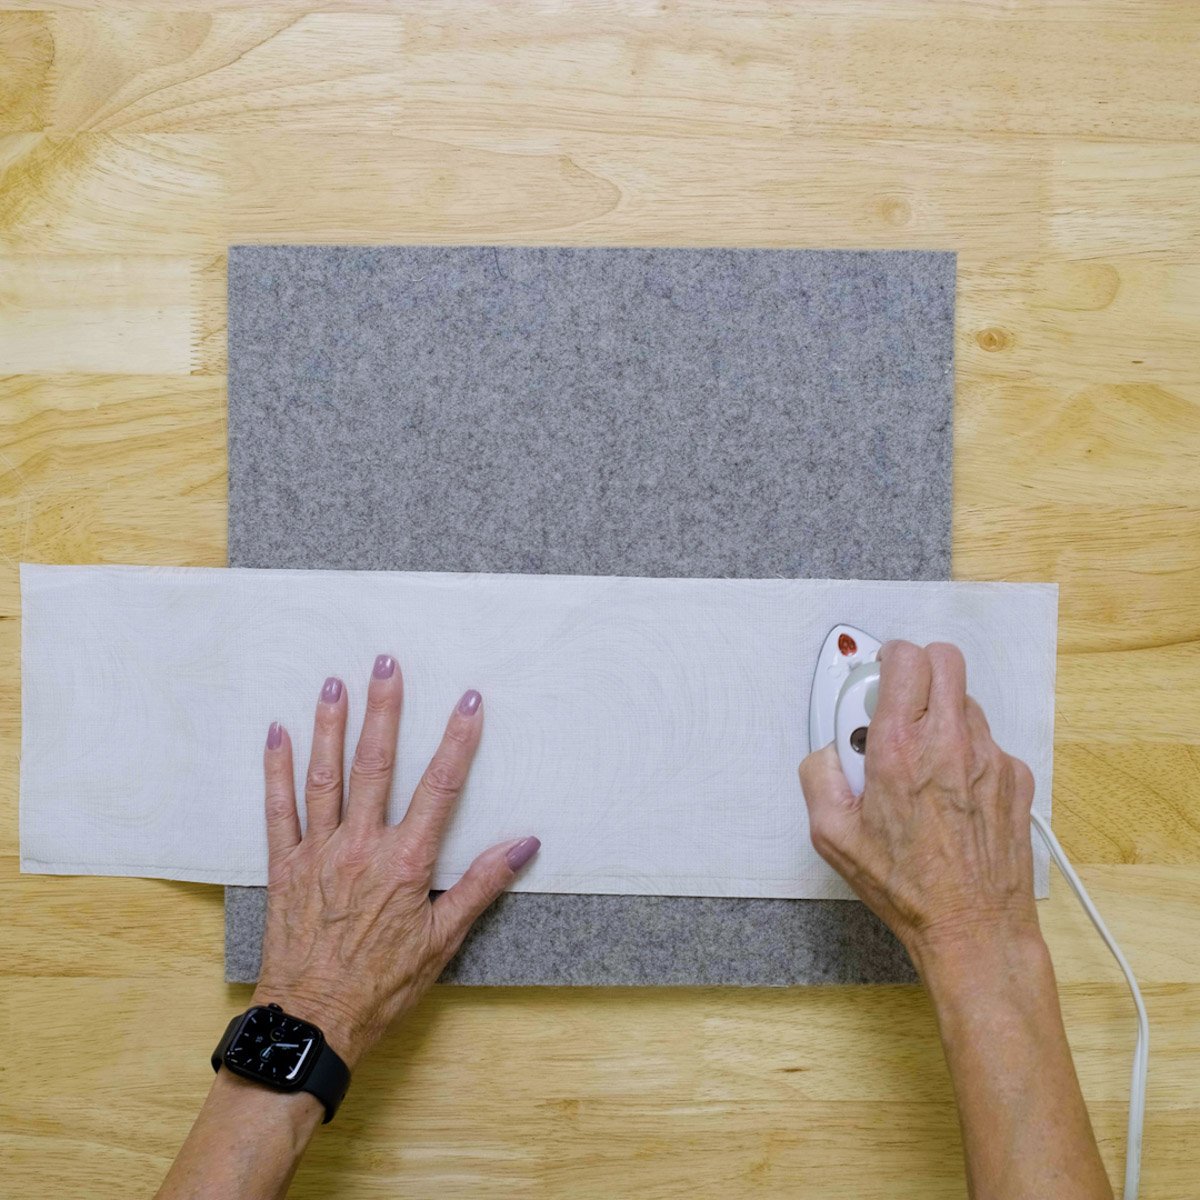
Press the fusible side of the knit interfacing to the wrong side of your fabric.
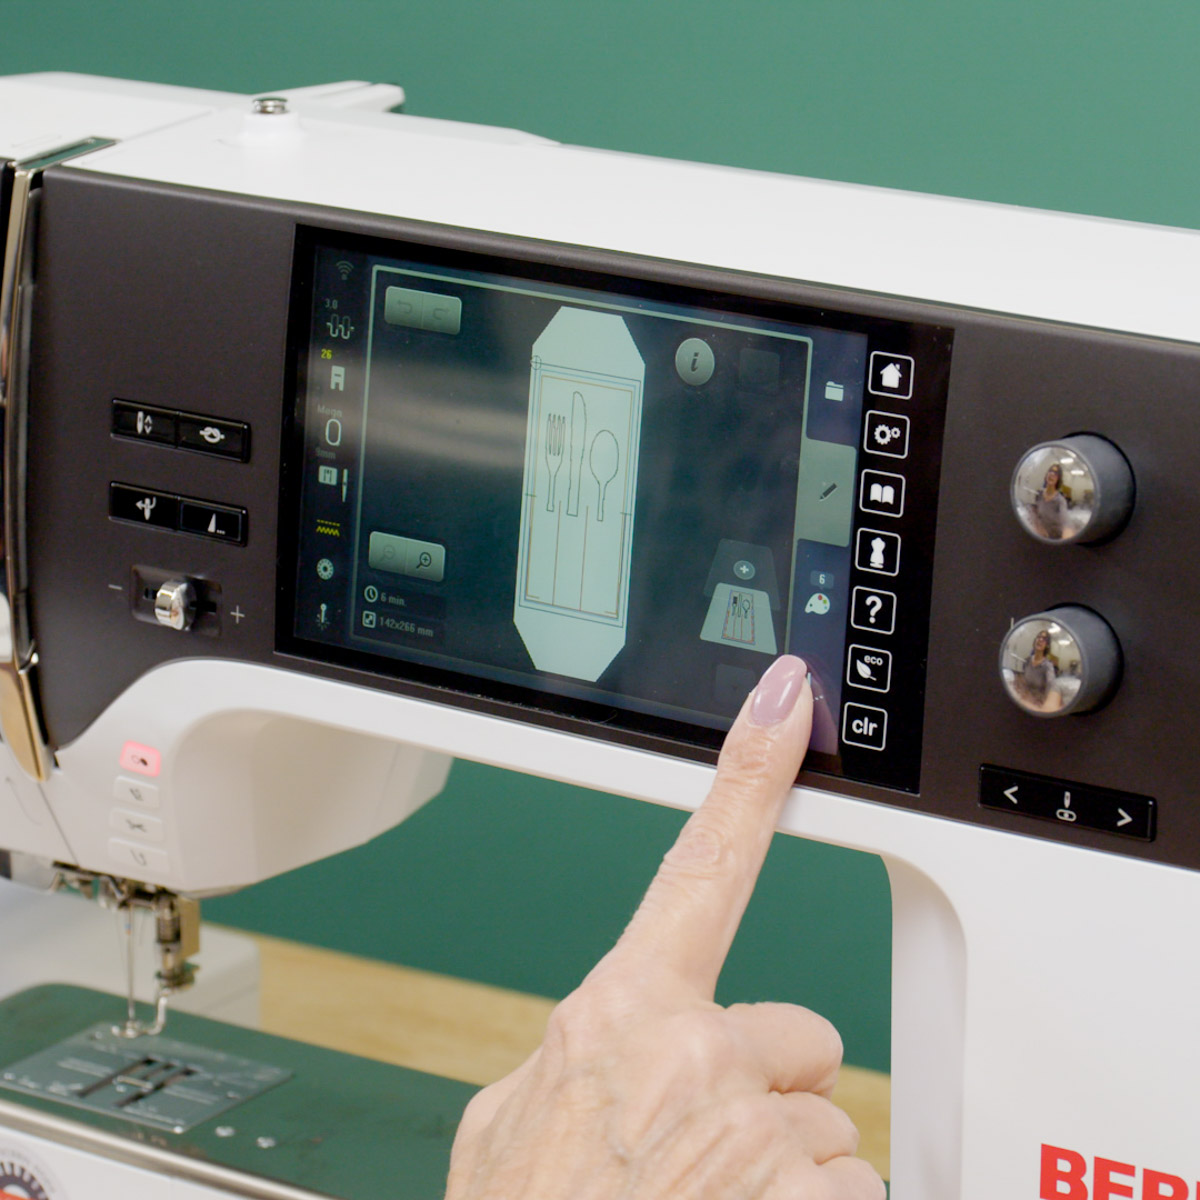
Transfer your silverware holder design to your machine using a USB stick, the WiFi Device, or the built-in WiFi connection if you are using a B 790 PRO or a B 990. Select the design and click OK to stitch.
Place the hoop on the machine when prompted.
Step 3: Embroider the Silverware Holder
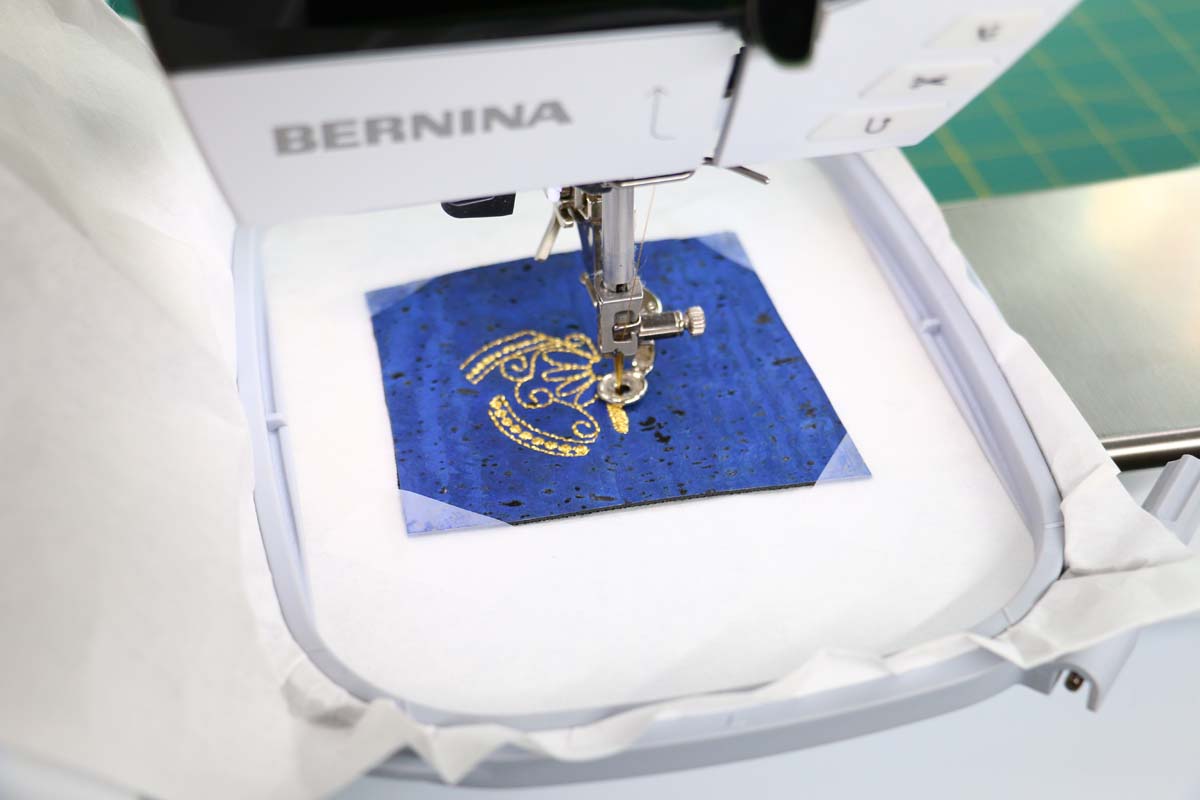
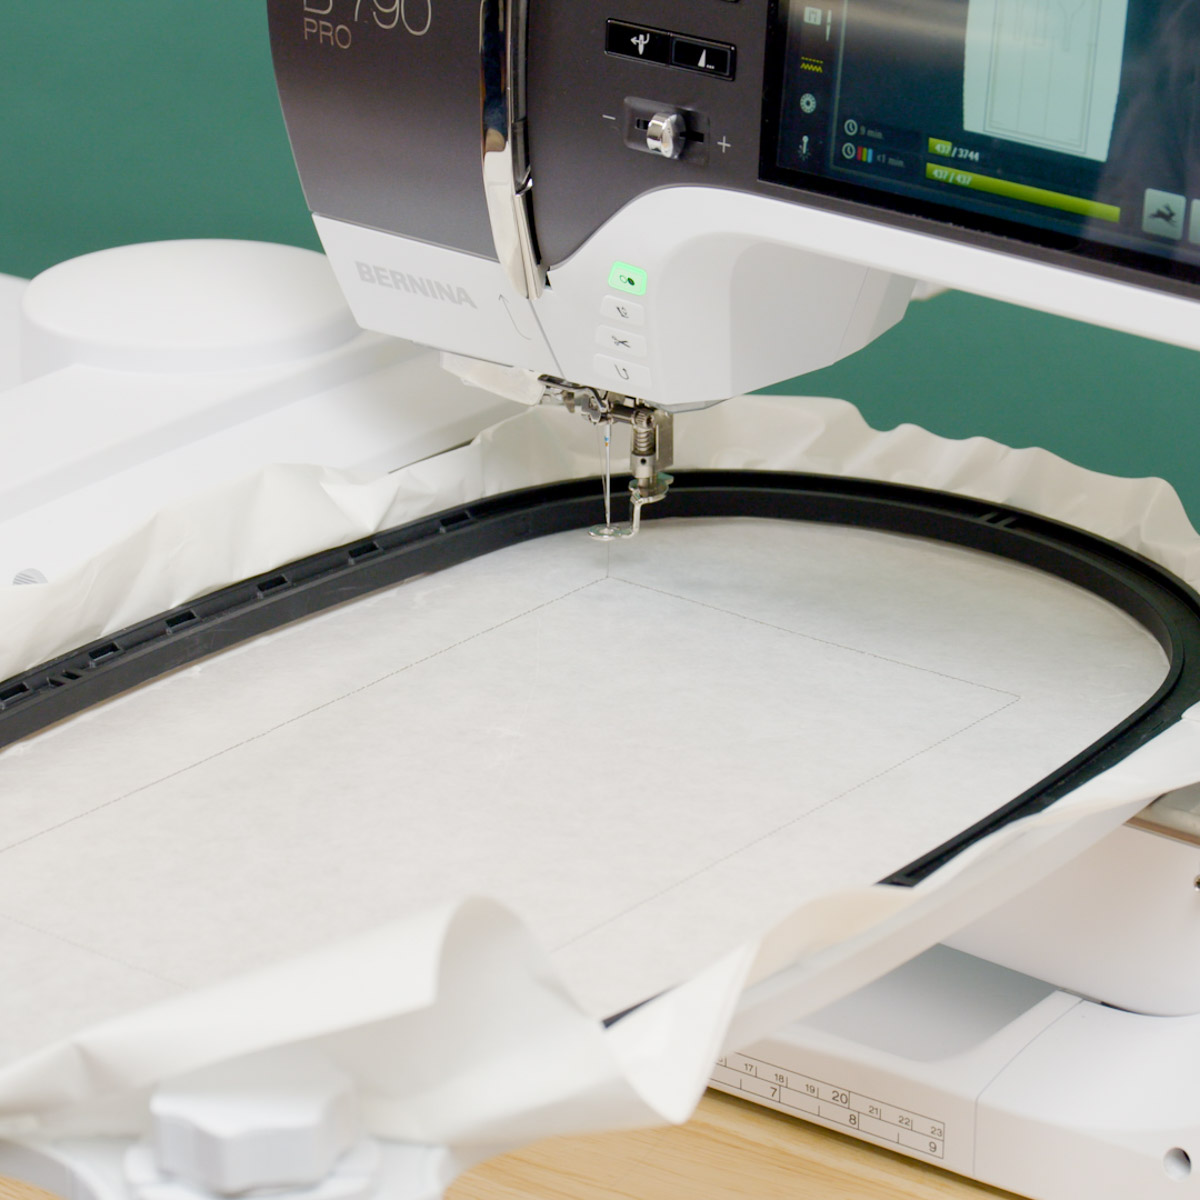
Stitch the placement line on the stabilizer.
Place the fabric, right-side up, so that the top of the fabric aligns with the placement line and the vertical edges of the fabric extend equally beyond the vertical placement lines stitched on the stabilizer.
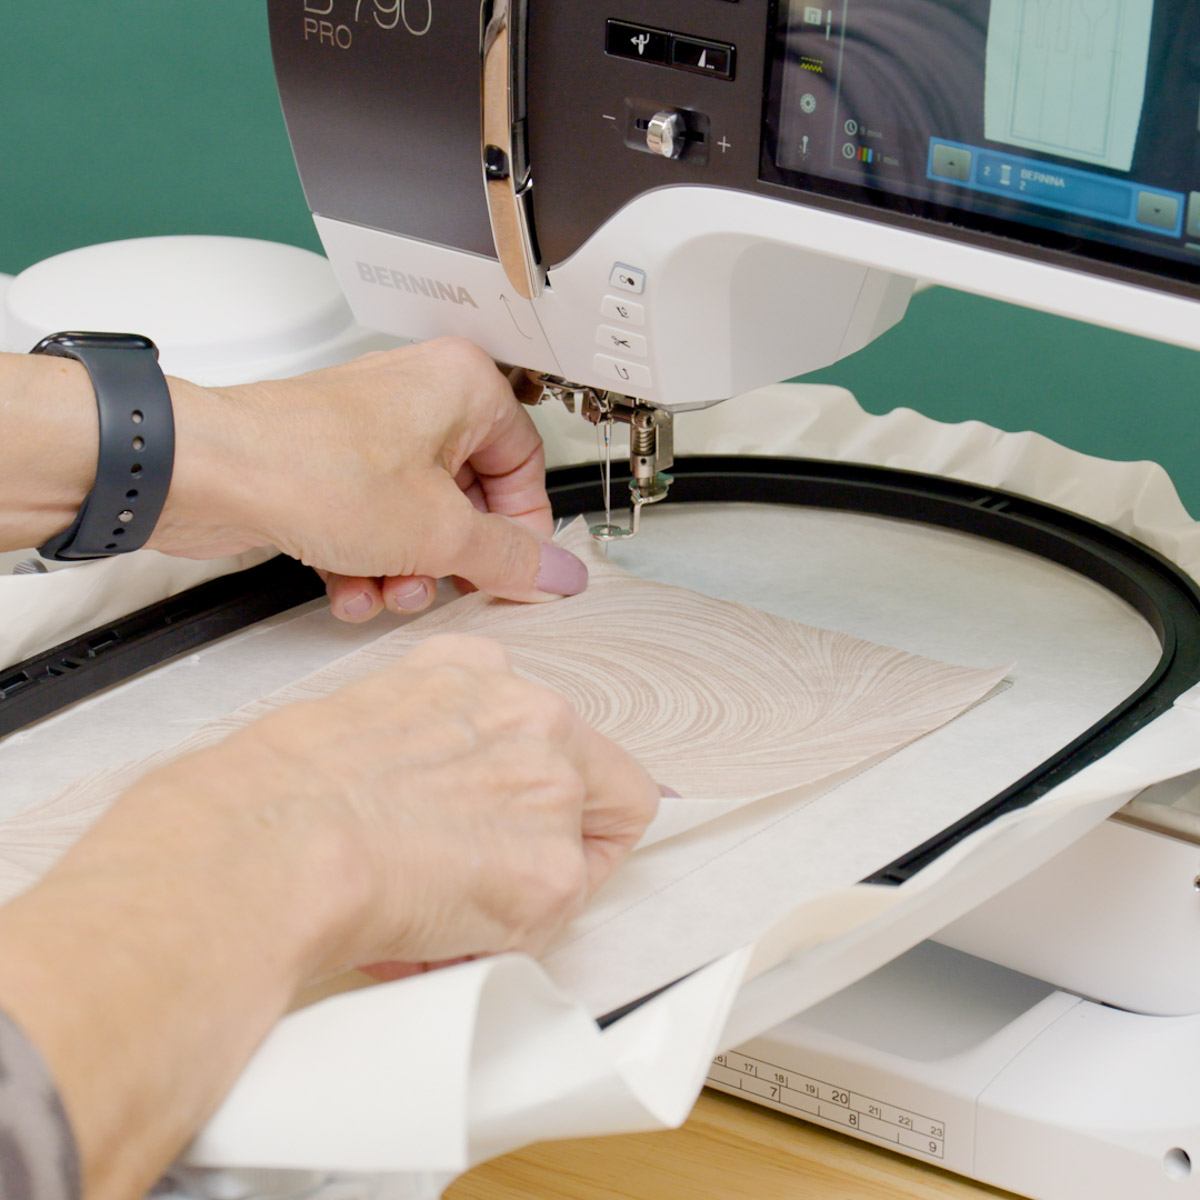
Stitch the tackdown line around the fabric.
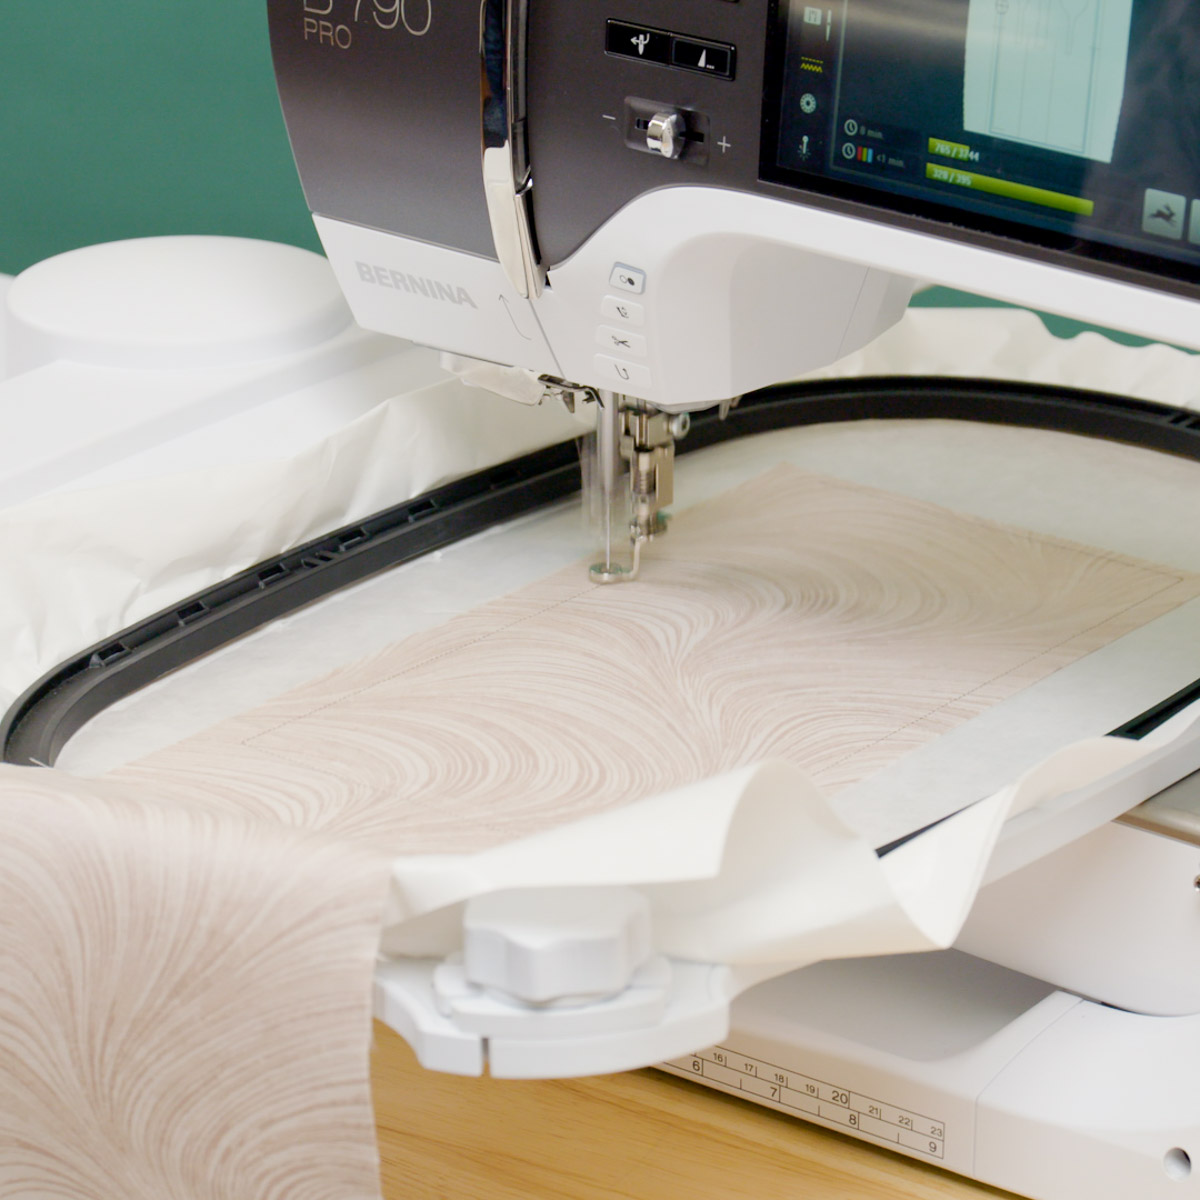
Stitch the pocket fold placement lines, then stitch the silverware design.
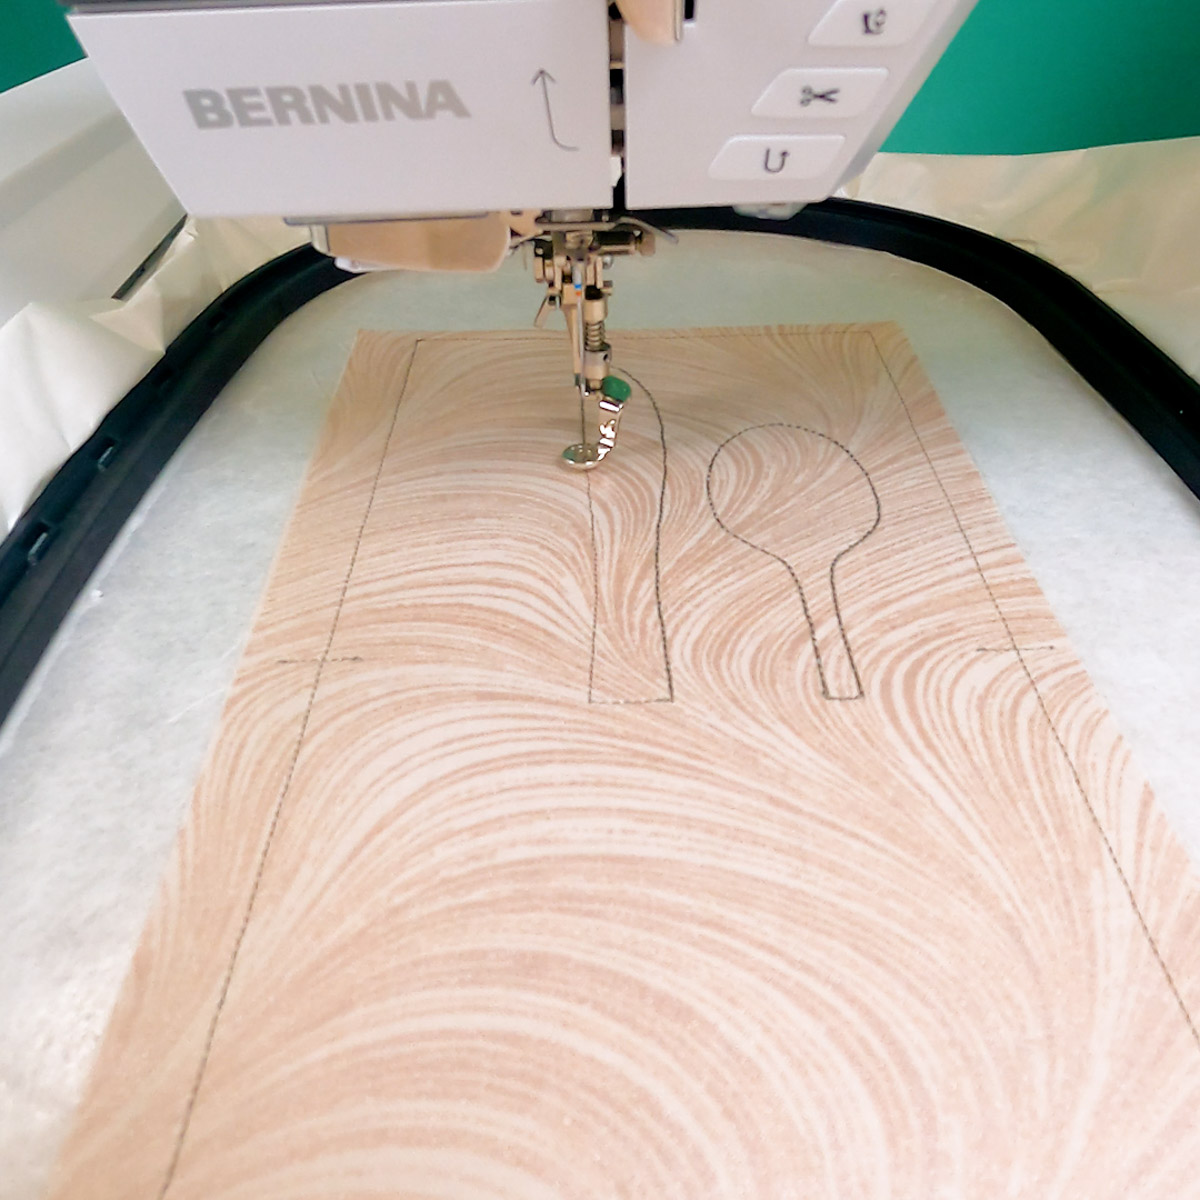
To form the pocket, fold the remaining fabric up to the fold placement lines stitched on each side of the silverware holder. Crease the fold, then fold the remaining fabric down to match the bottom of the stitched silverware holder.
Note that the fold line of the fabric will be created at the halfway point of the remaining length of the fabric.
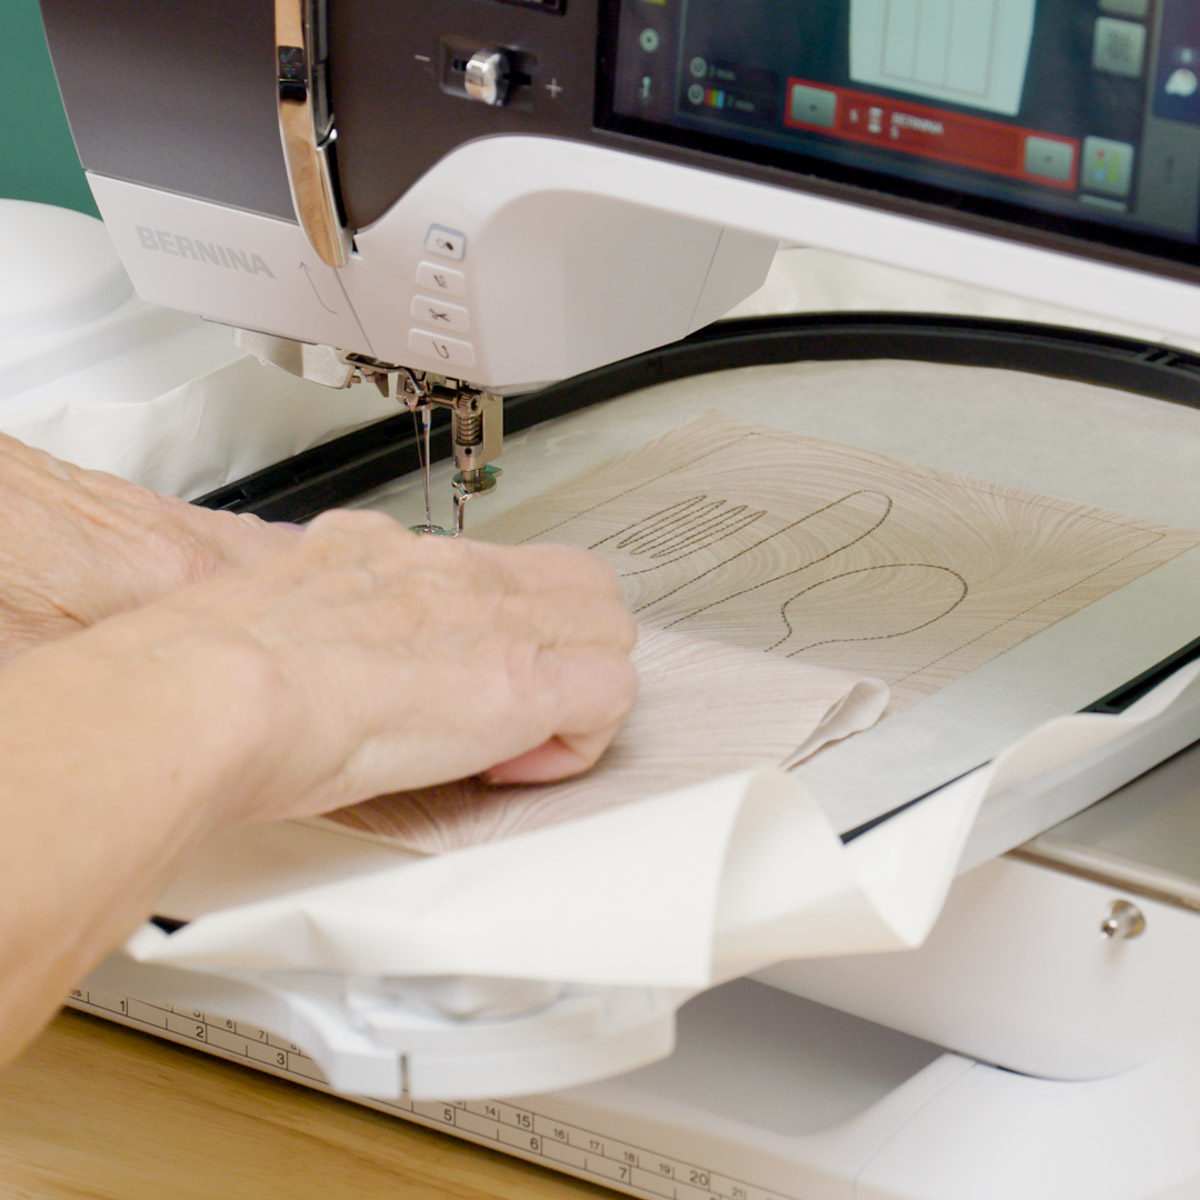
Tape the pocket in place using OESD TearAway Tape.
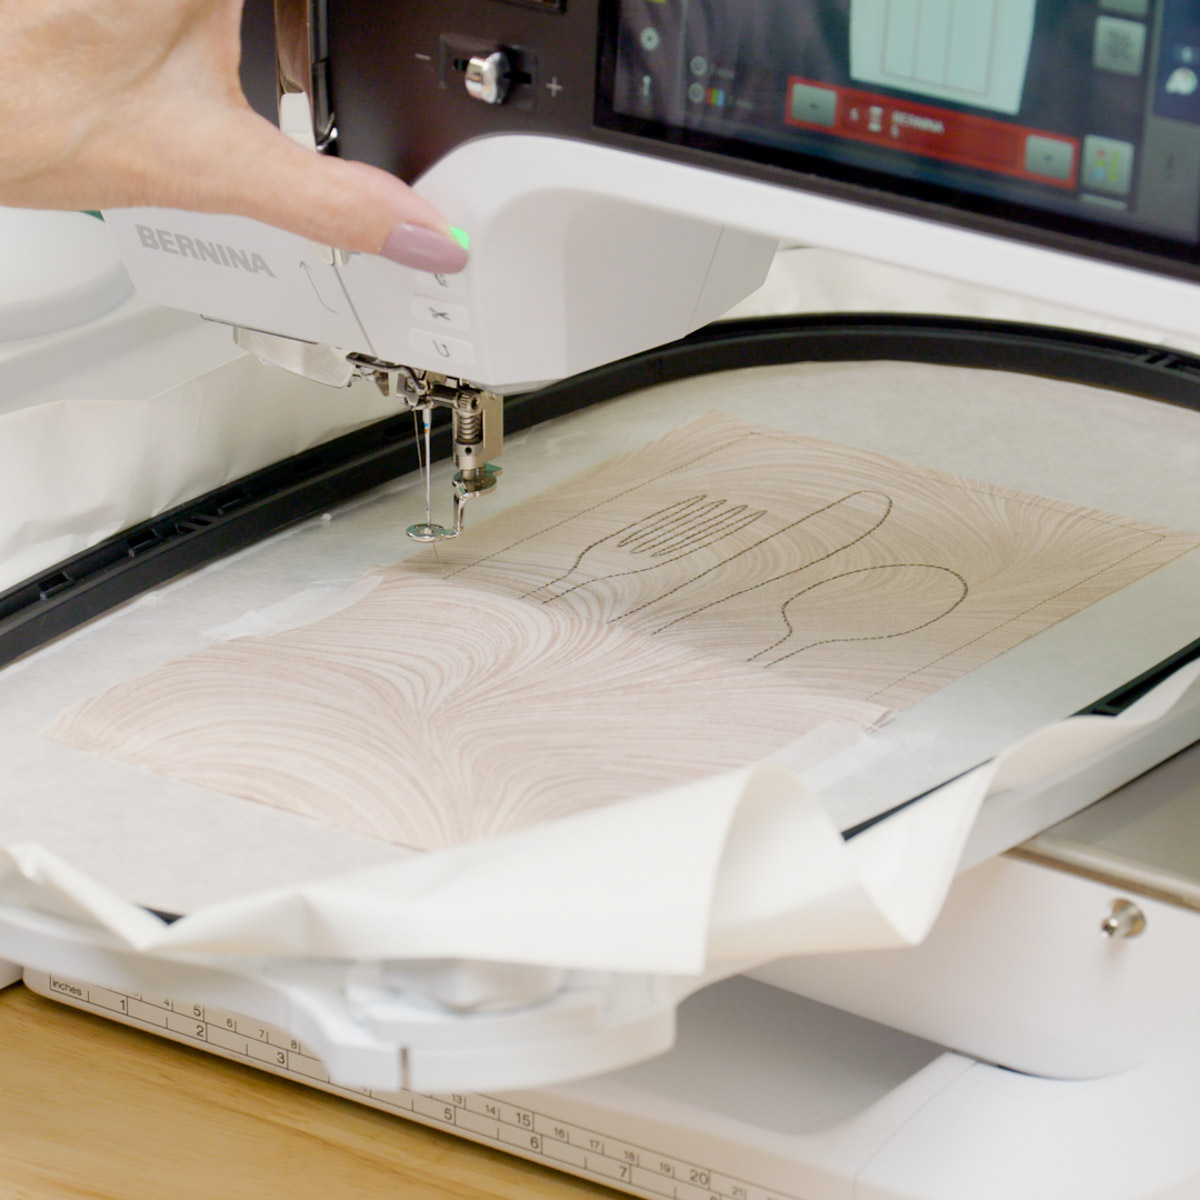
Stitch the pocket tackdown around the lower portion of the silverware holder.
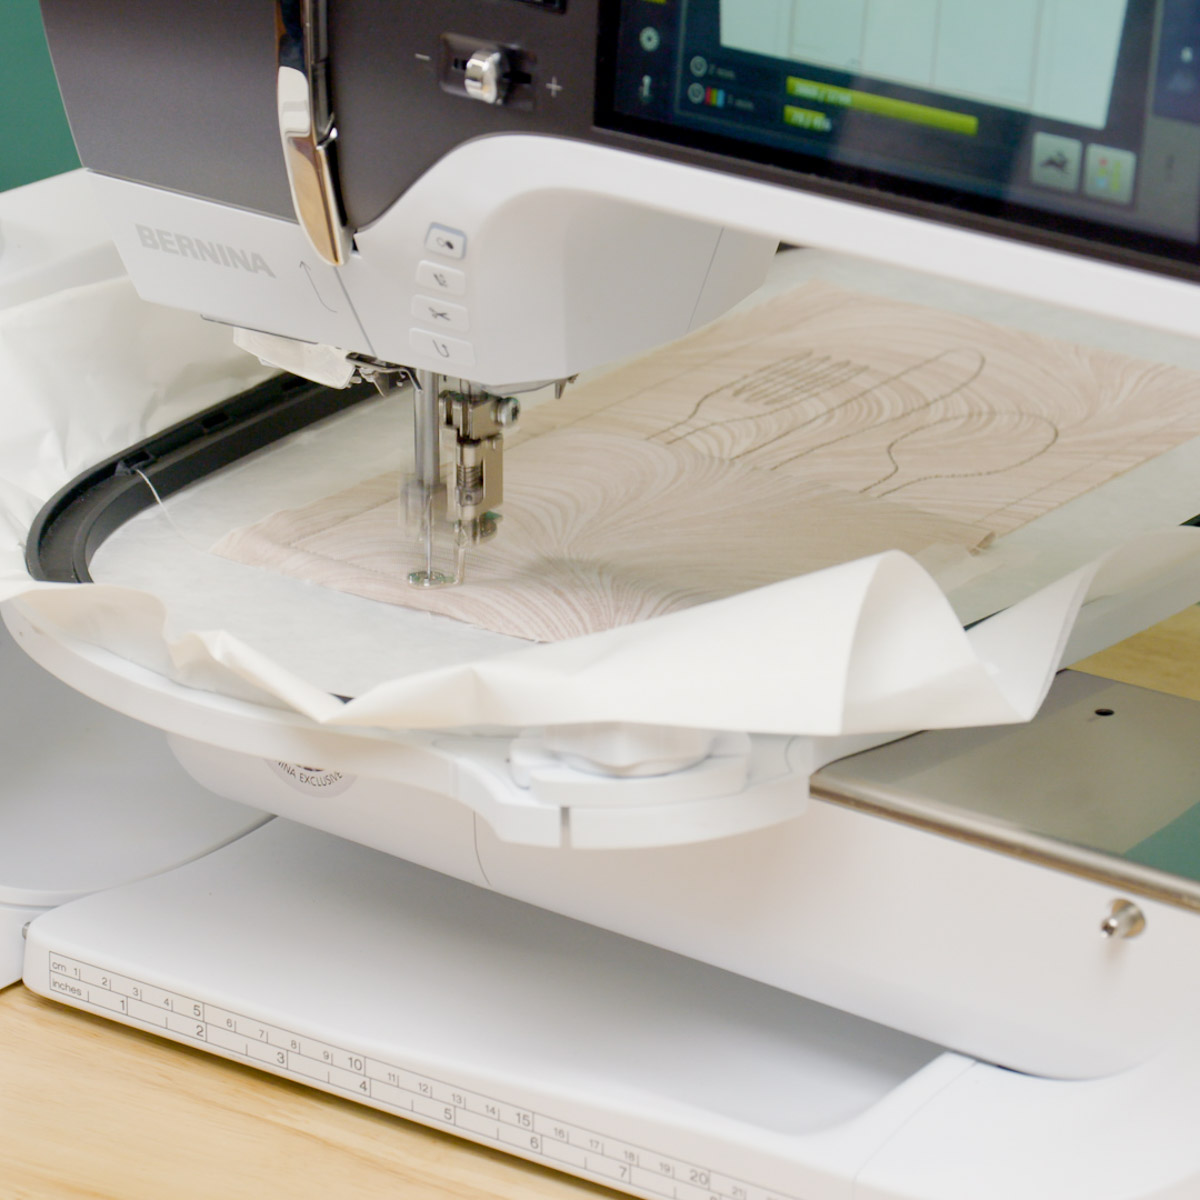
Next, stitch the pocket separation lines.
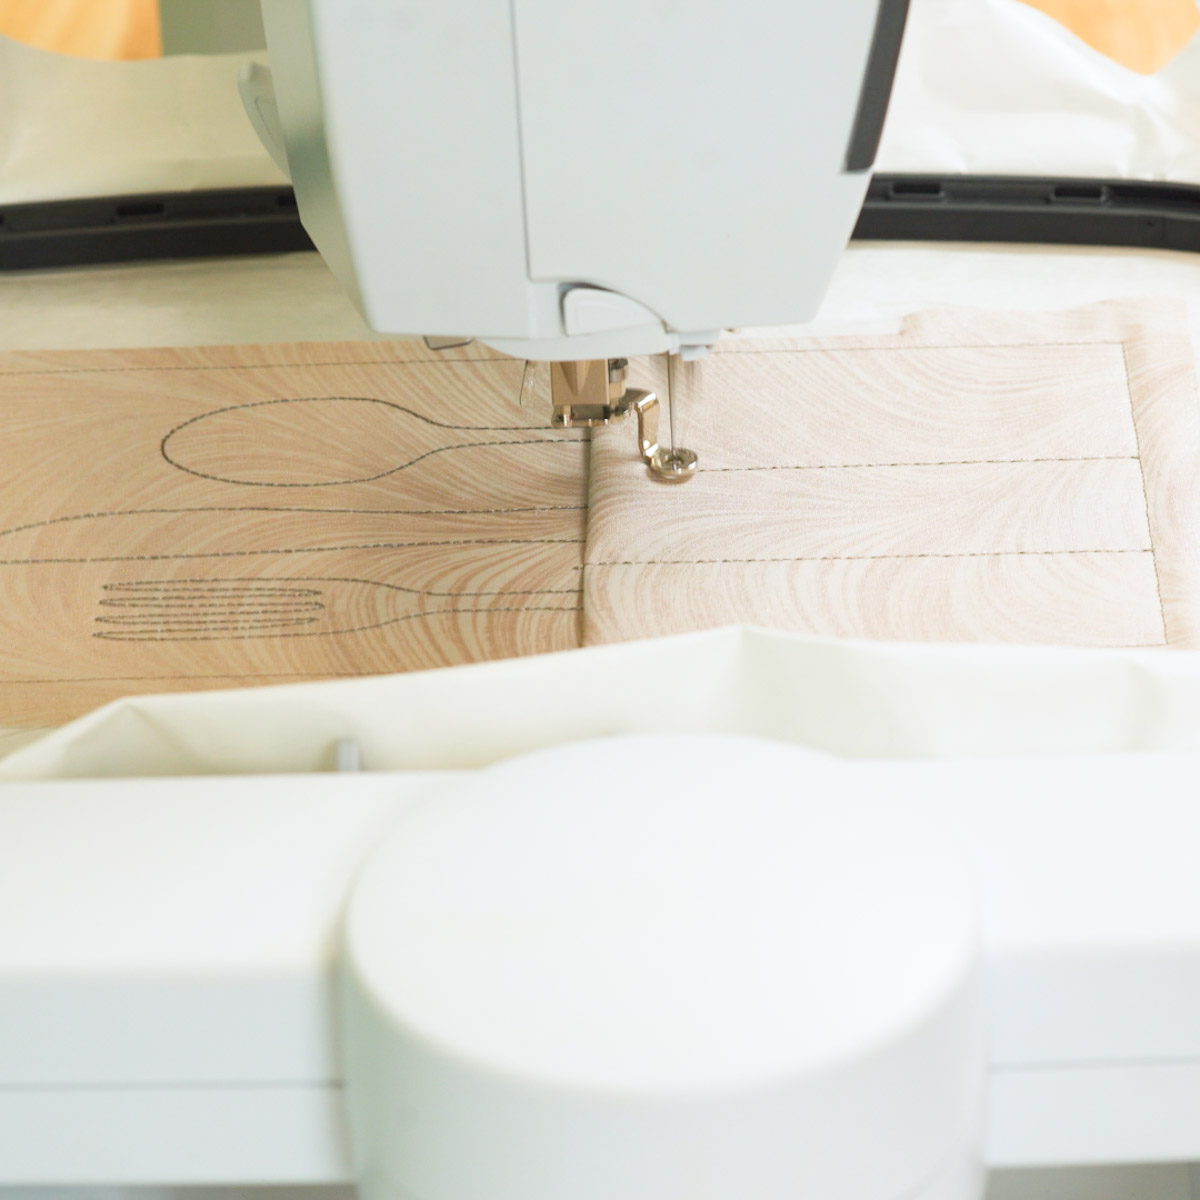
Place the lining for the silverware holder, right-side down, over the design, matching the edges with the front of the holder.
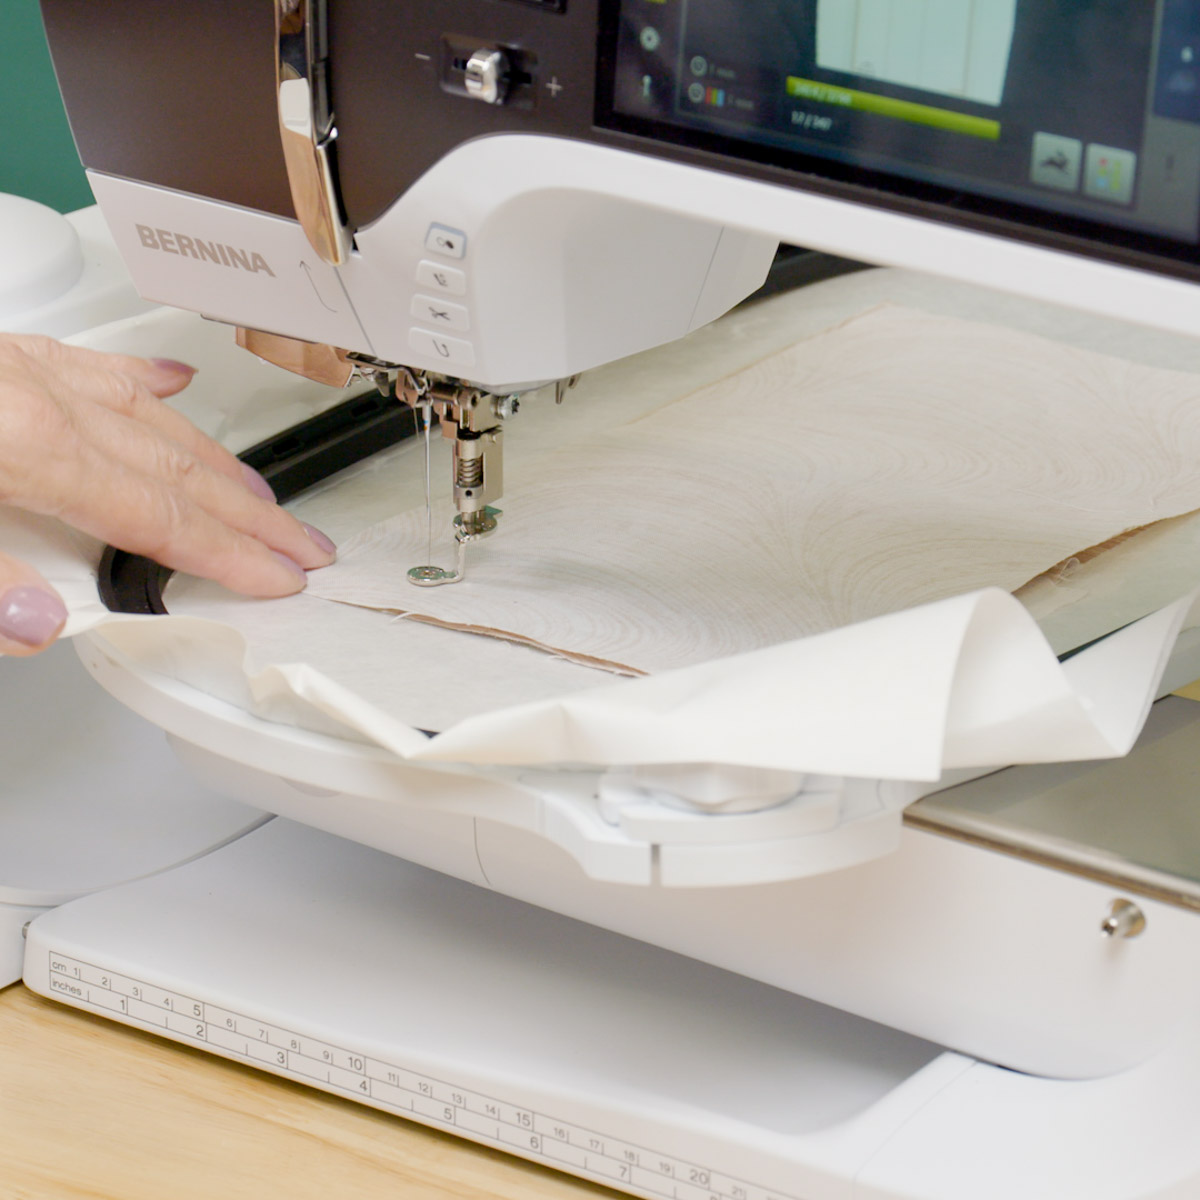
Stitch around the lining; an opening is left at the bottom for turning the holder right-side out.
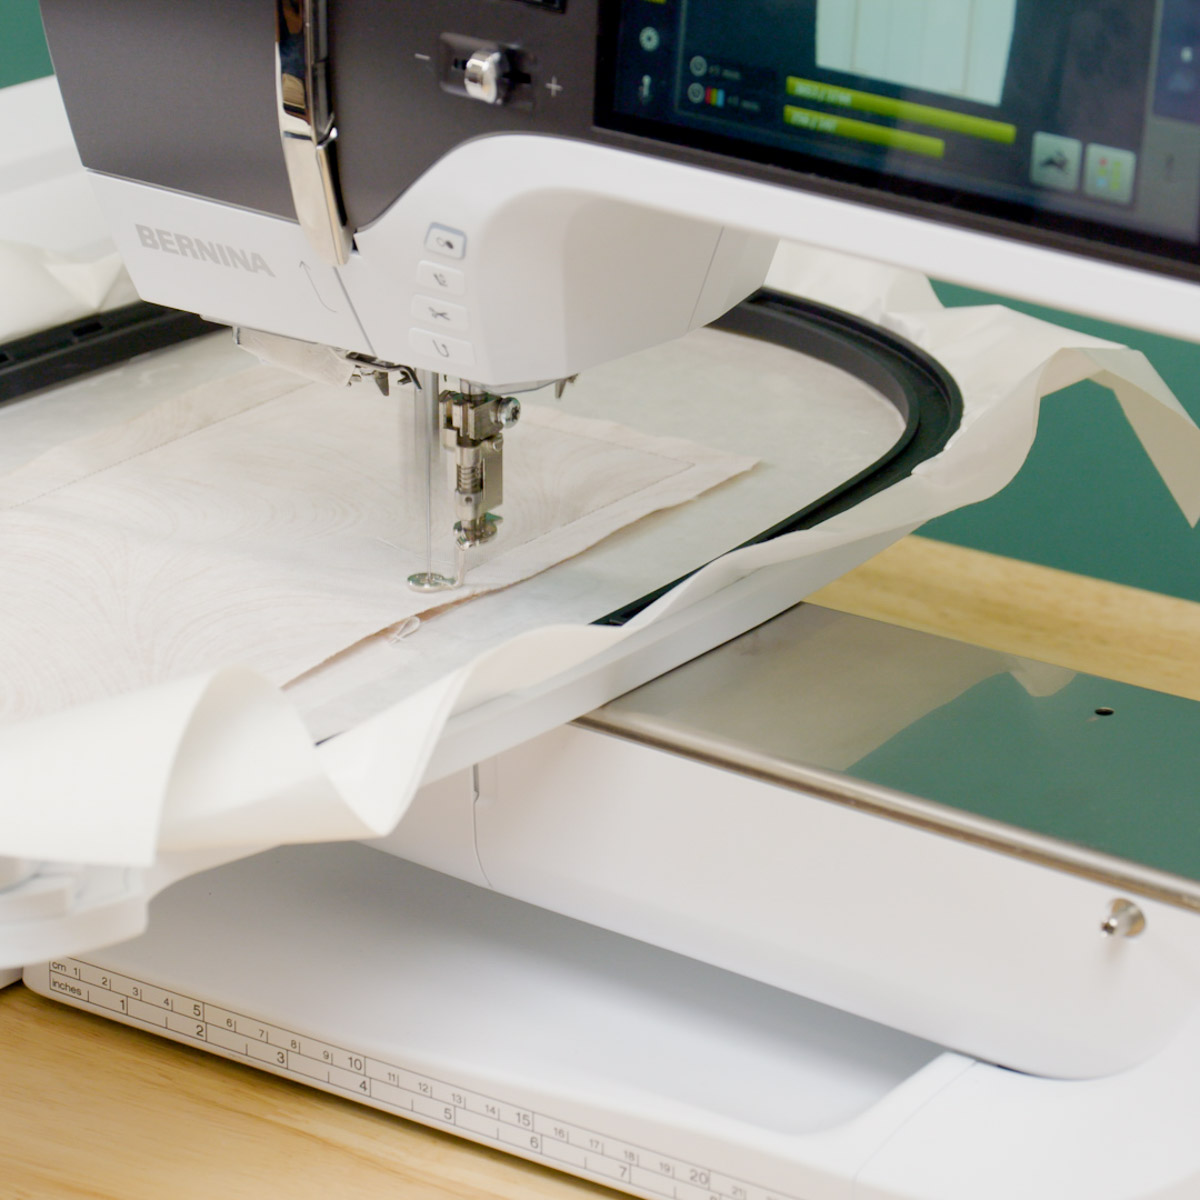
Remove the hoop from the machine.
Step 4: Finishing
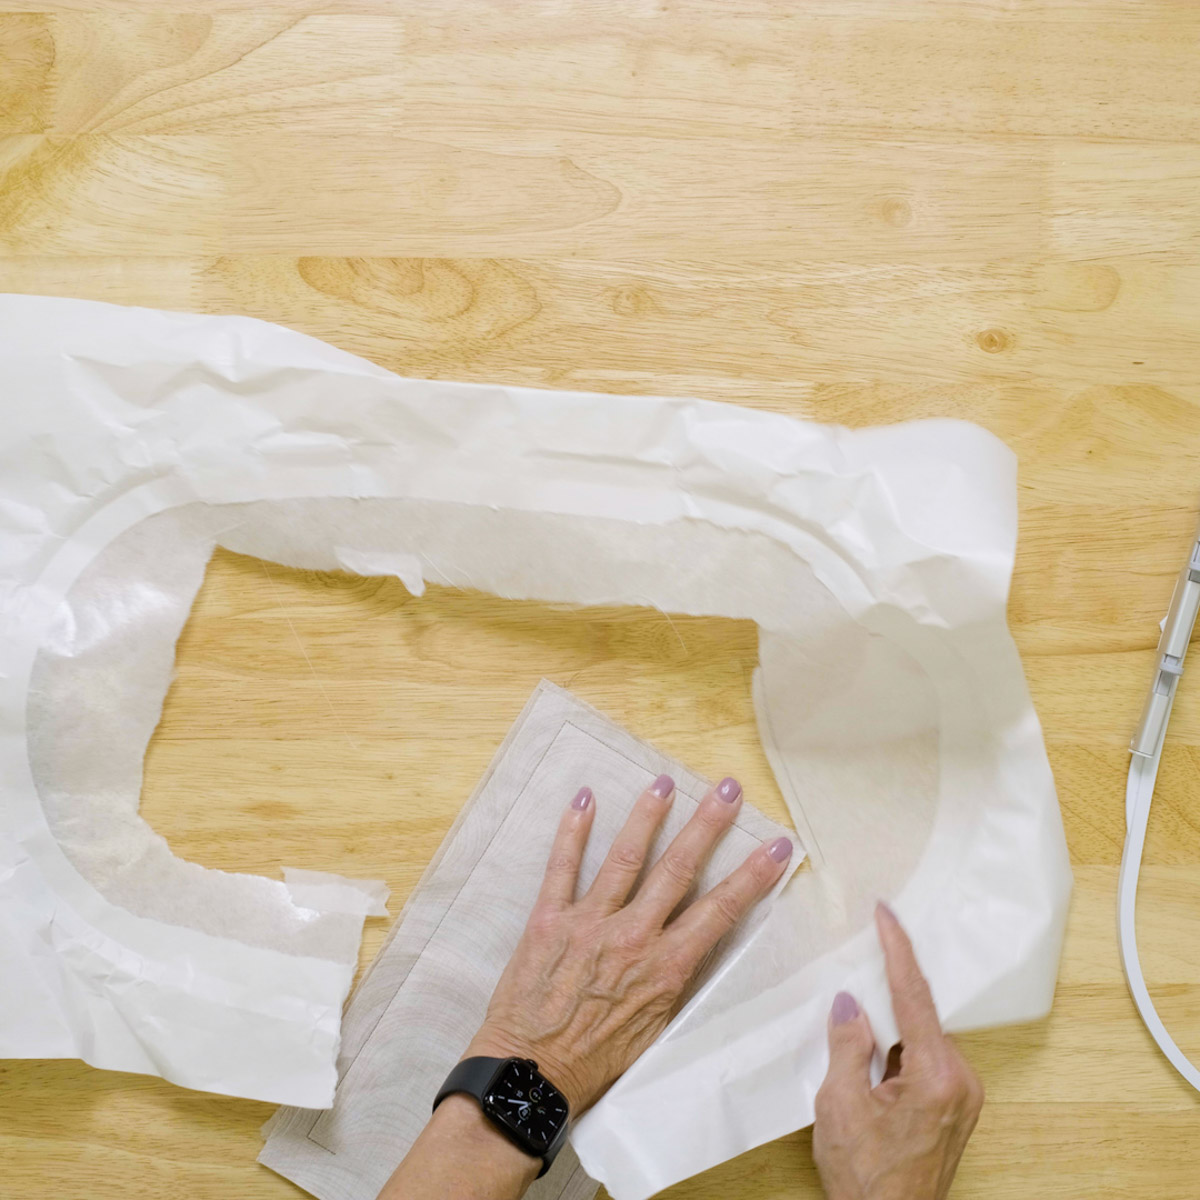
Step remove the holder from the stabilizer.
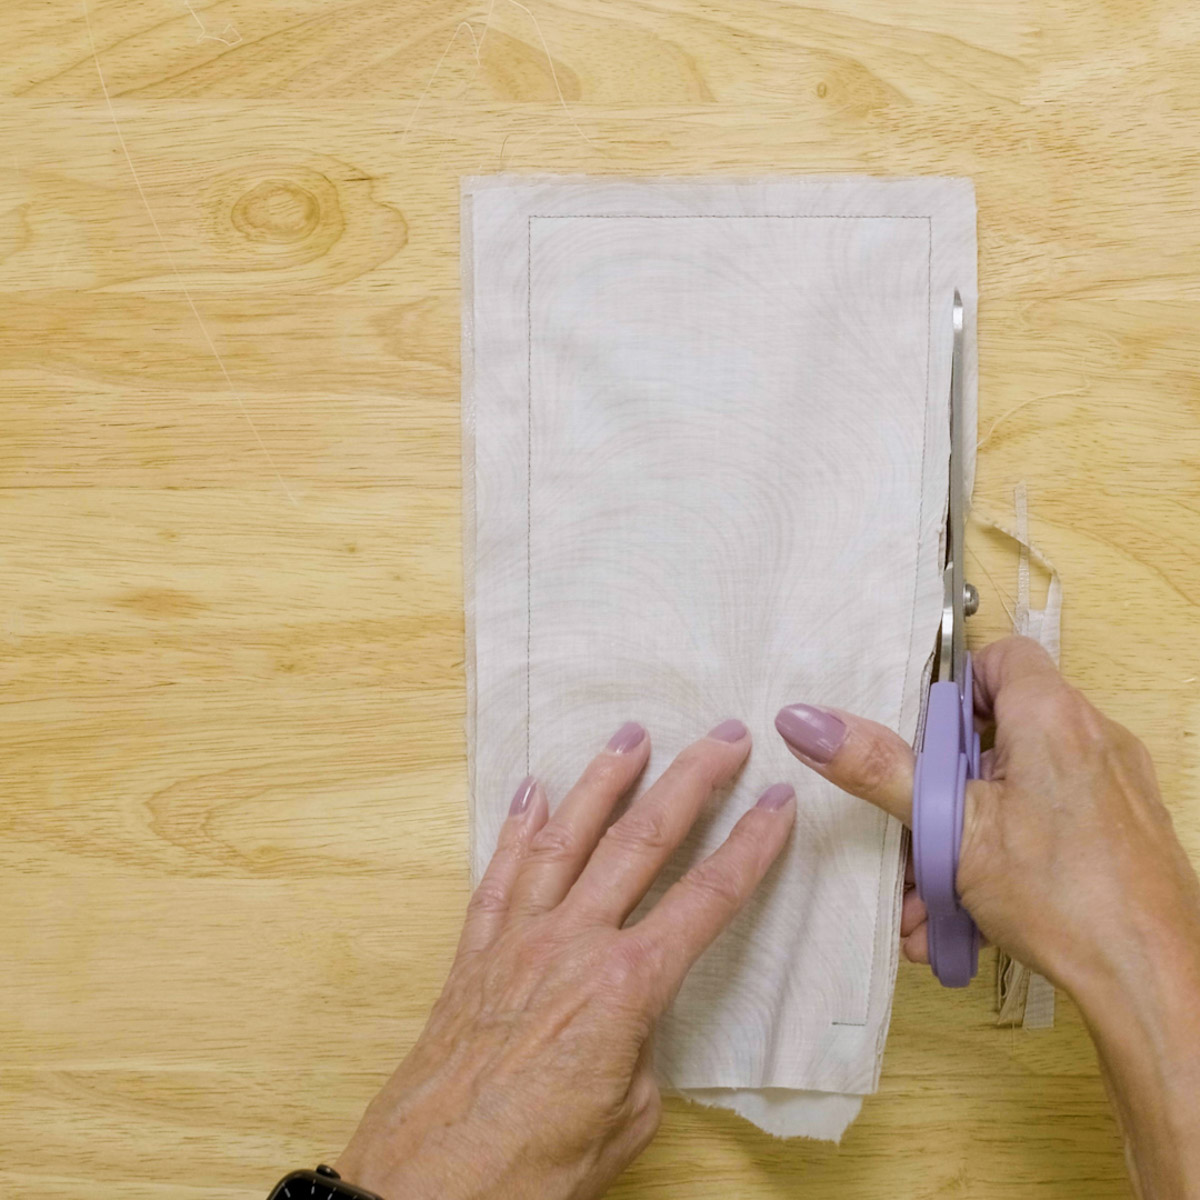
Trim the edges of the holder, cutting the seam allowances at different widths to decrease the bulk in the seams.
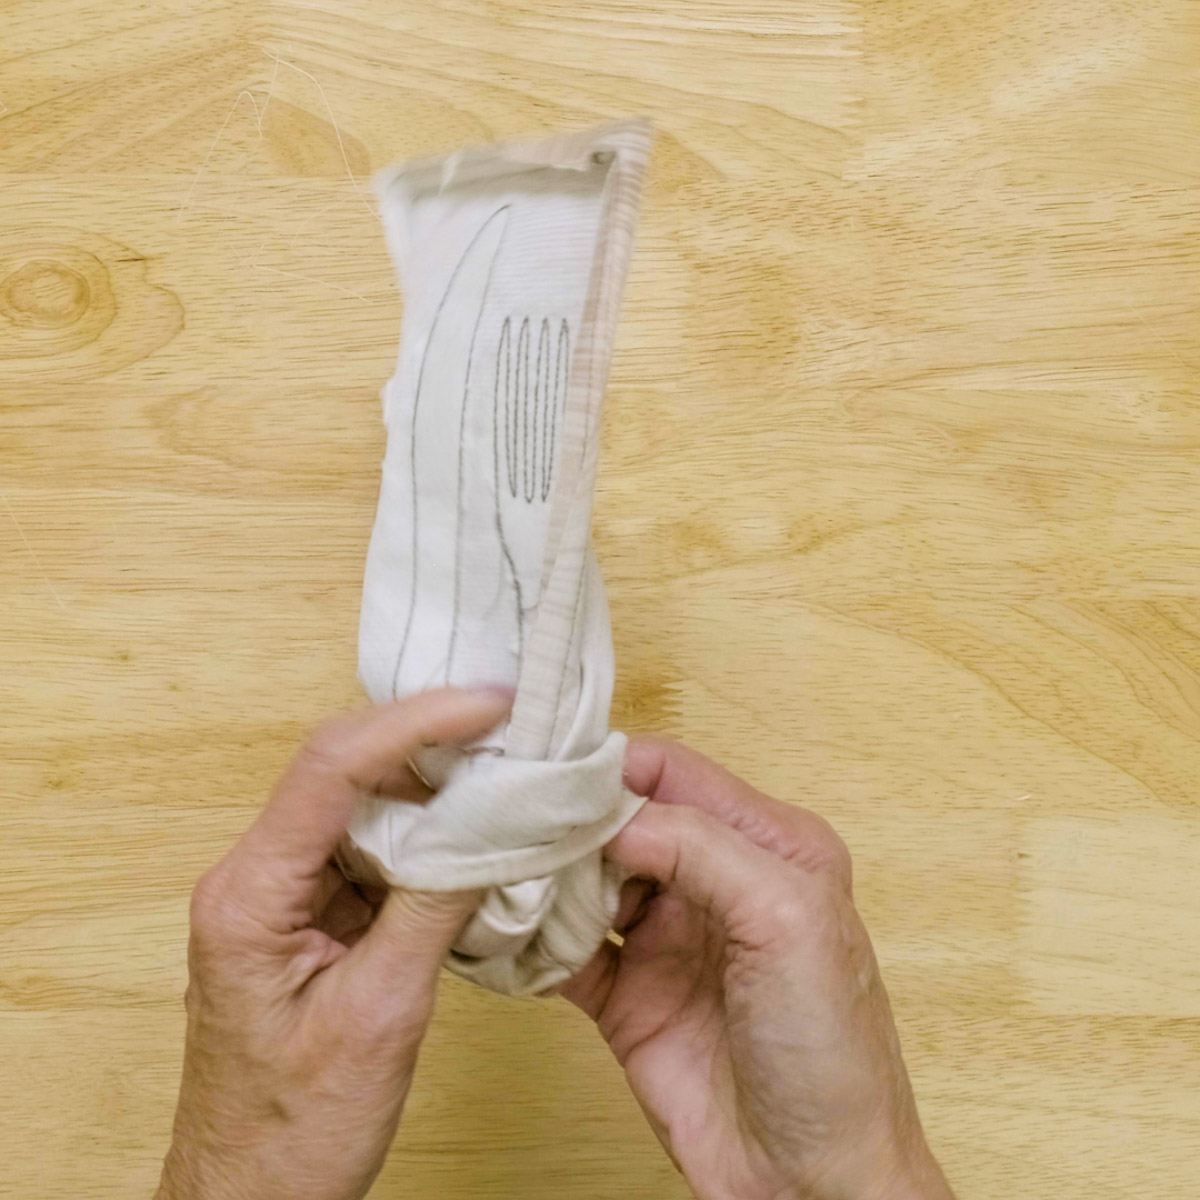
Turn the holder right-side out.
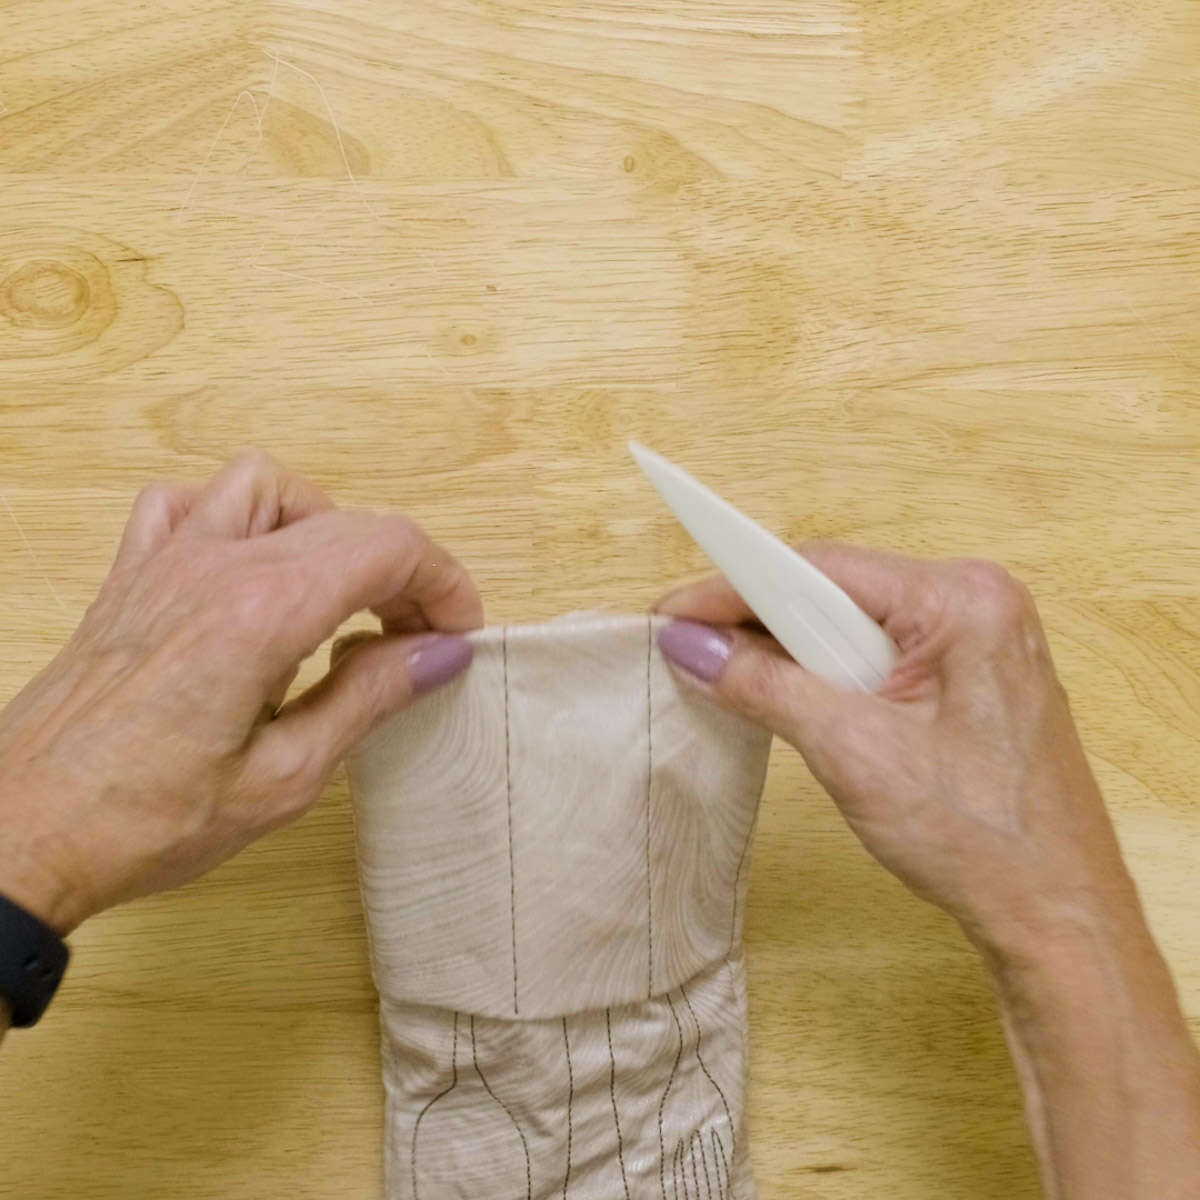
Use a point presser to create the turn at the corner.
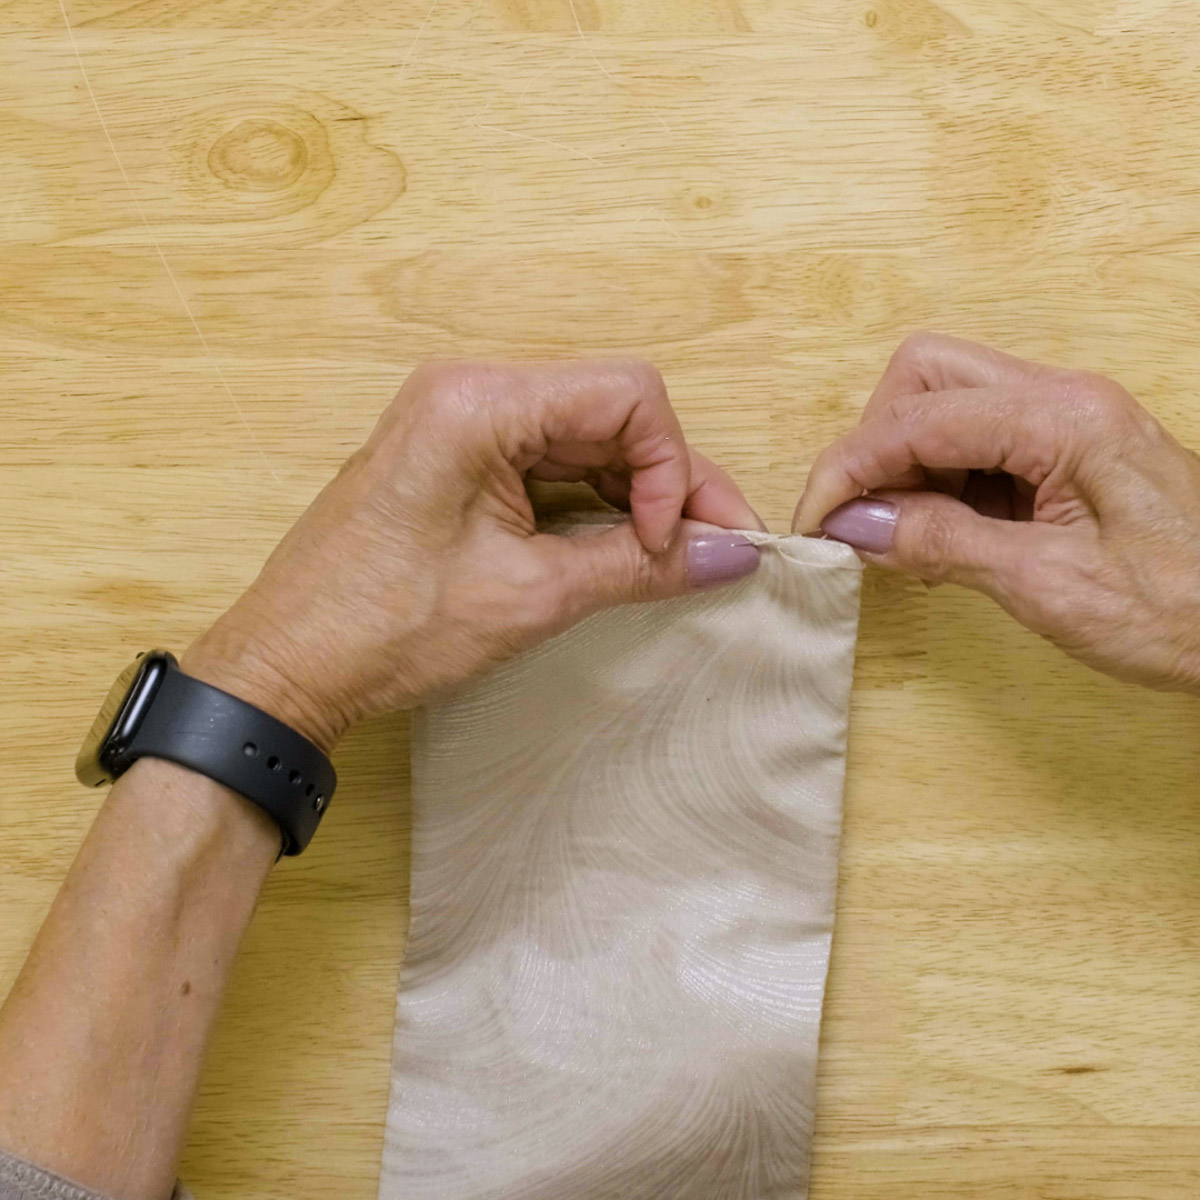
Slipstitch the edges with needle and thread and press.
Repeat to create multiple silverware holders to decorate your table or to take to picnics.
The look can be casual or elegant depending on your fabric choice!
