Introducing the Coverstitch Hemmer
The Coverstitch Hemmer #C31 is a new accessory that helps you make an even, professional-looking 1-inch hem using a cover- or chainstitch. Let’s take a closer look.
Coverstitch Hemmer Functionality
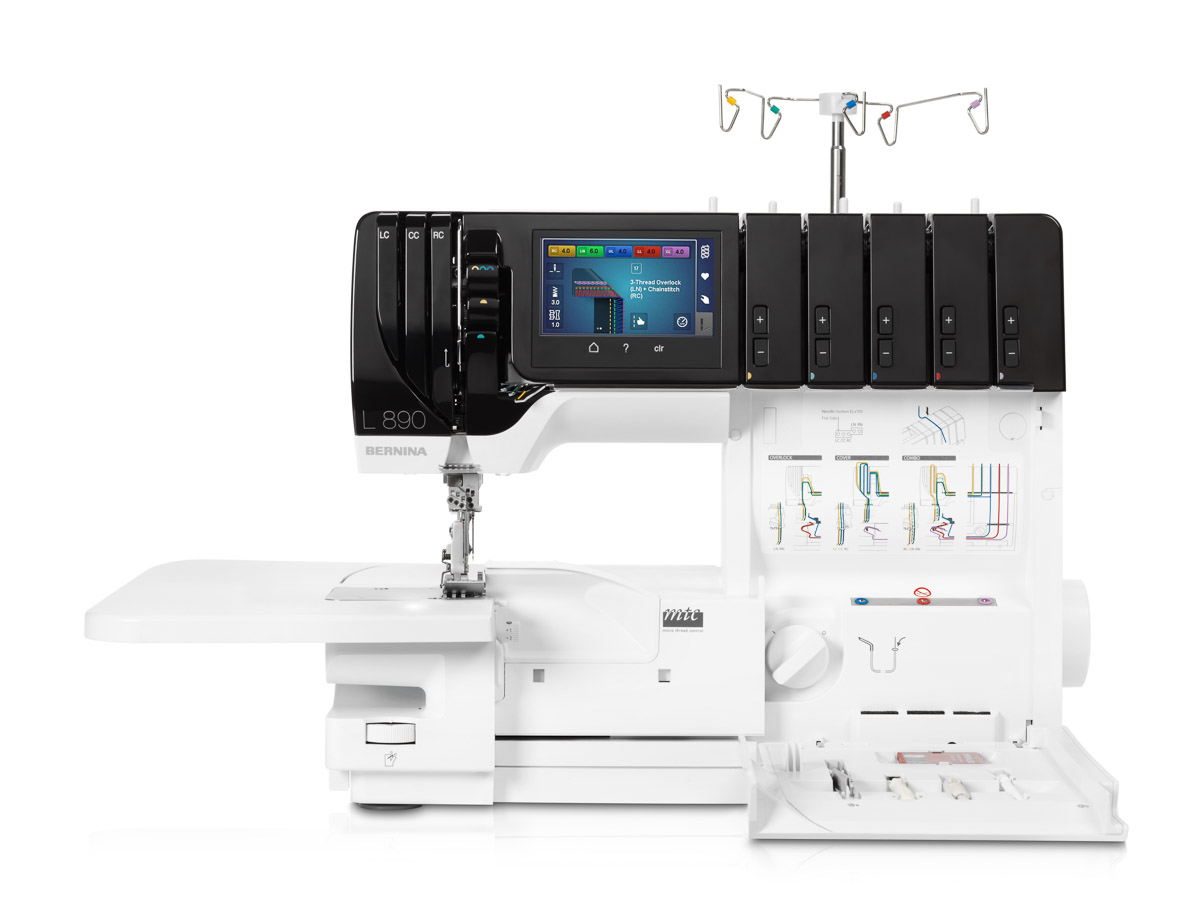
The Coverstitch Hemmer #C31 attaches to the L 890 Coverstitch Insert using the Accessories Holder, which is sold separately.
The Accessories Holder swings out to make it easy to attach the hemmer AND to add the fabric. Then, it swings it back into place for stitching.
There are two sets of screws included with the Accessories Holder. One set is for attaching the holder to the BERNINA L 890. The other set works with the bernette coverstitch and combo machines: b42, b48, b62, and b68.
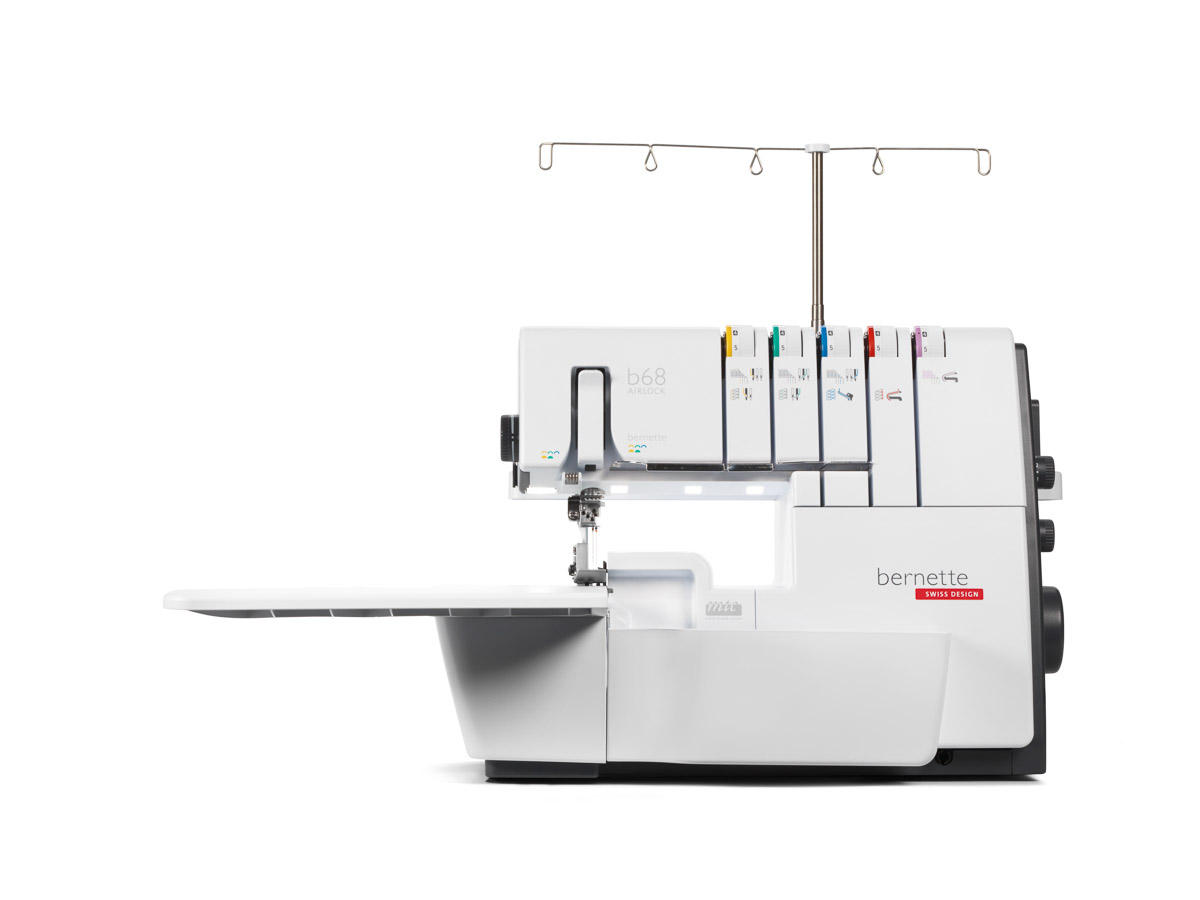
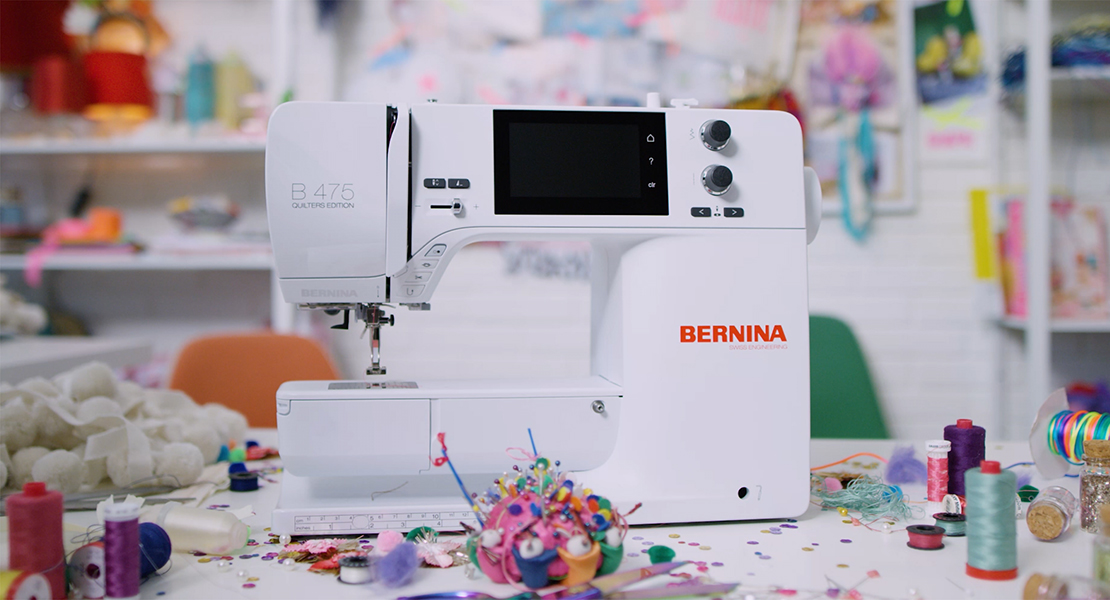
Because hemming with this attachment uses a cover- or chainstitch, it must be used on a machine with this capability, whether it is a combo machine or coverstitch only machine.
Using the Coverstitch Hemmer
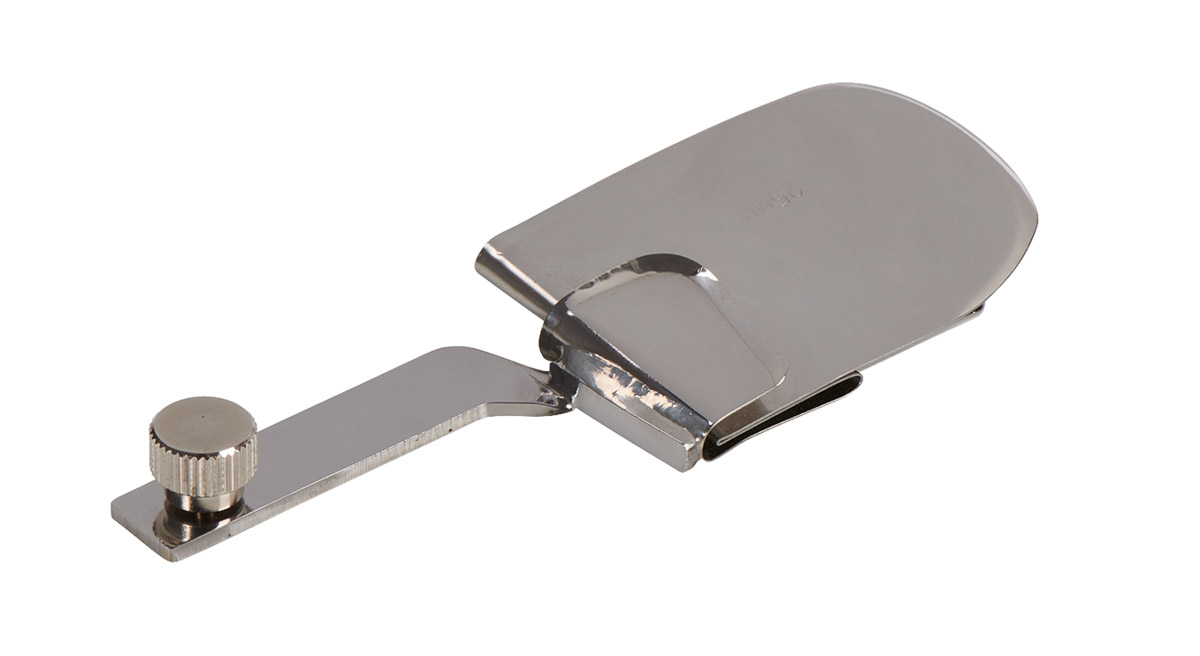
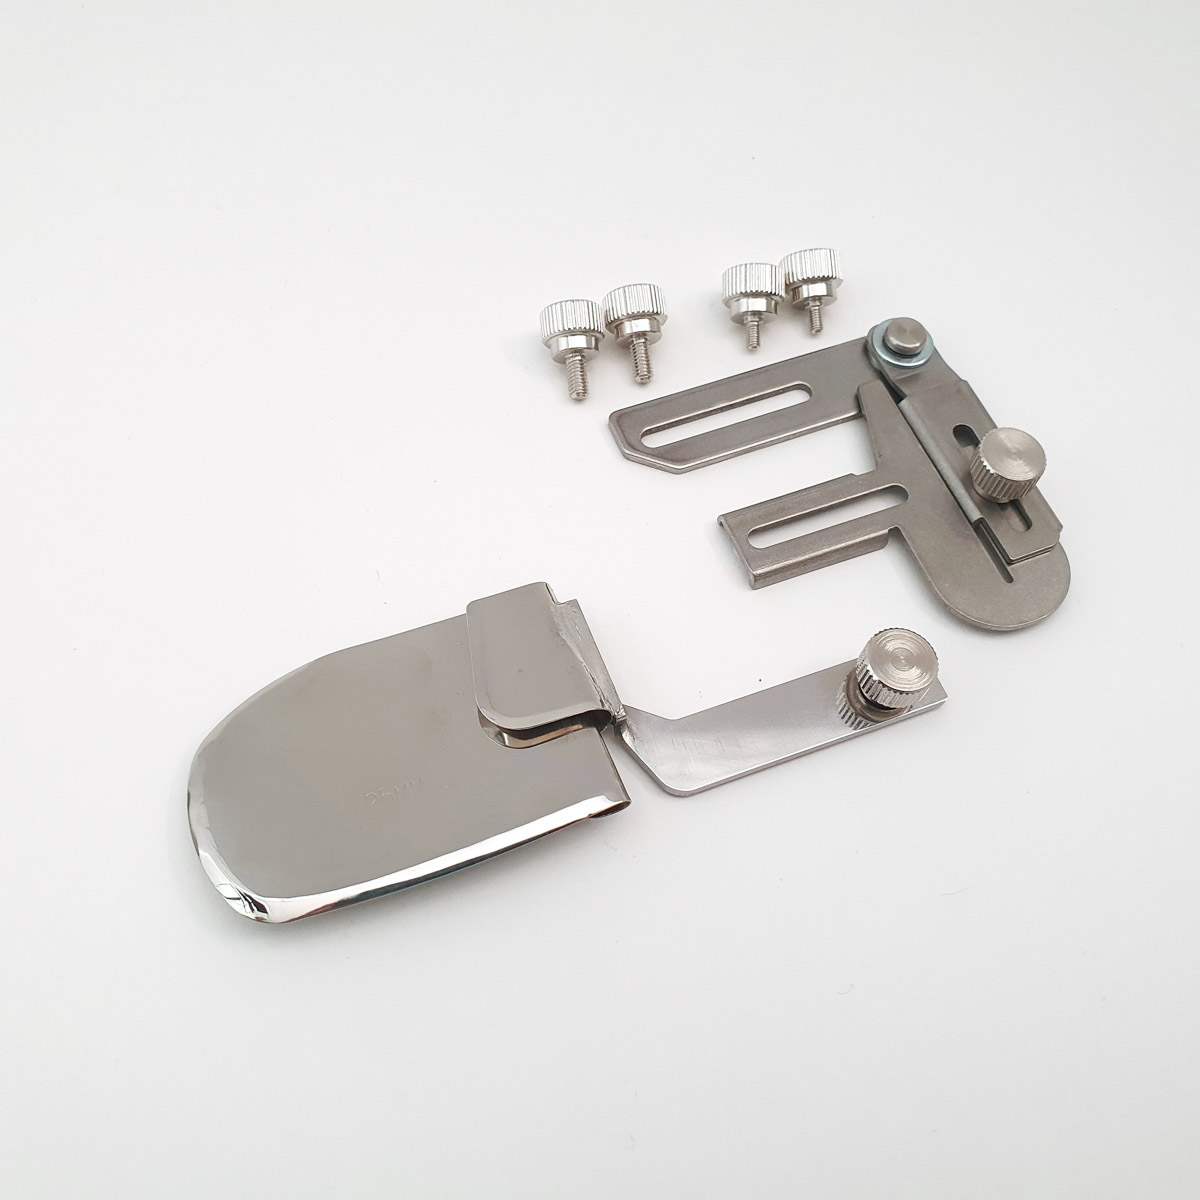
So how does the attachment work? Let’s start with a little anatomy.
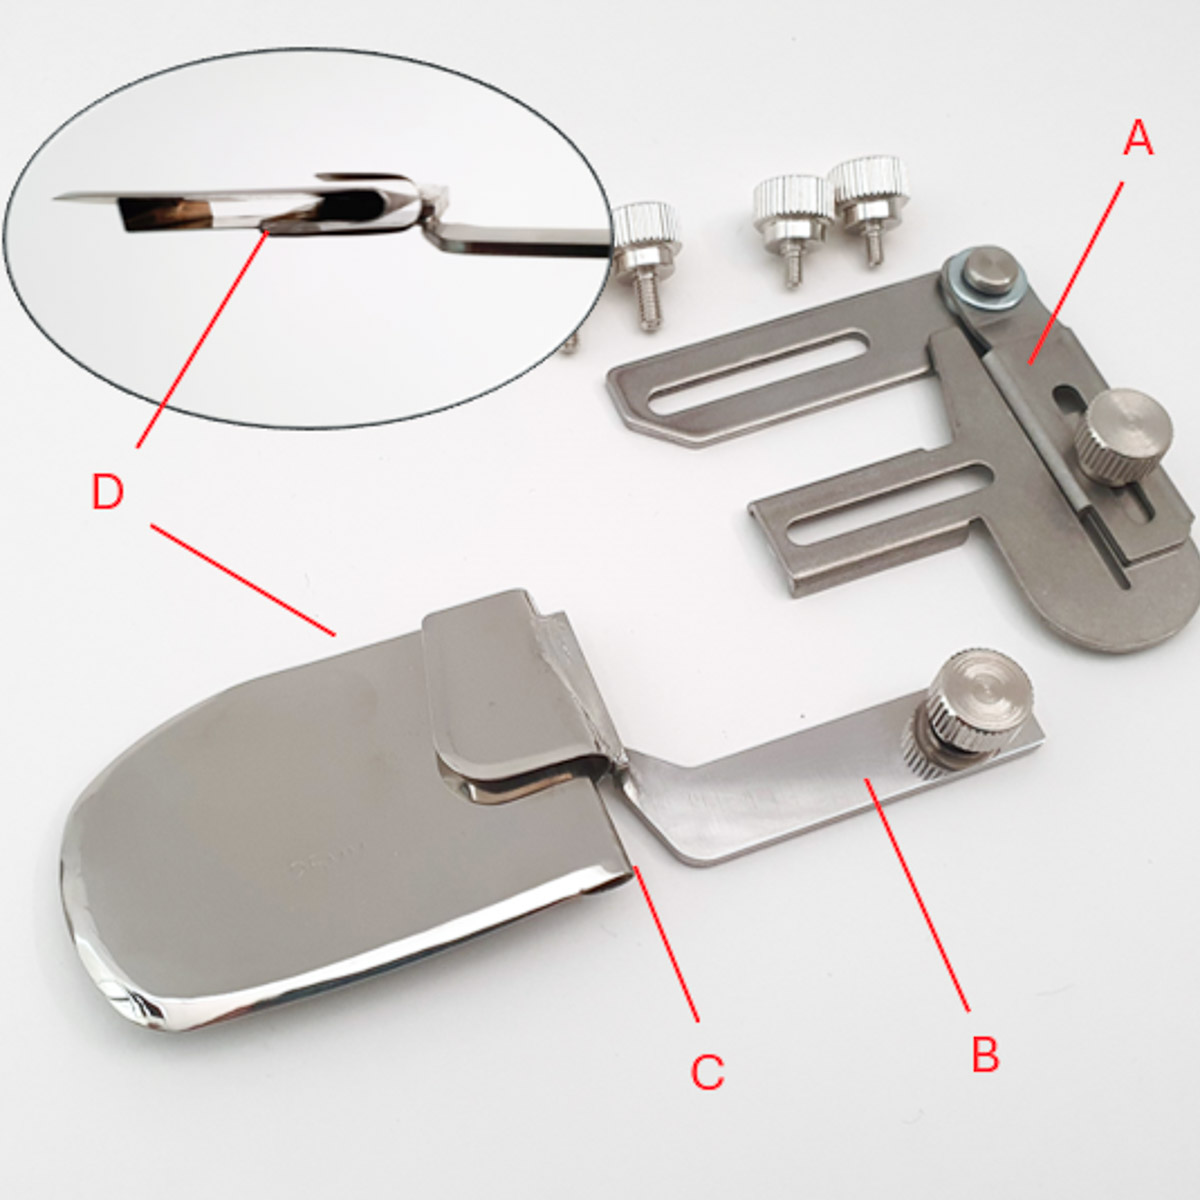
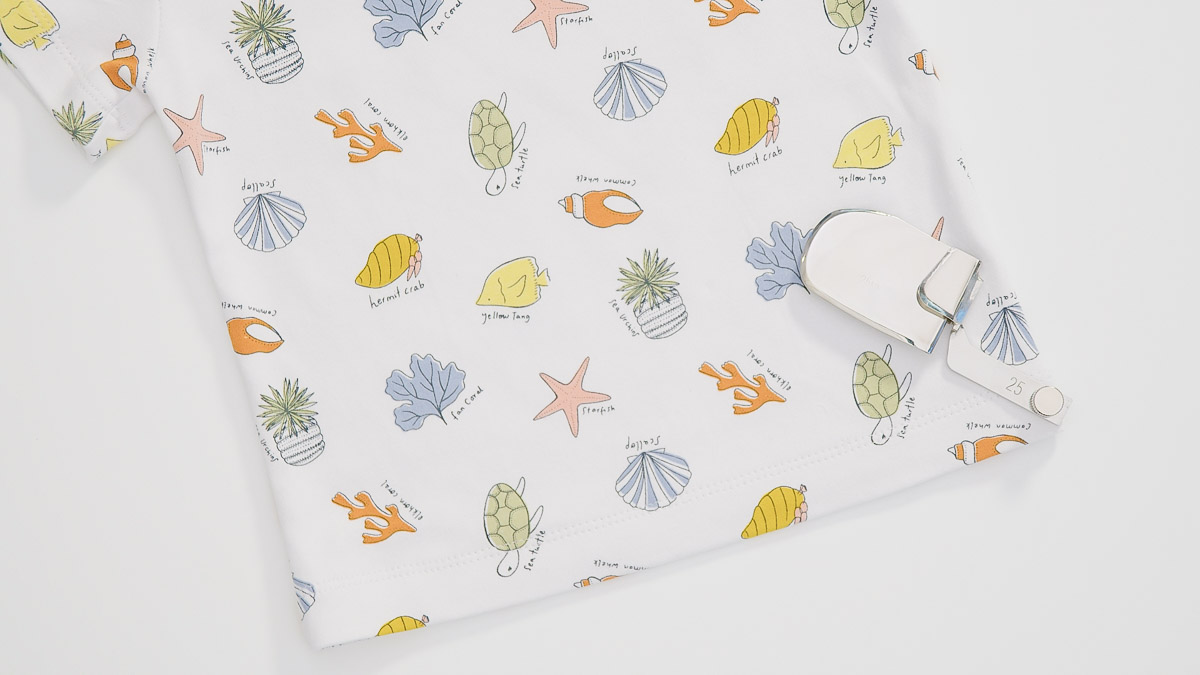
(A) is the Accessories Holder, which is required for attaching the Hemmer to the machine. (B) is the connecting piece with the included locking screw that slides into the Accessories Holder. (C) is where the fabric folds around the attachment. (D) is a front view of the inside of the attachment. Look closely at the left side of the opening. There is a metal guide inside where the raw edge of the hem is going to butt up against. This part is also going to align with the left needle of the coverstitch. The hem will finish at 25 mm, or 1 inch.
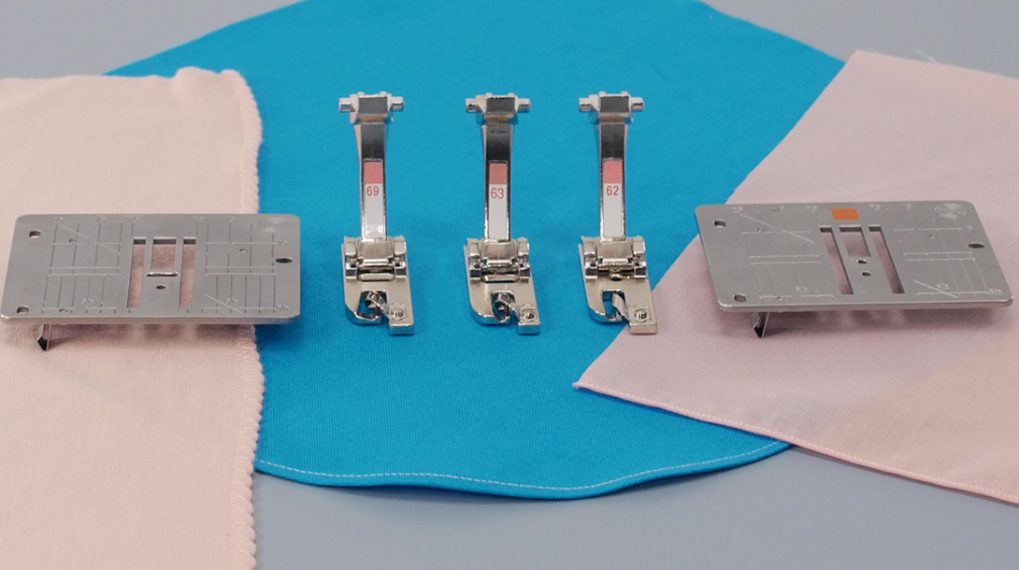
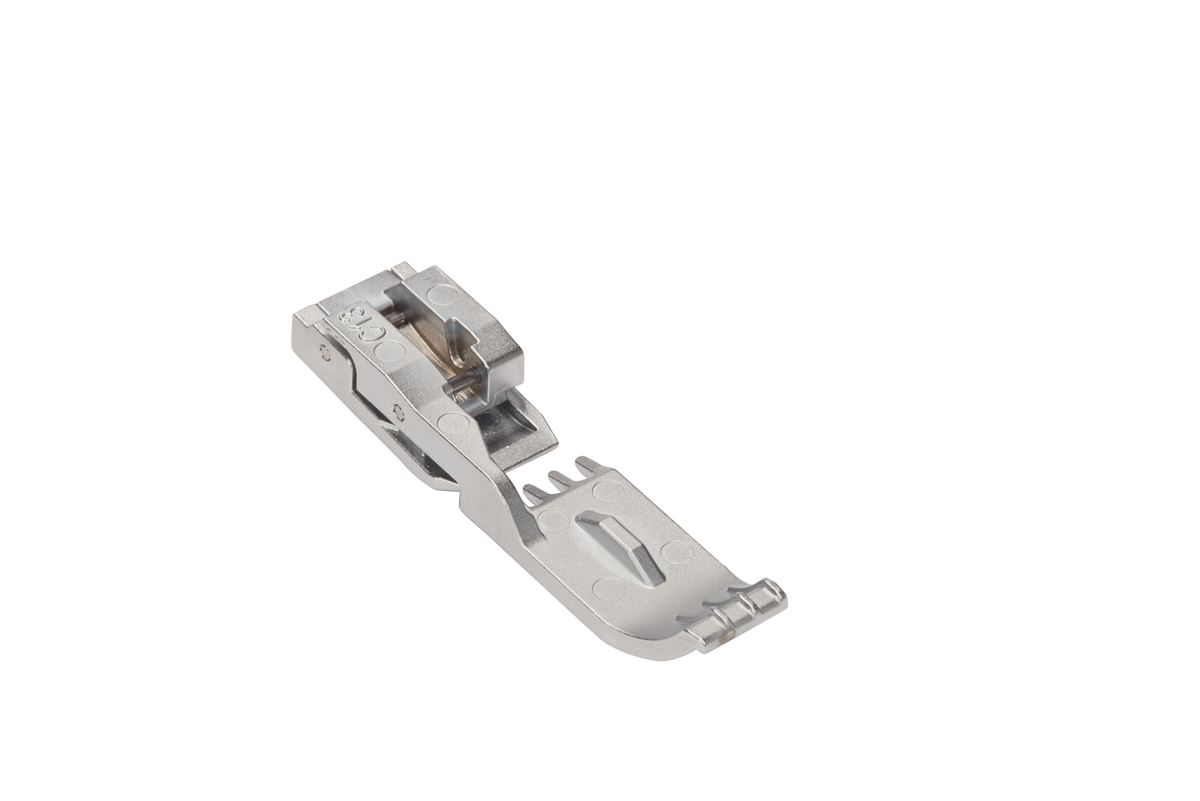
A variety of presser feet can be used, including the Standard Overlock Foot #C11, Cover-/Chainstitch Foot #C13, Coverstitch Compensating Foot #C12, Curve Foot #C23 and Clear Foot #C27. On the bernette overlocker, you can use either the Standard Foot or the Standard Foot with Clear Sole.
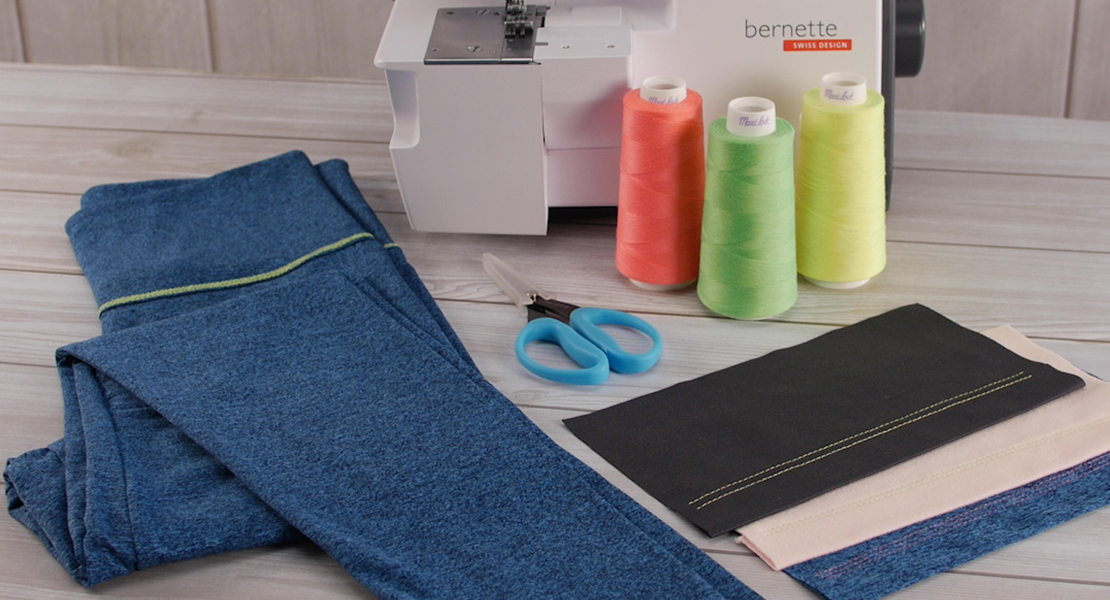
To prepare for hemming, I find it helpful to press a 1-inch hem to the wrong side of my project.
Select the desired stitch. I’m using a narrow coverstitch for this example. When working with fabrics that don’t fray, consider using a chainstitch.
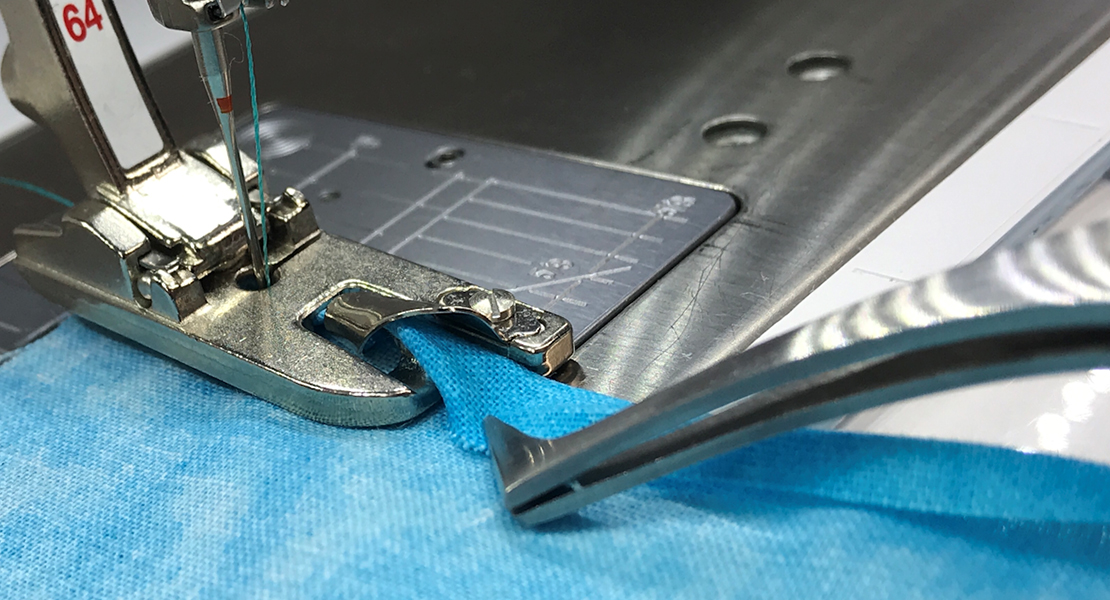
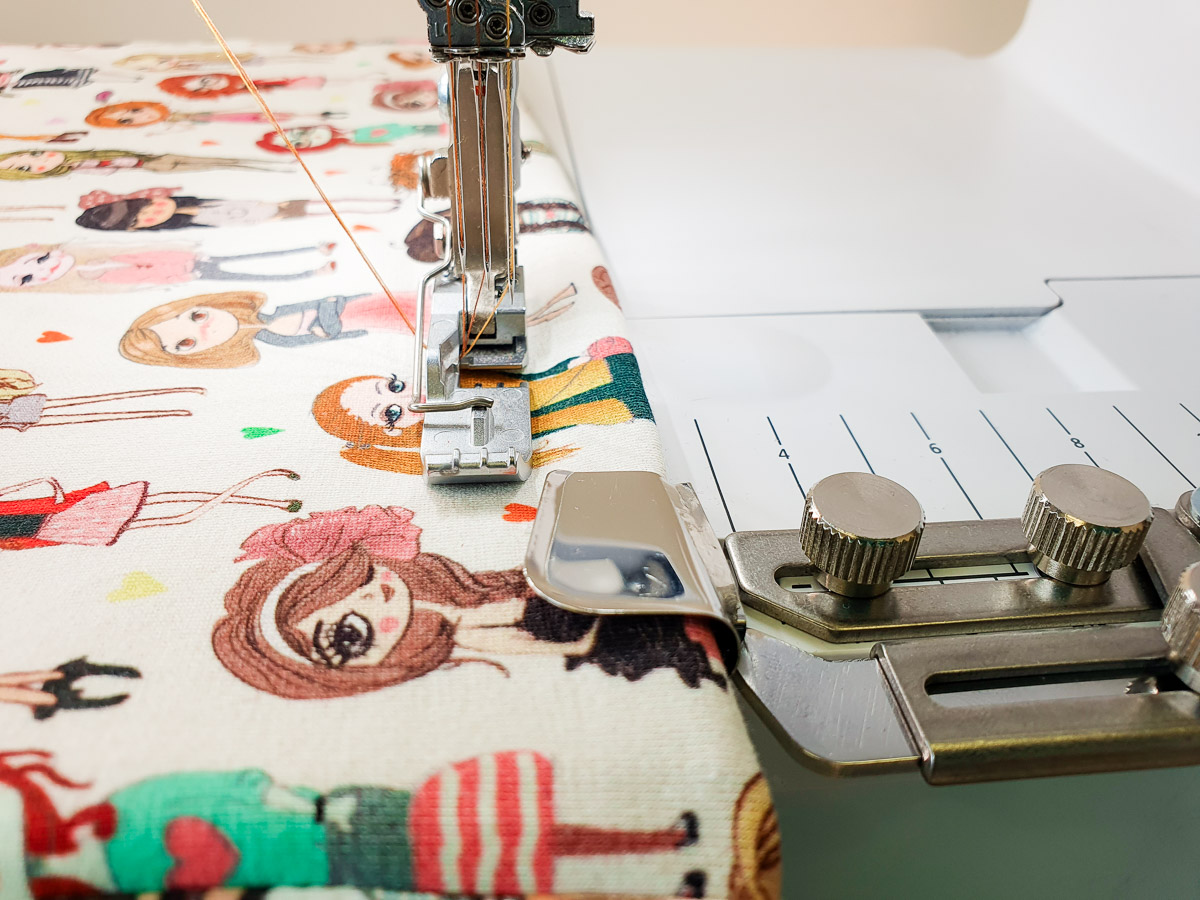
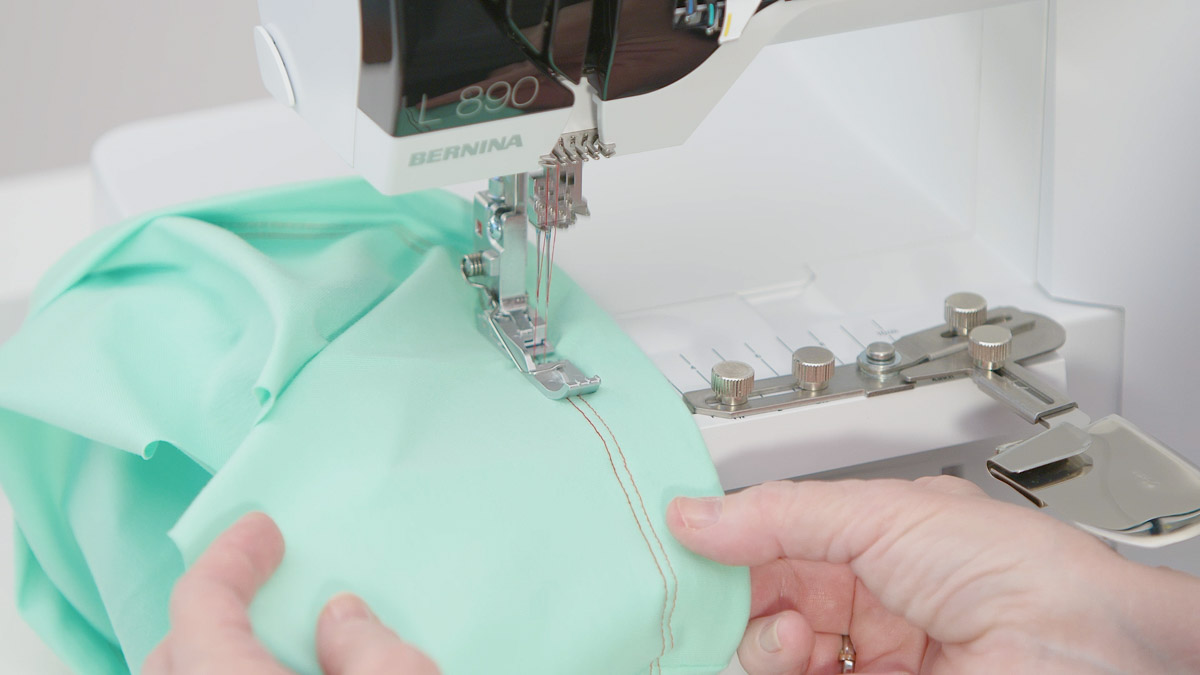
Swing the hemmer out and insert the fabric. The fold of the hem is along the right edge of the attachment and the raw edge is inside, next to the fabric edge guide. Make sure the fabric moves freely through the attachment.

Swing the hemmer into place in front of the presser foot. Make sure to leave a space between the front of the foot and the edge of the hemmer.
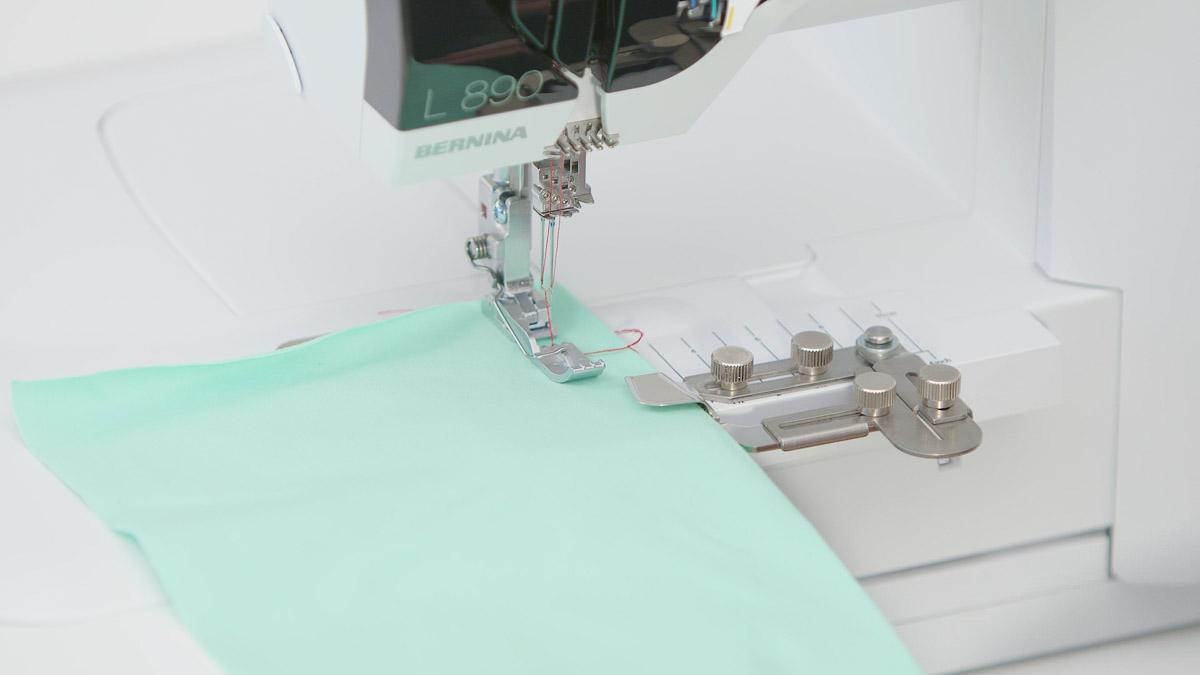
Adjust the placement of the hemmer in front of the foot so that the left needle lands on the very edge of the hem or just off the hem. This ensures that the raw edges are covered. You can adjust placement using the locking screw on the hemmer, the screws on the holder, or by turning the Cutting Width Dial.
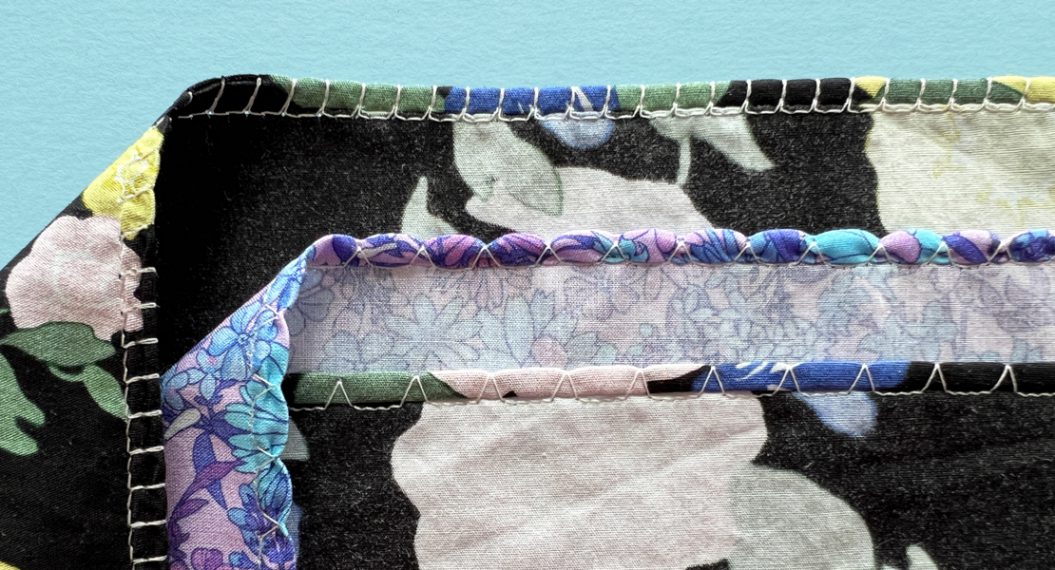
I recommend testing the hem on fabric scraps from your project before stitching on your final project. Trim any excess fabric close to the stitching using applique scissors (AKA duckbill scissors).
For a tubular hem, remove the Slide-on Table and use the Free Arm. Remove the fabric from the attachment when you approach the starting point and overlap your stitching by a few stitches. Use the notches on the front of the foot to guide along the previous stitching.
On some fabrics, you may need to adjust the left needle tension if it is sewing through a single layer.
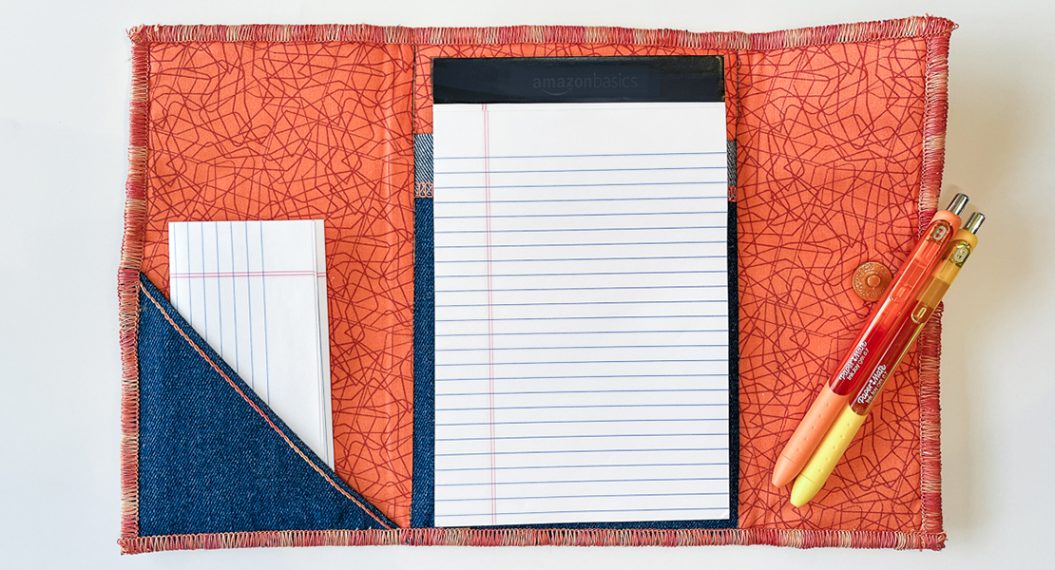
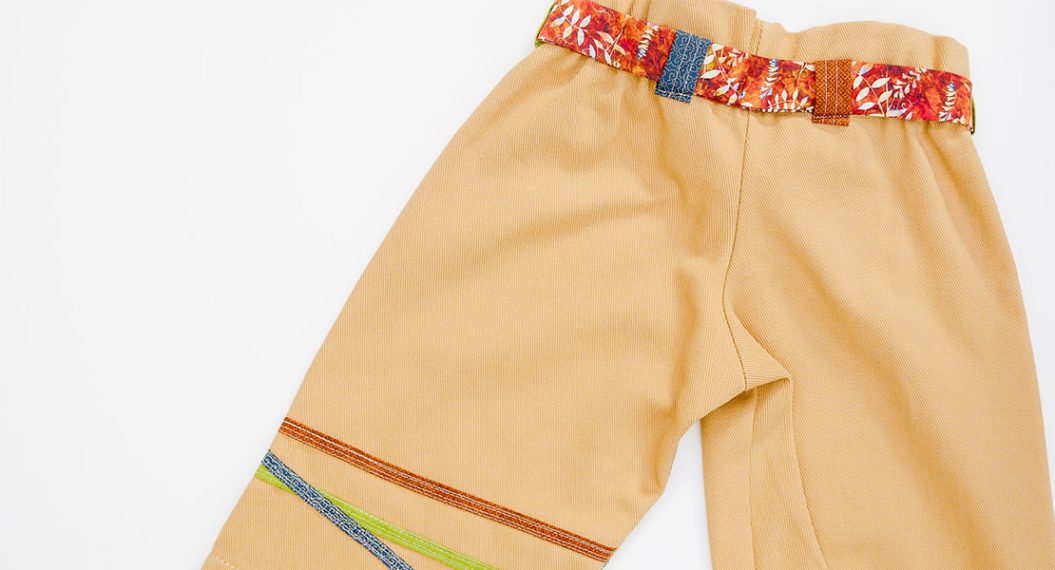
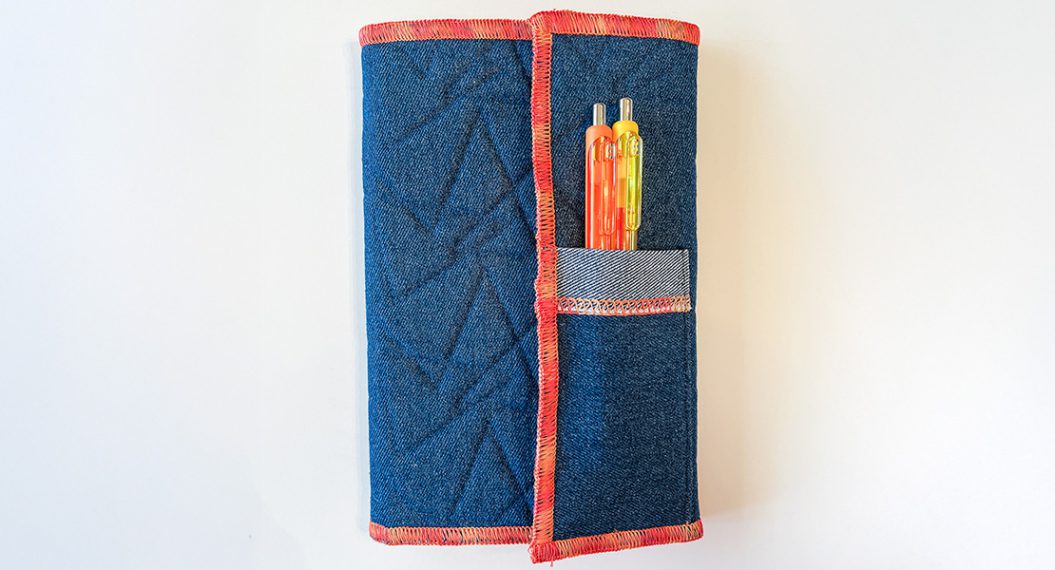
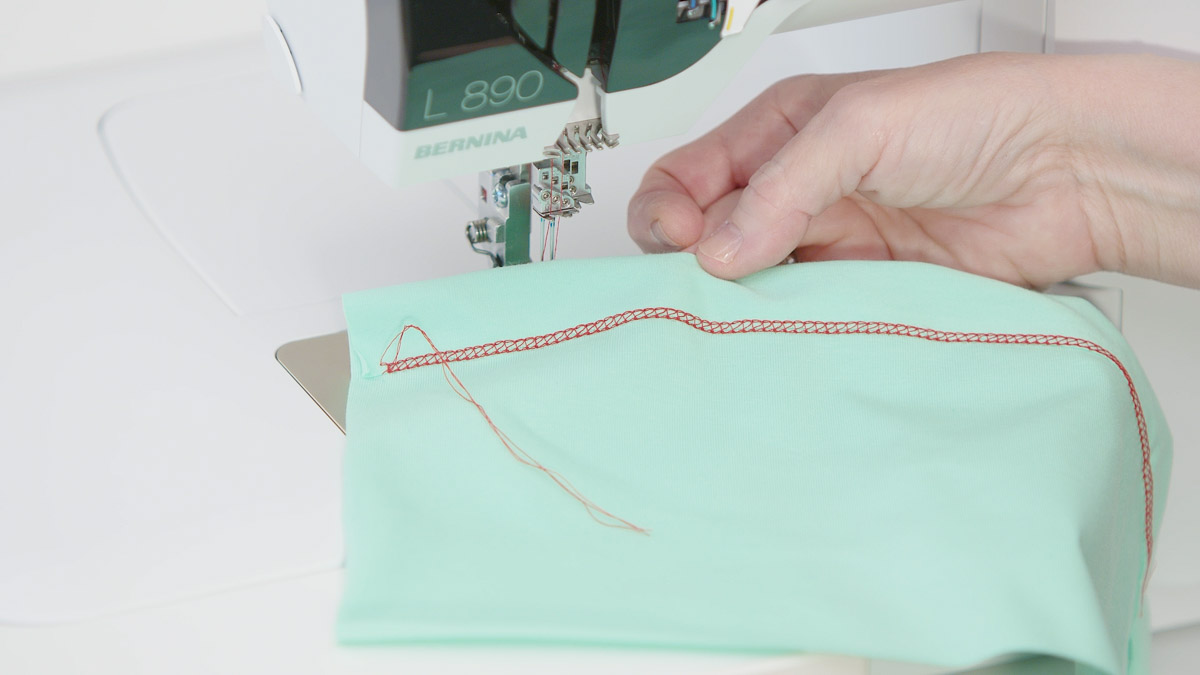
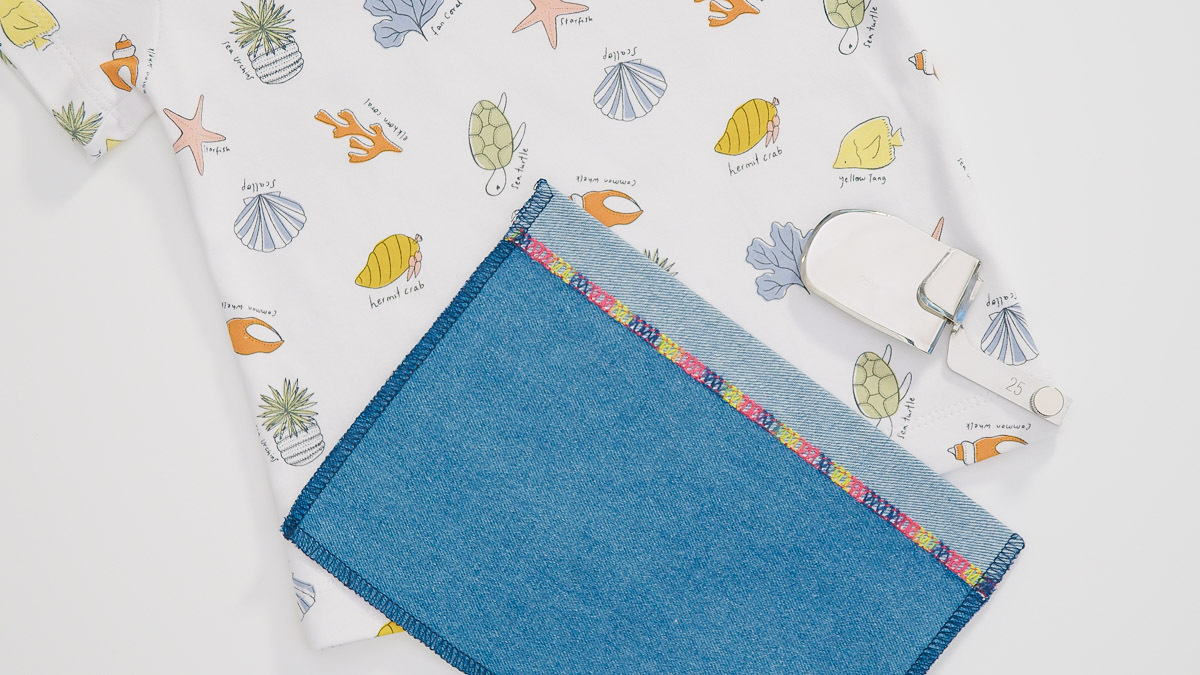
That’s it! The hemmer is quick to attach and easy to use for a fast hem on your next project. Consider pressing the hem to the RIGHT side and sewing on the inside so that decorative threads in the looper can shine.
Until next time, happy serging!