How to Machine Appliqué Circles
How to machine appliqué circles by Kathy Kansier from Ozark, Missouri.
The word appliqué is derived from a French word that means “to put on” or “to apply.” It refers to a technique of stitching one fabric onto another to create a patch or decorative design.
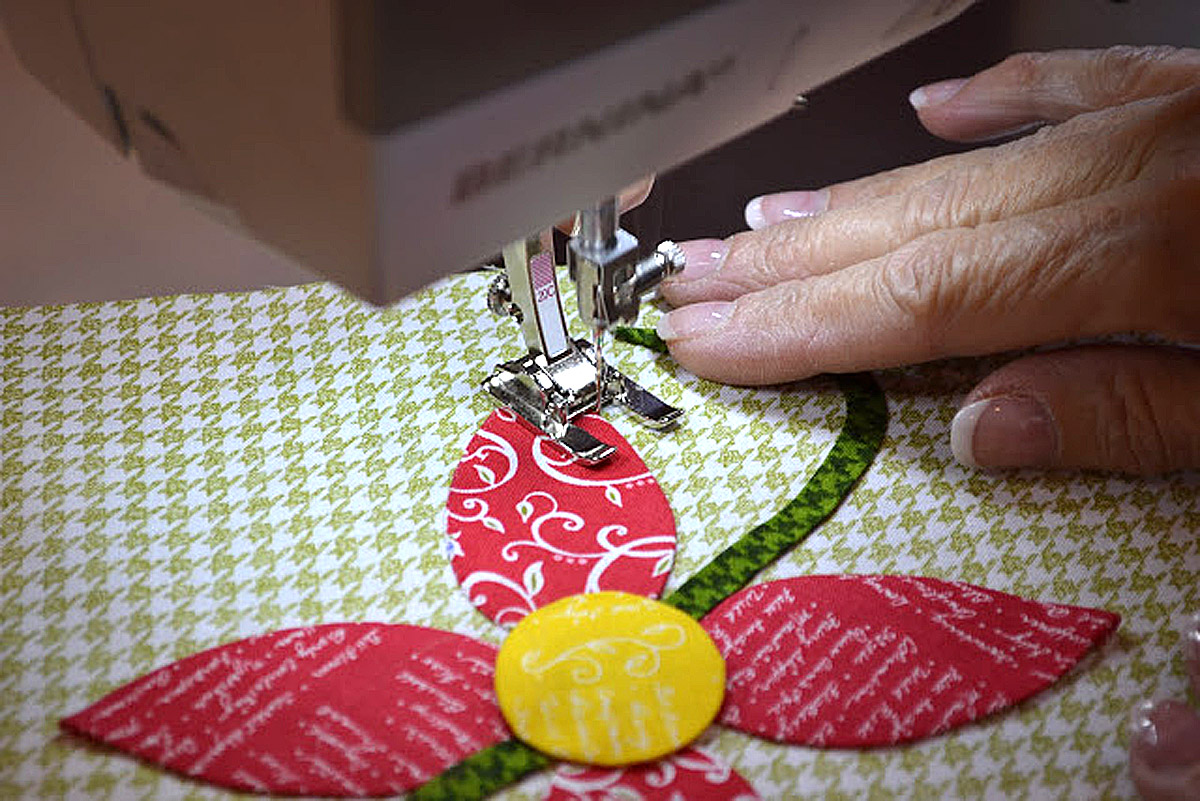
Direct Appliqué is when a decorative shape is stitched on top of a background fabric. Reverse Appliqué is when a decorative fabric is placed under the background fabric. The shape is cut out of the background fabric and the inside edges of the shape are turned under and stitched to reveal the fabric of the motif.
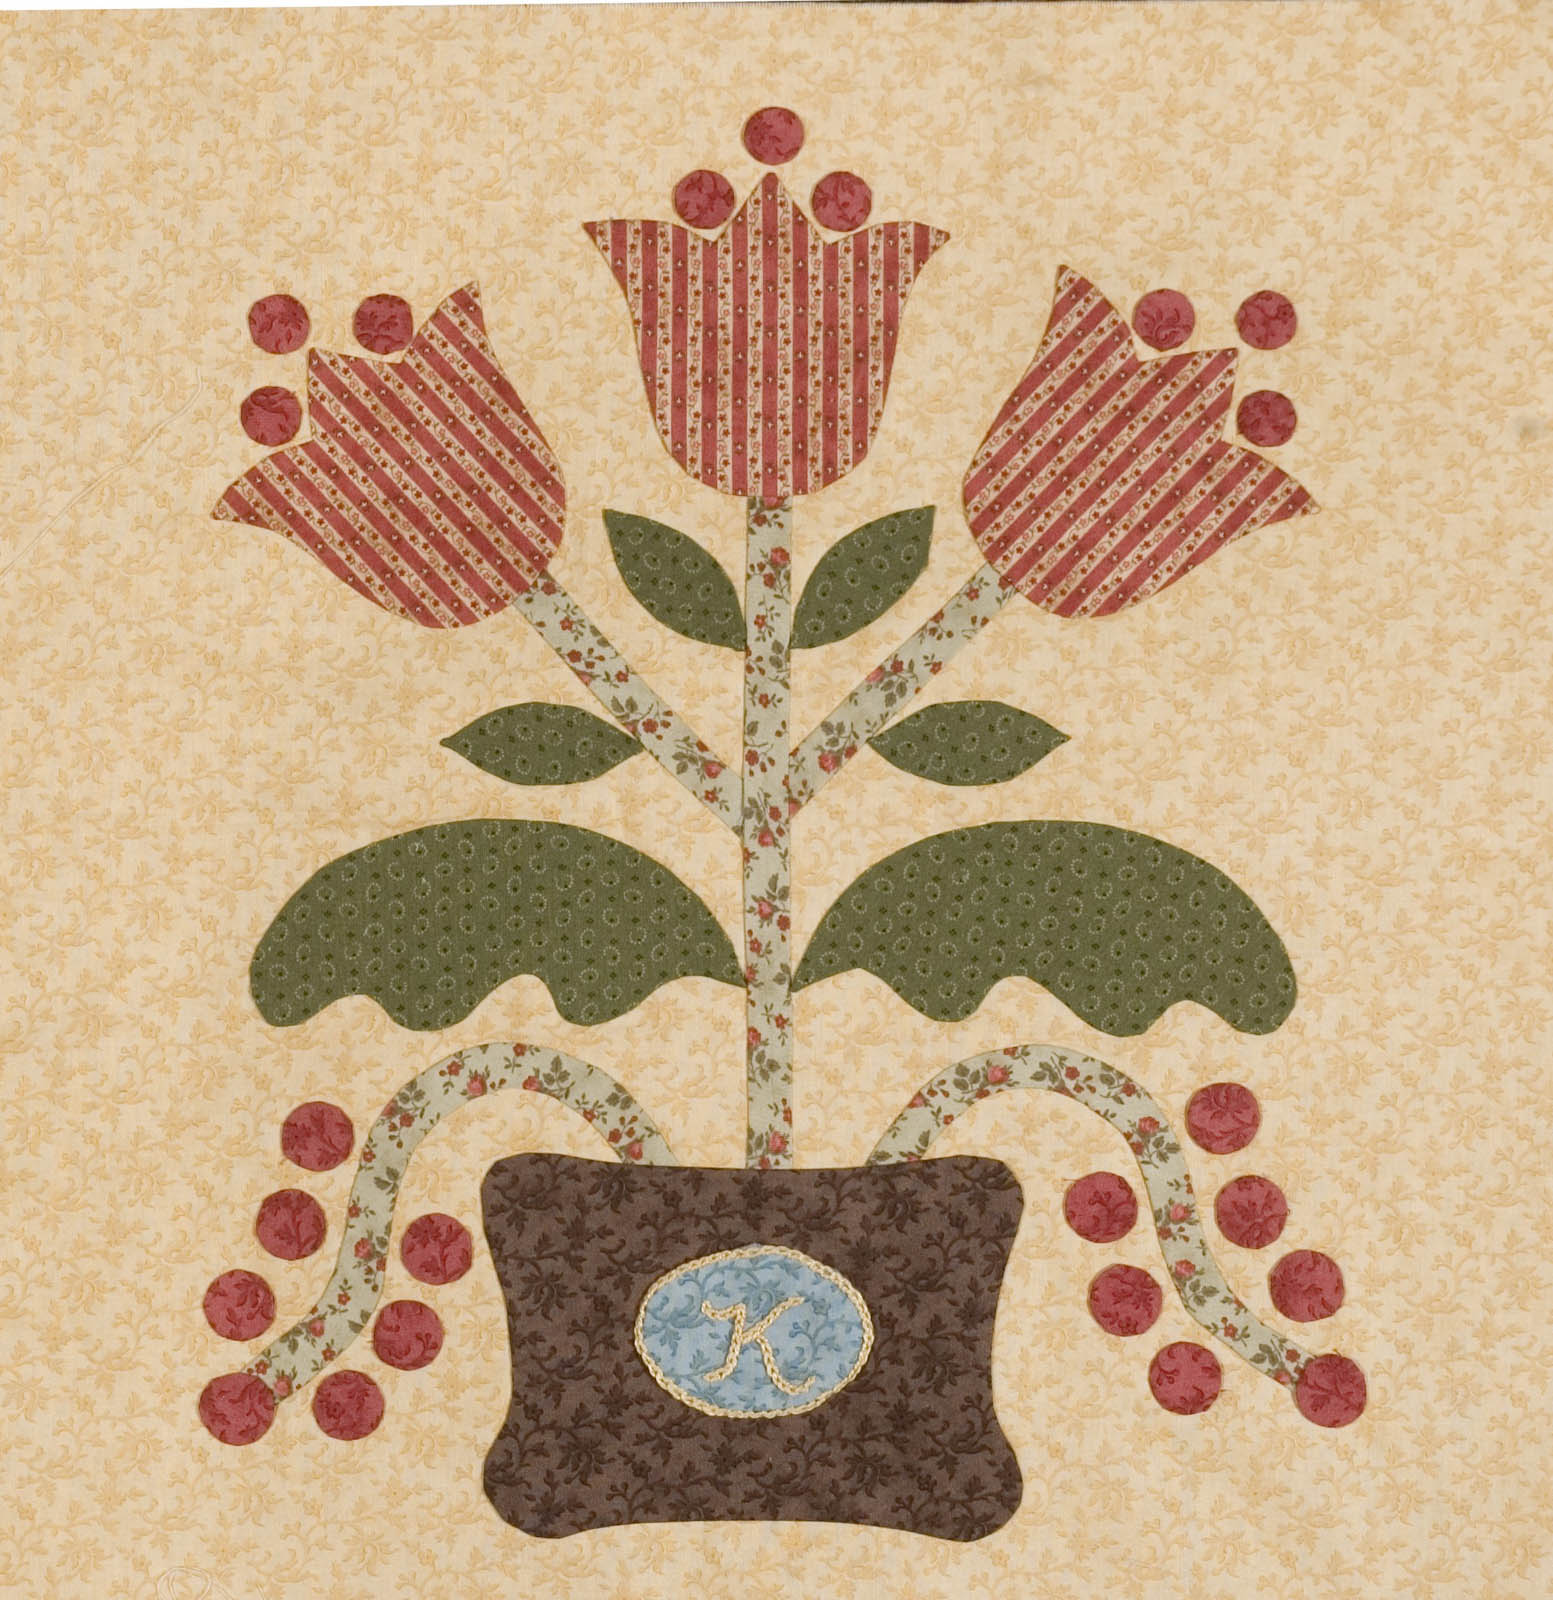
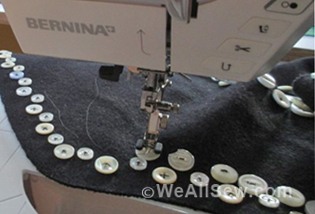
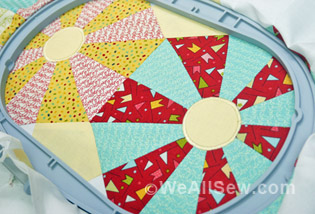
You will find that most appliqué patterns and quilts have circles. They are either hand or machine appliqued in place. In traditional quilts, circles are used for the centers of flowers, as berries, grapes, cherries, cascading springs and the center of a Dresden Plate block. Sometimes the circles were left flat and sometimes they were stuffed. The following photo is a block I designed. It has 23 small circles.
Today we find circles on contemporary appliqué quilts, baby quilts and modern quilts. They can be placed randomly on the background or centered on a square. They can be overlapped or varied in sizes and stacked on each other. A variety of circle sizes can be used to represent a curved line or as bubbles in an underwater scene.
A circle is a simple shape but there is one very important thing about a circle: It needs to be perfectly round. If it isn’t a perfect circle, the viewer’s eye is drawn to its imperfection rather than to the entire quilt. An imperfect circle is a distraction from what is really important.
When antique and vintage quilts were made, the quilt makers made their circles by hand. They were limited to the tools they could use. They often used a coin, cup or small plate to trace a circle. If they were fortunate enough to have a protractor, they could create a variety of circle sizes to use for circle patterns. The edges of a circle were turned under with a needle and hand stitched in place. This is called needleturn appliqué. They found it was difficult to make all the circles precise and all the same size. Today we have pre-cut plastic templates and techniques that can be used for making perfect hand appliquéd circles.
But…what if you don’t like to do hand work? We can now use the sewing machine to also make perfect circles. They are simple and fast to make and look great, especially on a quilt that is entirely made by machine. Machine appliqué quilts can be as impressive as hand appliqué quilts.
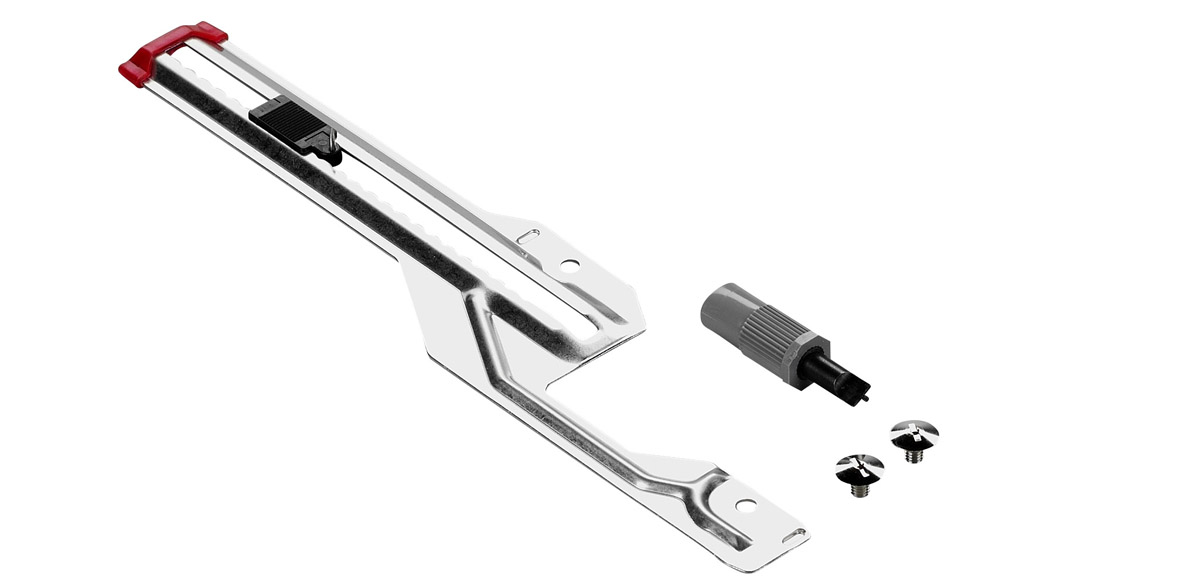
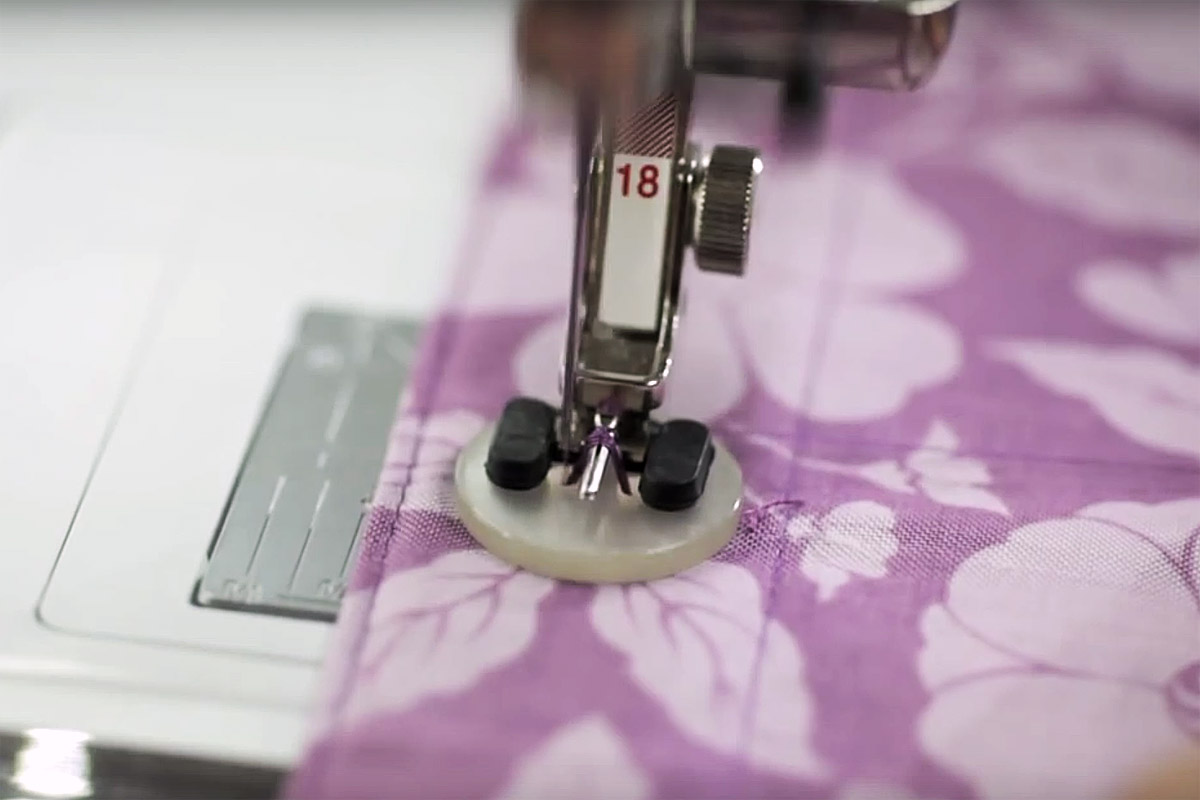
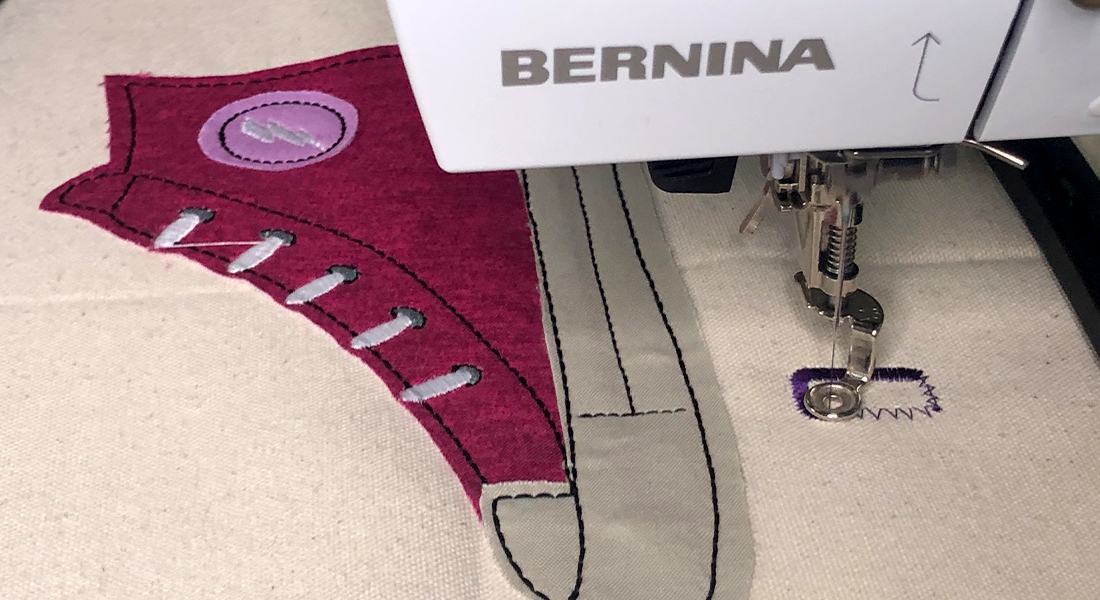
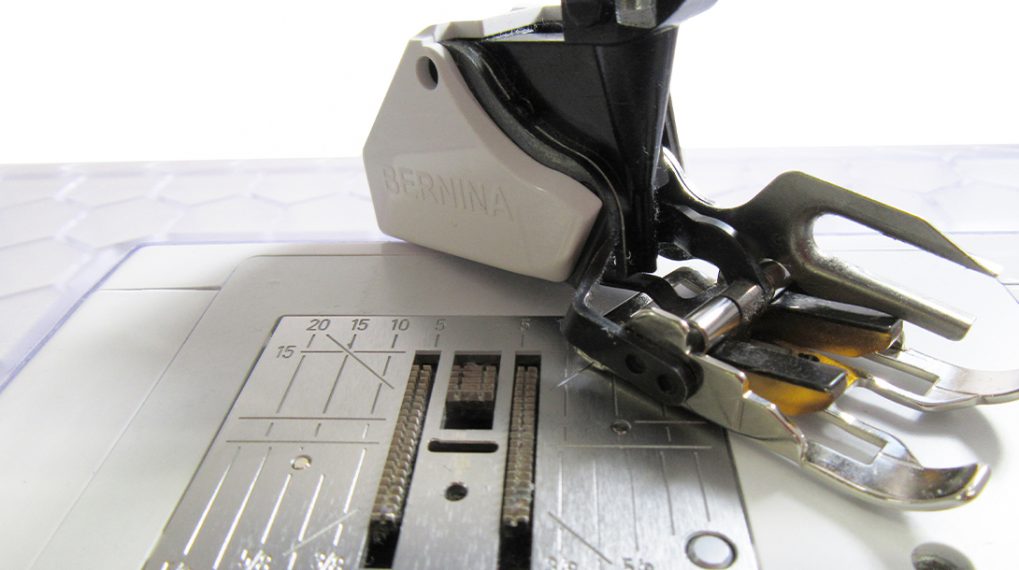
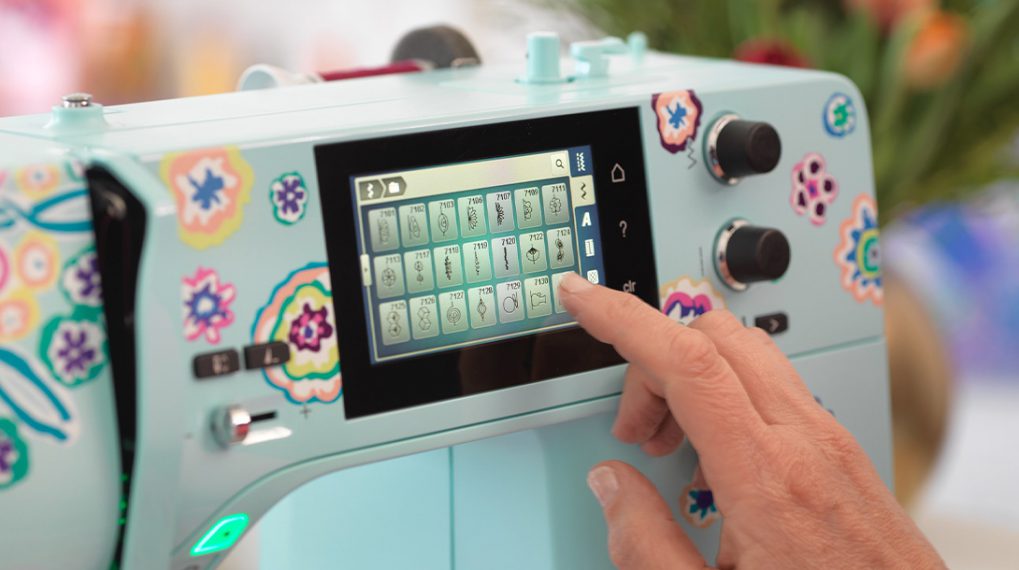
I love to use my BERNINA Circular Embroidery Attachment #83 for making appliqué circles. If you are unfamiliar with this attachment, refer to my previous article called Going in Circles: An Overview of the Circular Embroidery Attachment #83. This attachment can be adjusted make 3″ to 10″ circles.
Steps for Making a Machine Appliquéd Circle
- Attach the Circular Embroidery Attachment #83 to your machine.
- Choose an appliqué fabric for the circle, a background fabric and embroidery stabilizer. Cut the fabrics at least 4″ larger than the desired circle. Layer them right side up with the appliqué fabric on the top and the stabilizer on the bottom. This technique would be considered a direct appliqué circle because the applique fabric was placed on top of the background fabric.
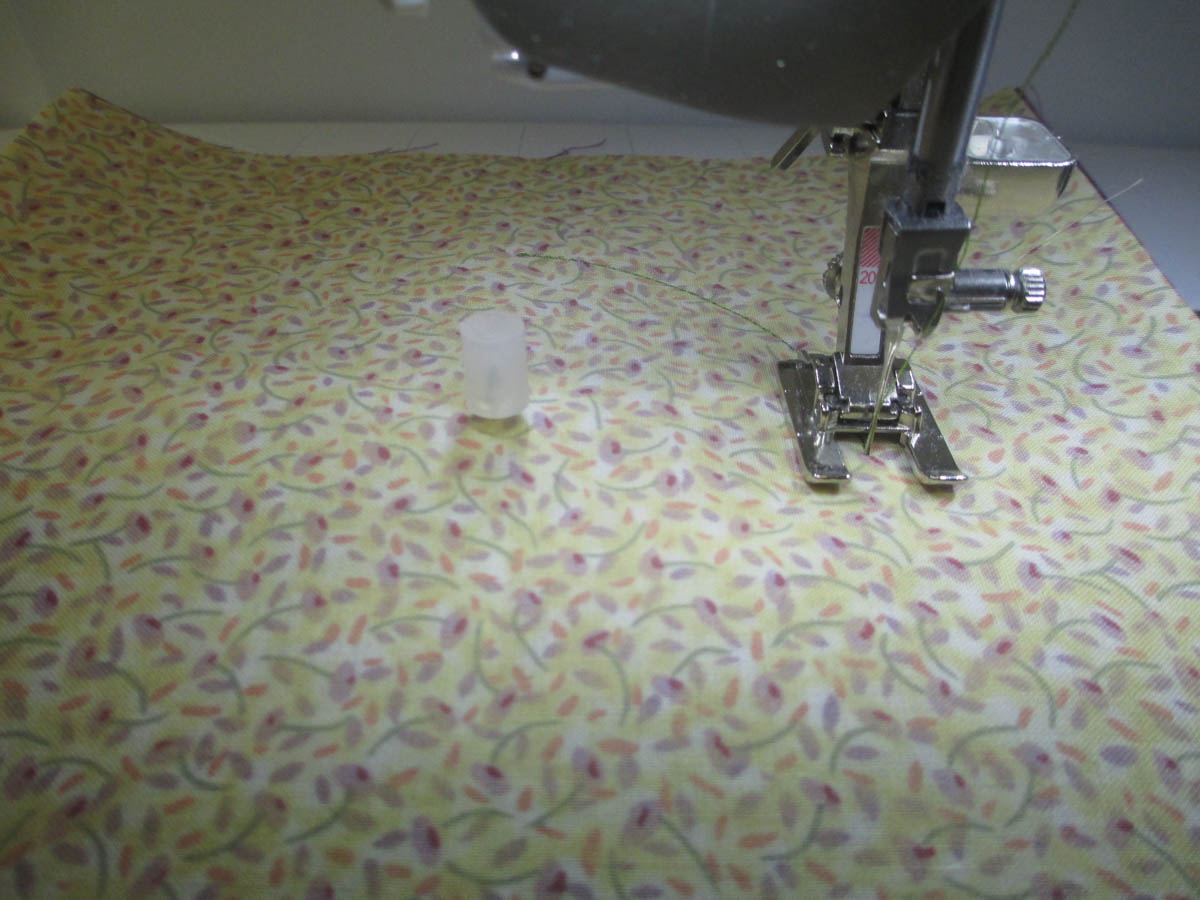
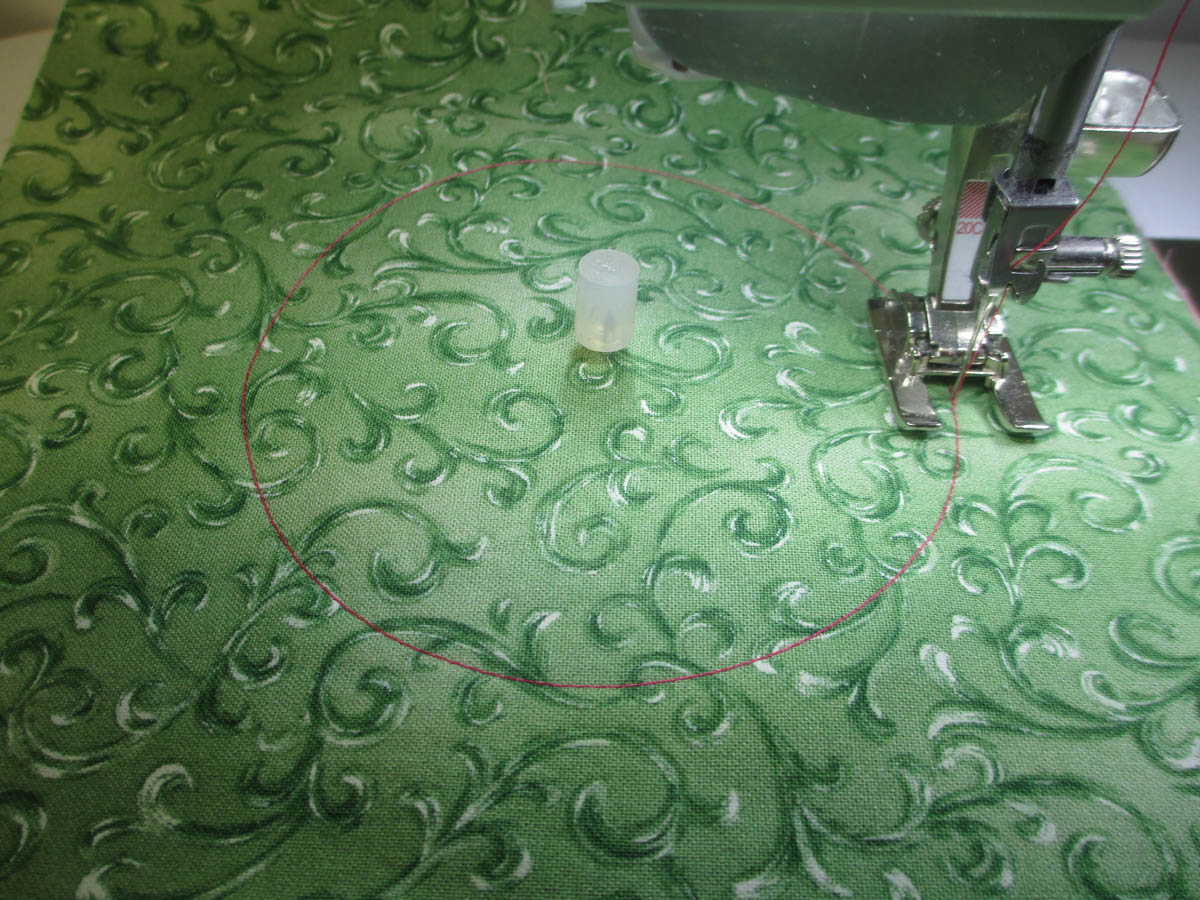
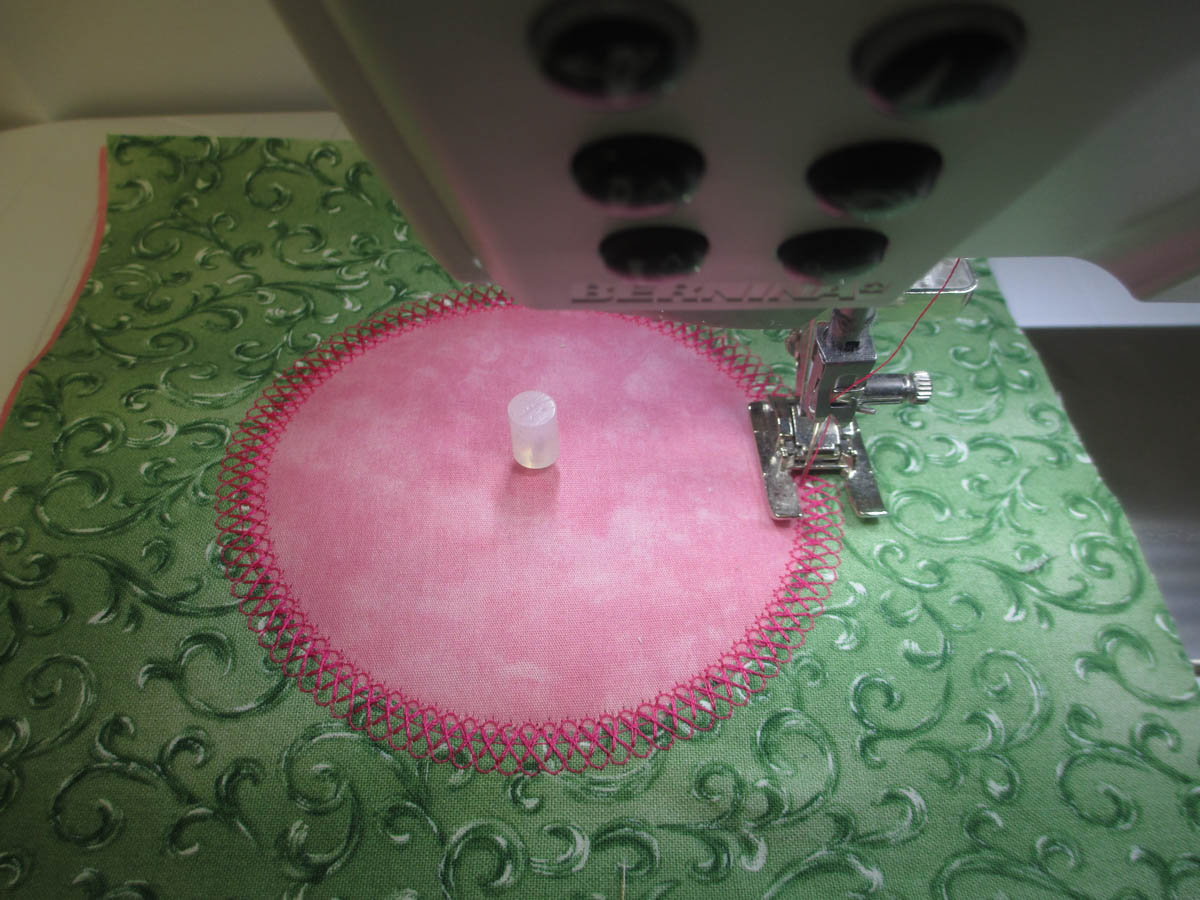
- Adjust the setting pin for the radius of the circle size (the distance from the pin to the machine’s needle.) Push the setting pin through the background fabric, in the center of where the circle will be. Cover the pin with the rubber cap to hold the fabrics in place.
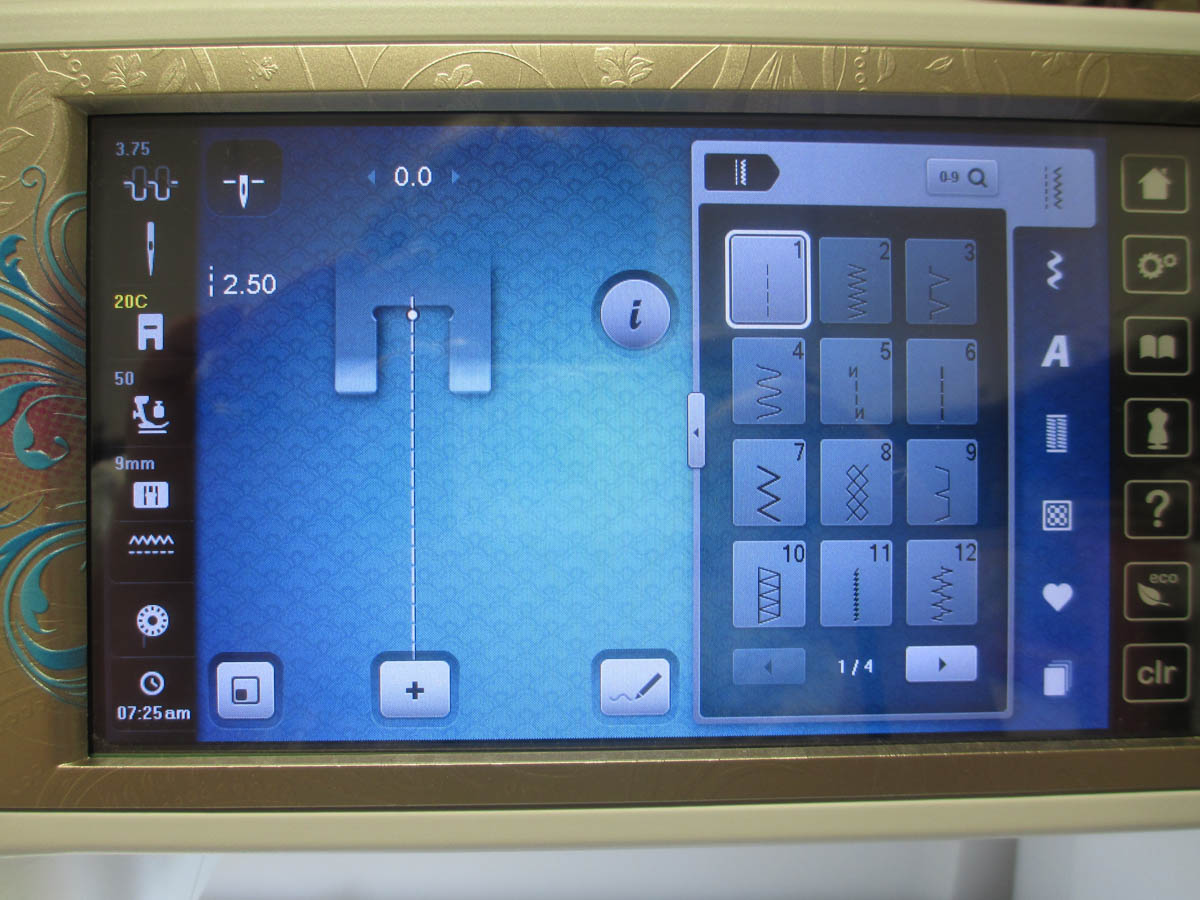
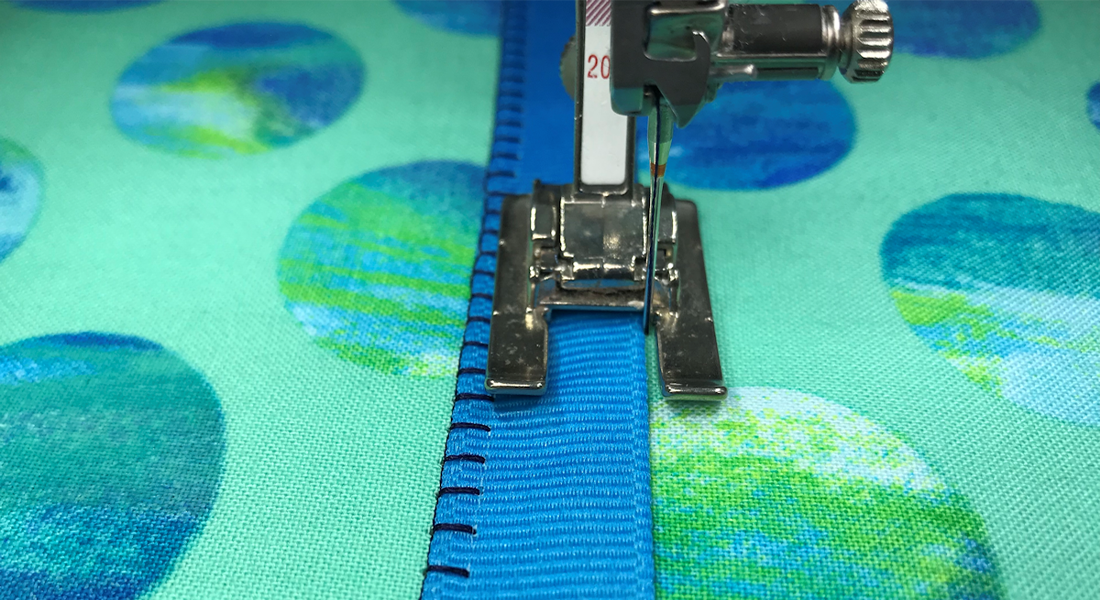
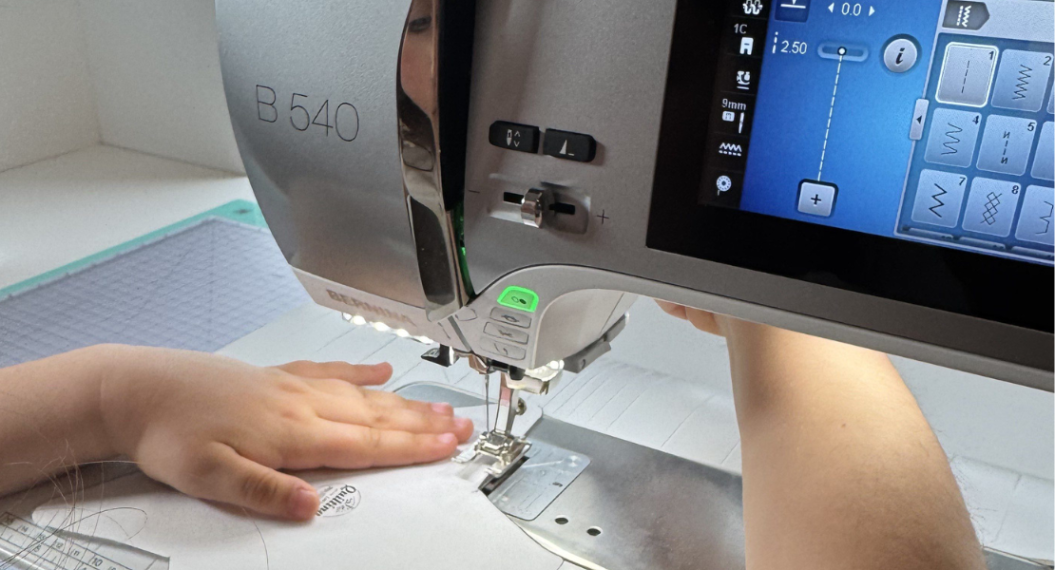
- Choose a machine embroidery thread to match or contrast the circle fabric. Use a straight stitch (stitch length = 2.5) and stitch the perimeter of the circle.
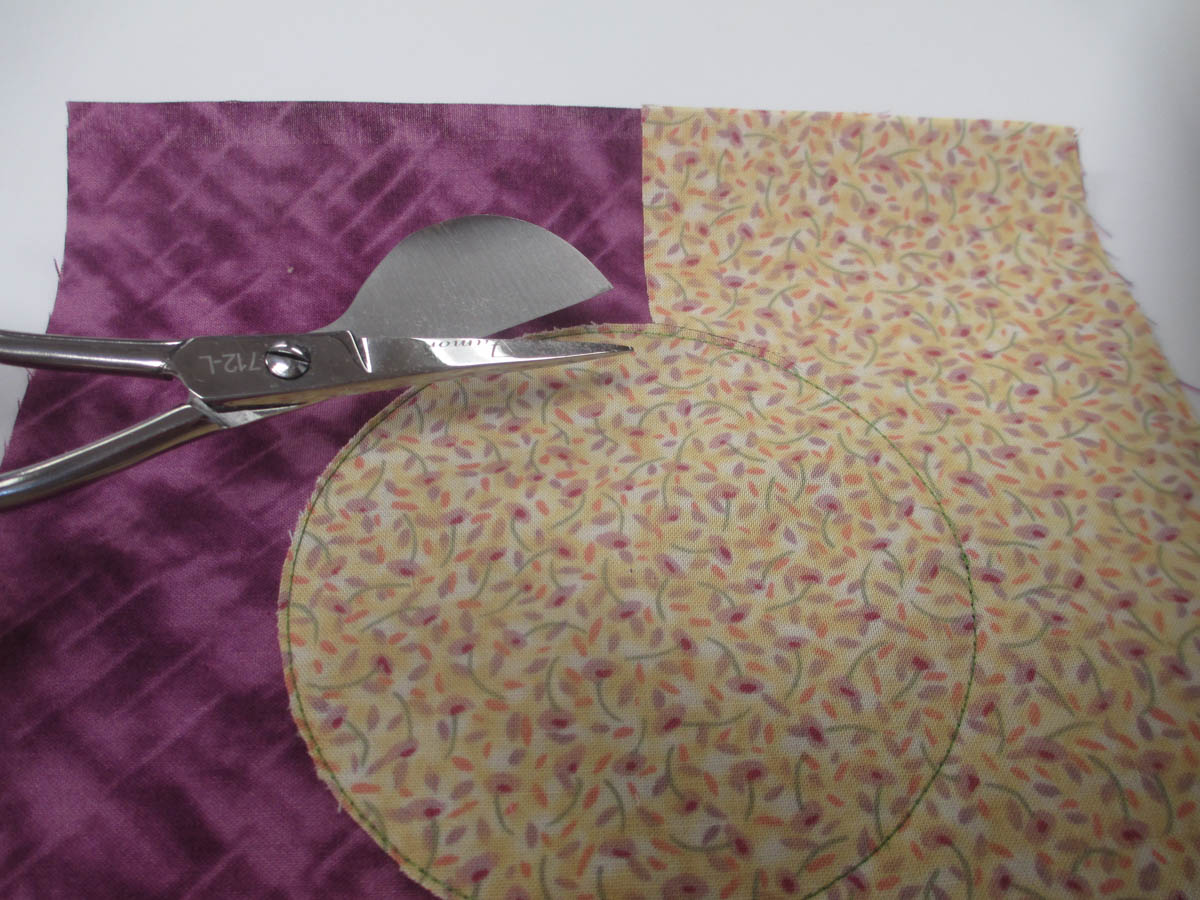
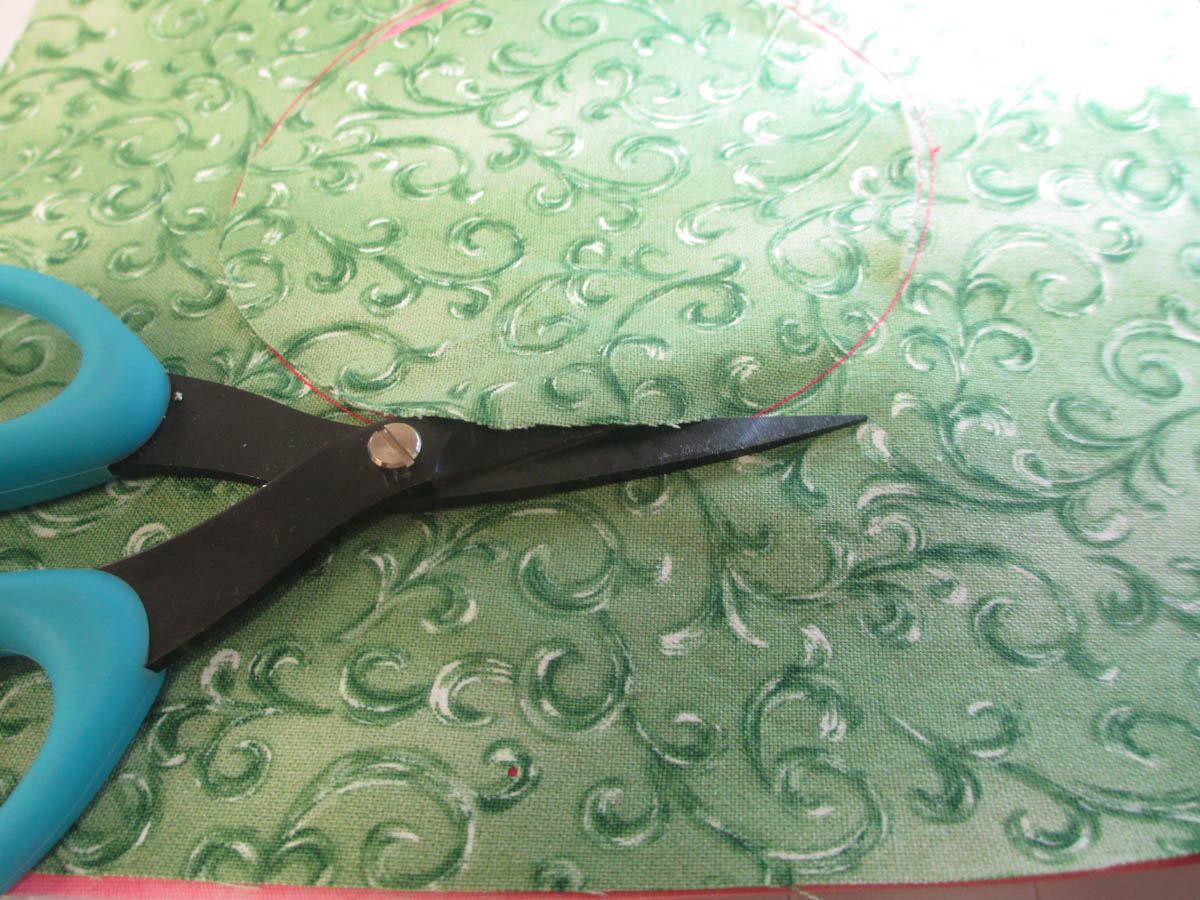
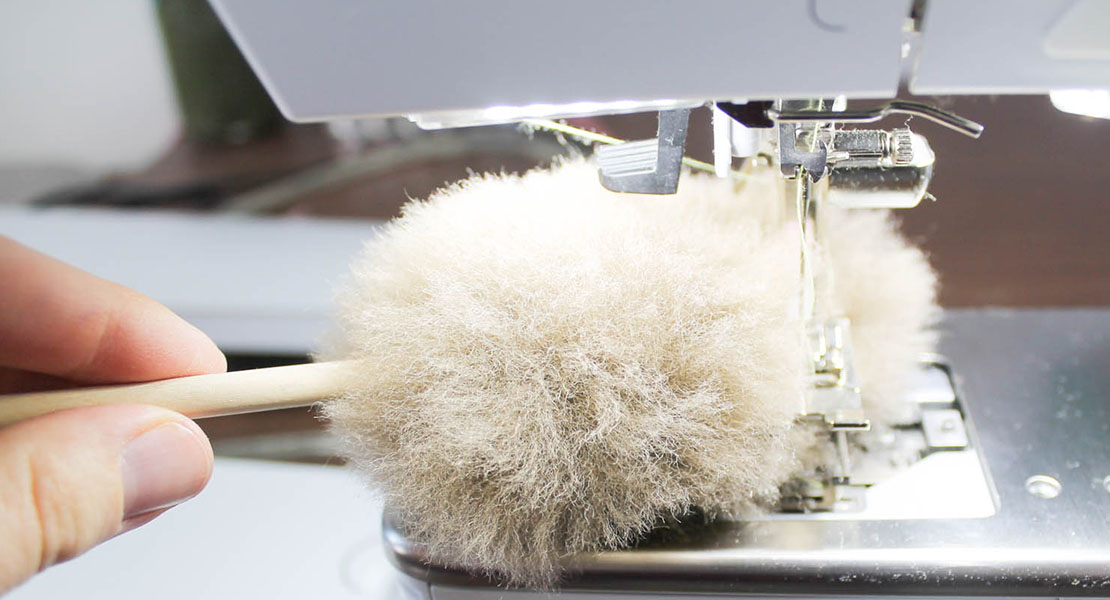
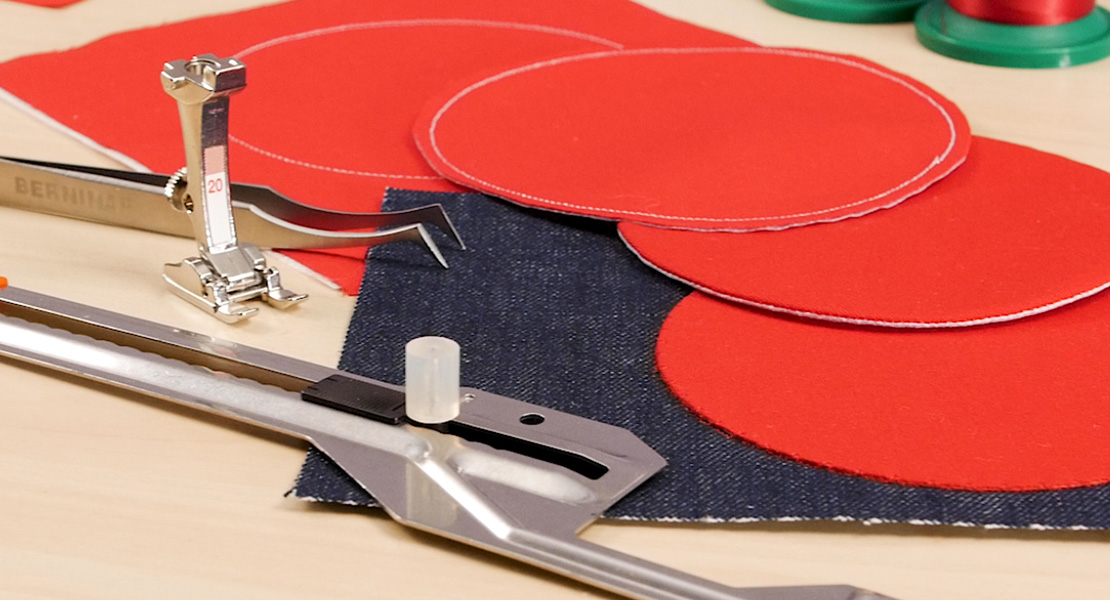
- Remove the fabrics from the Circular Embroidery Attachment #83. Trim the excess appliqué fabric around the outside edge of the circle, clipping close to the stitches. Tip: Use a small, sharp pointed scissor or an appliqué duckbill scissor to do this trimming. The duckbill scissor will allow you to get close to the stitching without cutting into the background fabric.
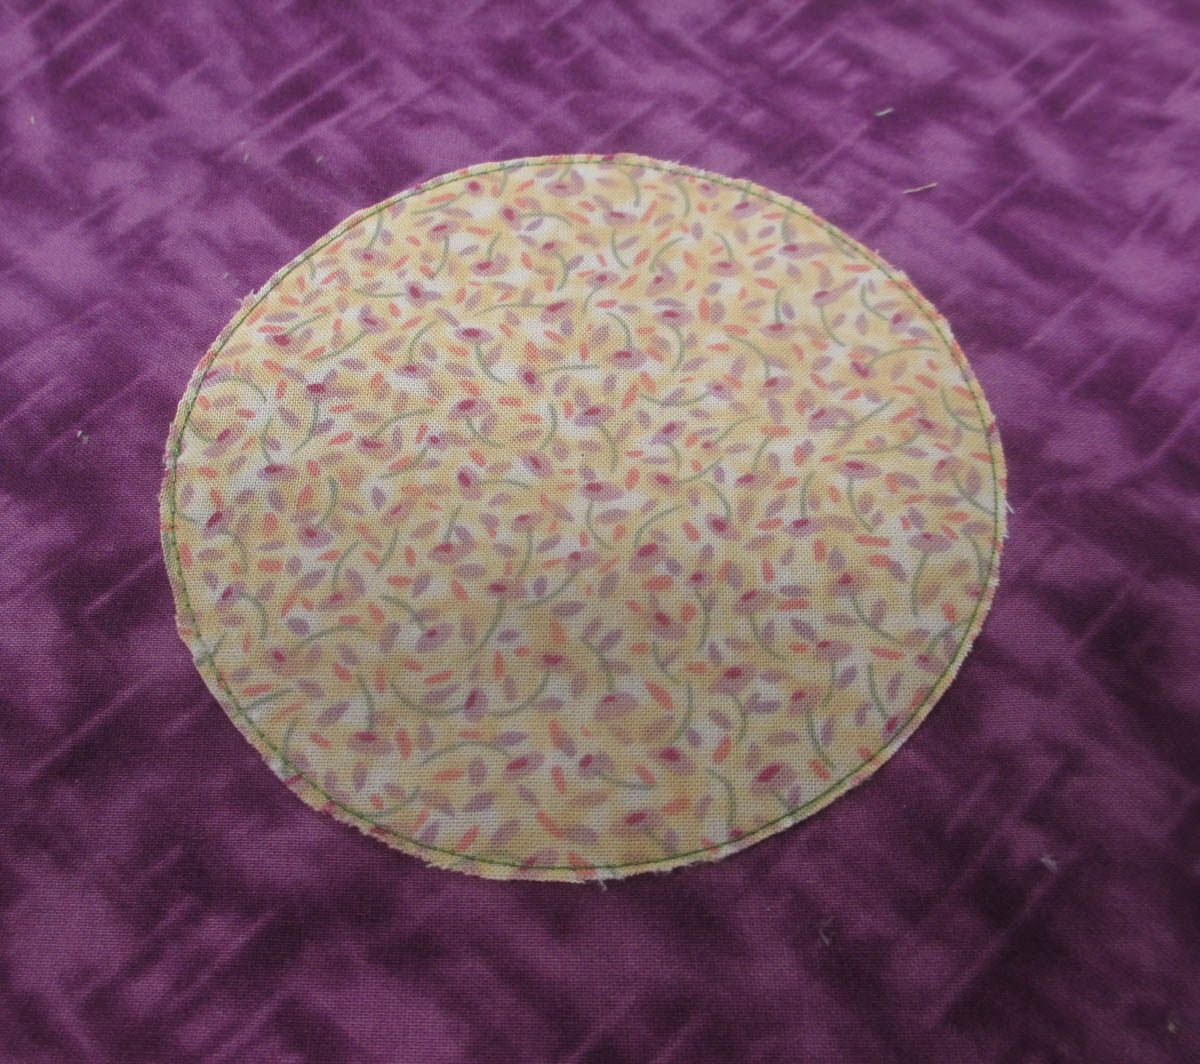
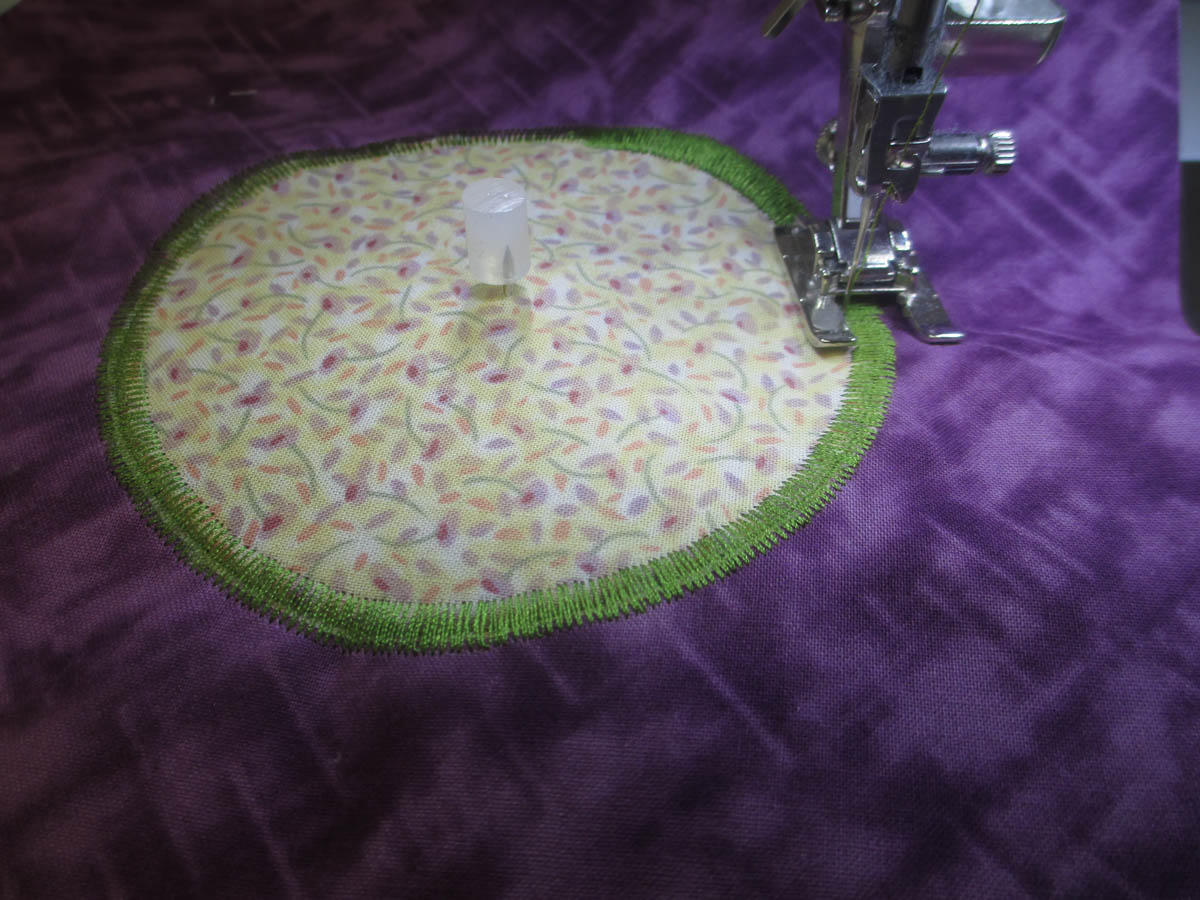
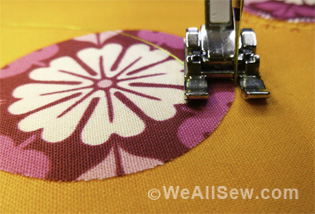
- Replace the fabrics onto the circular attachment. Cover the raw edges and stitches of the circle with a wide satin stitch or a decorative stitch. In the sample photo, I used a satin stitch and changed the settings to 6.0 for the stitch length and .4 for the stitch width. I stitched around the circle twice to completely fill the stitching around the circle.
- To make a reverse appliqué circle, layer the fabrics all right sides up with the background fabric on top, followed by the appliqué fabric and the stabilizer.
- After stitching the circle with a 2.5 straight stitch, trim the background fabric inside the circle’s stitching line. This will reveal the appliqué fabric.
- Finish the raw edges of the circle with a satin stitch or a decorative stitch. In the sample photo, I used decorative stitch #169 on my B 880 and left the length and width at the default settings for the stitch.


Used Products


What you might also like
6 comments on “How to Machine Appliqué Circles”
-
-
Thanks for your thoughts. That block is one of nine blocks in a quilt called “Ozark Varieties.” I self-published a book with the patterns and directions for the quilt. I often use this block when teaching hand or machine applique techniques. When I made the block entirely by machine, I used a blanket stitch on most of the elements of the design. I used a feather stitch around the tulips.
-
-
I am so glad to see this, I have the Circle Tool from Bernina and have been looking foe ways to use it !
-
I just saw your post today. You are going to love working with this attachment.
-
-
Pingback: replica cartier love bracelet style
-
This has been such a helpful series. Thank you so much..
Leave a Reply
You must be logged in to post a comment.
Another fantabulous post! And I love your beautiful block at the top!