Multi-Directional Sewing
Multi-directional Sewing is an exciting, creative and often functional tool that is available on the B 880 PLUS and the B 790 PLUS. It means that you can sew in any direction, with almost any stitch! Every BERNINA offers Total Stitch Control, but the Multi-directional Sewing on the B 880 PLUS and 790 PLUS is just one more way that you are in control.
To use this wonderful tool, simply select a stitch, then the Information icon, and then select the Multi-directional Sewing icon.
![]()
When selected, you will see a special menu where you can rotate the stitch in any direction in 0.5 degree increments.
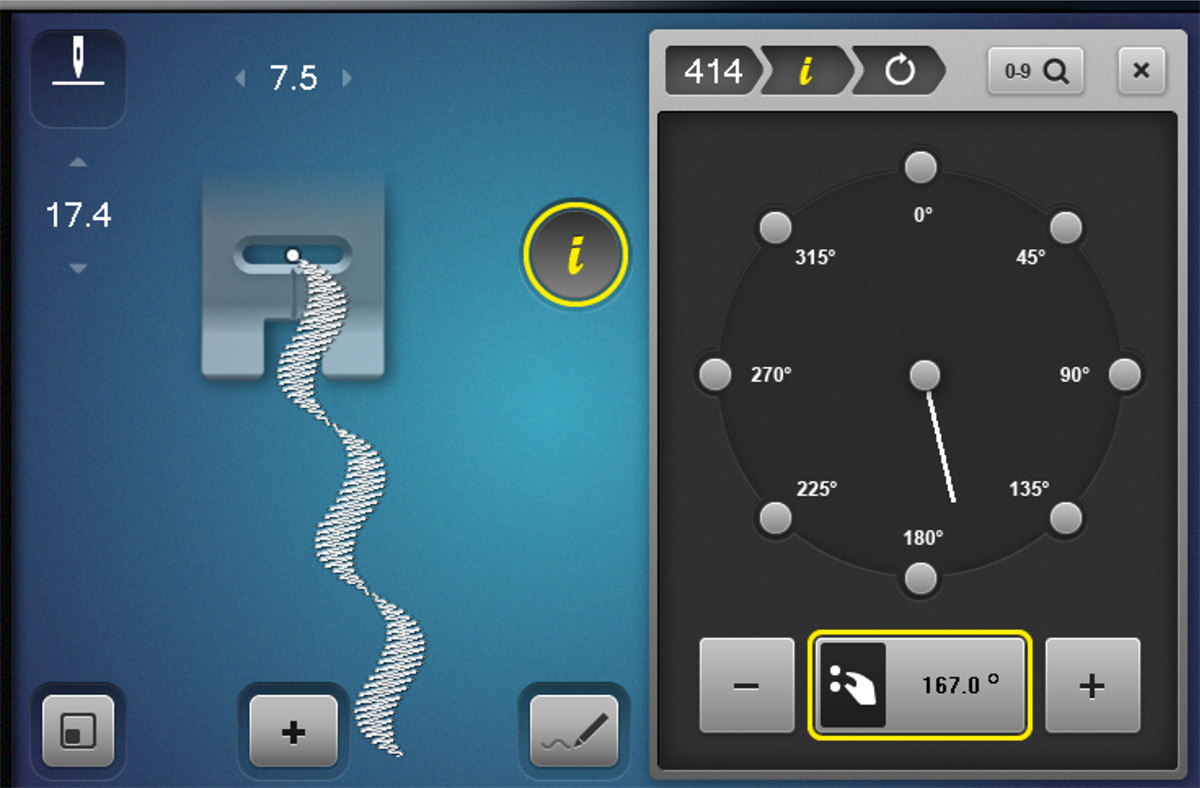
You can tap the + or – icons to change directions or you can use the Multi-function knobs. You can even turn the Multi-function knobs as you sew! That’s it! Fast and easy sewing in any direction that you choose with just about any stitch!
So, what are the applications of this amazing feature?
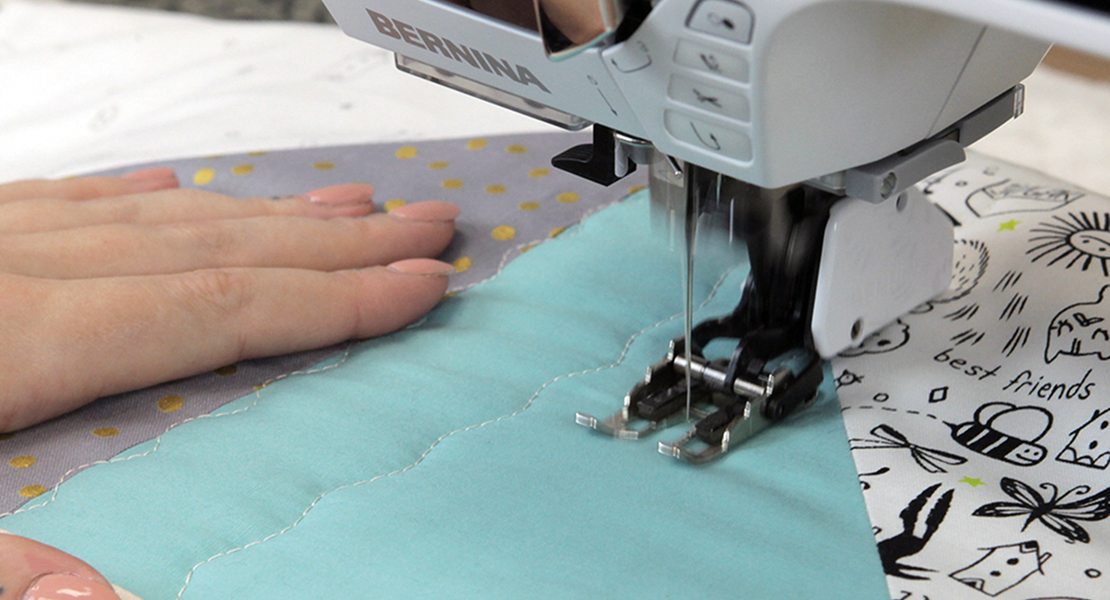
Well, how about stitch in the ditch without turning the quilt?
How about crazy quilting with decorative stitches?
And have you ever had to sew on a scout patch? Yes, this works great for that too!
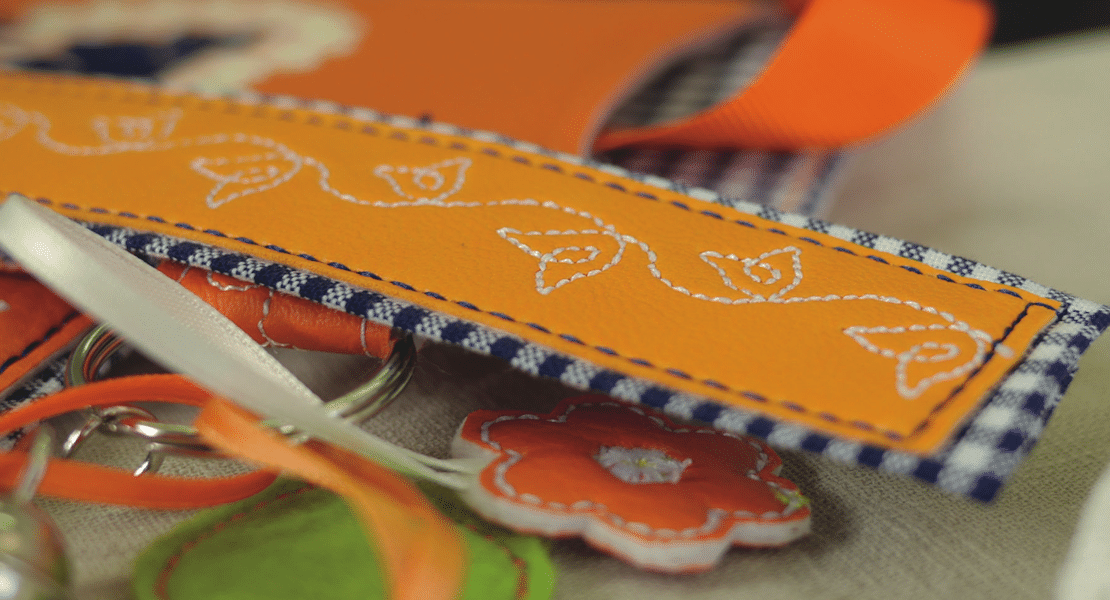
You can sew on that bag strap with the Box-X technique without struggling to turn the project.
I could go on….but you get the picture, right?
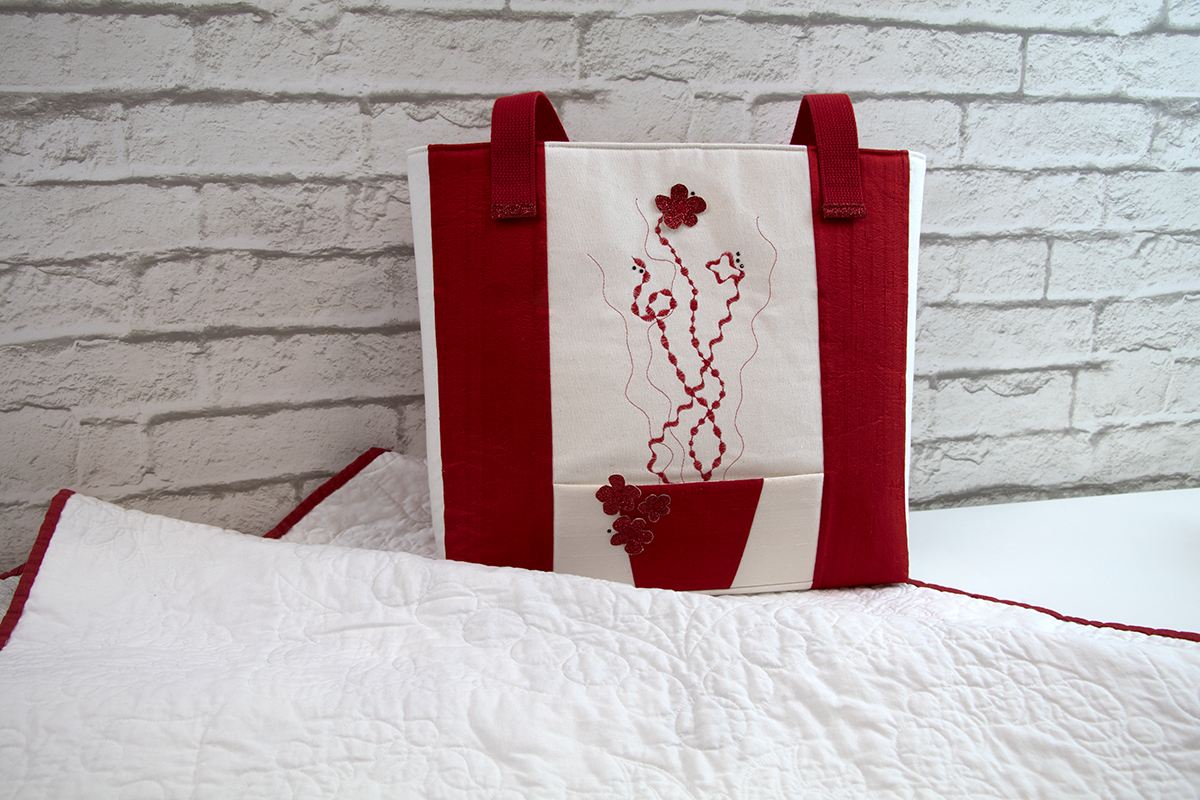
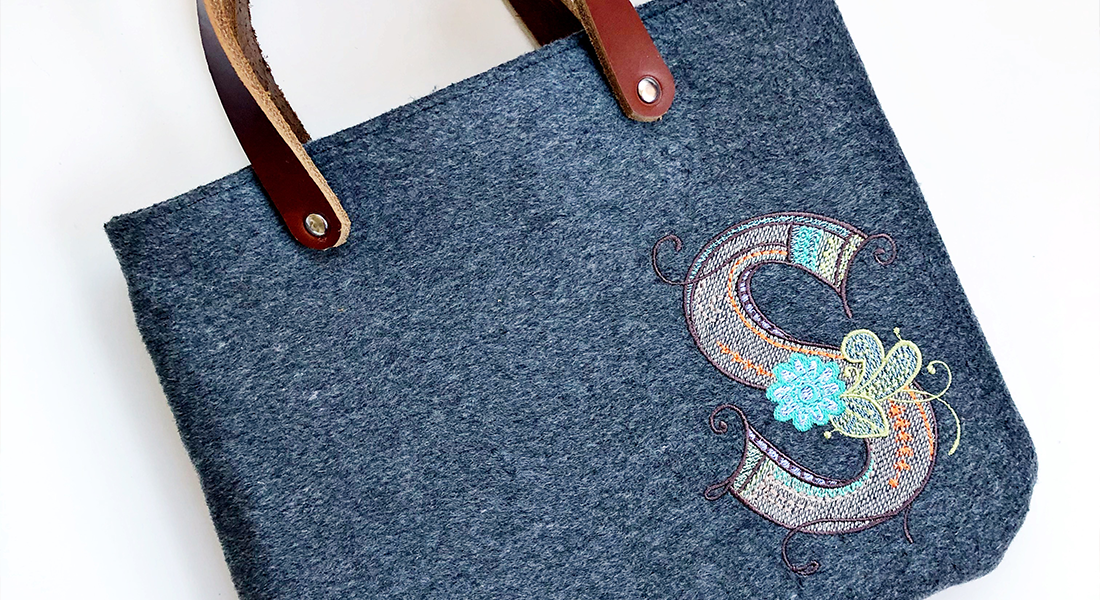
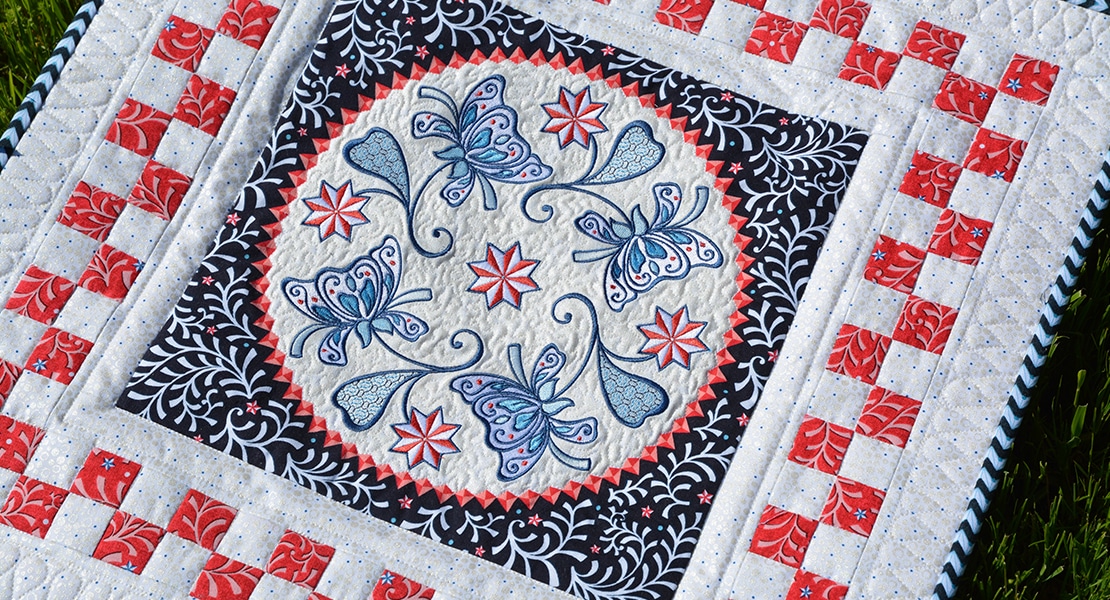
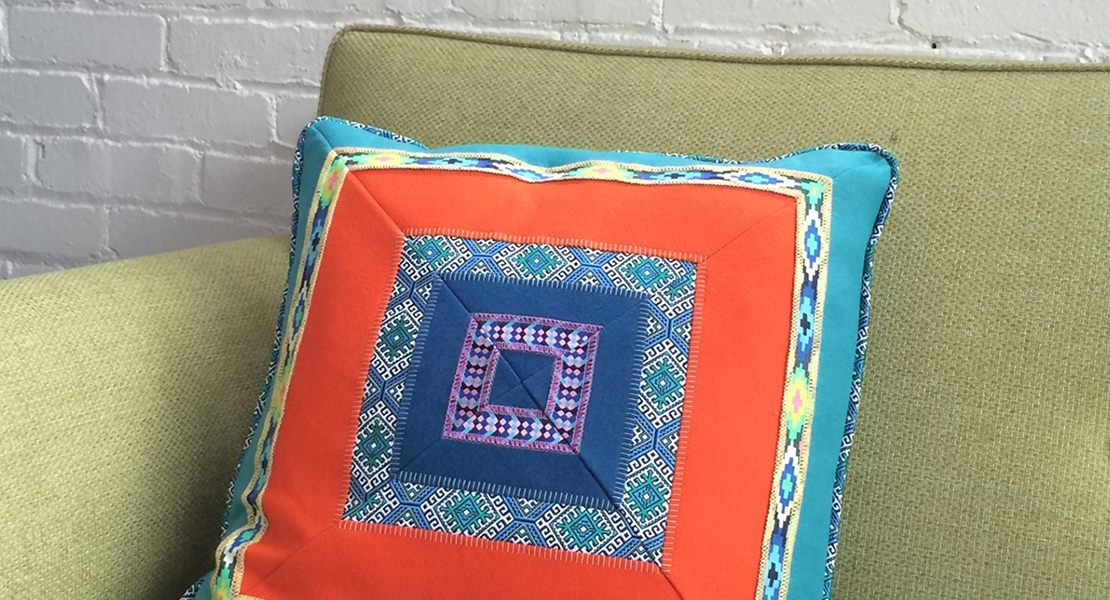
The project in this blog is a tote bag, to which I added some of those applications listed.
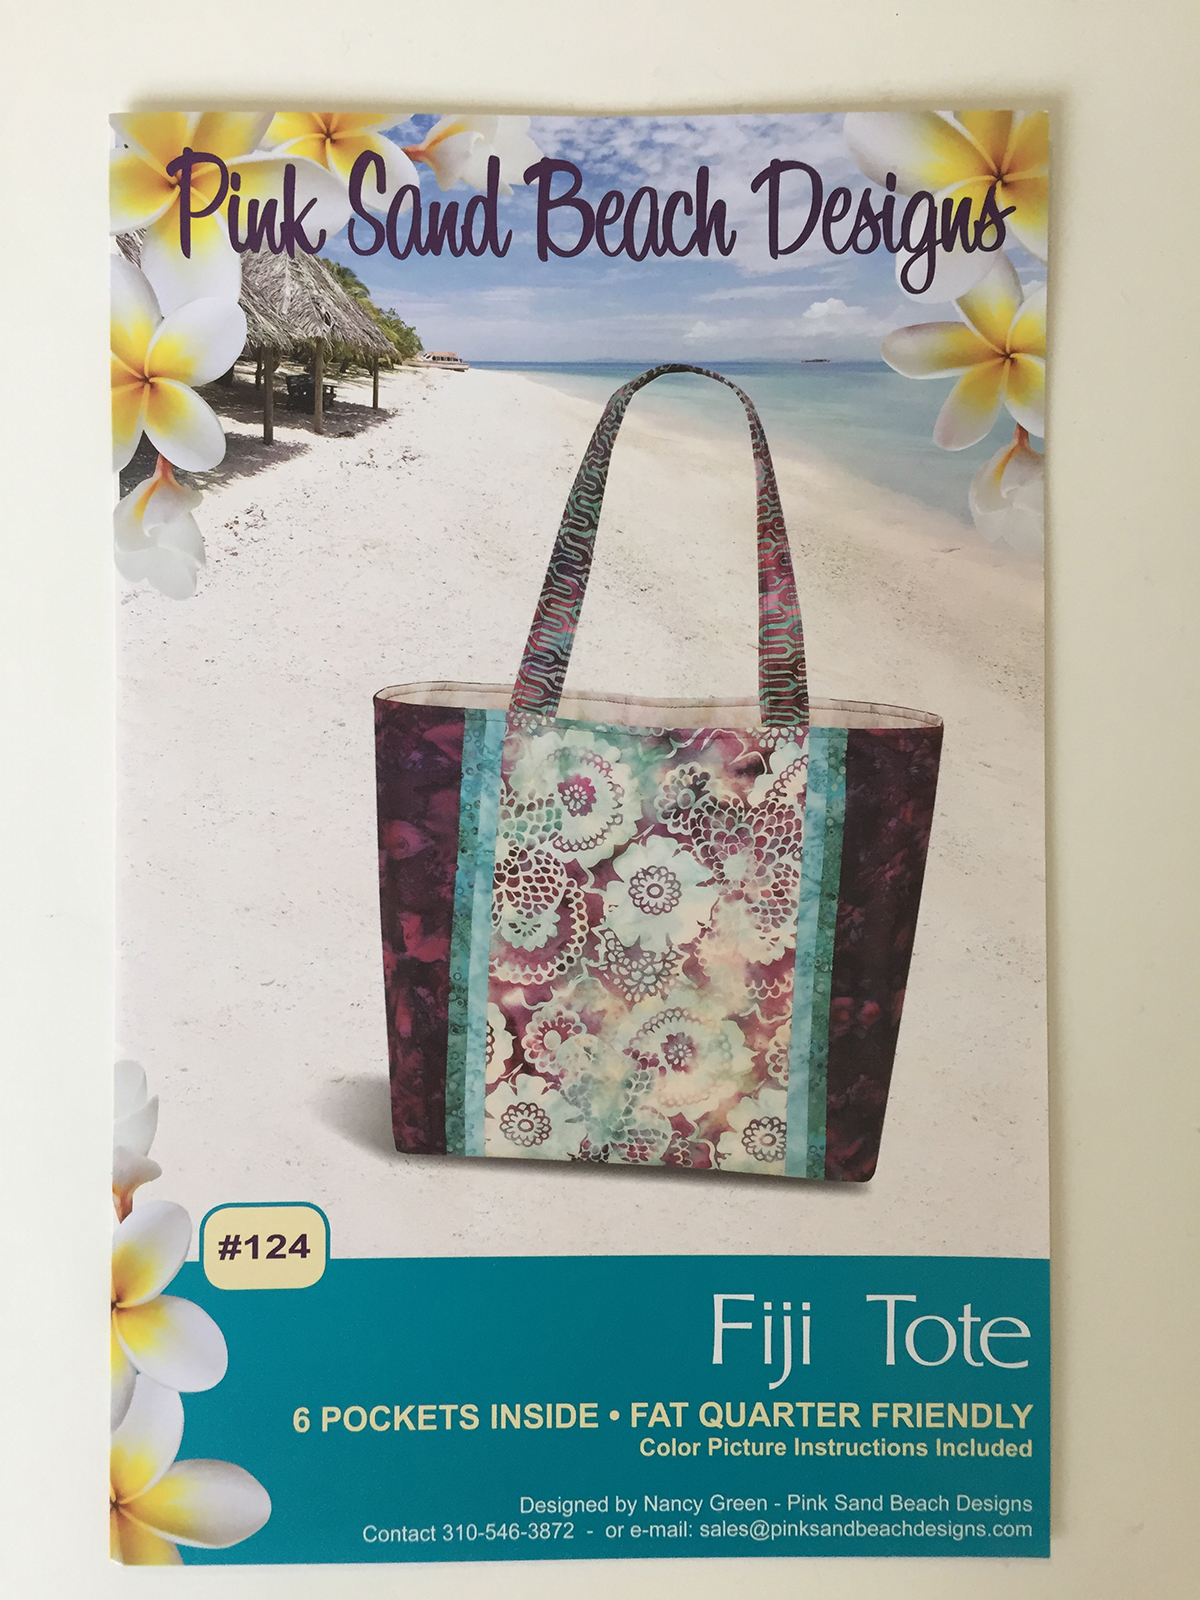
I used the pattern Fiji Tote by Pink Sand Beach Designs as a base, then added a pocket to the front.
Follow the pattern instructions, except for the following:
- Front panel: Use a solid fabric, then add decorative Multi-directional stitching.
- Add a front pocket.
- Use purchased strapping for handles.
Supplies:
- Fiji Tote pattern by Pink Sand Beach Designs
Front Pocket:
- Cut fabric 5″ x 8″ for center of pocket
- Cut fabric 4″ x 8″ for sides of pocket
- Fusible batting 9″ x 8″
- Cotton pocket lining 9″ x 8″
- 1 1/2 yards of 1 1/4″ cotton strapping
Presser Feet and Accessories:
Notions and Thread:
- Quilting Ruler, mat and rotary cutter
- Scissors
- Isacord thread color to match fabric, for decorative stitches
- Mettler sewing thread, color to match fabric
- Glitter Fabric, for cut flowers and strapping edges
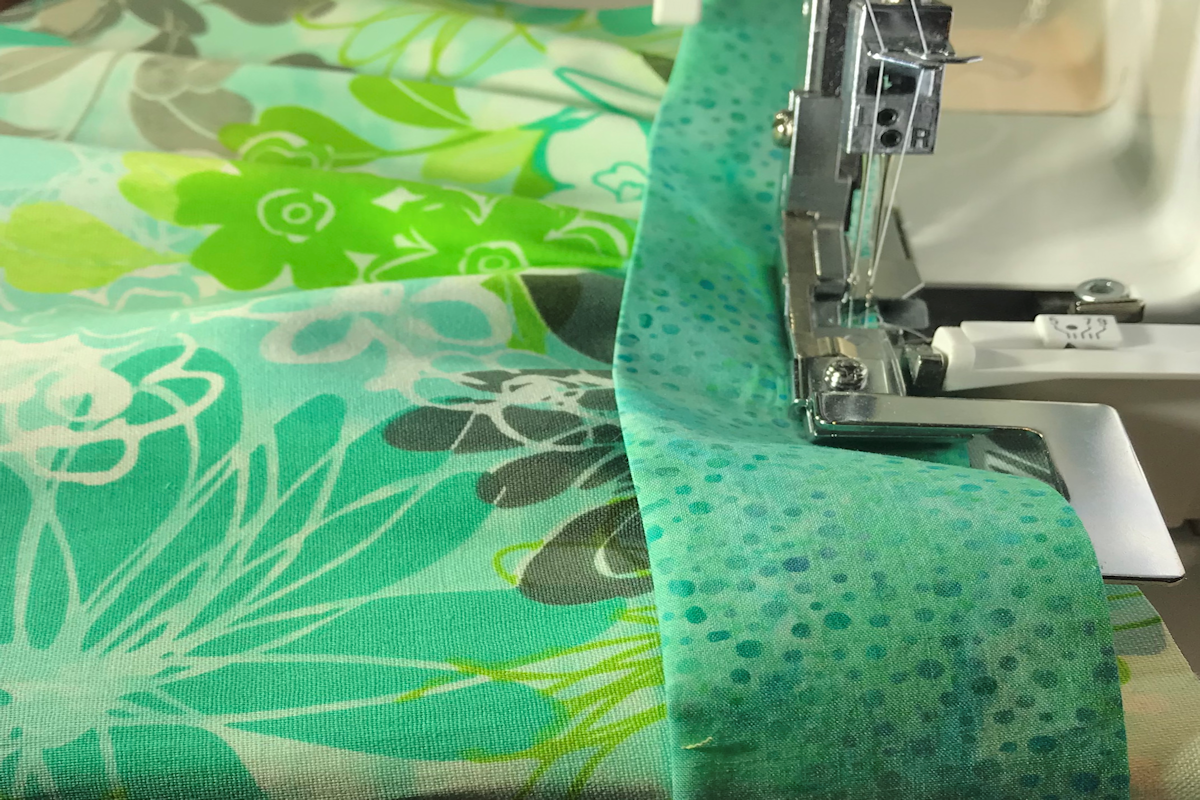
Following pattern instructions, cut fabric and batting pieces as directed.
Prepare front panel with decorative stitches and pocket before continuing with pattern directions.
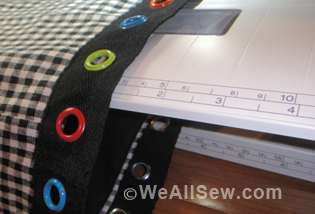
#1: Multi-directional Sewing process
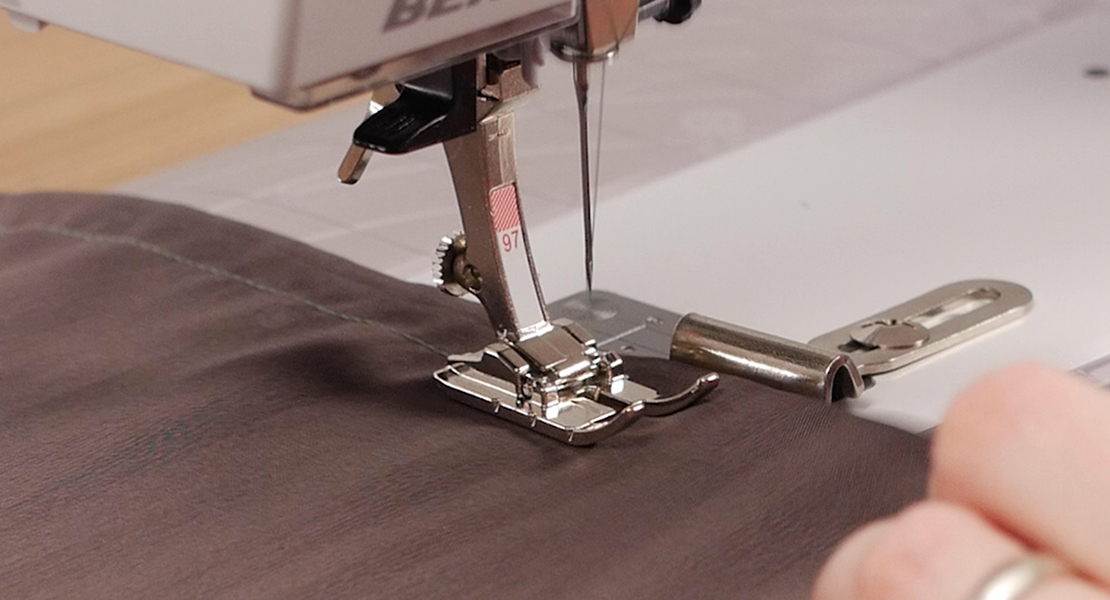
Attach Sideways-motion foot #40C and thread machine with Isacord thread in both the top and in bobbin.
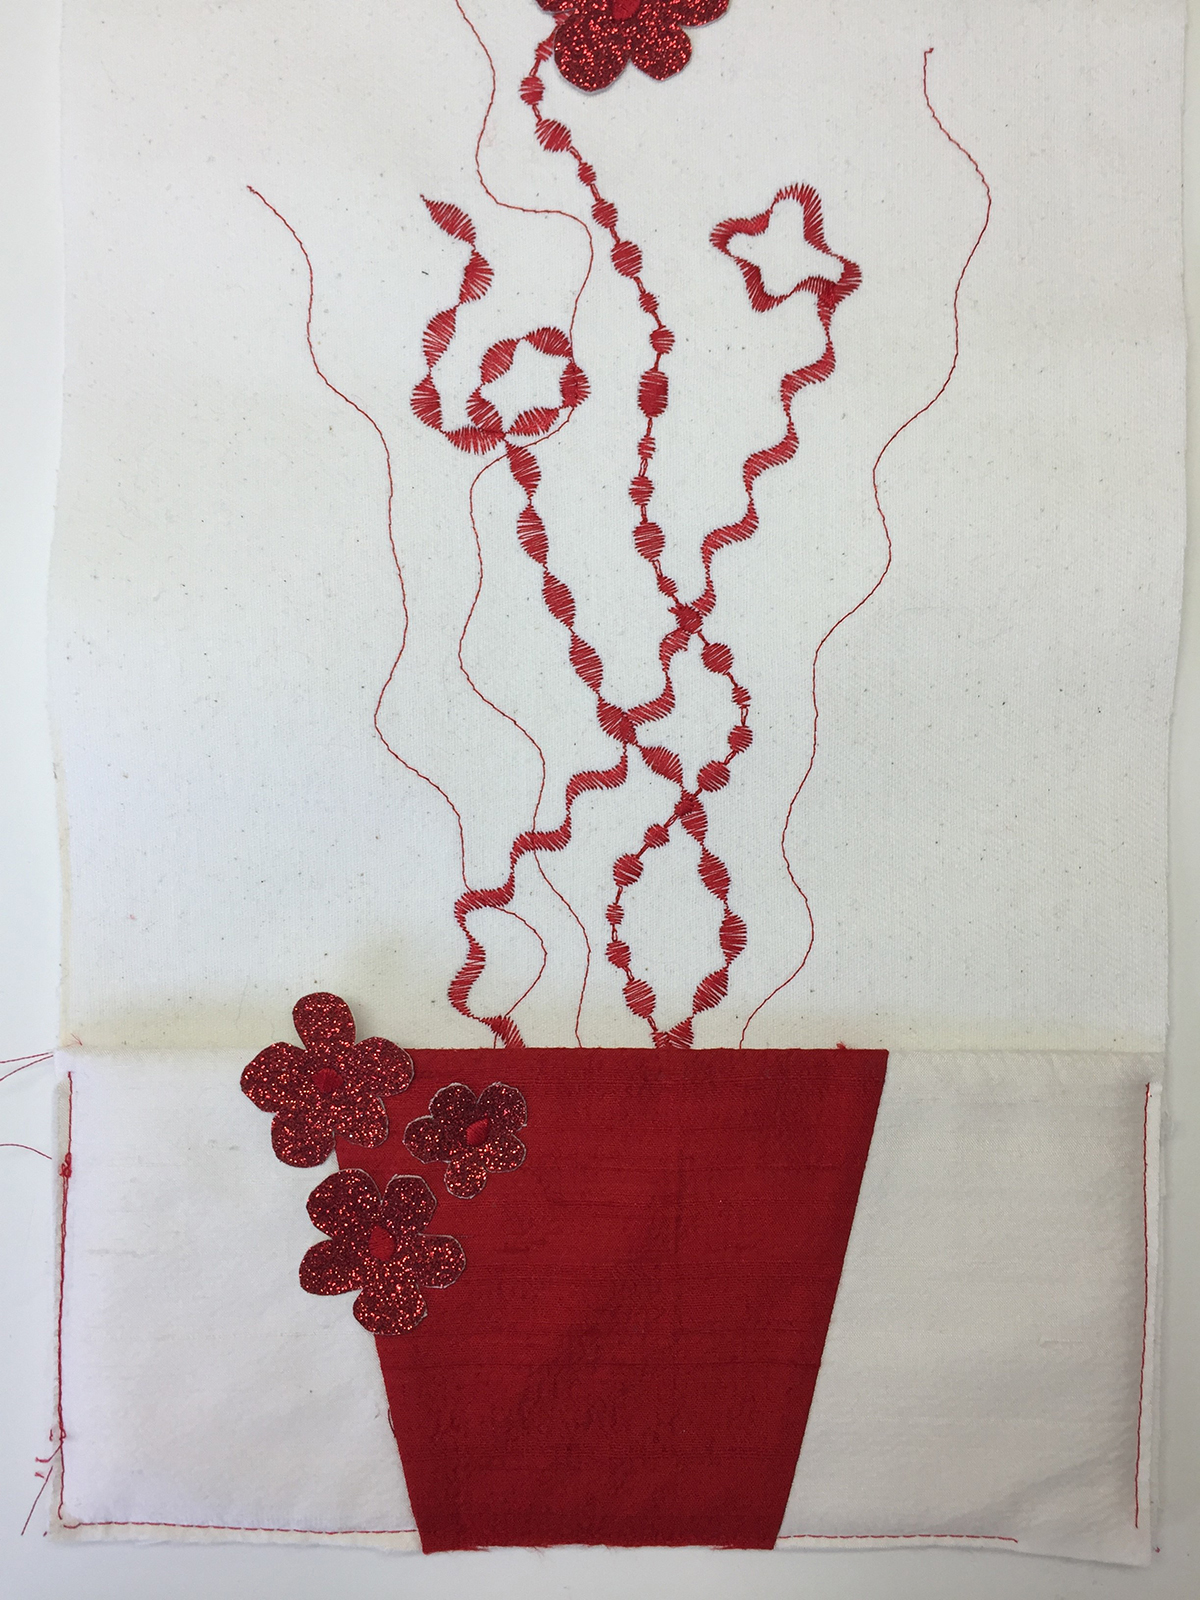
Using stitches listed below, sew from the bottom of the front panel beginning at 2 ½” from bottom and centered left to right, sew toward the top, stopping 2-3″ from the top edge.
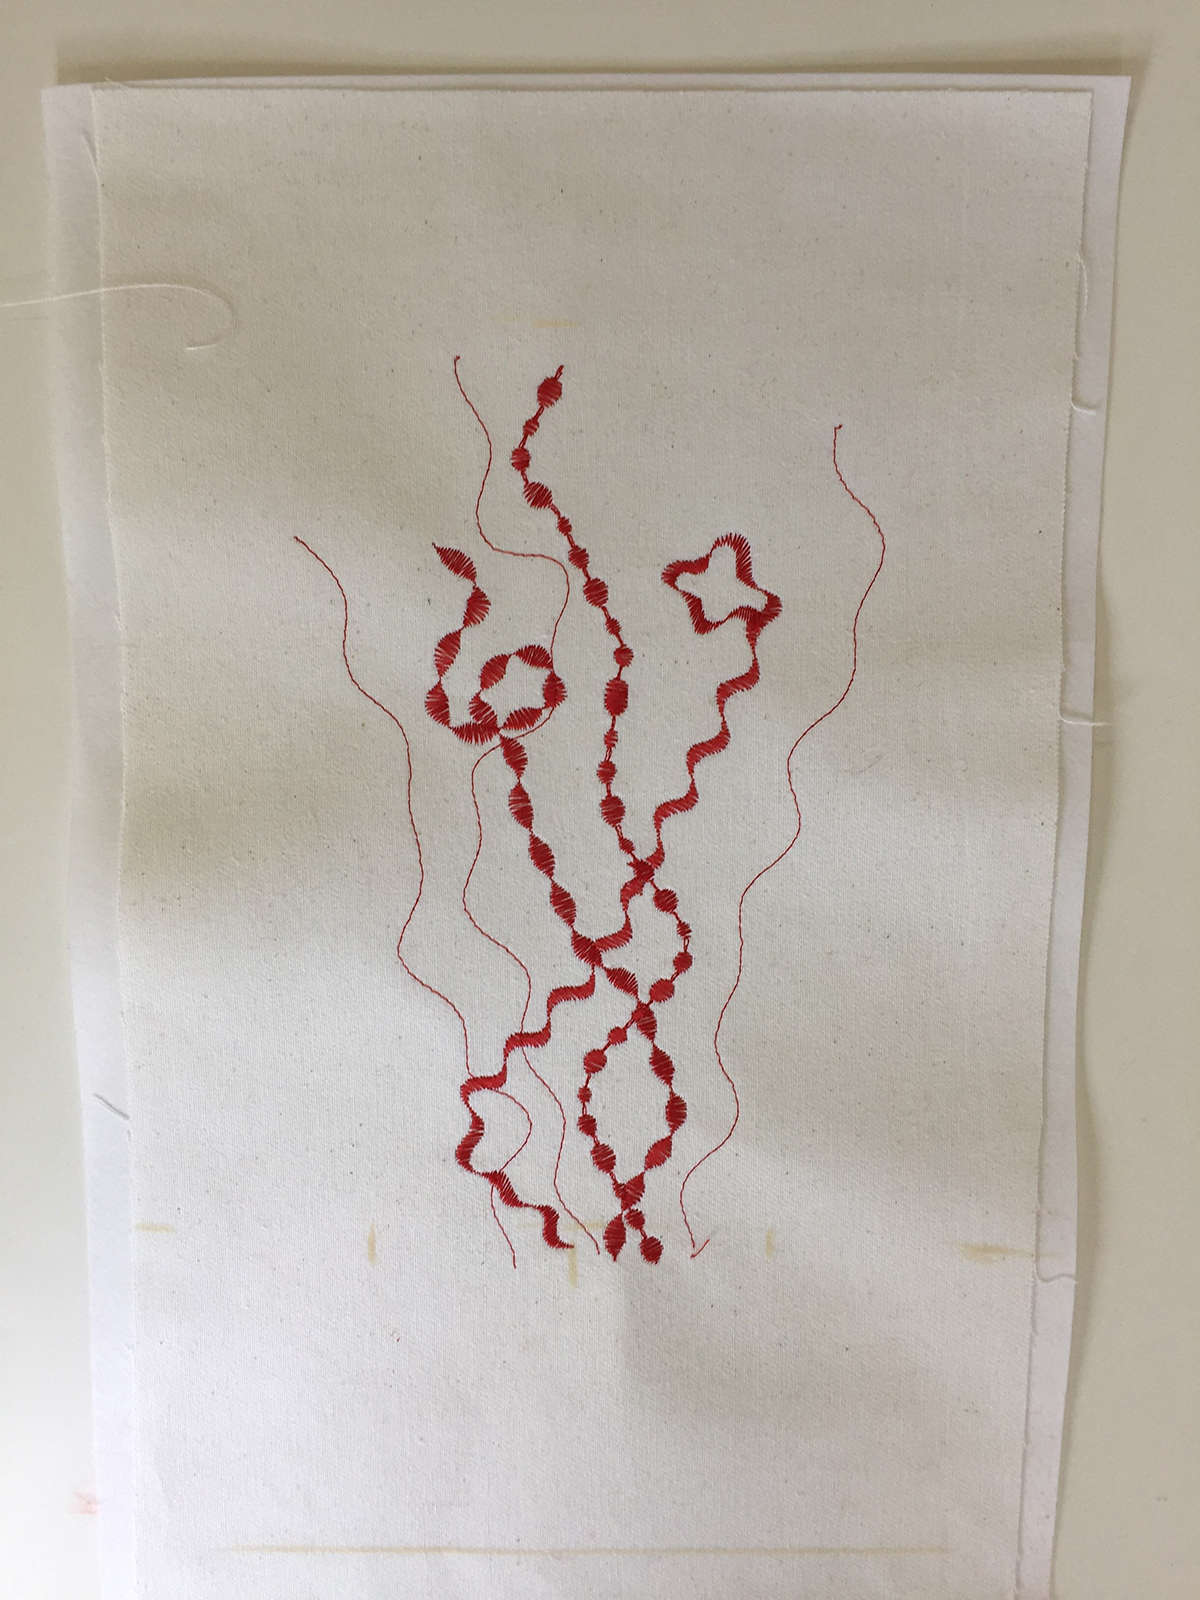
To create the look of flowers coming from the pocket, start toward the center, as if from the flower pot, and turn the Multifunction Knobs as you sew to move the stitch left and right, creating the look of a flower stem. Select pattern end function when ready to stop sewing.
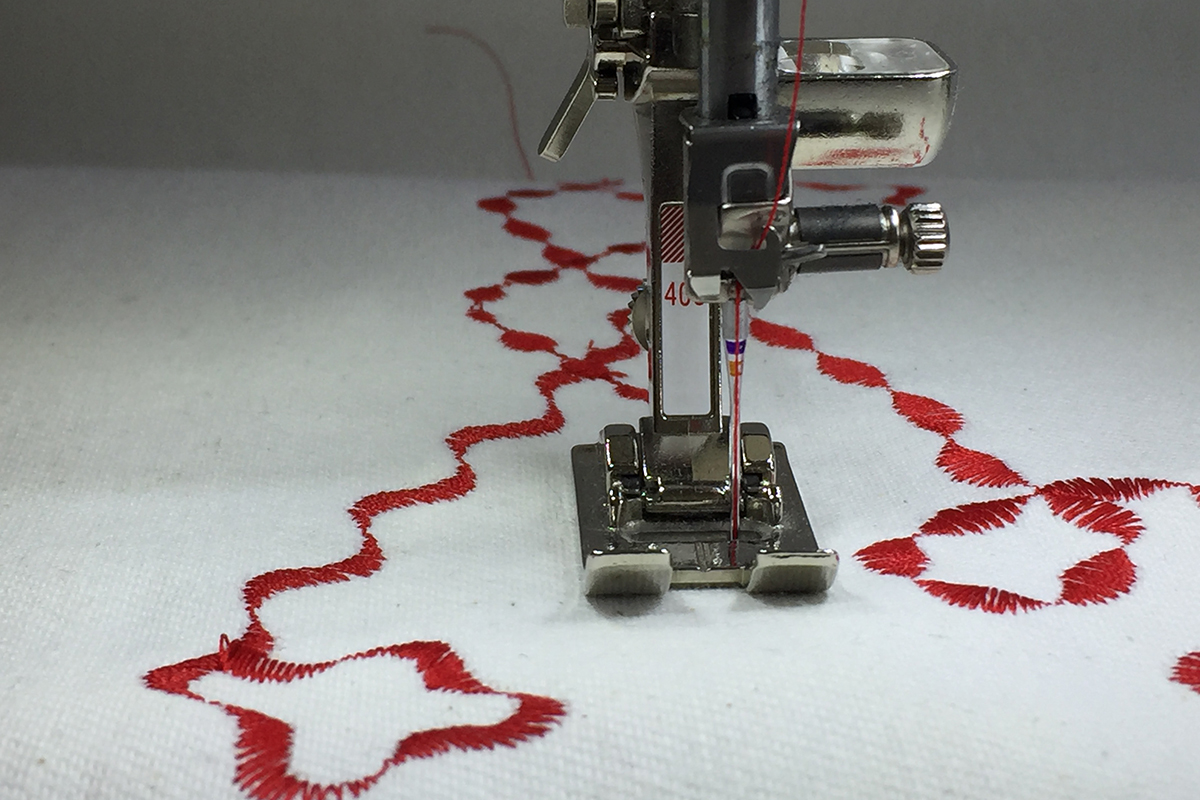
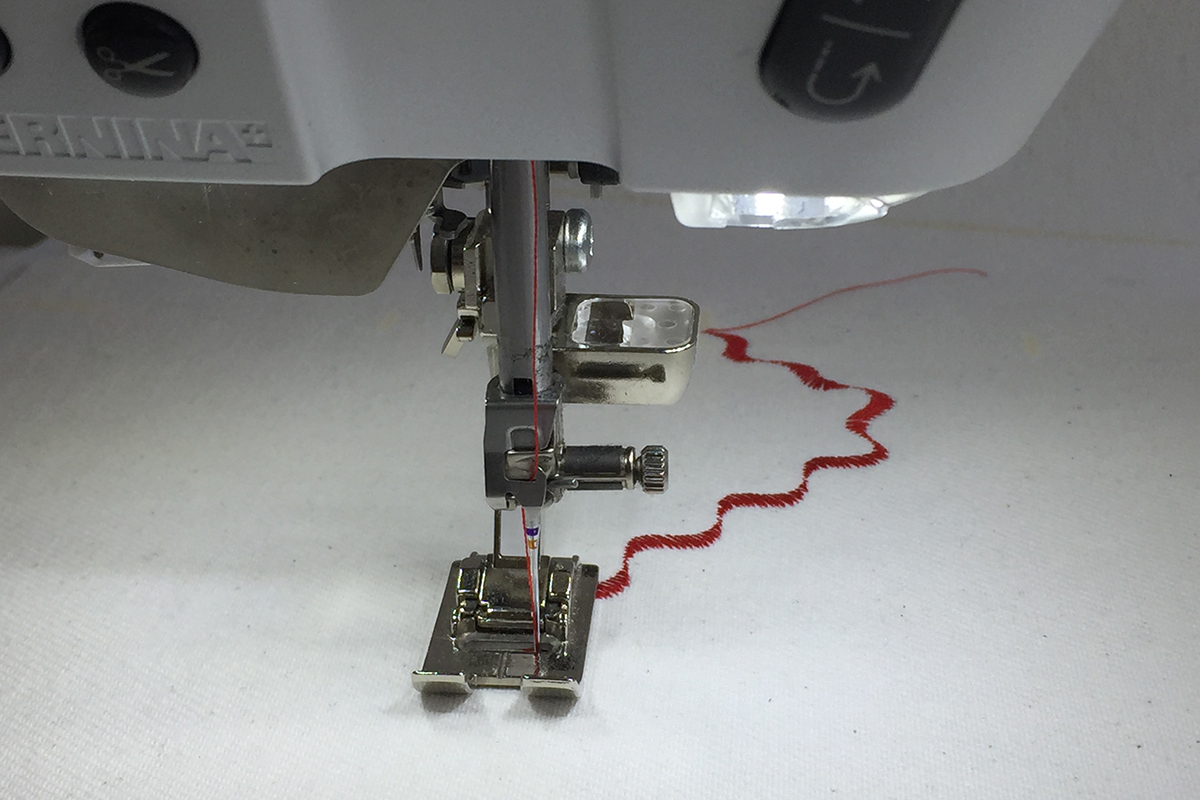
Sew 6-8 flower stems using the following stitches:
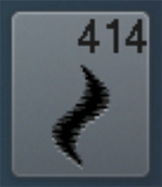
Stitch #414, stitch width 9.0mm
Stitch #407, stitch width 6.0mm

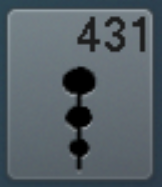
Stitch #431, stitch width 6.5mm
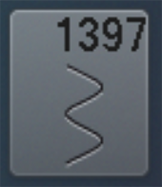
Stitch #1397, stitch width 6.5mm
#2: Cut pocket pieces as listed above
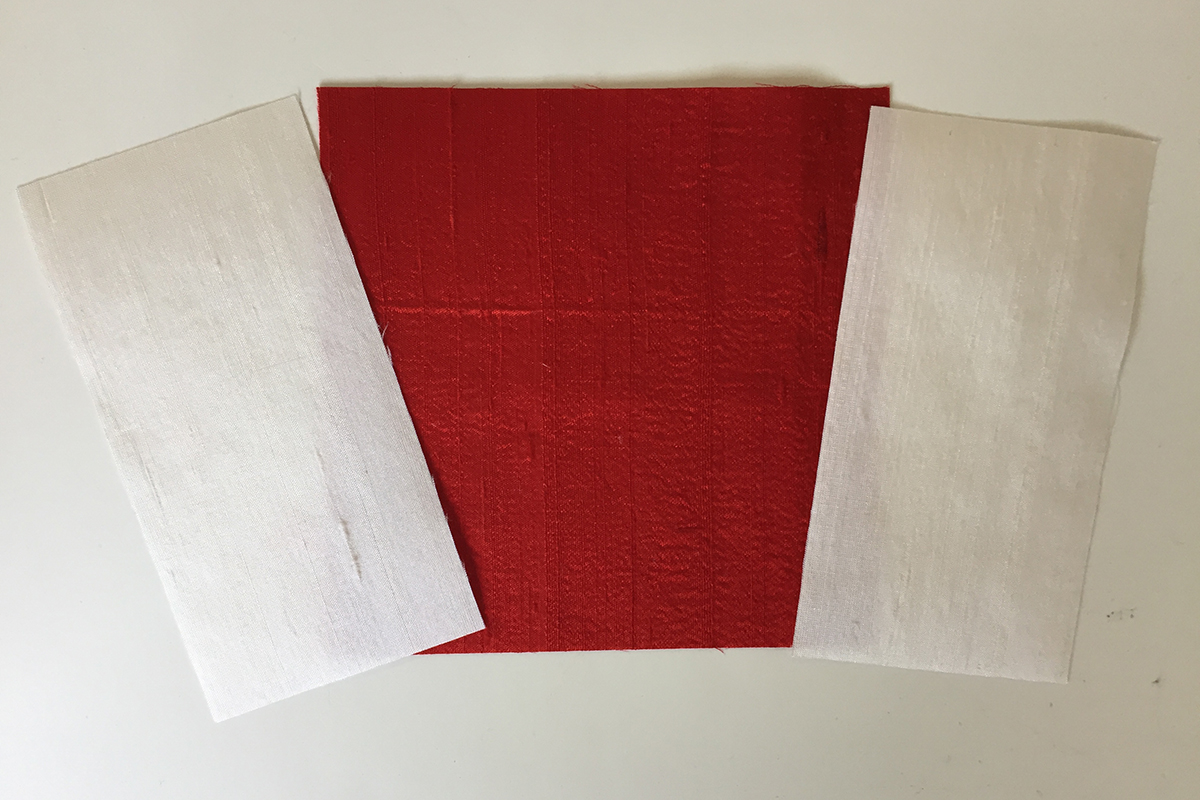
Create Pocket
Sew the 2 white fabric pieces to the center red piece, RST. You have the option to change shape of the red flower pot piece if desired.
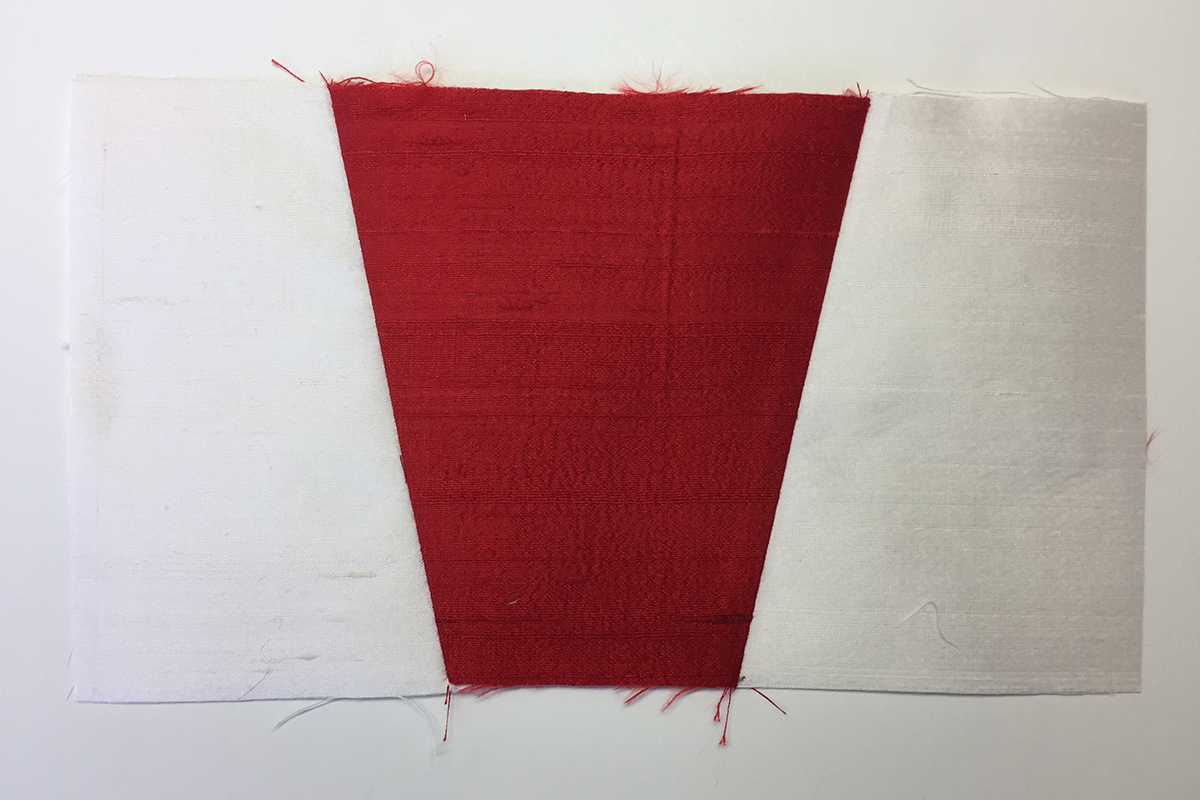
Add fusible batting to the wrong side.
Sew pocket lining to the top edge and baste the 2 side edges
Attach the pocket to the front panel, align to cover the decorative stitch edges.
#3 Handles
Steps 11-13 in the pattern instructions are in reference to sewing the bag straps/handles. I chose to skip these steps and add the straps on the outside of the bag when it was complete.
Here is the process for using strapping:
Cut the strapping to 27″ each. (This length can be adjusted to whatever size handle you prefer.) The cut ends of the strapping tend to ravel, so turn that edge under before sewing it to the bag, or add a fun sparkle fabric to the edge! Simply cut the Glitter Fabric to the size needed, wrap it around the raw edge and sew. Glitter Fabric does not ravel!
One more thing, you can cut some flowers out of the Sparkle fabric and add them to the front panel or pocket, like this.
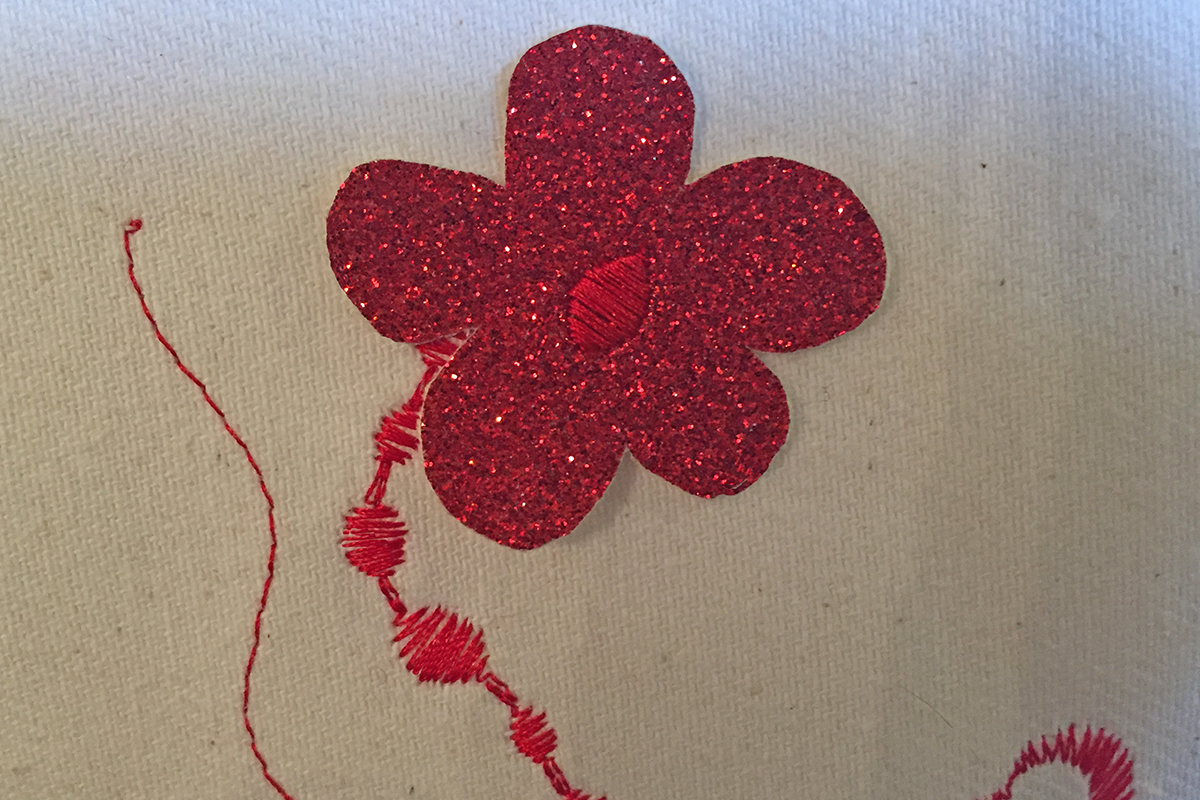
Using the Clear foot #34D, sew them on by stitching one pattern repeat of a stitch of your choice in the center of the flower!
Return to original pattern directions, follow the directions from Step 2 through completion.
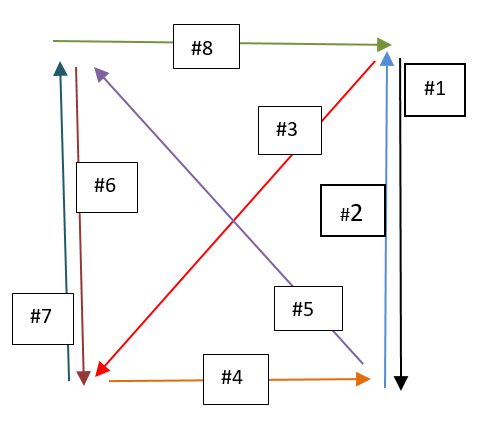
When the bag is complete, then you can add the handles using the Box-X stitch using the directions below.
Enjoy!
Directions for sewing on handles using the Box-X Stitch method:
Once the edges of strapping are prepared, align the end of one strap to the front of the bag, positioning about 4″ from a side seam. Using Straight Stitch #1 with a stitch length 3.5 and the Sideways-motion foot #40C, create the Box-X stitch with the Multi-directional Sewing feature. Finish adding one handle to front and one to back of bag.
The Box-X stitch is created with 8 stitch lines. Refer to the picture below.
Using Multidirectional Sewing, sew the straight stitch in the directions as follows:
#1 – 180 degrees
#2 – 0 degrees (Yes, on top of the last stitch line)
#3 – 225 degrees
#4 – 90 degrees
#5 – 315 degrees
#6 – 180 degrees
#7 – 0 degrees, again on top of the last stitch line
#8 – 90 degrees
Used Products

What you might also like


2 comments on “Multi-Directional Sewing”
-
-
I love the multi directional sewing feature for my 880 Plus! The Box-x stitch directions are great!
Leave a Reply
You must be logged in to post a comment.
Thank you for the stitch in the ditch suggestion when quilting – I would not have thought of that with my 790 machine!