Multicolor Embroidery Bag
Hello everyone!! Kymona here, and I’m back again with a fun multicolor embroidery project. I have to admit I’ve fallen in love with embroidery. It’s amazing to see how different color threads can make a pattern look stunning.
I’m going to walk you through steps on how to create a pretty monogram using multicolor embroidery.
Materials to Create a Multicolor Embroidery
- Lettering Whimsy Design 21023-19
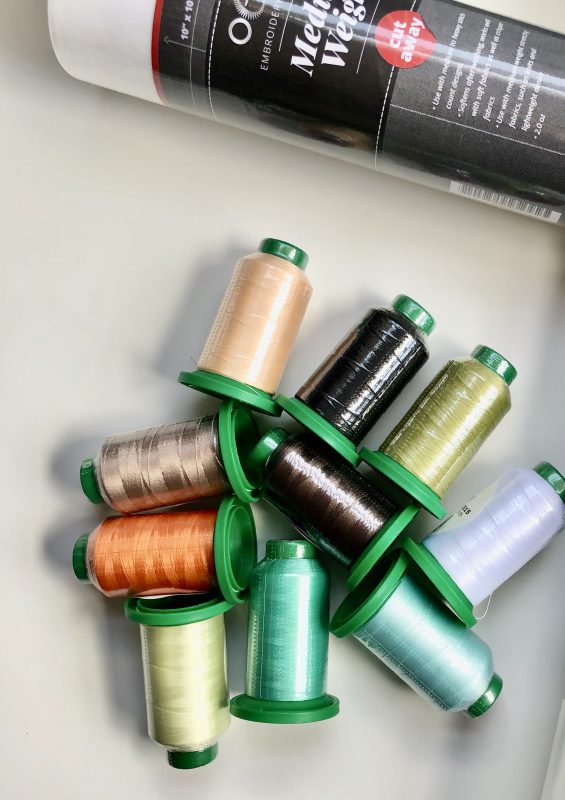
- Cutaway stabilizer
- Wool fabric
- Duck Bill scissors
- Light Orange thread (Isacord 1060)
- Dark Green thread (Isacord 0352)
- Light Green thread (Isacord 6151)
- Light Blue thread (Isacord 5050)
- Dark Orange thread (Isacord 1220)
- Dark Blue thread (Isacord 5230)
- White thread (Isacord 0015)
- Light Brown thread (Isacord 1061)
- Dark Brown thread (Isacord 1565)
- Wool fabric
- Letter straps
- Long double head rivets
- Embroidery Needle
Instructions for Multicolor Embroidery
Step 1: Download the Design
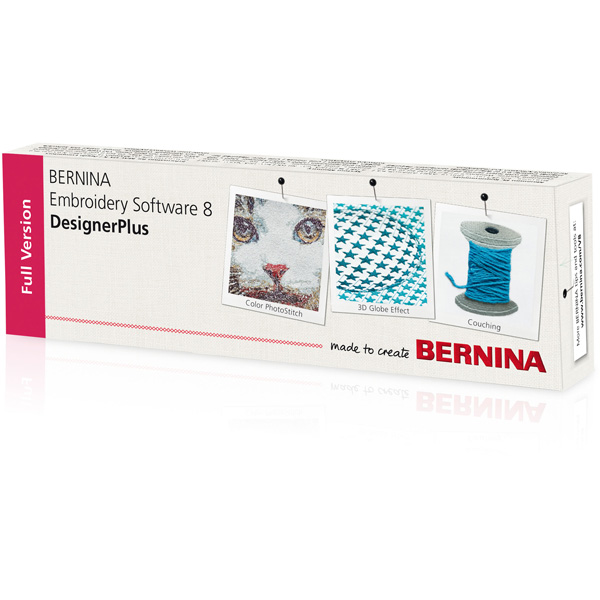
After purchasing the whimsy letter design, I downloaded the ART File into a folder on my computer where the BERNINA Embroidery Software 8.2 software lies.
Step 2: Opening the Design in the Software
Open BERNINA Embroidery Software 8.2.
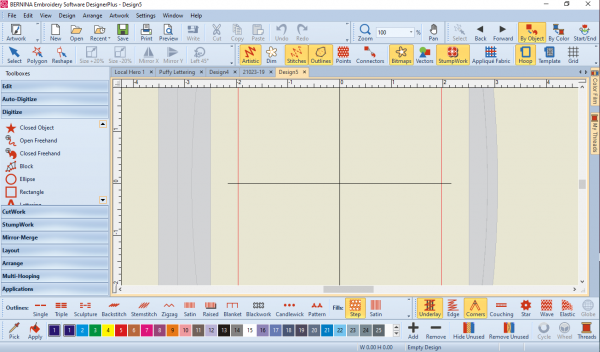
Click on the small down arrow next to Artwork to reveal the list of prompts in the Toolbox.
Click on Library.

Find the folder where you saved the design, click on it, and double click on the design.
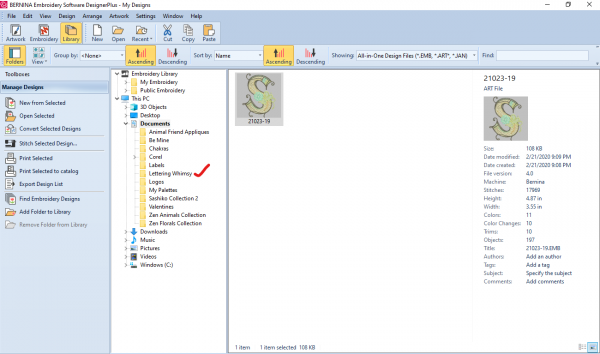
The design will open up in the design window.
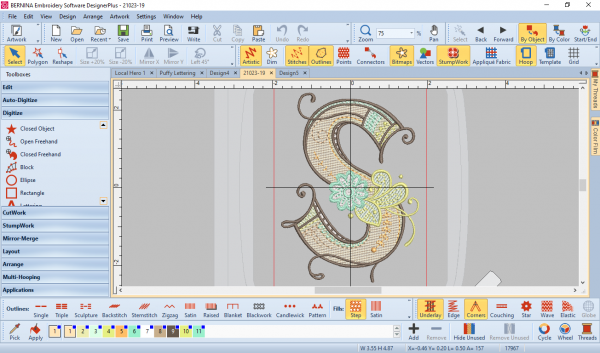
Step 3: Choose the Hoop and Edit the Design if Needed
Now that the design is displayed, you can change it as much as you want. For this tutorial, we will leave the design as is.
To make sure we are using the correct hoop, right-click on the hoop in the view toolbar.
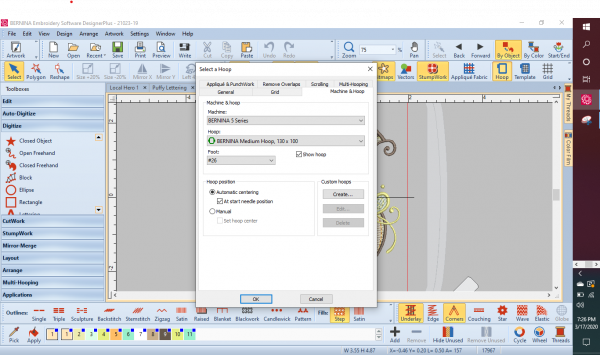
This will allow you to change the hoop size and starting position.
For this tutorial, we are using the medium hoop. Click ok.
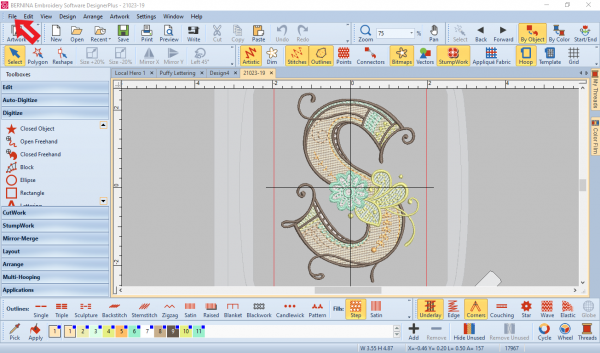
Step 4: Save and Import the File into the Machine
Click file.
Click on Export Machine File. Name the file and ensure the save as type is BERNINA USB Stick (*.EXP).

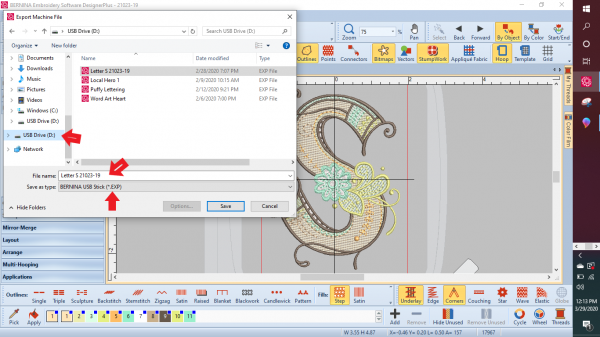
Eject the drive and plug it into the side of your sewing machine.
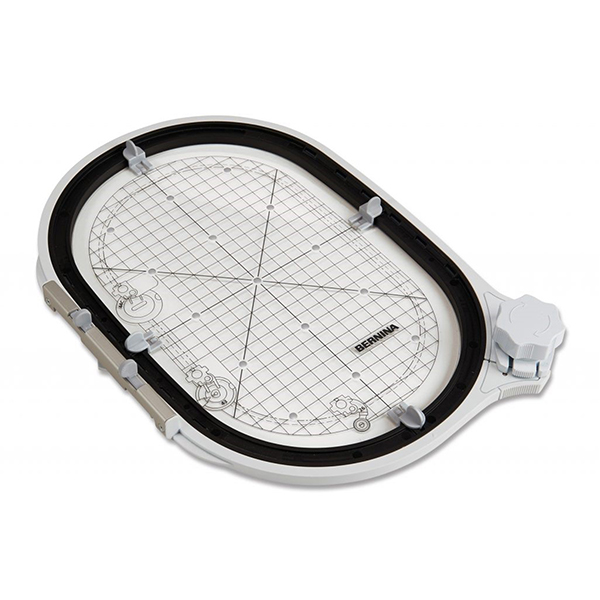
Step 5: Hoop the Fabric
Cut a piece of cutaway stabilizer to 9 inches by 6 inches.
Place the wool fabric on top of the stabilizer where you want the design to be.
Hoop both of them together.
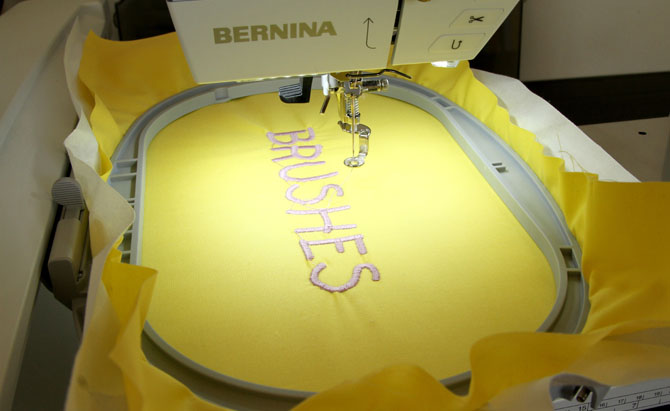
Step 6: Start Multicolor Embroidery
Turn the sewing machine on.
Make sure your embroidery module is attached to your machine.
Lower your feed dogs.
Change the foot to the #26 foot.
Hit the home button.
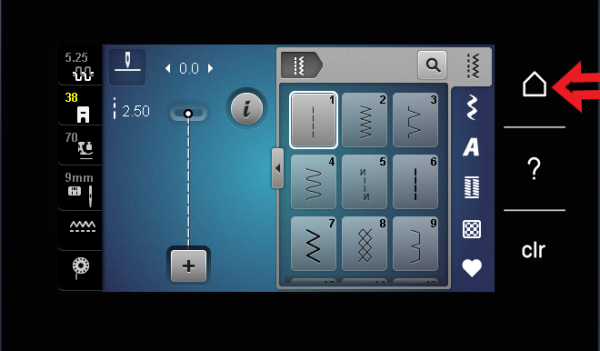
Select Embroidery. Then click on the USB picture.
Your design will pop up on the screen.

Attach the hoop to the module.
Before you start embroidery, check to make sure the design fits in your hoop by running a check.
Click on the I button, then hit the check icon. The needle will move to the five points – the middle and four corners.
Click on the needle icon to activate the stitch processor.

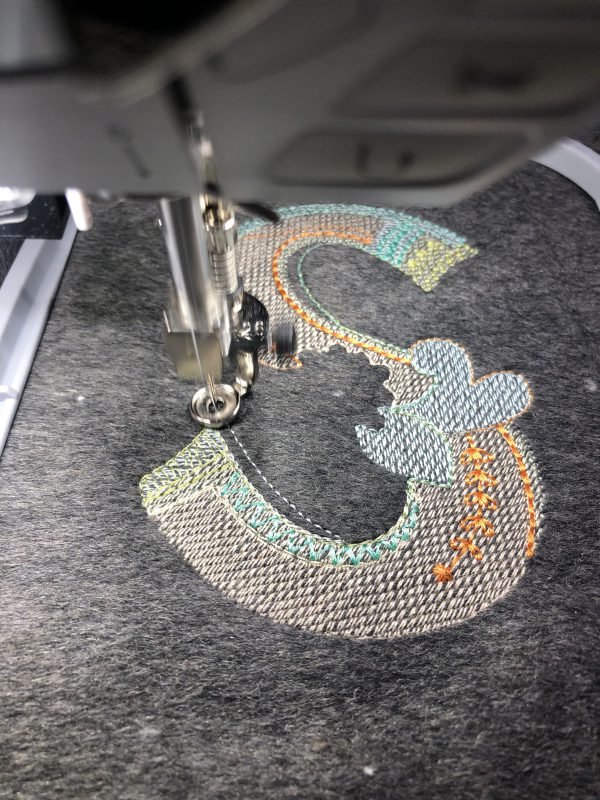
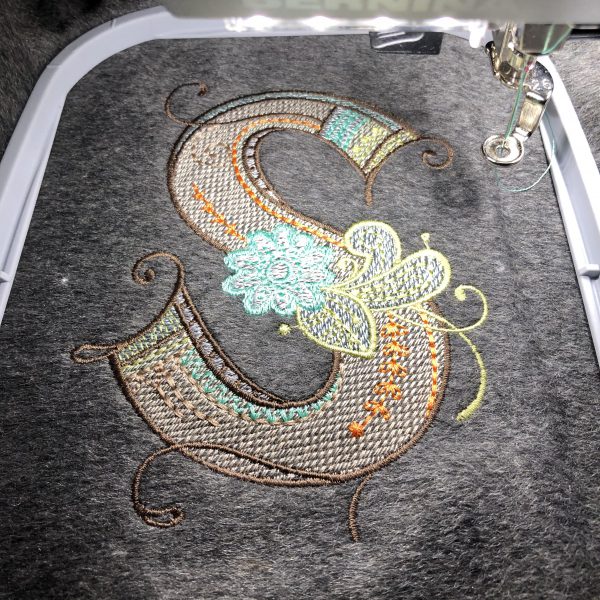
This design has 11 color changes. The machine will stop 11 times to changes colors, and the entire design will take 31 minutes to complete.
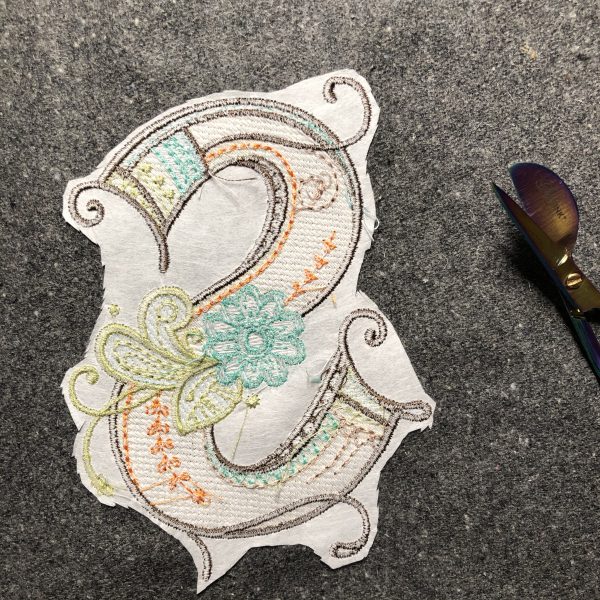
Step 7: Clean Up the Design
Remove the fabric from the hoop.

Cut thread tails.
Cut the excess stabilizer.
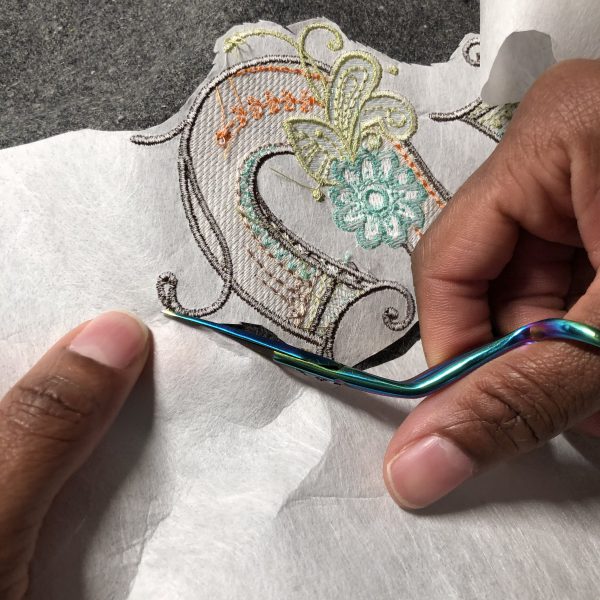
The embroidery’s back will not be seen, so you do not need to cut all of the stabilizers off.
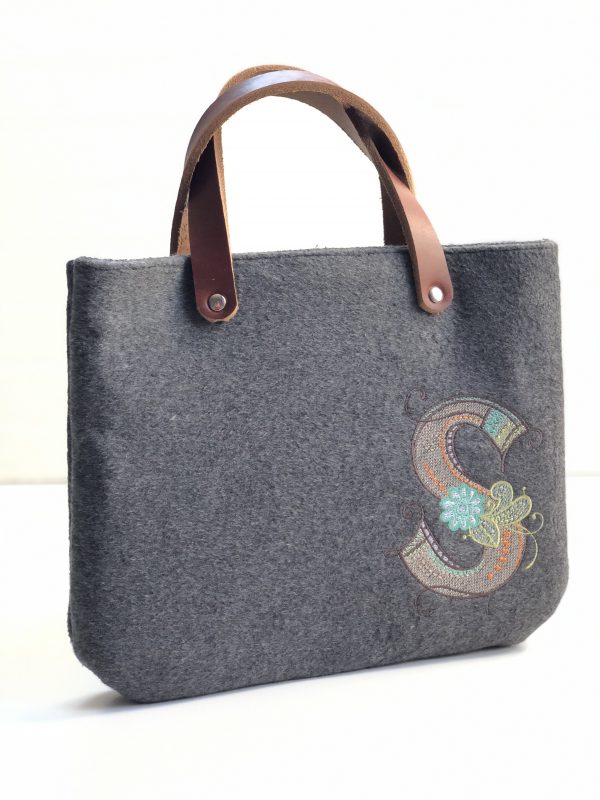
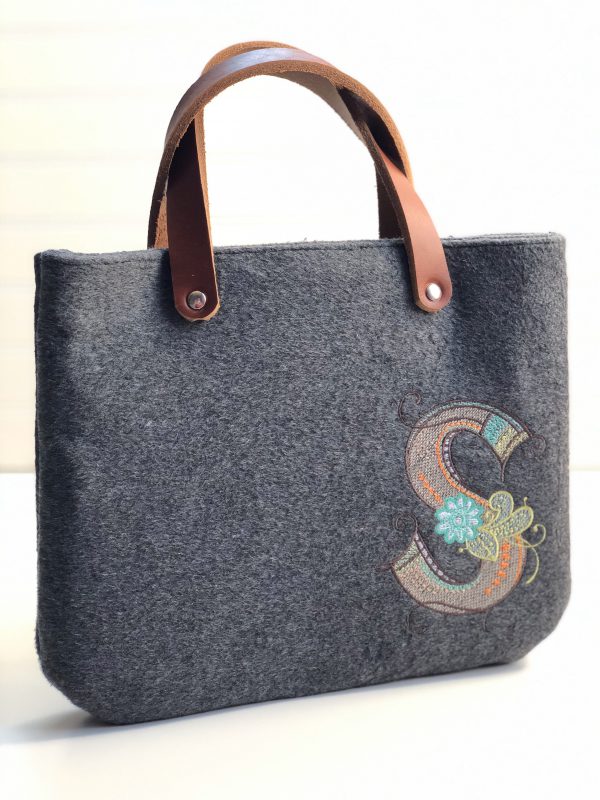
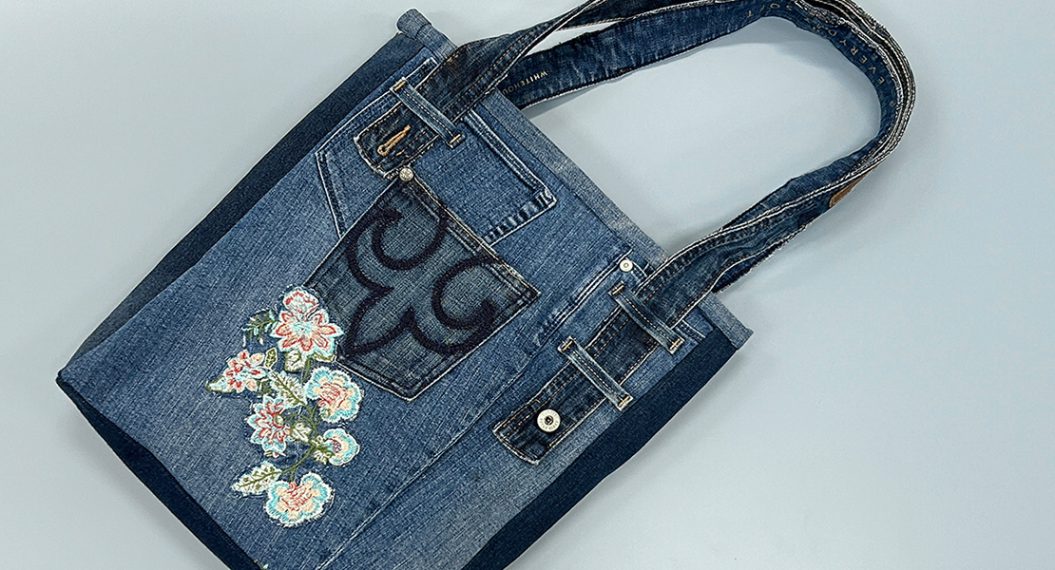
Now it’s time to sew this fabric panel into a bag.
Step 8: Sew the Bag Together
Cut 3 extra pieces of wool fabric to the size of the embroidered panel.
Take two wool pieces with right sides together sew a 1/4 inch seam around, leaving a 3-inch hole for turning.
Repeat with the second two pieces of wool.
Once both pieces are turned inside out, stitch the hole closed.
Now take the two pieces, place them right sides together, and stitch three sides to create the bag.
Trim the corners to reduce bulk.
Add the leather handles with long double head rivets.
Your wool embroidered bag is done and ready to sport around town.
Embroidery is so much fun and elegant to add to any project.
Used Products


What you might also like


2 comments on “Multicolor Embroidery Bag”
-
-
Hello Julie! Thank you so much. I bought that wool material from Joann’s.
-
Leave a Reply
You must be logged in to post a comment.

Love this project! Where do you find your wool material? It looks nice and thick.