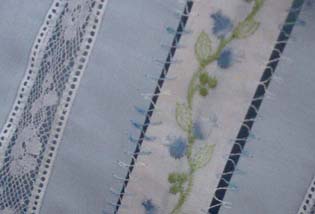
Pojagi Piecing The Modern Way
Pojagi is a historic Korean art form of patchwork in both form and function. The International Quilt Study Center & Museum says:
“Patchwork pojagi, called chogak po, had many uses. They served to cover, wrap, store, and carry objects in the common person’s activities of daily life. They were used as tablecloths, to deliver a marriage proposal, to carry possessions on a journey, and to adorn and protect sacred writings… Wrapping a gift in a specially made pojagi communicated respect for the object and good will toward the recipient. Each patch and stitch added by the maker was like a prayer of good will that would enfold and carry the gift.”
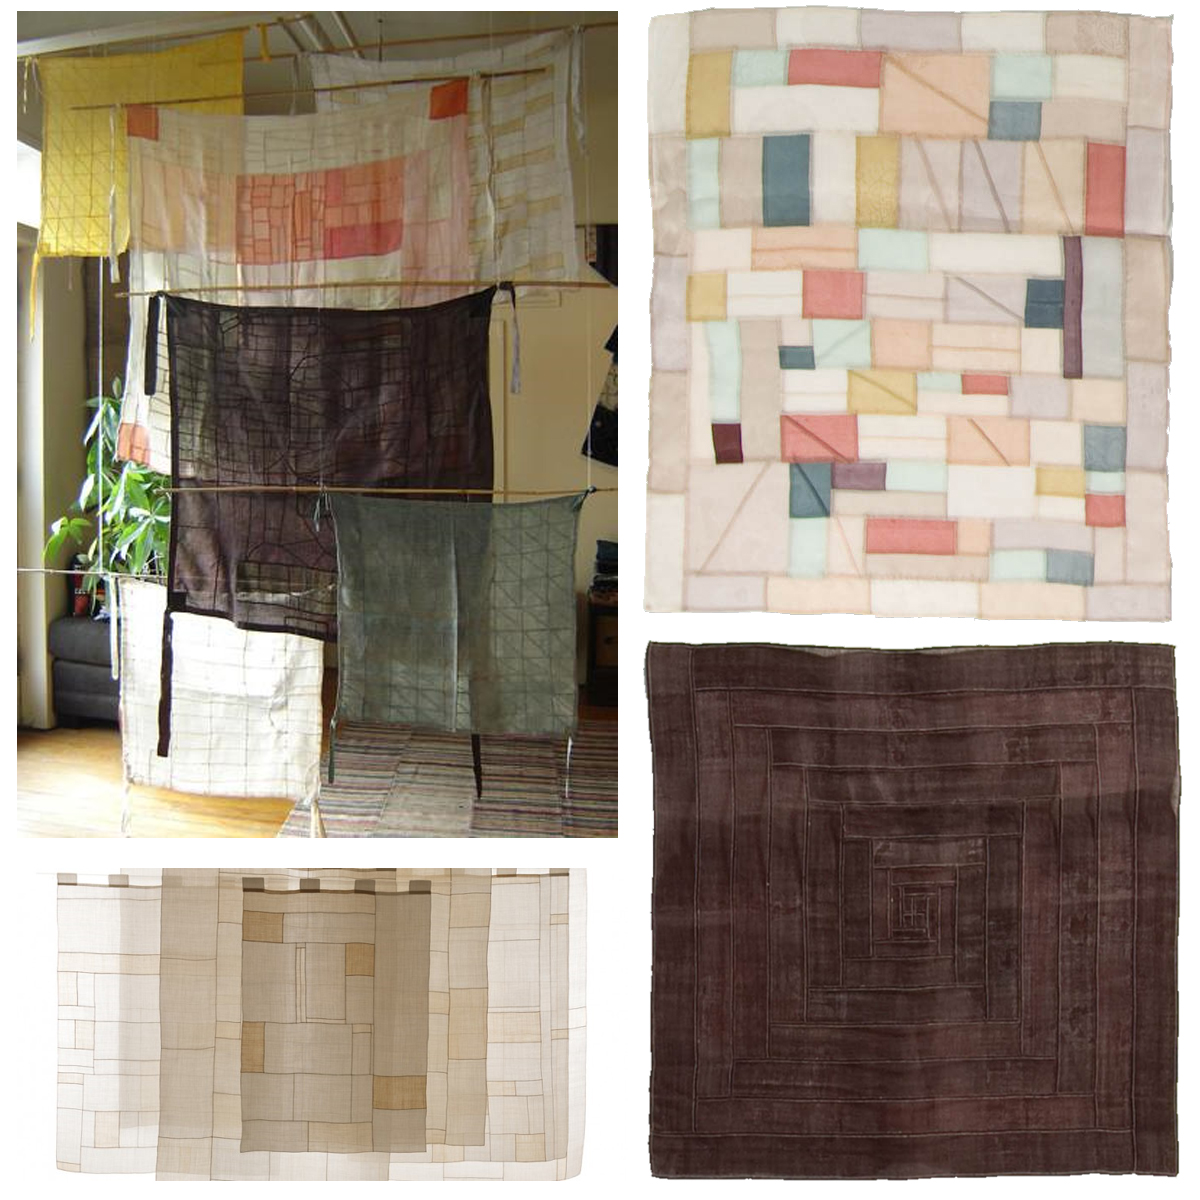
Besides the piecing being beautiful, I love the sentiment behind these wrappings. One of the reasons textiles are so beloved to me is because they’re aesthetically pleasing but are still utilitarian; they’re pretty things that serve a purpose besides just being pretty.
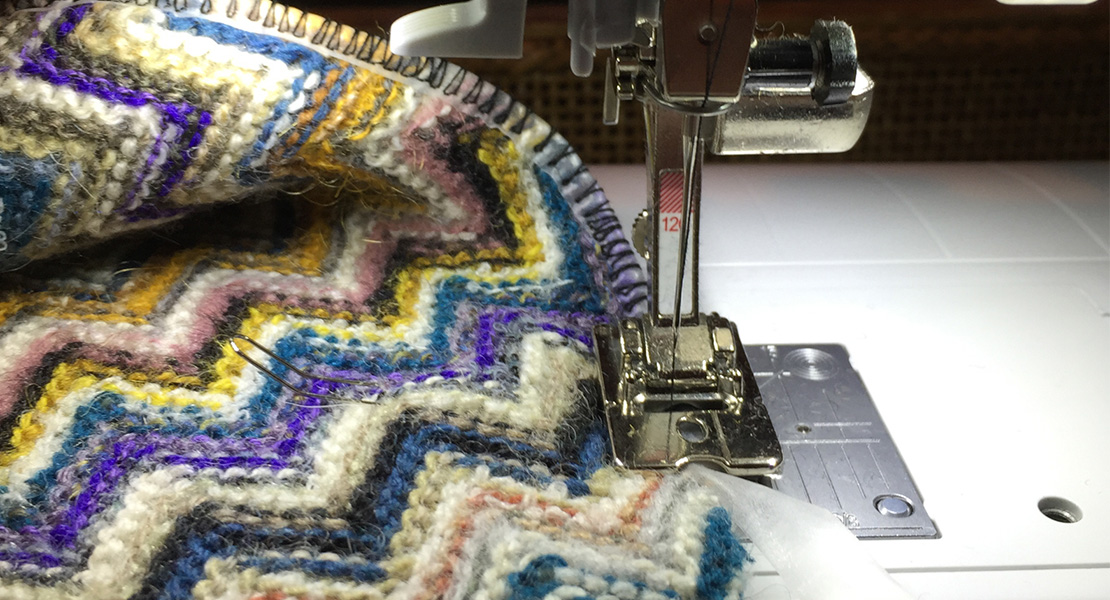
Traditionally pojagi piecing is done improvisationally with a type of hand-sewn flat felled seam. Because all the raw edges of this piecing are enclosed and finished, the finished project doesn’t have a definite “right” or “wrong” side. Unfortunately, hand stitching all those seams can be very tedious. To speed up this process, and give our seams a little more strength, let’s take it to the machine!
Materials to sew pojagi
- Linen or linen-blend fabric
- I used Robert Kaufman’s Brussels Washer
- Thread
- Scissors
- Rotary cutter / mat / ruler
- Iron
- Starch-alternative pressing spray
- Flatter or Best Press are my favorites
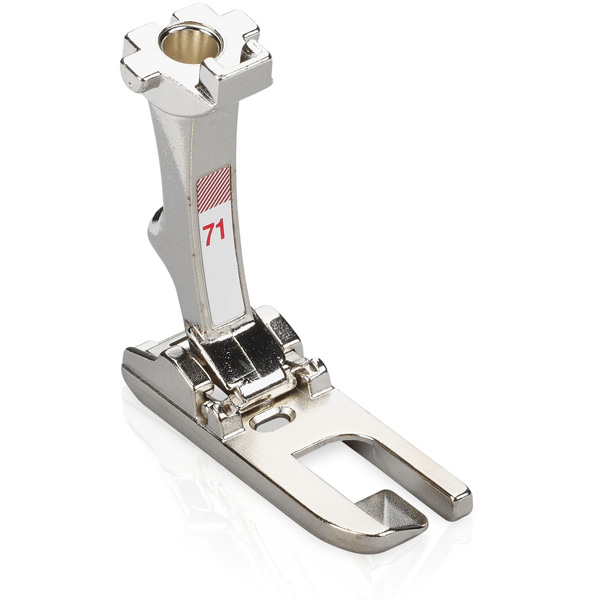
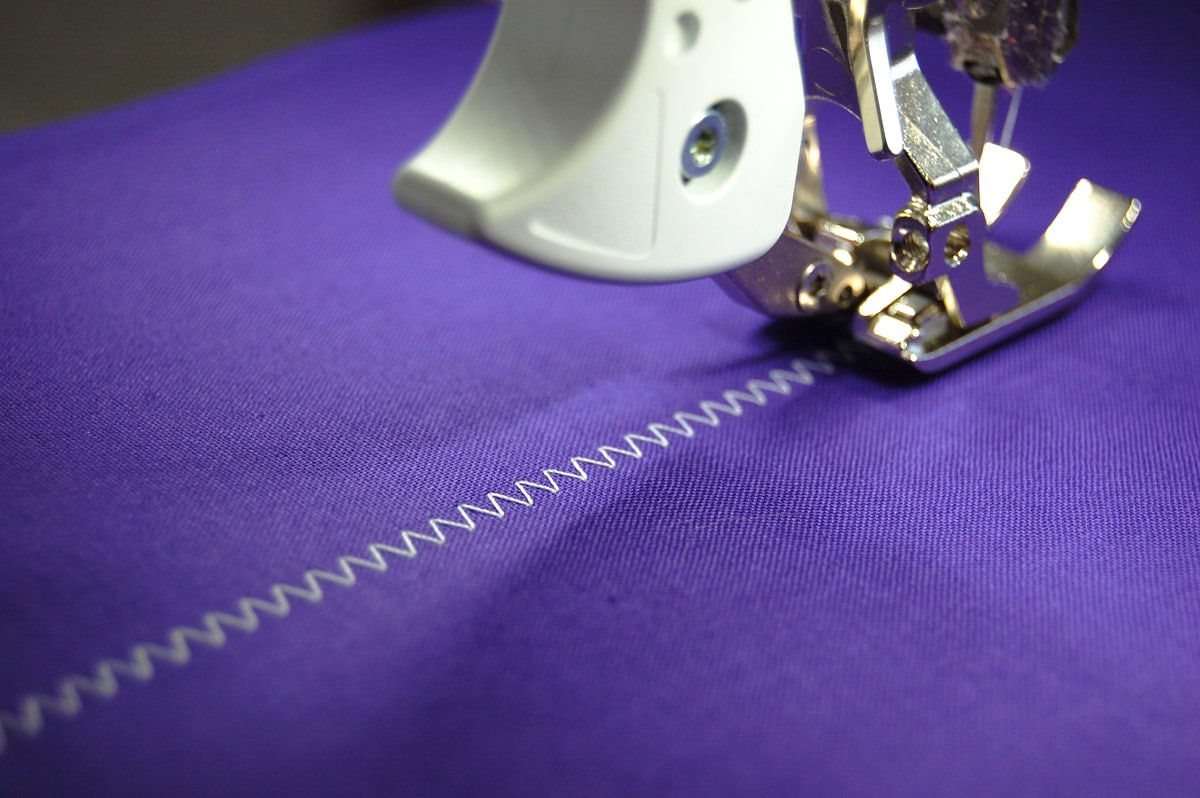
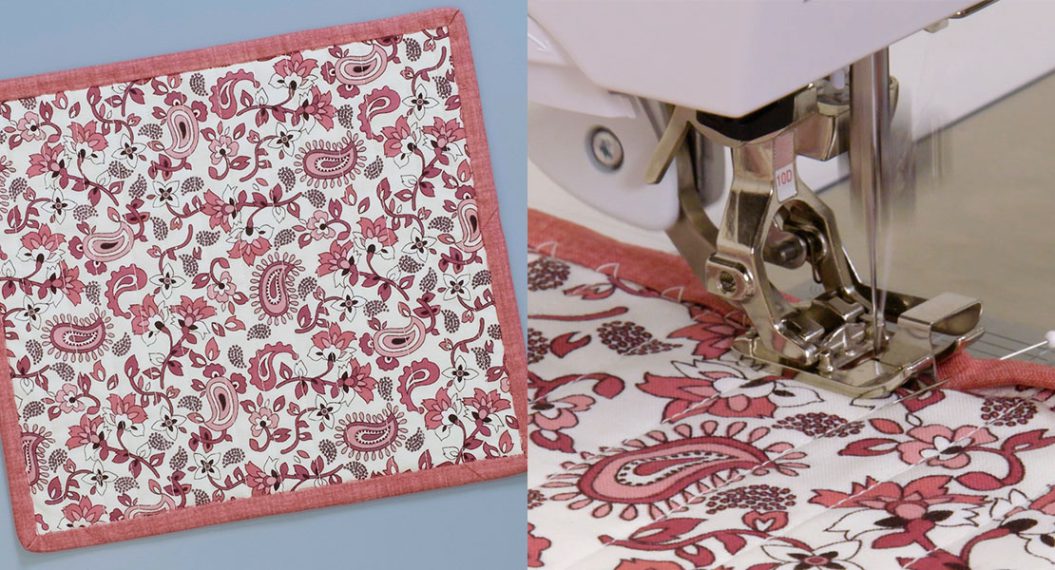
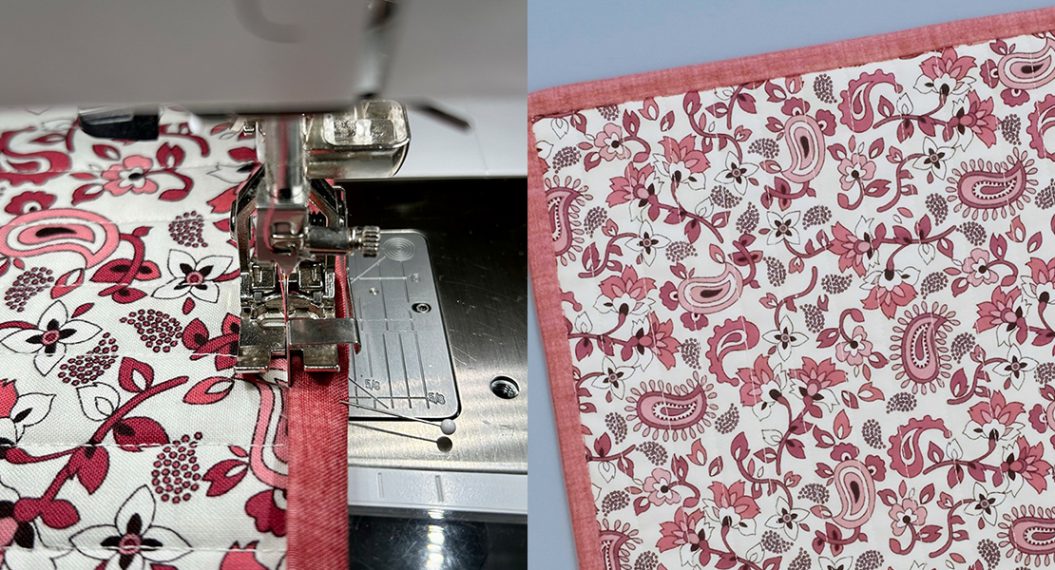
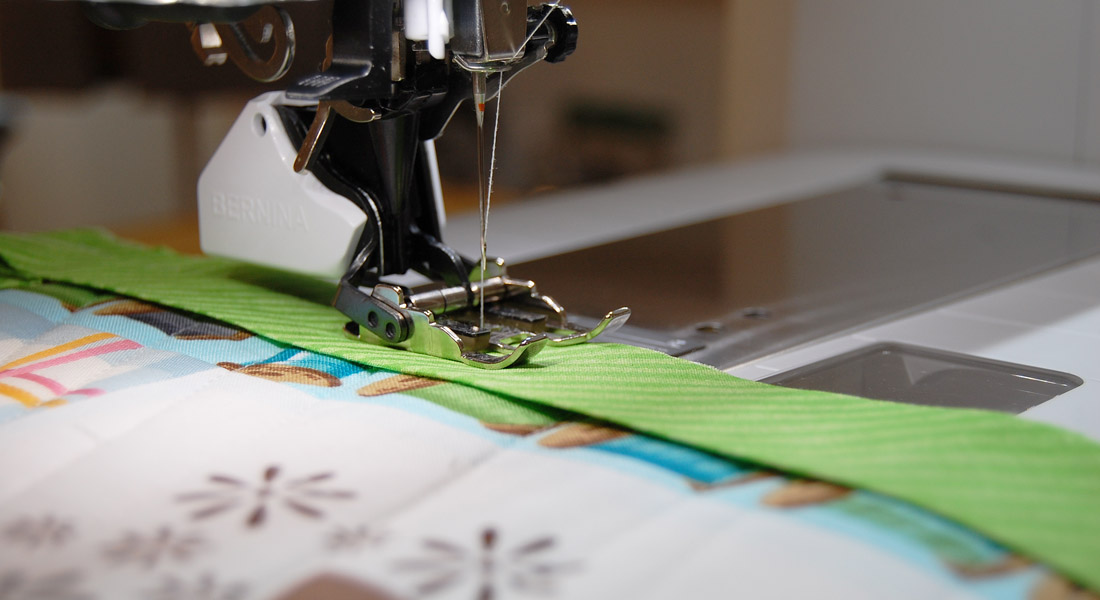
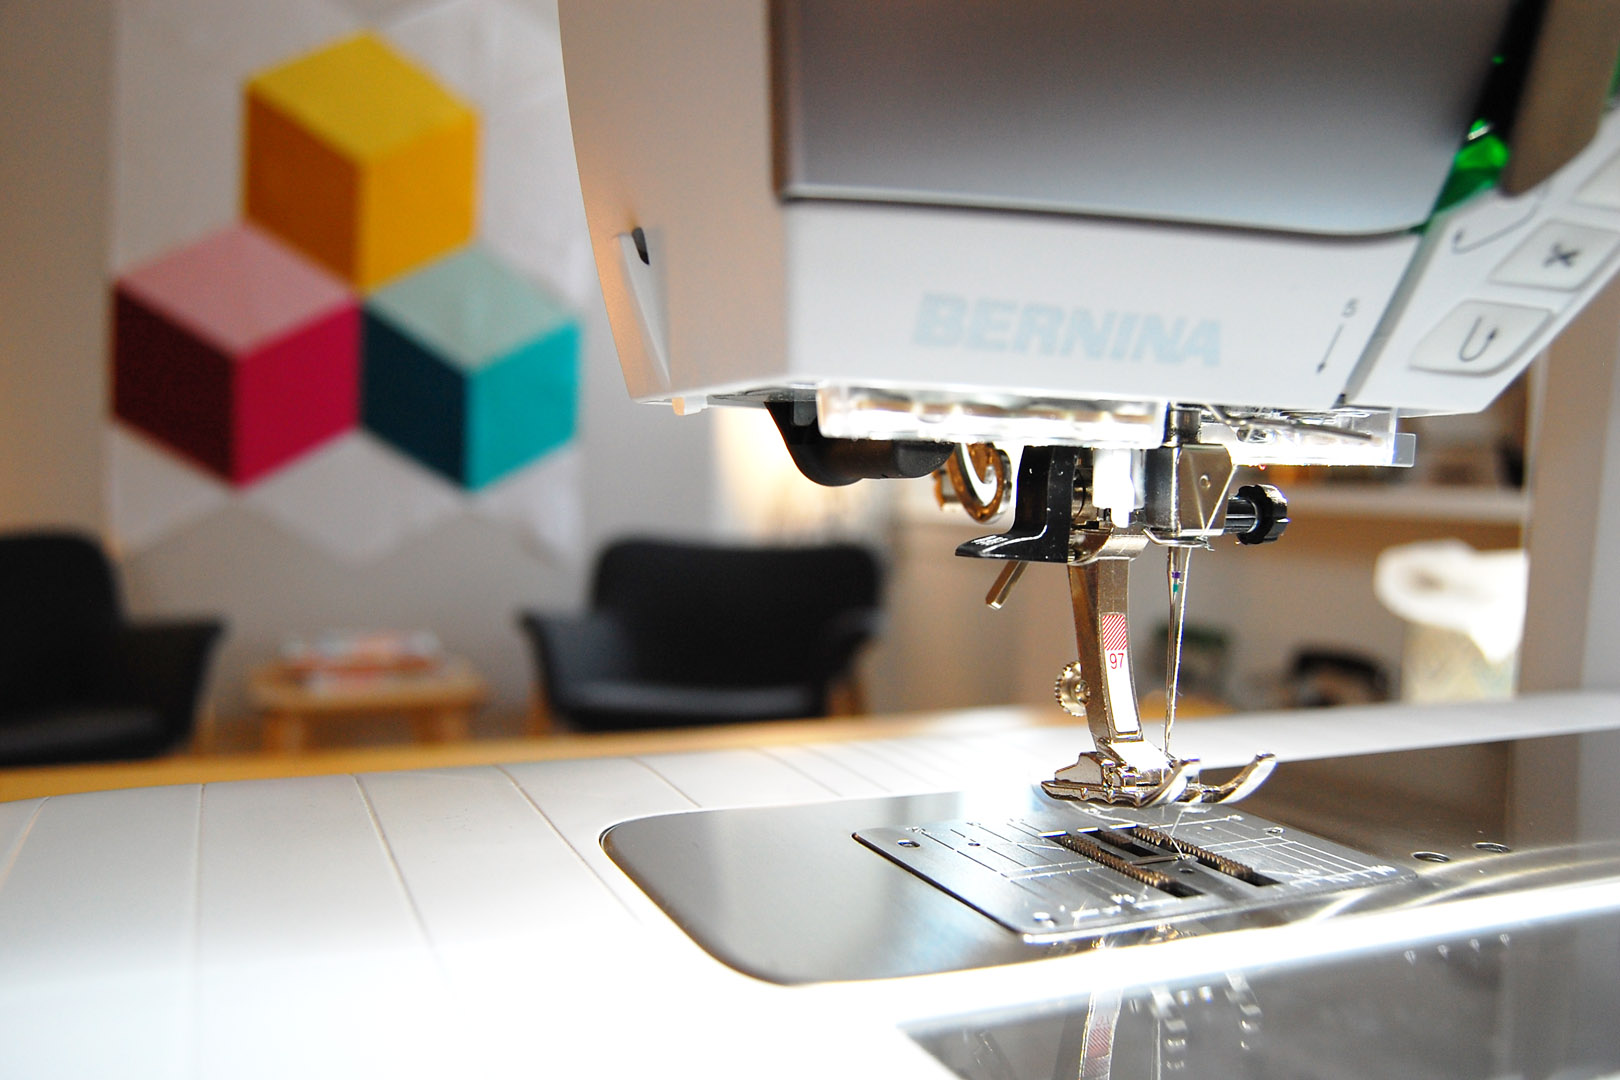
- #71 lap seam foot
- B 790 PLUS or B 590
Instructions to sew pojagi
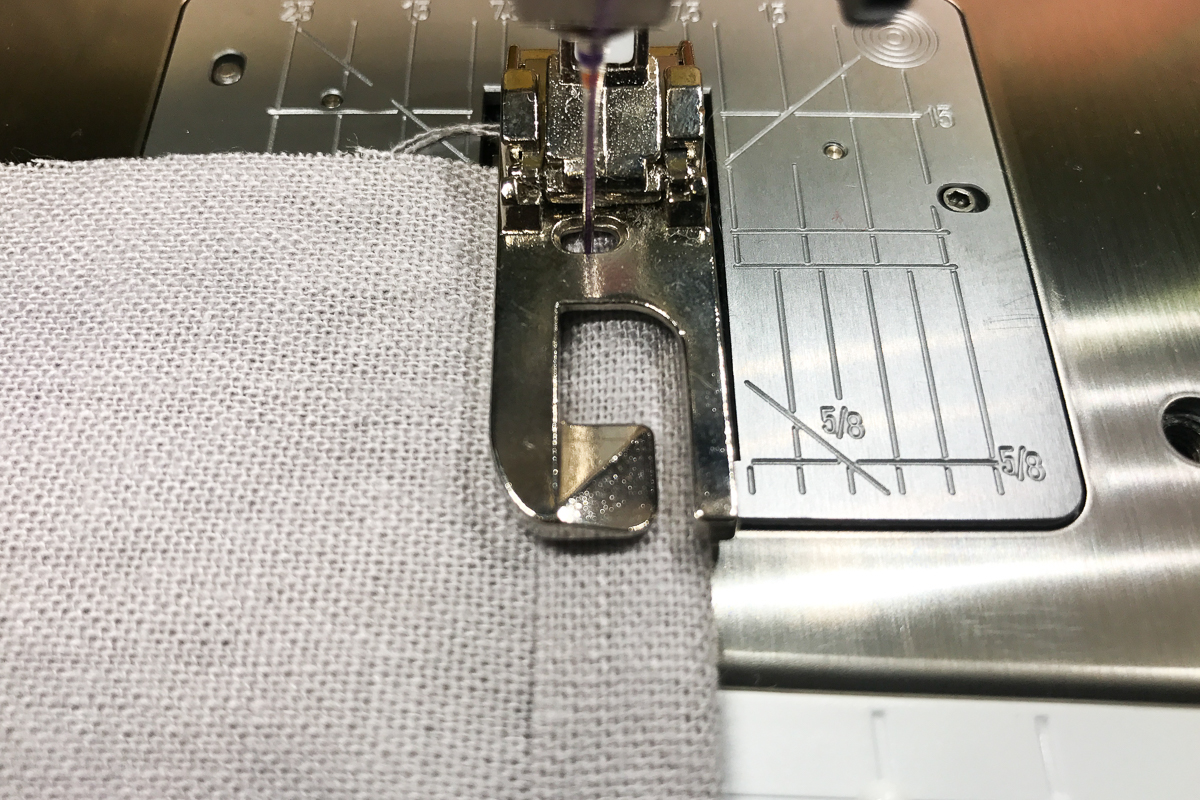
Step 1. Line up first pieces
The best part about pojagi piecing is that it’s improv! Start by grabbing two pieces of linen and line up their raw edges to be offset by ½”. Pin in place.
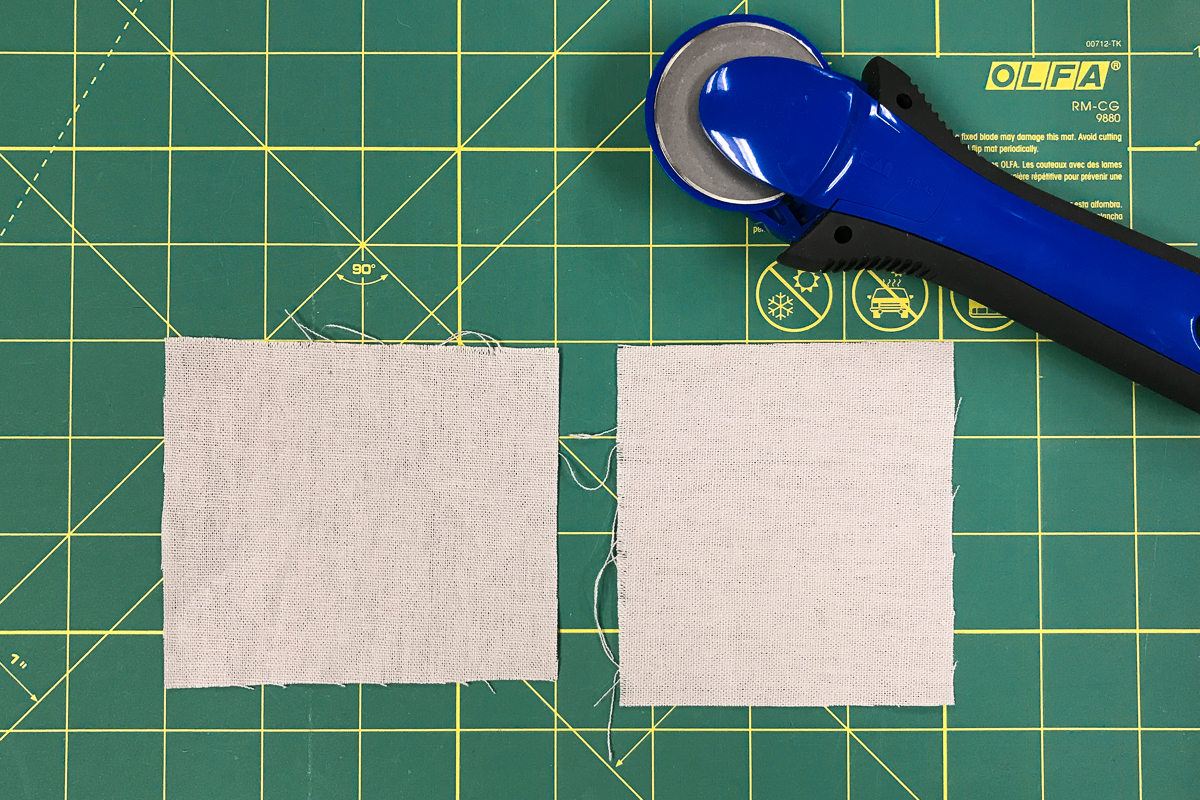

Finger press the raw edge of the bottom piece over the edge of the top.
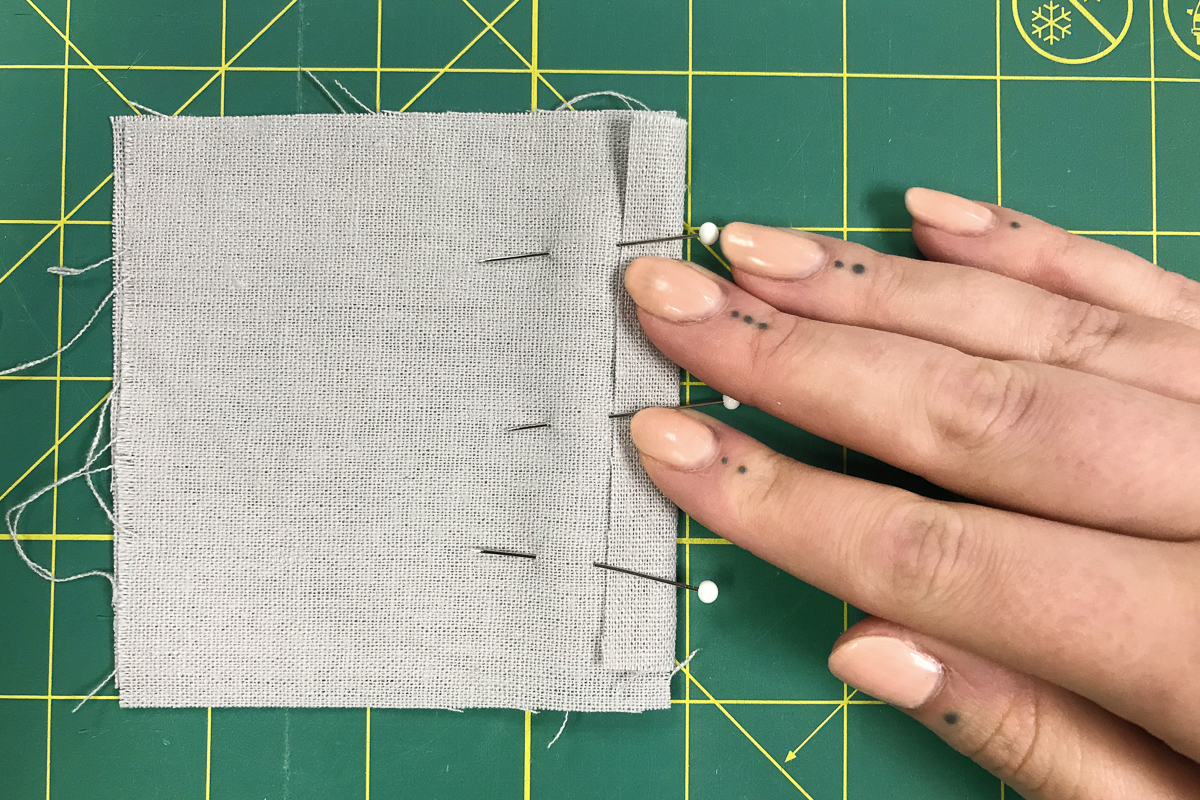
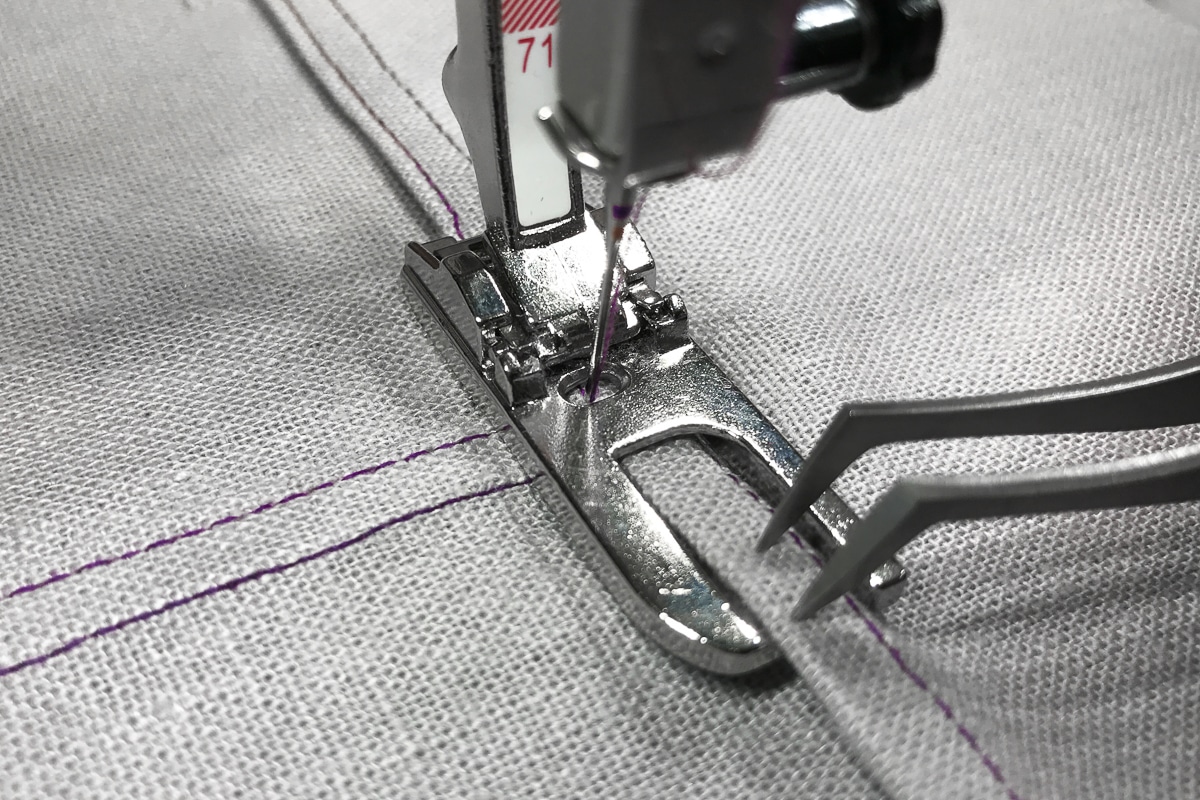
Step 2. Stitch together
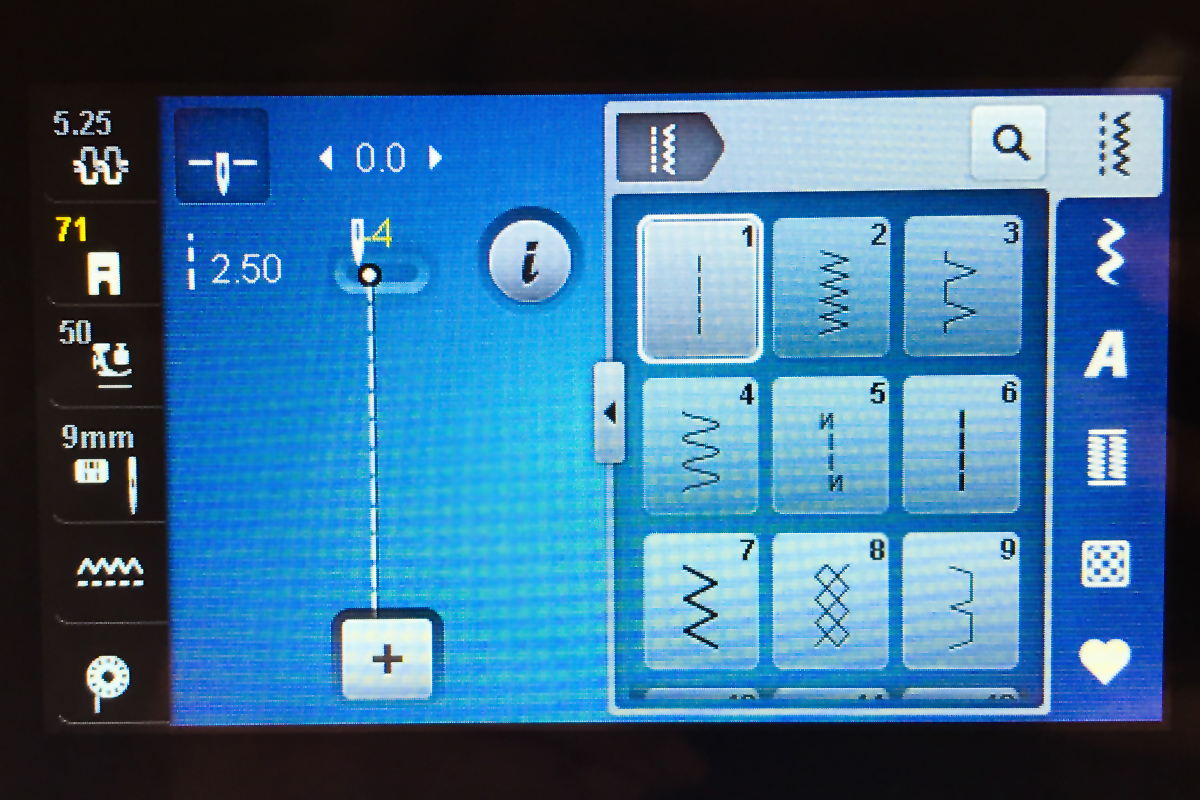
Start by moving your needle position over to the left, to -4.
Place these pieces under your presser foot, lining the edge of the top piece up to the inside of the toe of the Lap seam foot #71. Take 2-4 stitches.
With the needle down, engage hover or use your free-hand system to slightly raise your presser foot, about 3-4mm. Take the raw edge of the bottom layer and bring it up, folding it over the guide and feeding it through the #71 foot.
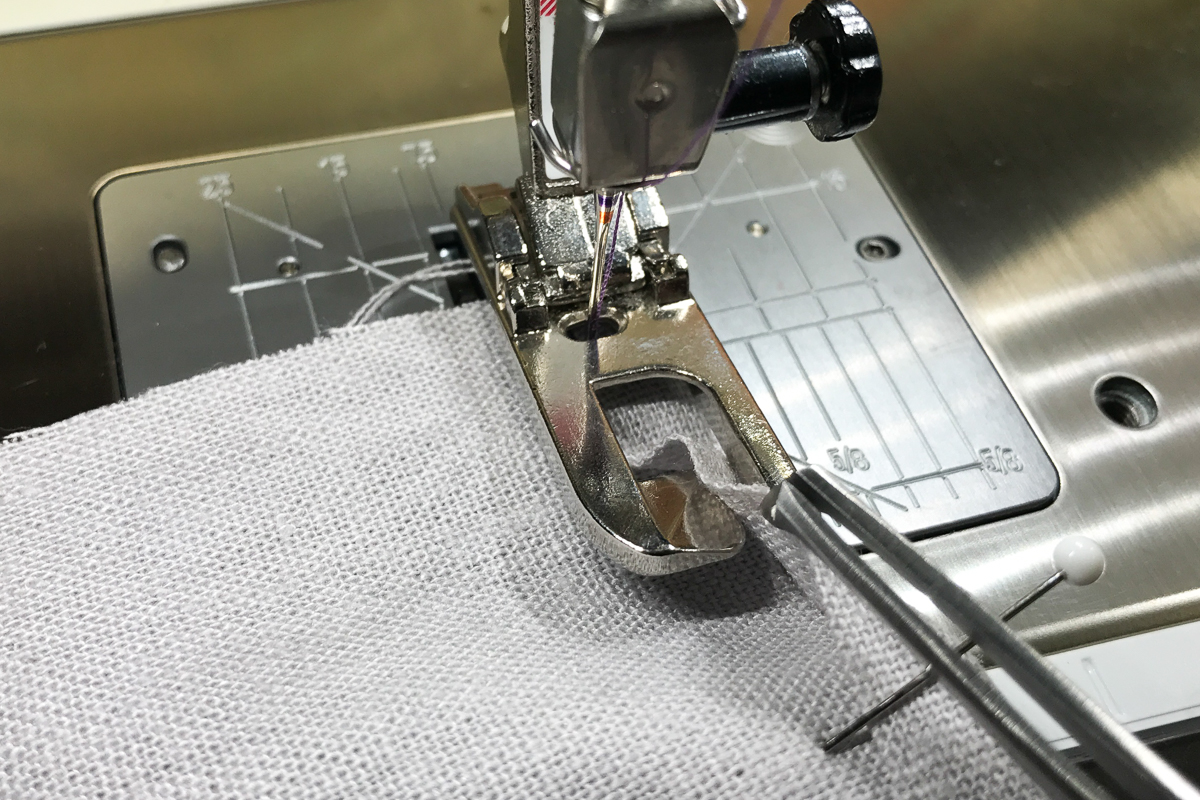
Continue stitching the rest of the seam.
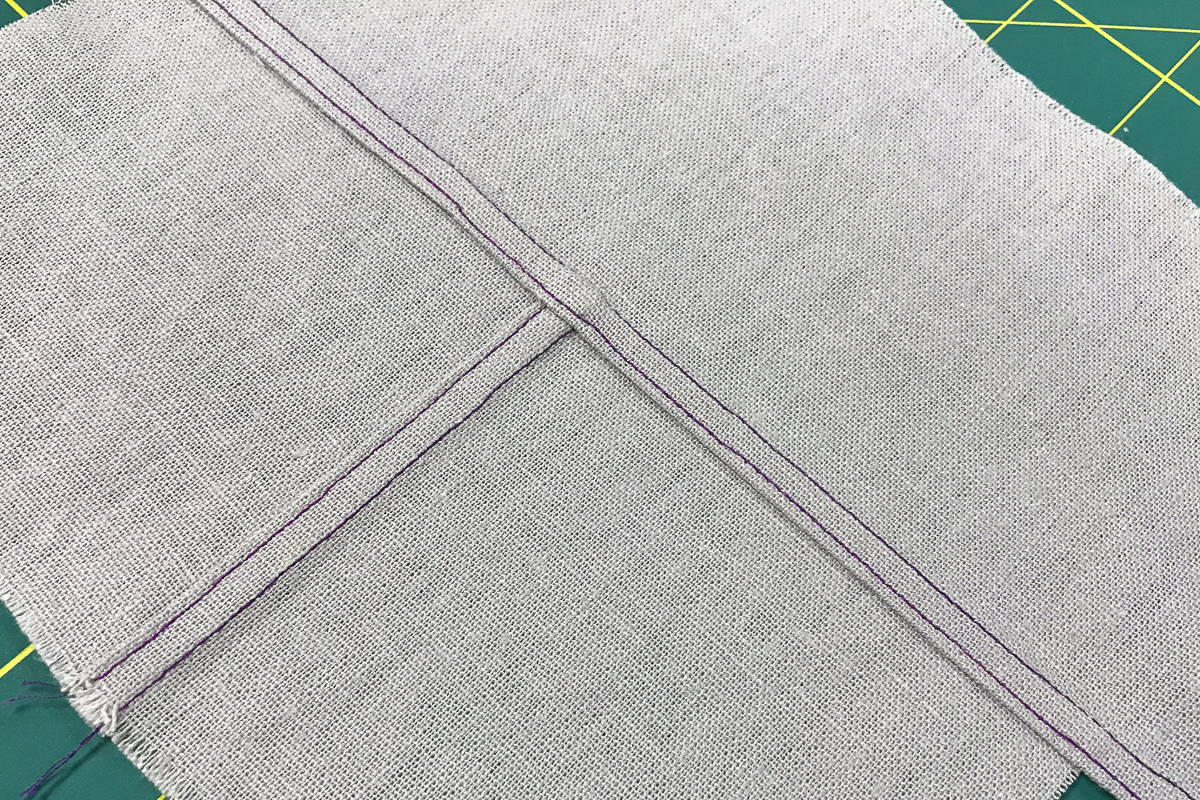
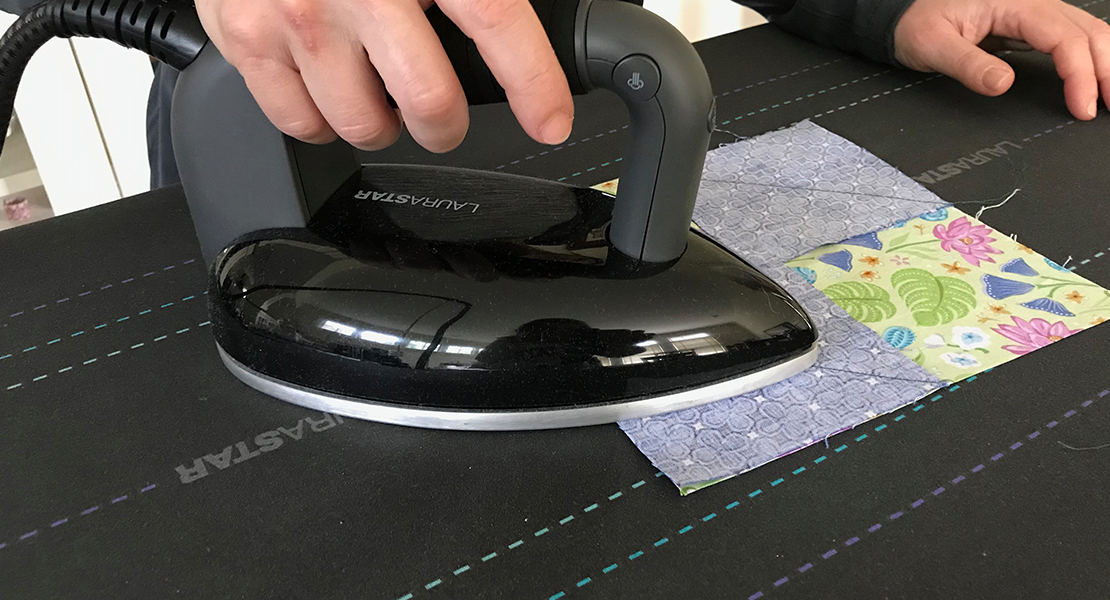
Step 3. Press
Press your folded seam allowance over to cover the raw edge.
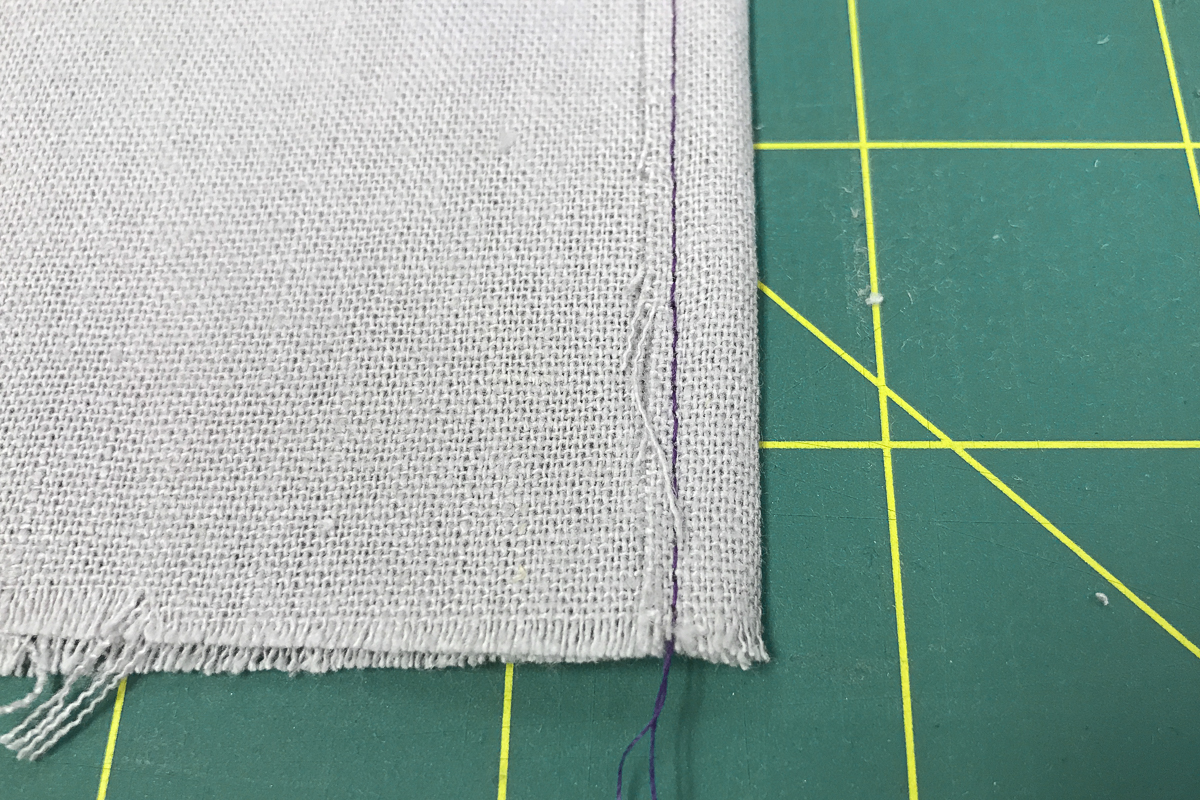
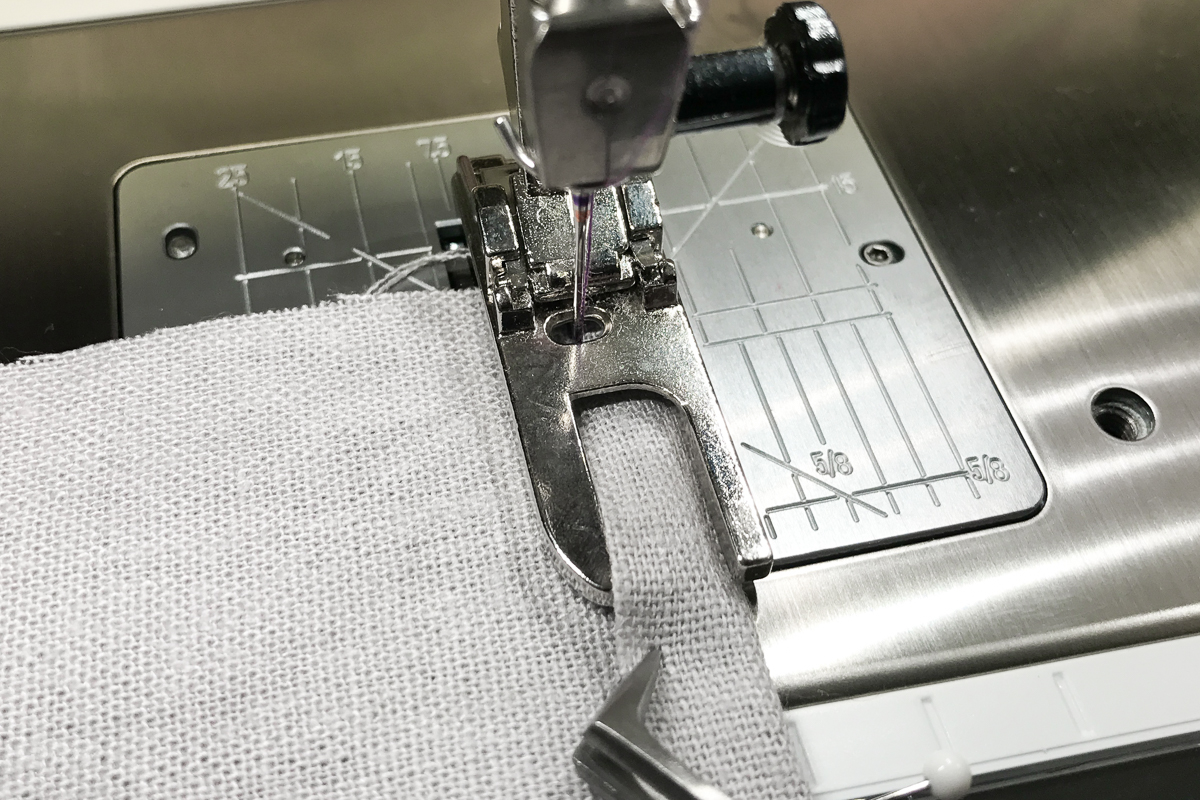
Step 4. Finish the seam
In the same method as the first seam, place your piece under the #71 foot and take a couple stitches.

Using hover or your free-hand system to raise the presser foot slightly with the needle down and pull the folded edge up and into the #71 foot. Continue sewing the rest of the seam. Use angled tweezers to help keep your stitching straight as you sew through bulky folds.

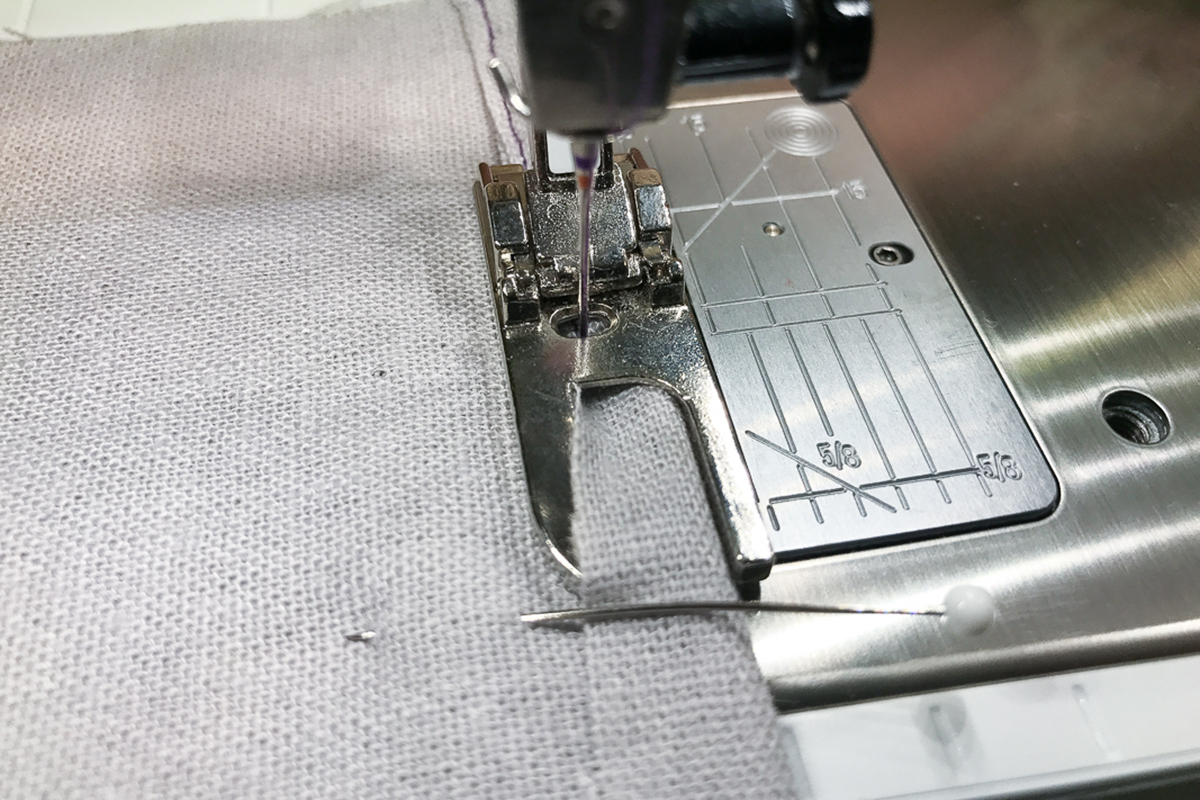
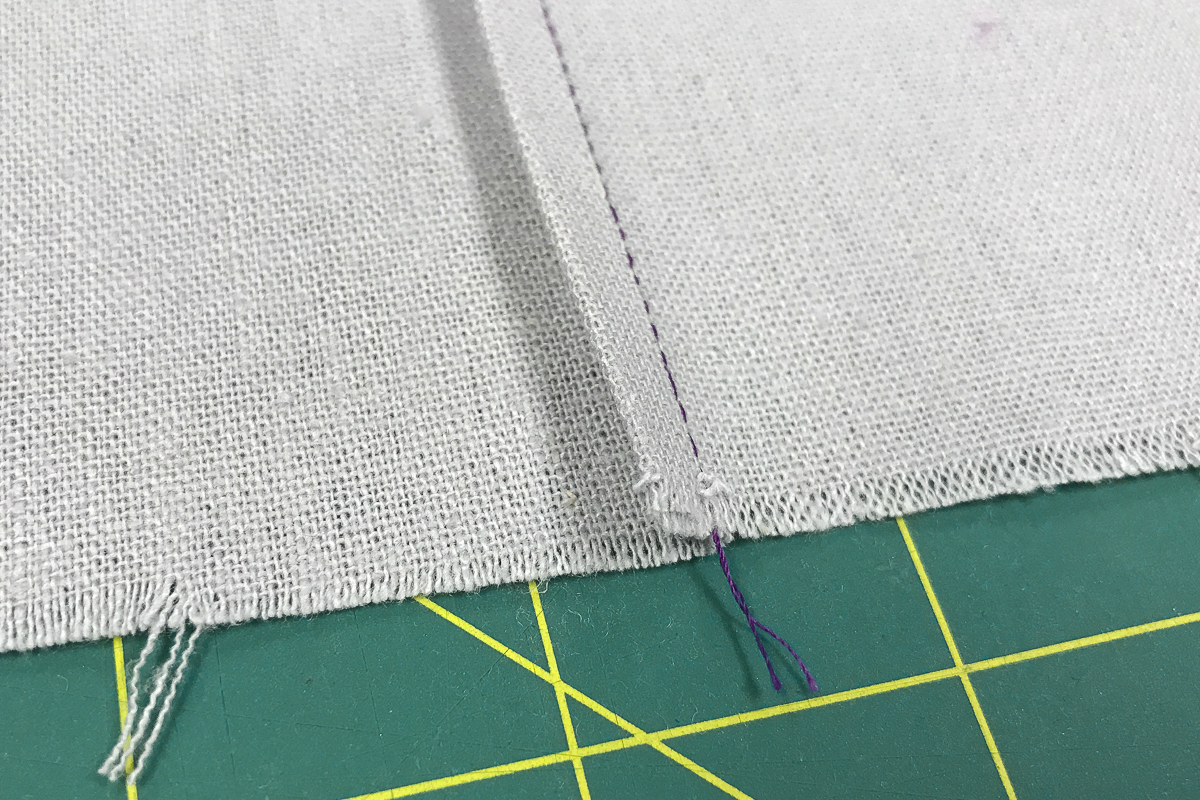
Step 5. Trim
Trim the edges perpendicular to the seam you just sewed. This doesn’t need to create a 90 degree angle, just a straight edge.
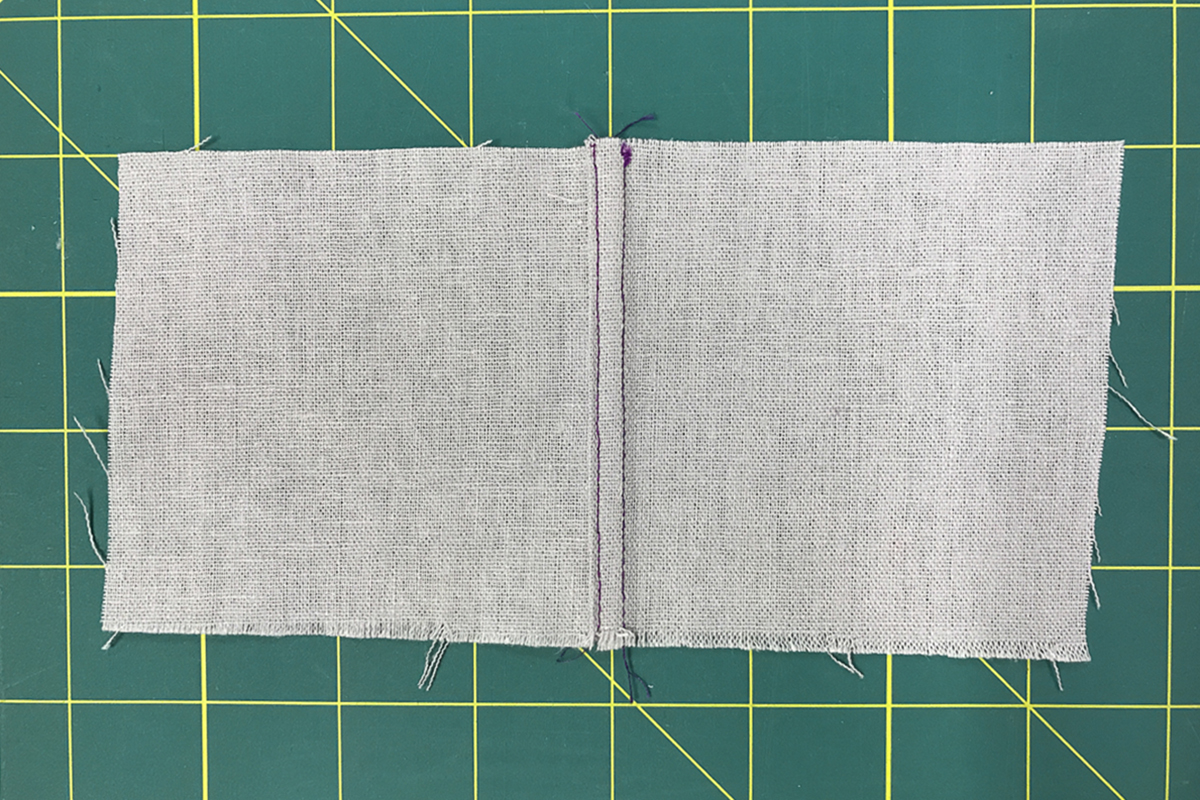
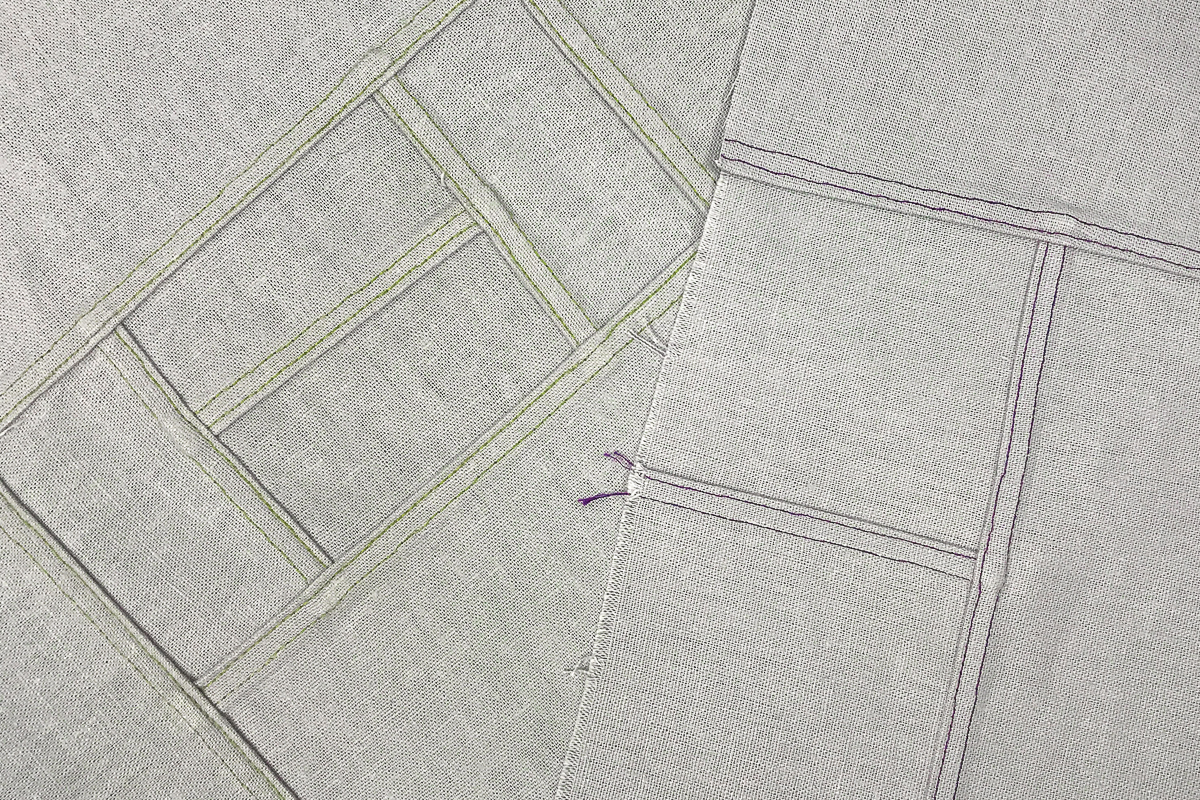
Step 6. Line up next piece
From here on out, we’ll just repeat this process. Take a new piece of fabric and line it up with the piece you just sewed, again offset by ½”. Be sure that the already seamed piece lays on top and isn’t the piece folding over—that seam is too bulky to fold over and feed through the foot.
Pin in place and finger press the seam allowance over the raw edge.
Step 6. Seam together
Again, stitch the two pieces together, feeding over the guide on the #71 foot.
Press over the raw edge and stitch again using the #71 foot guides. Overlapping seams can get bulky—use your BERNINA angled tweezers or an awl to help keep things neat.
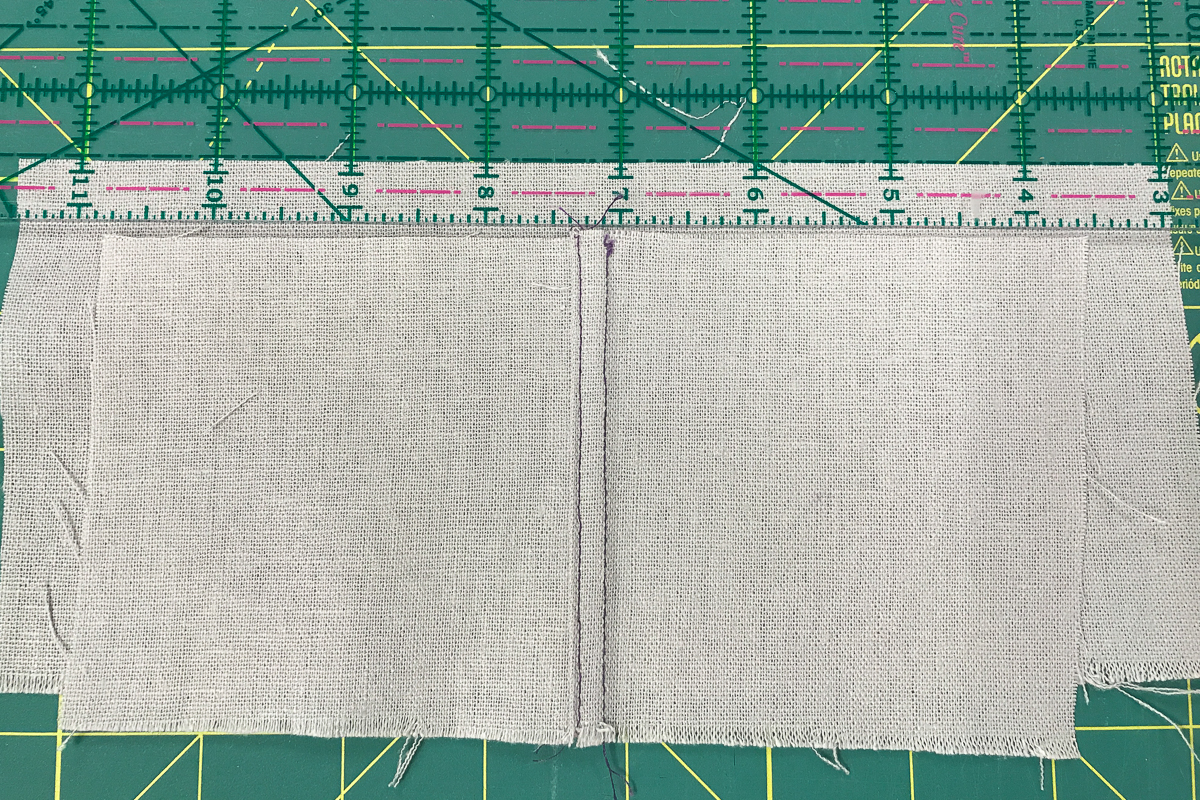
Step 7. Keep repeating
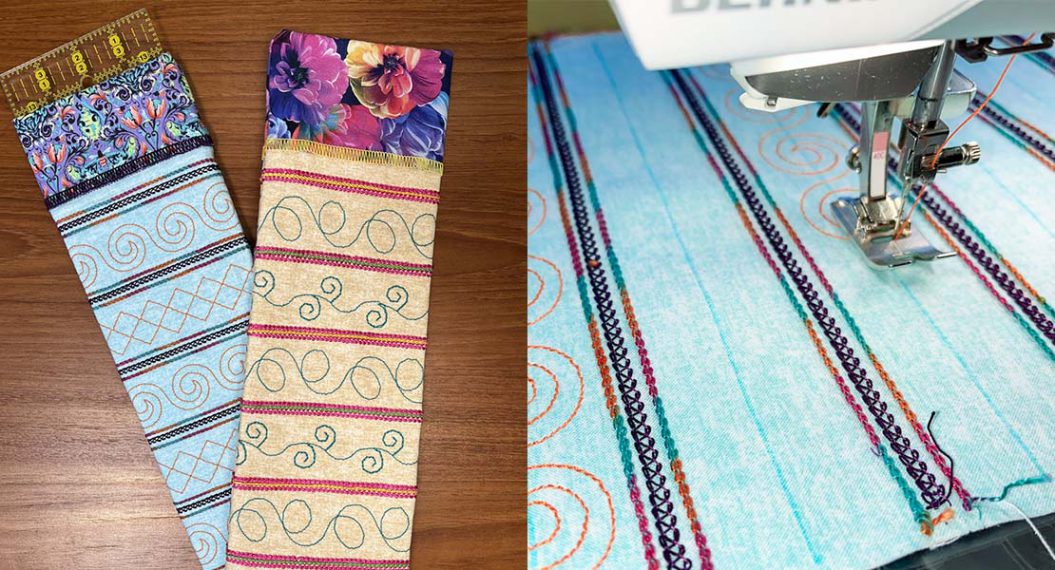
Keep repeating this system until your piece is your desired size. You can use a log cabin pattern or work on smaller sections and join them together—the joy of improv piecing is there’s no right or wrong way!
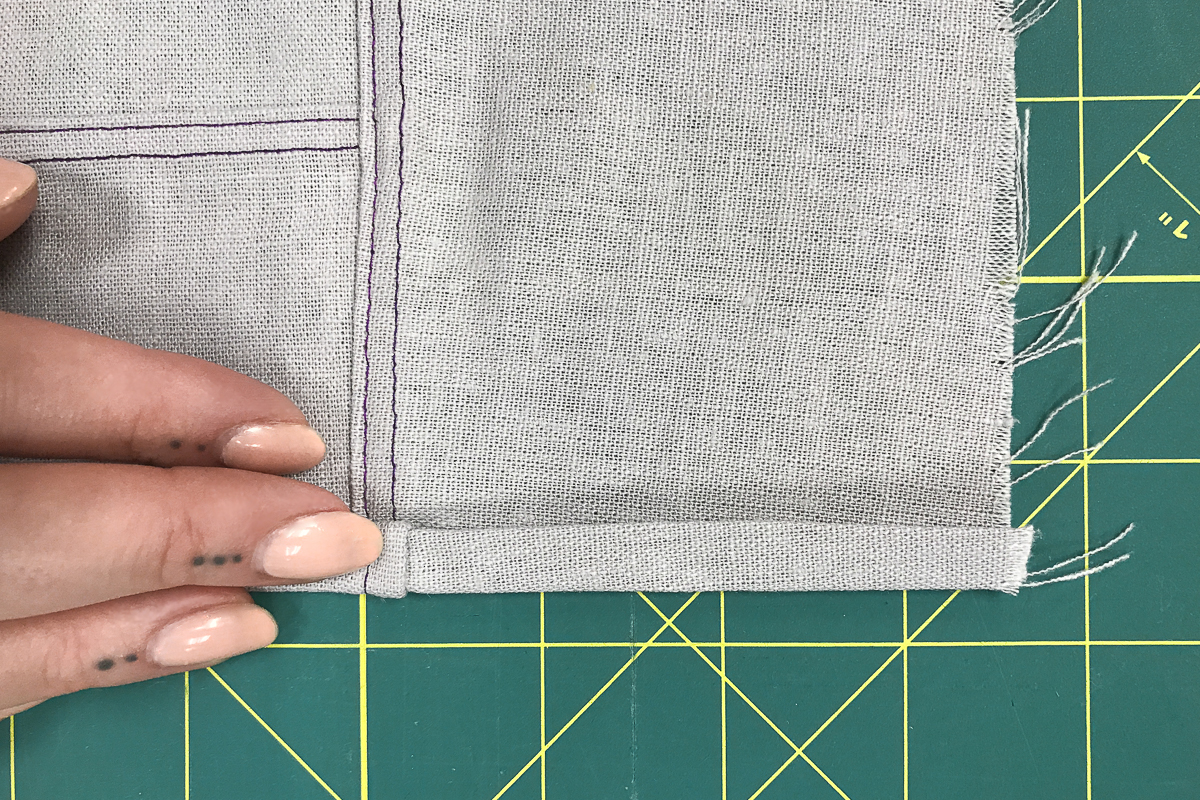
Step 8. Finish your edge
Once you’ve decided your pojagi piece is large enough, you’ll need to finish the edge. Fold the raw edge over ¼” and press. Fold over again and press again. Use your #71 foot to stitch this down the same way the previous seams were sewn.
Used Products

What you might also like


10 comments on “Pojagi Piecing The Modern Way”
-
-
Hi, debbiew! I did actually intend for it to say 1/2″. If the pieces are only offset by 1/4″, the raw edge will not be effectively stitched after being folded over. While 1/2″ is a little bit generous (I can always trim down a seam allowance if need be), I would not suggest less than 3/8″. Thanks for reading along!

-
-
Thanks for responding. I’m confused by the Step 1 illustration then. The pieces off fabric are off by a 1/4-inch in length. So, I think I see now that you place the fabric from the right over the fabric on the left, folding over a 1/2-inch. Correct?
-
That’s correct! I don’t worry too much about the length as that will get squared up after the seam is sewn.
-
-
Very clear photos and instructions, thank you!
Is this similar to a French seam or the seam that is sewn on jeans?-
It’s quite similar to a flat felled seam. And yes, this seam is often used on jeans and denim! It encases the raw edges but doesn’t have as much bulk as a traditional French seam.
Thanks for the feedback and for reading along, cjancola!
-
-
Any plans to have a 71D foot? I use this for bindings and using the dual feed would make it a a better option. Thanks.
-
That’s an interesting idea! The #71 foot is great for binding small projects but I agree, sometimes you need that Dual Feed to get through bulk! Here’s a link to my favorite method for binding on the machine that uses the walking foot and the #10D edgestitch foot
https://weallsew.com/master-machine-binding/
-
-
Thank you for sharing your method. I have a Bojagi/Pojagi project planned for this autumn.
-
A machine with more power, like a Husqvarna Viking 980Q or Epic will make this work happen like butter. The flat felled foot, makes is soooo easy!
Leave a Reply
You must be logged in to post a comment.
I believe Step 1 should read ‘raw edges to be offset by 1/4”.