Quick and Easy Christmas Quilt: Quilting and Binding
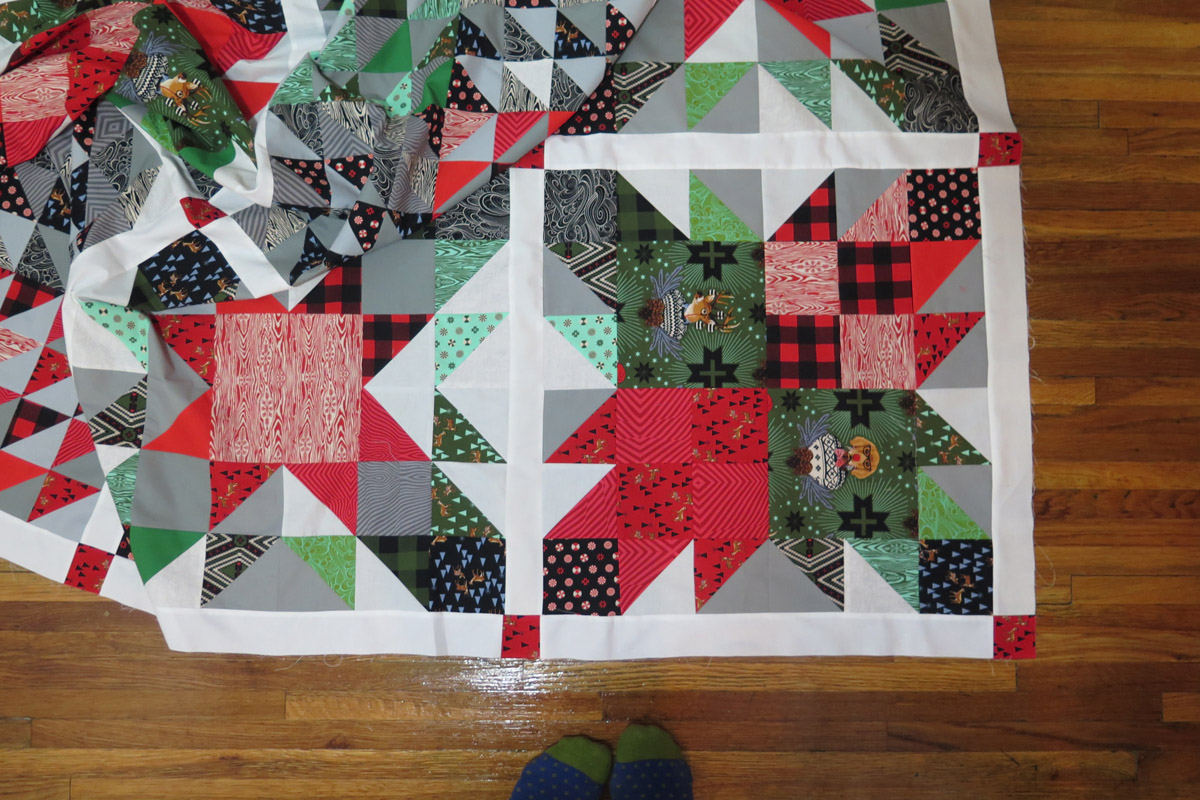
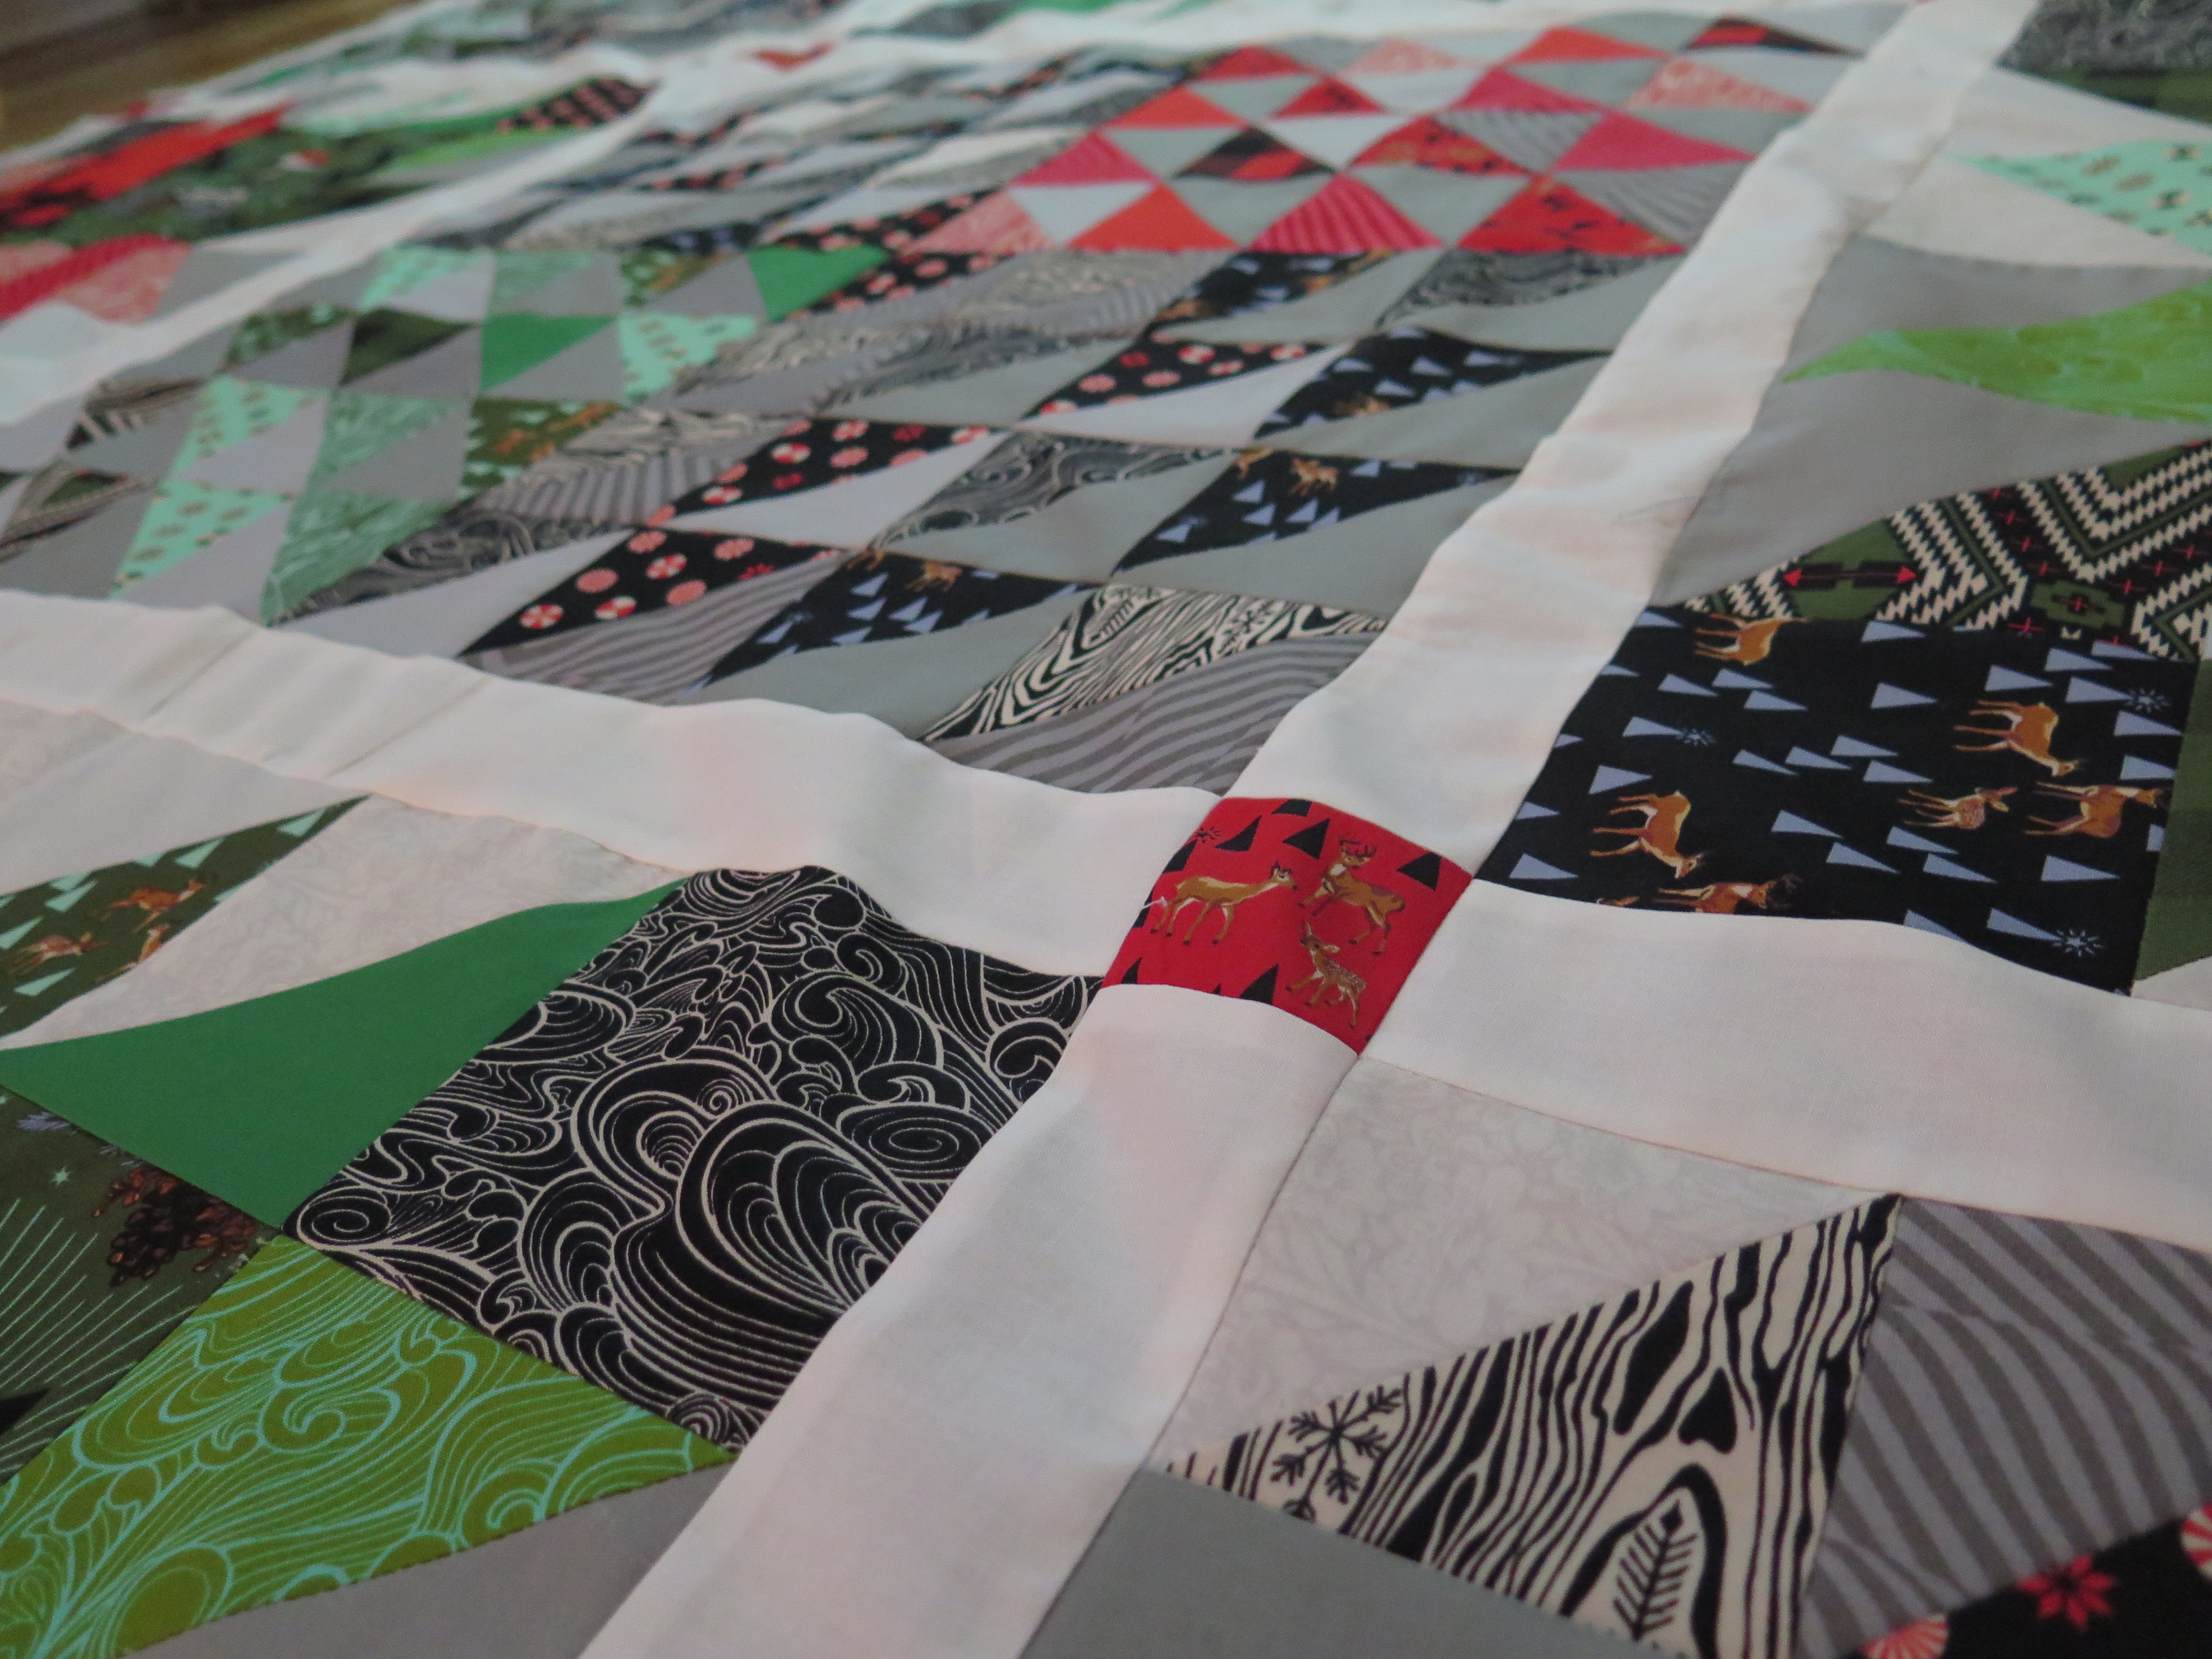
Time to baste this baby! Our quilt measures about 80″ square so we will need a backing that is a bit bigger than that. I made mine about 85″ square. Visit the first Quick and Easy Christmas Quilt post for a full materials list and to learn how to make and assemble the blocks.
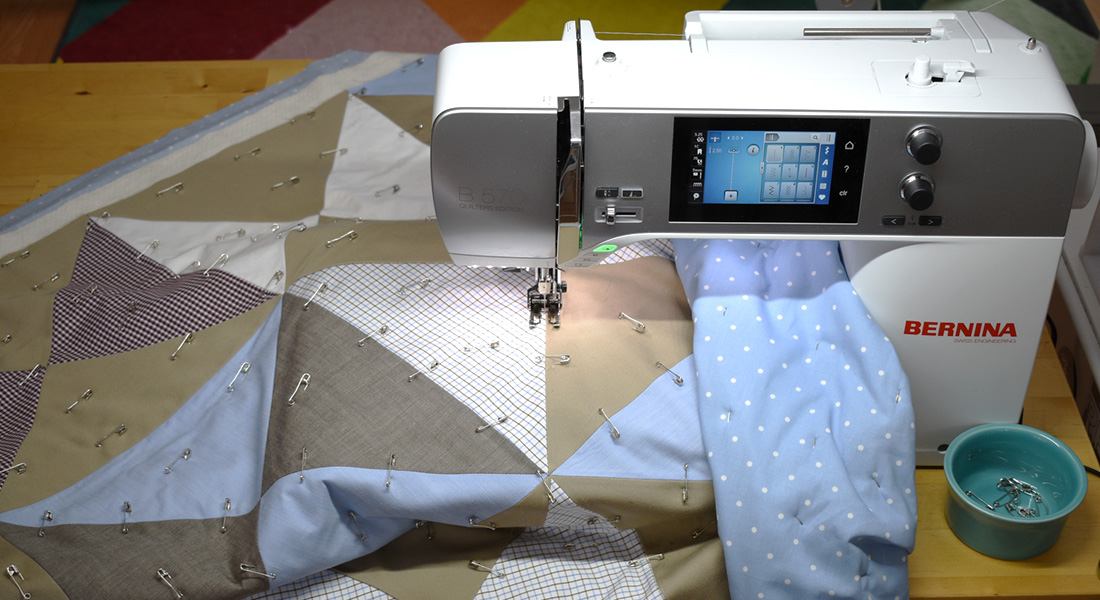
To baste, start by taping your quilt backing down.
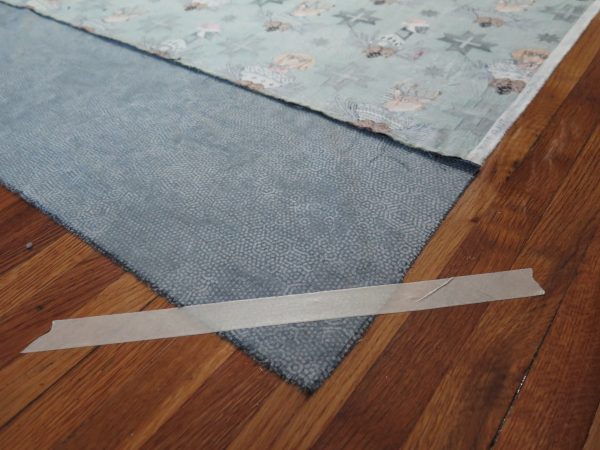
Using a spray adhesive, spray your backing and gently press out your batting. Careful not to stretch it too much.
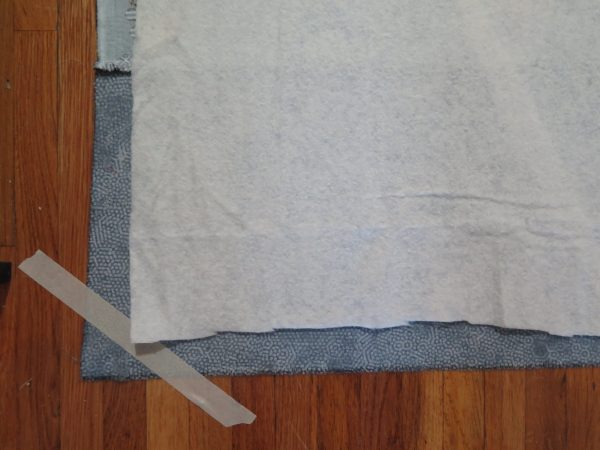
Now use your adhesive spray to baste your top to the batting.
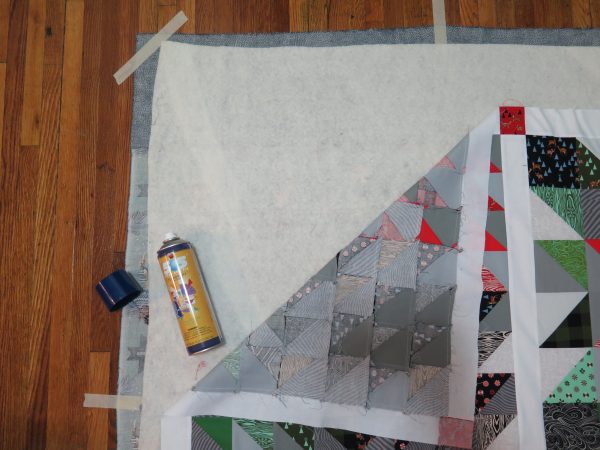
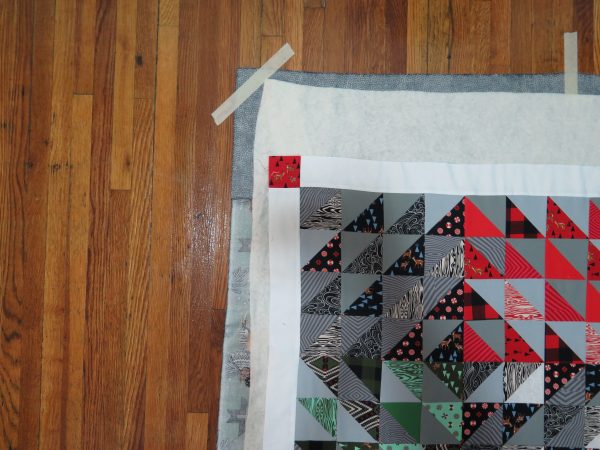
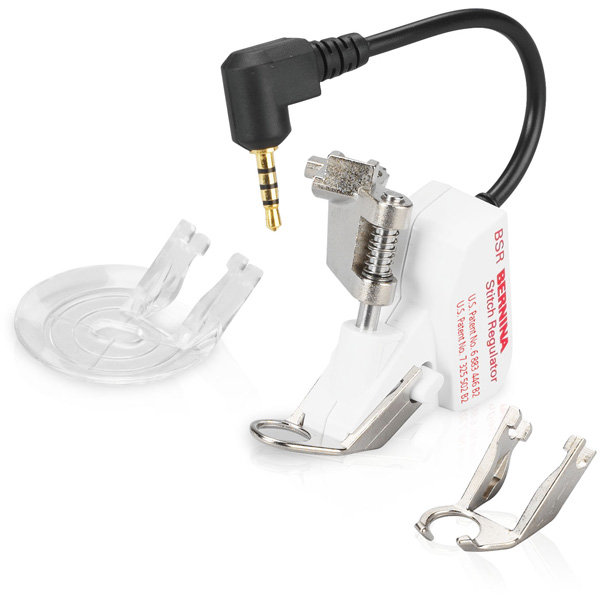
Time to bust out our BERNINA Stitch Regulator! I am not much of a free motion quilter. To be honest, the quilting part of making a quilt is the part I dread most. I love making quilt tops and binding, but hate the process of quilting. My New Year’s resolution is to try more FMQ. I figured this quilt was a great place to start.
I wanted the quilting to have a nice flow since the blocks are so geometric. I decided on a whimsical free motion vine.
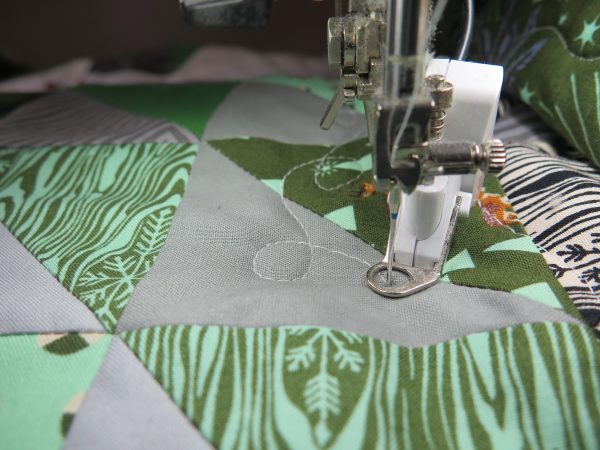
I didn’t want to do anything too complicated. I wanted the blocks and color to speak for themselves. But I did want to add a good amount of texture to the quilt.
Add your BSR to the machine. Drop those feed dogs! I used the manufacturer settings on the machine with the closed sole foot. I love this video from BERNINA about the BSR.
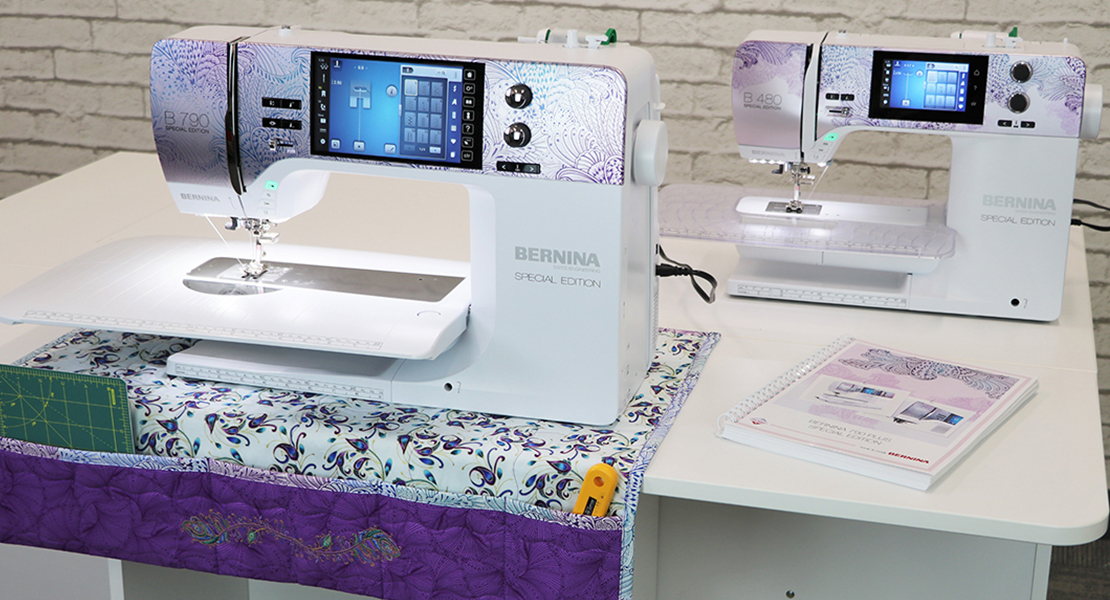
I like to start from one side of the quilt and work my way across. Some people like to start at the center and work out, then flip the quilt and work the other direction. I find I always end up with a quilt that is slanted when I work that way. So I work across. The 770 QE has such a good size throat there is plenty or room if you roll your quilt up nicely.
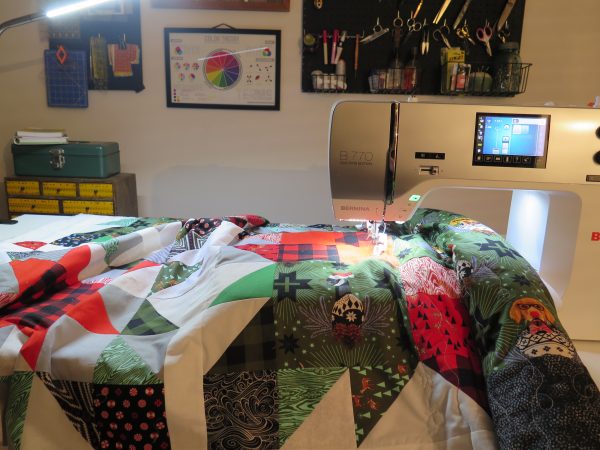
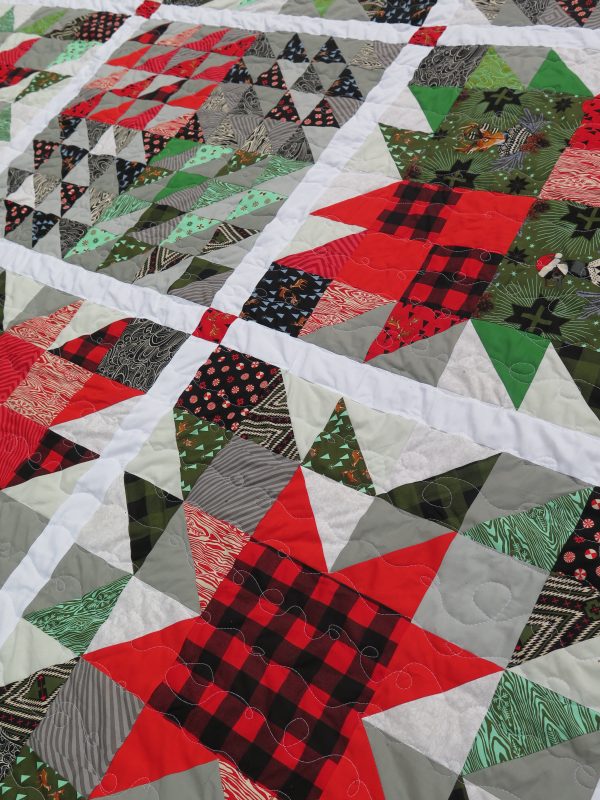
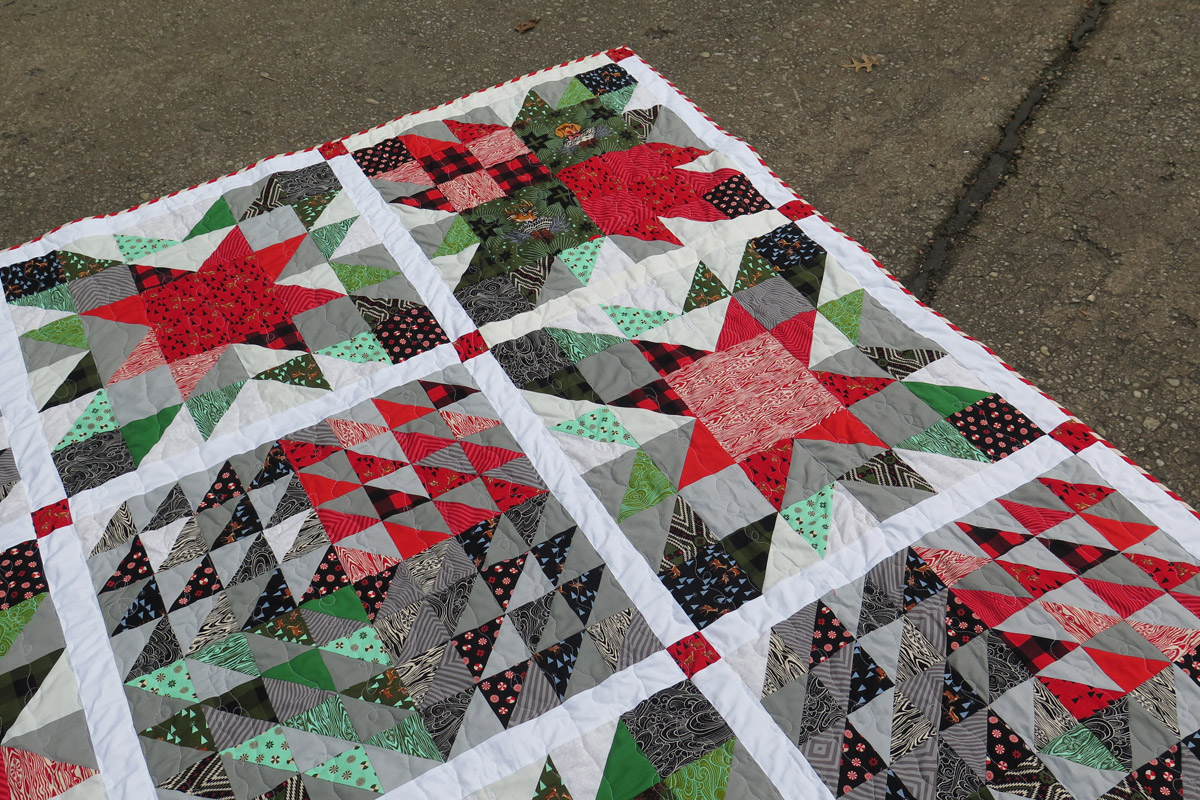
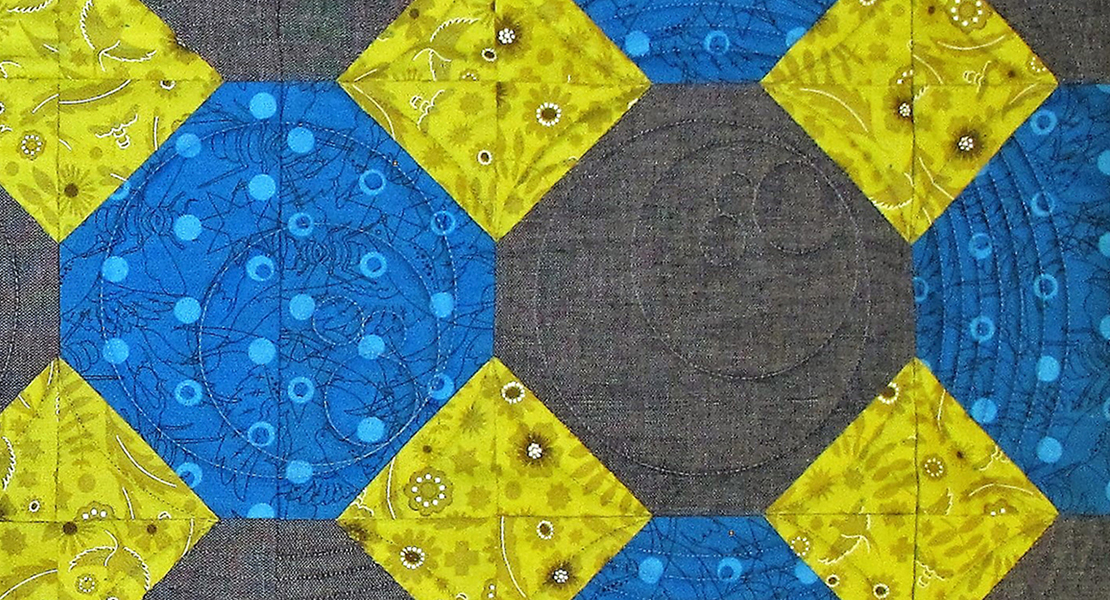
Pour yourself a cup of coffee and start playing! I did a simple wavy line down down each seam of the quilt, spinning and twirling to get some loops and wonky circles.
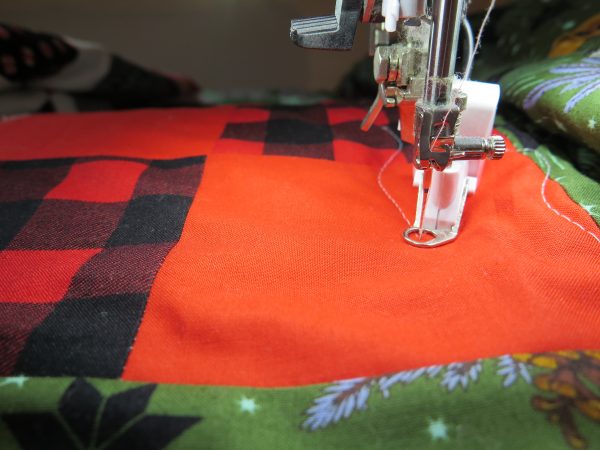
When I would finish 2 seams down the length of the quilt, I would go back and do another line between the two. Each of my sticthes would up being about 2 inches apart or so.
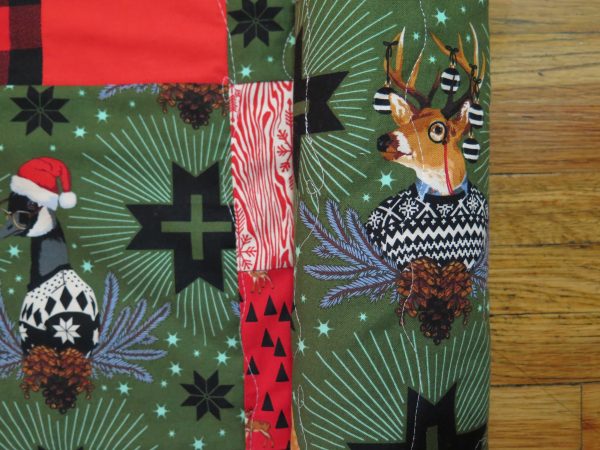
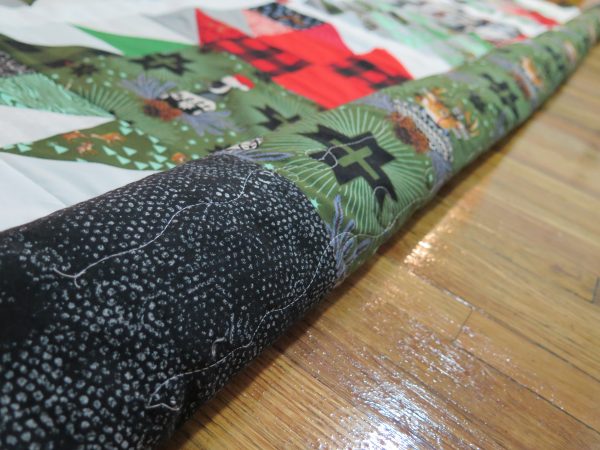
Work your way down the width of the quilt.
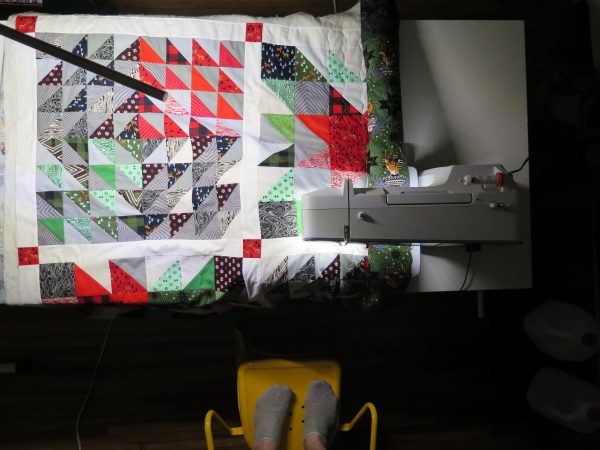
When you are done, trim away the excess batting and backing. I love this part. This is where you really get to see how your quilting turned out.
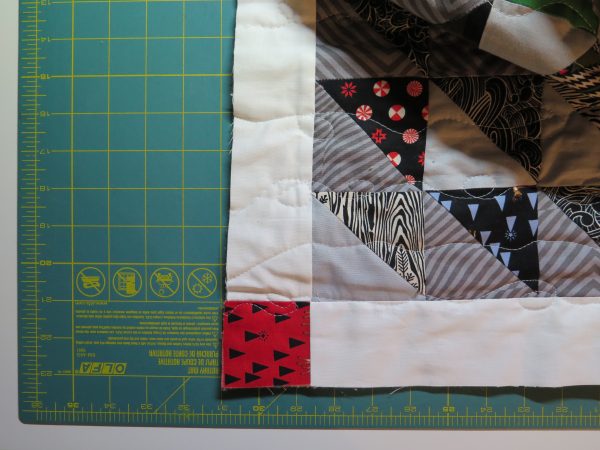
Binding time. My favorite step in any quilt. Because it means you’re almost done!
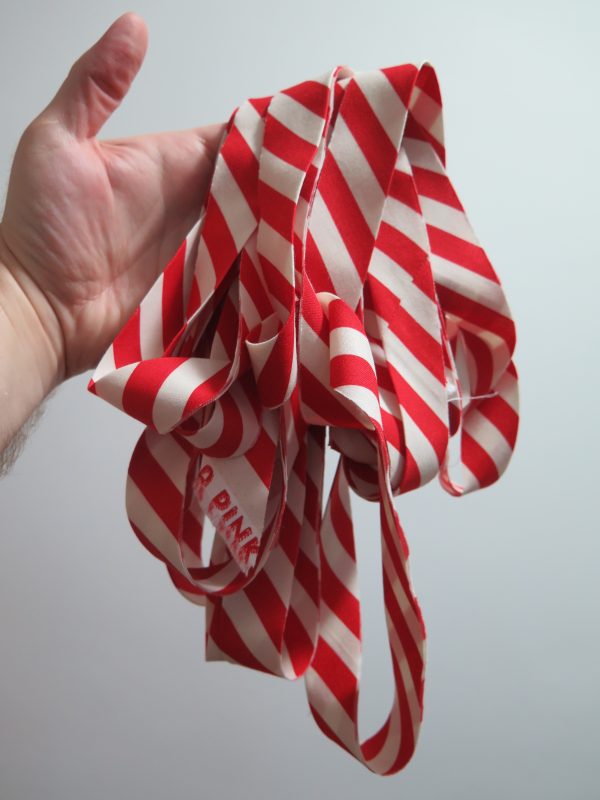
I had a yard of this awesome striped fabric from Tula Pink’s Tabby Road. I cut it on the bias to make a candy cane binding. You can use bias binding or straight edge binding. Whatever your prefer. The quilt is about 80″ square so you will need about 340″ of binding (I like to make a little extra).
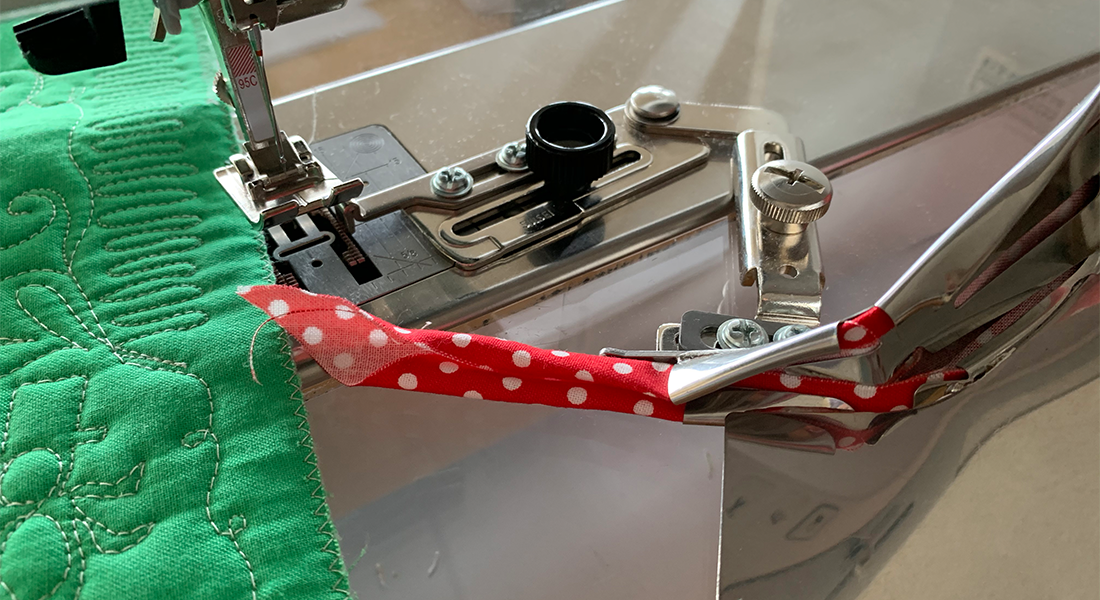
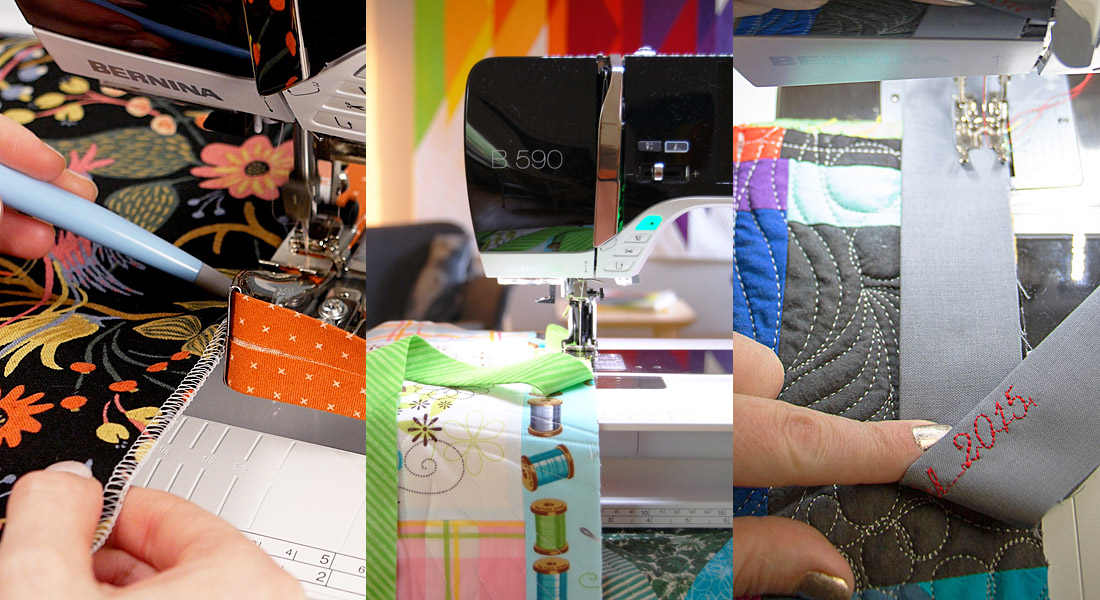
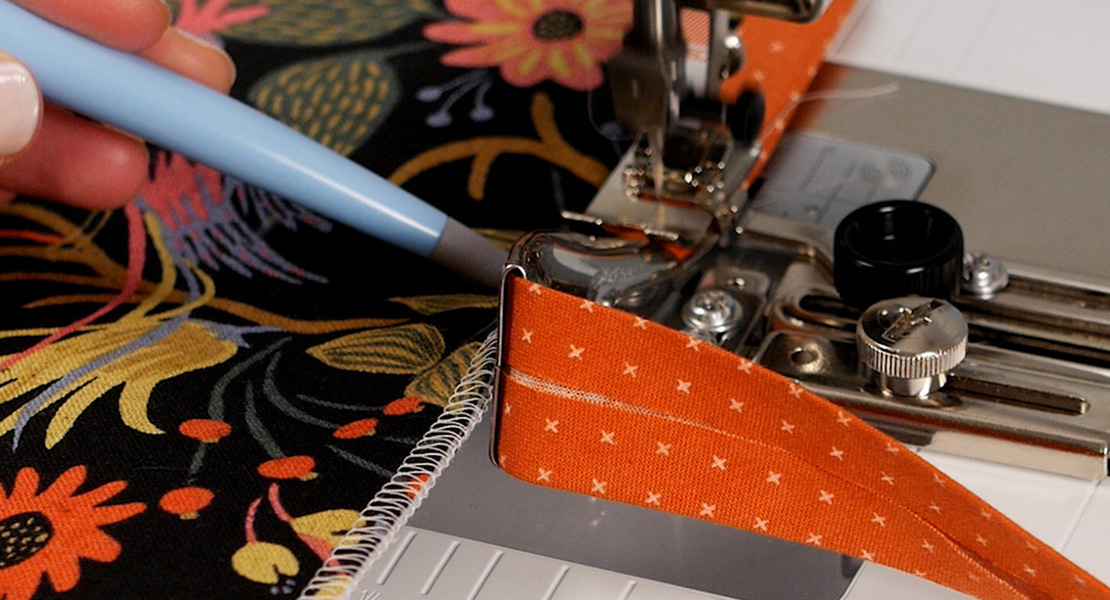
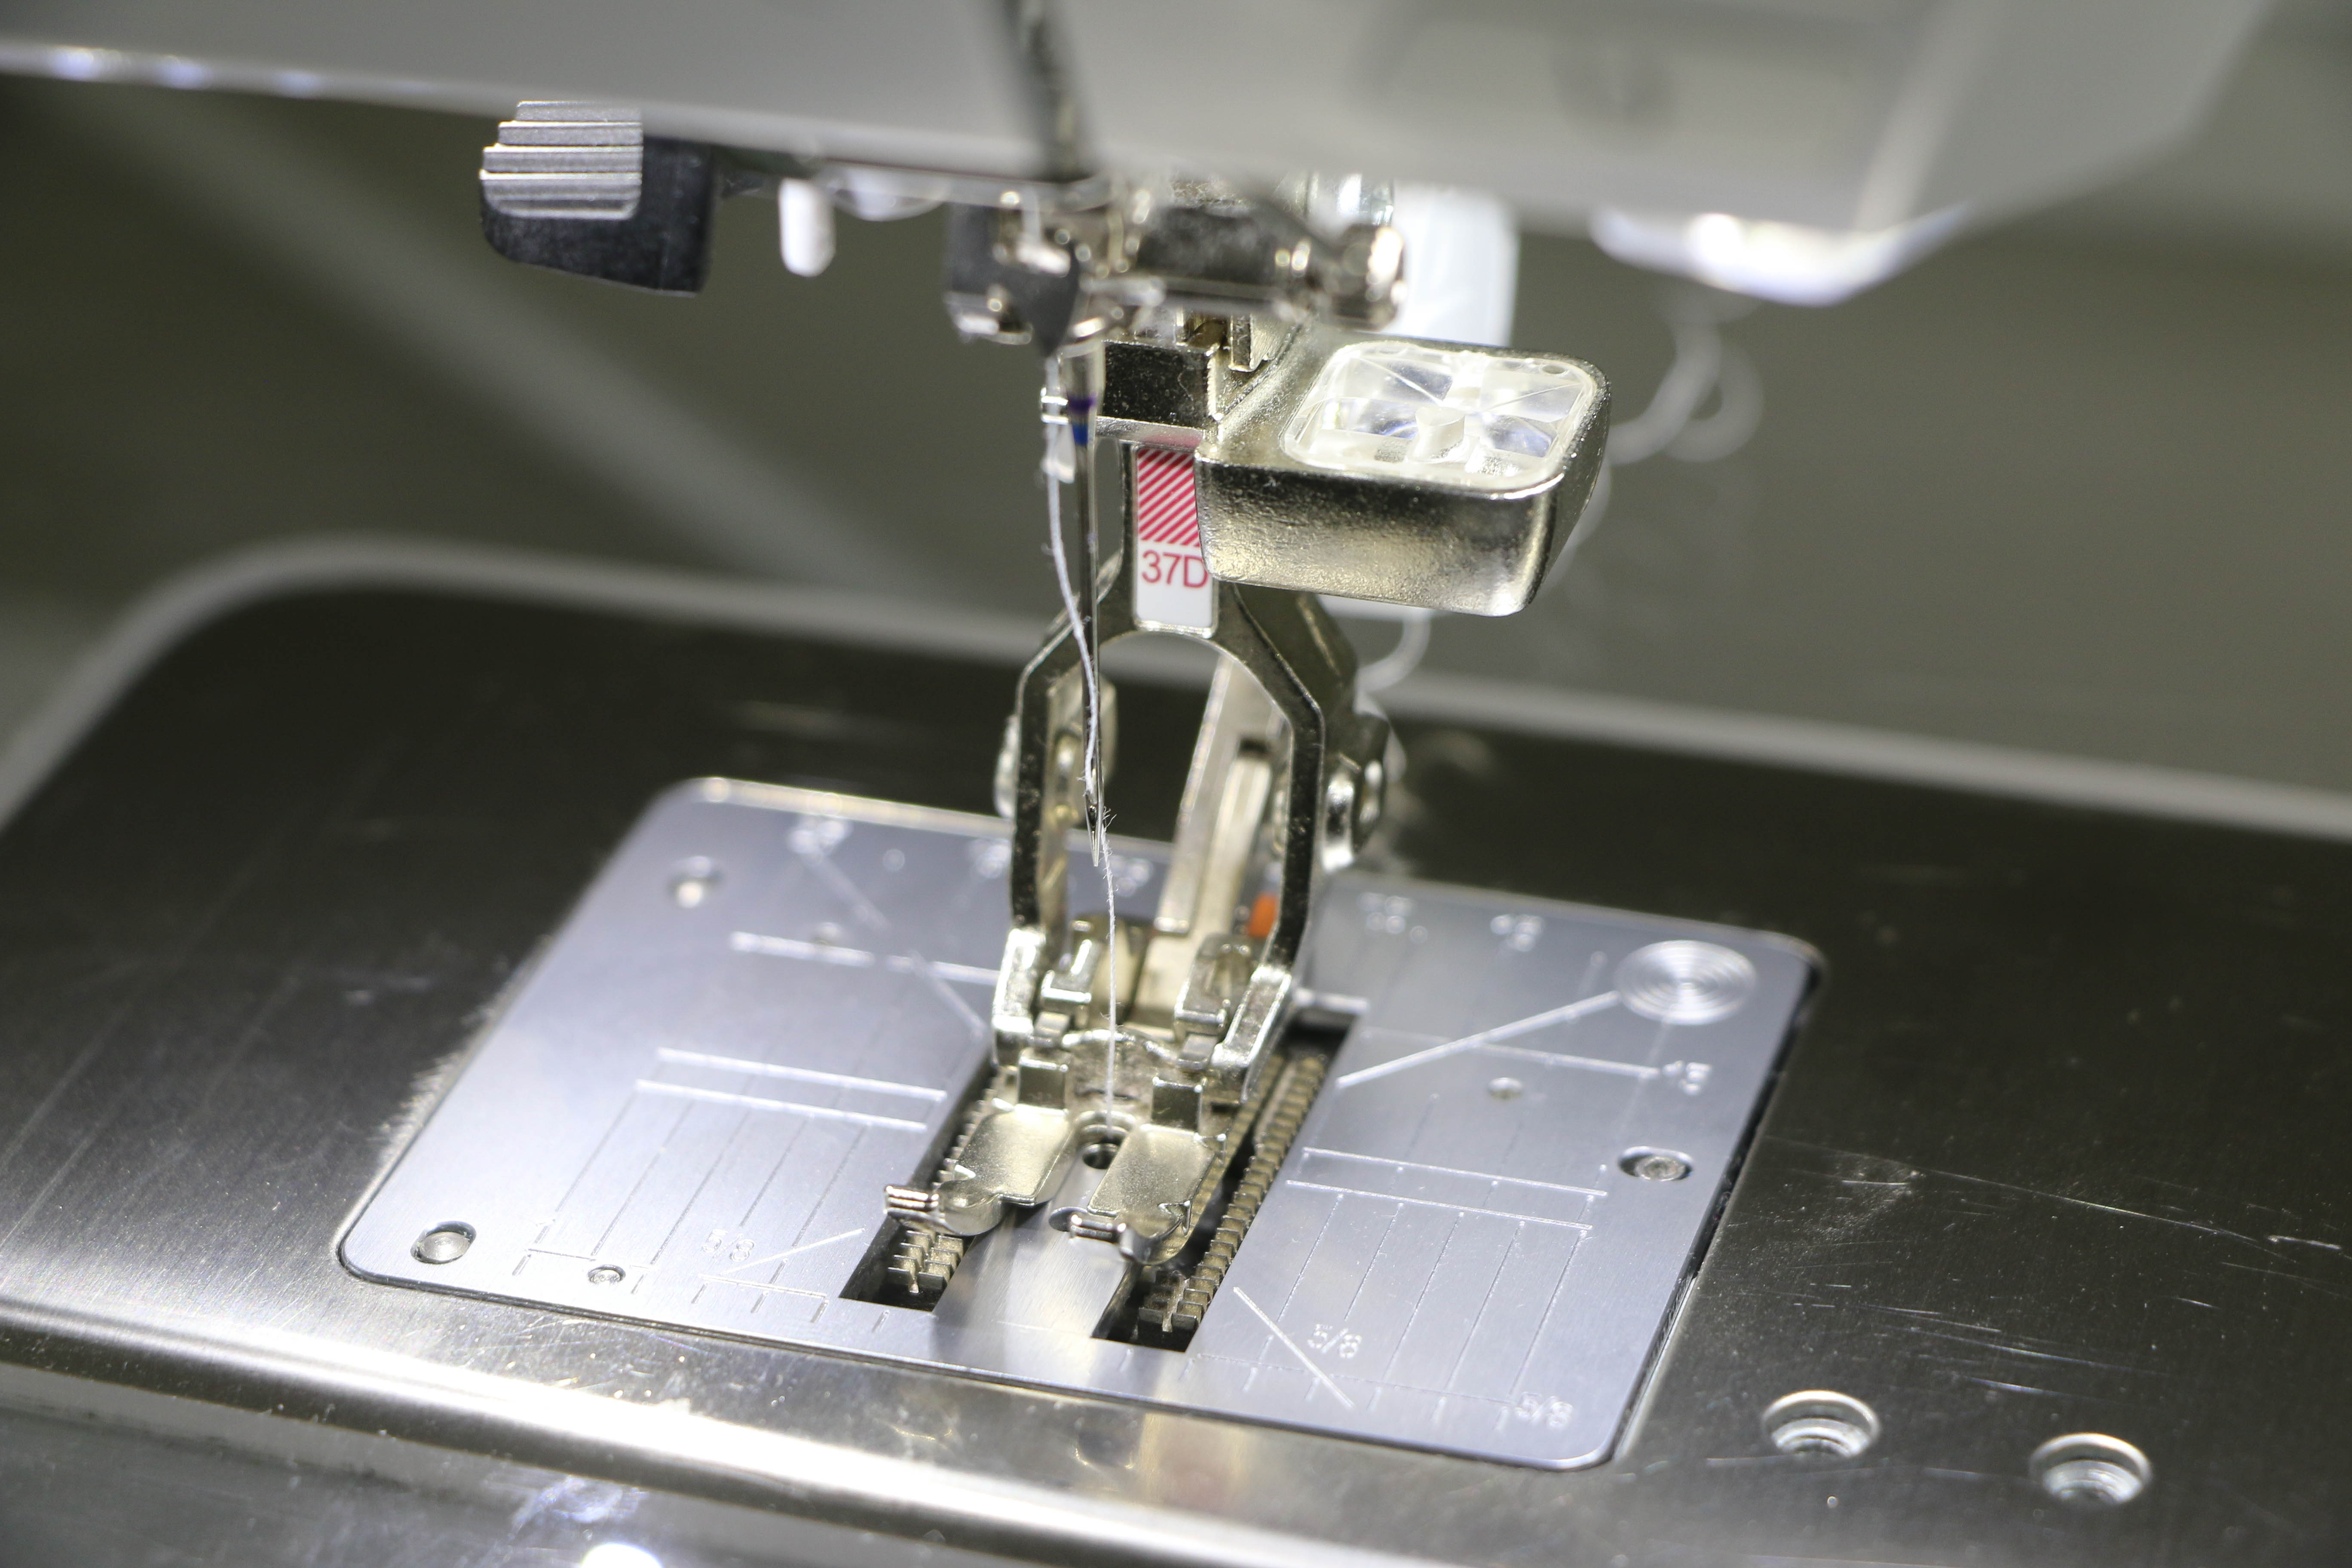
Replace your presser foot with a standard Reverse pattern foot #1D and lift up your feed dogs. I moved my needle to the 3 position to get a 1/4″ seam when sewing my binding onto the quilt, using the edge of the presser foot as my guide.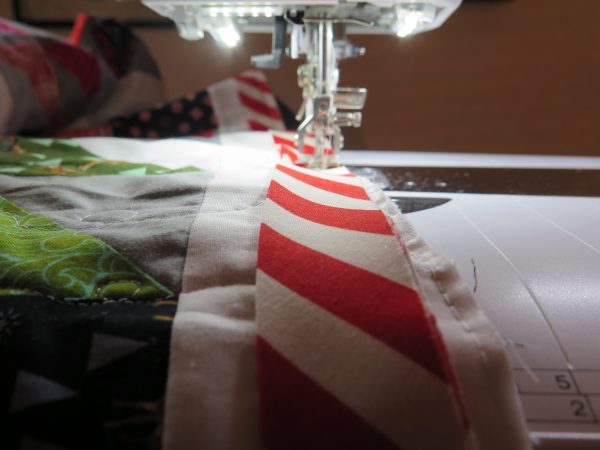
For an in depth look at how I bind my quilts, check out another one of my BERNINA turorials: Take a Big Step Baby Quilt. In that tutorial you will see how I get perfect mitered corners, and hand bind my quilts.
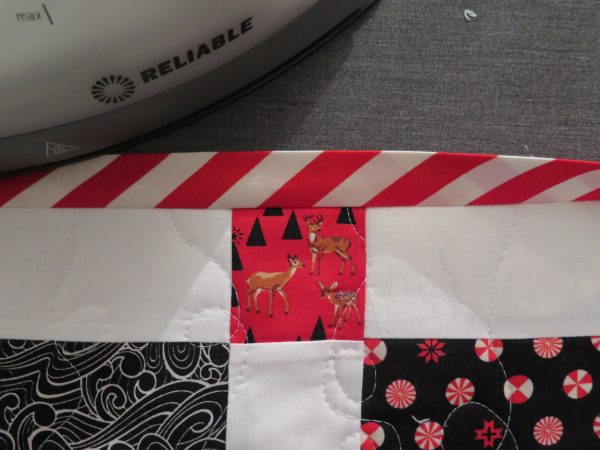
And you are DONE!
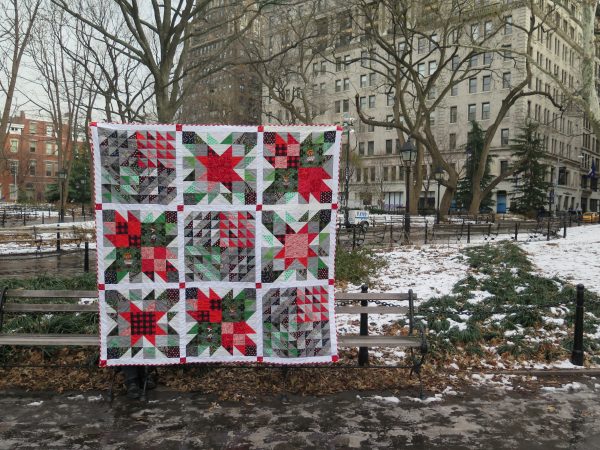
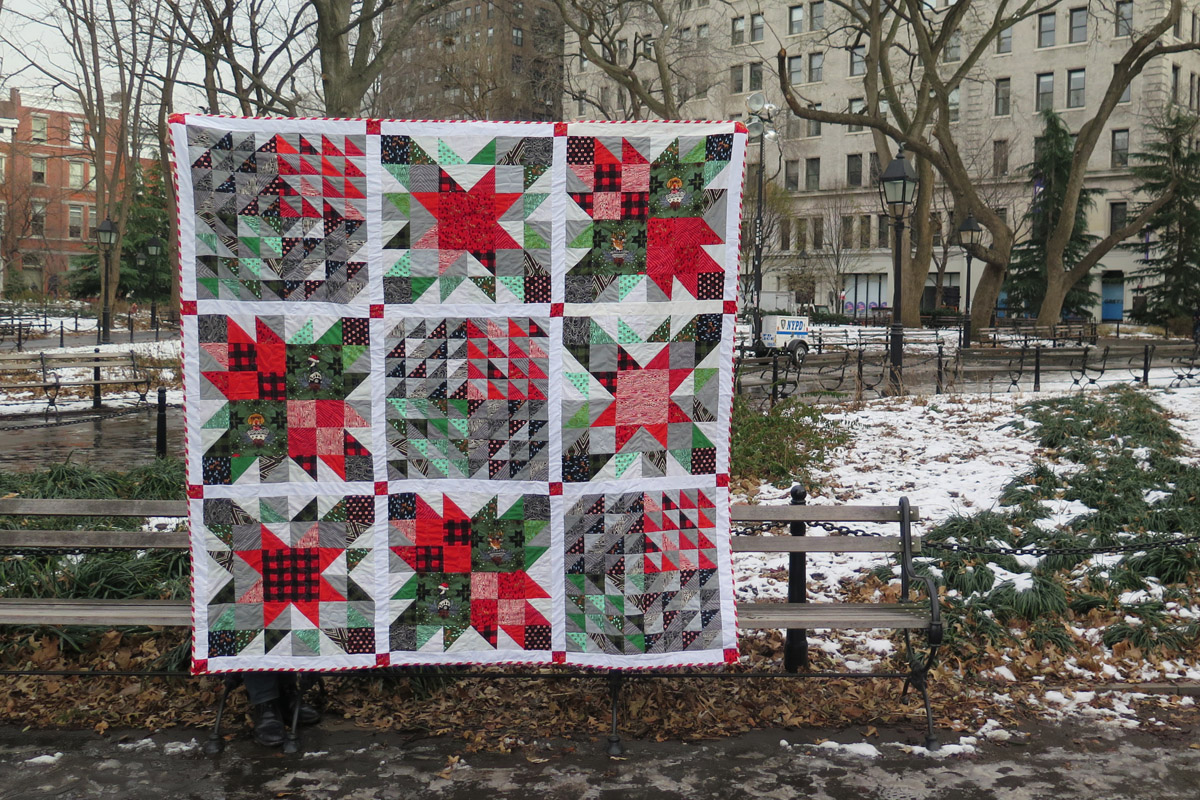
Good looking quilt, right?!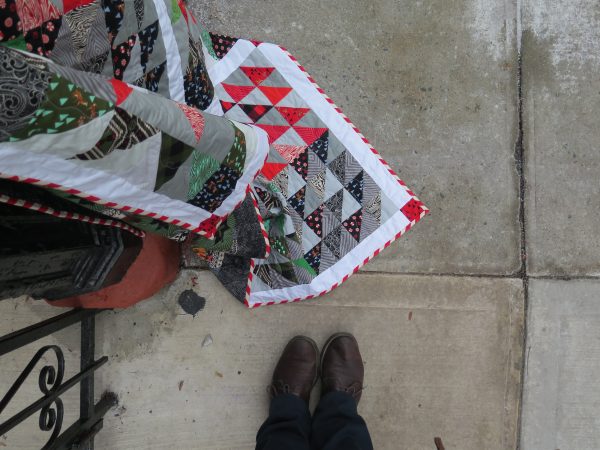
Gotta love that striped binding!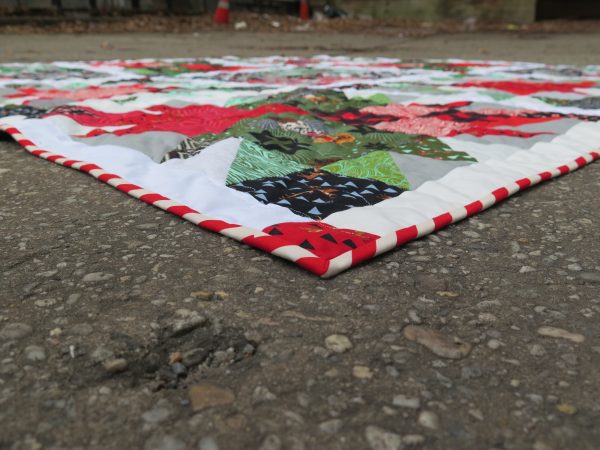
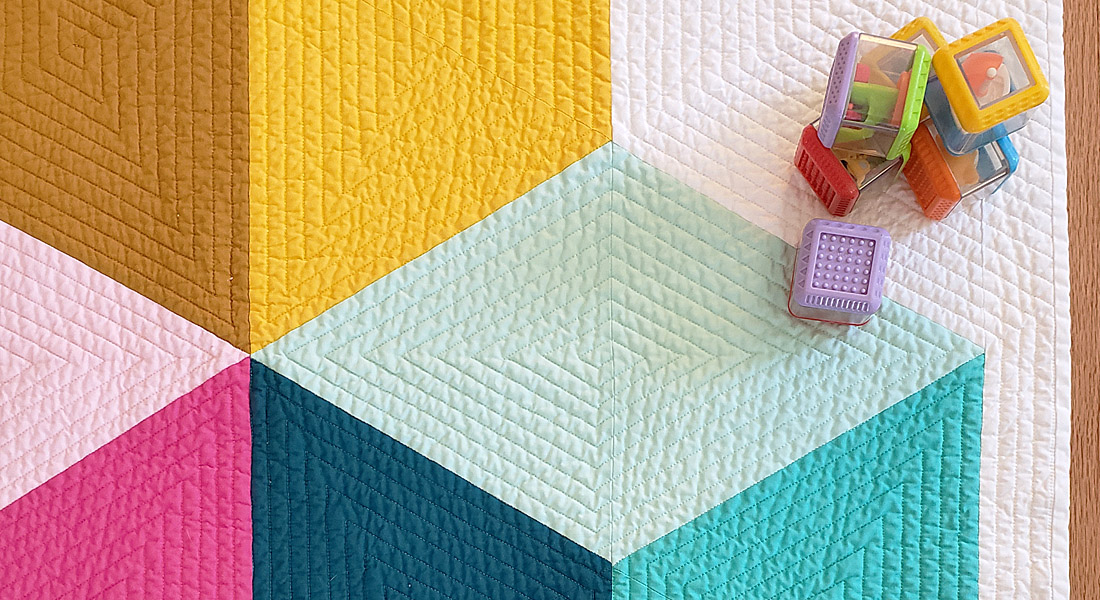
I love how the quilting turned out on this project, simple and effective. A good compliment to the geometric nature of the blocks.
I think this is such a fun and festive project. But this quilt would look great with any fabrics! Solids, your favorite designer’s new collection, a mix of a whole bunch of fabrics. There are so many options!
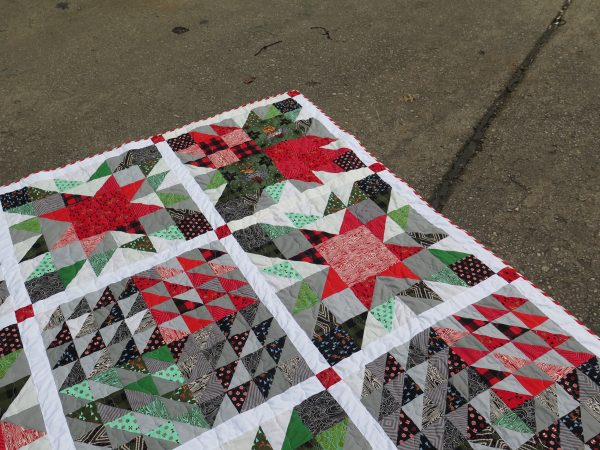
Thanks so much for checking out this series of tutorials. Can’t wait to see what you make. Happy Holidays!
What you might also like
One comment on “Quick and Easy Christmas Quilt: Quilting and Binding”
Leave a Reply
You must be logged in to post a comment.




Hi,
what fabric did you for the backing and how much? thanks!