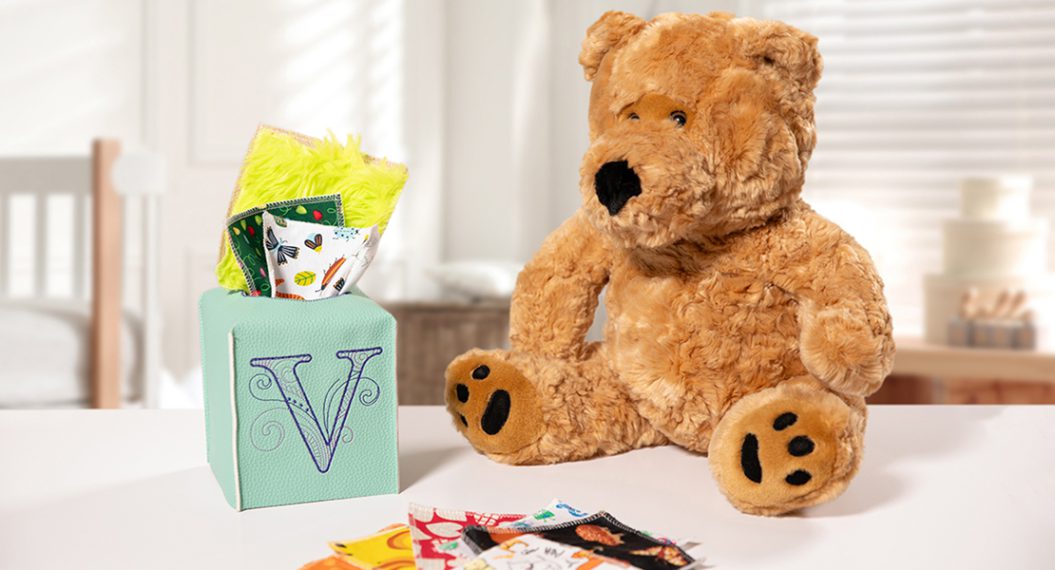
Sensory Box Toy for Baby, Part Two
In Sensory Toy Box for Baby, Part One, I gave you directions for making your pattern and getting your embroidery and cutwork designs ready. Click HERE to review the instructions and the supply list. Did you have fun playing with your software?
Here, in Part Two, I will walk you through how to put everything together.
If this is your first time sewing on vinyl, you may be a little hesitant. Once you have tried it, you will have the confidence to stitch out more projects!
A note about needles: I used an 80/12 sharp embroidery needle for the embroidery and 80/12 Microtex needles for the sewing and serging.
Step 4: Cutting Out the Box
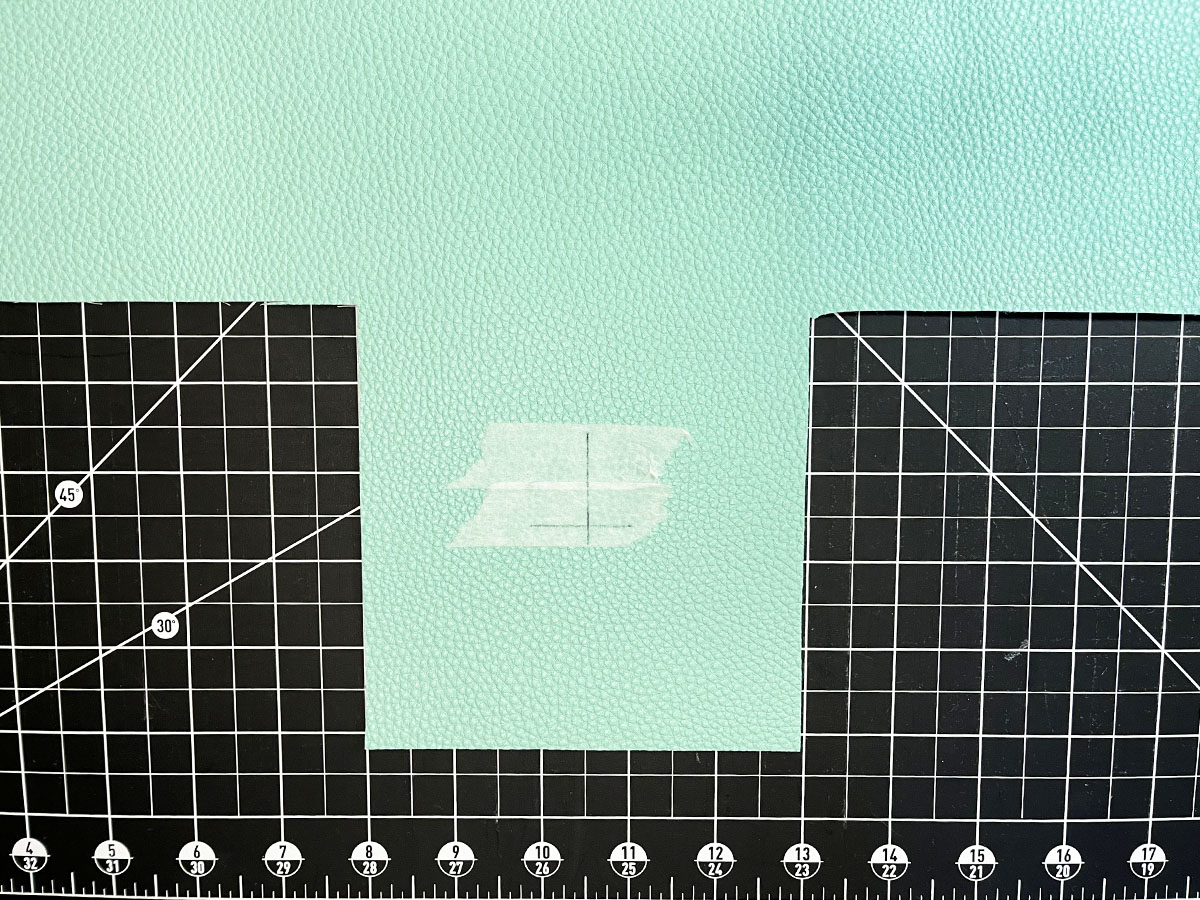
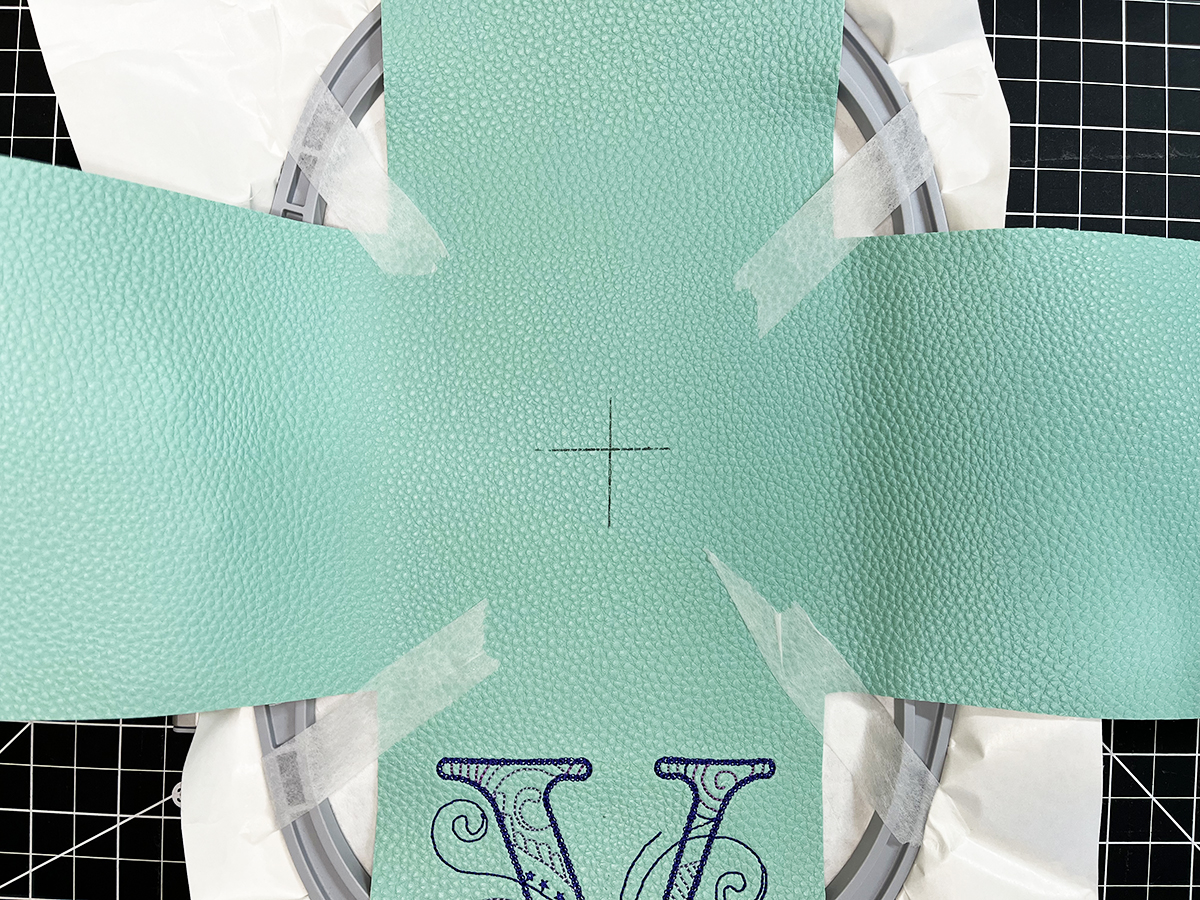
Cut out a square of vinyl according to your pattern measurements. Mine is 15″ square. Cut a matching size of Pellon Shape-Flex. Using a hot, dry iron, fuse the Shape-Flex to the wrong side of the vinyl, using a pressing cloth. Do not press on the right side of the vinyl! Test on a scrap if you are unsure of your iron settings for your vinyl. The Shape-Flex adds a little body to the vinyl.
Draw lines 5″ apart to make a grid on the wrong side of the vinyl/interfacing square. Cut out the corner squares.
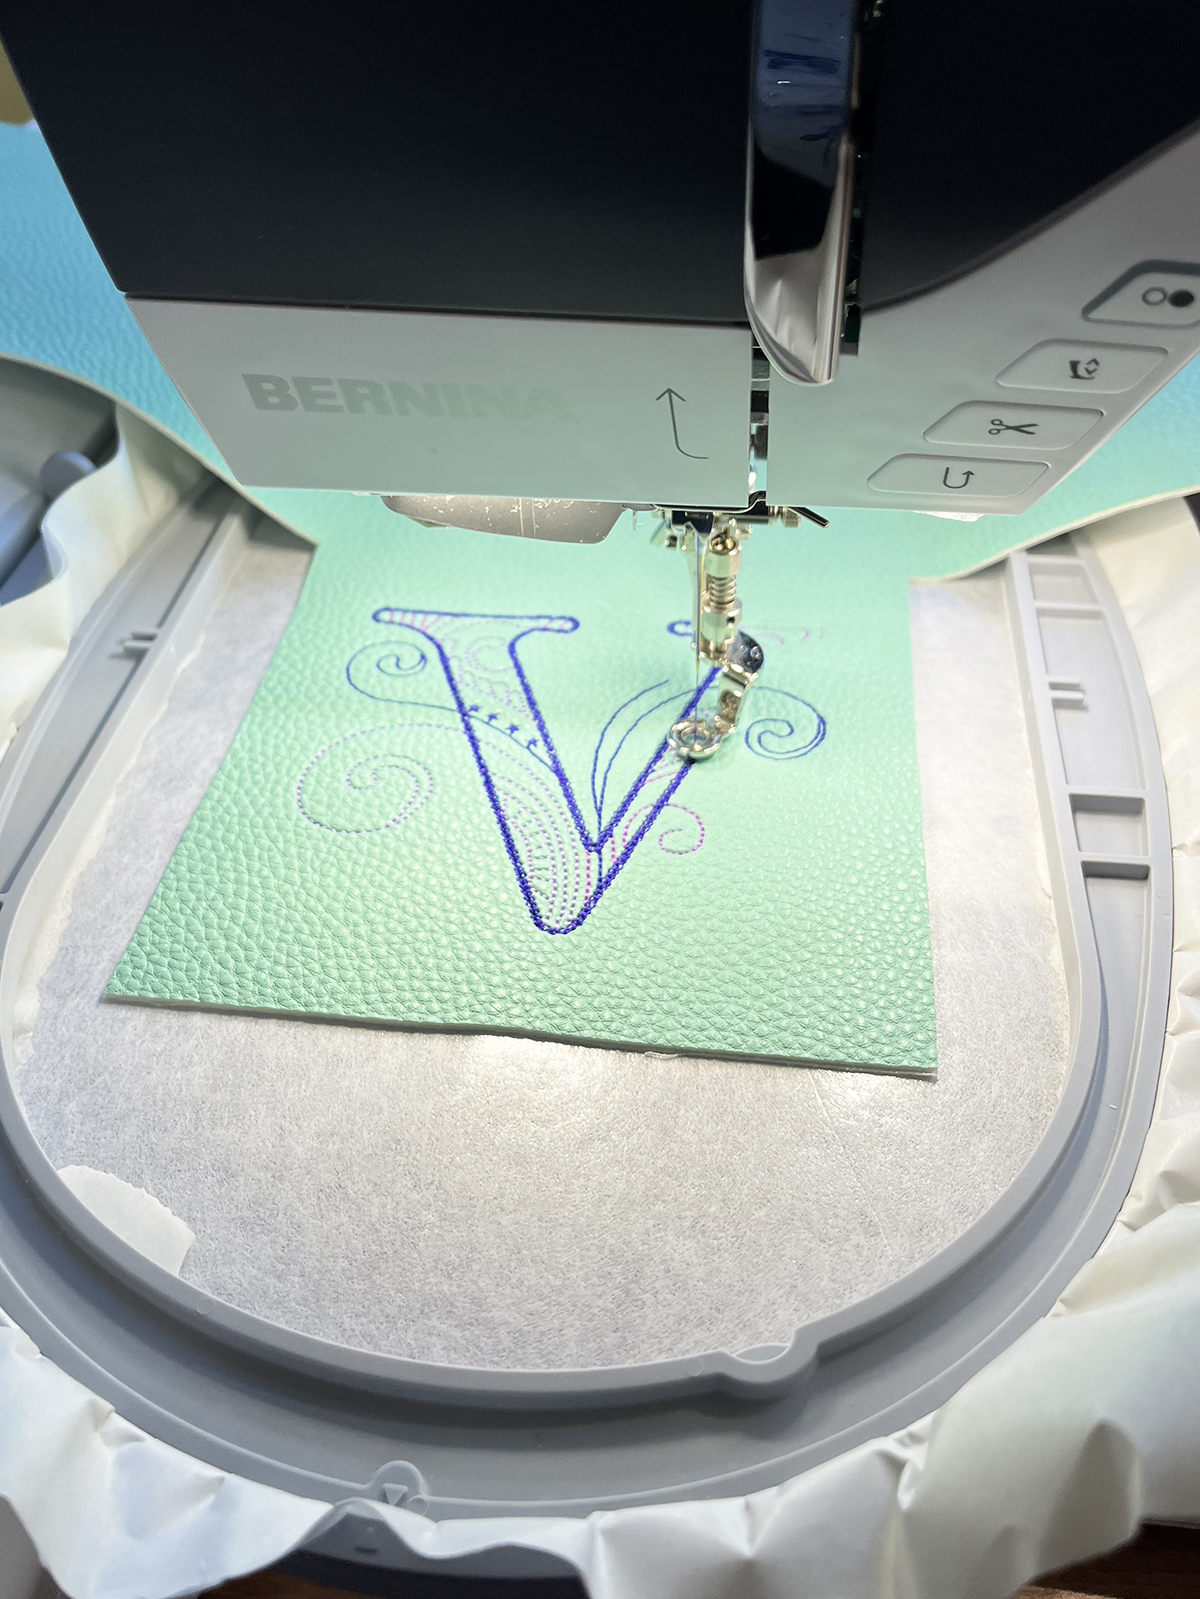
Step 5: Embroider the Letter
Mark the center of one of the side panels. I put some tape down and marked on that, since I didn’t want to leave a mark on the vinyl.
Hoop OESD StabilStick TearAway Stabilizer in the Large Oval embroidery hoop, paper side up. Remove the paper to reveal the sticky surface. Place the marked side right side up in the center of the hoop.
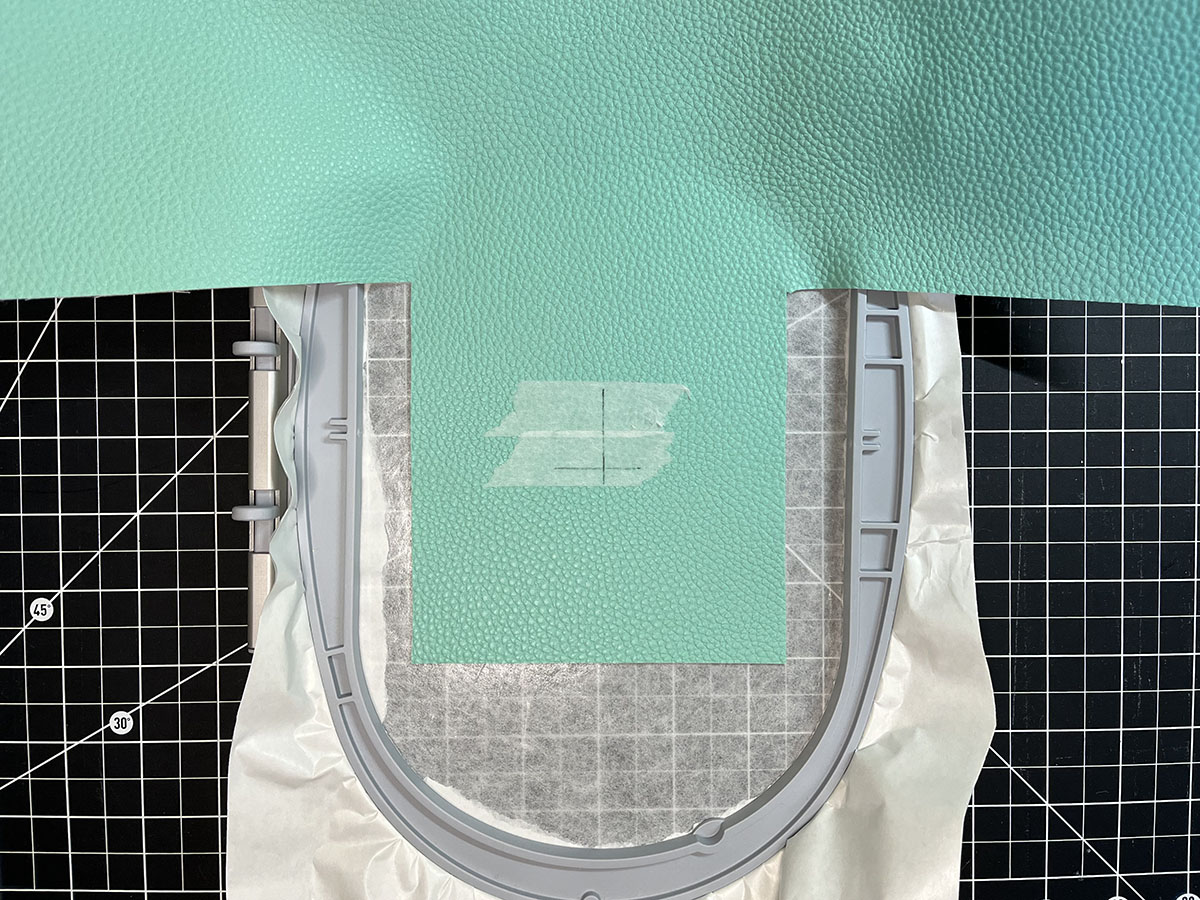
Open the letter that you saved. Using your machine’s positioning tools, center the design on the mark you made on the vinyl.
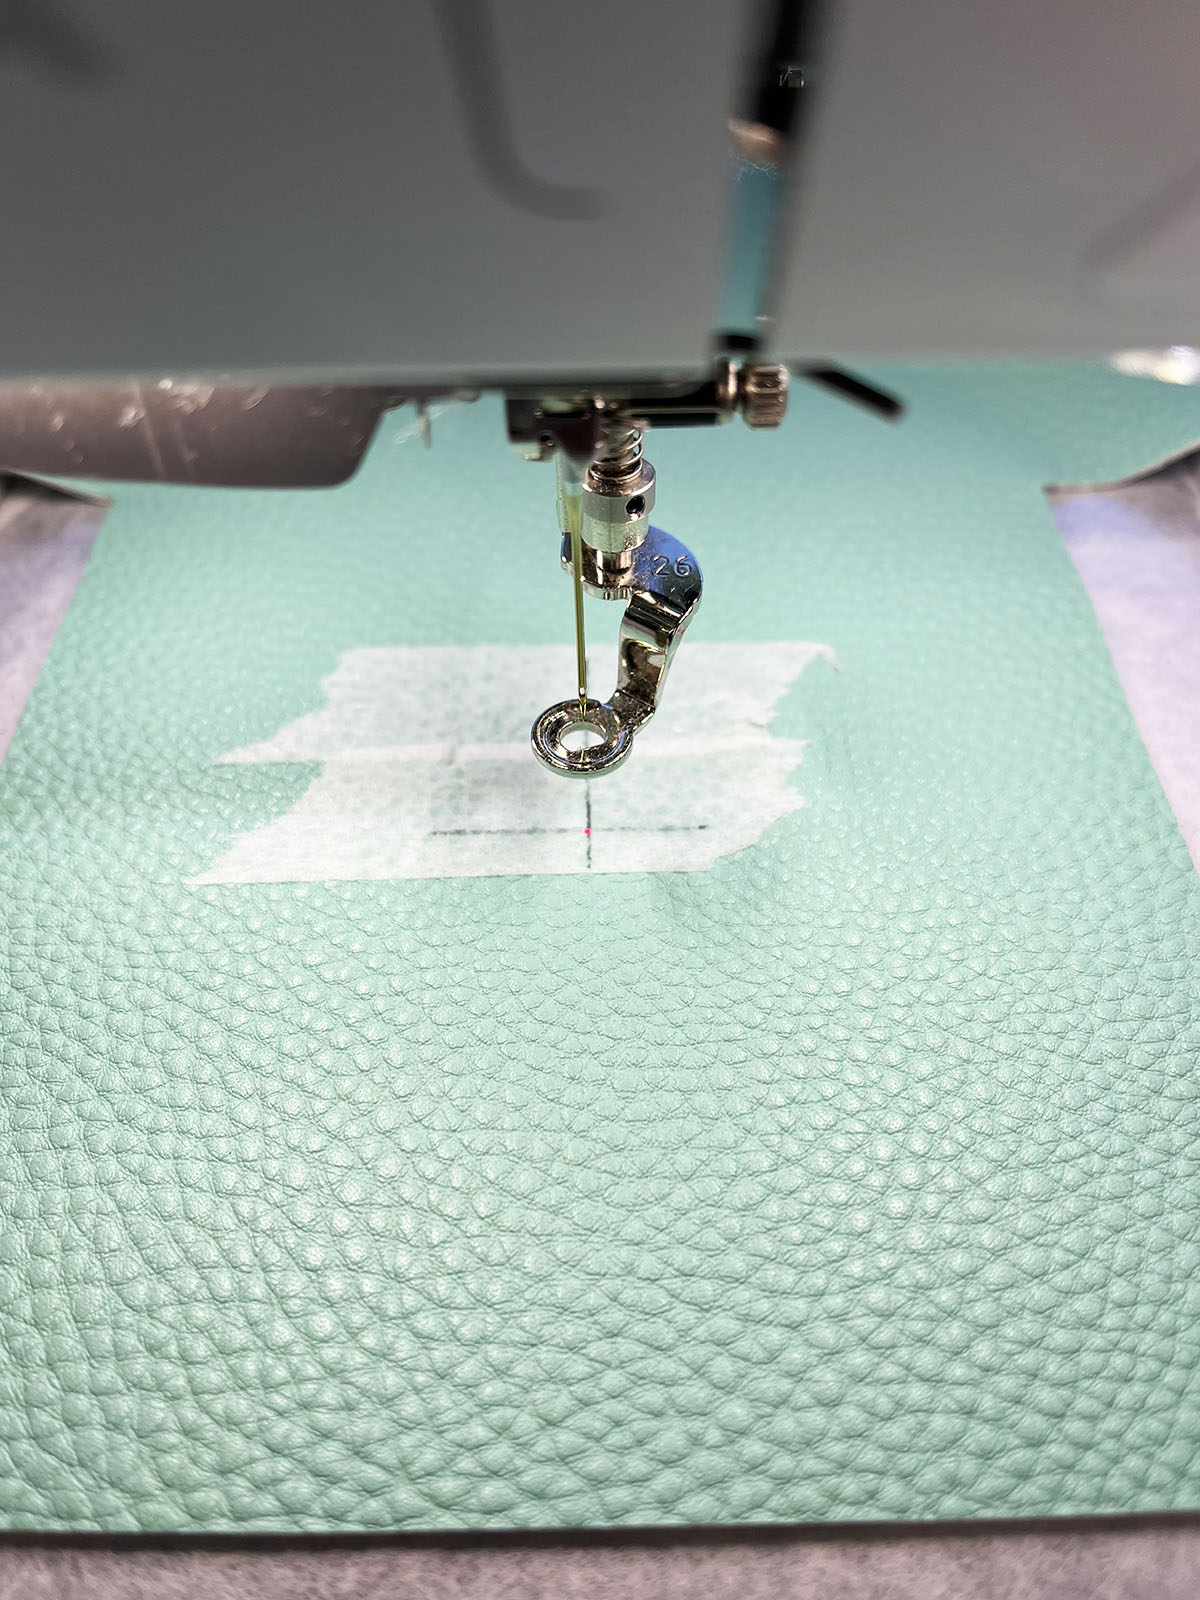
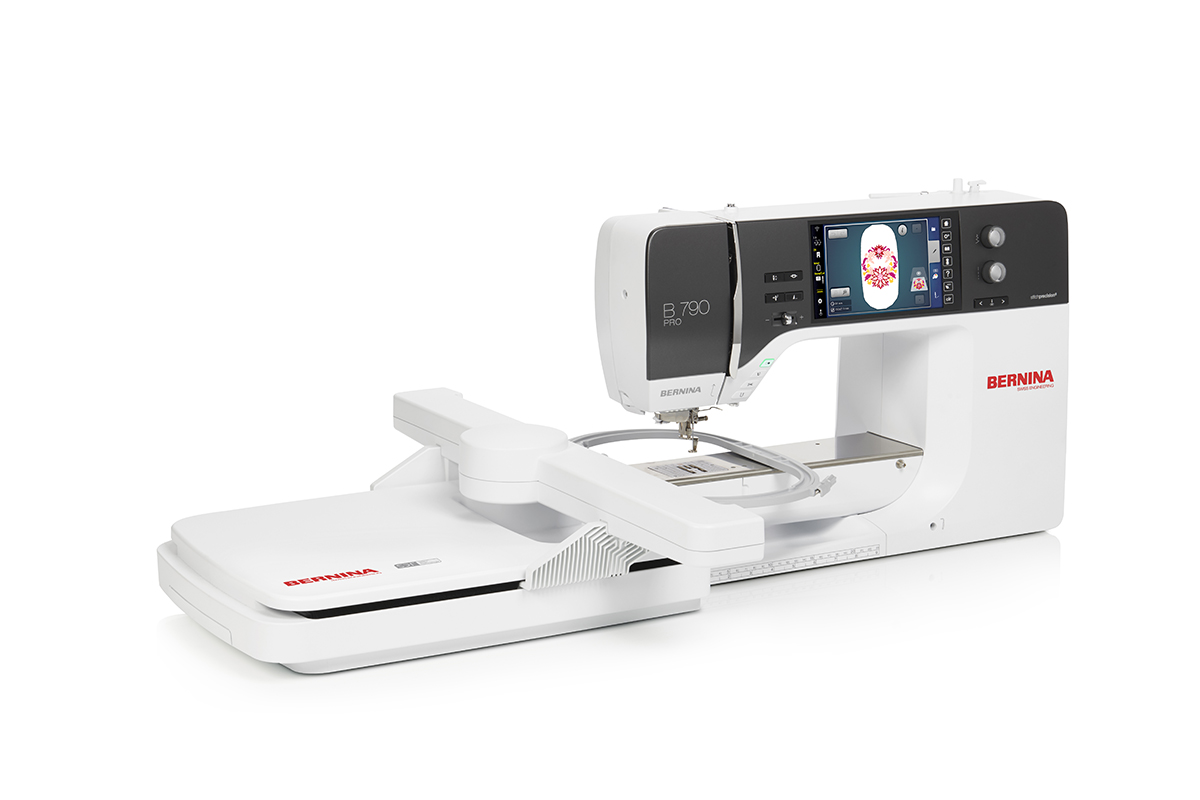
I love Pinpoint Placement on my BERNINA 790 PRO! It makes getting the design perfectly placed super easy!
Embroider the letter. Remove from hoop and remove excess stabilizer.
Step 6: Cut the Opening
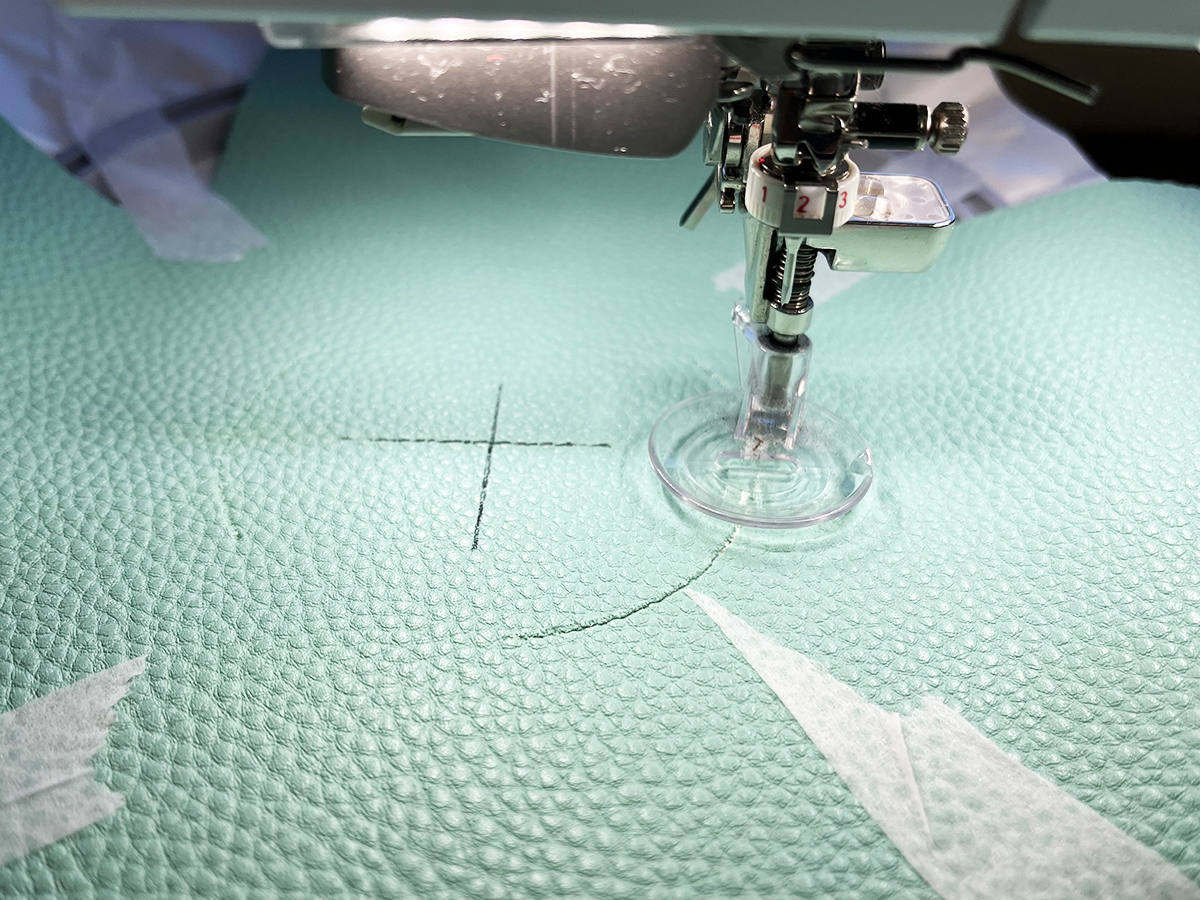
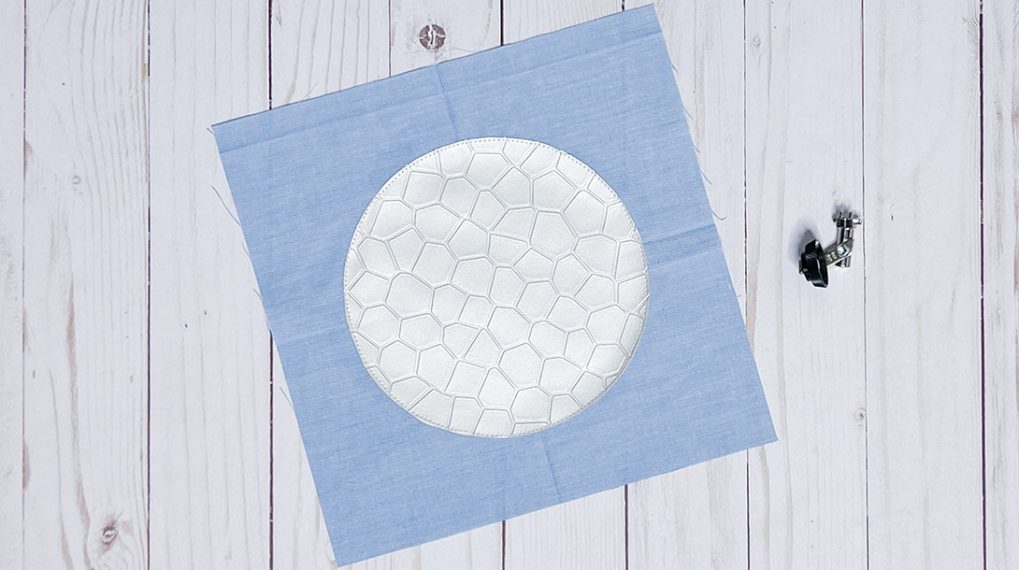
Mark the center of the middle square.
Hoop OESD StabilStick TearAway Stabilizer in the Large Oval embroidery hoop as before. Place the center square right side up in the center of the hoop. Use OESD Expert Embroidery TearAway Tape to hold the vinyl down. We will remove the hoop from the machine part way through the stitching, so this will keep everything more secure.
Open the cutwork circle design. Using your machine’s positioning tools, center the design on the mark on the vinyl.
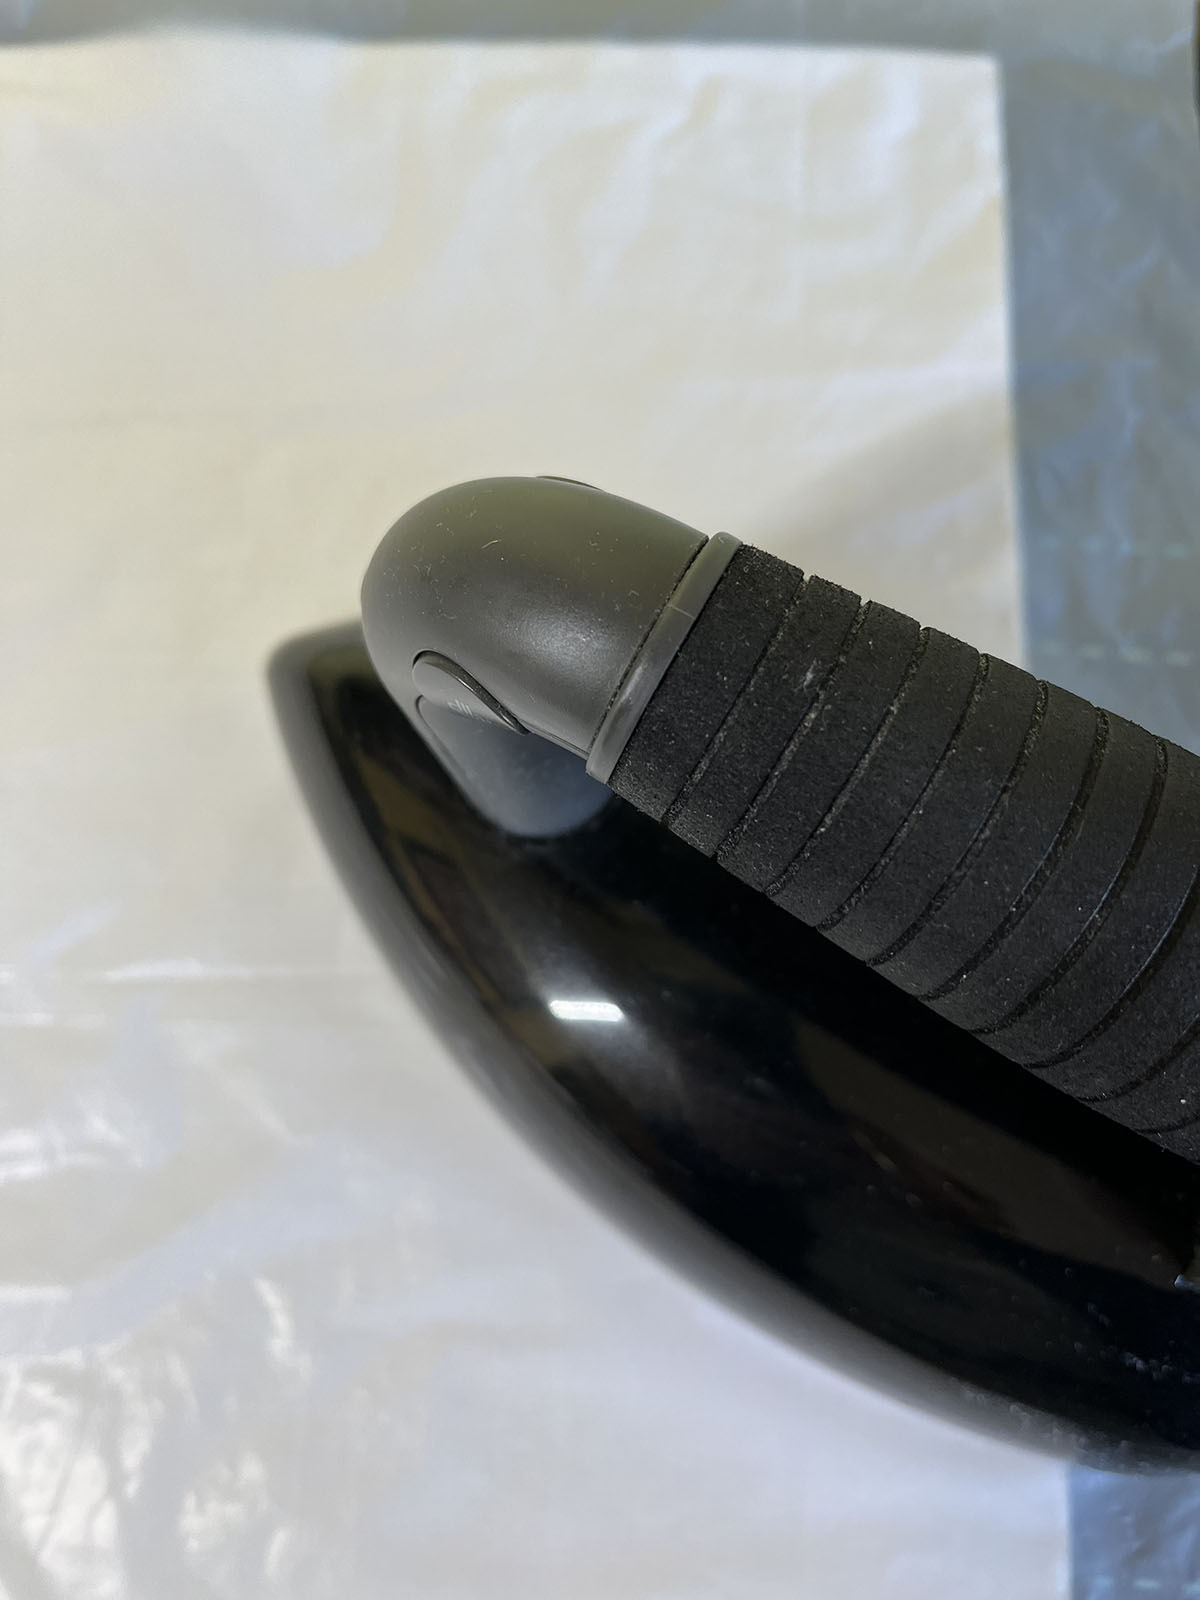
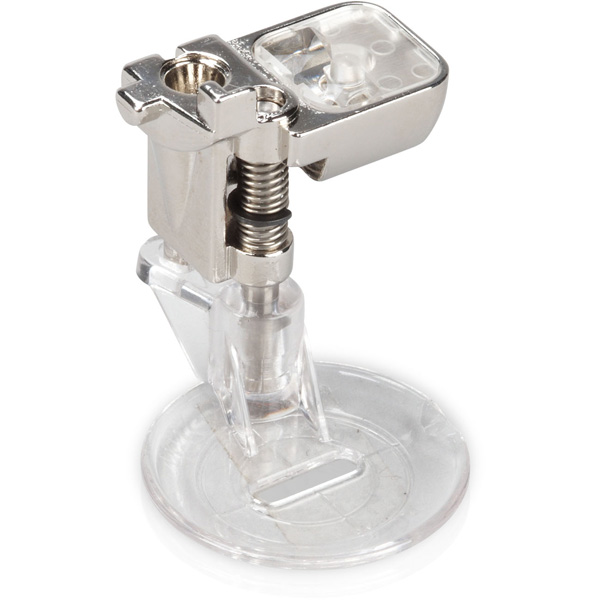
Insert the CutWork Tool and attach the Echo Quilting and CutWork Foot #44C. Cut the circle. The machine will stop at each cutting step to allow you to rotate the CutWork Tool through each of the four positions. I love watching this happen!
Before stitching the edges, carefully remove the hoop from the machine and remove the center circle that has been cut out. Place a square of OESD AquaMesh PLUS stabilizer on the back side of the hoop to fill in the opening. Be careful not to let the vinyl shift … aren’t you glad you used the tape?
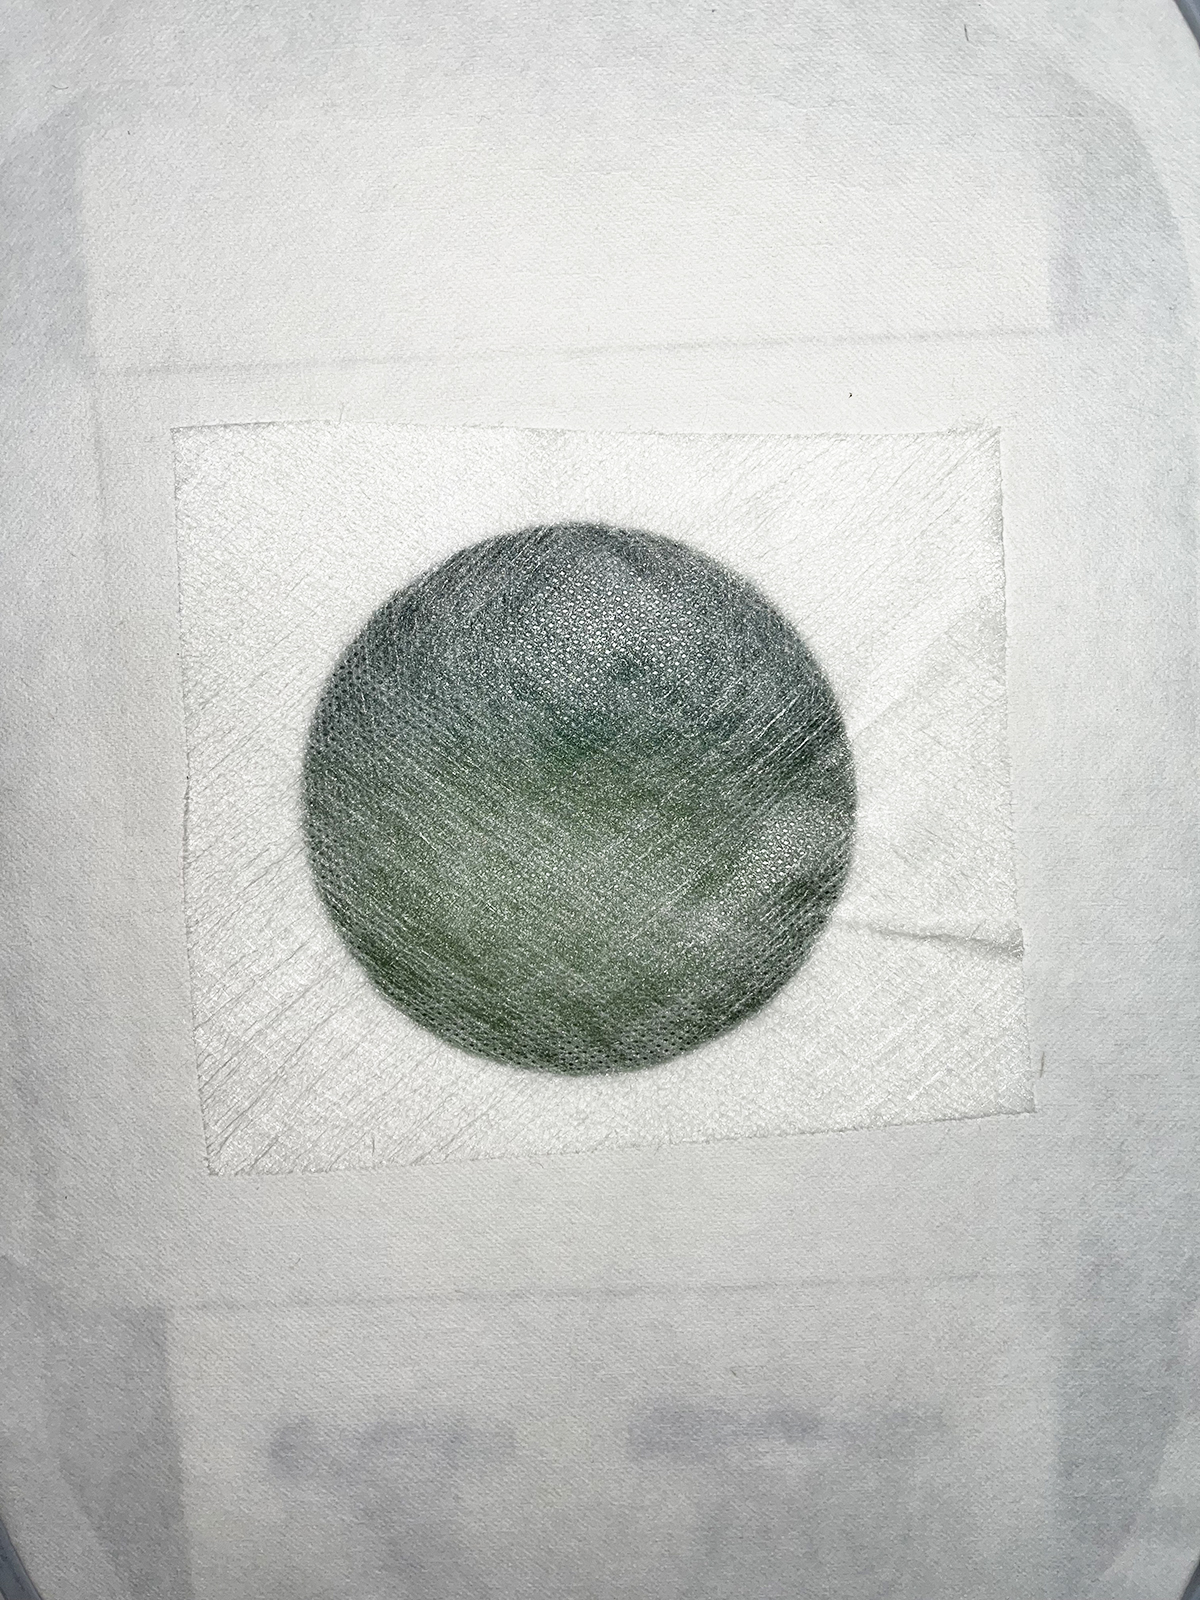
Replace the CutWork Tool with an embroidery needle and thread in one of the colors you used in the letter design. Stitch the border of the hole.

When the design is complete, remove from hoop and remove excess stabilizer. Use warm water to remove any remaining AquaMesh and allow to dry.
Step 7: Sew the Box
To assemble the box cover, align the side edges and hold with clips.
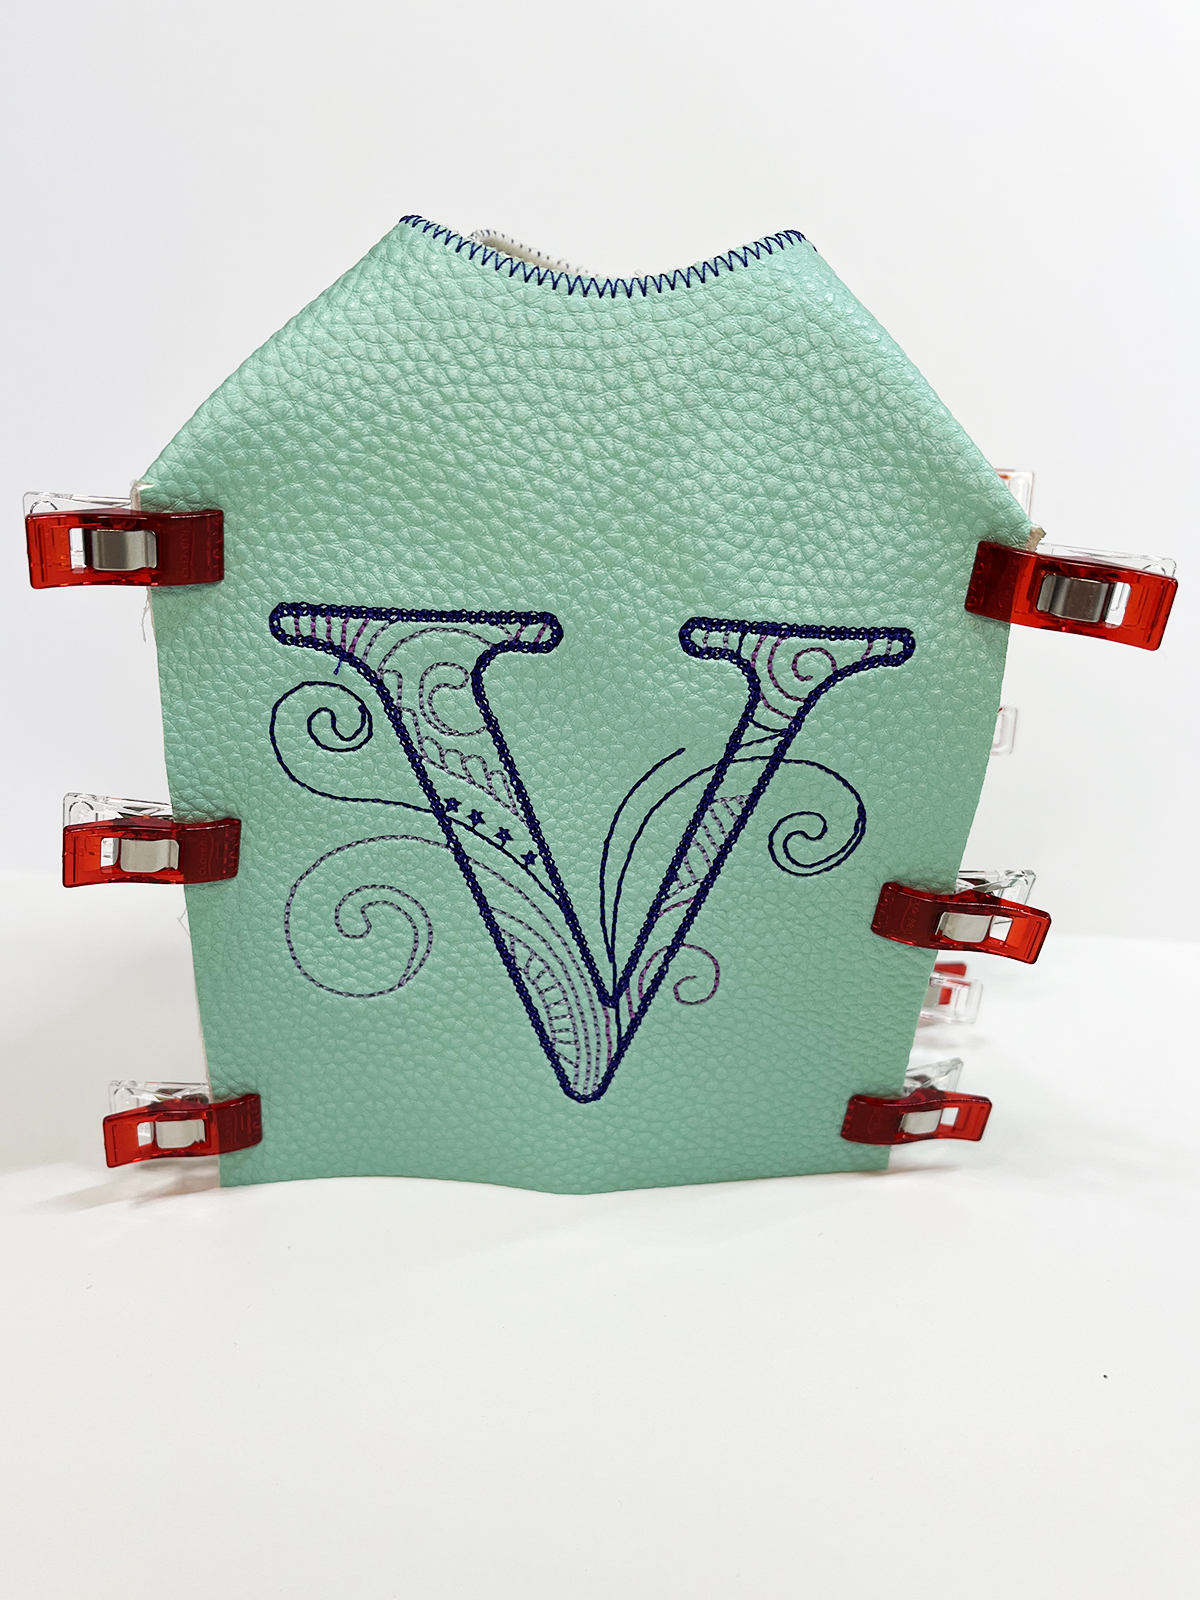
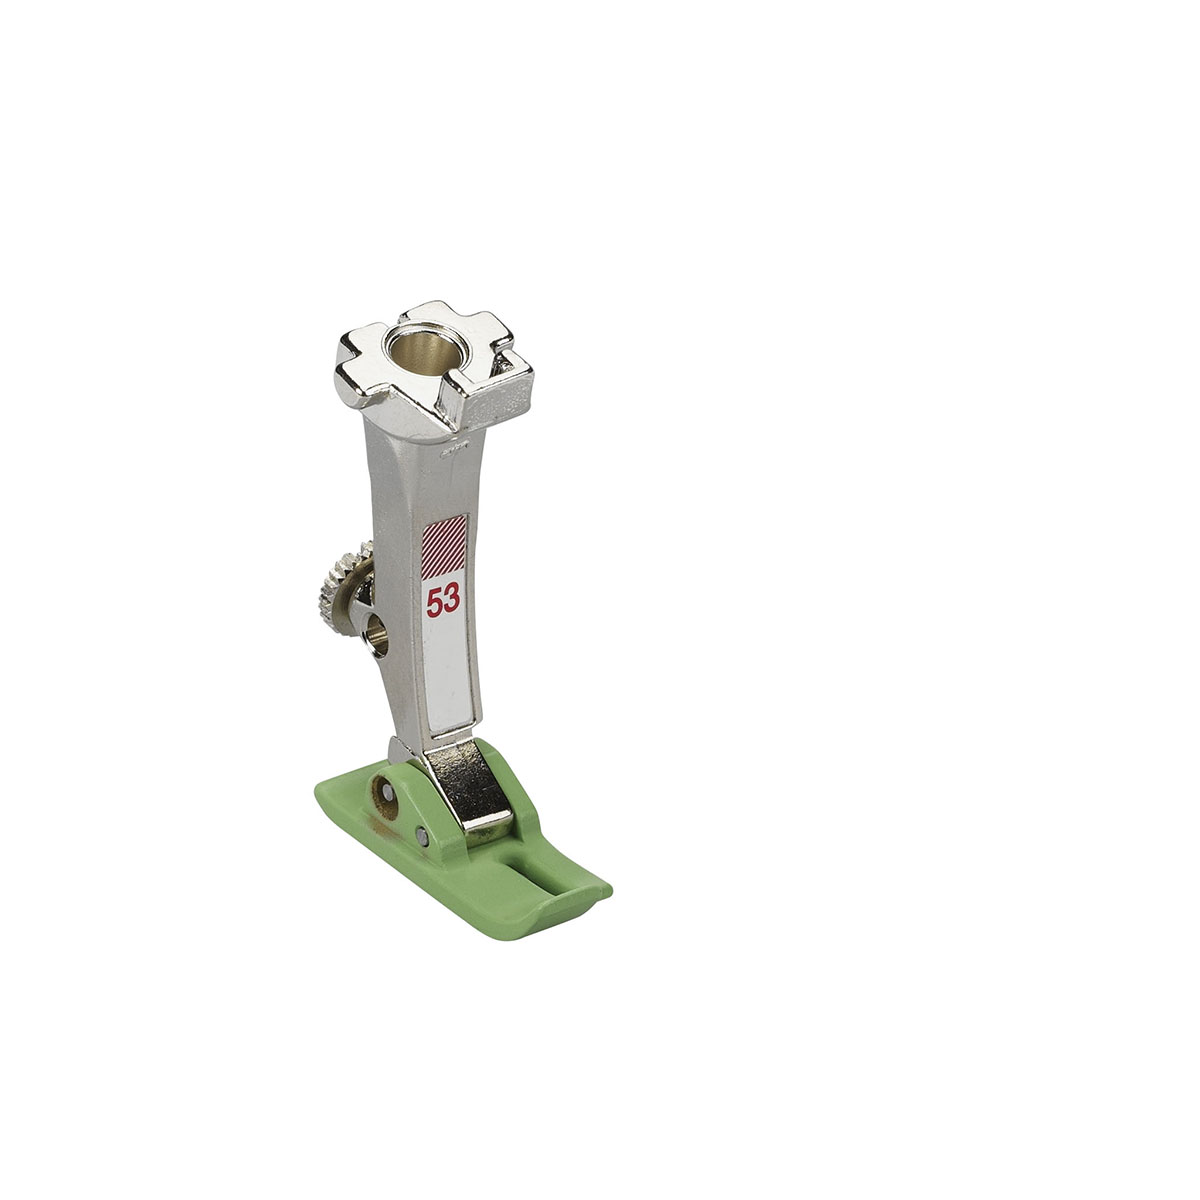
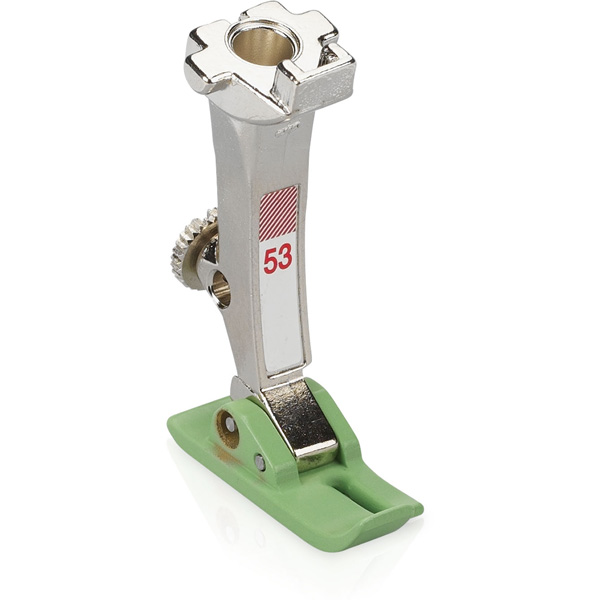
Use matching thread in the needle and bobbin. Increase the stitch length to 3.0. Attach the Straight Stitch Foot with Non-stick Sole #53. The coating on the foot allows it to move smoothly over the vinyl. Because of the narrow opening of the foot, it allows for precision straight stitching, especially when used with the Straight- and CutWork Stitch Plate.
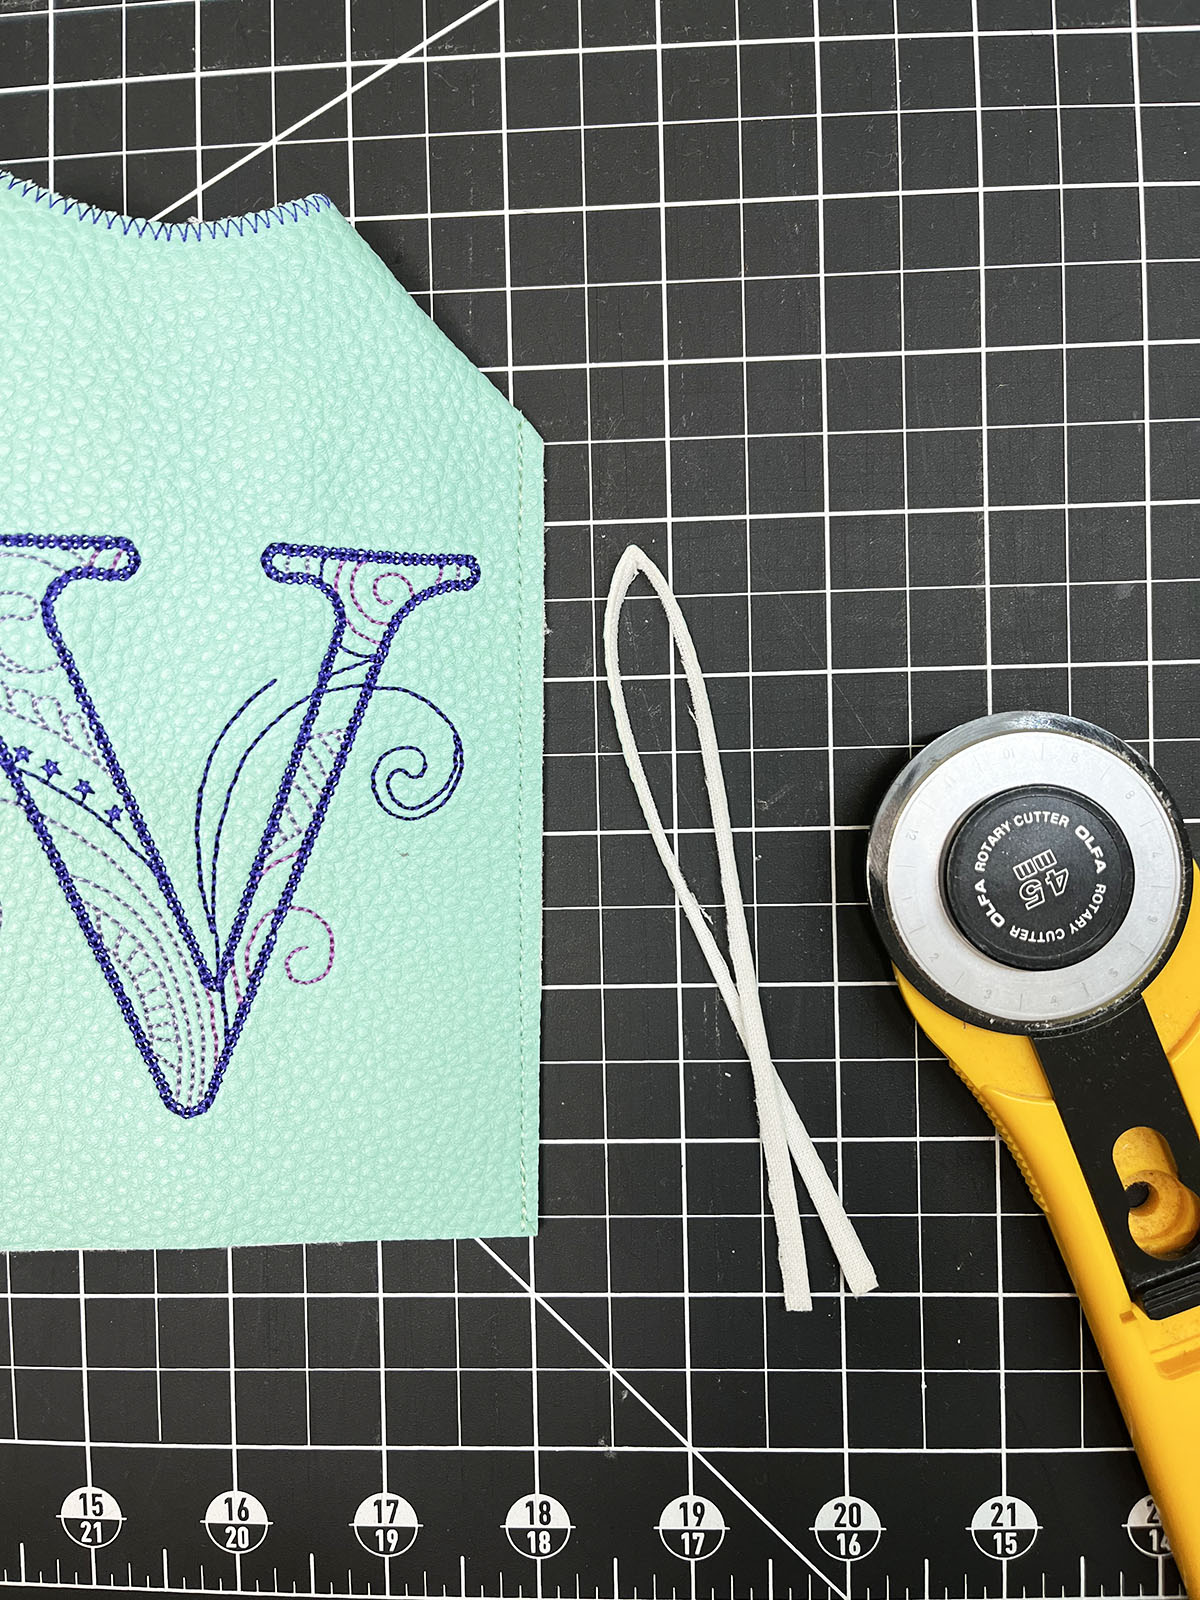
Sew the four seams with a 1/4″ seam, backstitching at the beginning and end of each.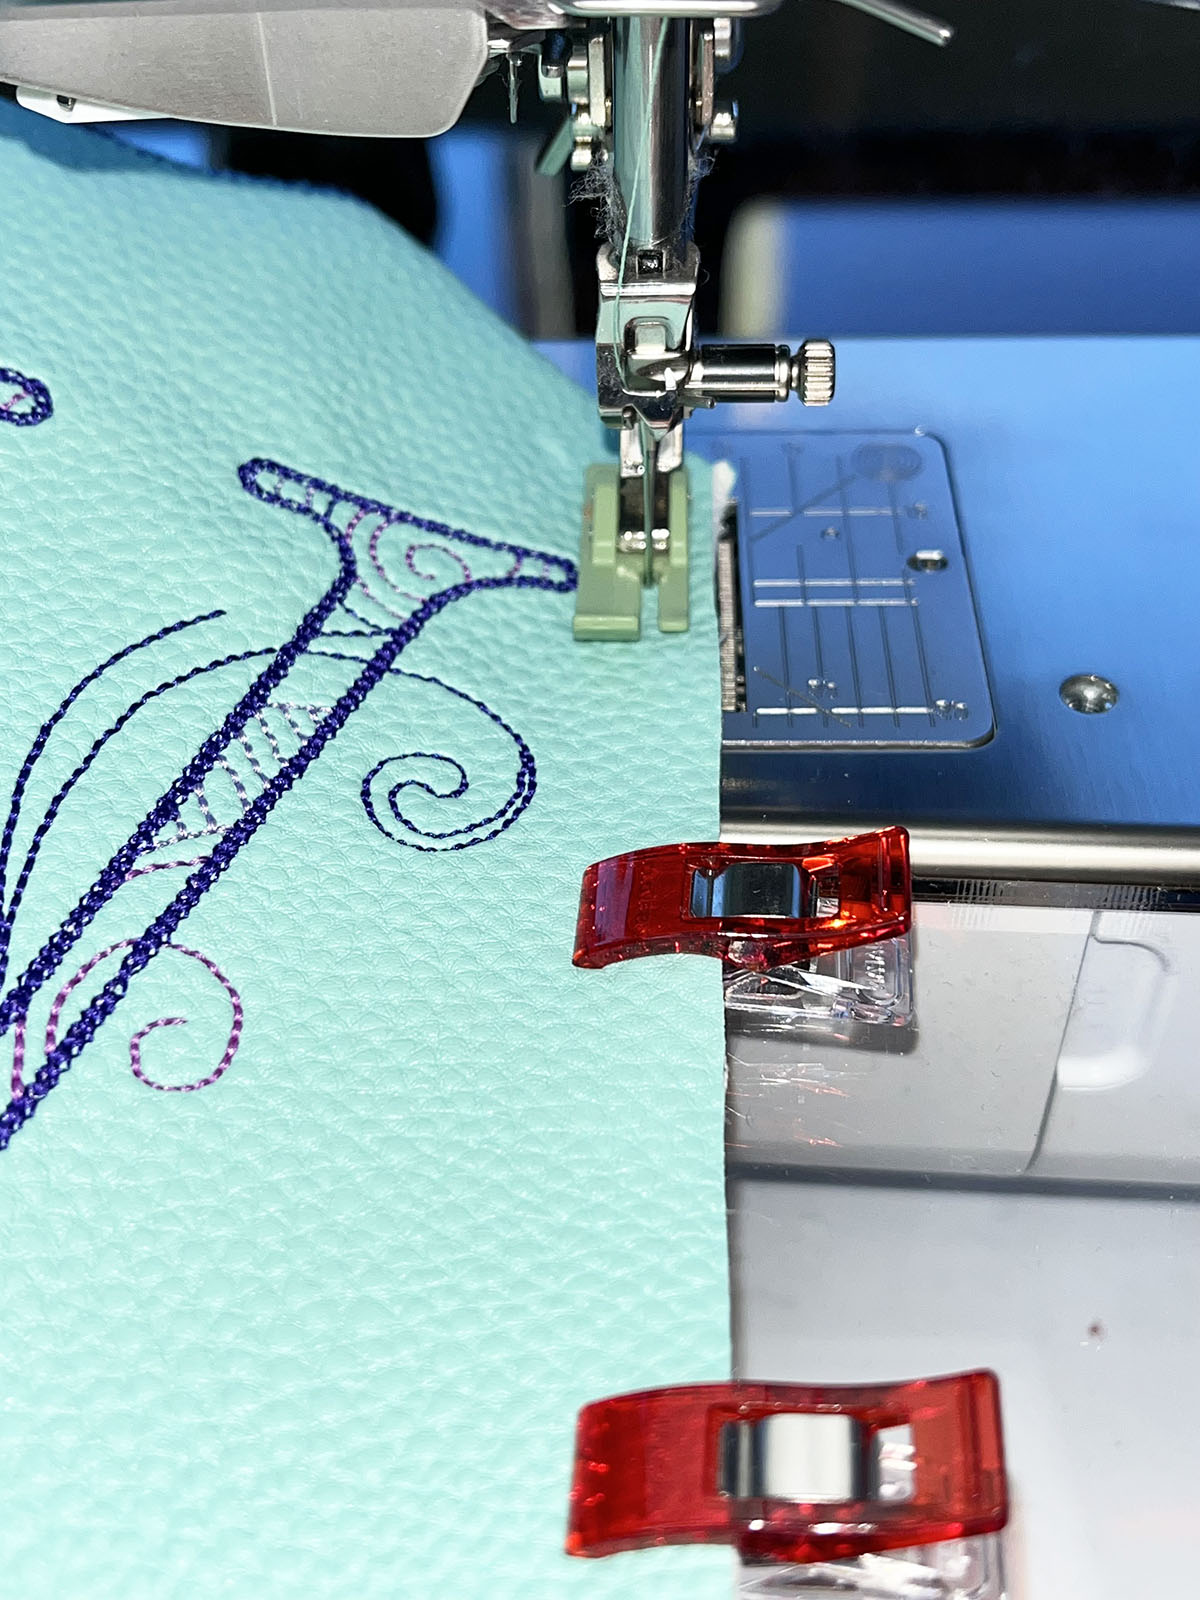
Trim the seams close to the stitching (about 1/8″).
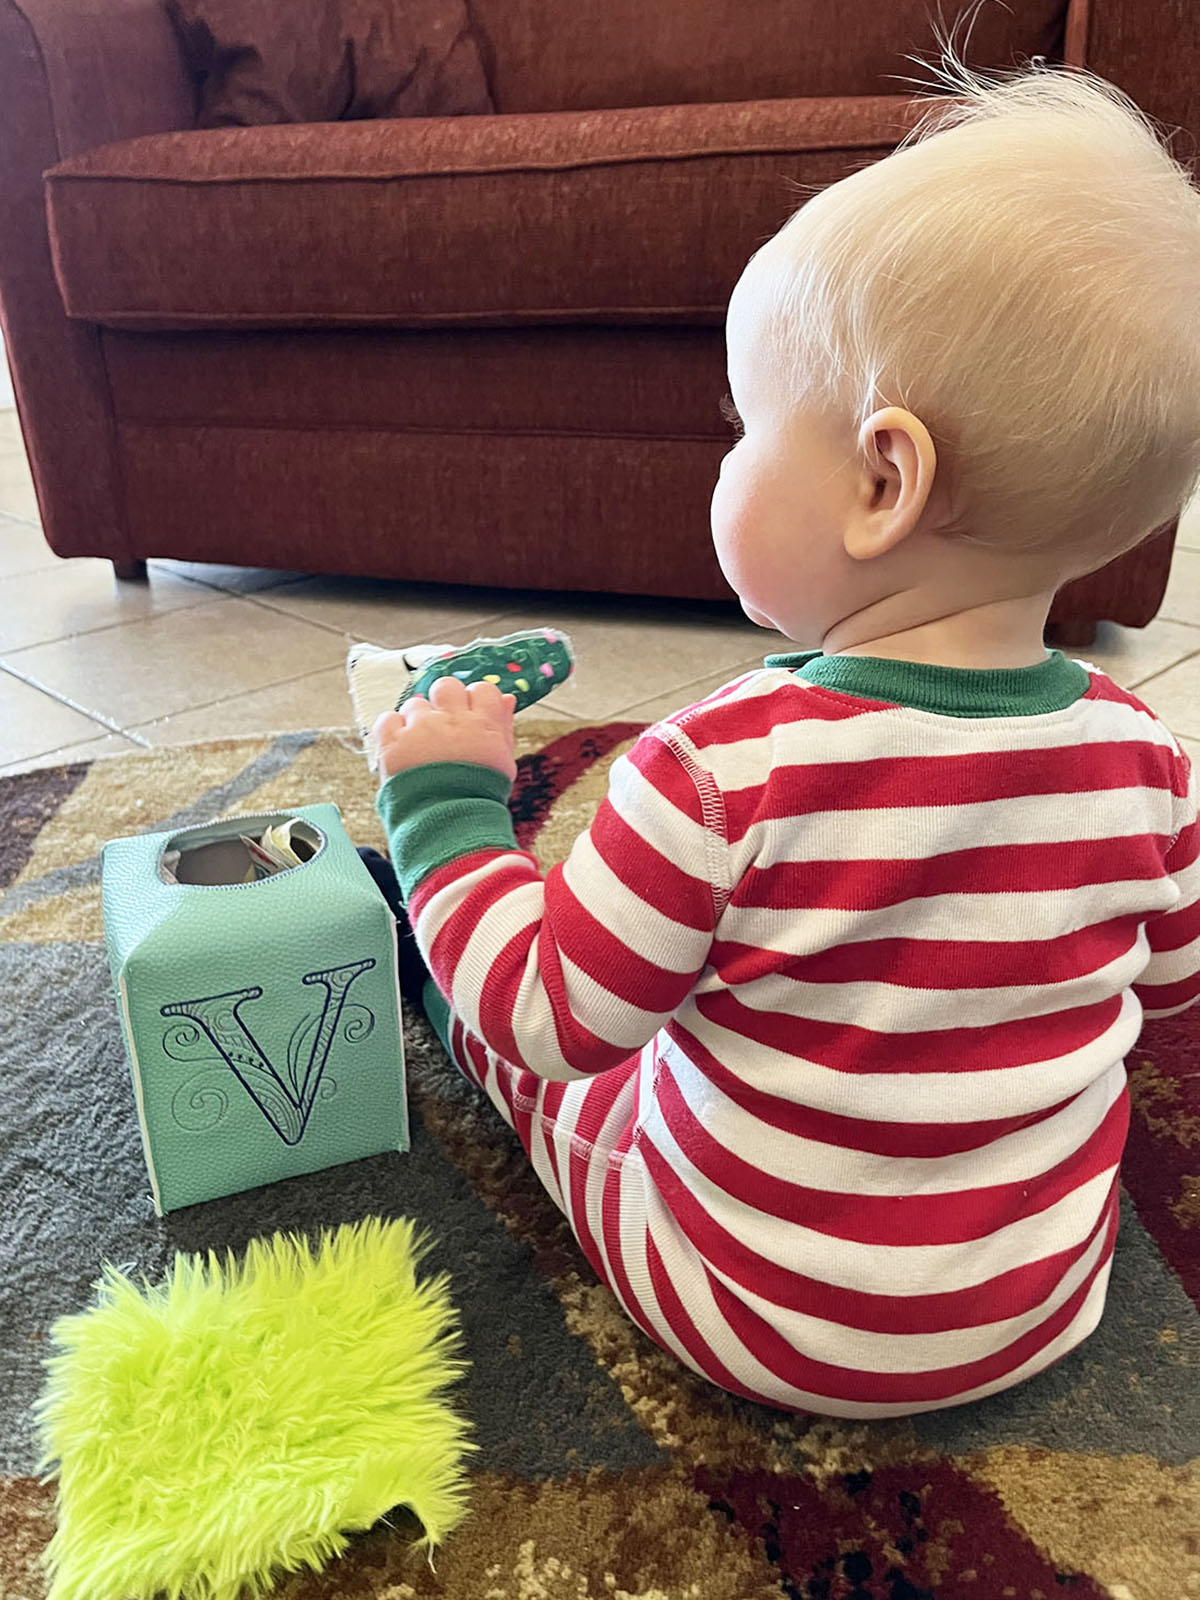
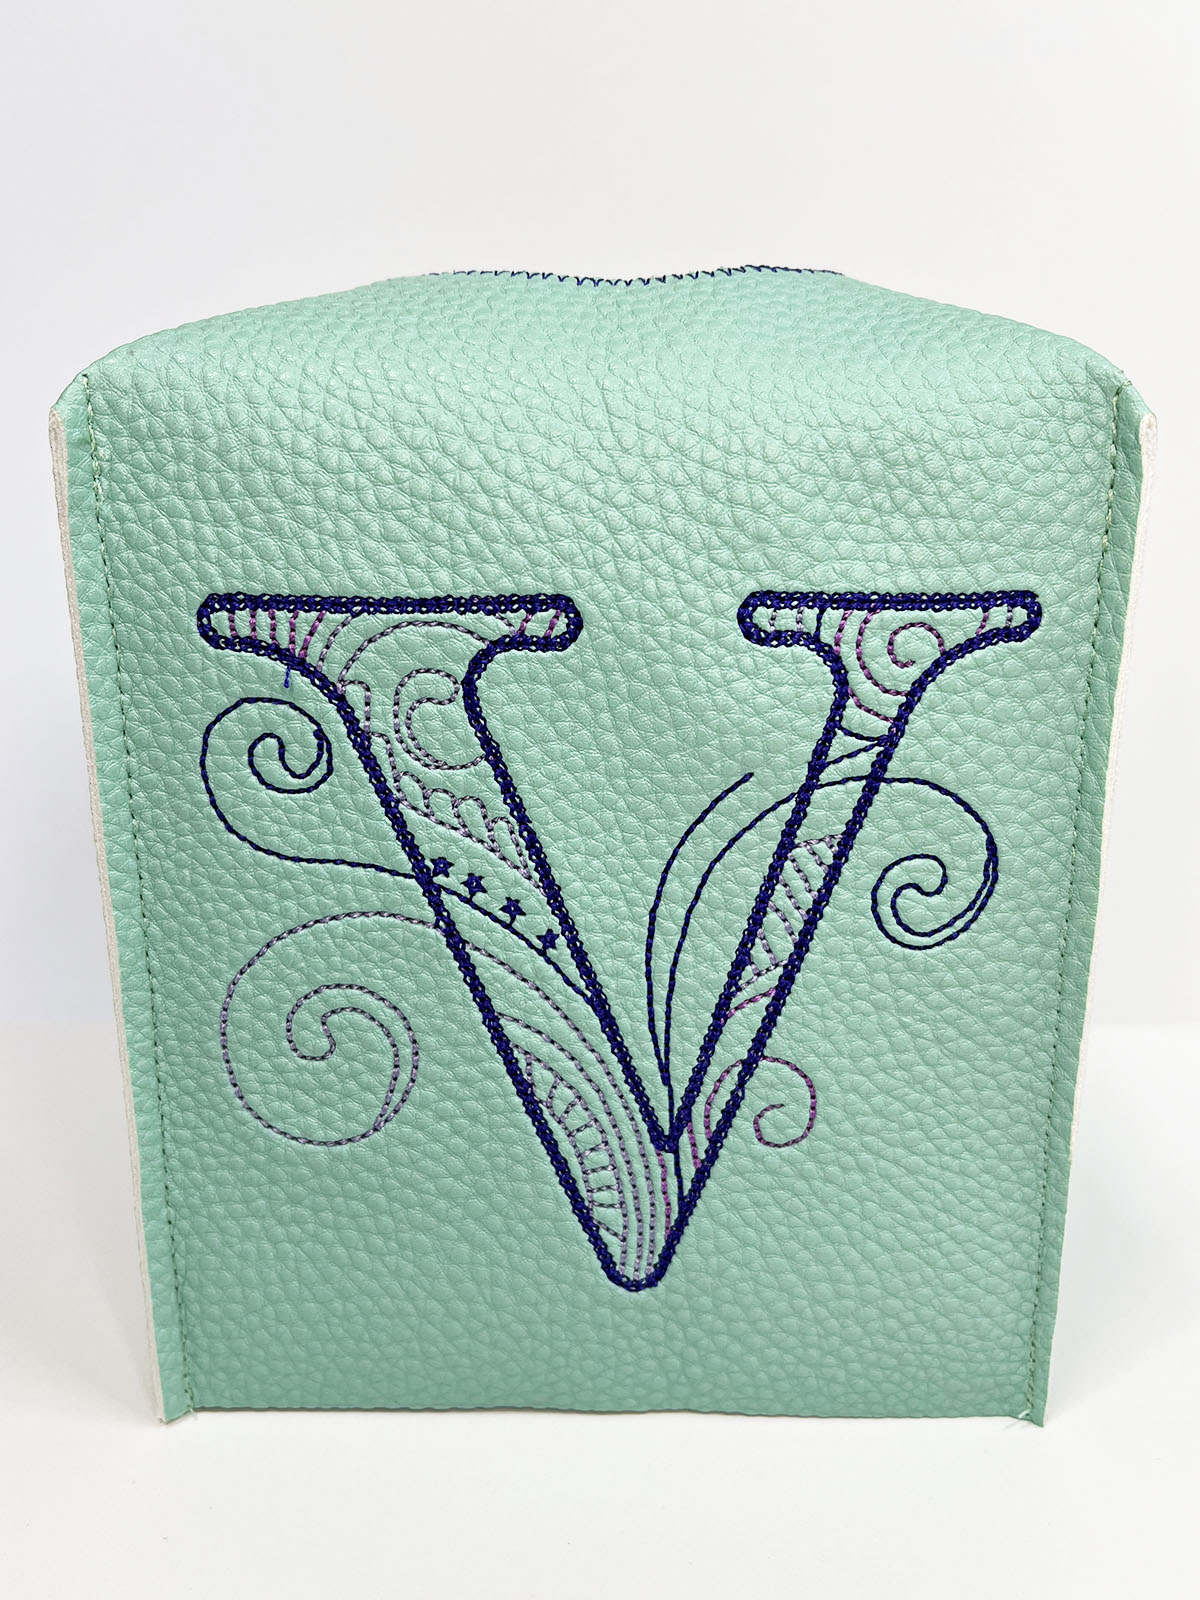
Place over an empty tissue box. Now you are ready to add the fabric squares!
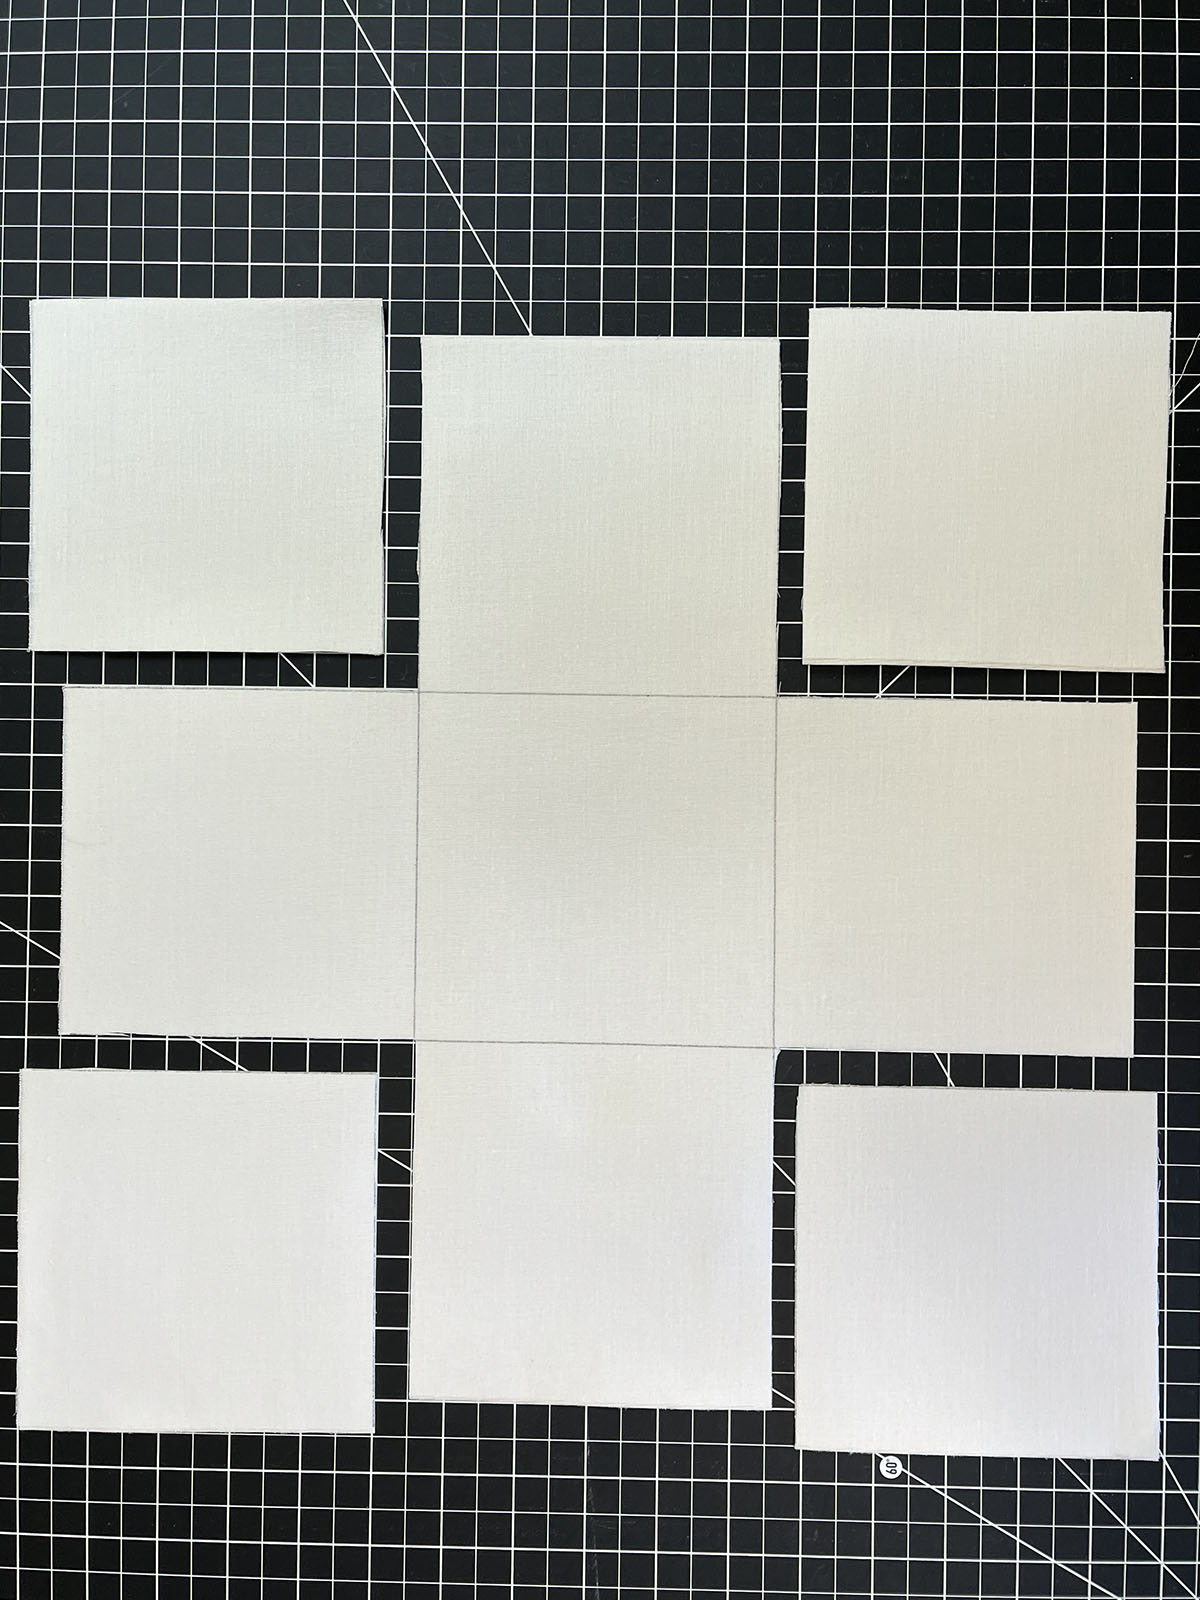
Step 8: Make the Squares
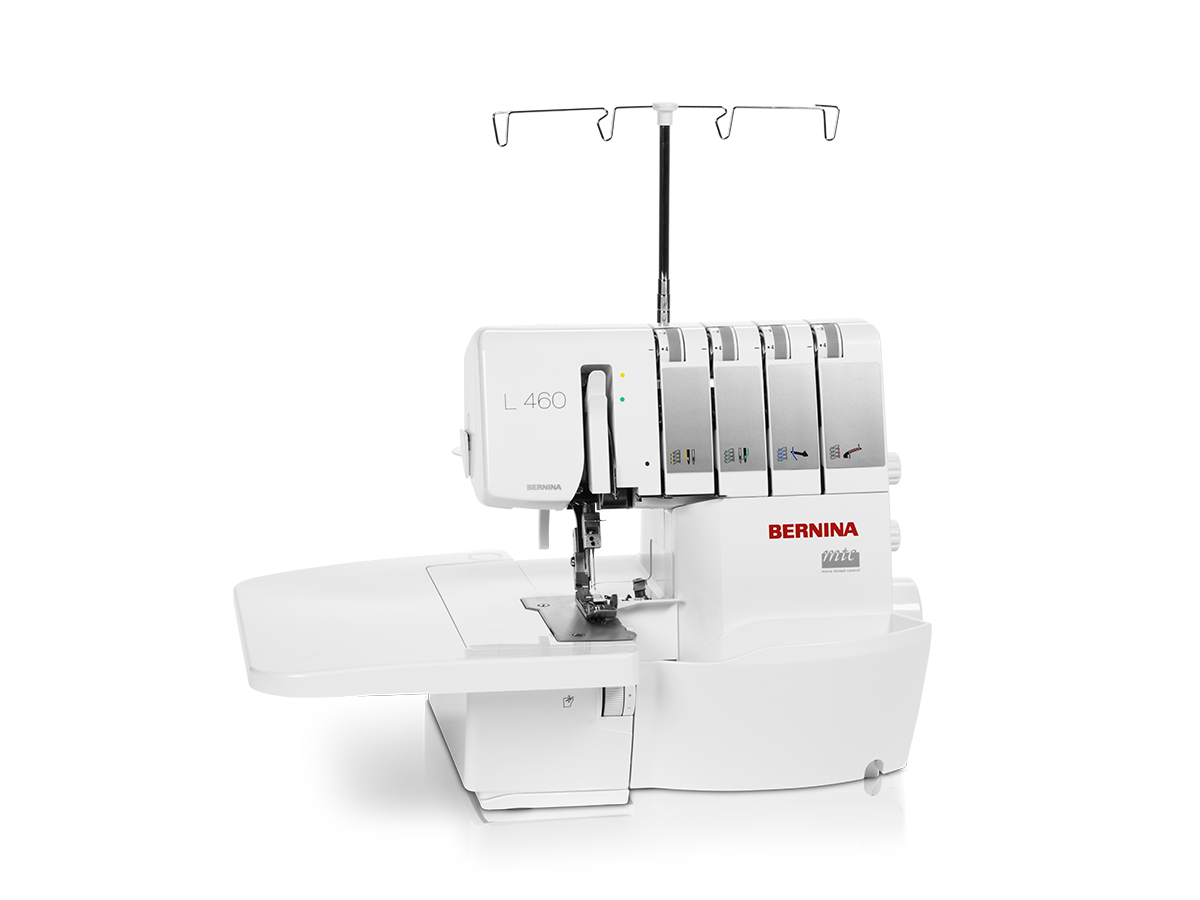
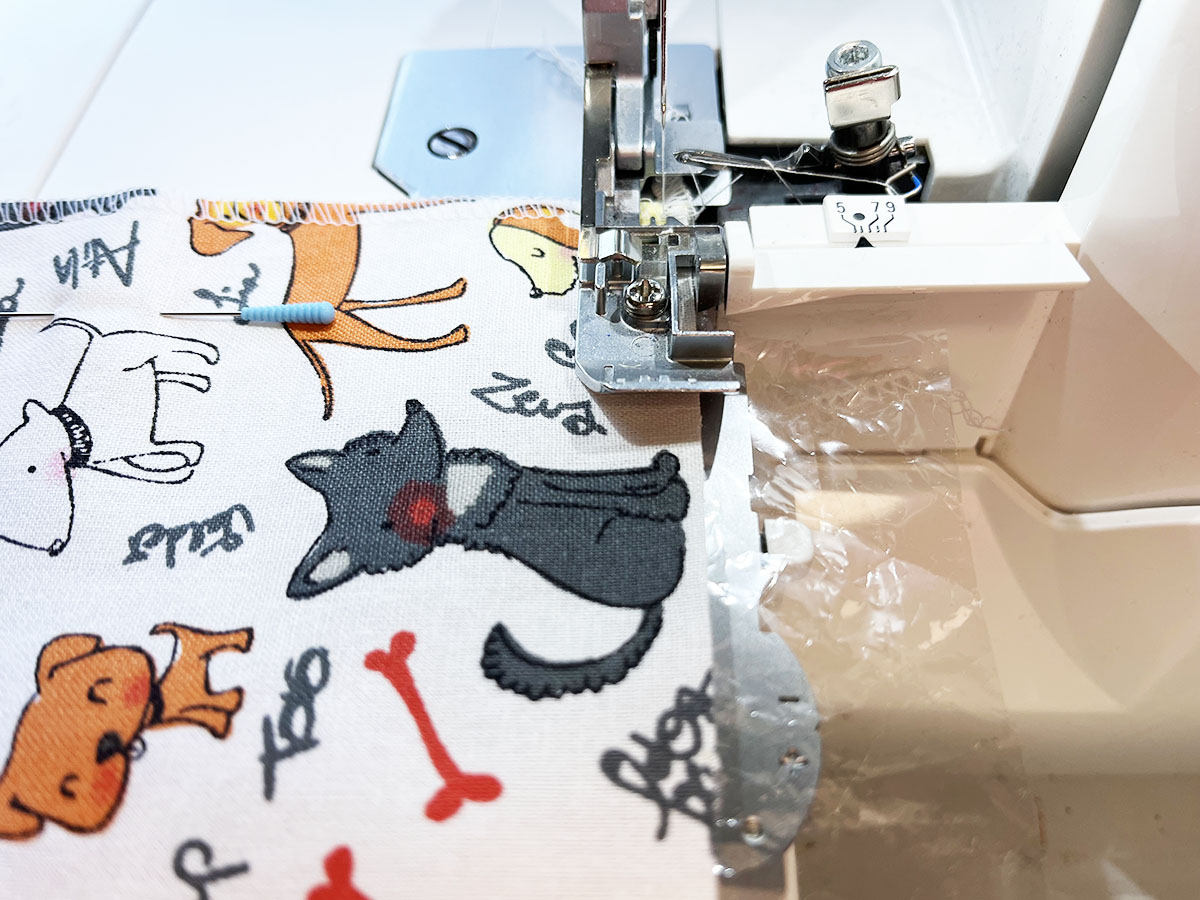
Gather your assorted 5″ squares. For a finished look, serge around the edges of the squares with a 3-thread Overlock Stitch. The BERNINA L 460 serger makes quick work of this; it’s a definite asset to my sewing space!
Serge, skimming the blade. Note: Squares are single layers.

Insert crinkle material between two layers of fabric before serging some of the squares. Baby will love the noise it makes!
I used a variety of ten fabrics: cotton, knit, fur, burlap, and minky. You can make as many as you like. Now let baby explore!
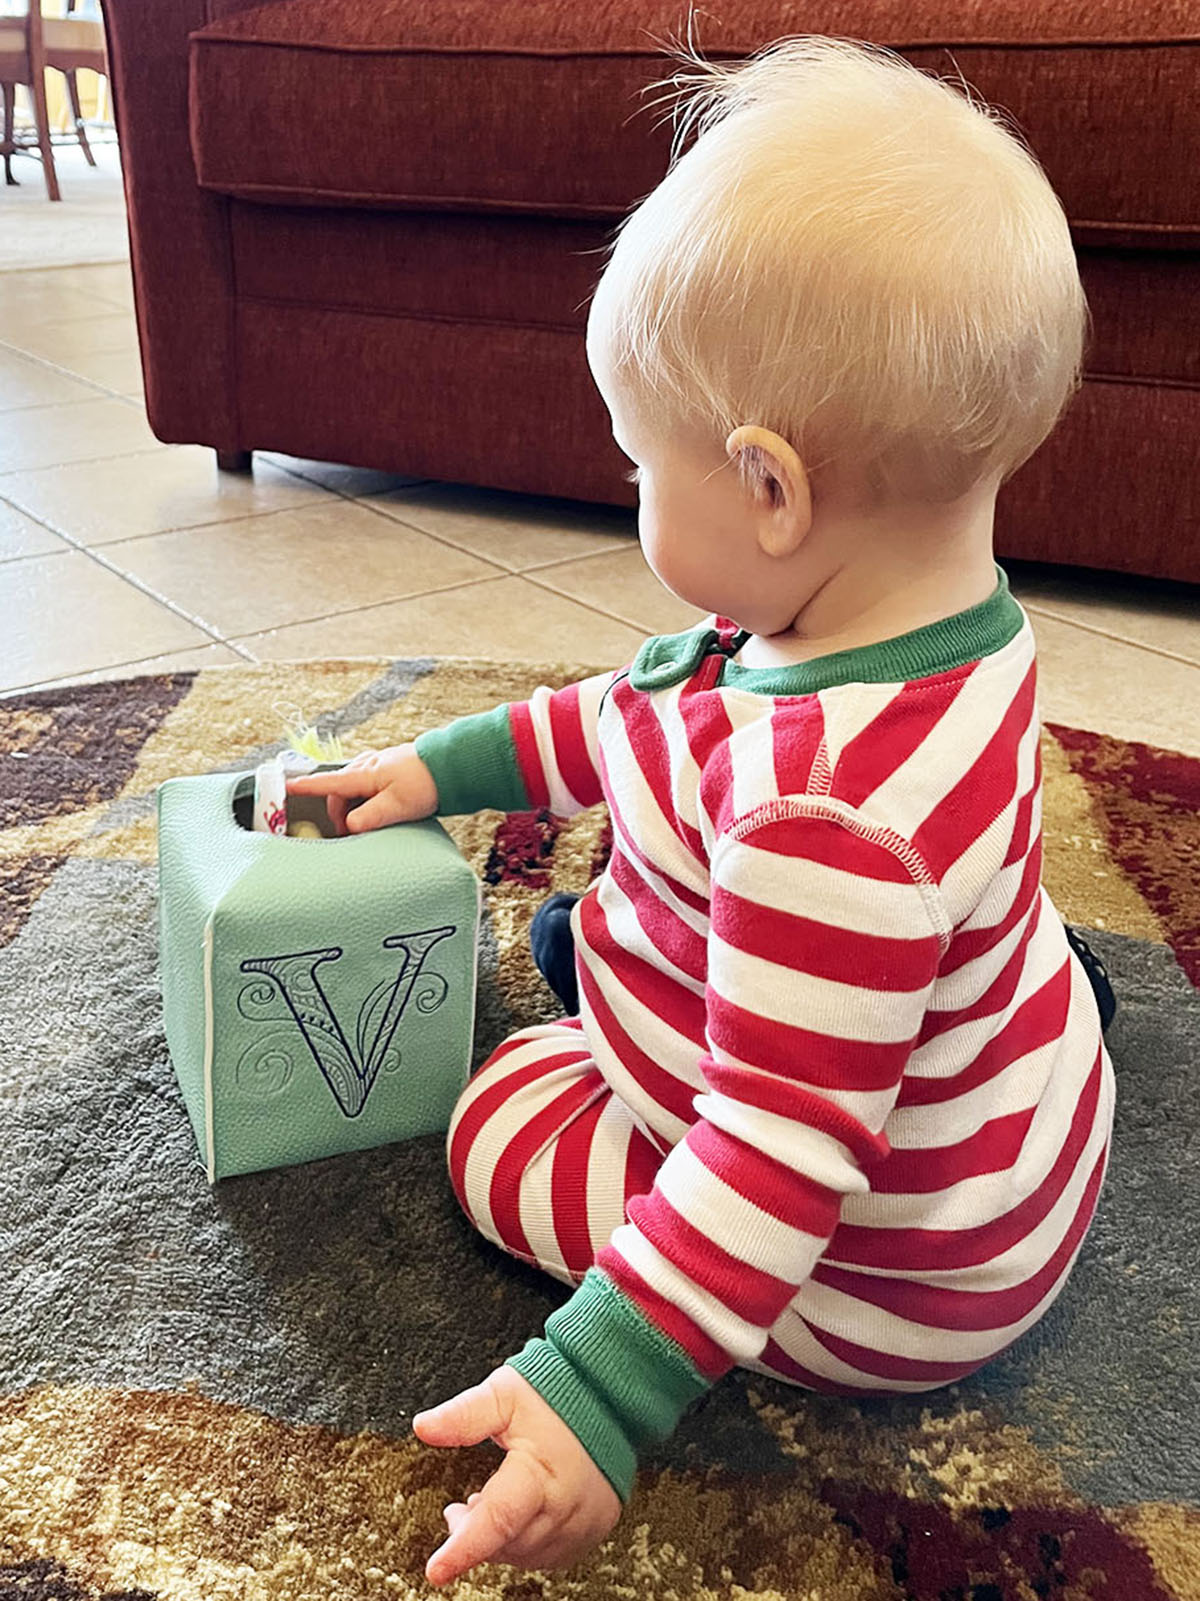
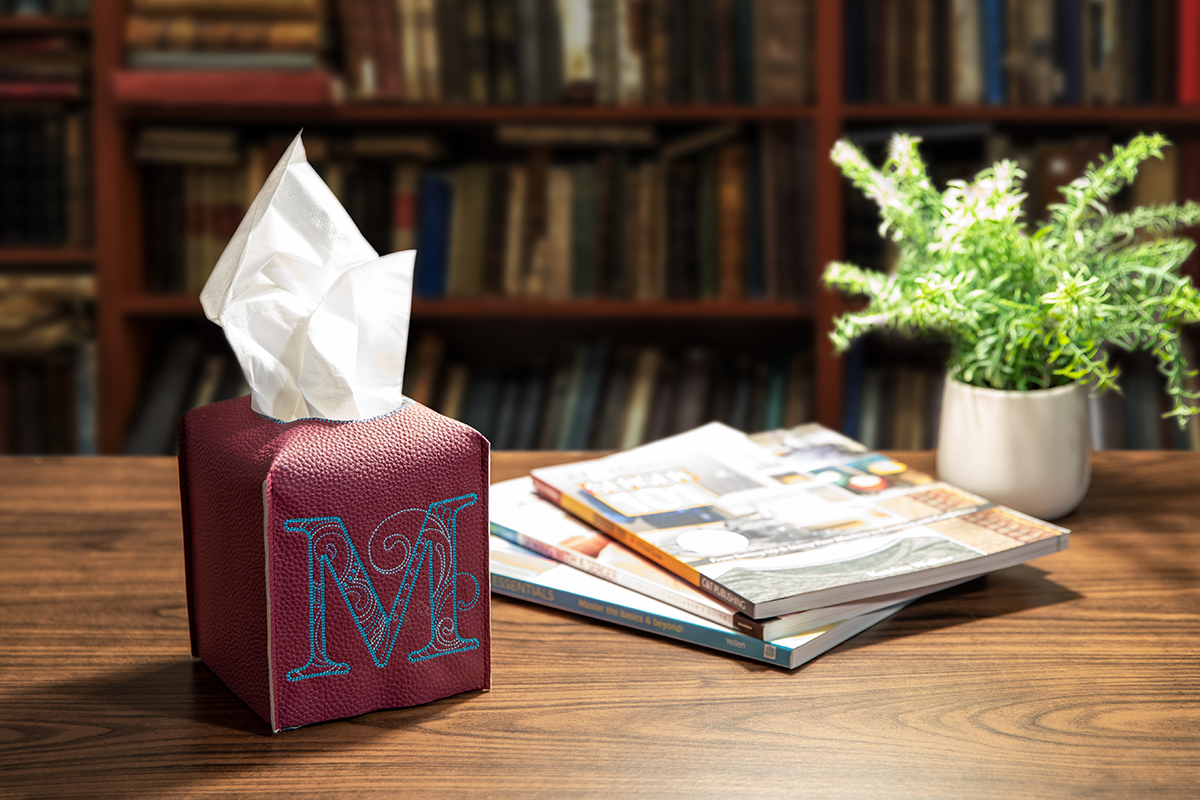
When my granddaughter is older, she can put this cover over a new tissue box and pull out tissues instead of fabric squares. In fact, I decided I needed a pretty cover for my tissue box at my desk!
I hope you had fun getting crafty with your machines and software. Until next time, happy creating!
Used Products


What you might also like


One comment on “Sensory Box Toy for Baby, Part Two”
Leave a Reply
You must be logged in to post a comment.
I have version 9 of the software – is the cut work included in that or is it a separate program?