How to Make a Personalized Bucket Hat
Sew your own bucket hat and customize it by adding a machine embroidered design to the crown (or top) before constructing the hat. By sewing one yourself, not only can you choose an embroidery design you like, but your fabric choices are practically unlimited! I used quilting cottons for these bucket hats (with the exception of the one sewn from a thrifted denim skirt). There were so many fabric options at my local BERNINA dealer’s shop (A Nimble Thimble located in Tyler, Texas) that it was hard to narrow down my choices. Good thing the recipients let me know what color they wanted their hat or I would have been there all day!
Hello everyone! It’s Sharon from Sharon Sews. You can connect with me on YouTube, Instagram and my blog, where I share sewing tips, projects, reviews, and fashion sewing ideas.
The pattern I used is the Sandcastle Bucket Hat from Waves & Wild, a free PDF downloadable pattern that comes in 11 sizes, ranging from Newborn to XL Adult. The instructions below will apply to any bucket hat pattern so you can use a different pattern if you prefer.
Materials to Sew the Bucket Hat
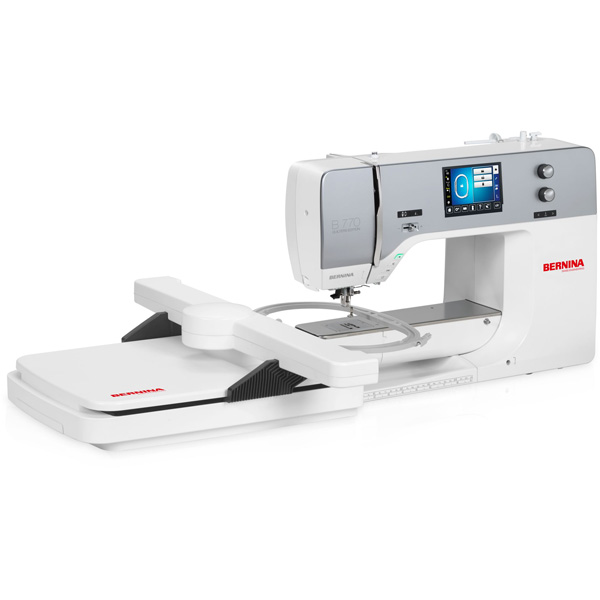
- Sewing and embroidery machine – I used my BERNINA 770 QE PLUS
- BERNINA reverse pattern foot with clear sole #34, Edgestitch Foot #10D
- Bucket hat pattern in chosen size
- Sandcastle Bucket Hat PDF downloadable pattern in sizes Newborn to XL Adult
- This is a downloadable PDF pattern that will need to be put together
- Quilting cotton for body of hat – yardage per pattern
- If you use a print, make sure it’s a non-directional print
- Quilting cotton for lining of hat – yardage per pattern
- Fusible woven interfacing – yardage per pattern – I used Pellon PLF36
- Note: If you want a stiffer brim on the hat use a heavier interfacing
- Coordinating all-purpose thread
- Chalk or removable fabric marker
- General sewing supplies
- Iron and pressing surface
Materials to Embroider the Bucket Hat
- Embroidery module – I used my Embroidery Module L – with Smart Drive Technology
- Stabilizer – I used OESD Ultra Clean & Tear
- Temporary fabric spray adhesive – I used OESD 505 Temporary Spray Adhesive
- Large oval embroidery hoop
- Embroidery foot #26
- 80/12 embroidery needle
- Bobbin thread – I used OESD expert embroidery bobbin thread 60 wt
- Embroidery thread – I used Isacord embroidery thread, colors based on individual designs
- Embroidery design – Small enough to fit the crown portion of the hat pattern
- Small scissors to snip threads – I used the Straight Micro Tip Scissors from Sookie Sews
Prepare to Sew and Embroider the Bucket Hat
Wash, dry, and press the main and lining fabrics. Set aside.
Print and assemble the PDF bucket hat pattern.
Choose the pattern size by measuring the head circumference, using a tape measure and keeping it parallel. The Sandcastle Bucket Hat pattern includes 11 sizes ranging from Newborn (13″head circumference) to XL Adult (24-3/8″ head circumference).
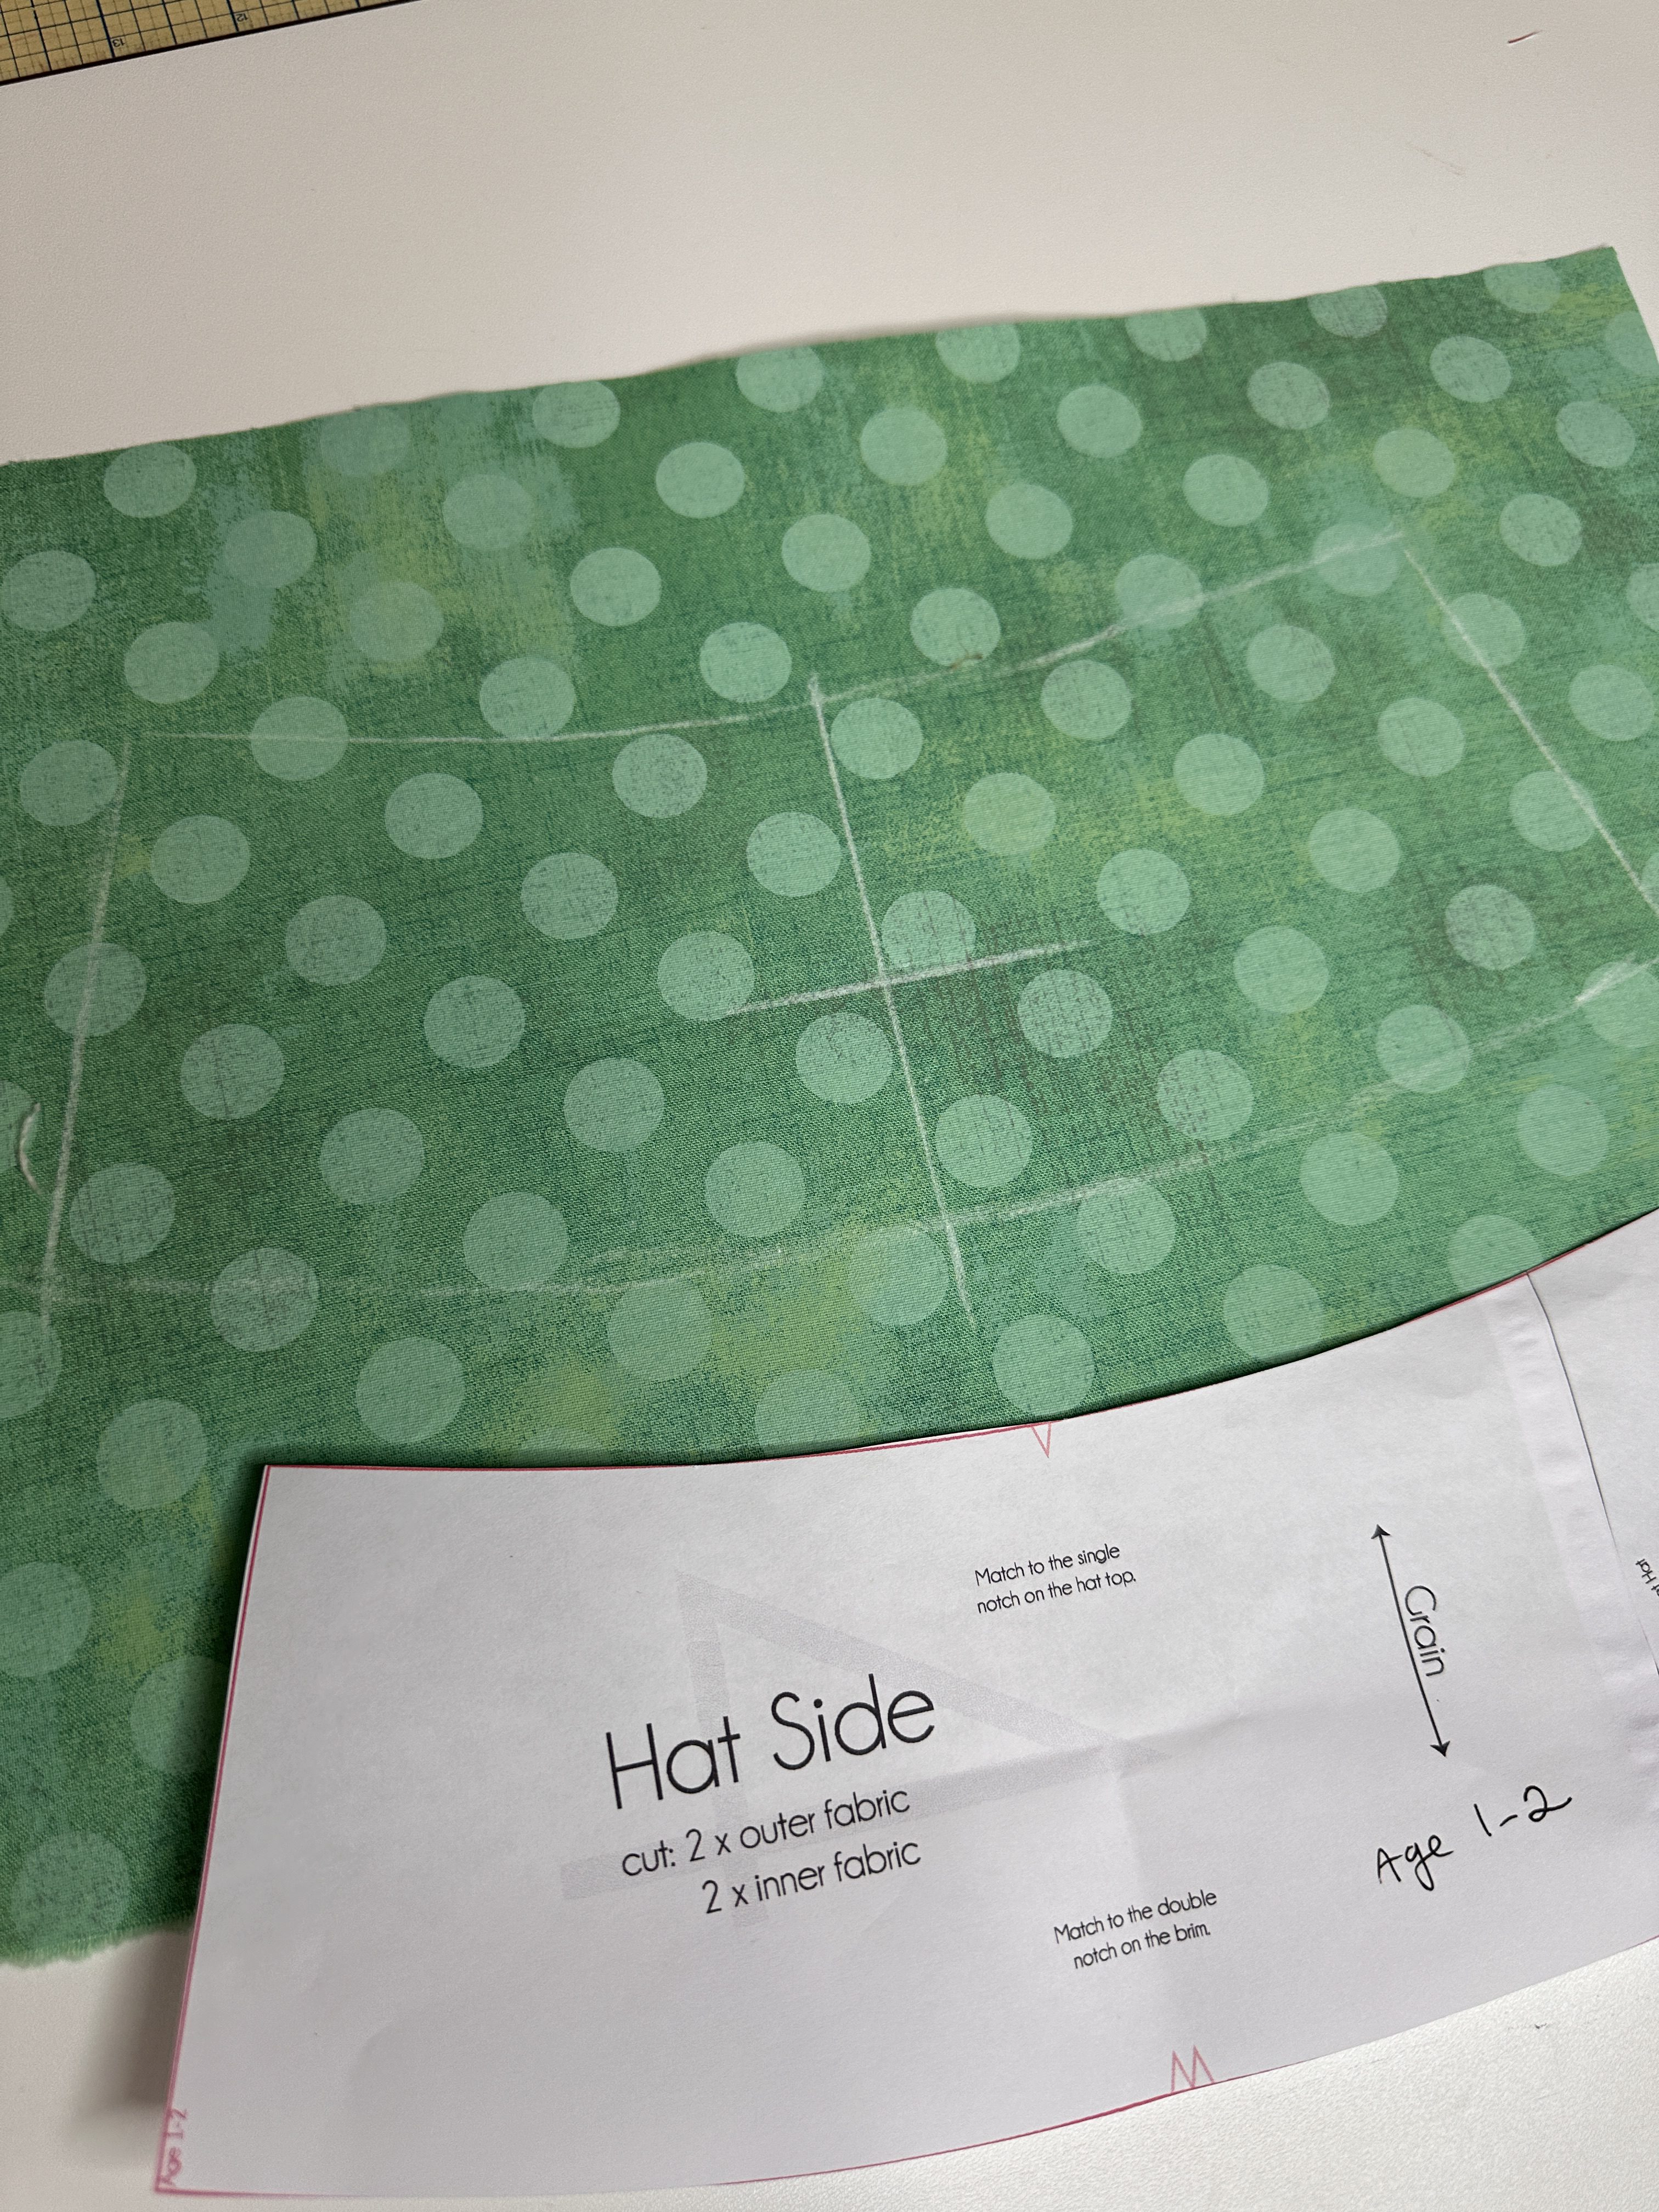
Cut out the pattern pieces for the brim, crown, and top in your chosen size.
Clean and oil your sewing machine. Attach the embroidery module, install the embroidery foot, put on the straight stitch plate, lower the feed dog, and insert a bobbin with embroidery bobbin thread.
Add an Embroidery Design to the Bucket Hat
The embroidery design is added to the hat (the crown or top) before the bucket hat is sewn together.
Add a Design to the Crown of the Bucket Hat
Cut a piece of the main fabric 10″ x 14″ and mark the center using chalk or other removable fabric marker. After marking the fabric, apply stabilizer to the back side. I sprayed the temporary adhesive spray to the stabilizer, not the fabric.
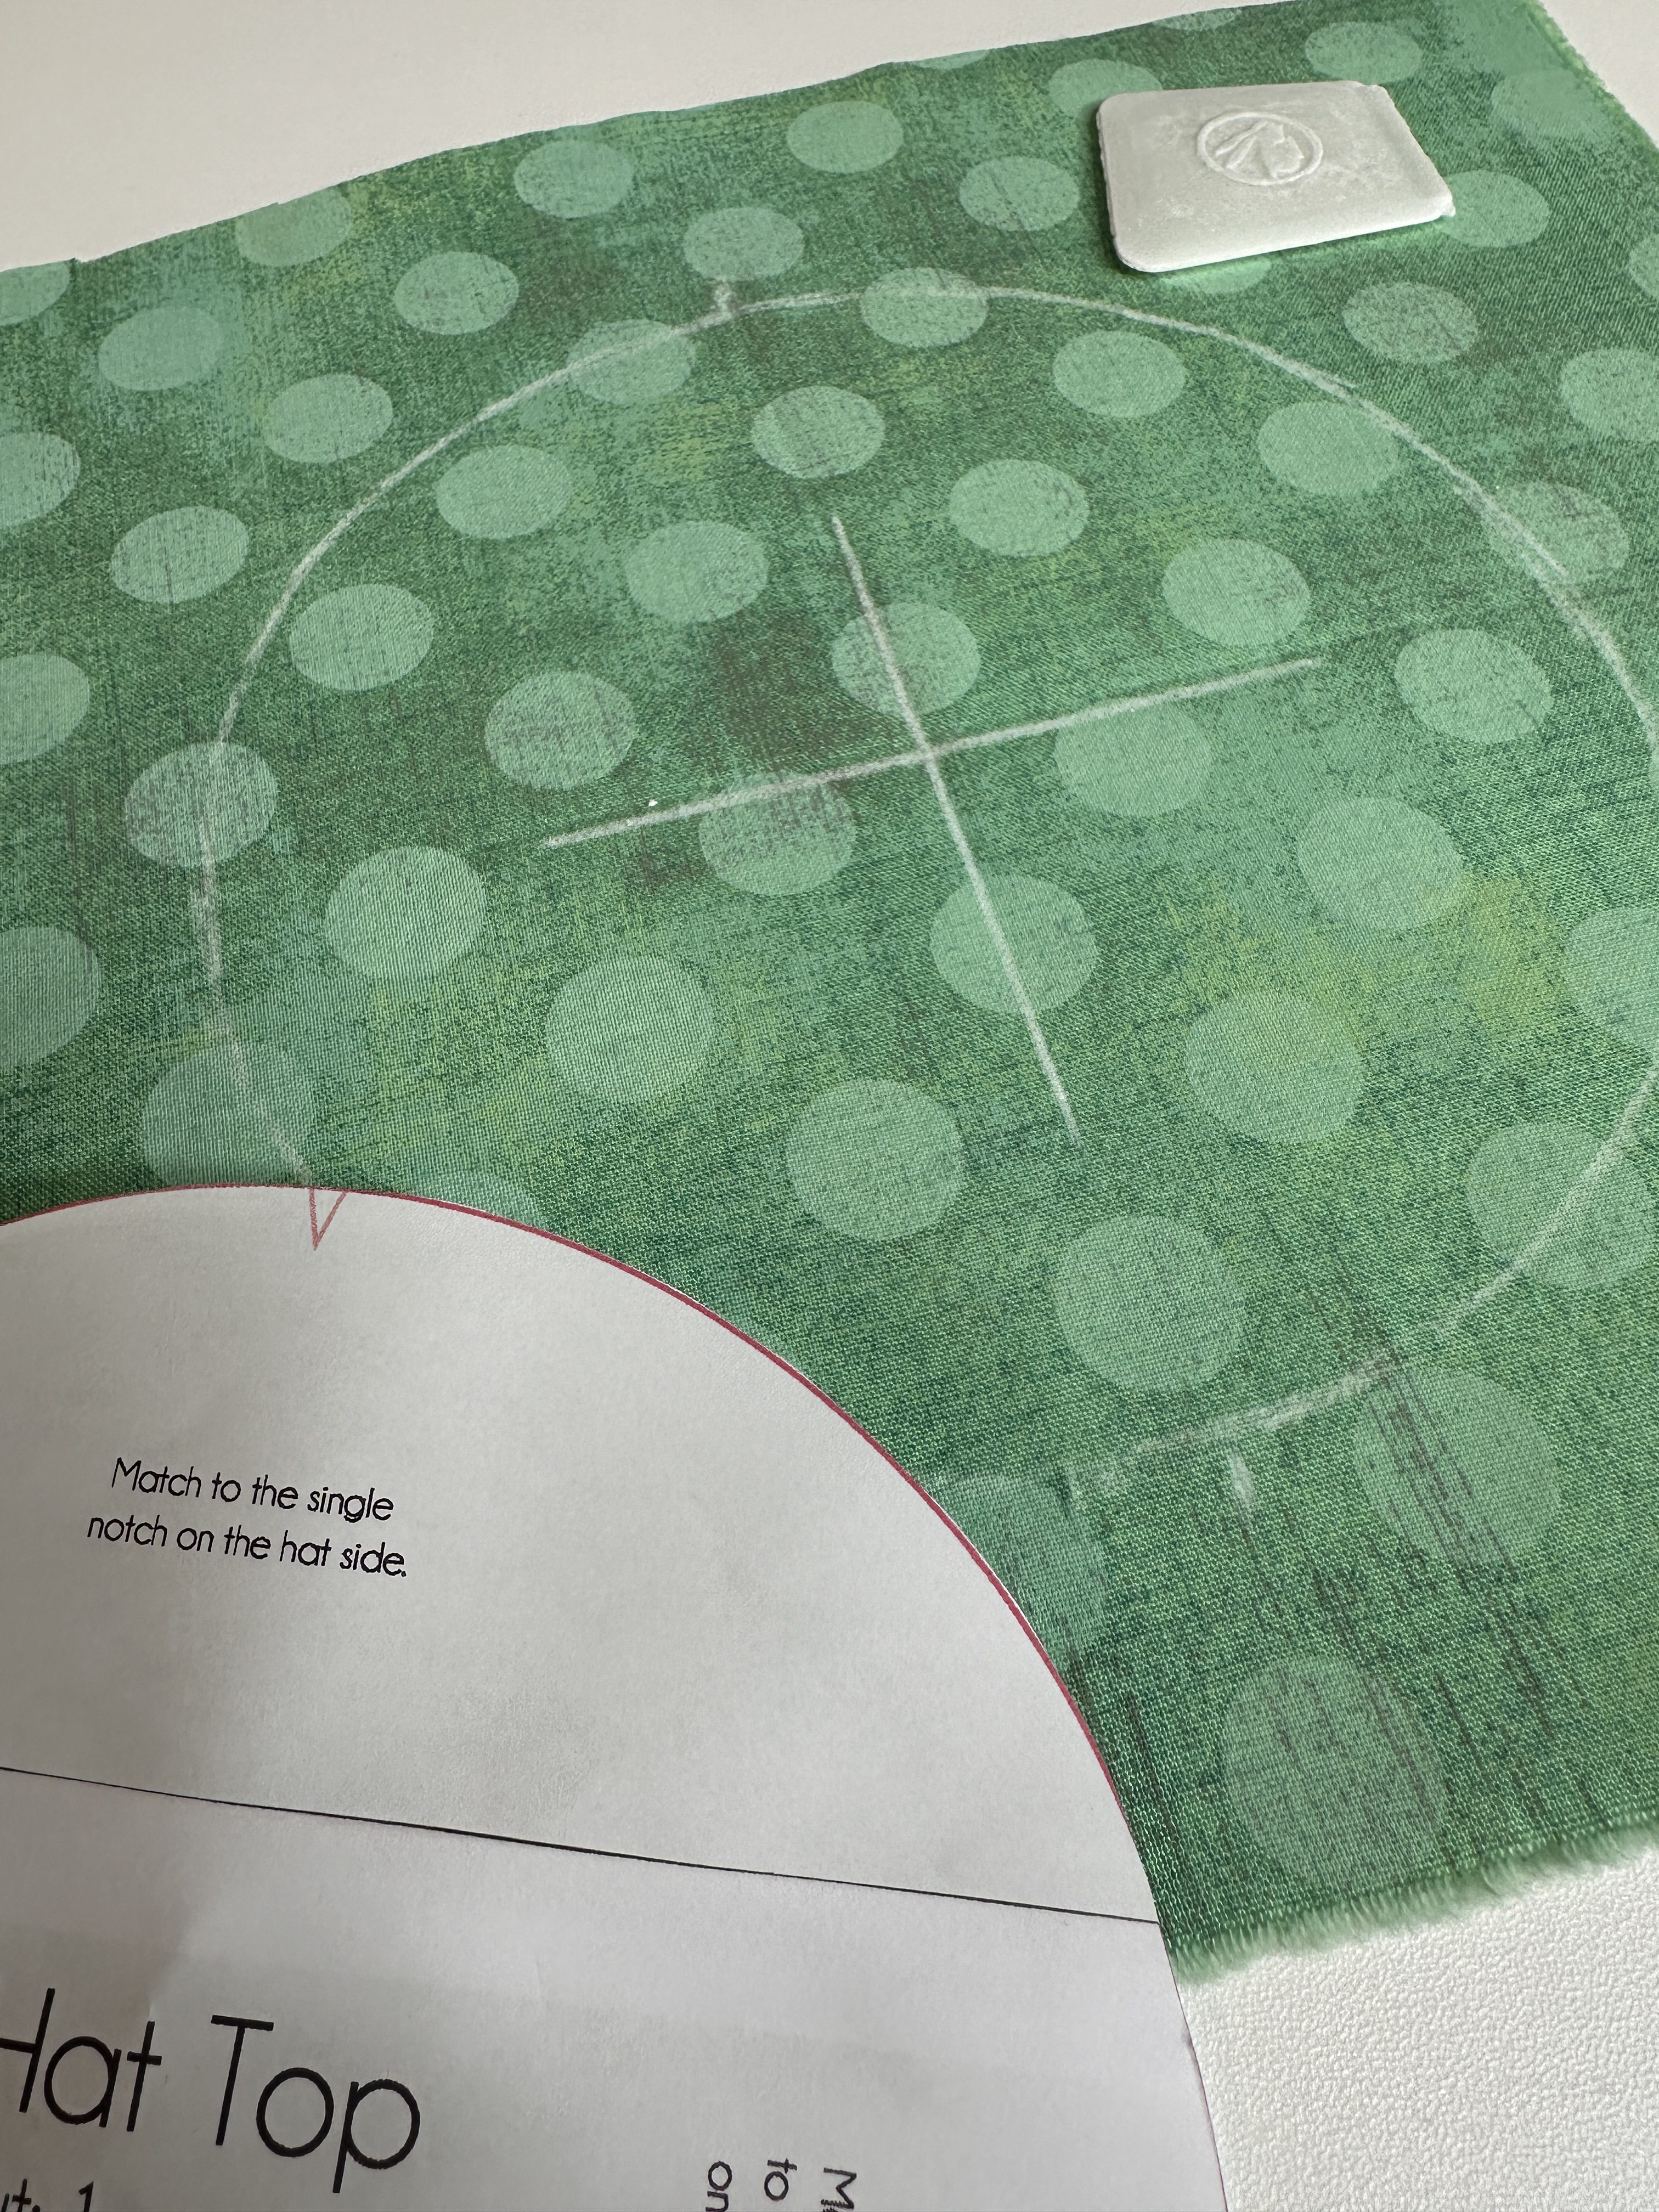
With the fabric facing right side up, center the crown pattern piece over the center mark, and trace around it using chalk or other fabric marker.
With the template in the large oval hoop, place the hoop on top of the fabric with the center of the template over the marked center of the fabric.
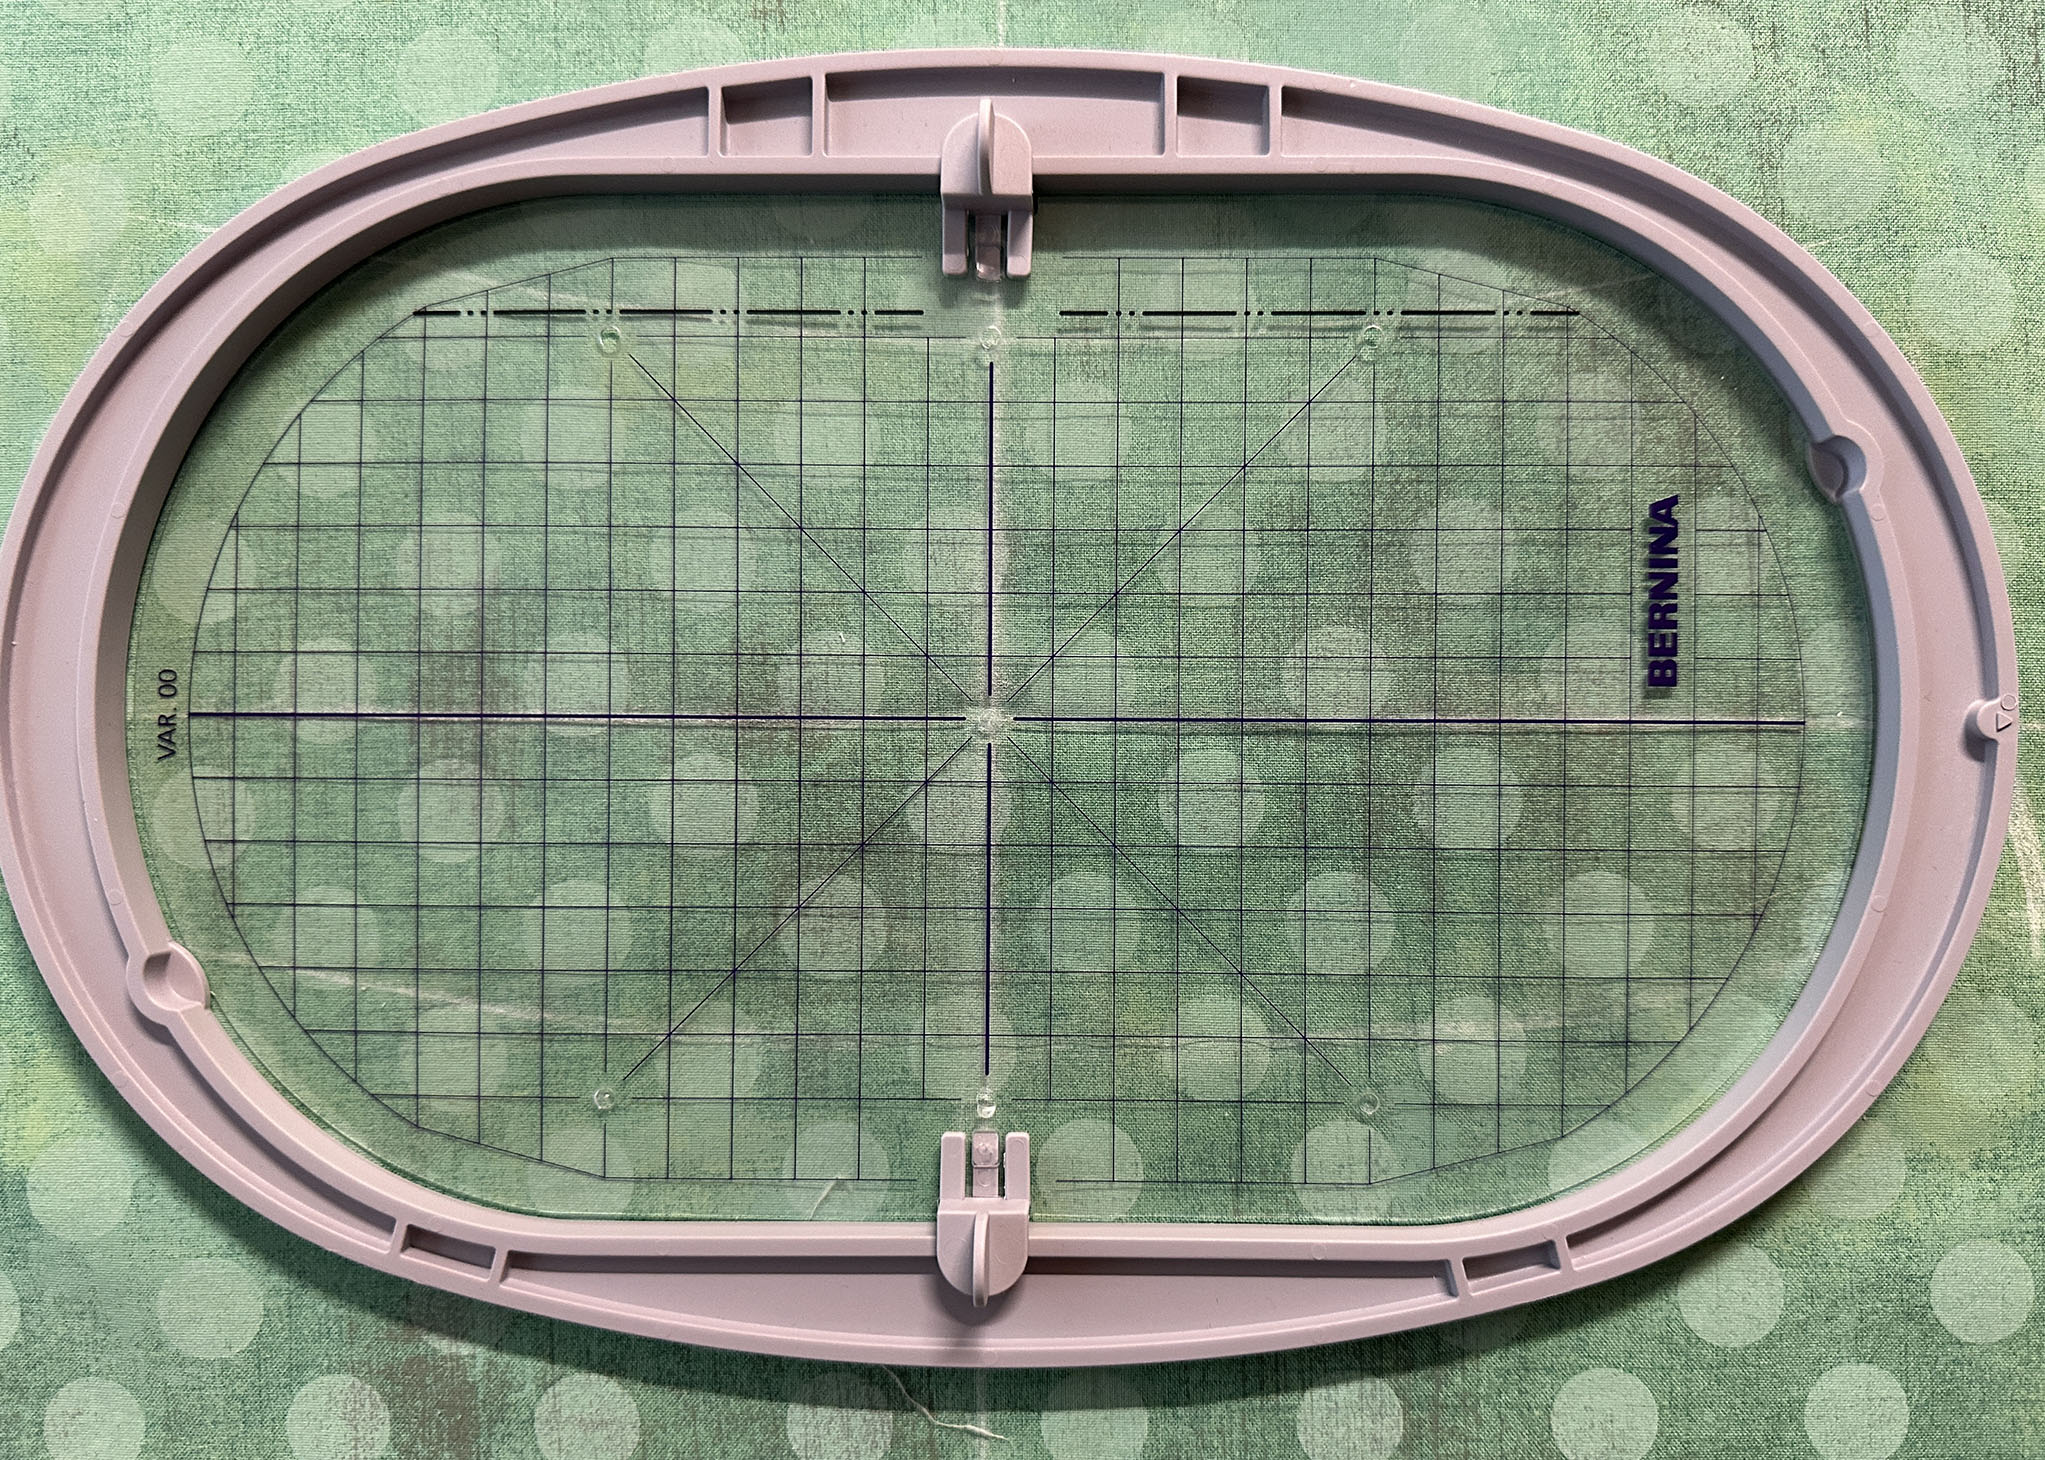
Next, place the inner hoop into the outer hoop, being careful not to move the center points.
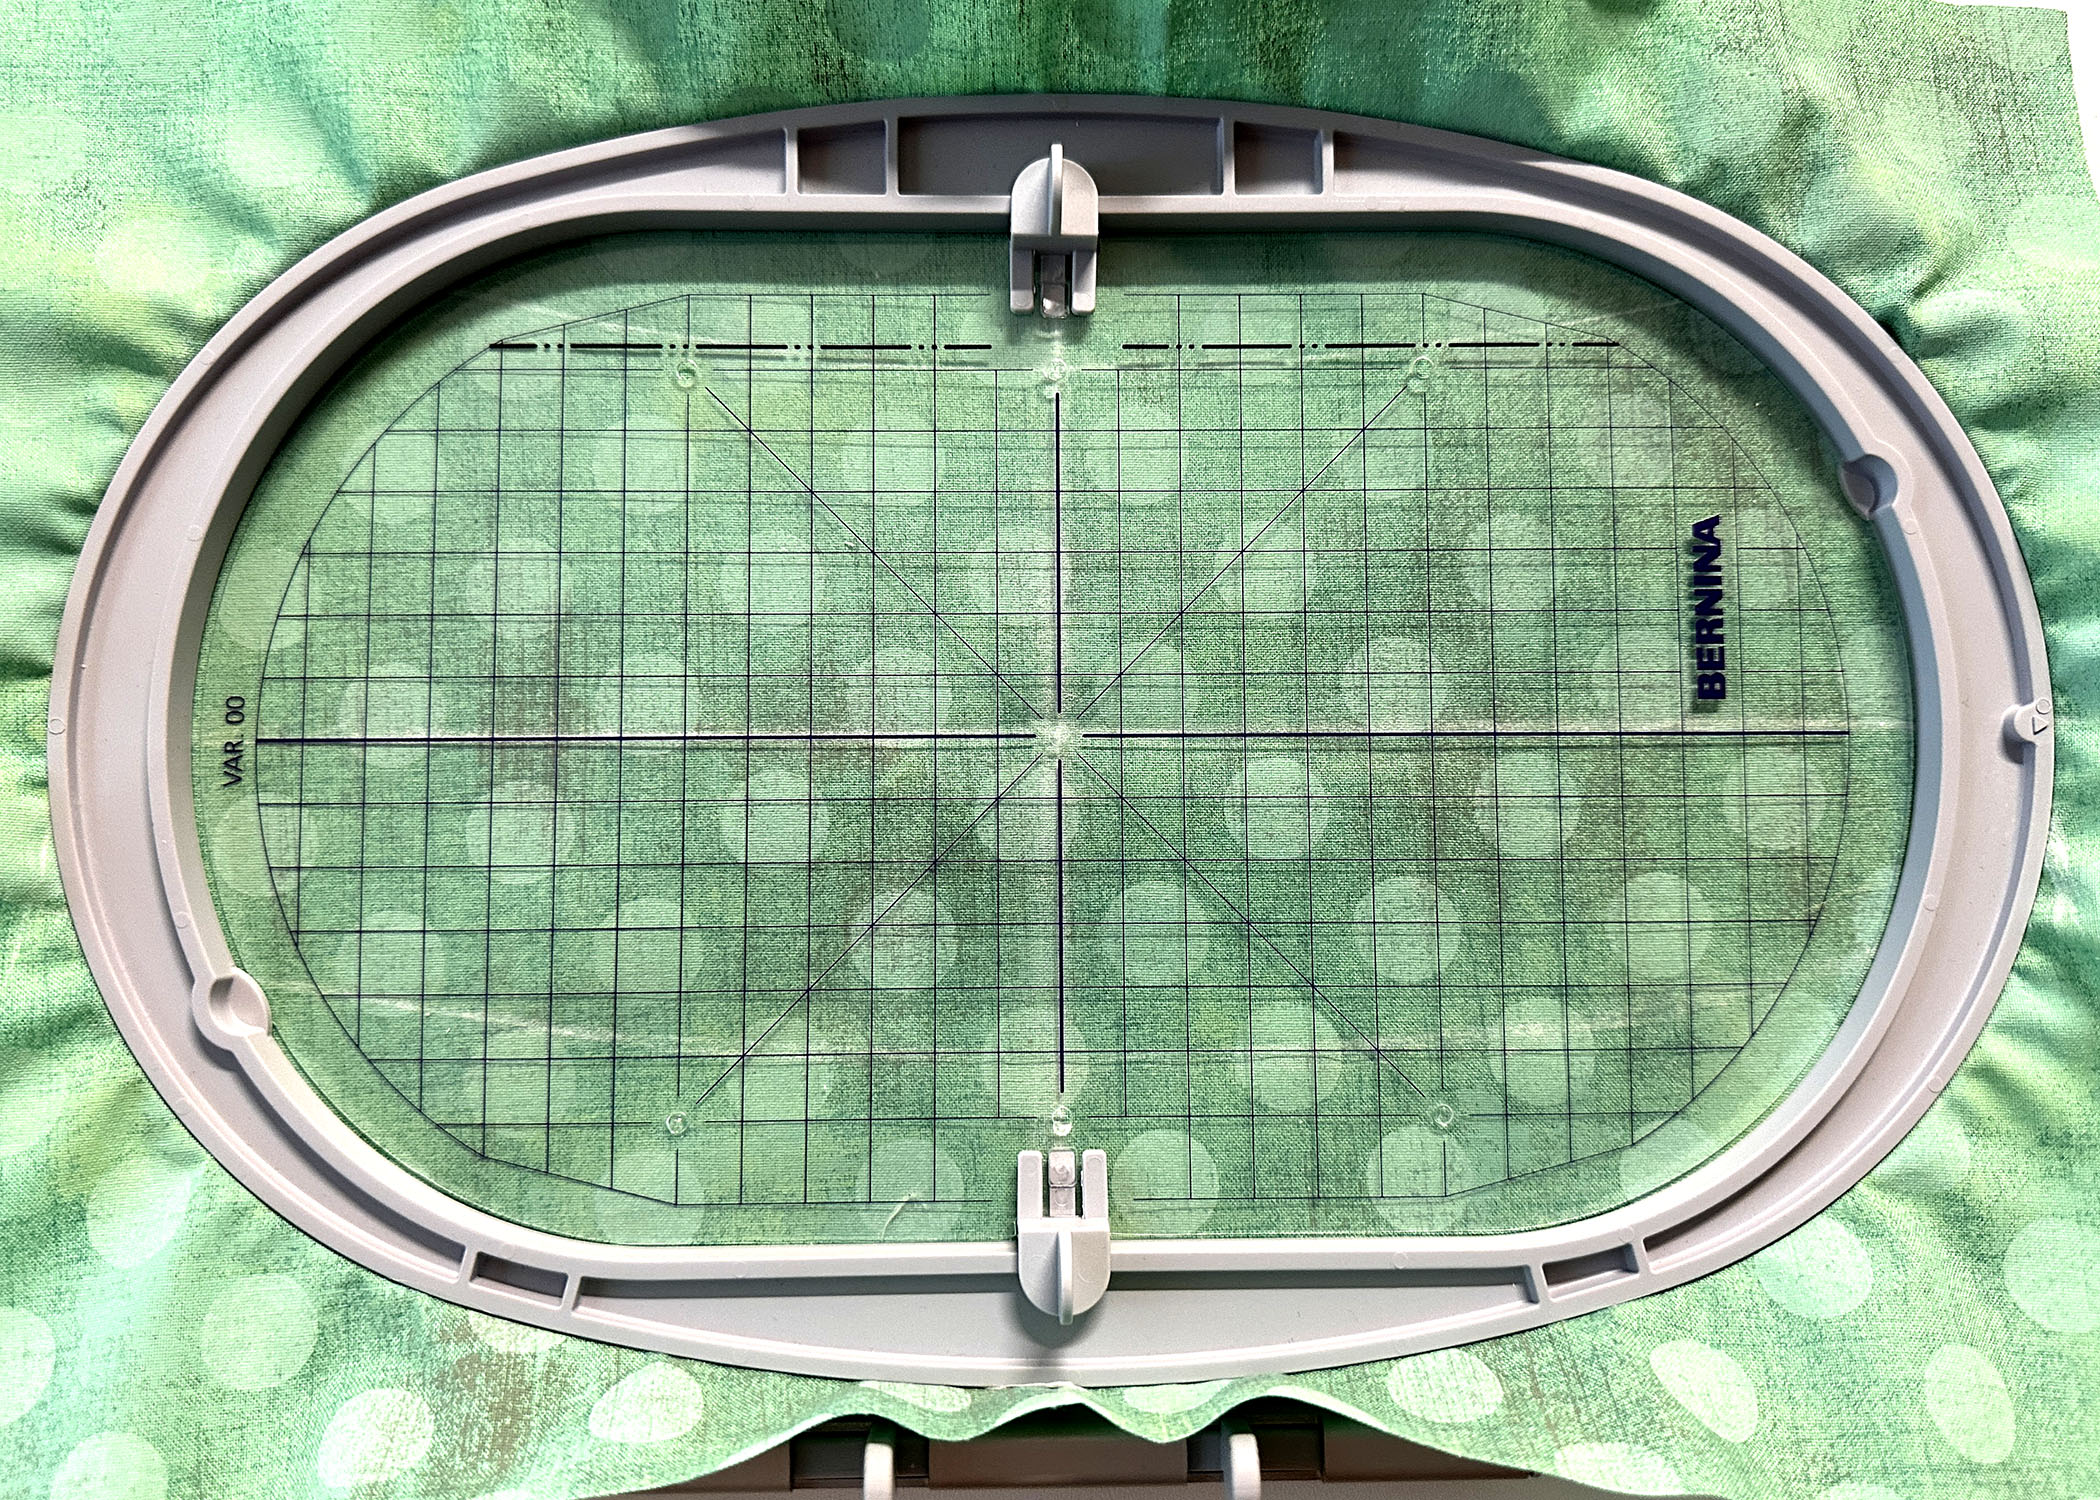
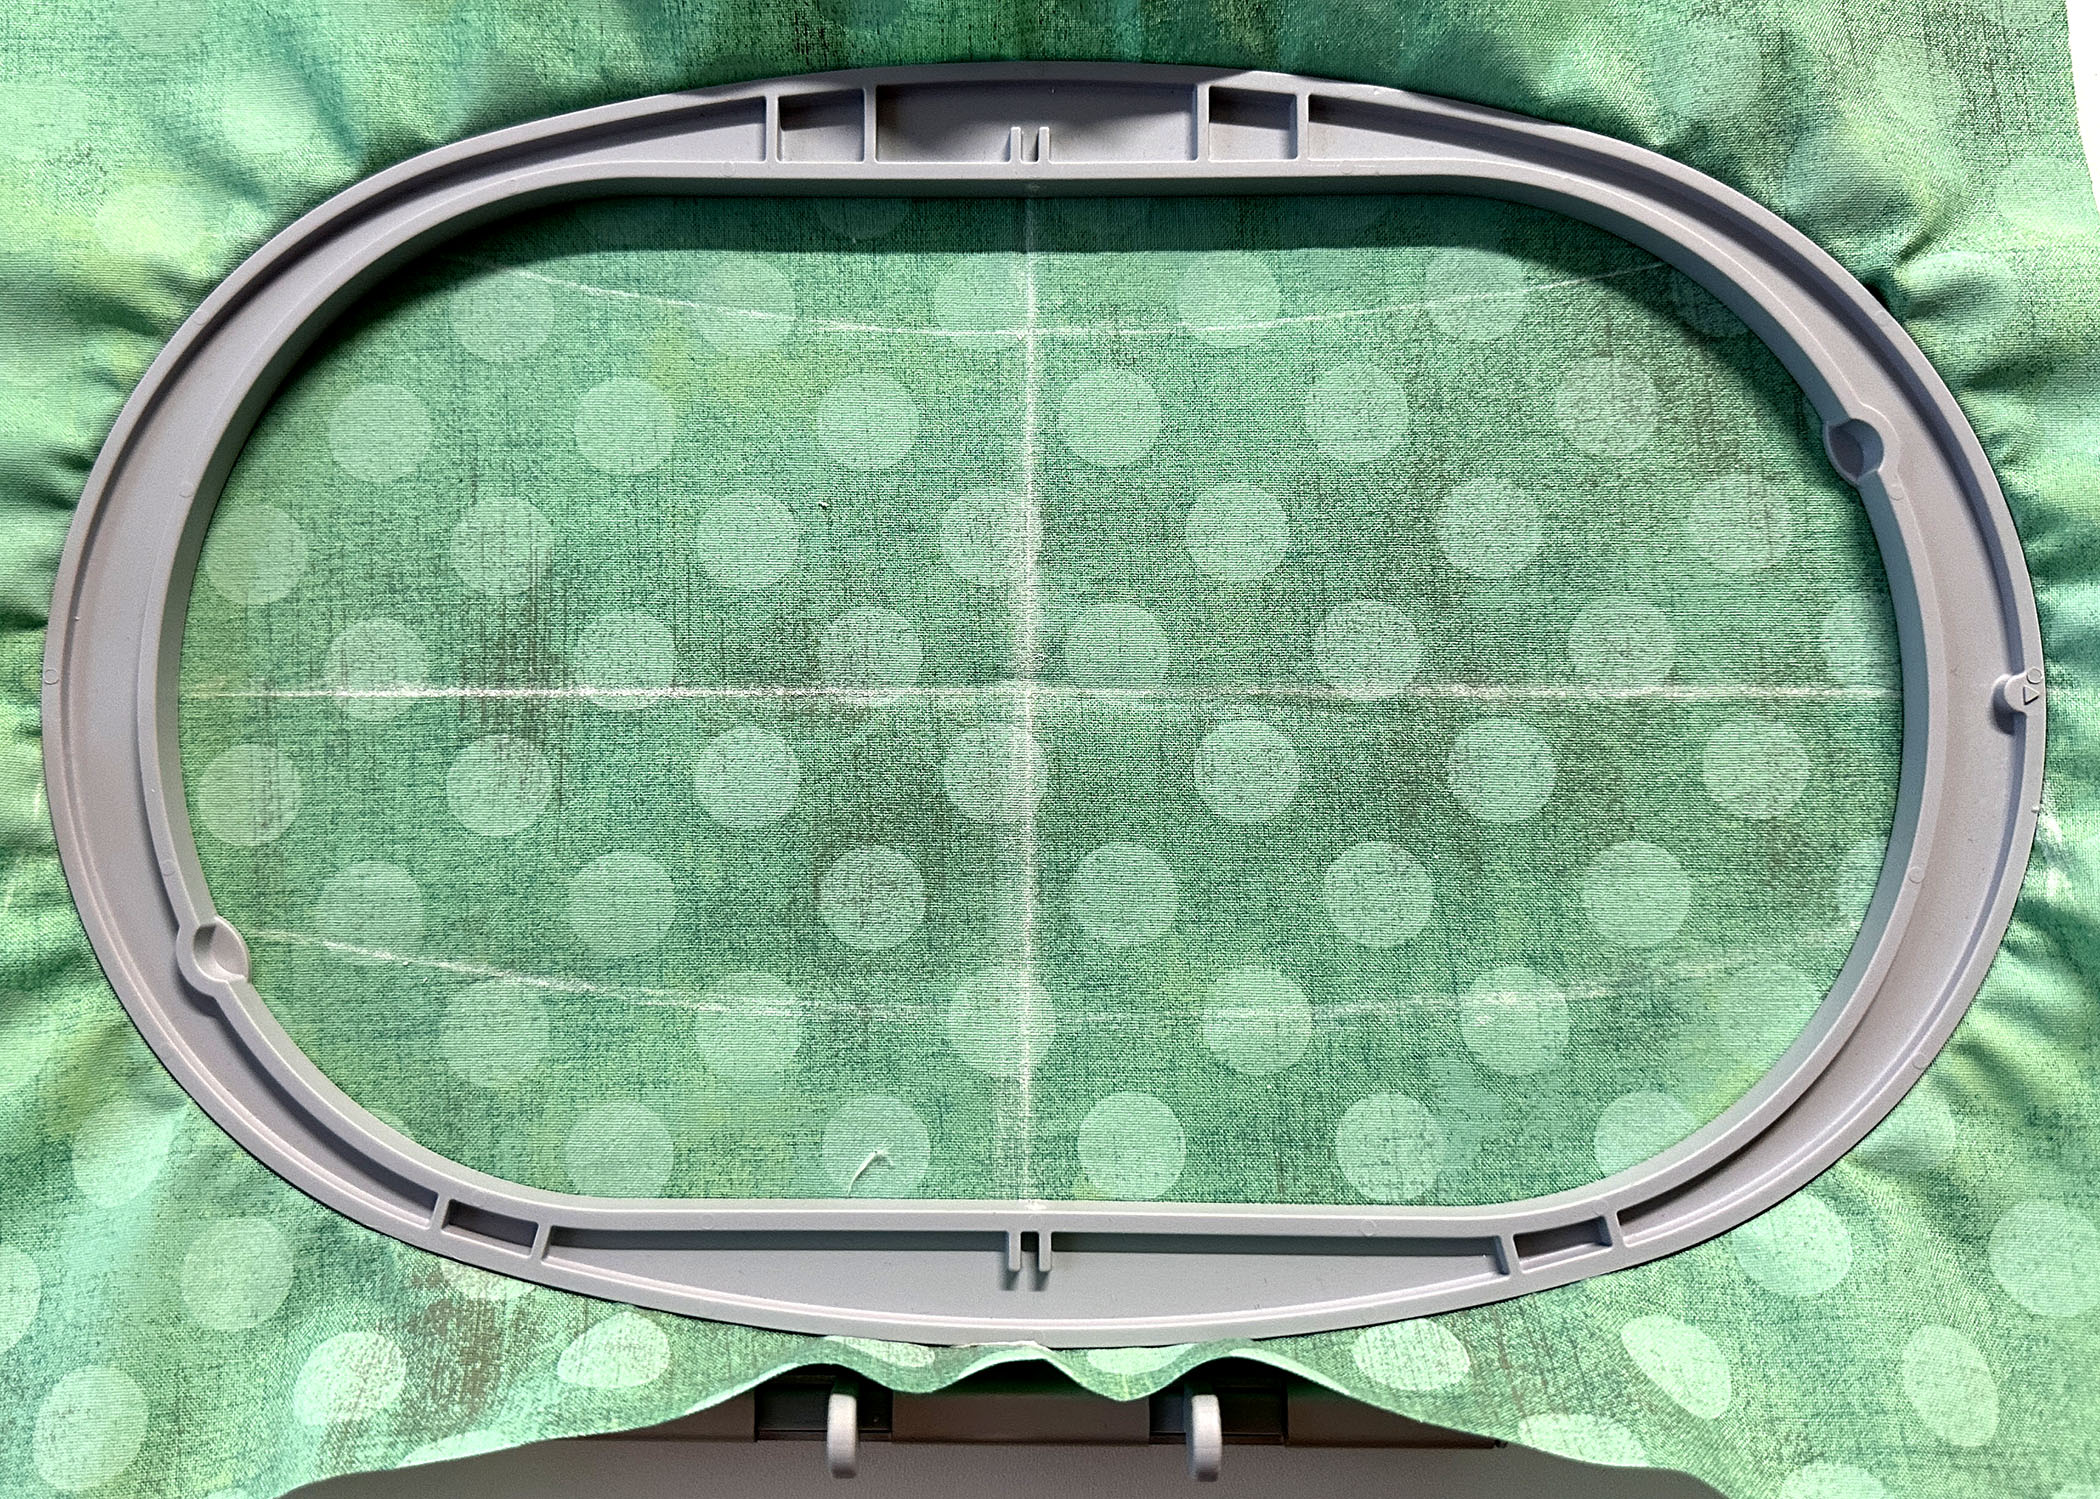
Once the hoop is tightened, remove the template. Note that the outline of the crown will not fit completely inside the hoop, but that’s okay as long as the embroidery design fits inside the outline of the pattern piece. By the way, BERNINA has a video available showing these steps.
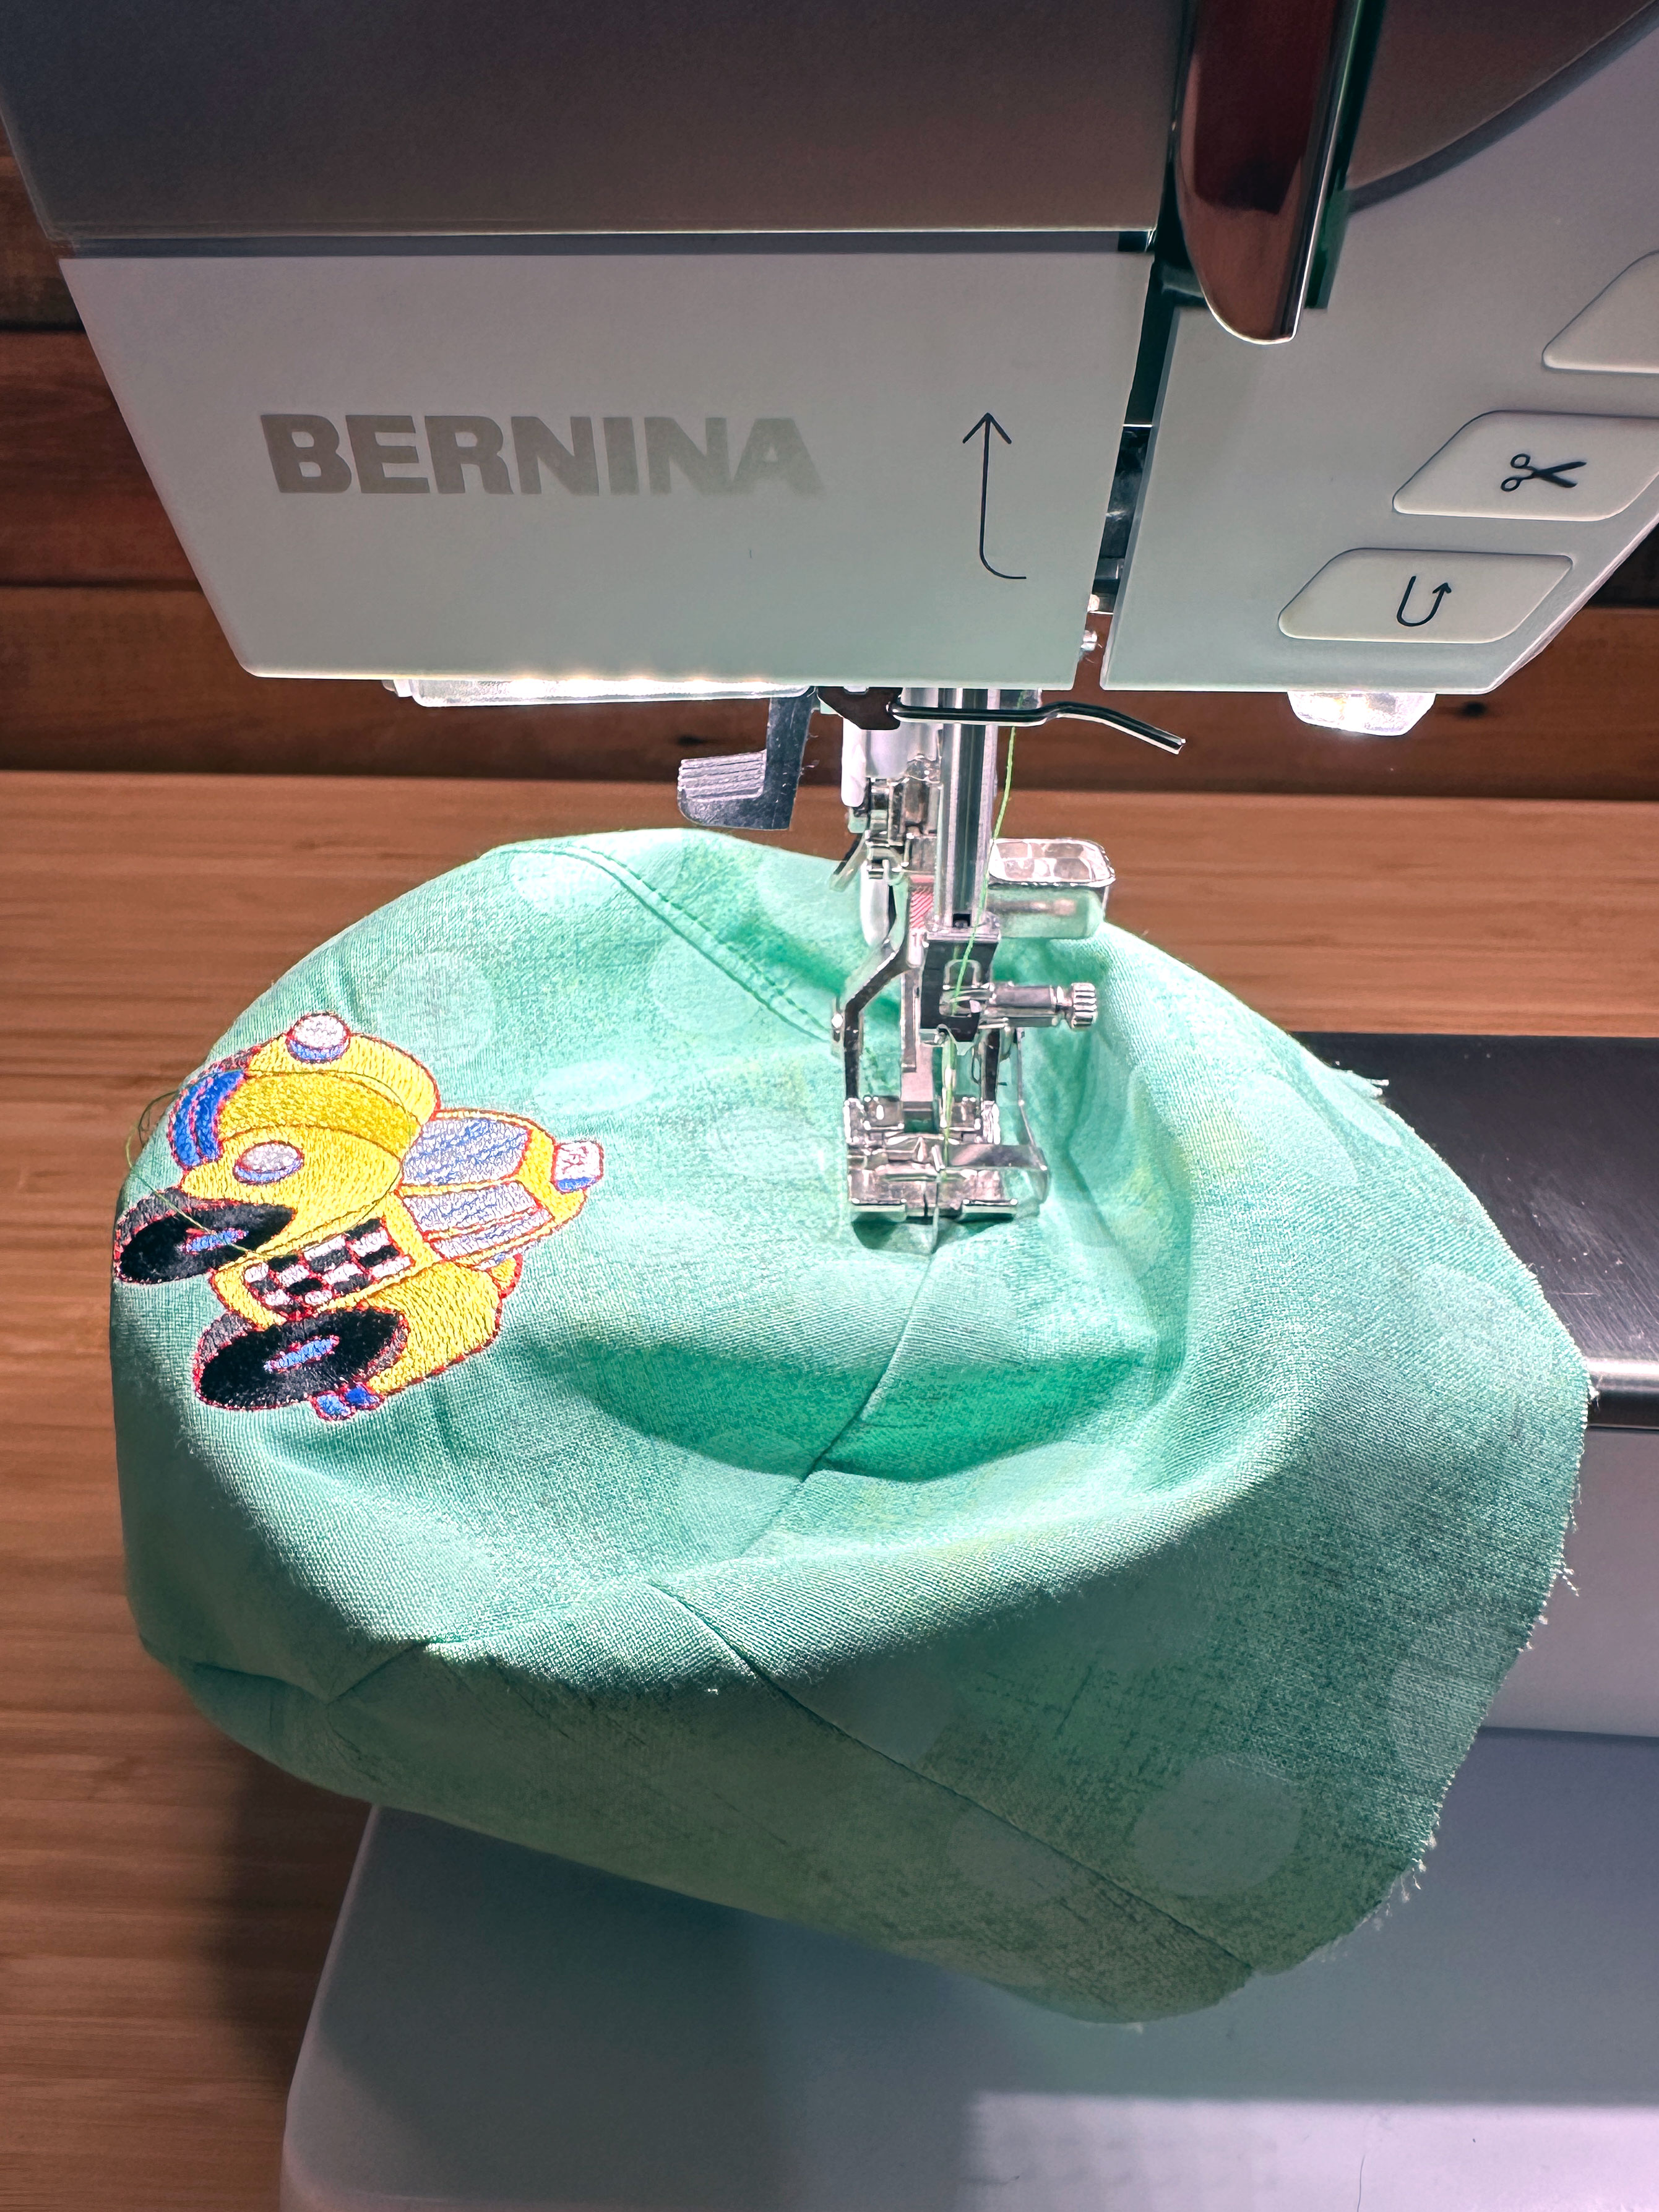
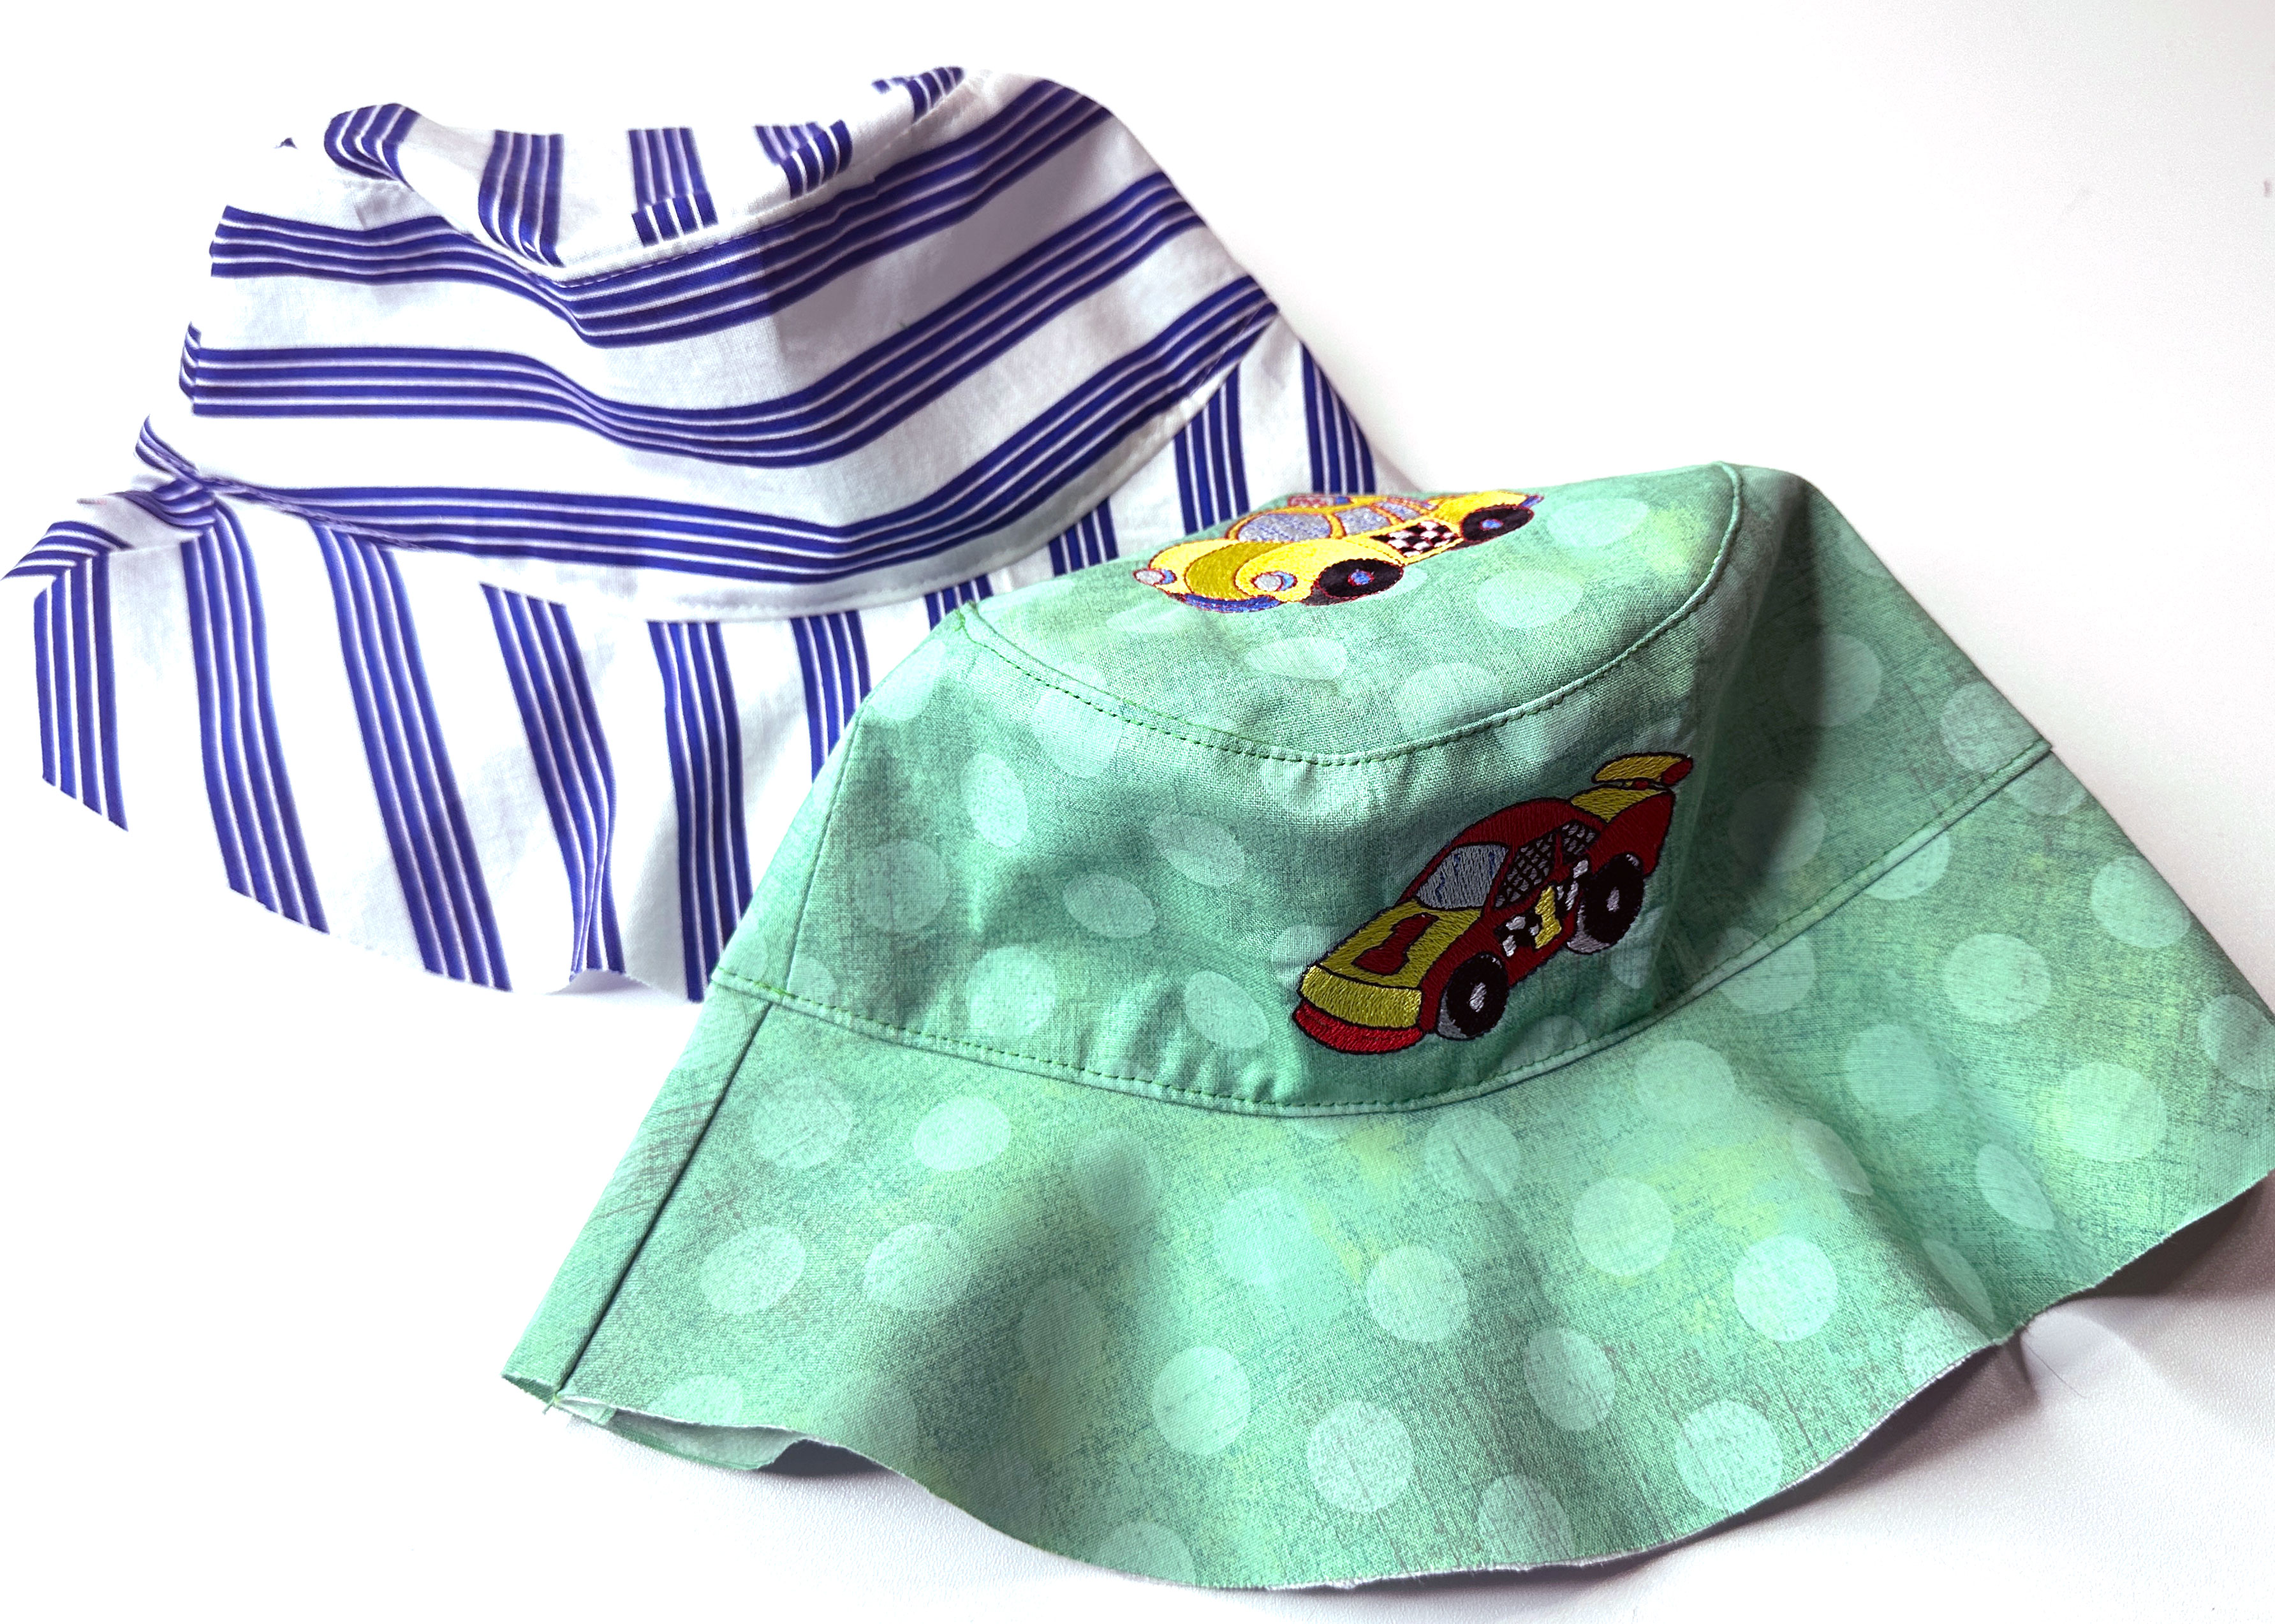
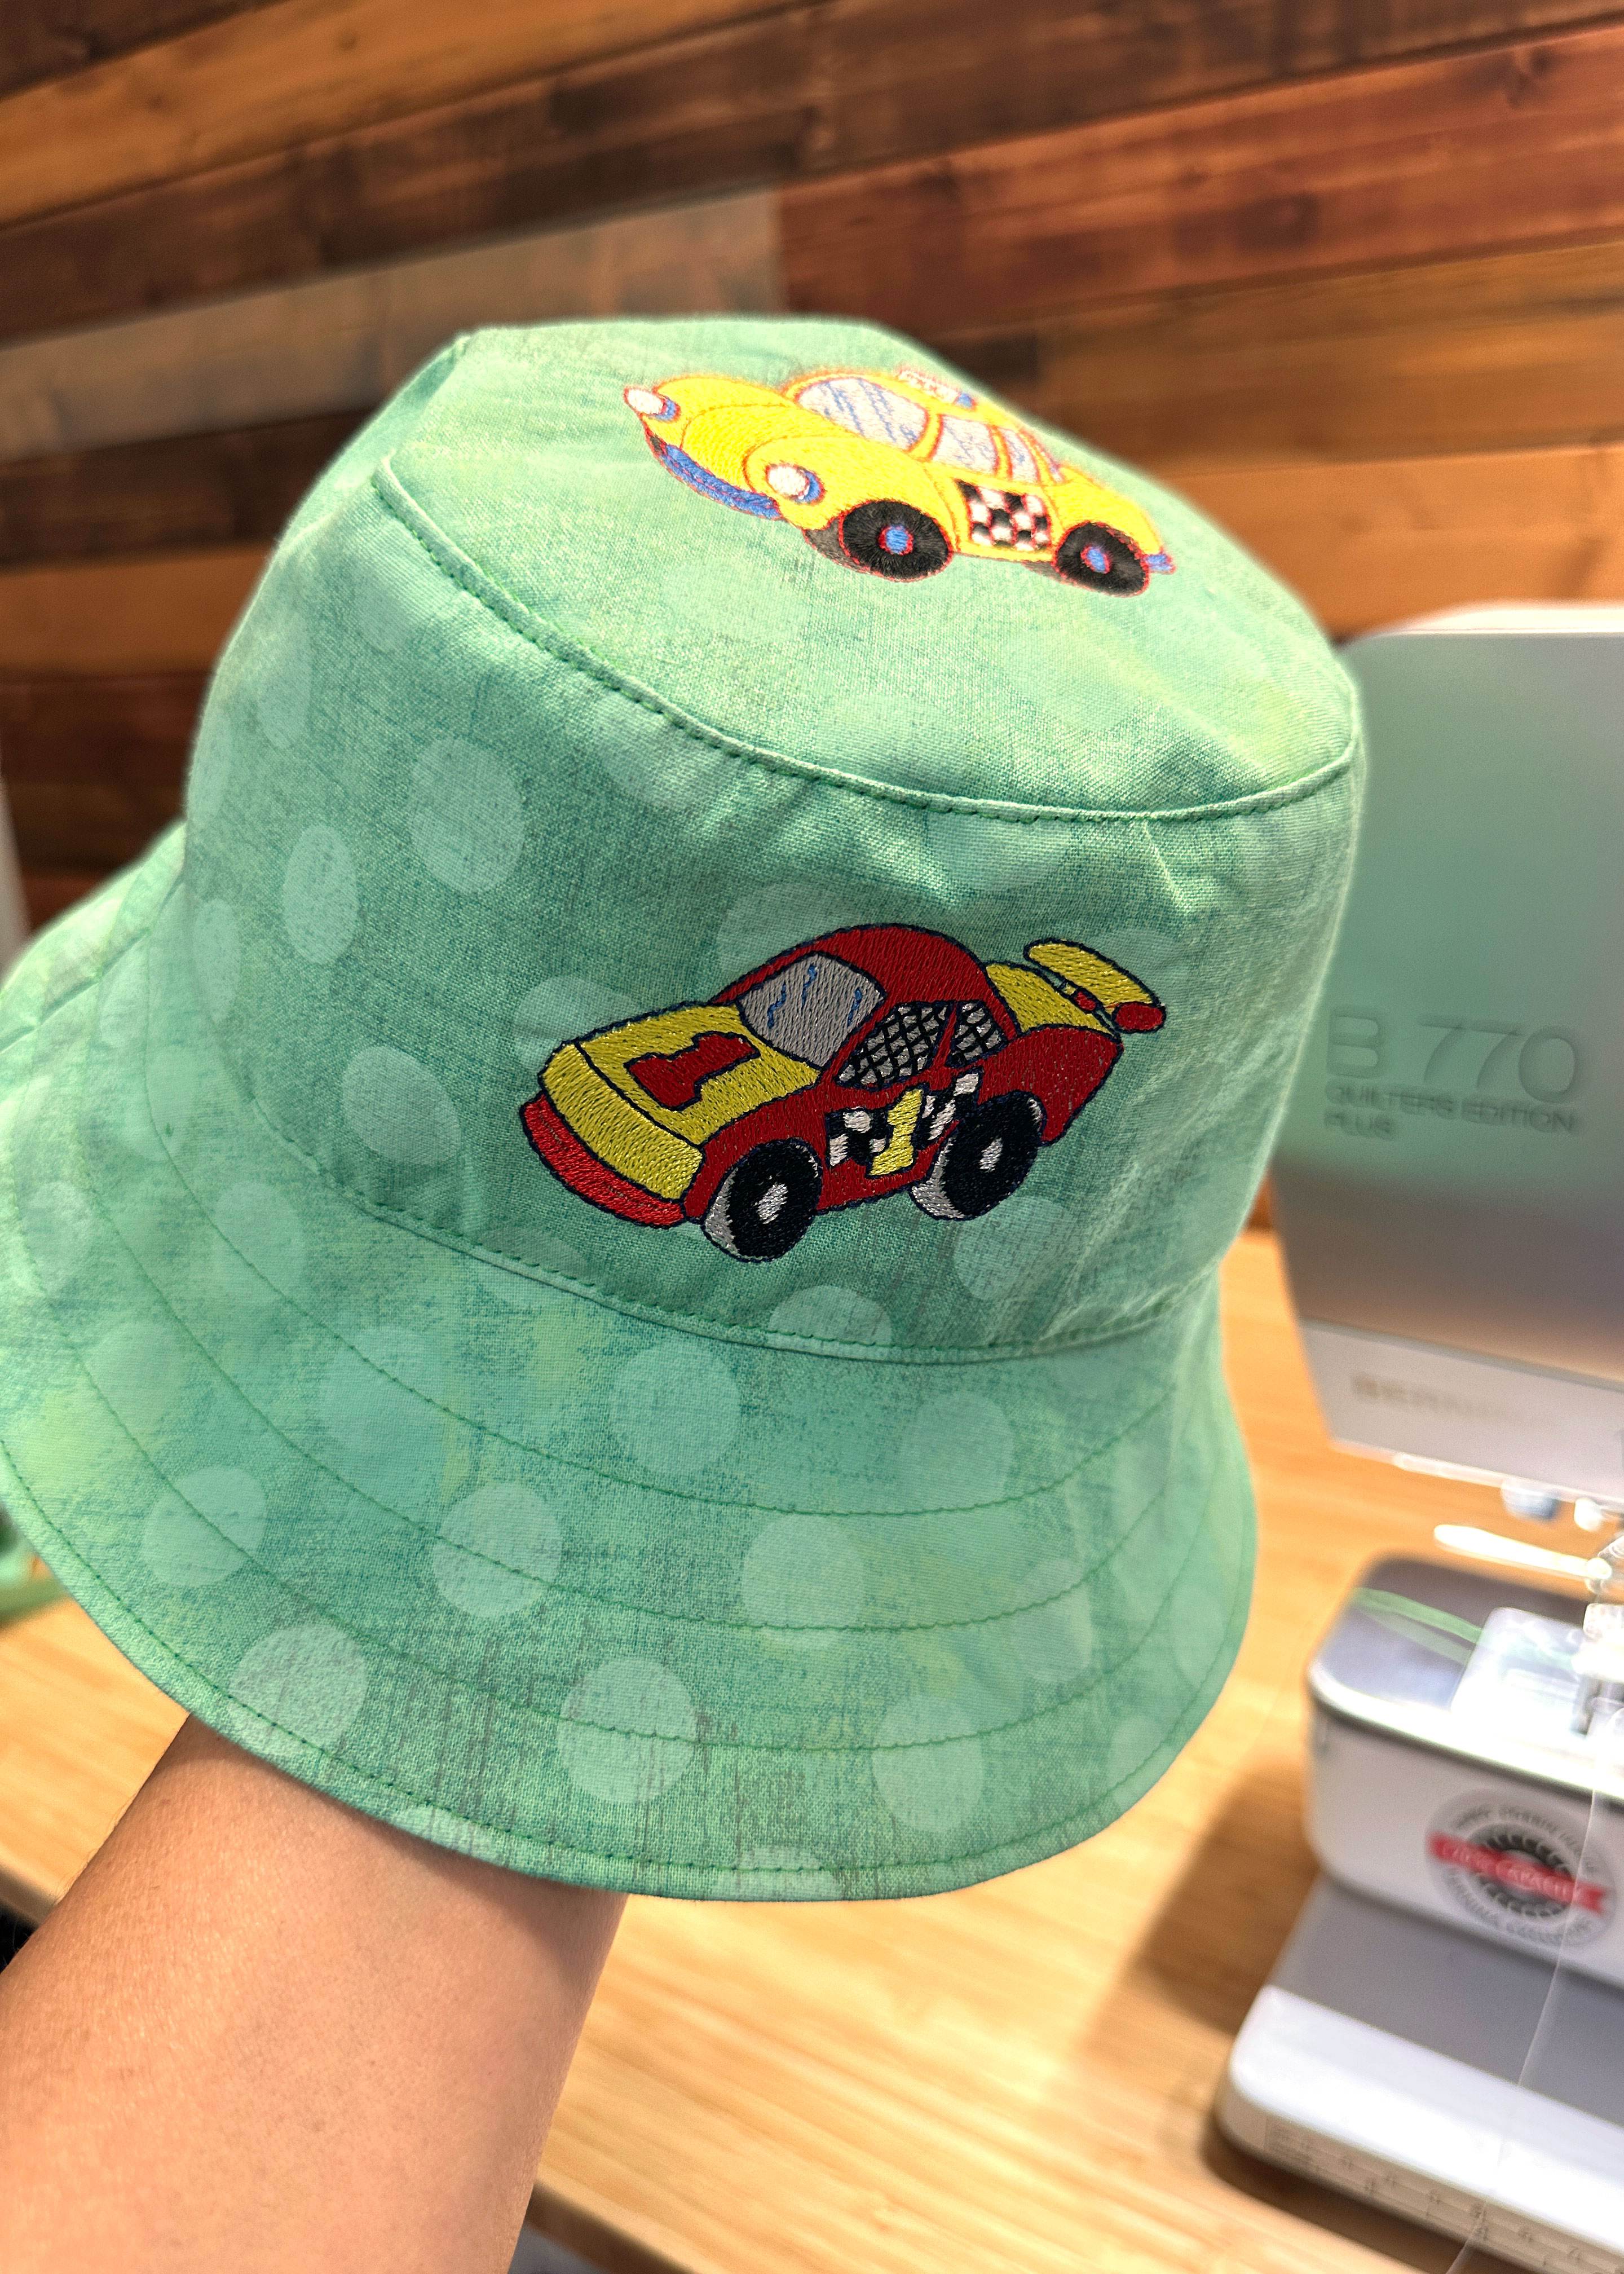
Choose an embroidery design that will fit on the crown of the hat, keeping the design under 3″ tall. For this toddler’s bucket hat I used the race car design included with my B 770 QE PLUS.
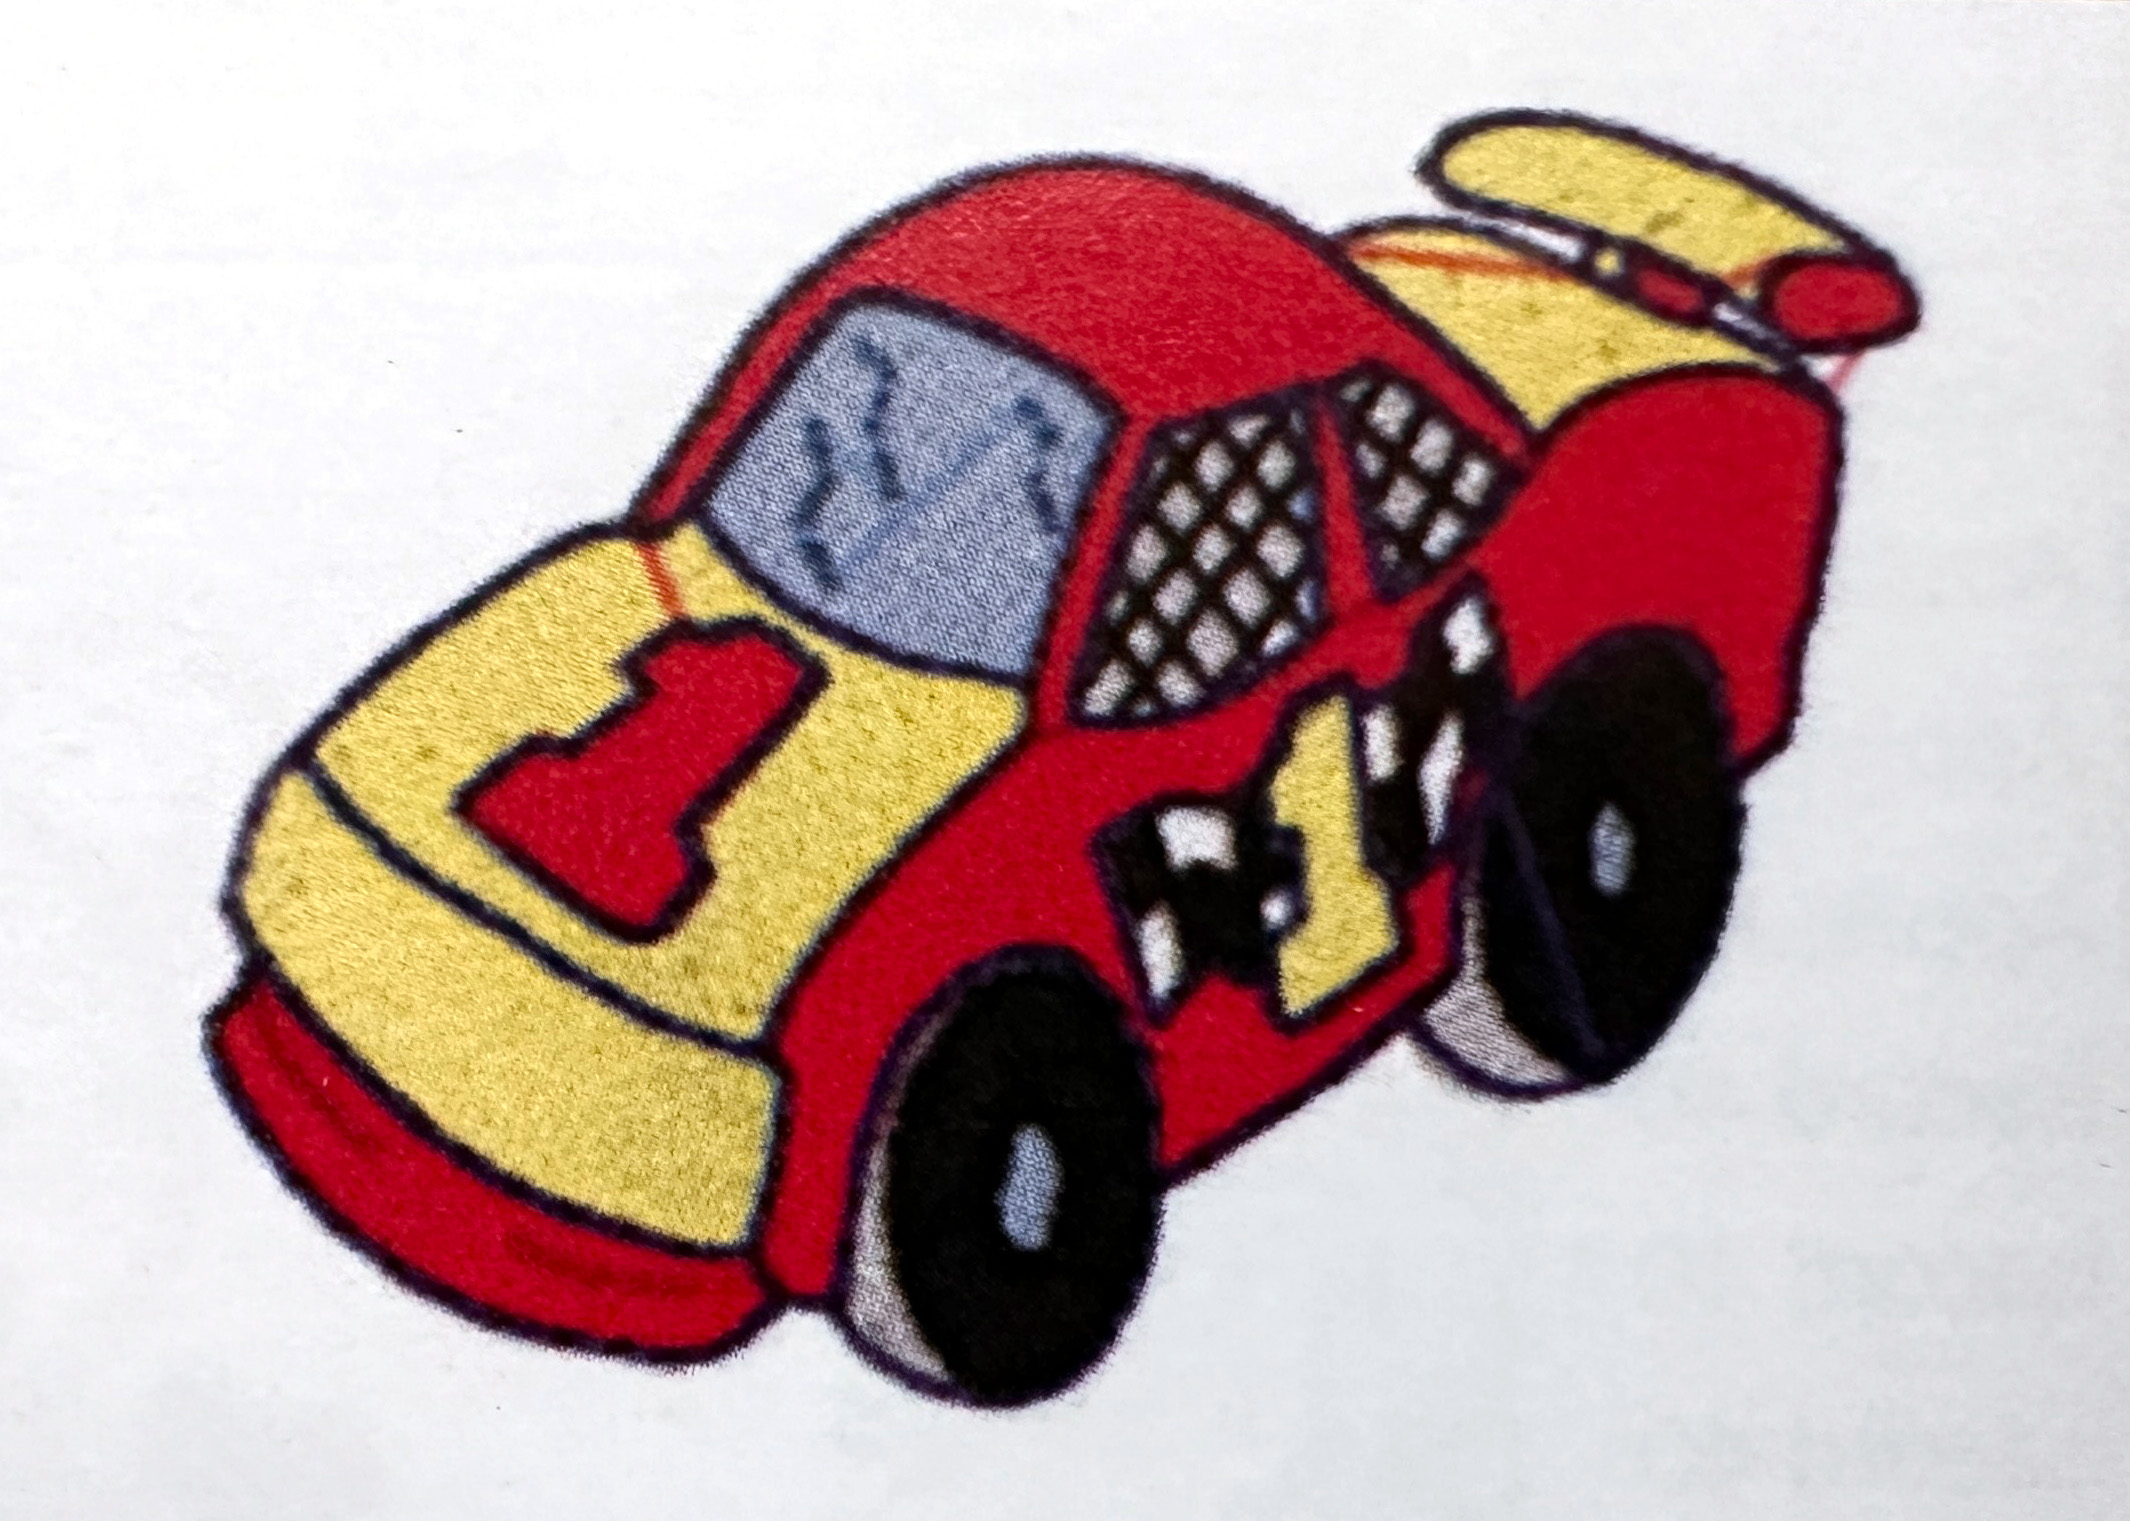
Change the hoop size to large oval hoop, then rotate the car design 90 degrees so the design will not end up embroidered sideways on the finished hat. (Remember, the concave curve is the top part of the hat’s crown.) To do so, access the information menu by touching the “i” icon on the Embroidery Display. Next select the Rotate Motif icon, and touch the 90 degree icon.

Thread the machine with the first color of the design. If you want to see the thread colors and order of embroidery, press the Color Information icon.

Verify that you have installed the embroidery foot, the straight stitch plate, a bobbin with embroidery bobbin thread, and lowered the feed dog. Now press the Embroidery Needle icon, telling the machine you’re ready to sew, then attach the hoop.

Next, check and make sure the design will be centered on the mark you drew and that the design will fit in the outline of the hat crown. Touch the “i” icon, select the Check icon, and press the Crosshair icon. The needle will move to the center. Then touch each corner arrow, which will move the needle to the outer corner of the design. If needed, you can move the placement of the design before you begin stitching.

Once you know the design is centered, you’re ready for the fun part! Just click on the green “Go” button and watch it stitch out the design. When prompted, change the thread colors for the design.
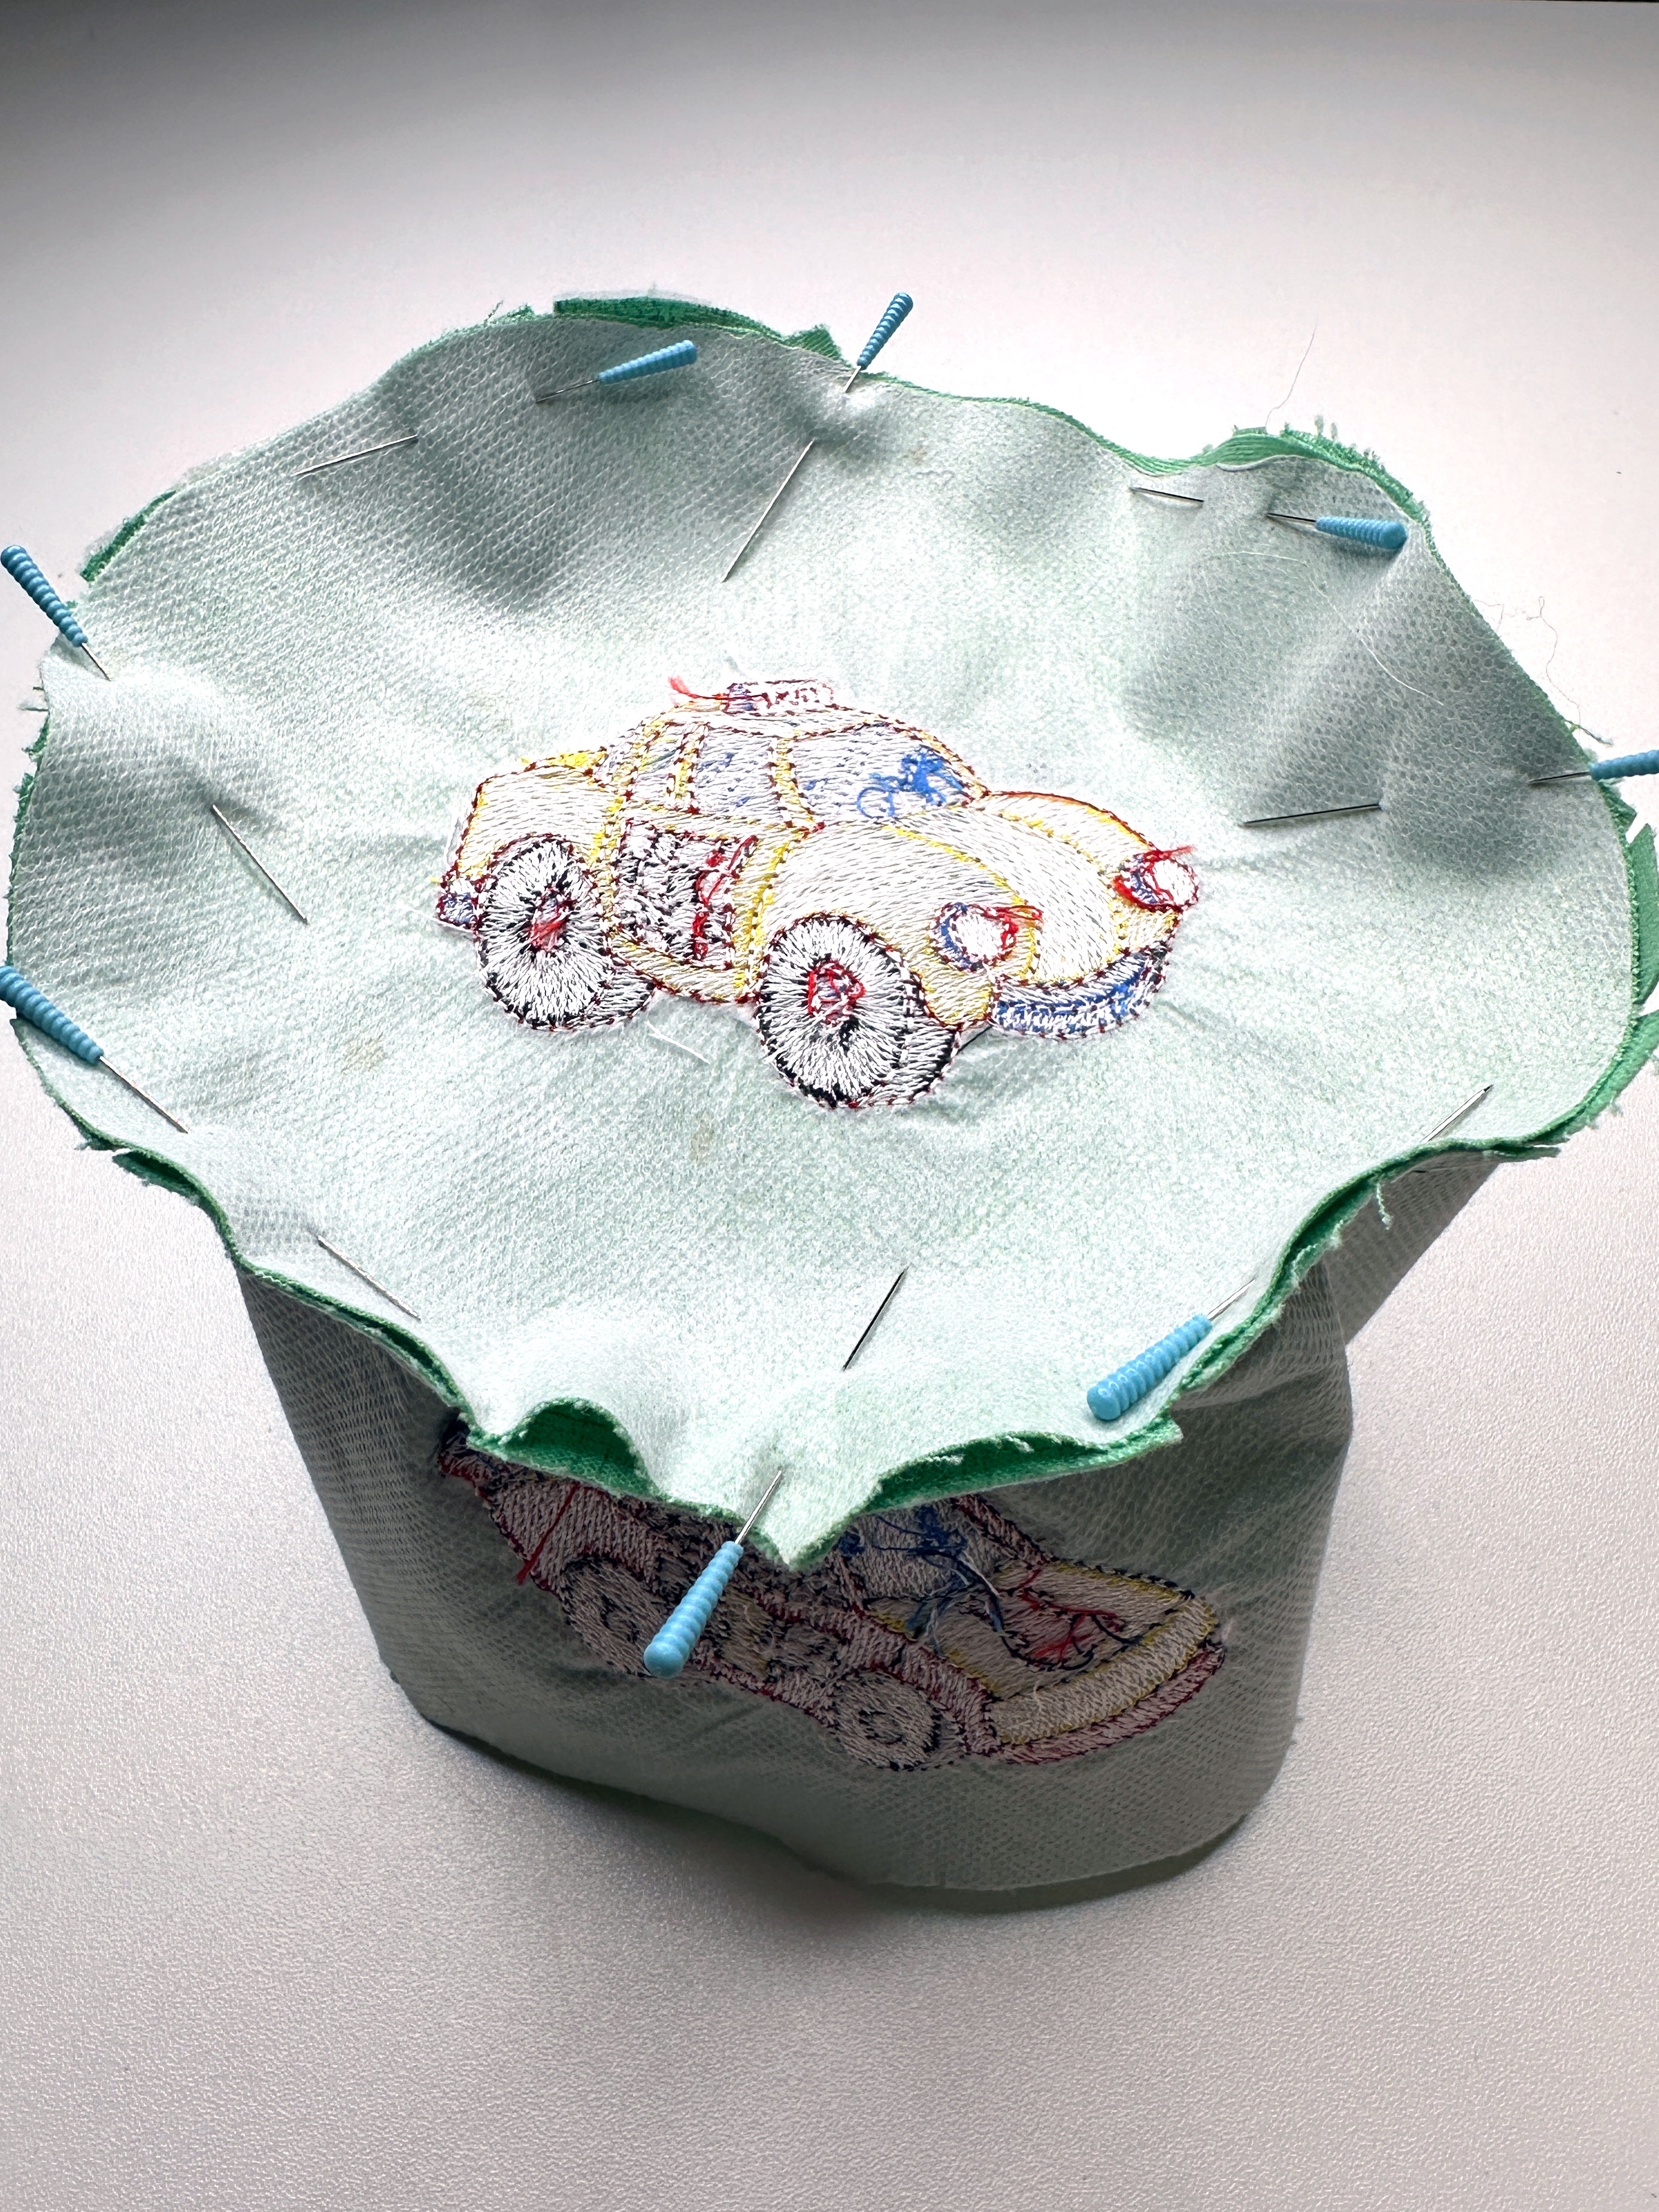
Once the design is done stitching, remove the hoop, remove the fabric, and carefully remove the stabilizer from around the design.
Add a Design to the Top of the Bucket Hat
The steps to add a design to the top of the bucket hat are identical to the steps to add a design to the crown of the hat, with a few exceptions.
Cut a piece of fabric 10″ x 10″, mark the center, then trace the outline of the hat top pattern piece. Add stabilizer to the back and place in the medium hoop, using the same steps as outlined above.
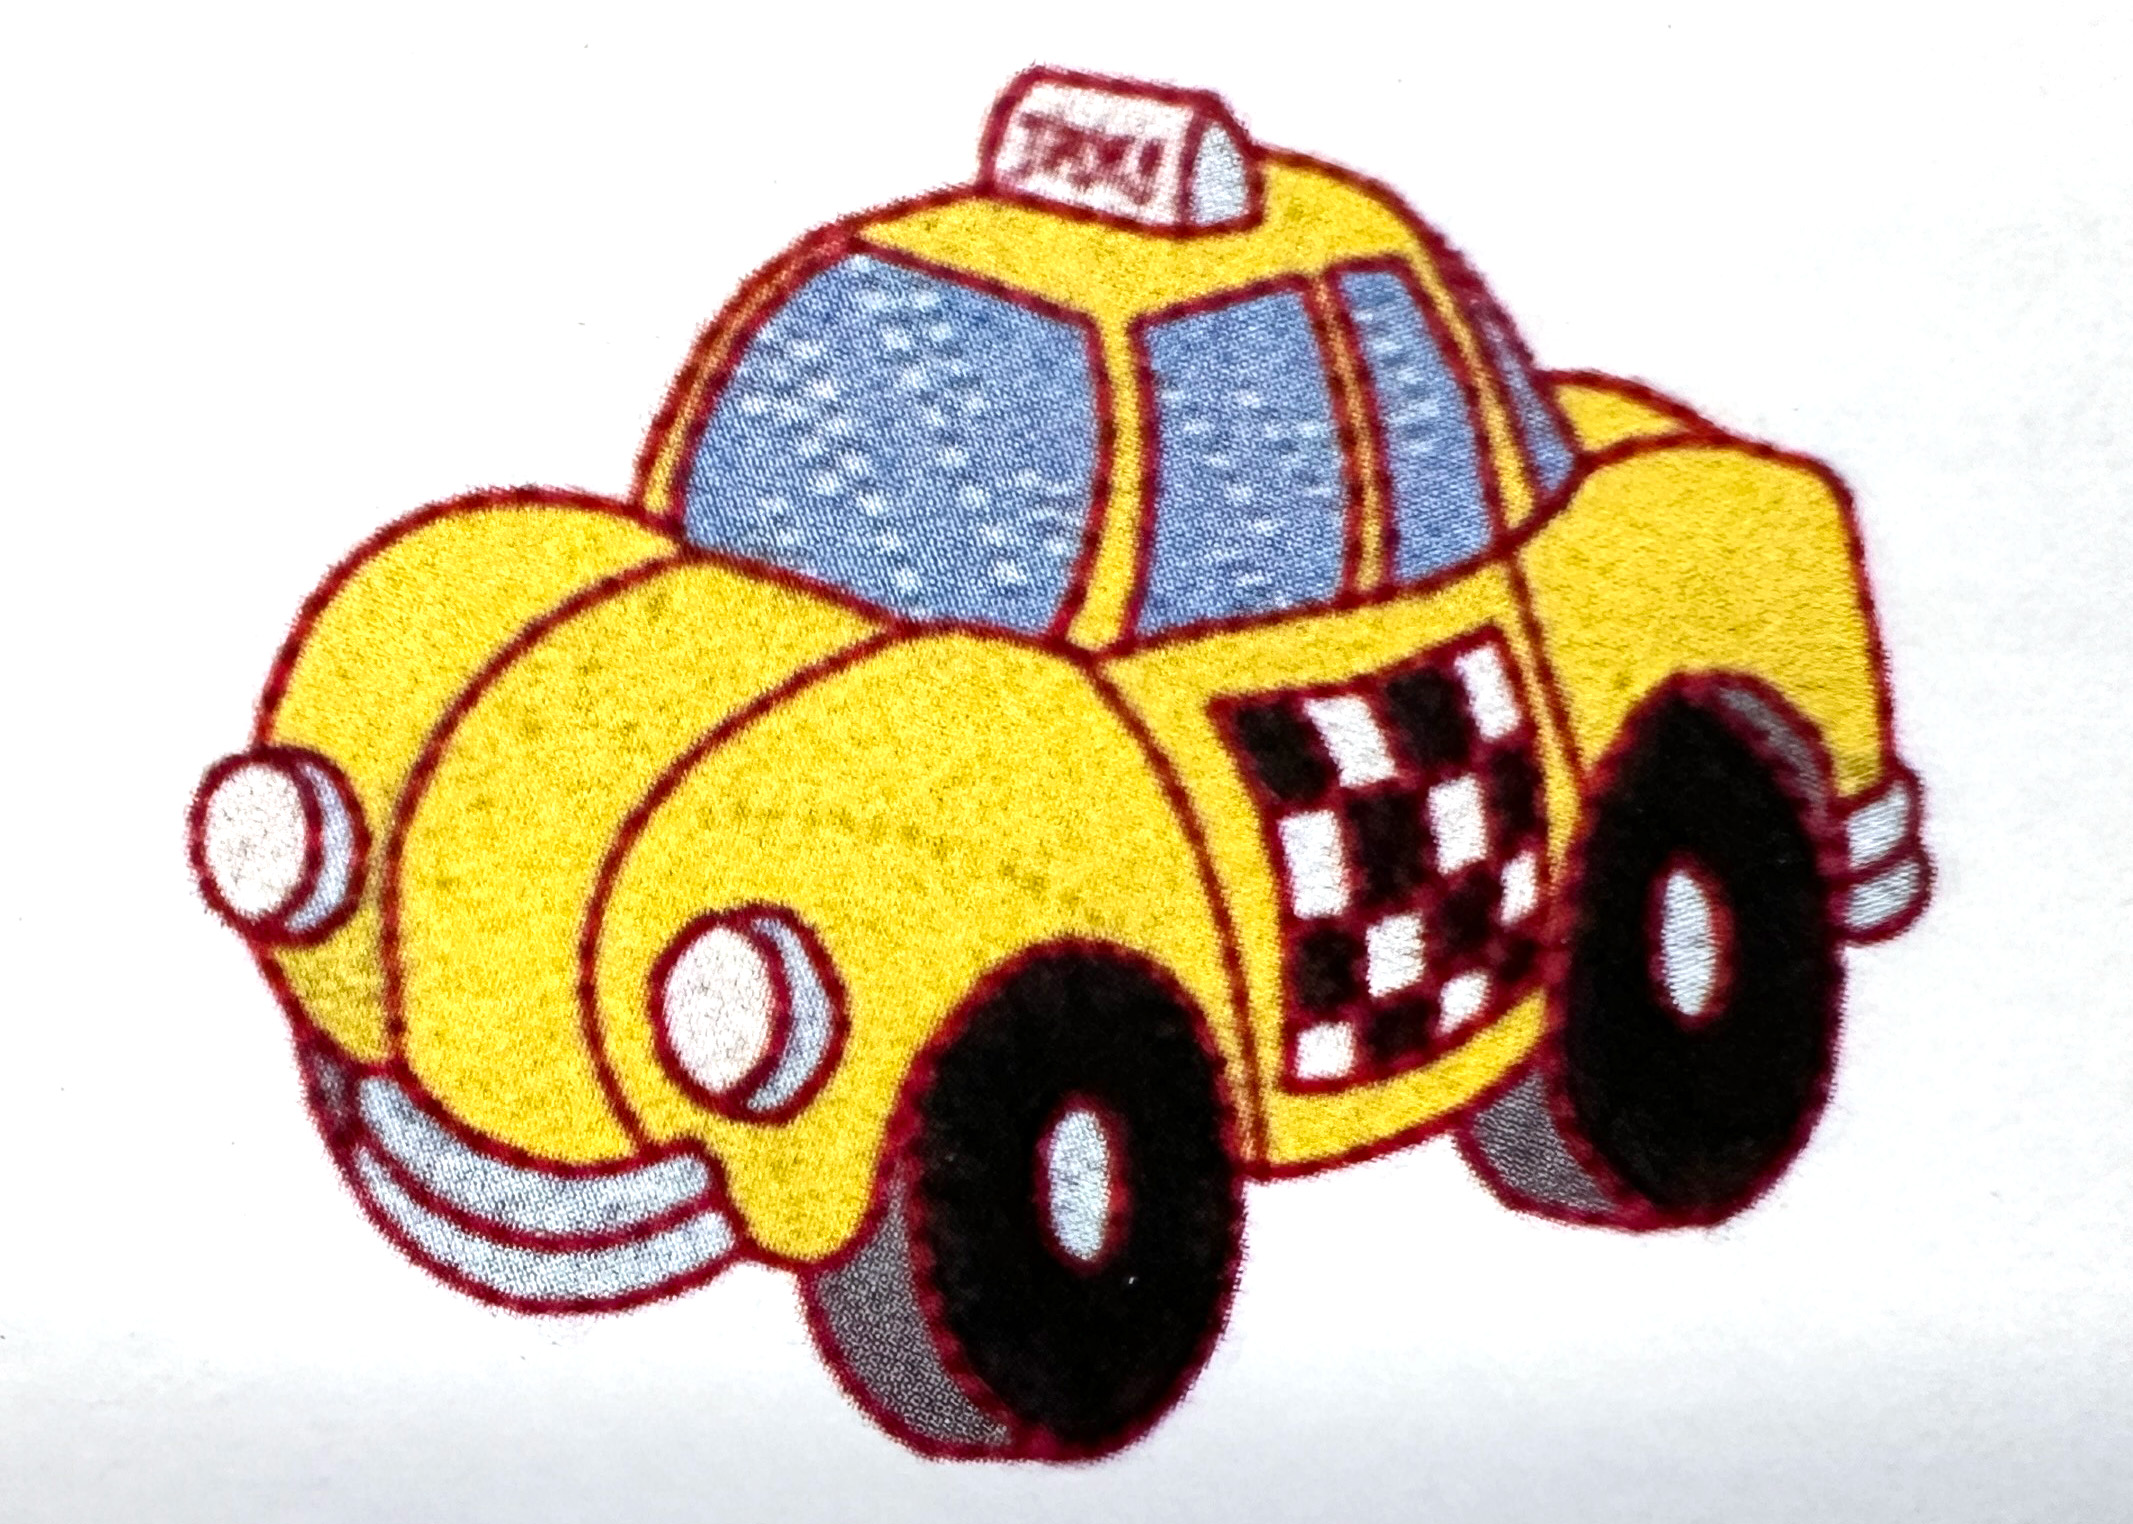
The design I used on the top of the toddler’s bucket hat is the Taxi Cab included included with my B 770 QE PLUS.
Once the design is done stitching, remove the hoop, remove the fabric, and carefully remove the stabilizer from around the design.
Now it’s time to sew the bucket hat.
Remove the embroidery module, install the Reverse Pattern Foot with Clear Sole #34D (or #34), put on the 9mm stitch plate, insert a 80/12 universal needle, and raise the feed dog.
Steps to Sew the Bucket Hat
Cut out the Bucket Hat Pieces
Main fabric:
- Cut 2 – brim
- Cut 2 – crown, one with embroidery and one without. With the fabric right side up, position one body pattern piece centered over the embroidered design.
- Cut 1 – top
Lining fabric:
- Cut 2 – brim
- Cut 2 – crown
- Cut 1 – top
Interfacing:
- Cut 2 – brim
- Cut 2 – crown
- Cut 1 – top
Apply Interfacing to the Bucket Hat Pieces
Following the manufacturer’s instructions, fuse the interfacing to the wrong sides of the brim, crown and top fabric pieces.
Stitch the Bucket Hat
Place the brim pieces right sides together, pin along the side seam and stitch using a 3/8″ seam allowance. Finger press the seam open.
Place the crown pieces right sides together, pin along the side seam and stitch using a 3/8″ seam allowance. Finger press the seam open.
Staystitch the upper edge of the crown just shy of 3/8″ from the edge, then clip into the seam allowance about every 1/2″ or so being careful not to clip the stitching. These clips are needed so the concave curve of the upper edge of the crown will fit the curve of the top.

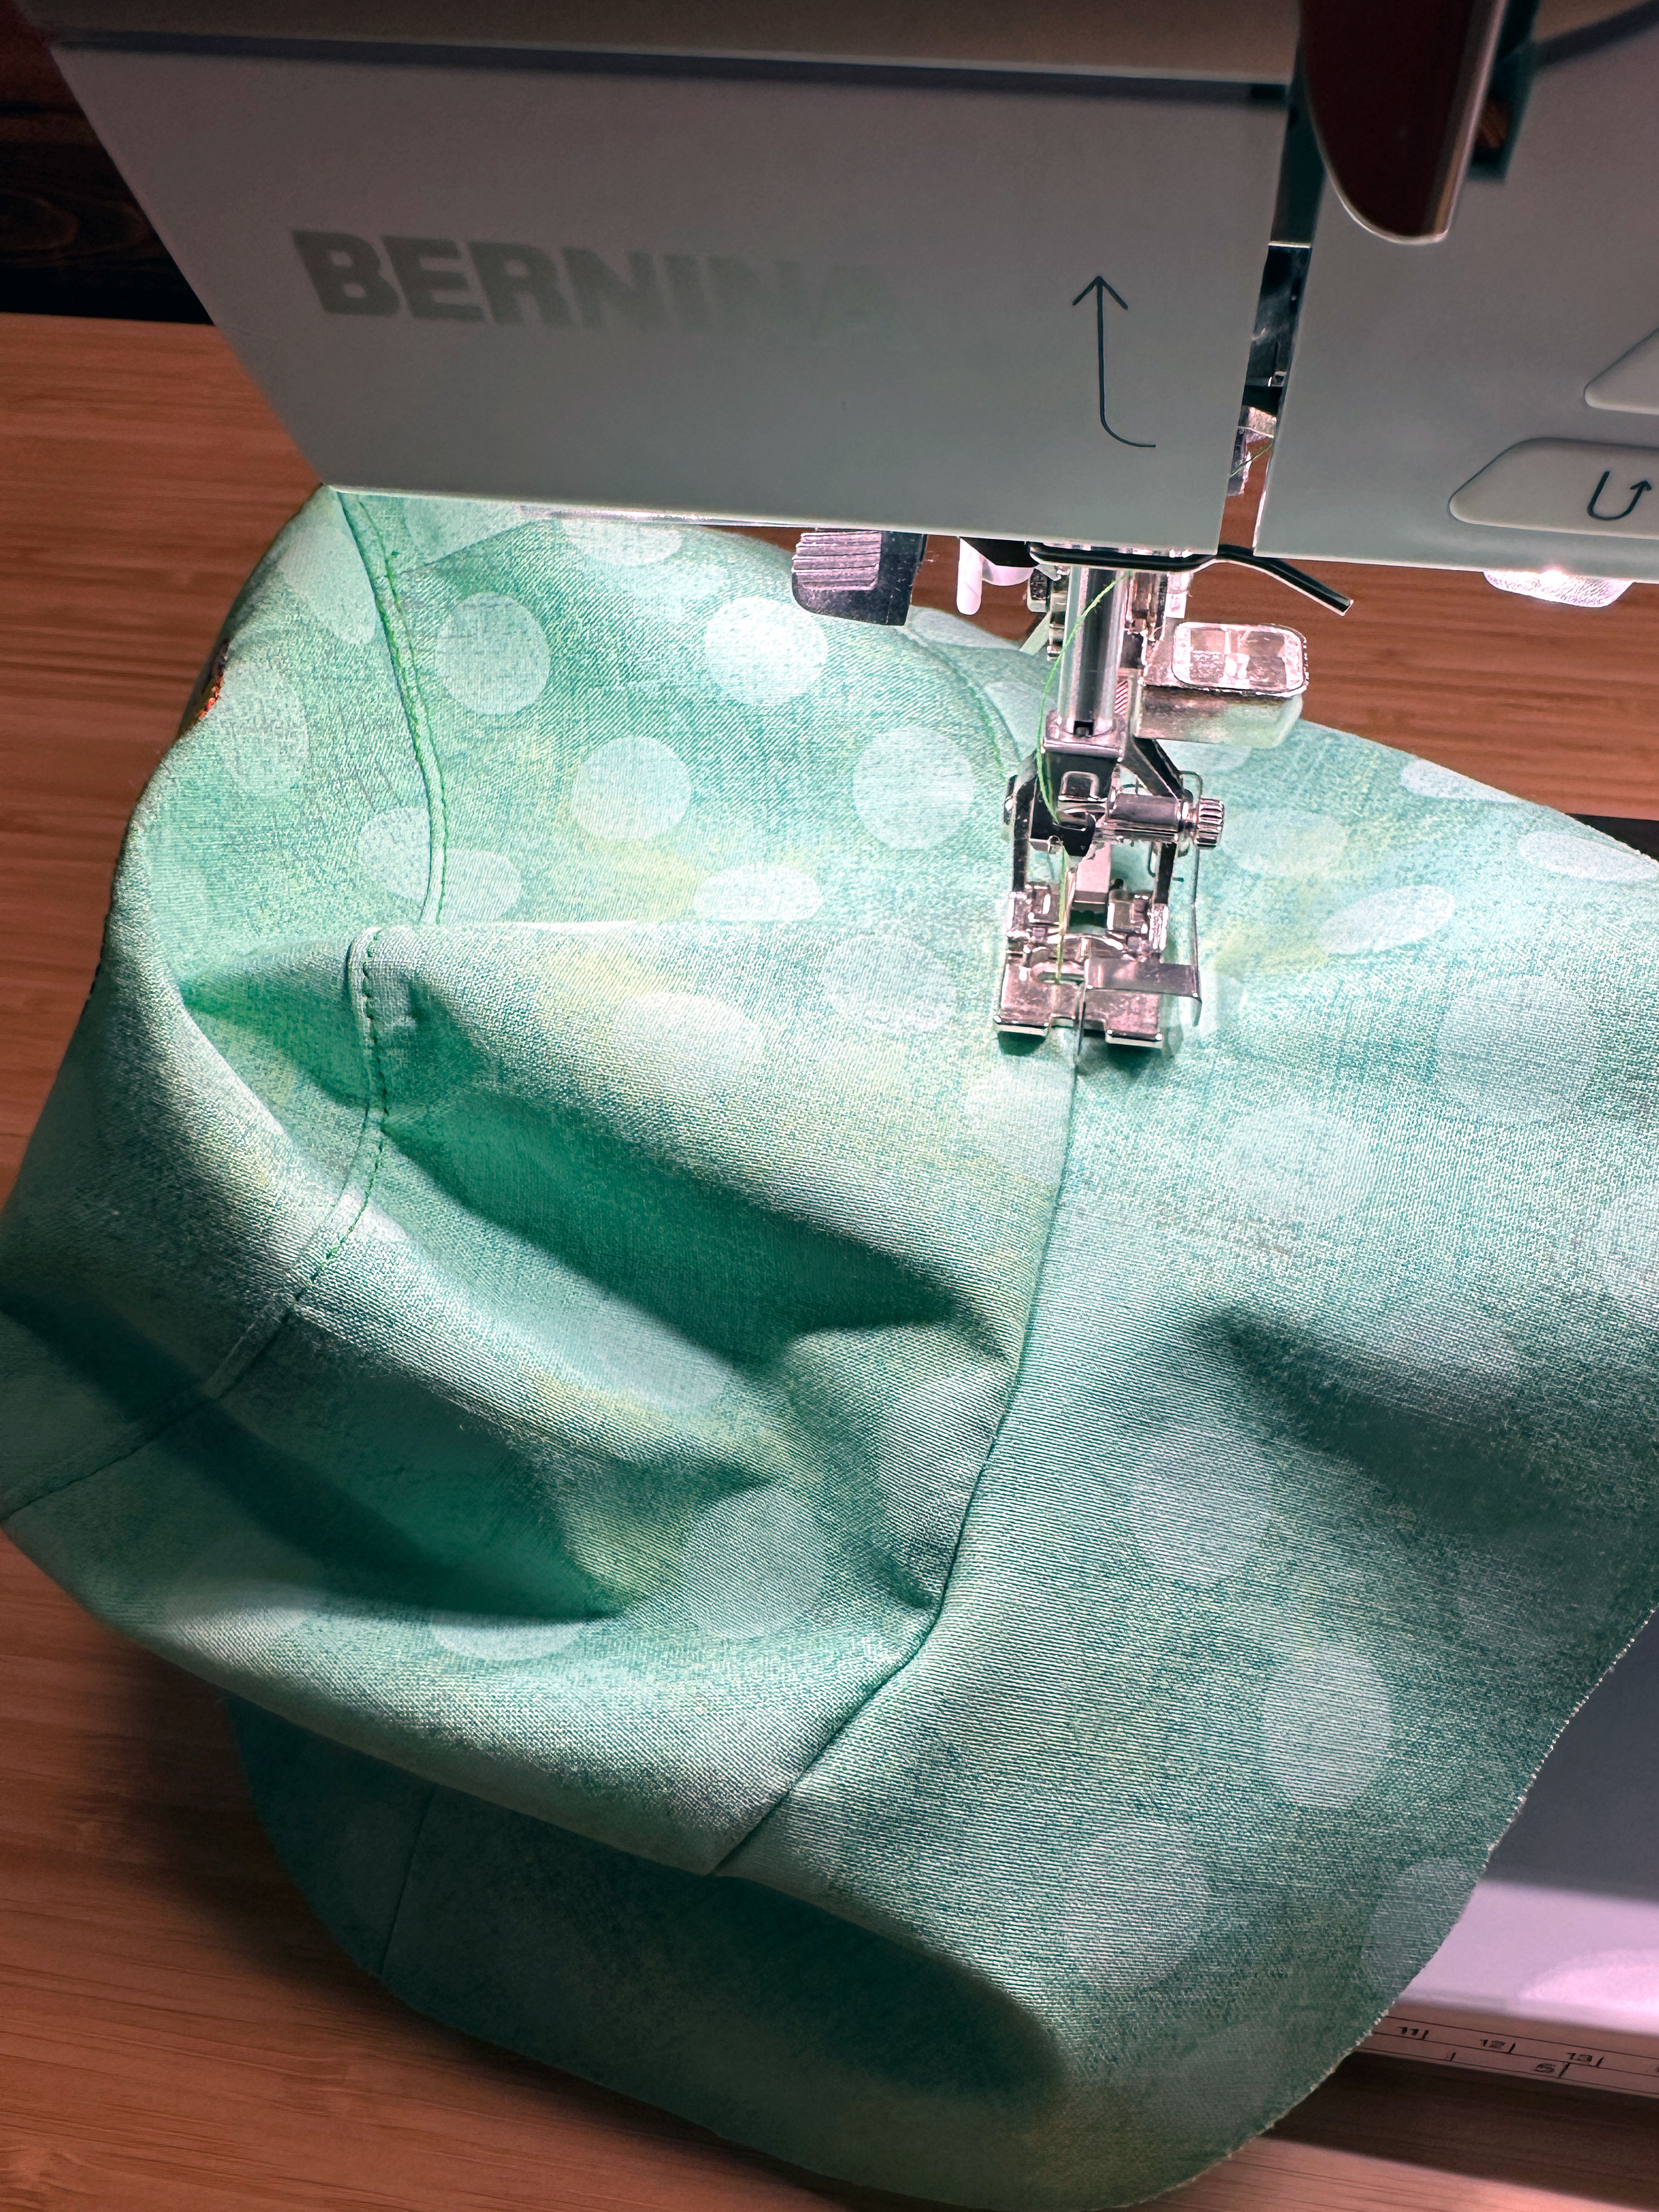
With right sides together, pin (or clip) the crown to the top matching the notches and raw edges. Make sure the embroidery on the top of the hat is positioned correctly before stitching the seam.
Stitch using a 3/8″ seam allowance. This will be the hardest part of sewing the bucket hat and with practice it gets easier.
Go slowly and lift the pressure foot as needed to smooth out any potential tucks in the crown (the knee lever on my sewing machine was perfect for this step).
If you do get a little tuck it can usually be pressed out with a little bit of steam. If it doesn’t steam out and it’s not too large, don’t worry about it! It’s unlikely anyone will even notice it as they’ll be so amazed that you made the bucket hat!
Finger press the seam towards the crown. Put on the Edgestitch Foot #10D, move the needle four positions to the right, and edgestitch in place. Remove the Edgestitch Foot when done.
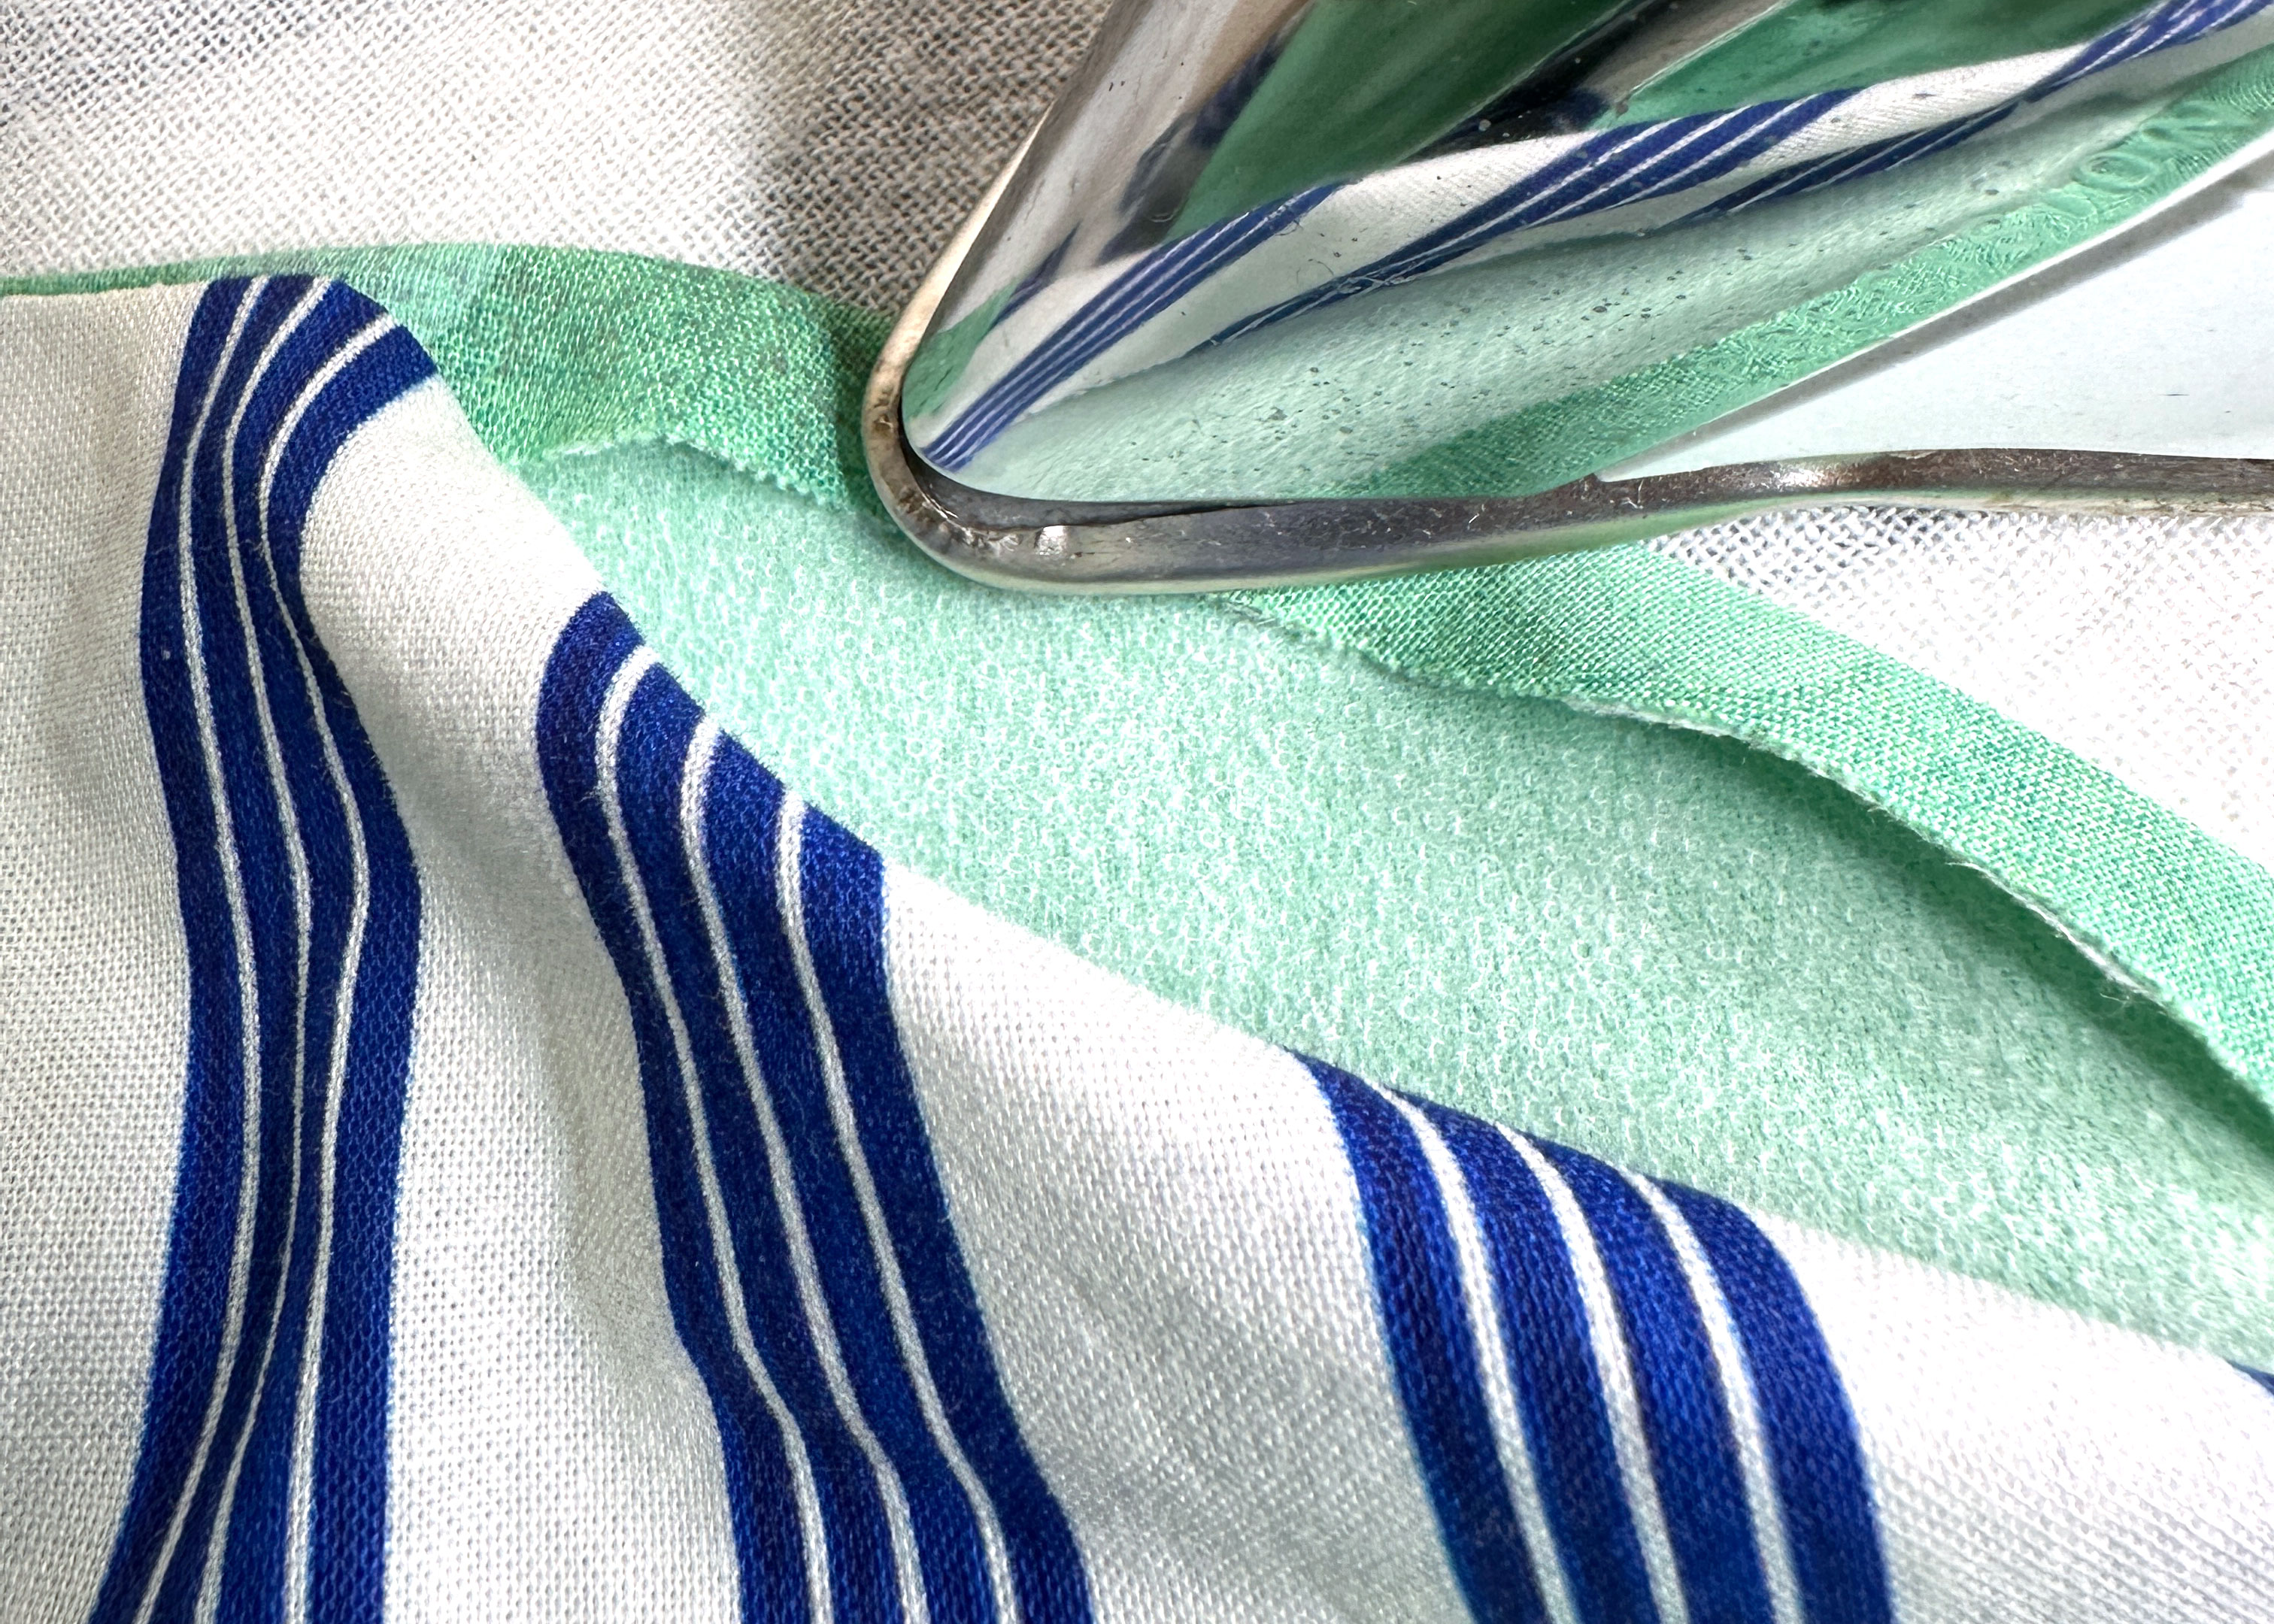
With right sides together, pin the brim to the crown matching the side seams. Stitch using a 3/8″ seam allowance, then finger press the seam towards the crown. Put on the Edgestitch Foot #10D, move the needle four positions to the left, and stitch. Remove the Edgestitch Foot when done.
Add Lining to the Bucket Hat
Repeat the same steps to sew the lining. You now have the outer hat and hat lining sewn.
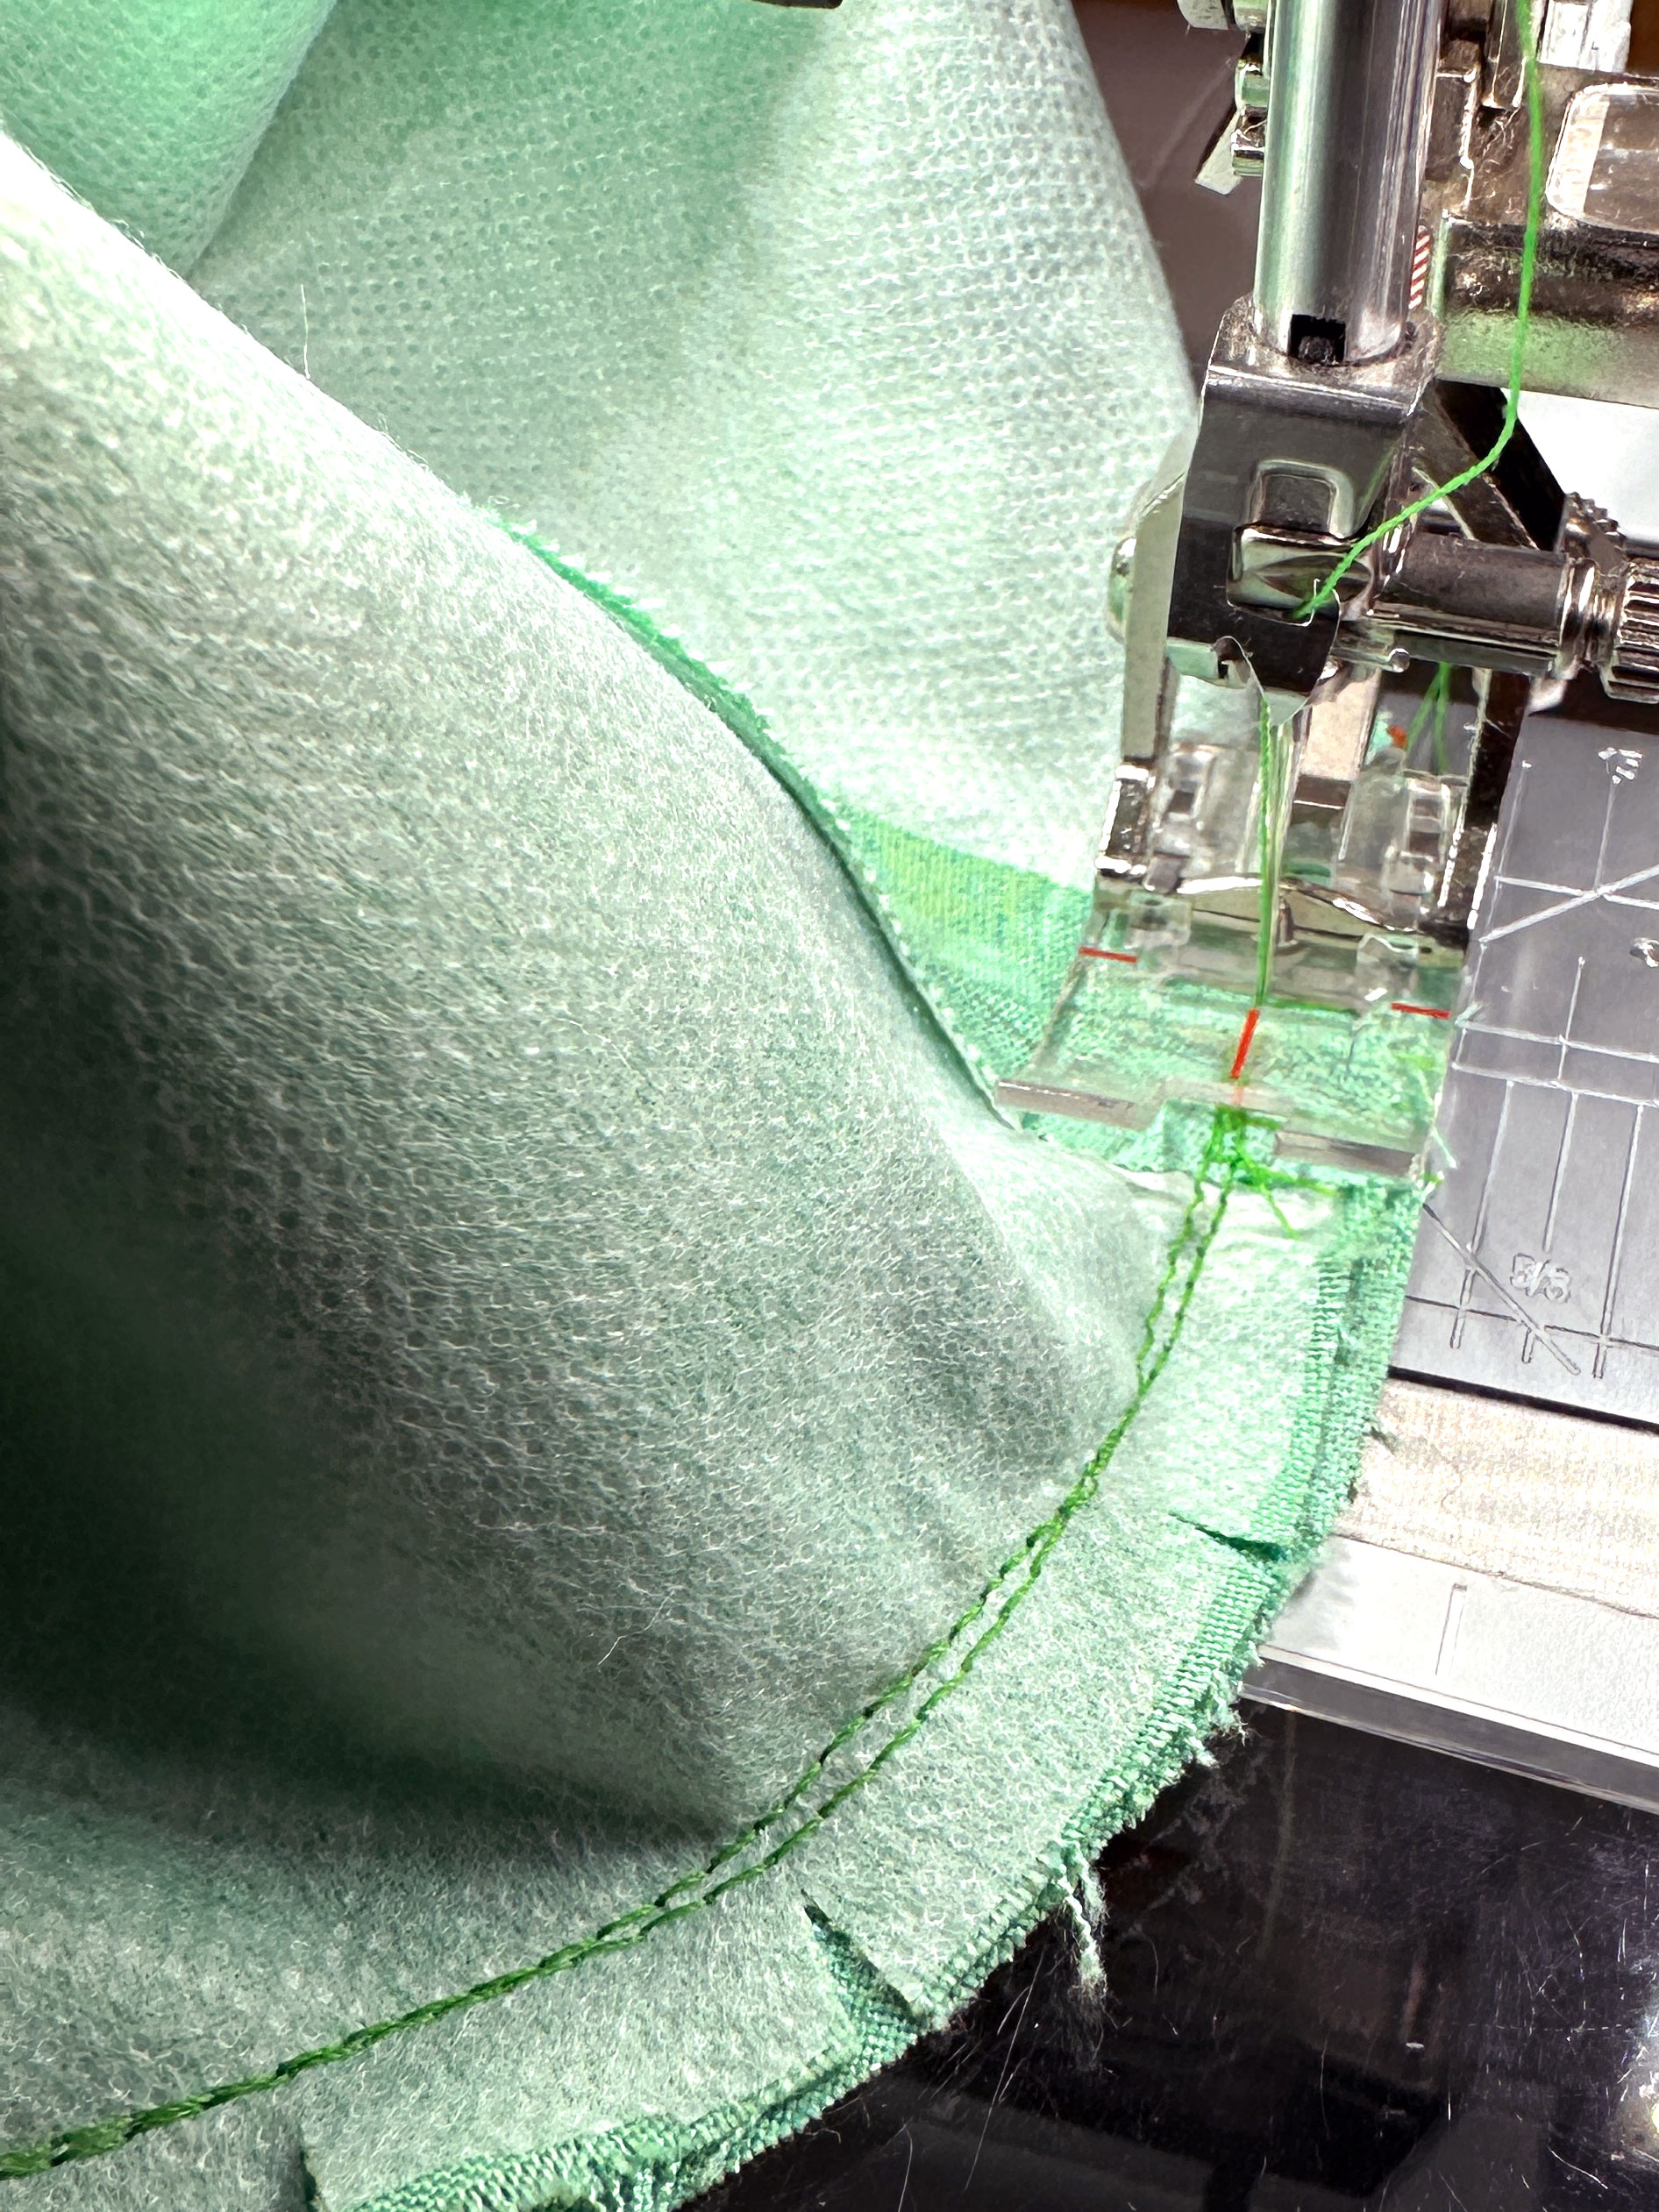
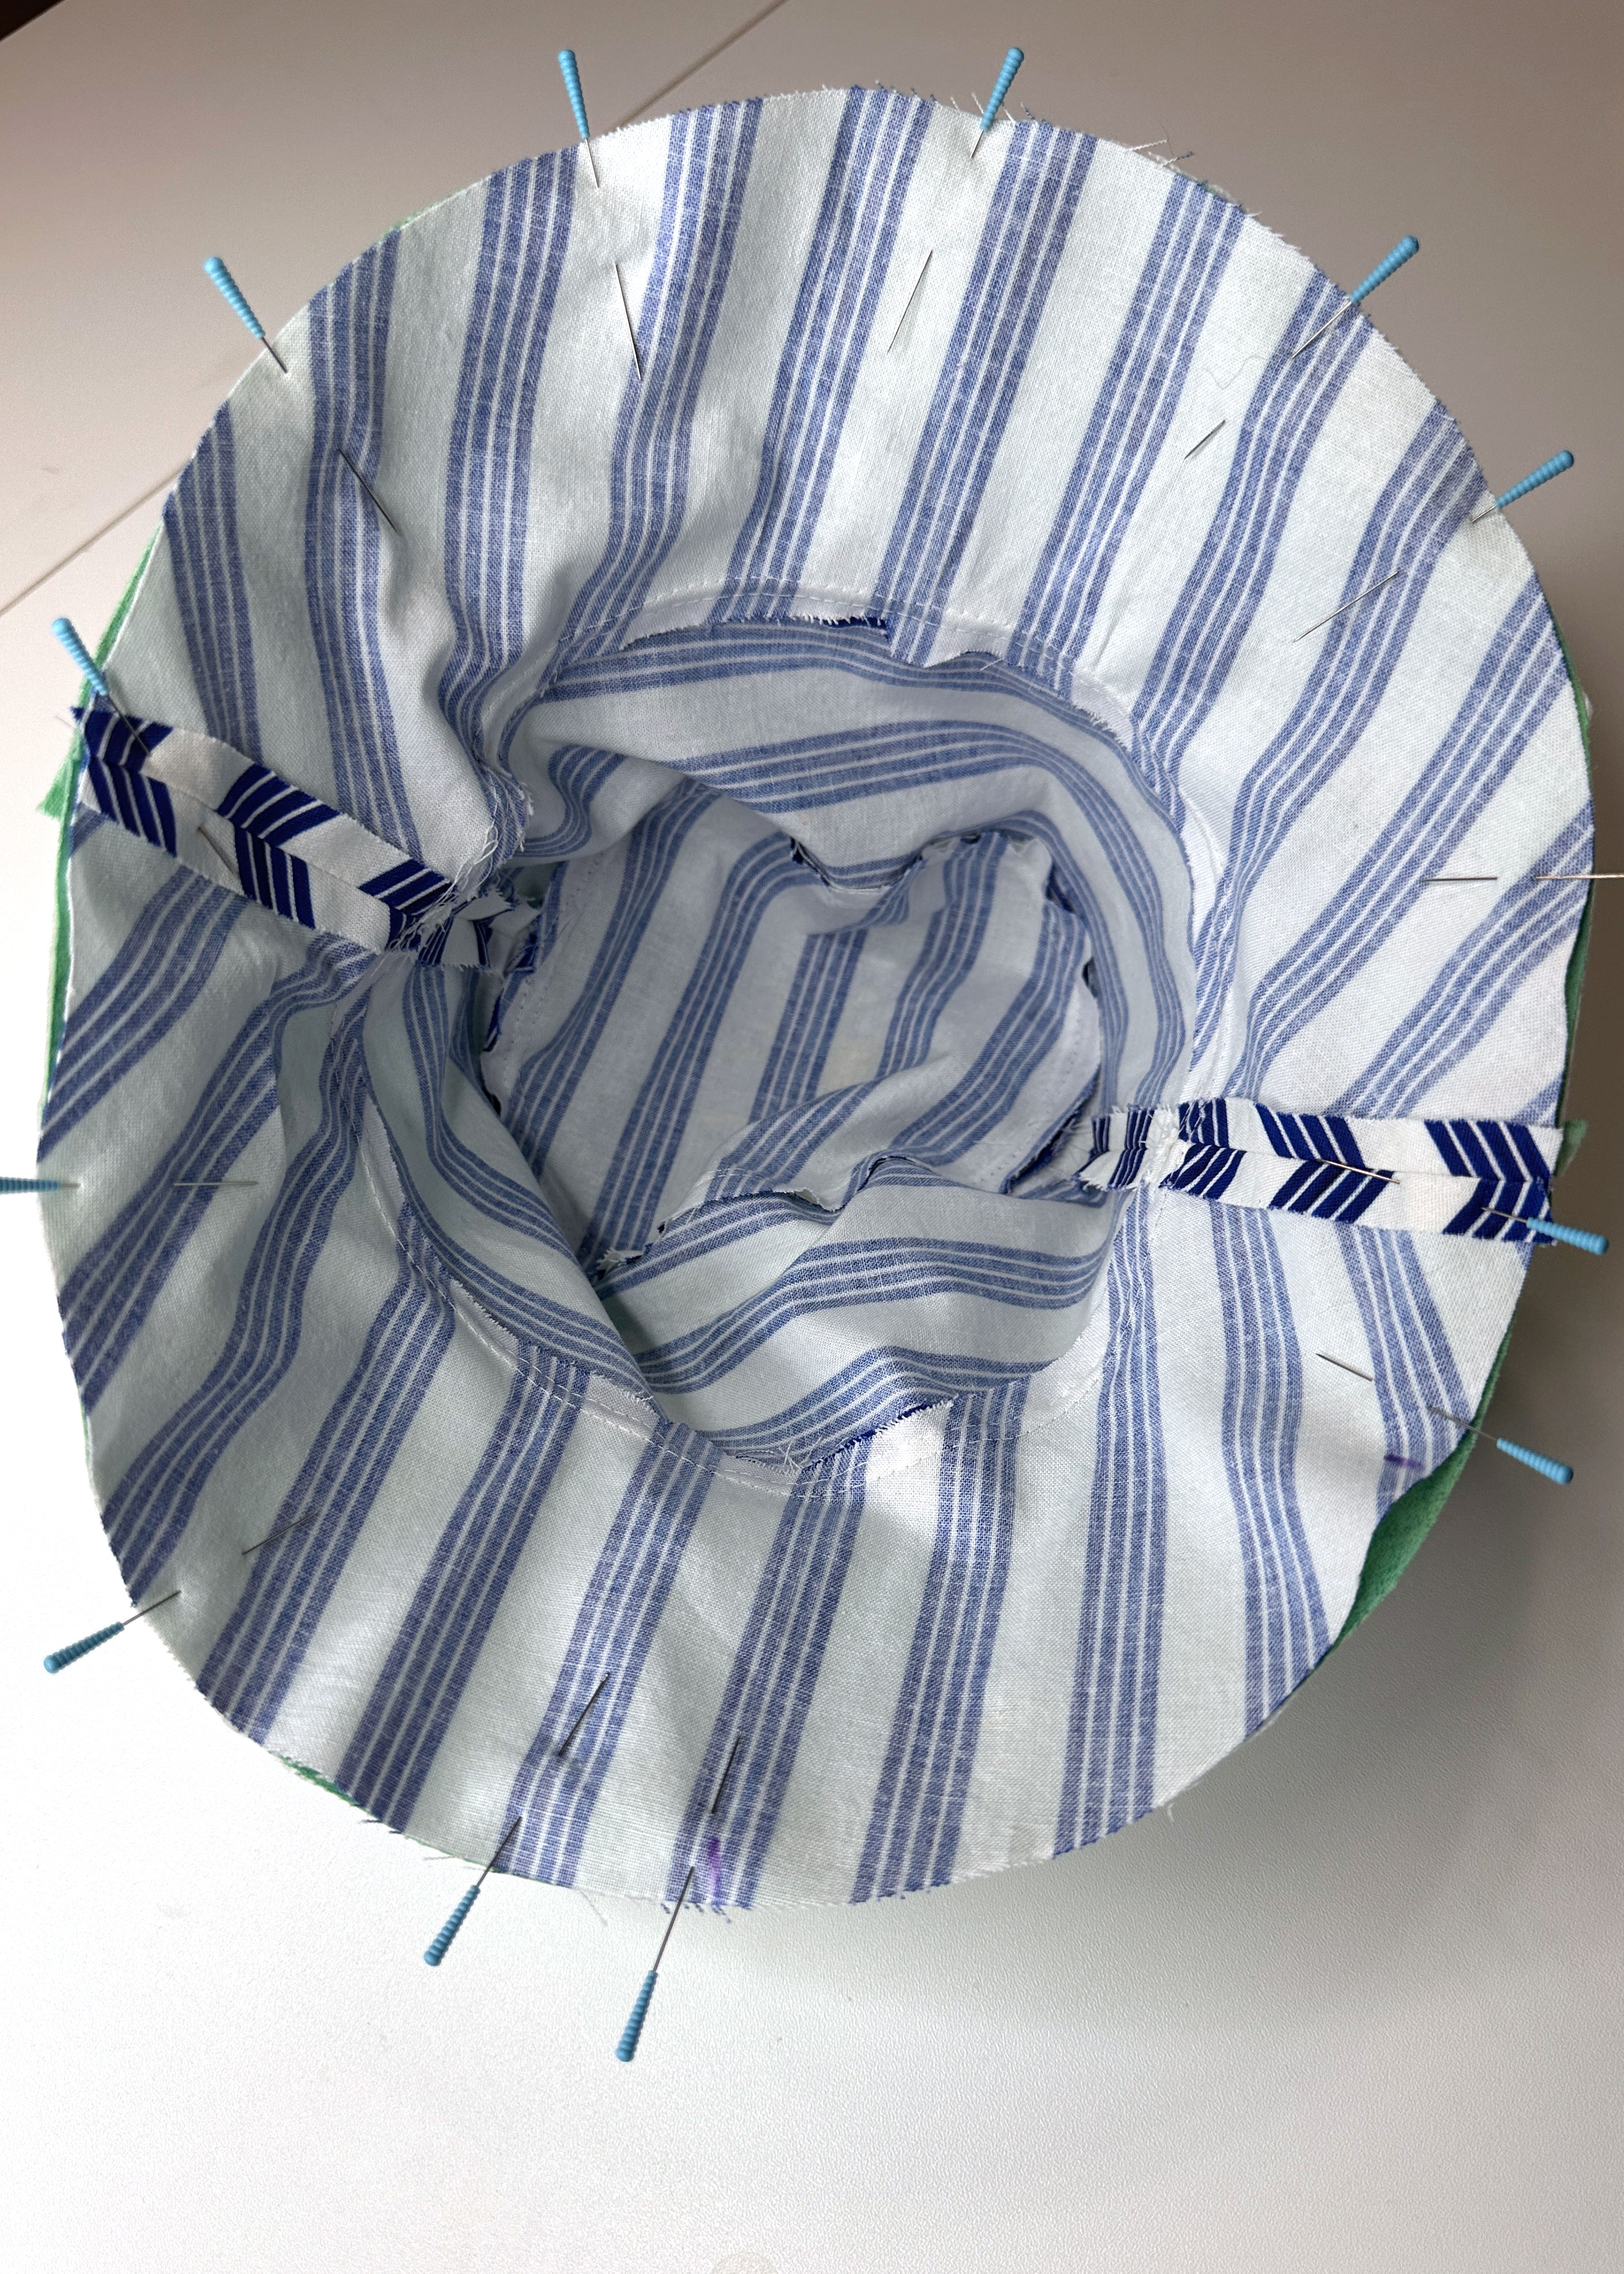
Place the lining inside the outer hat with right sides together, lining up the side seams. Match the raw edges of the brim and pin in place, leaving a 6″ opening for turning the hat right side out. Stitch using a 3/8″ seam allowance.
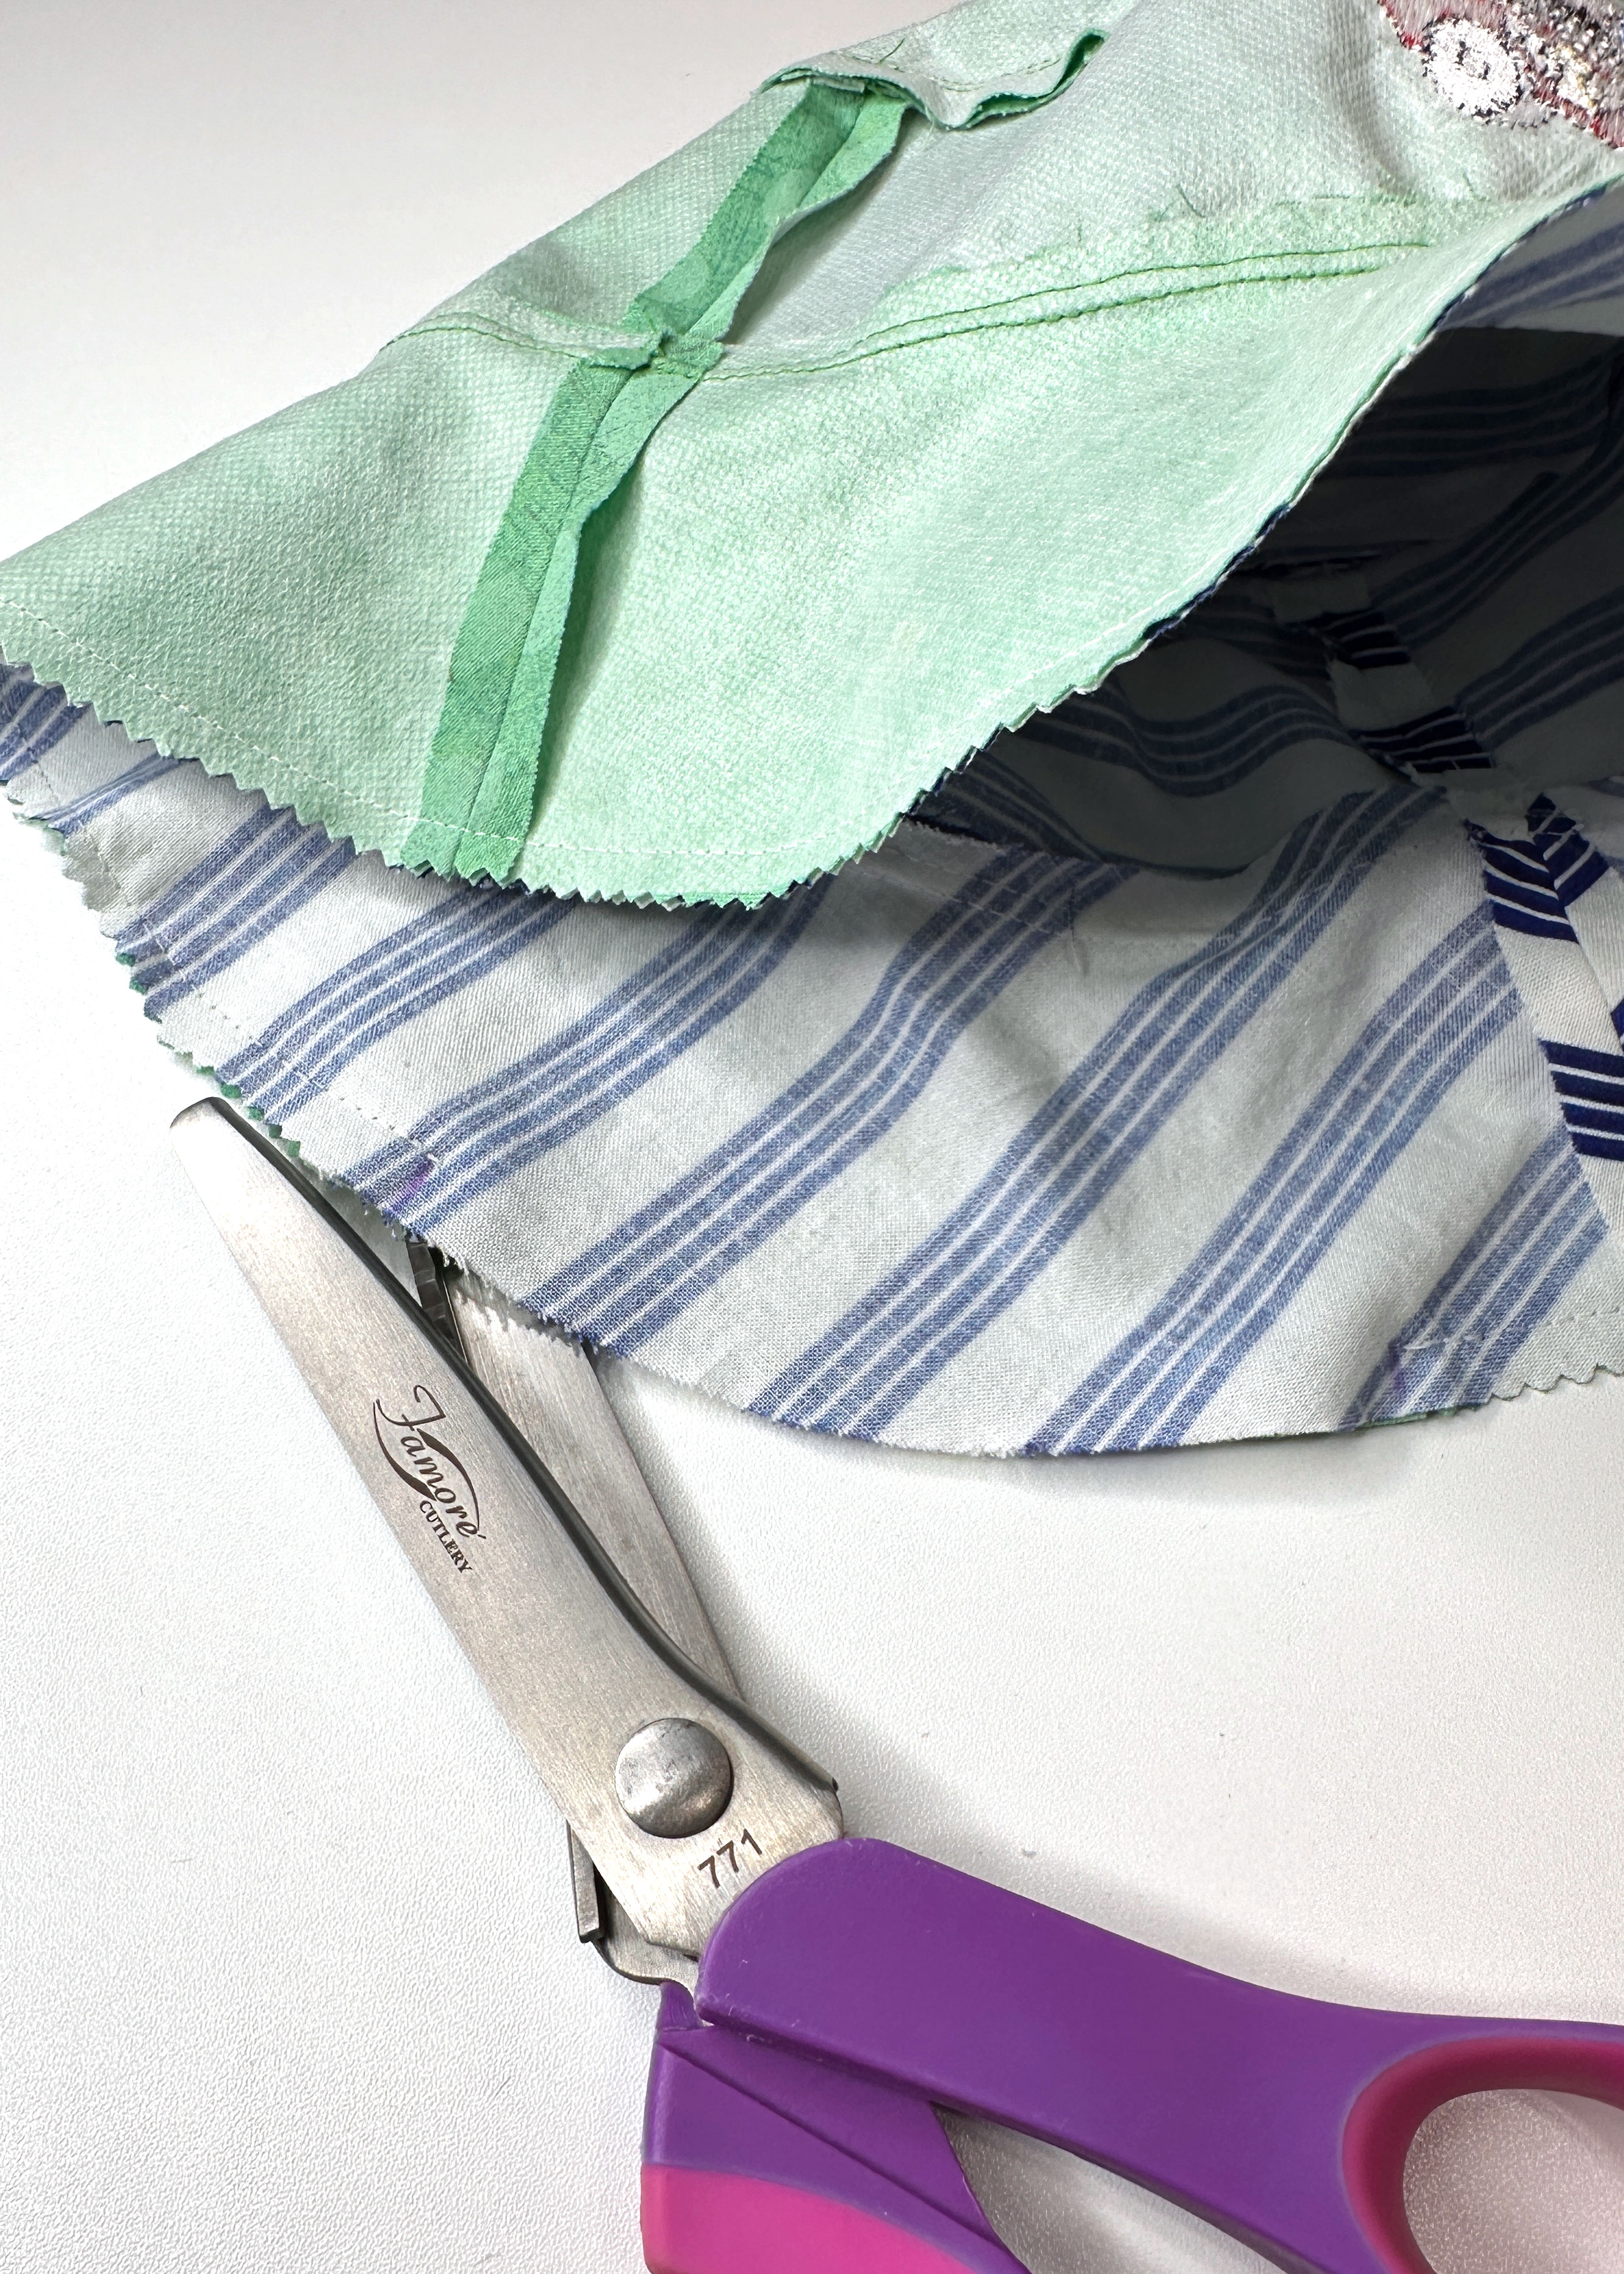
Trim the seam using pinking shears being careful not to cut the stitches. If you don’t have pinking shears cut little notches in the seam allowance. This will help the seam remain flat and smooth around the curved edge of the brim.
Turn the hat right side out through the 6″ opening. Gently roll the seam with your fingers so it just favors the outer hat and press. When you get to the opening, press under 3/8″ on both the outer hat and lining.
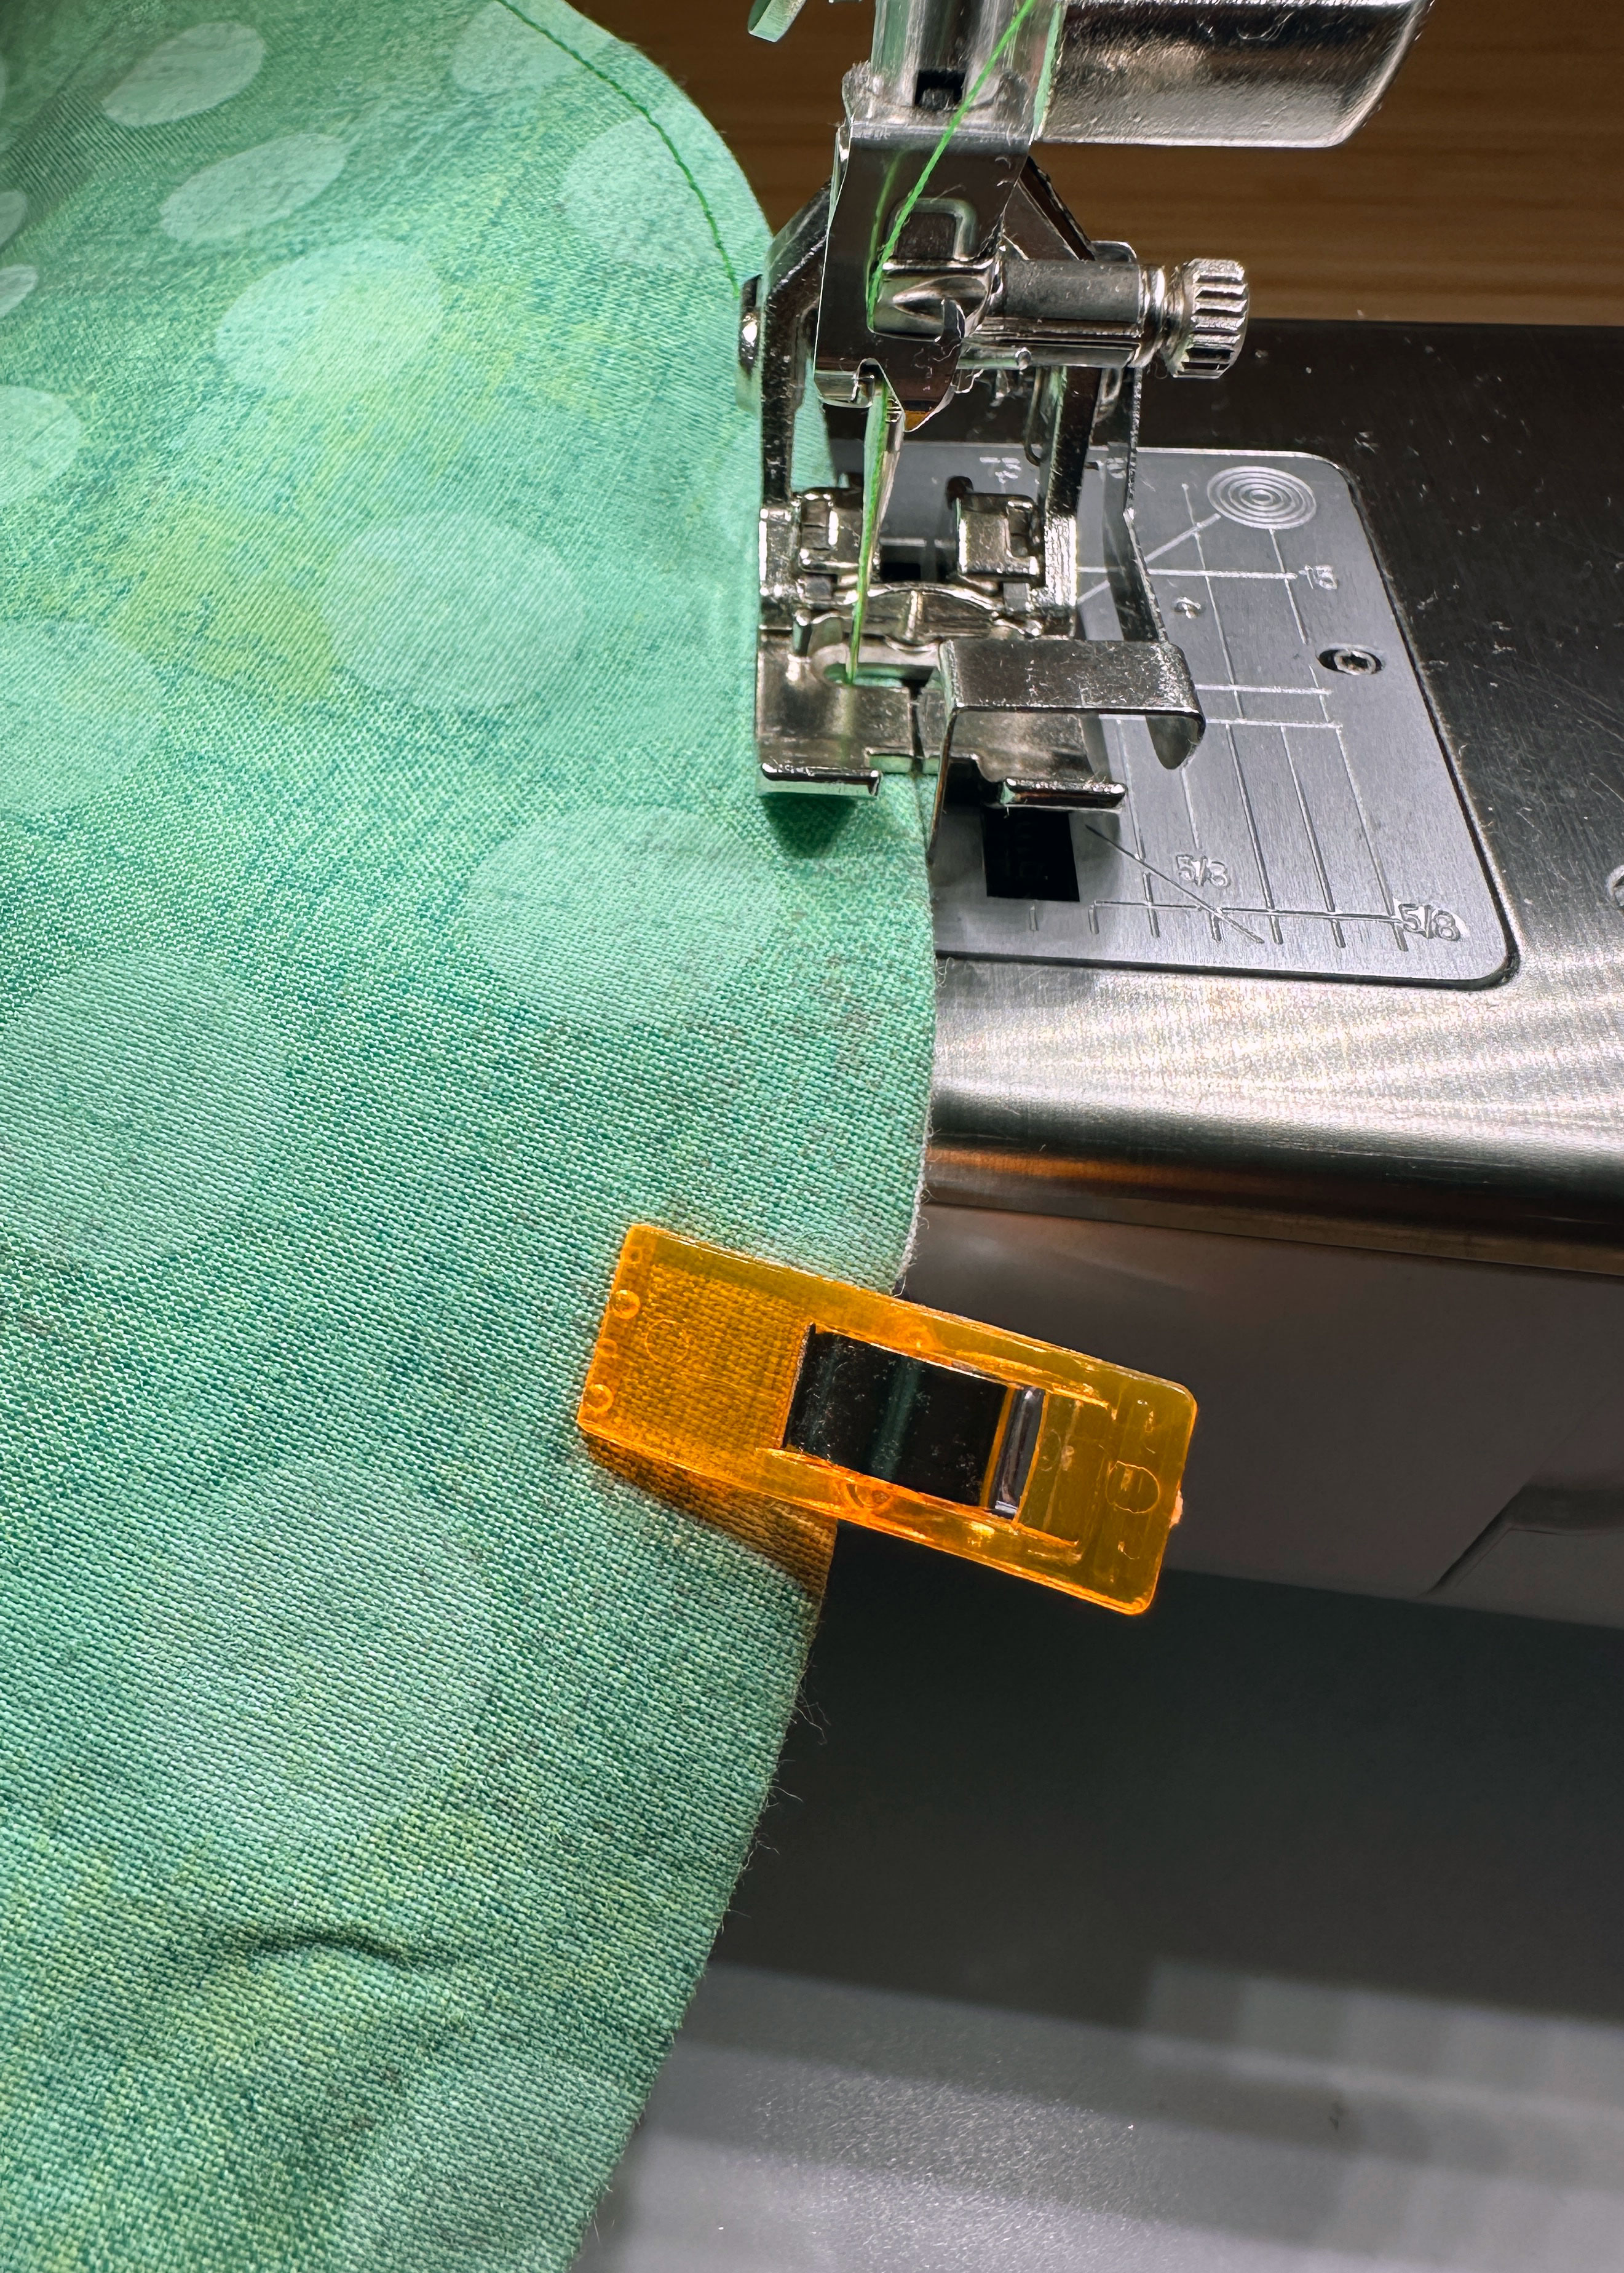
Pin (or clip) the opening together. Put on the Edgestitch Foot #10D, move the needle four positions to the right, and edgestitch around the brim, including the opening. Remove the Edgestitch Foot when done.
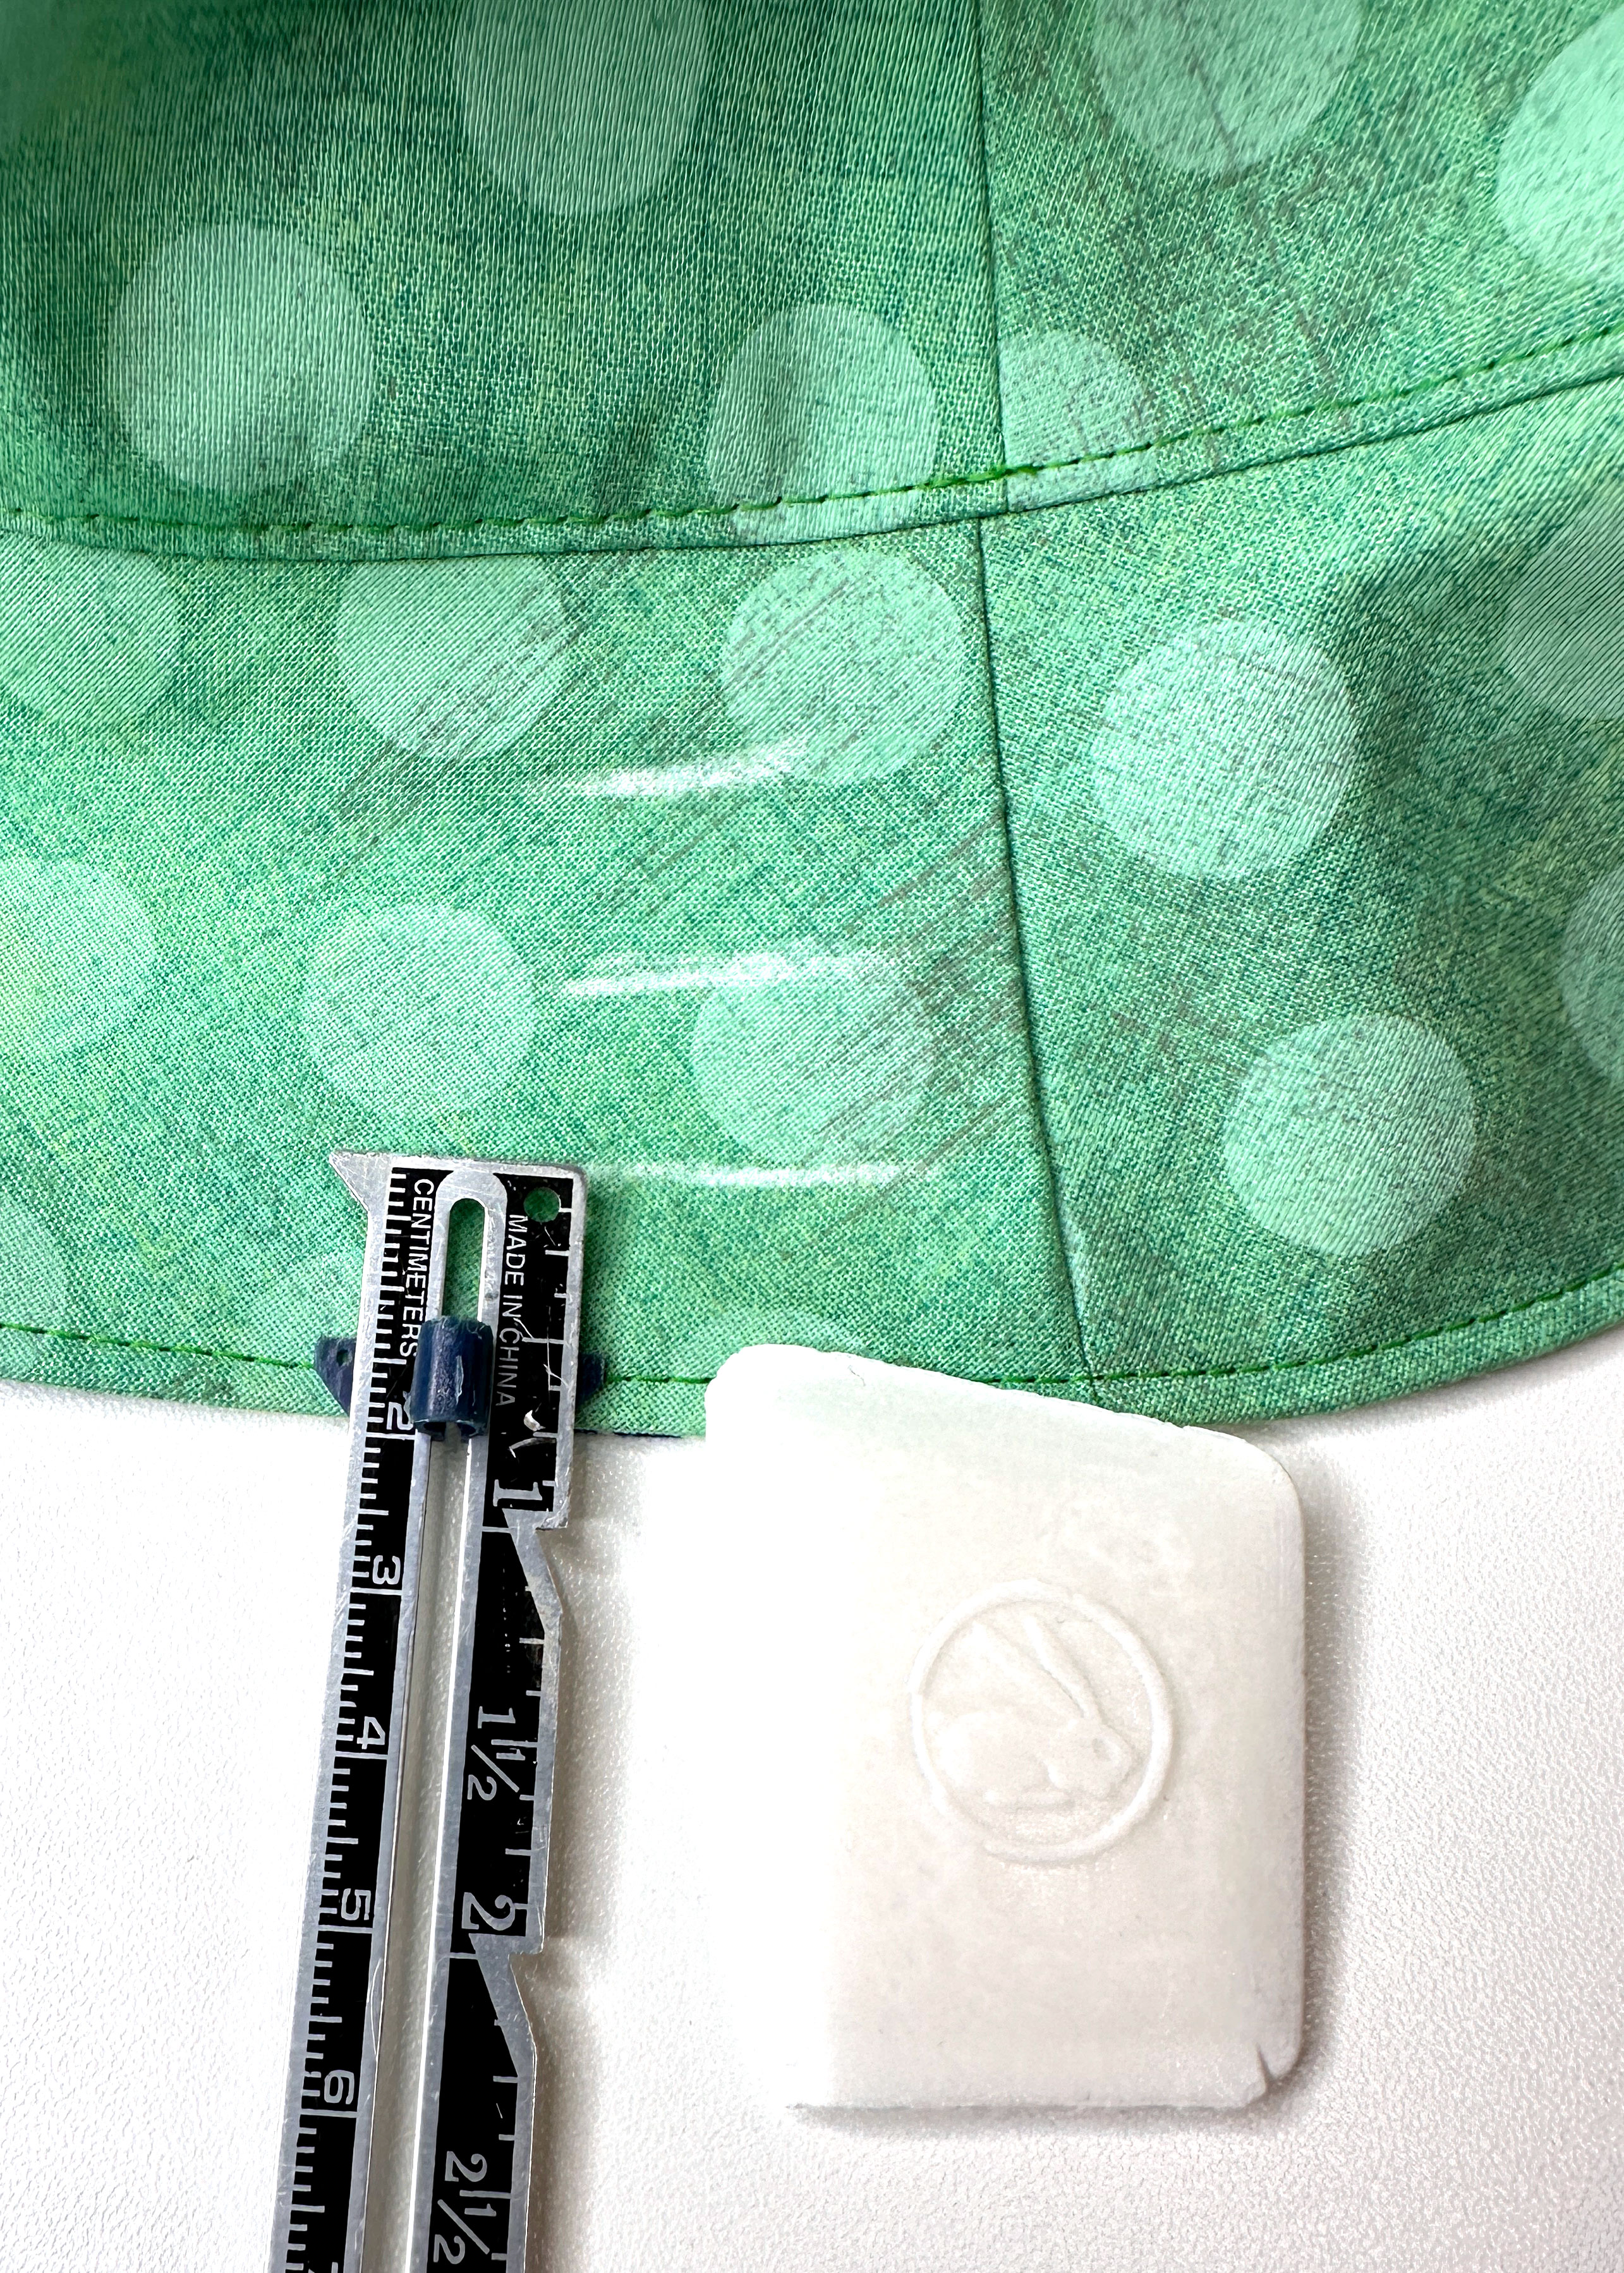
The final step is to add multiple rows of stitches on the brim to provide more stability.
Measure 1/2″ from the line of edgestitching and make a mark using chalk or removable marking device. Measure and mark another line 1/2″ from the first mark, and repeat until there are three marks. If you’re sewing a larger size you may want to add more lines.
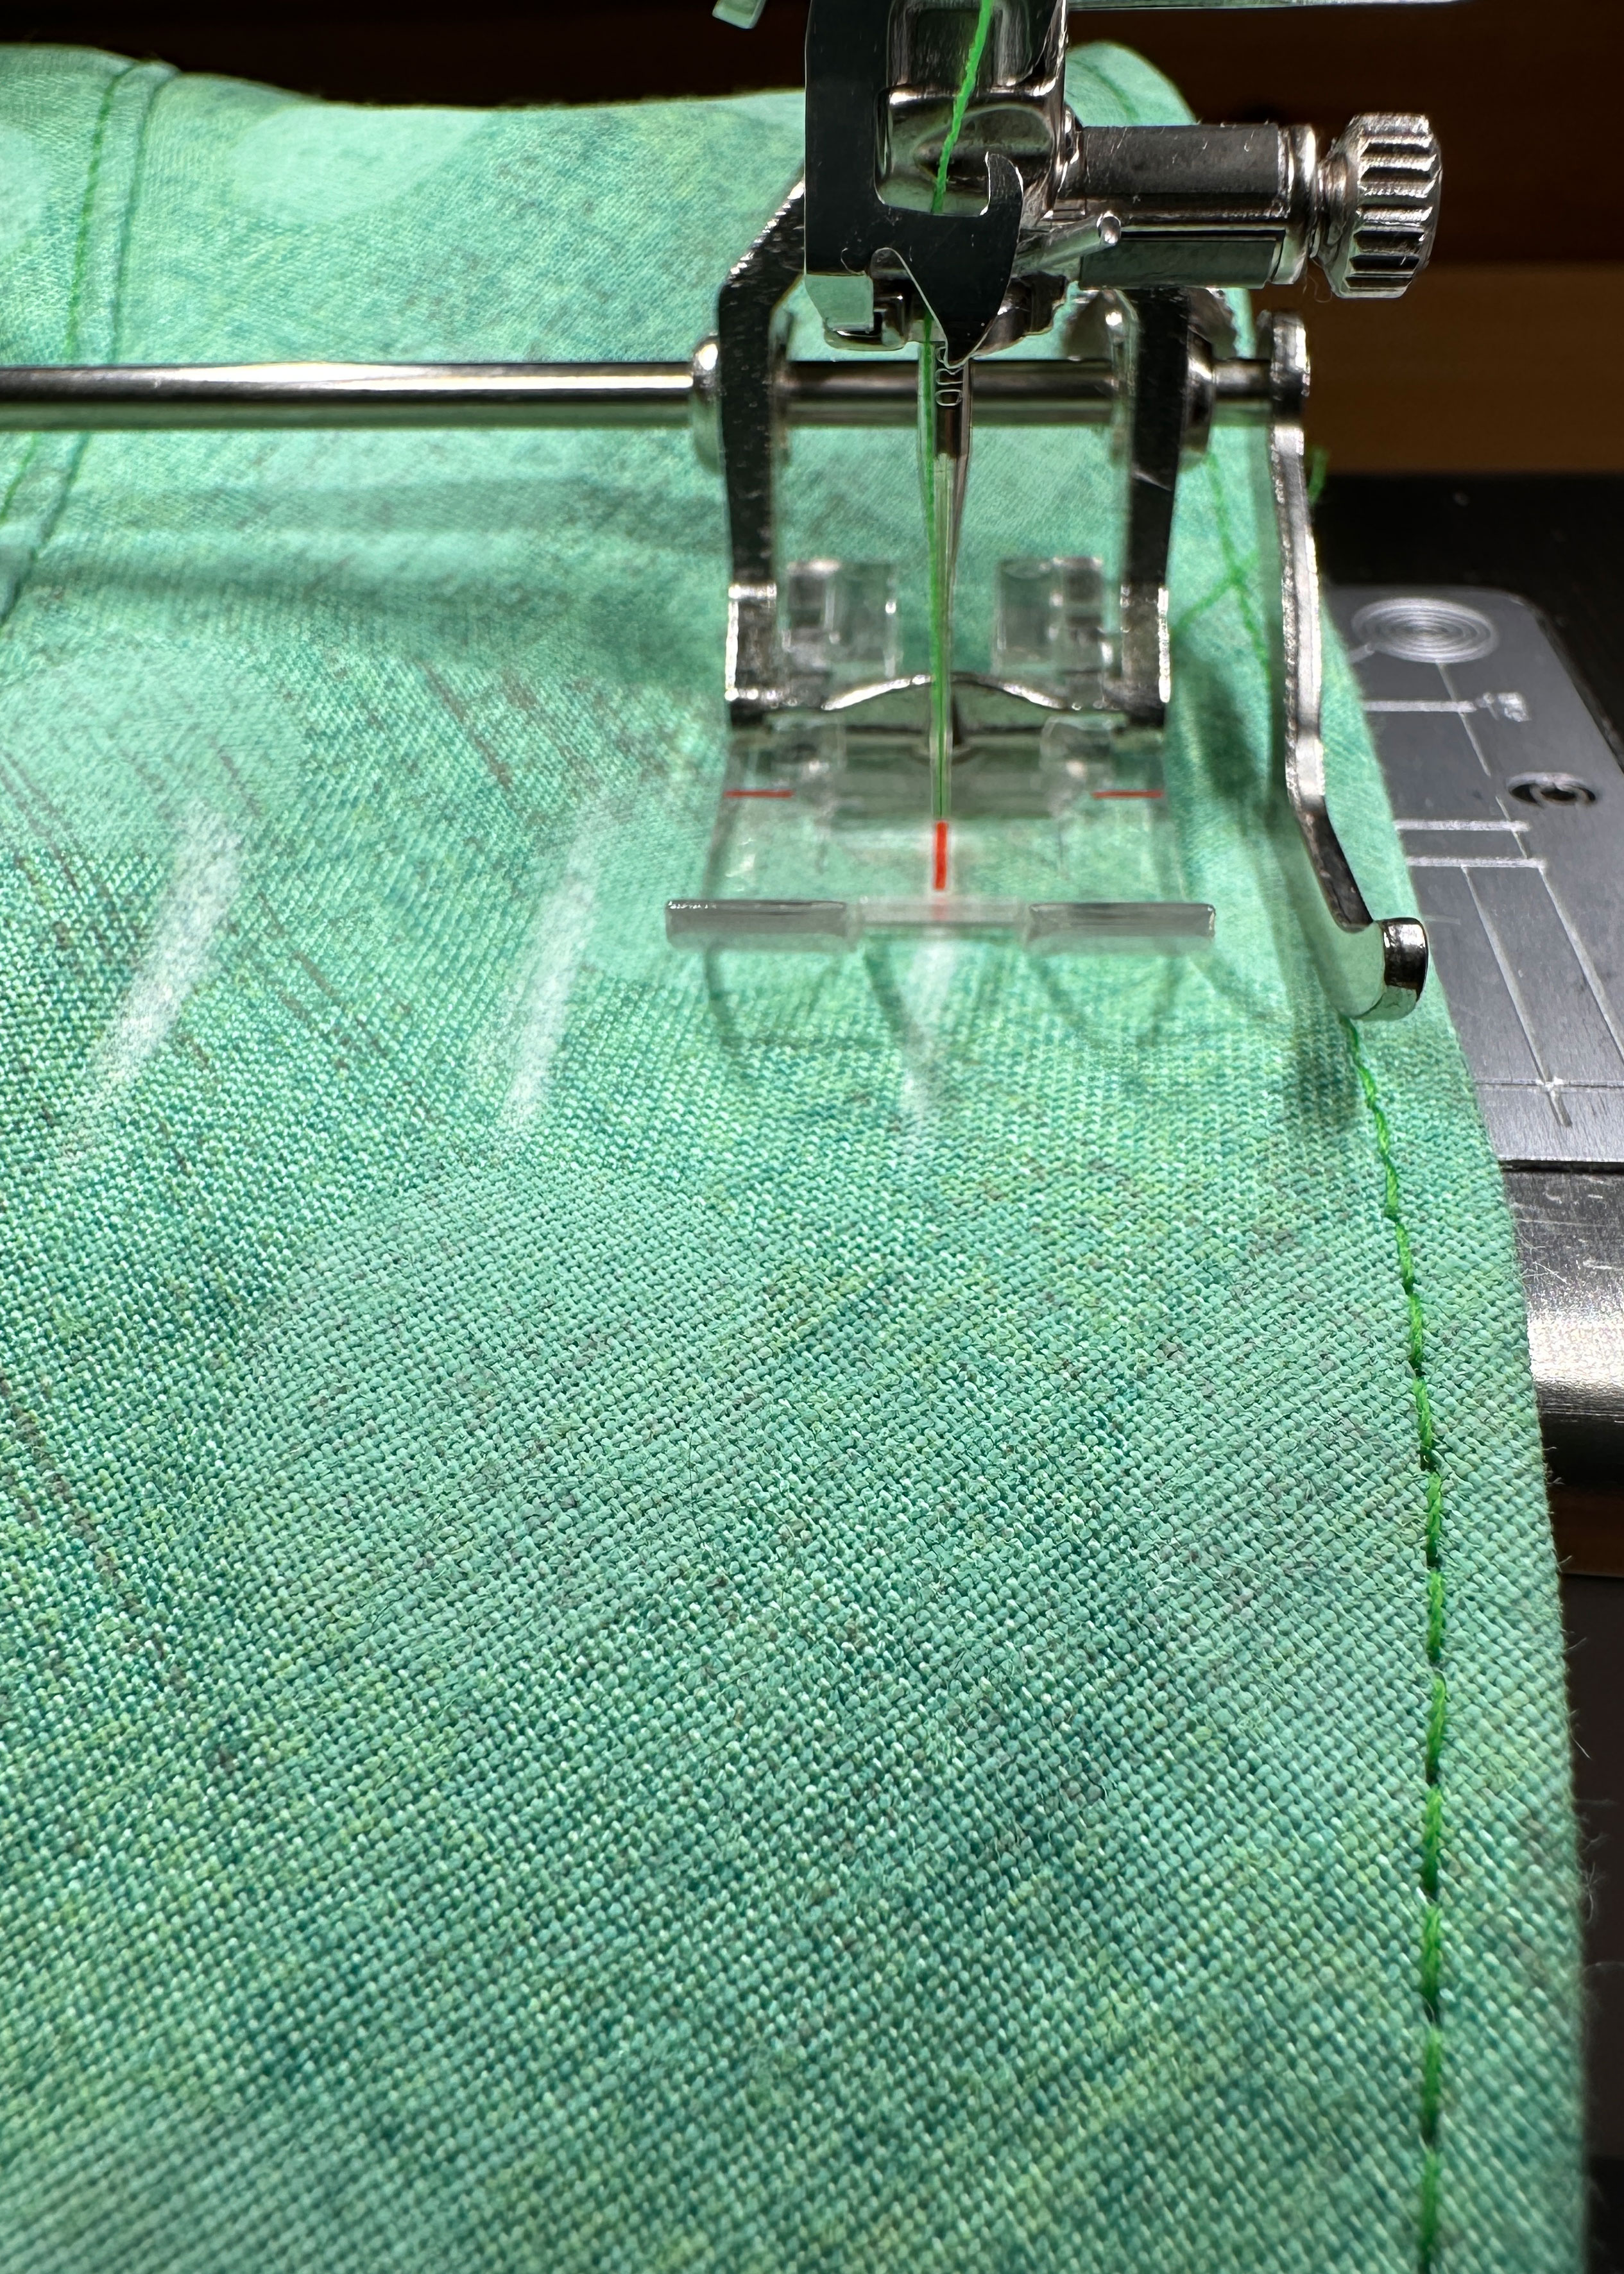
Attach the right seam guide which makes it easy to keep an even distance between the stitch lines. Starting at the first chalk mark, stitch around the brim. Move to the second mark and stitch around the brim. Move to the third mark and stitch around the brim.
Your fully lined bucket hat with an embroidered design is done!
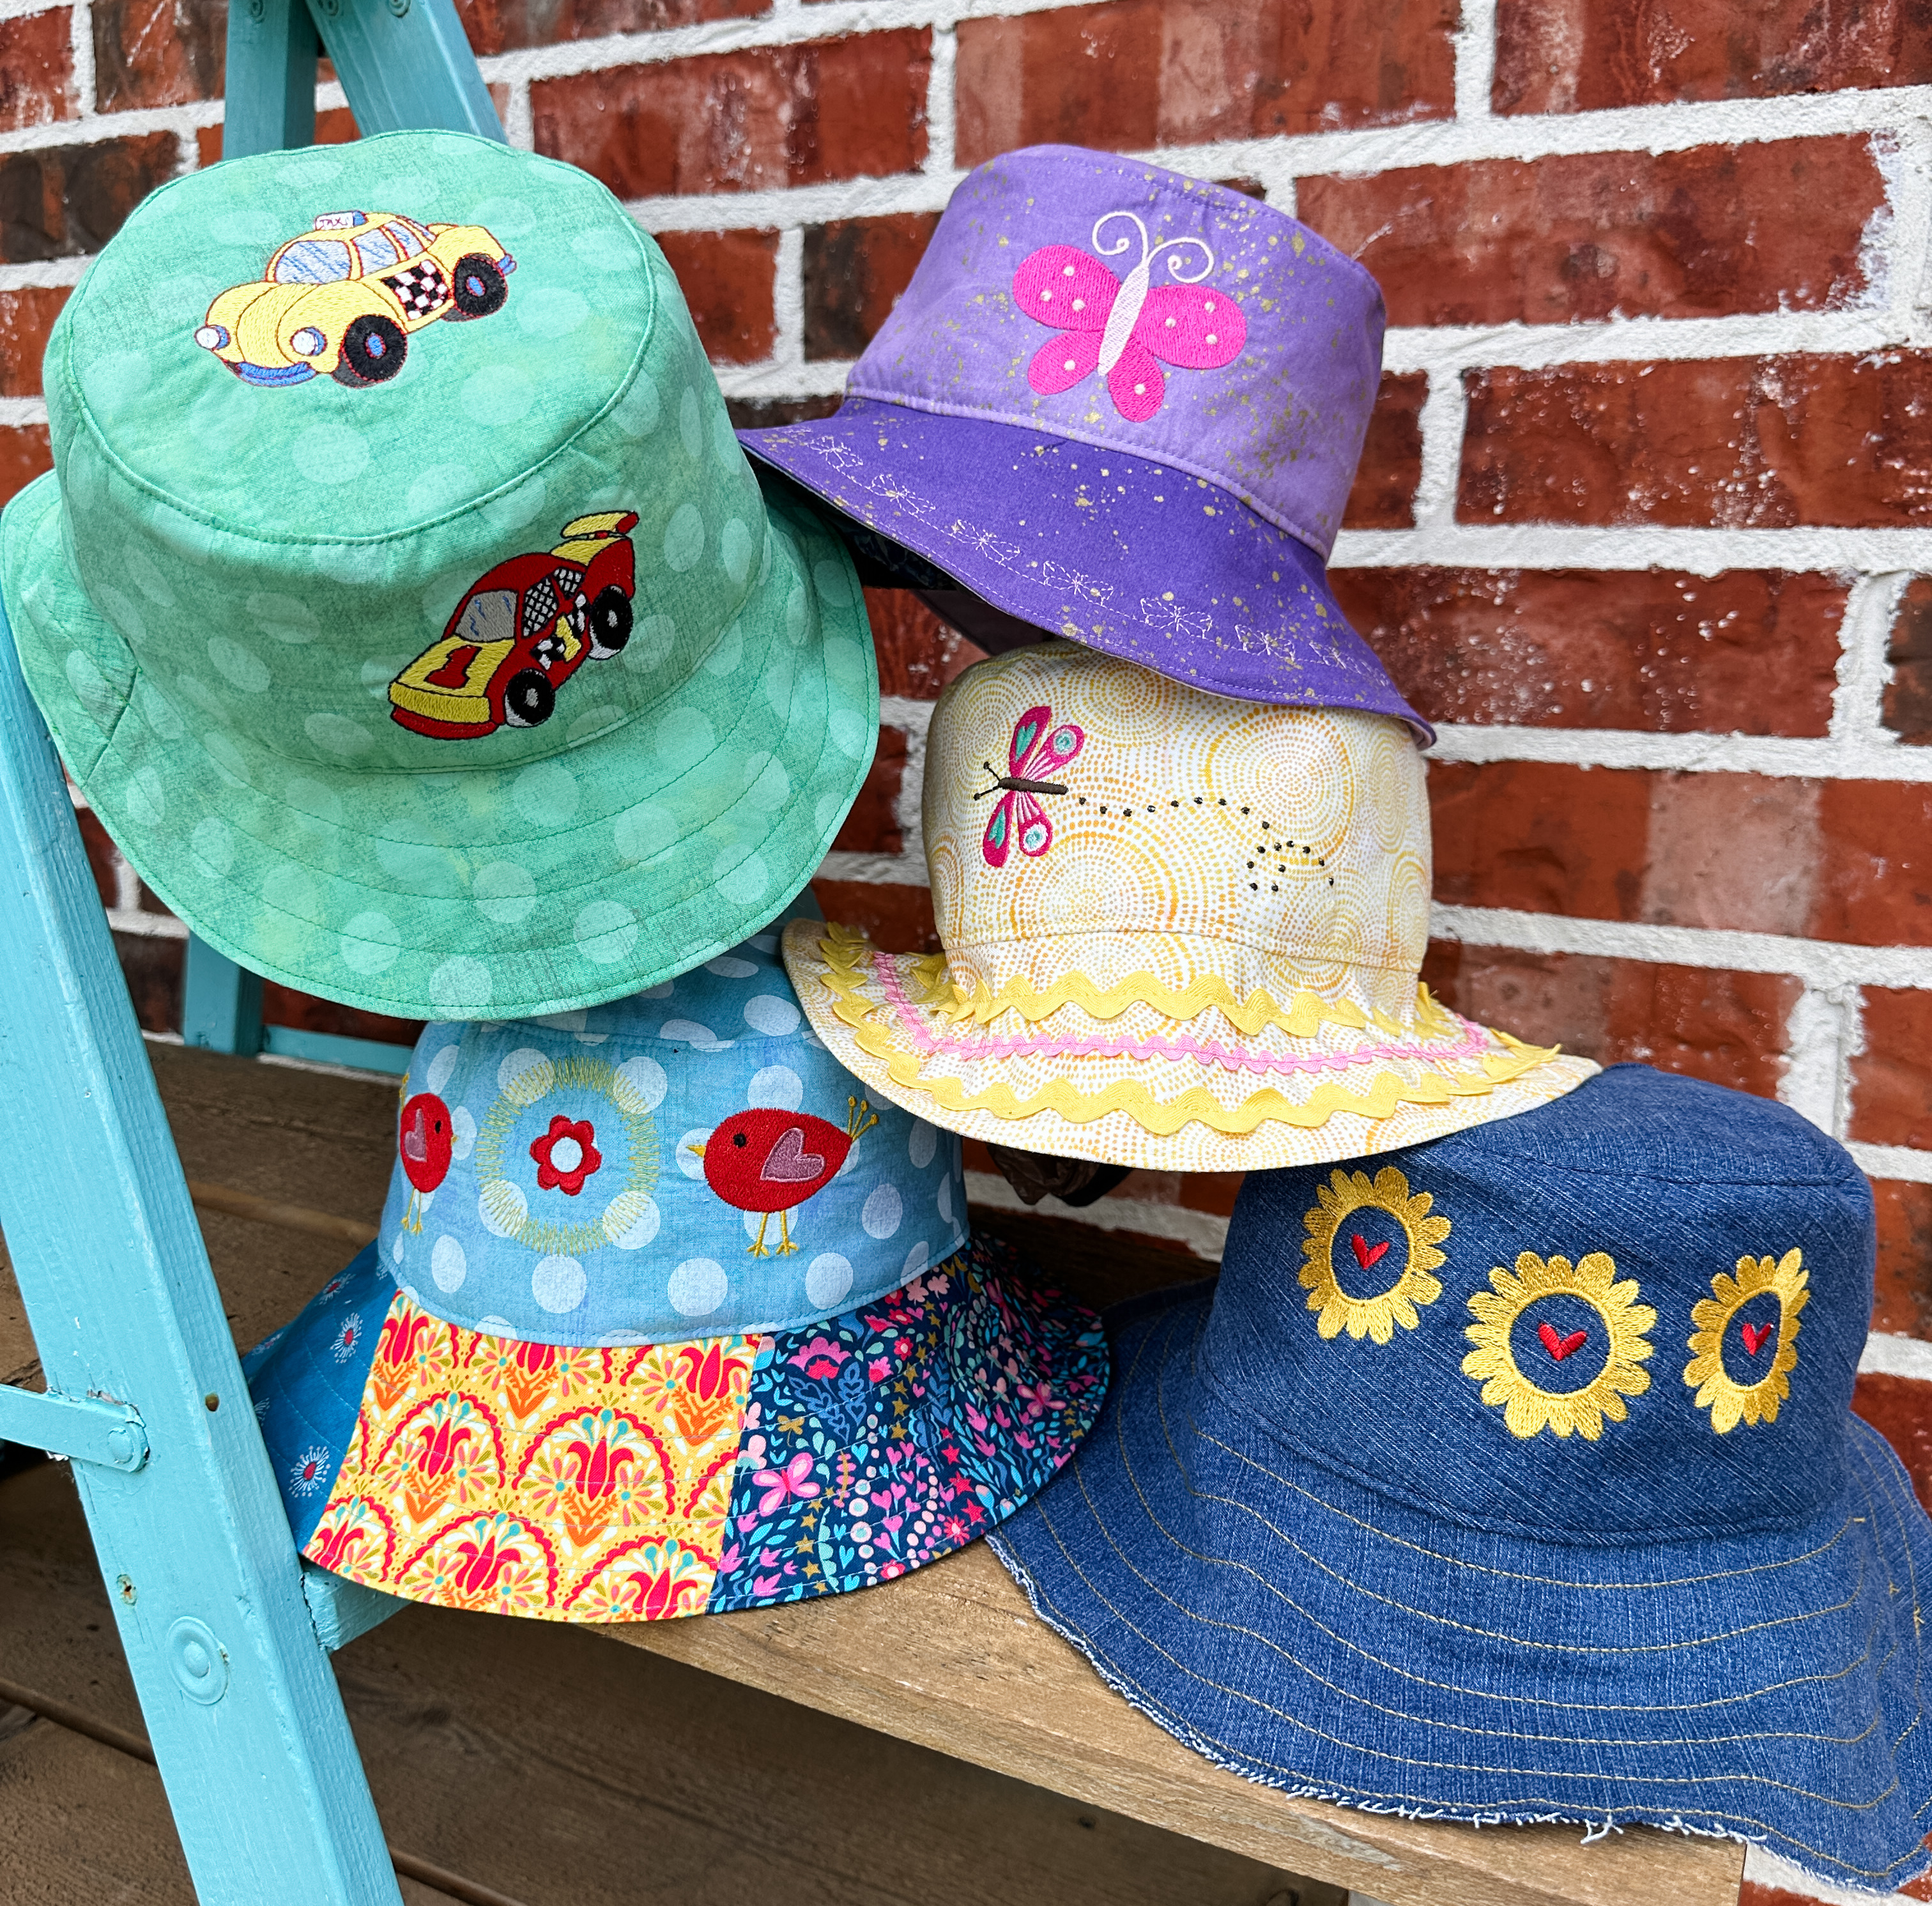
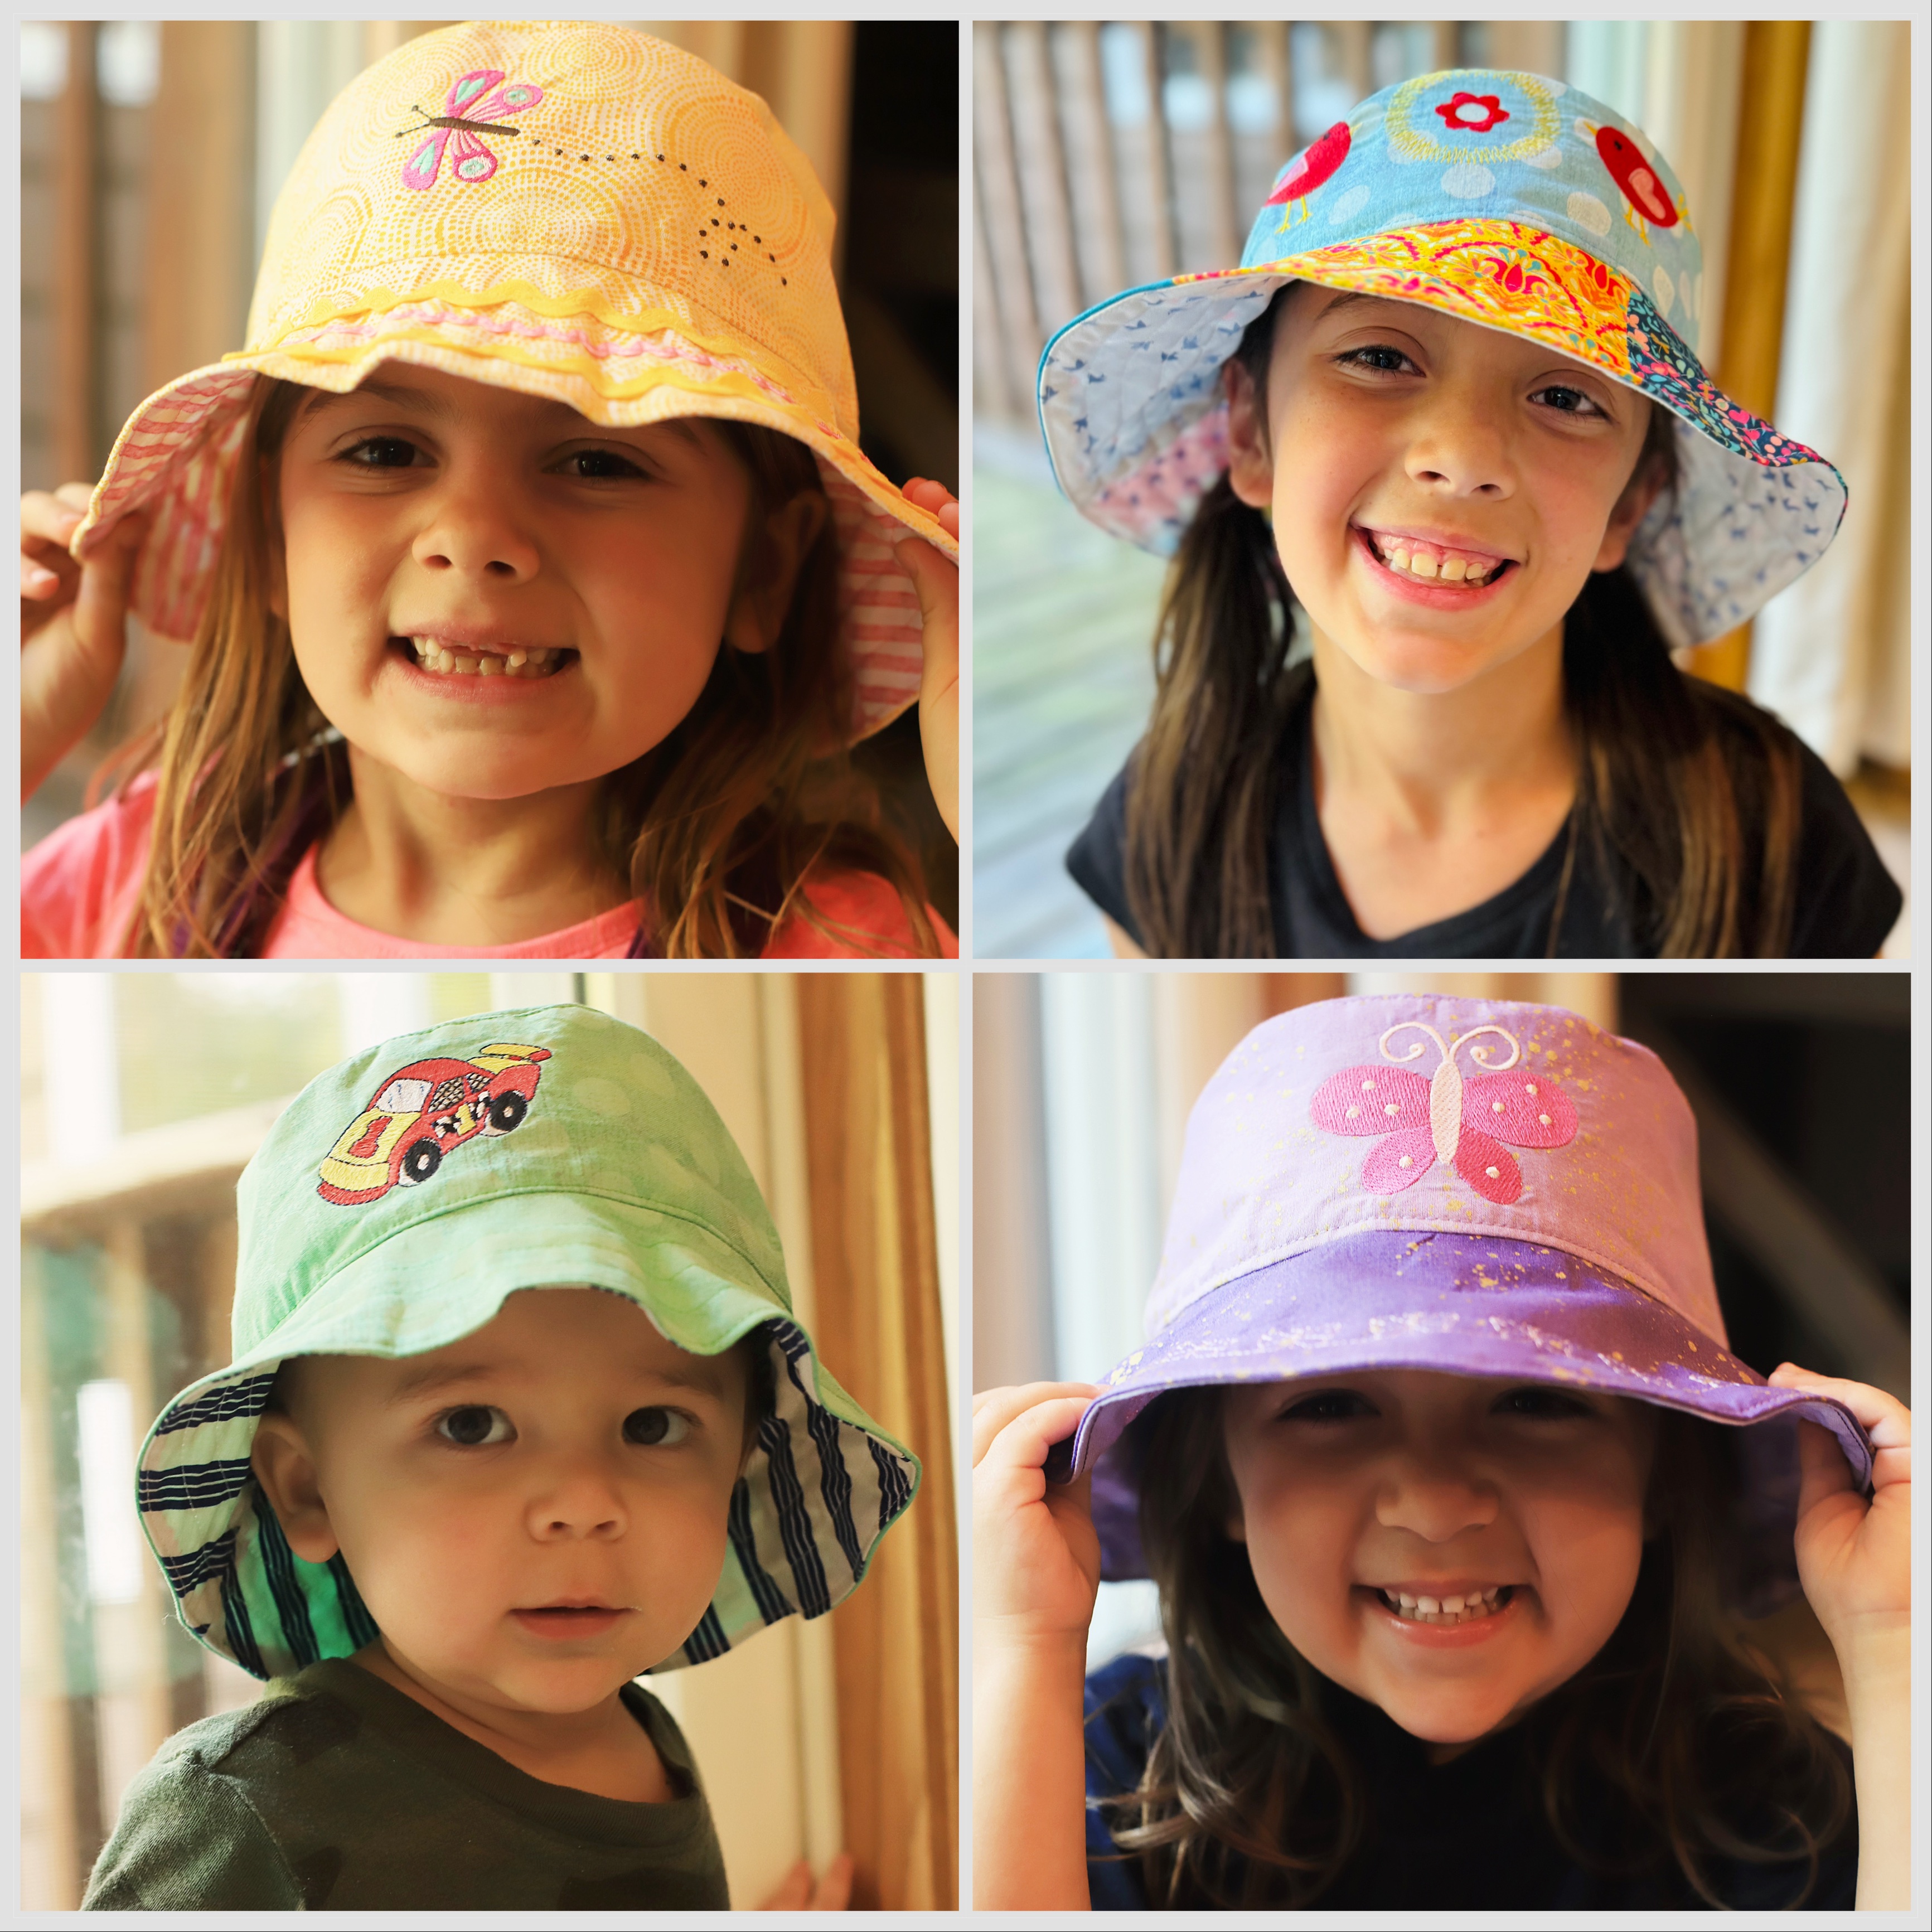
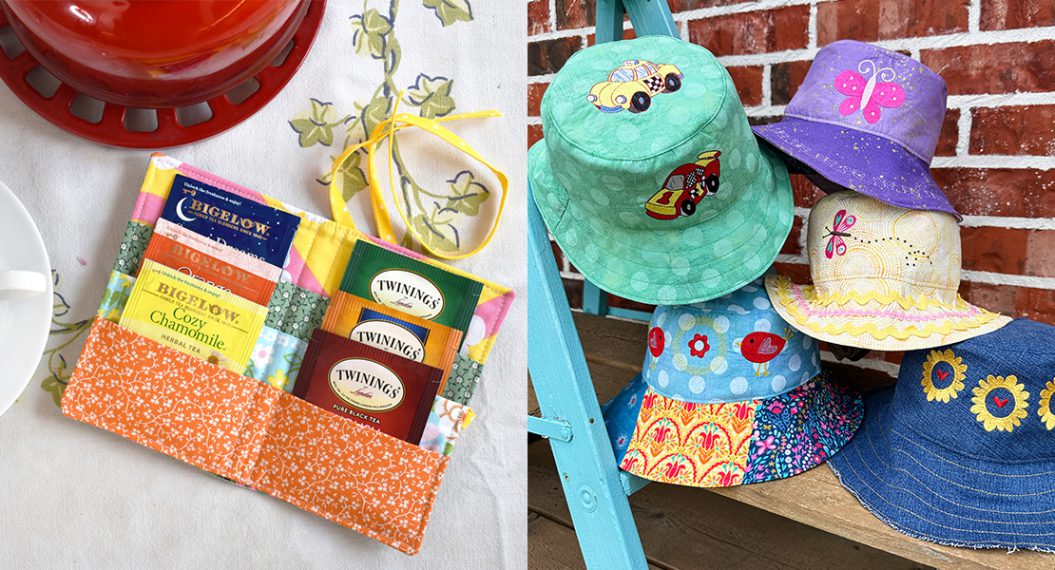
Additional Embroidered Bucket Hats
The green hat was sewn for a toddler, but his older sisters also wanted a hat! Each of the bucket hats were embroidered and constructed in the same manner as the green hat.
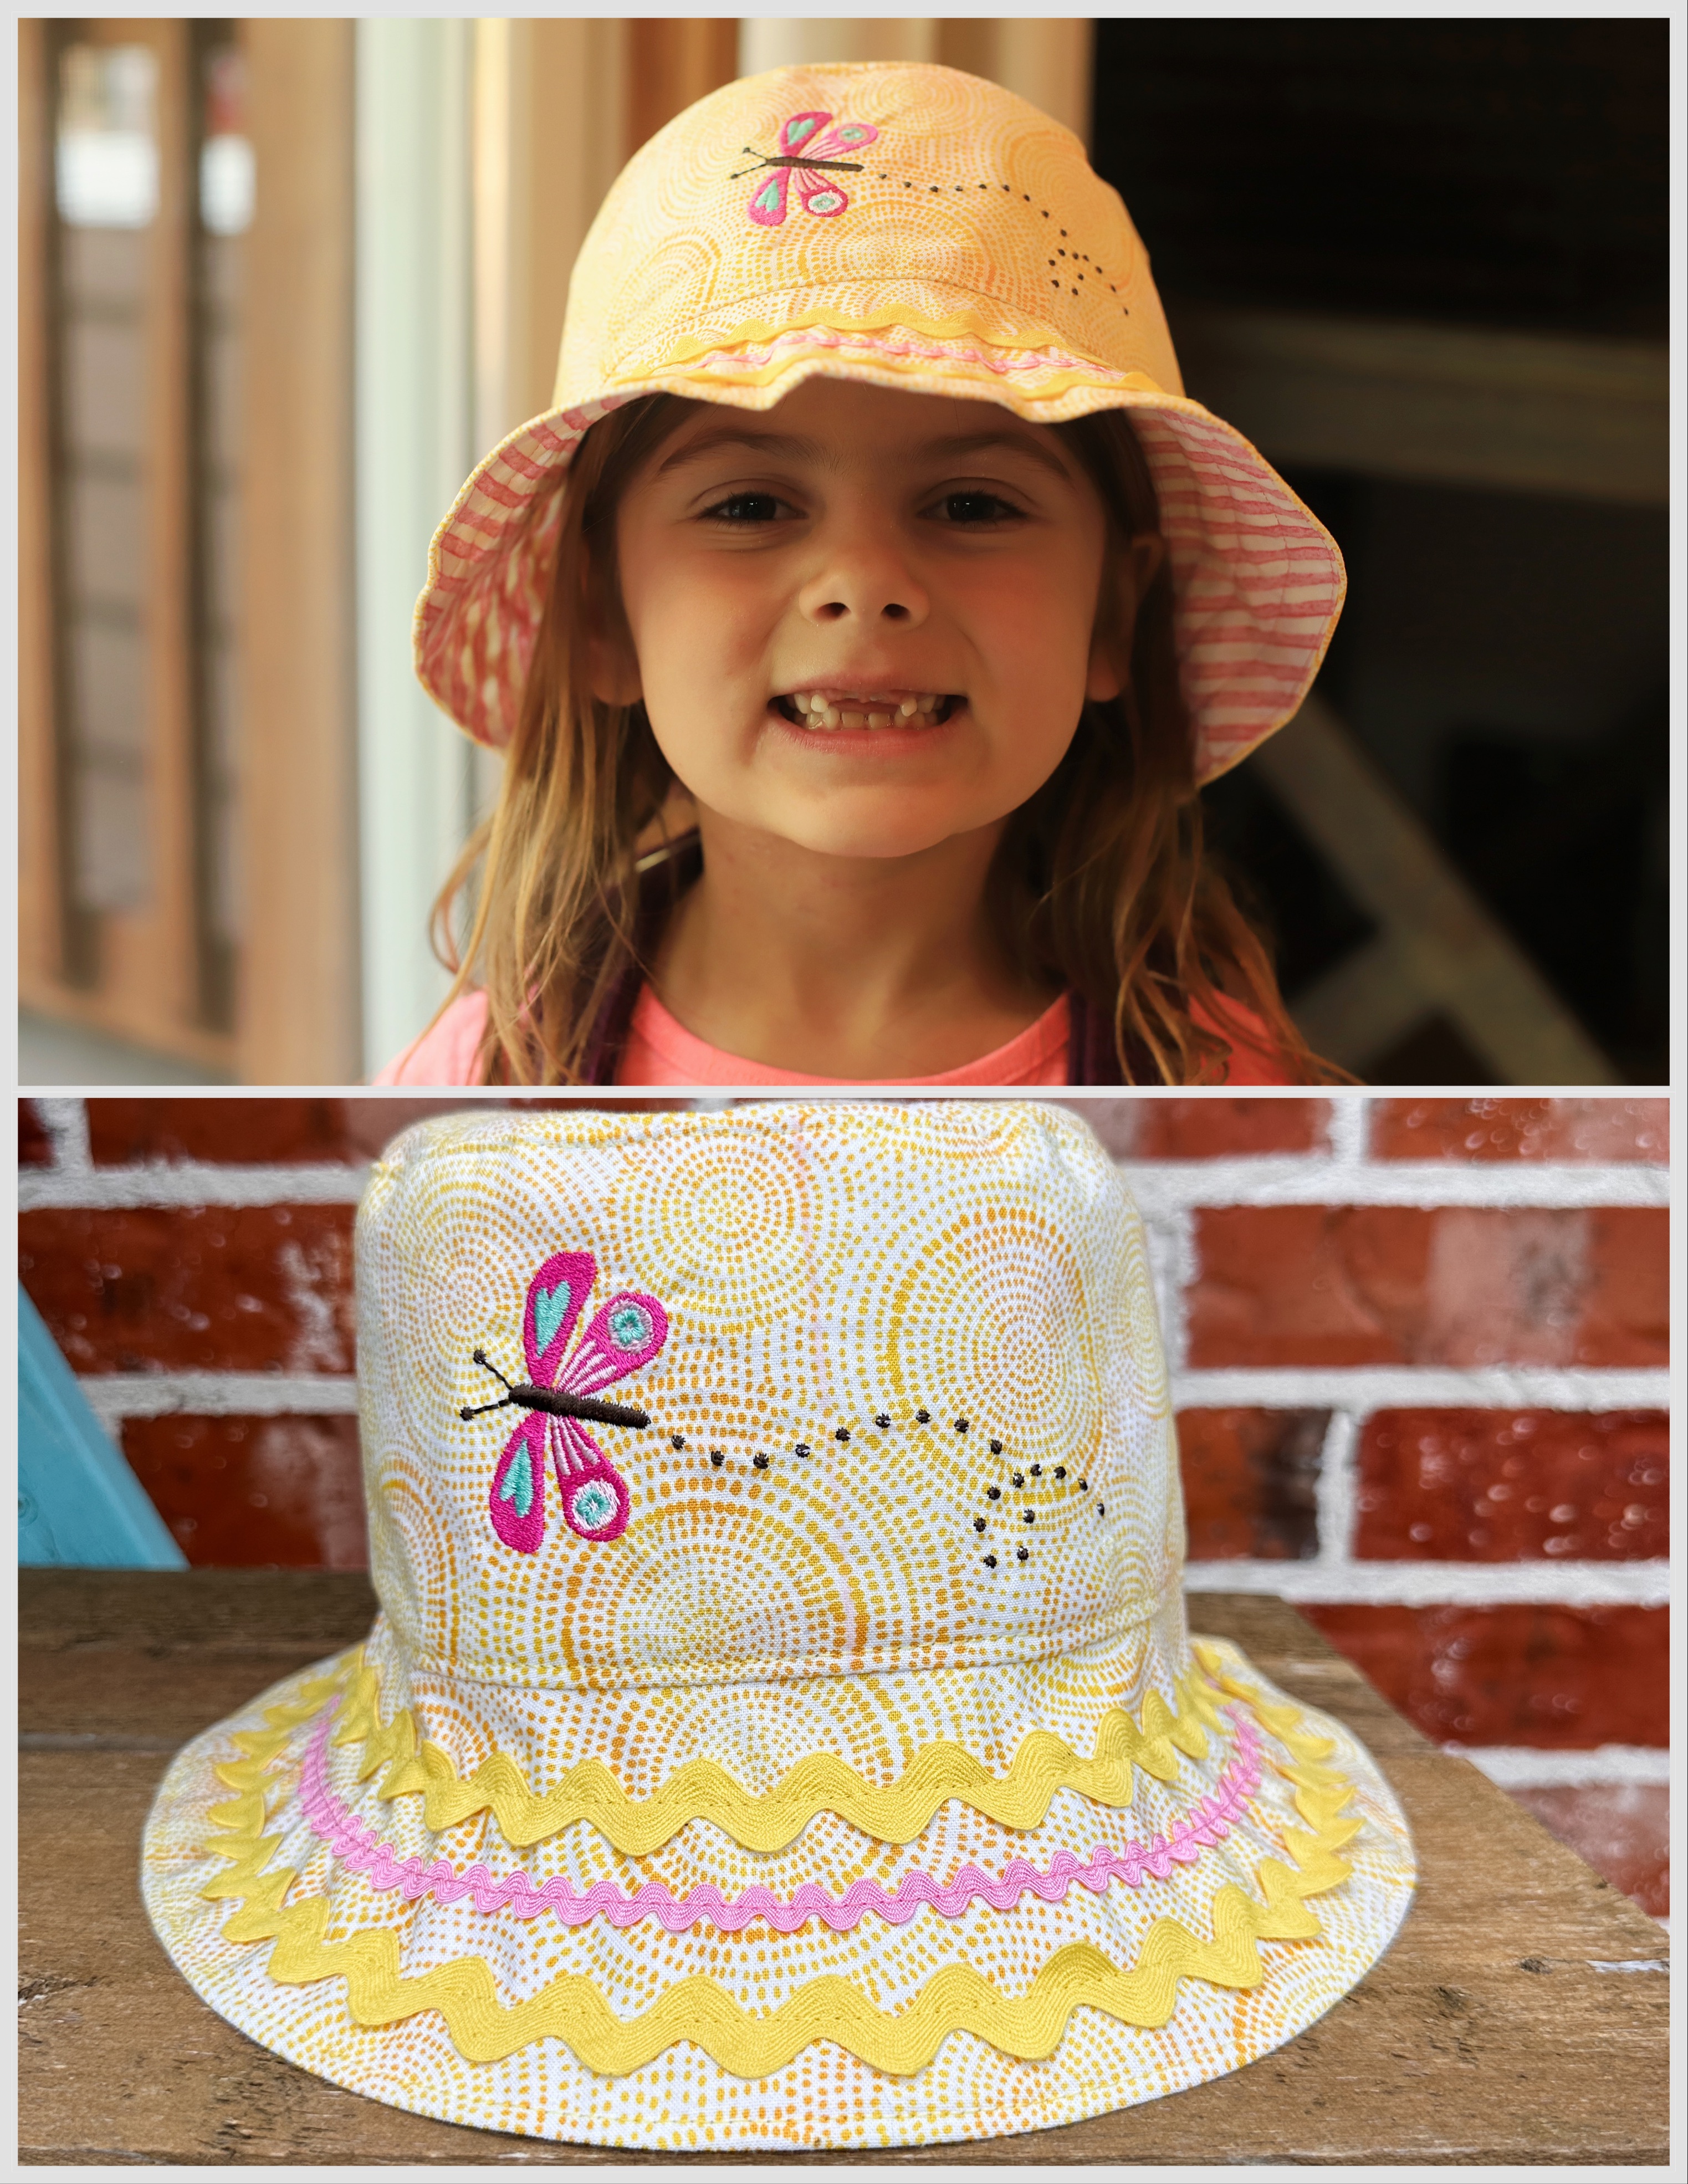
Yellow Hat with Flying Butterly
For the yellow hat, I used the Butterfly 1 from the Happy Day by Lori Holt collection (provided for this project by OESD). I rotated the design by 10 degrees so the butterfly would appear to be flying towards the top of the hat. I changed the colors in the design slightly using these Isacord threads: 2508 Hot Pink, 2160 Iced Pink, 5220 Silver Sage, and 0945 Pine Park.
On the brim, I included three rows of ric-rac trim when I stitched the multiple rows of stitches.
Purple Hat with Pink Butterfly
For the purple hat I used Butterfly 2 from the Happy Day by Lori Holt collection (provided for this project by OESD).
I rotated the design by 90 degrees and used the two Isacord thread colors as designed: 1800 Wildfire, and 2160 Iced Pink.
On the brim, instead of stitching multiple rows of stitches, I edgestitched the brim then stitched one row using the butterfly decorative stitch on my B 770 QE PLUS

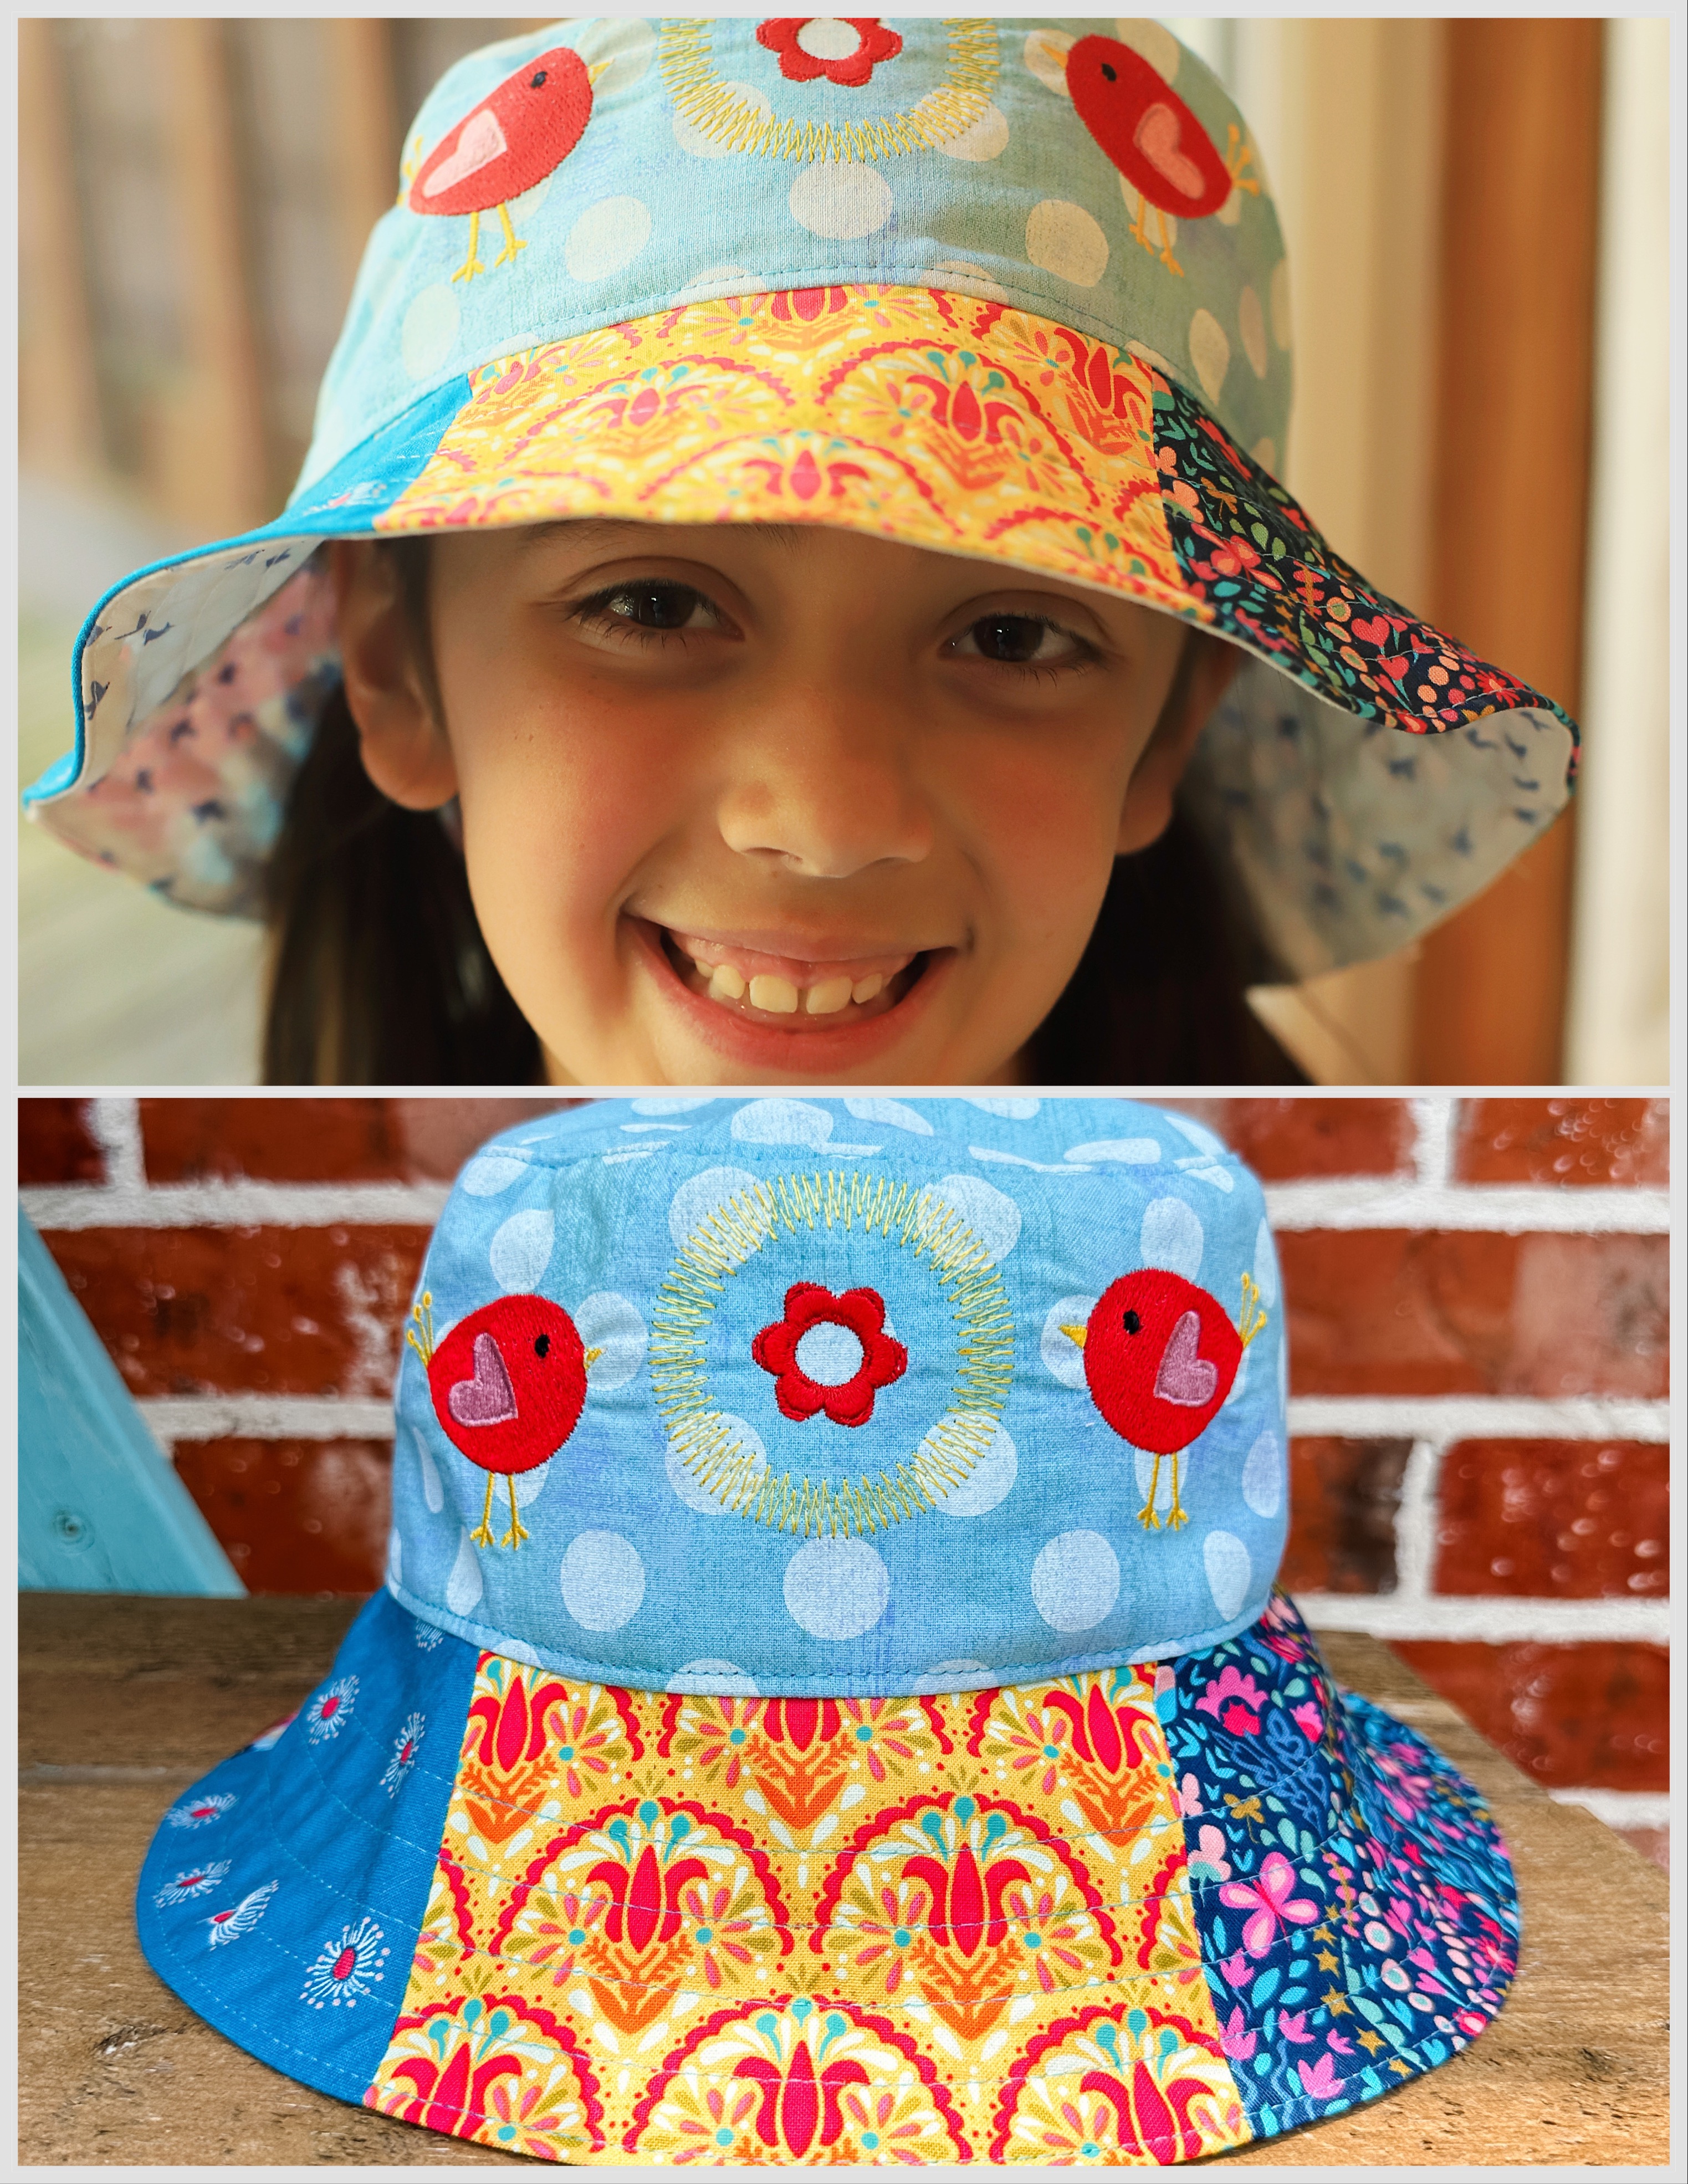
Blue Hat with Red Birds and Patchwork Brim
For the blue hat, I combined two elements from the Happy Day by Lori Holt collection, the Birdy, and the Yellow Flowers 3. I used the Isacord Thread colors as designed: 0311 Canary, 1800 Wildfire, 2153 Dusty Mauve, and 0020 Black.
I added the Yellow Flowers 3 design to the center of the fabric, changing the color of the center flower to red, 1800 Wildfire. Next I added the Birdy design and moved it to the left of the flower. I then copied the Birdy design and moved the copy to the right of the flower.
For the patchwork brim, I cut the brim pattern piece in thirds and added 1/4″ seam allowance to the cut edges (not the side seam edges). I cut the brim pieces using some quilting cotton scraps, stitched them together using a 1/4″ seam allowance, and treated the brim as one piece.
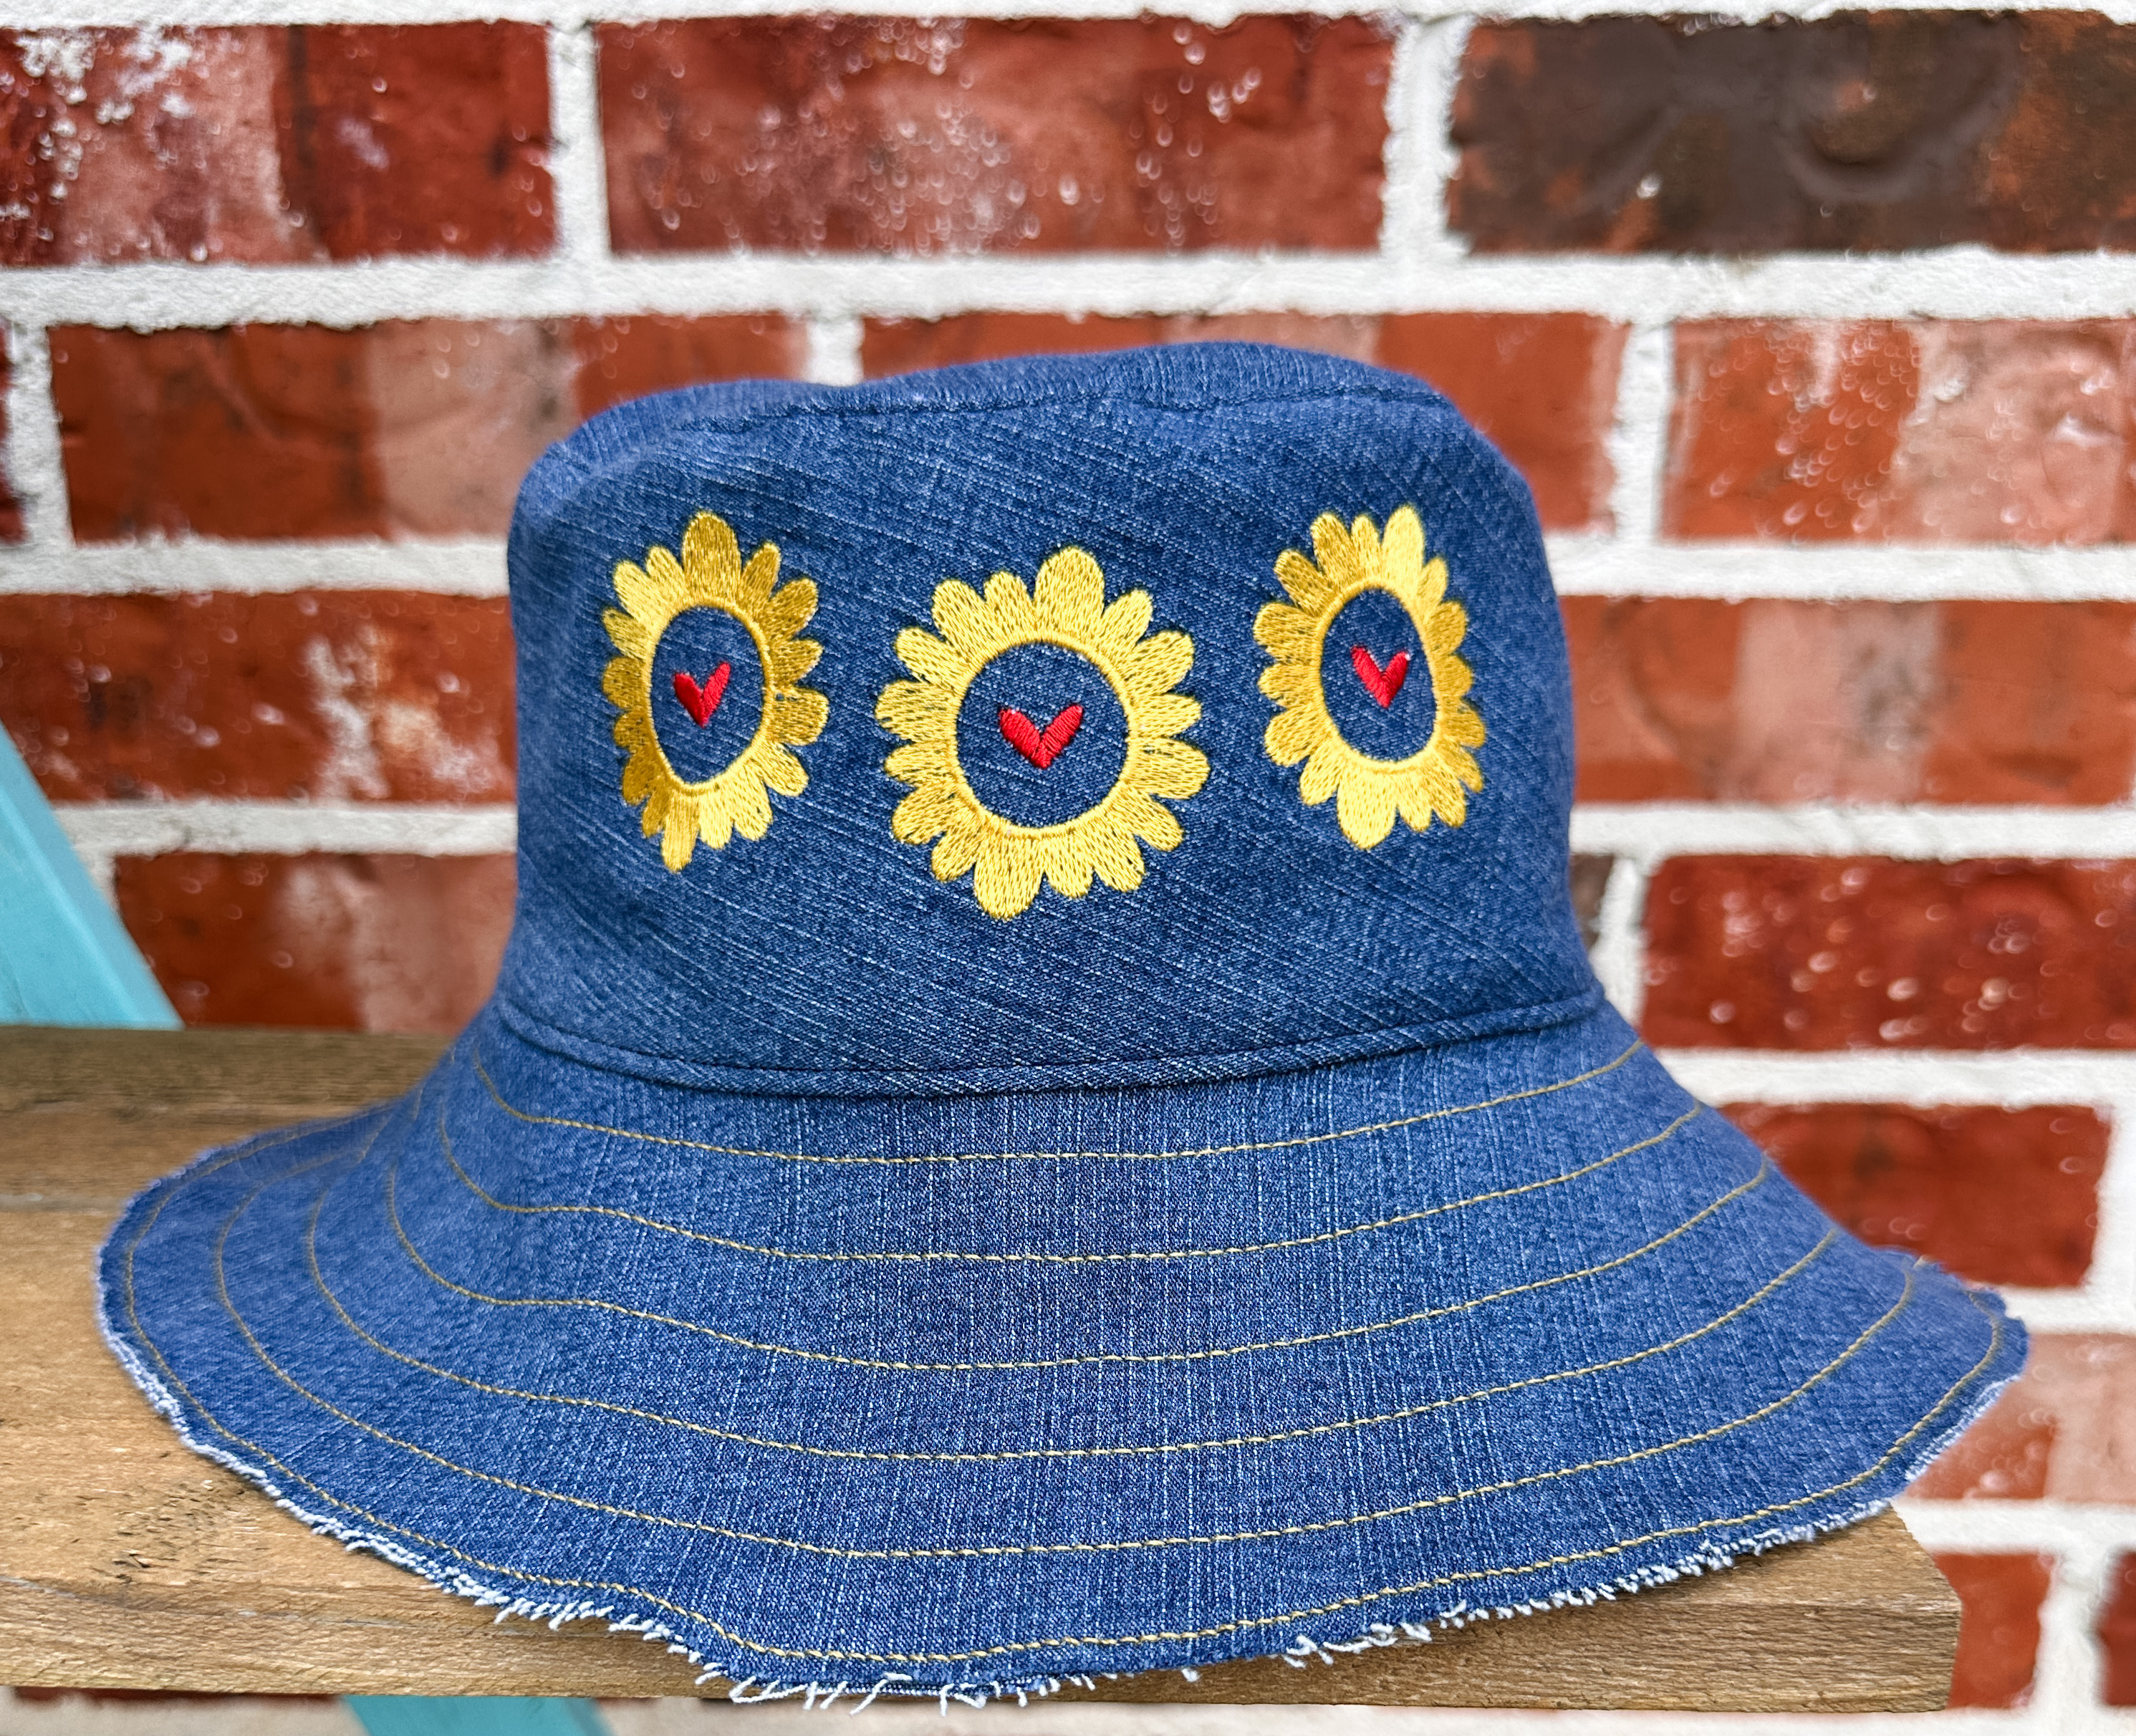
Denim Hat with Yellow Flowers
The denim in this hat began life as a $1.00 denim skirt from a rummage sale. The design is the Heart Flower from the Happy Day by Lori Holt collection. I used Isacord 0700 Bright Yellow for the flower and Isacord 1800 Wildfire for the hearts. I copied the flower twice, and moved the right and left flowers up slightly.
For the lining, I used a cotton print for the hat top and crown but used denim for the brim. Instead of sewing the lining to the hat right sides together and turning right side out, I inserted the lining into the hat wrong sides together and edgestitched the brim edges together using a topstitch thread and topstitch needle. I then stitched multiple rows of stitches. The raw edge of the brim will fray slightly with wear.
As you can see, the possibilities are endless!
When you machine embroider and sew your own bucket hat be sure to tag me (@TheSharonSews) and BERNINA (@berninausa) on Instagram. We can’t wait to see your creations!
Used Products


What you might also like


2 comments on “How to Make a Personalized Bucket Hat”
-
-
I love these! I think I’ll make my special needs granddaughter one made with halloween fabrics! She loves Halloween… especially the treats.. lol
Leave a Reply
You must be logged in to post a comment.
I can’t get over how much I love this project! It’s a perfect gift idea and SO cute!