Simple String Bag
Hello WeAllSew readers,
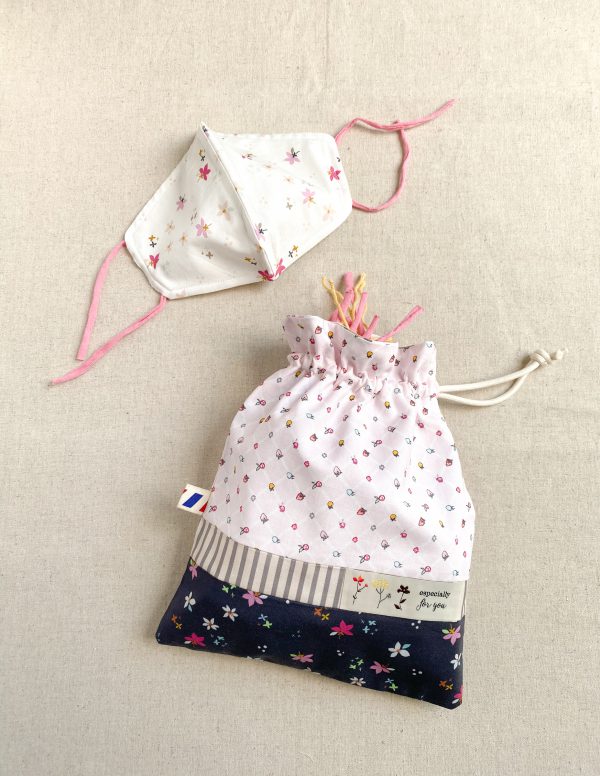
It’s Minki Kim, and you can find me on Instagram @zeriano and MinkiKim.com. I also design fabric for Riley Blake Designs and I have my own line of sewing patterns. I am excited to share my Simple String Bag tutorial today.
*You can download my free fabric mask pattern here.
Materials to Make the Simple String Bag
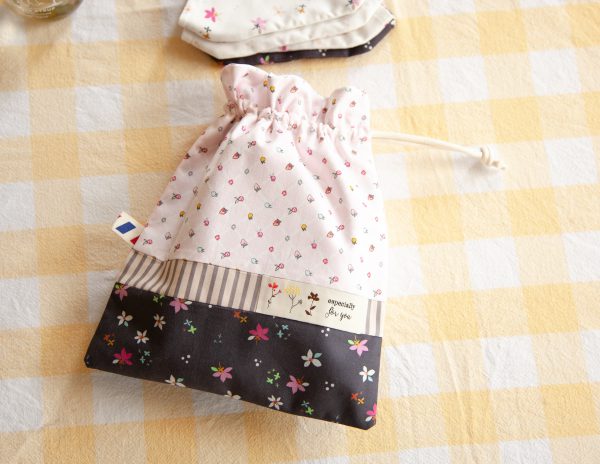
Finished size: 8″ wide x 10″ height
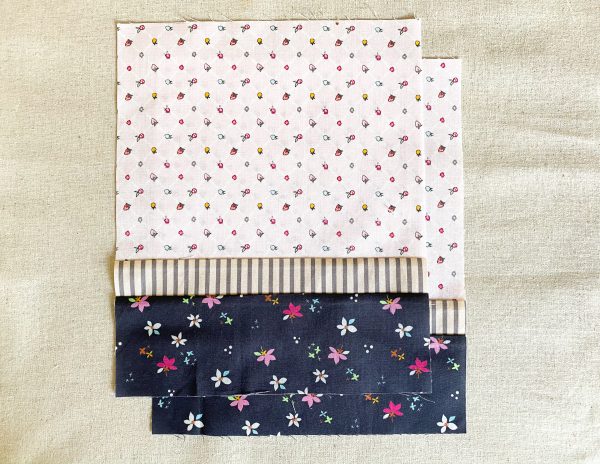
- Pink print: two (2) 8 1/2” x 7” (My Moments collection for Riley Blake Designs)
- Stripe print: two(2) 8 1/2” x 1 1/2” (Bloom collection by CottonVill)
- Navy print: two (2) 8 1/2” x 3”(Bloom collection by CottonVill)
- Lining fabric: two (2) 8 1/2” x 10 1/2”(My Moments collection for Riley Blake Designs)
- String: 20”
- Decorative label (optional)
Instructions for Sewing a String Bag
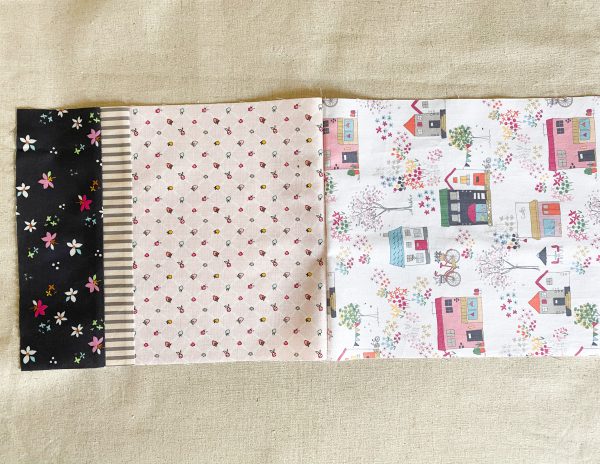
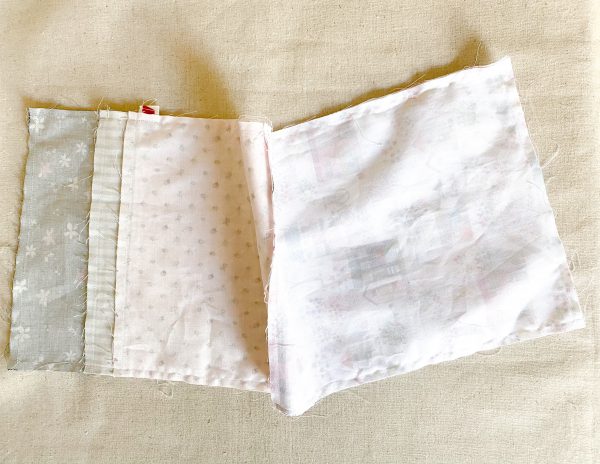
1. Sew pink print – stripe print – navy print together and press the seams to one side. Make two. Use a 1/4″ seam allowance.
2. Sew the exterior bag pieces to the lining, right sides together at the short edges. Repeat for other exterior bag and lining.
3. With right sides together, sew the two pieces together, leave about a 4” gap at the lining end for turning. When sewing the exterior bag section, slide in the half-folded label between the layers if you have one.
4. Turn right side out through the opening in the lining gap. Machine topstitch to close the opening in the bottom of the lining. Turn lining to the inside of the bag.
5. Measure 1” from the seam line of front and lining, and mark a line all the way around. Measure 3/4″down from the first mark and mark another line all the way around. This is will be the stitching lines for the string casing. Use a temporary marking pen.
Stitch along the marked lines.
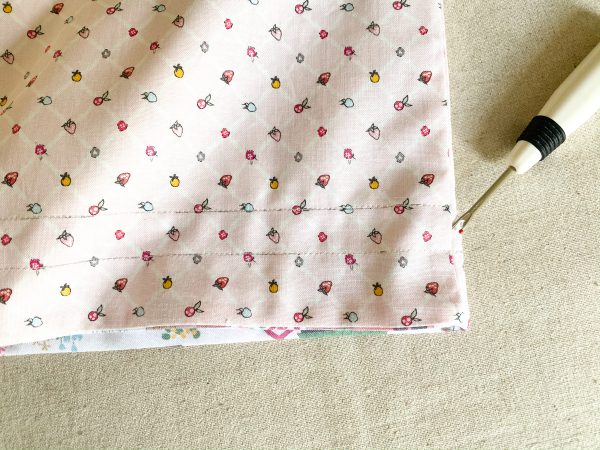
6. Using a seam ripper, make an opening between the two stitched lines at the side seam as shown below.
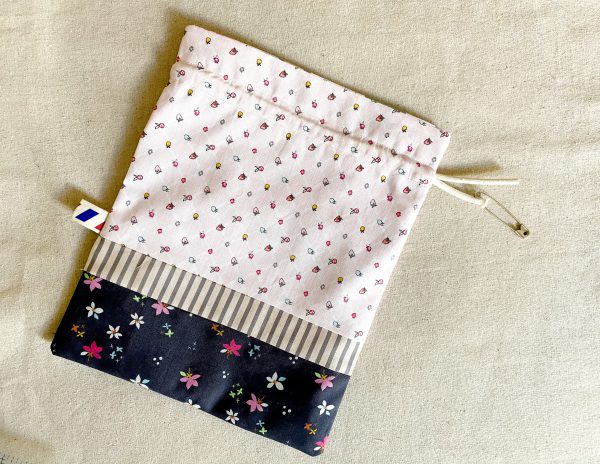
7. Insert a string through the opening and tie a knot.
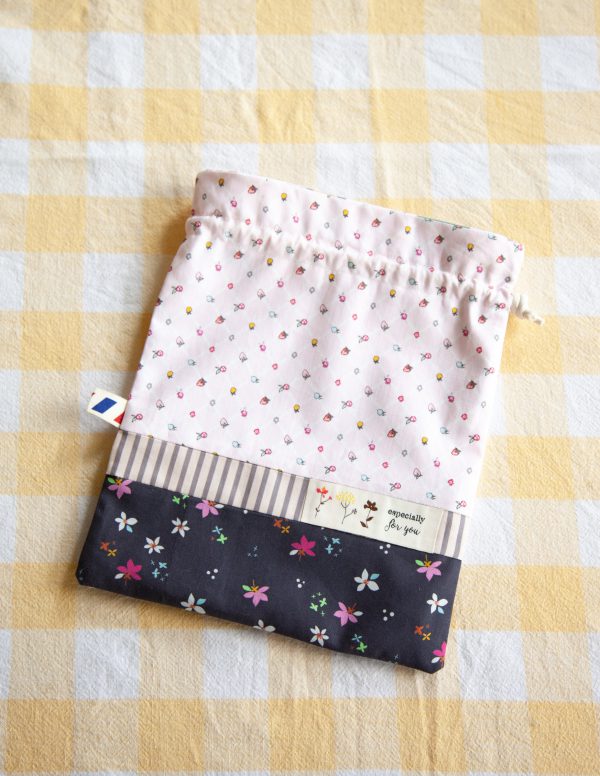
8. Fuse the woven label using a piece of fusible webbing. (optional)
What you might also like
3 comments on “Simple String Bag”
-
-
I am experienced sewist and I had quite the time figuring out these directions! What exactly are the short edges? I sewed the lining to both ends. It should also have added to press press press in directions. Also be sure to match side seams. Tie a knot where? Thank you for the tutorial though. I just think for a beginner to enjoy it, it should be more explanation. Thanks!
-
Oh my…were did you get the adorable labels on the bag?
Leave a Reply
You must be logged in to post a comment.








The instructions do not say how to sew the sides of the bag together, or I am missing something. This is what it says: “4. Turn right side out through the opening in the lining gap. Machine topstitch to close the opening in the bottom of the lining. Turn lining to the inside of the bag.
Am I missing something. Thank you.