Teaching Kids How to Use a Sewing Machine: A Step-by-Step Guide
This blog is also available in Spanish here. For English, continue reading below.
Este blog también está disponible en español aquí. Para la versión en inglés, sigue leyendo a continuación.

Learning to use a sewing machine is an exciting milestone for young sewists. With the right approach, you can help kids master this essential skill while fostering creativity and confidence. Here’s a guide to teaching children how to use a sewing machine safely and effectively.
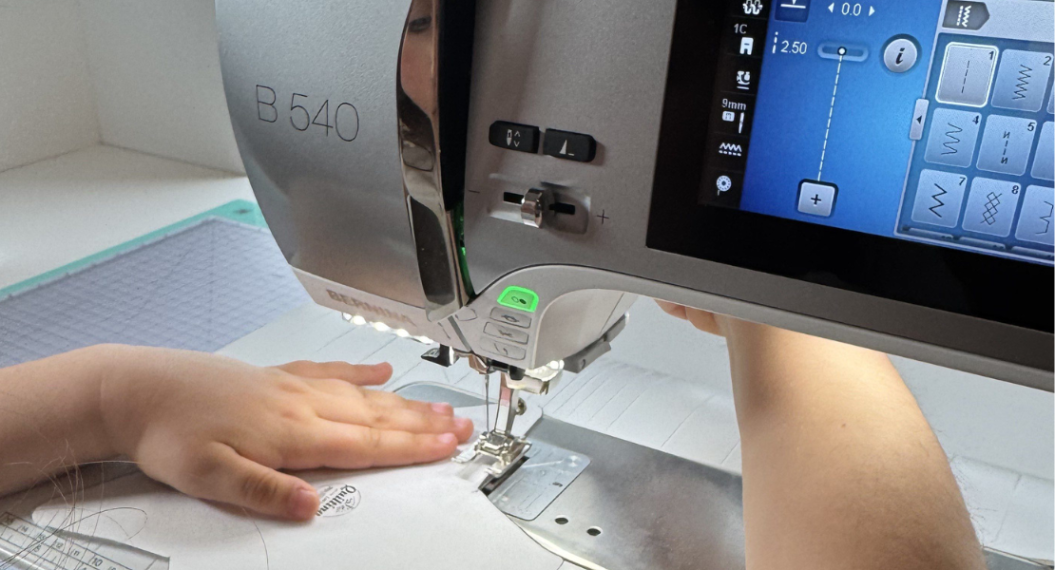
1. Introduce the Sewing Machine
Start with a detailed introduction to the sewing machine to make kids comfortable and familiar with it:
-
Name the Parts
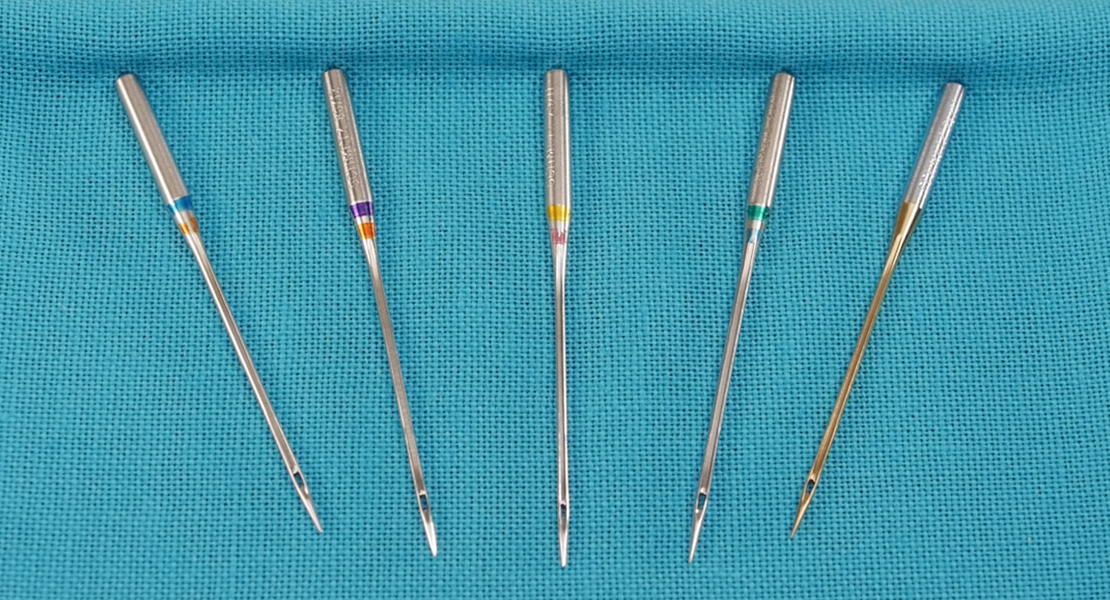
- Show them the key components such as the needle, presser foot, bobbin, spool pin, and foot pedal. Use a diagram to label the parts for reference.
-
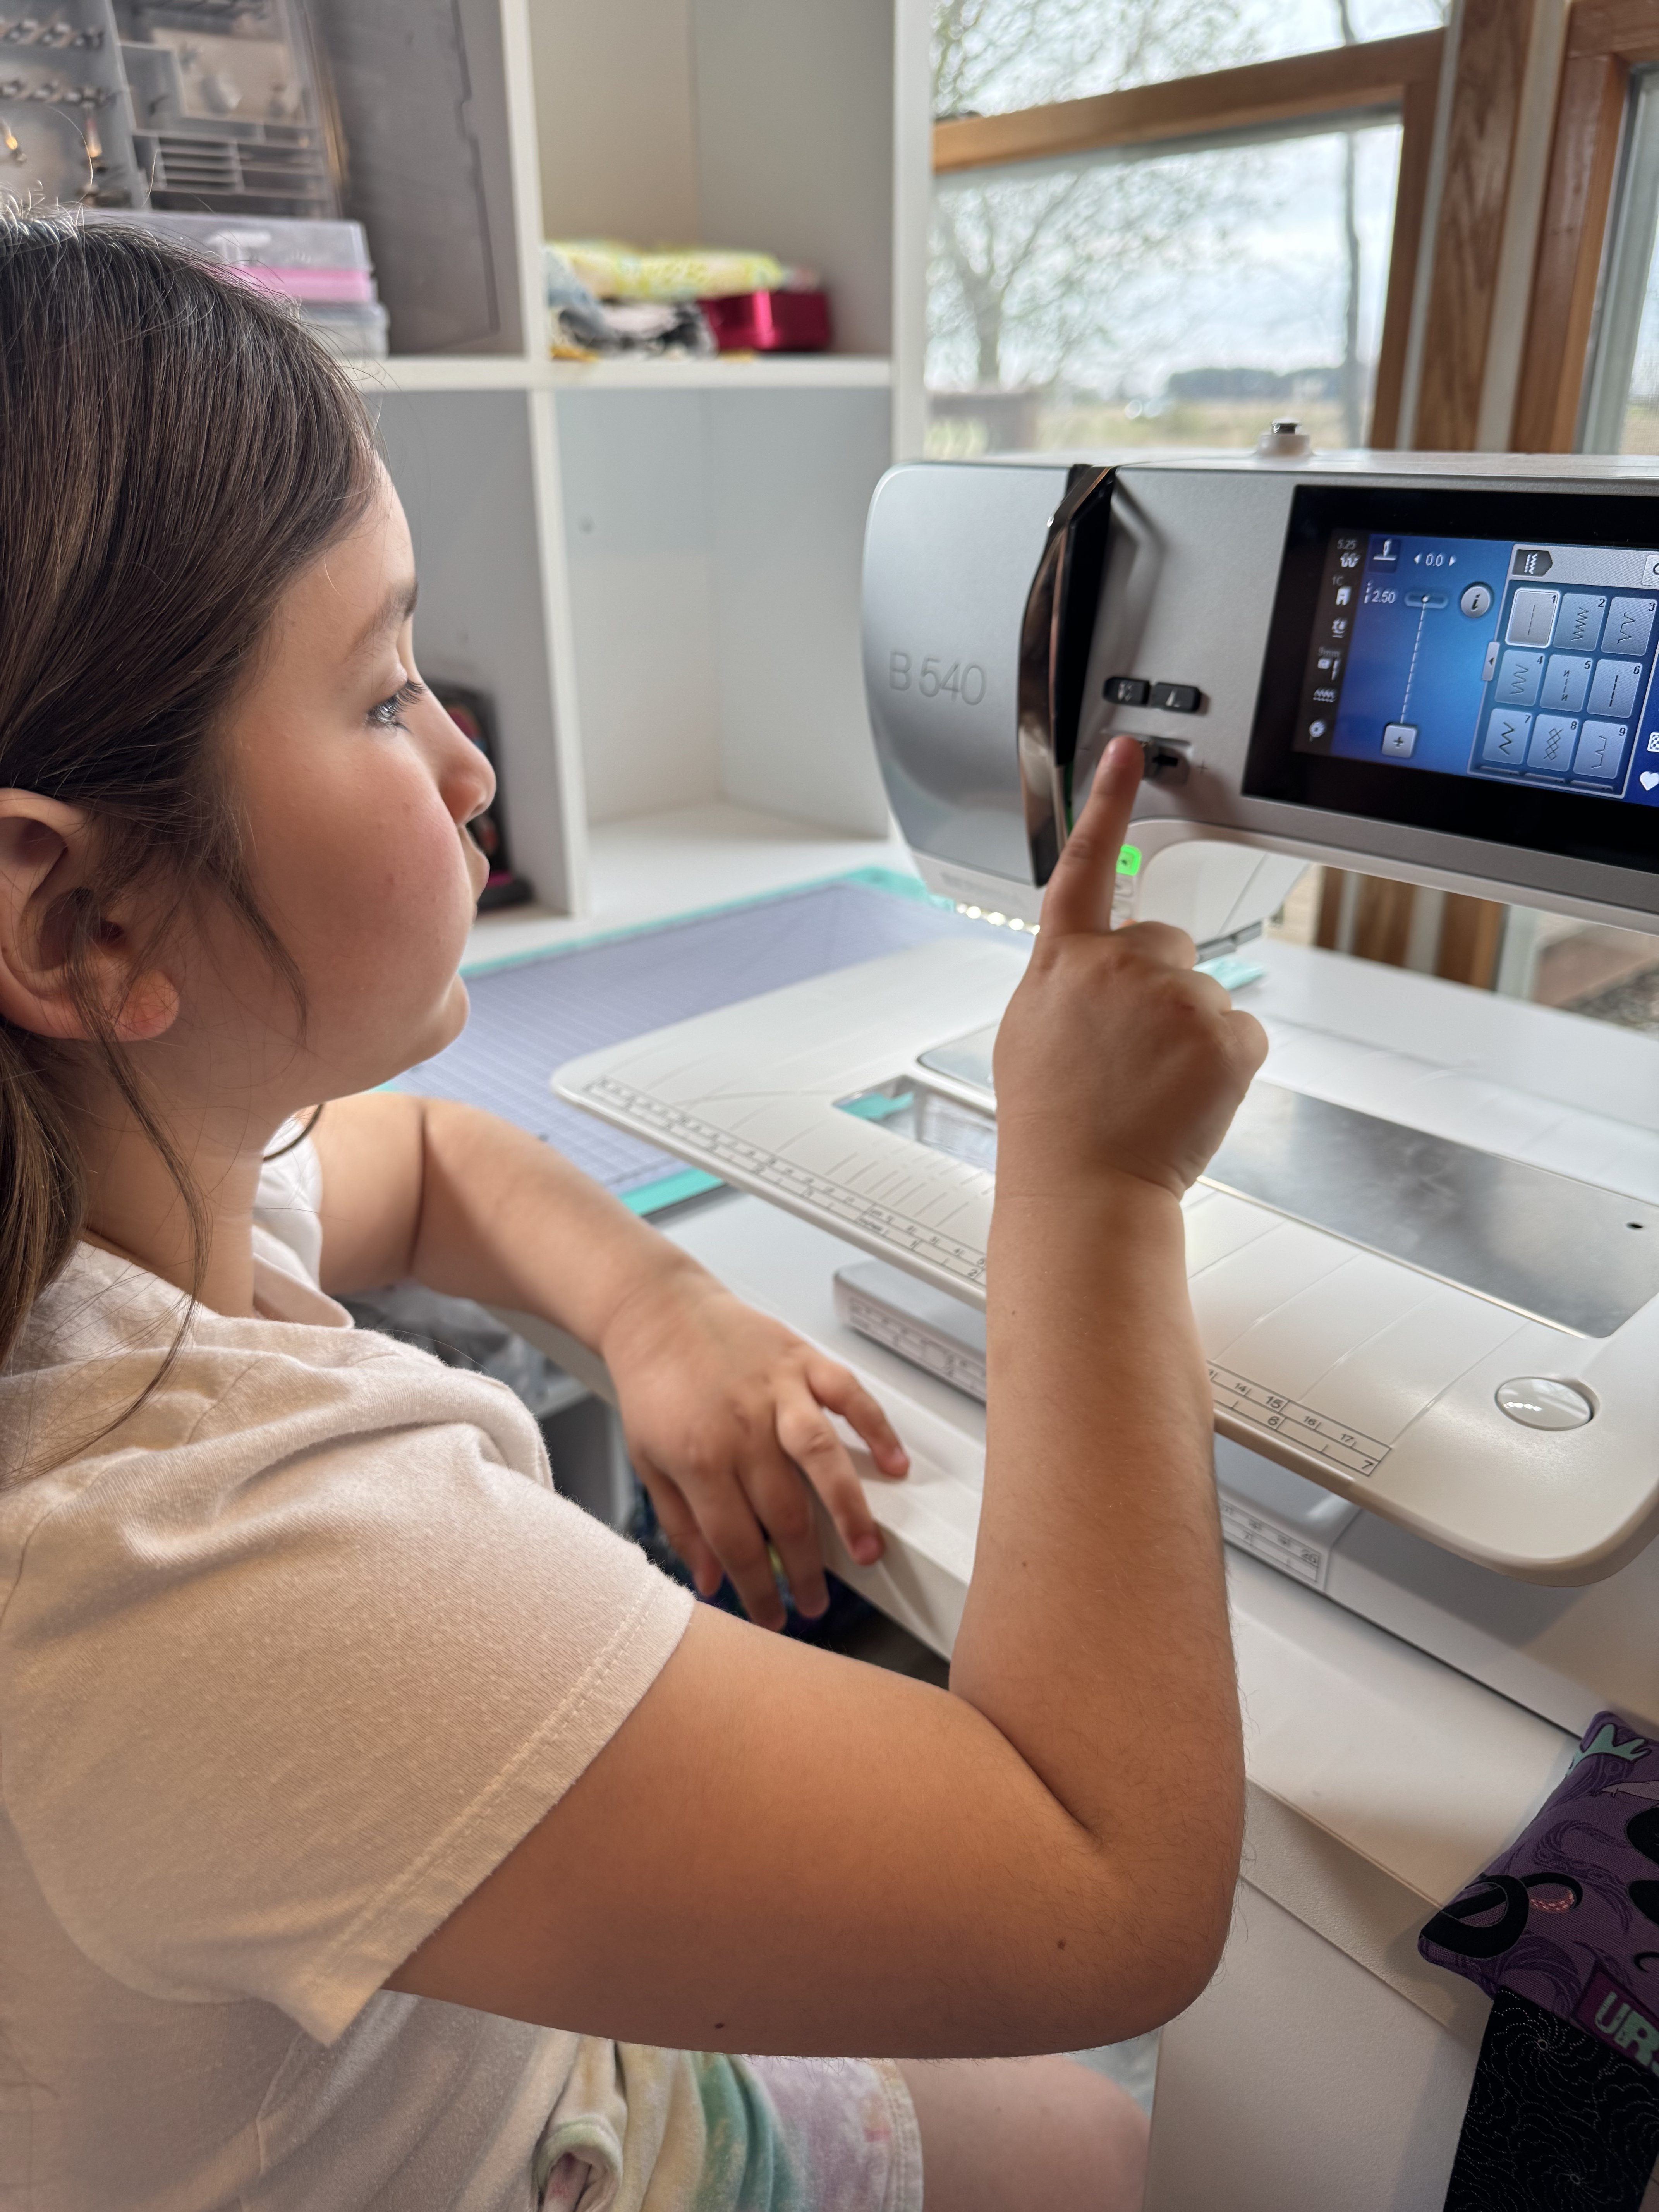
Explain the Basics
- Demonstrate how the machine works, emphasizing the movement of the needle and feed dogs.
-
Use Kid-Friendly Language
- Simplify technical terms to keep the explanation engaging and understandable.
2. Prioritize Safety
Ensure safety is a top priority from the very beginning:
-
Supervision is Key
- Always supervise kids while they’re using the sewing machine.
-
Set Clear Rules
- Teach them to keep fingers away from the needle, to never sew over pins, and to turn off the machine when not in use.
-
Use Safety Features
- If the machine has a speed control, set it to the slowest speed. Consider using a finger guard for extra protection.
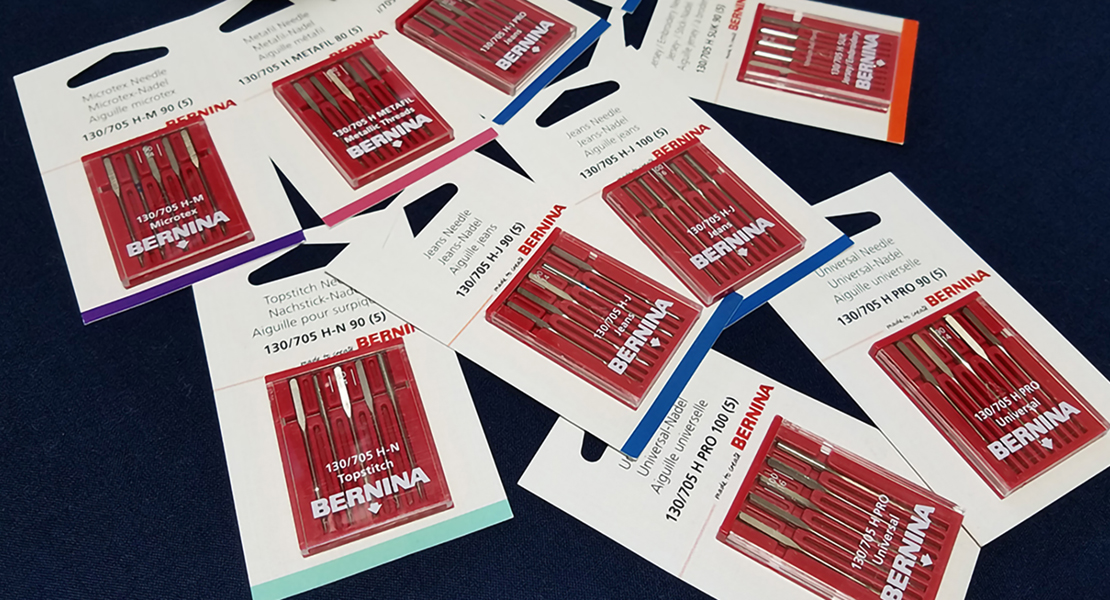
3. Start with Machine Basics
Begin with simple exercises to build familiarity and confidence:
-
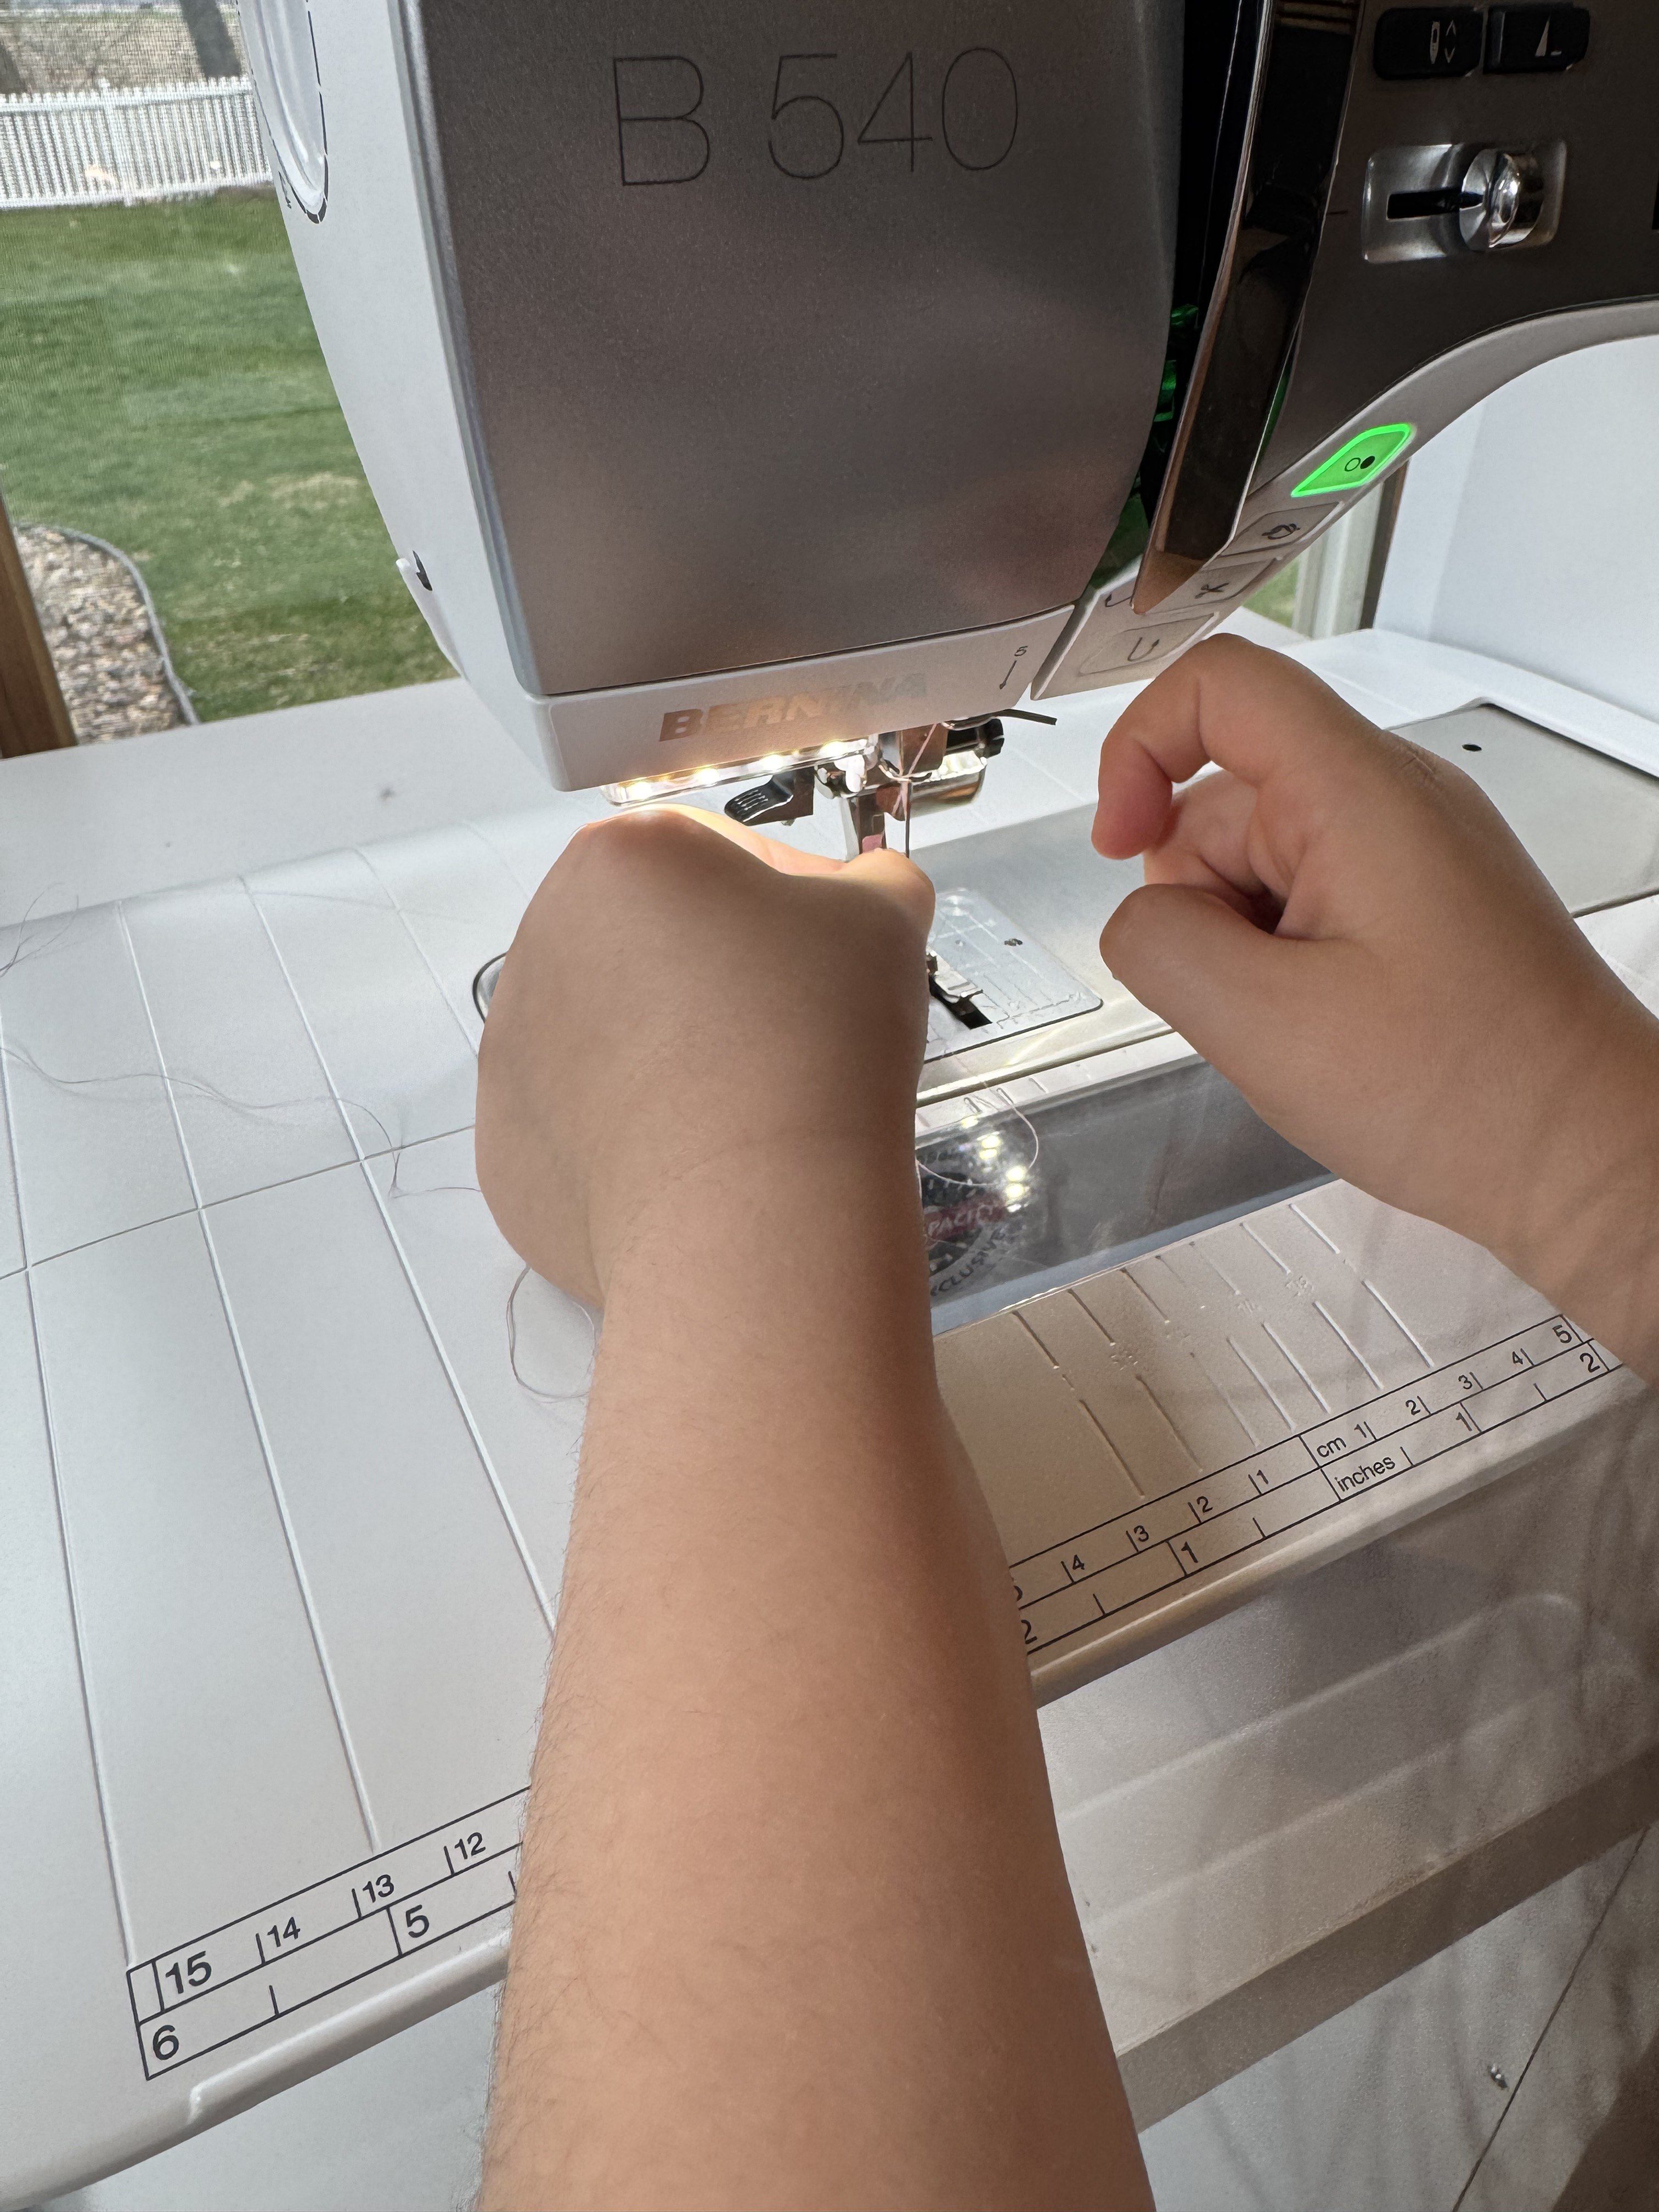
Thread the Machine Together
- Show them how to thread the upper thread and wind and insert the bobbin. Repeat this process until they feel confident.
-
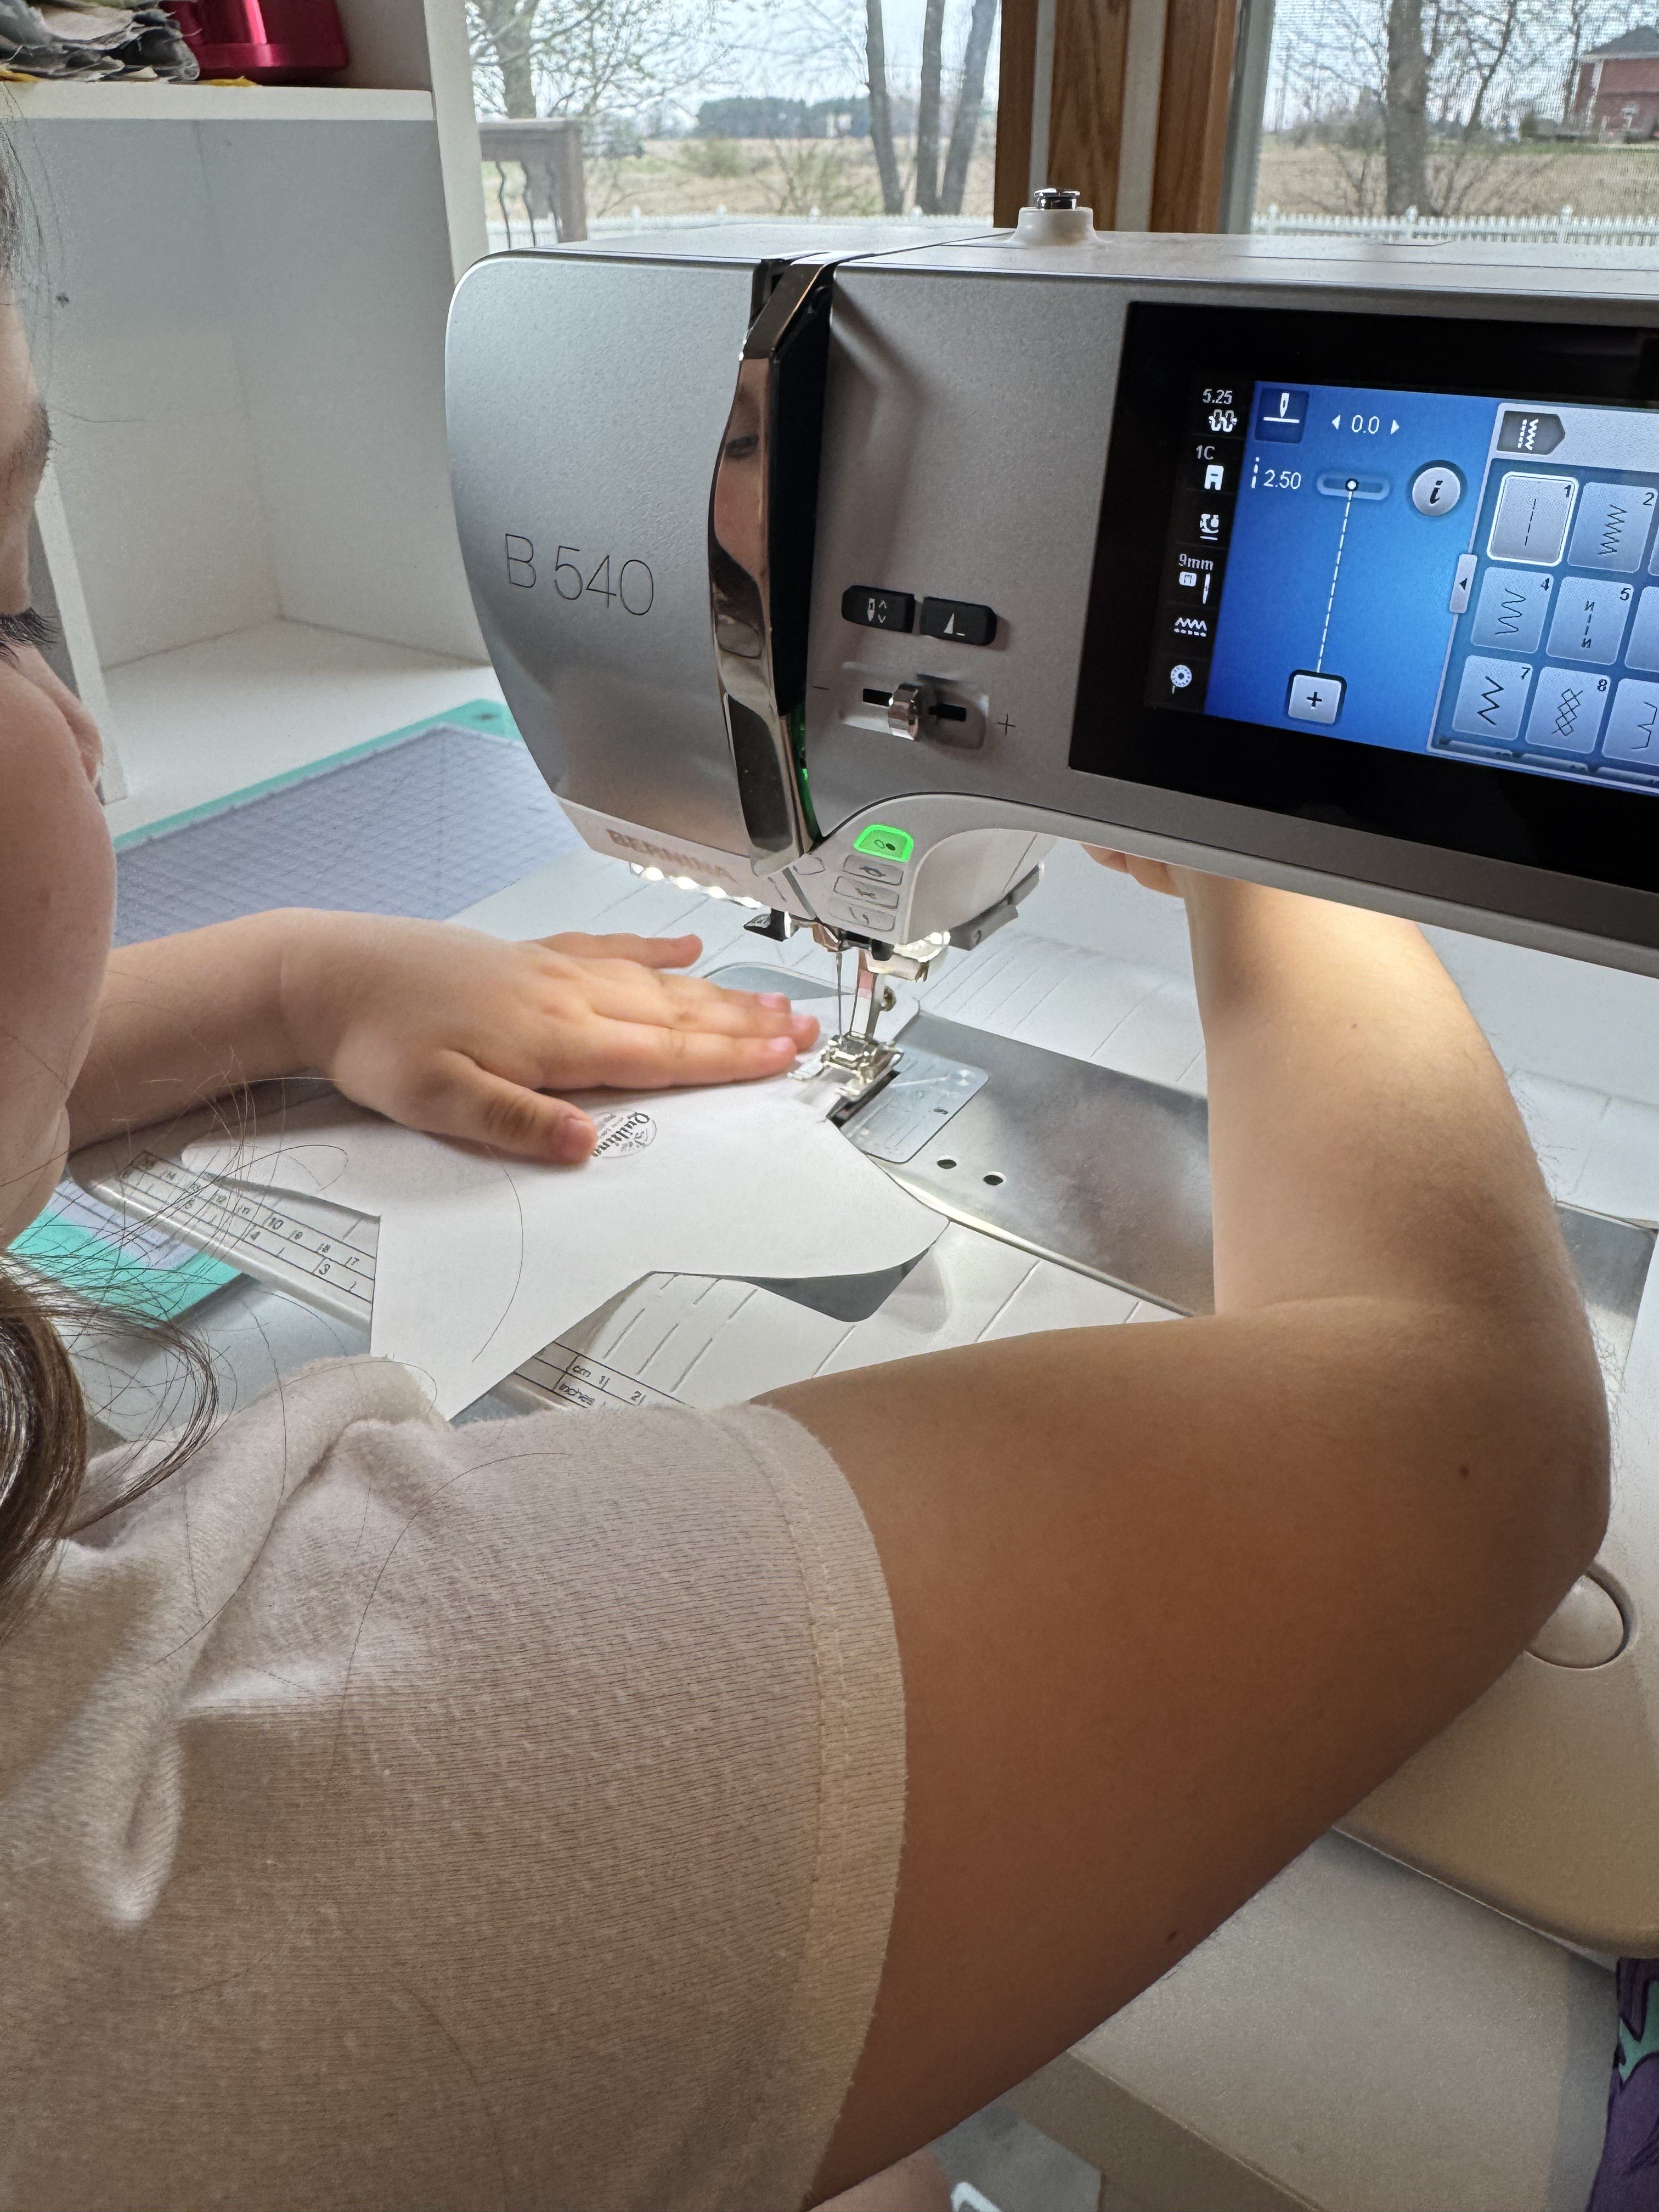
Practice with No Thread
- Have them press the foot pedal and guide a piece of paper (with drawn lines) under the needle to practice control.
-
Adjust Tension and Stitch Settings
- Explain how to adjust the stitch length, width, and tension, keeping it simple for their level.
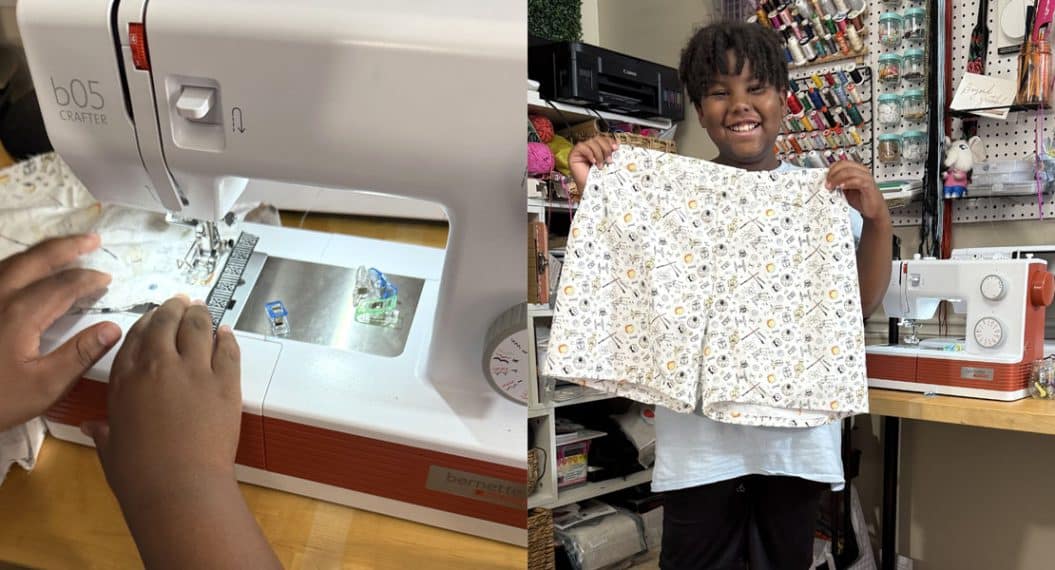
4. Choose a Beginner-Friendly Project
Pick a straightforward project that allows them to apply their skills without feeling overwhelmed:
-
Straight Stitch Practice
- Sew straight lines on scrap fabric or paper to practice control.
-
Simple Creations
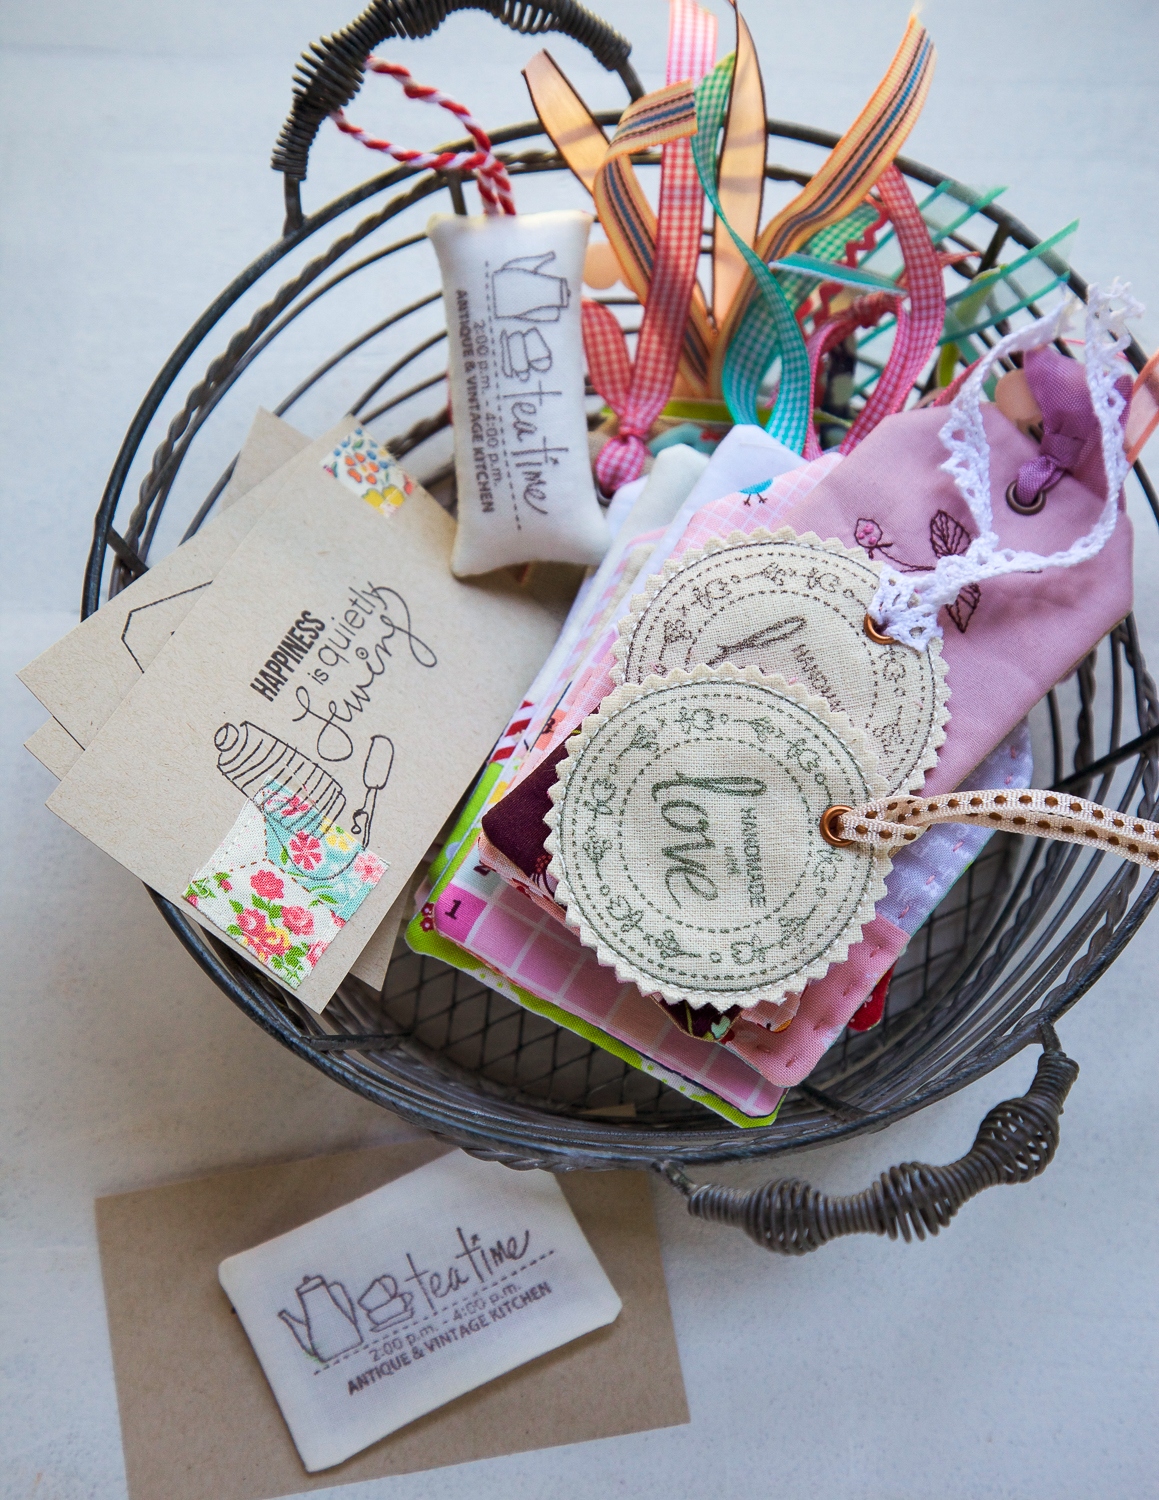
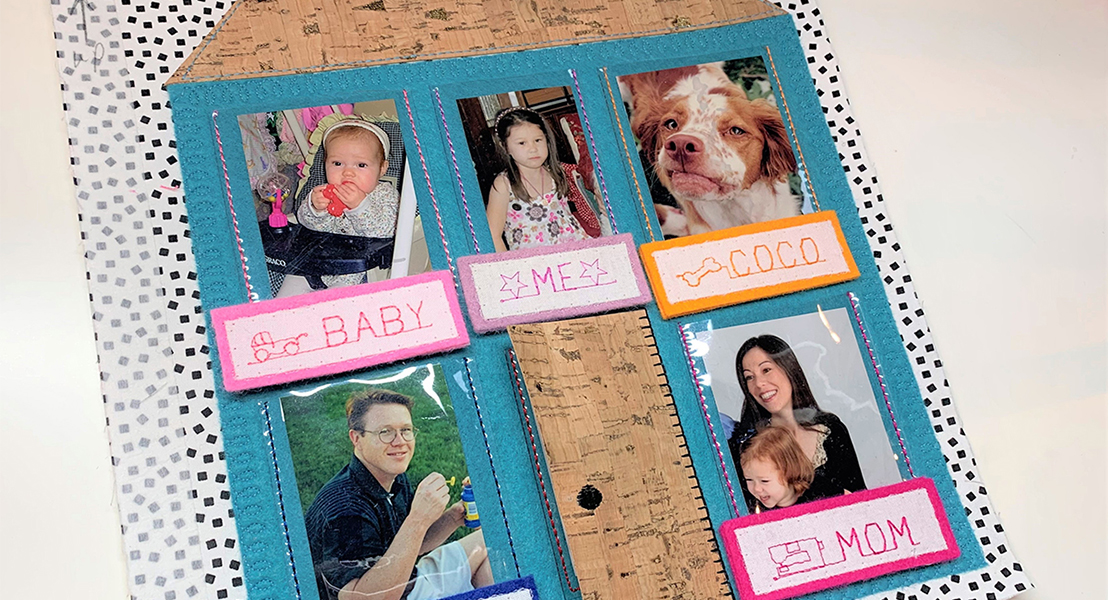
- Projects like pillowcases, tote bags, or napkins are great for beginners.
-
Pre-Cut Kits
- Use pre-cut fabric kits to minimize complexity.
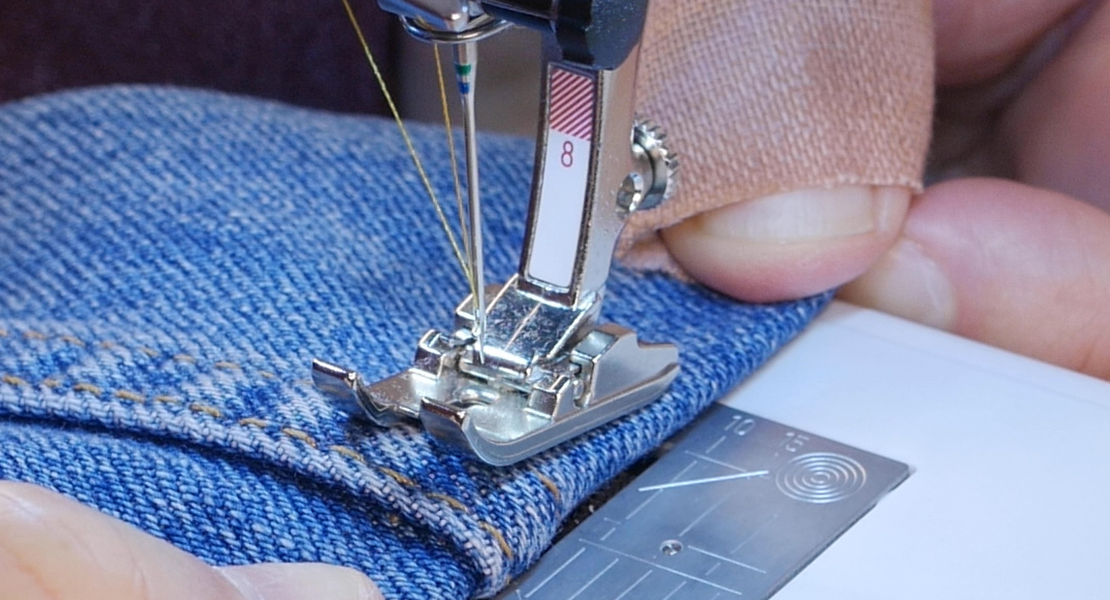
5. Teach Proper Fabric Handling
Show them how to work with fabric effectively:
-
Pinning
- Demonstrate how to pin fabric pieces together and remove pins before sewing.
-
Guiding Fabric
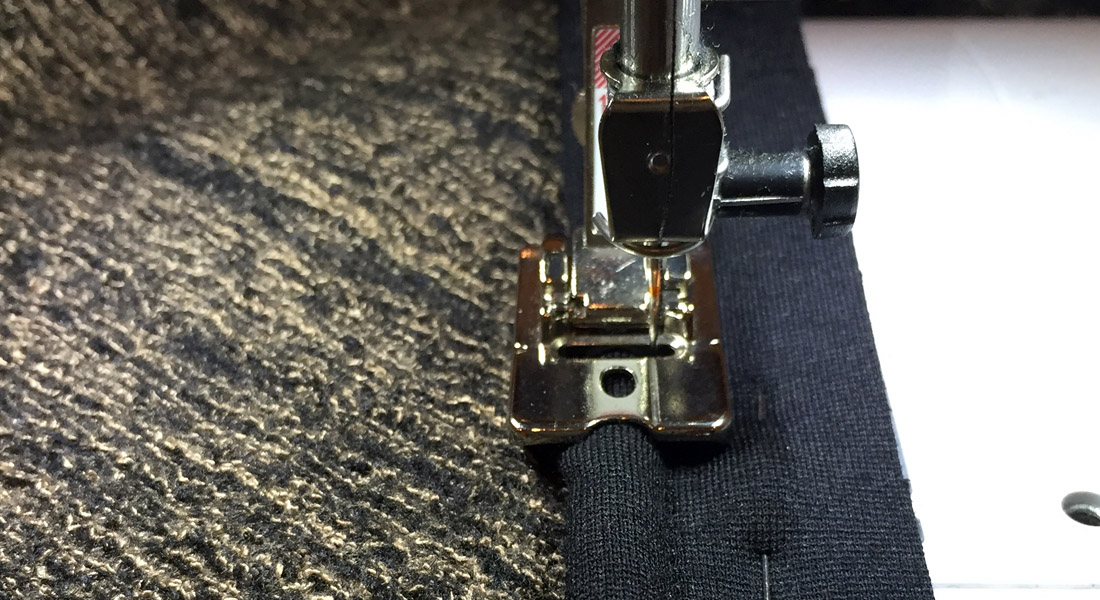
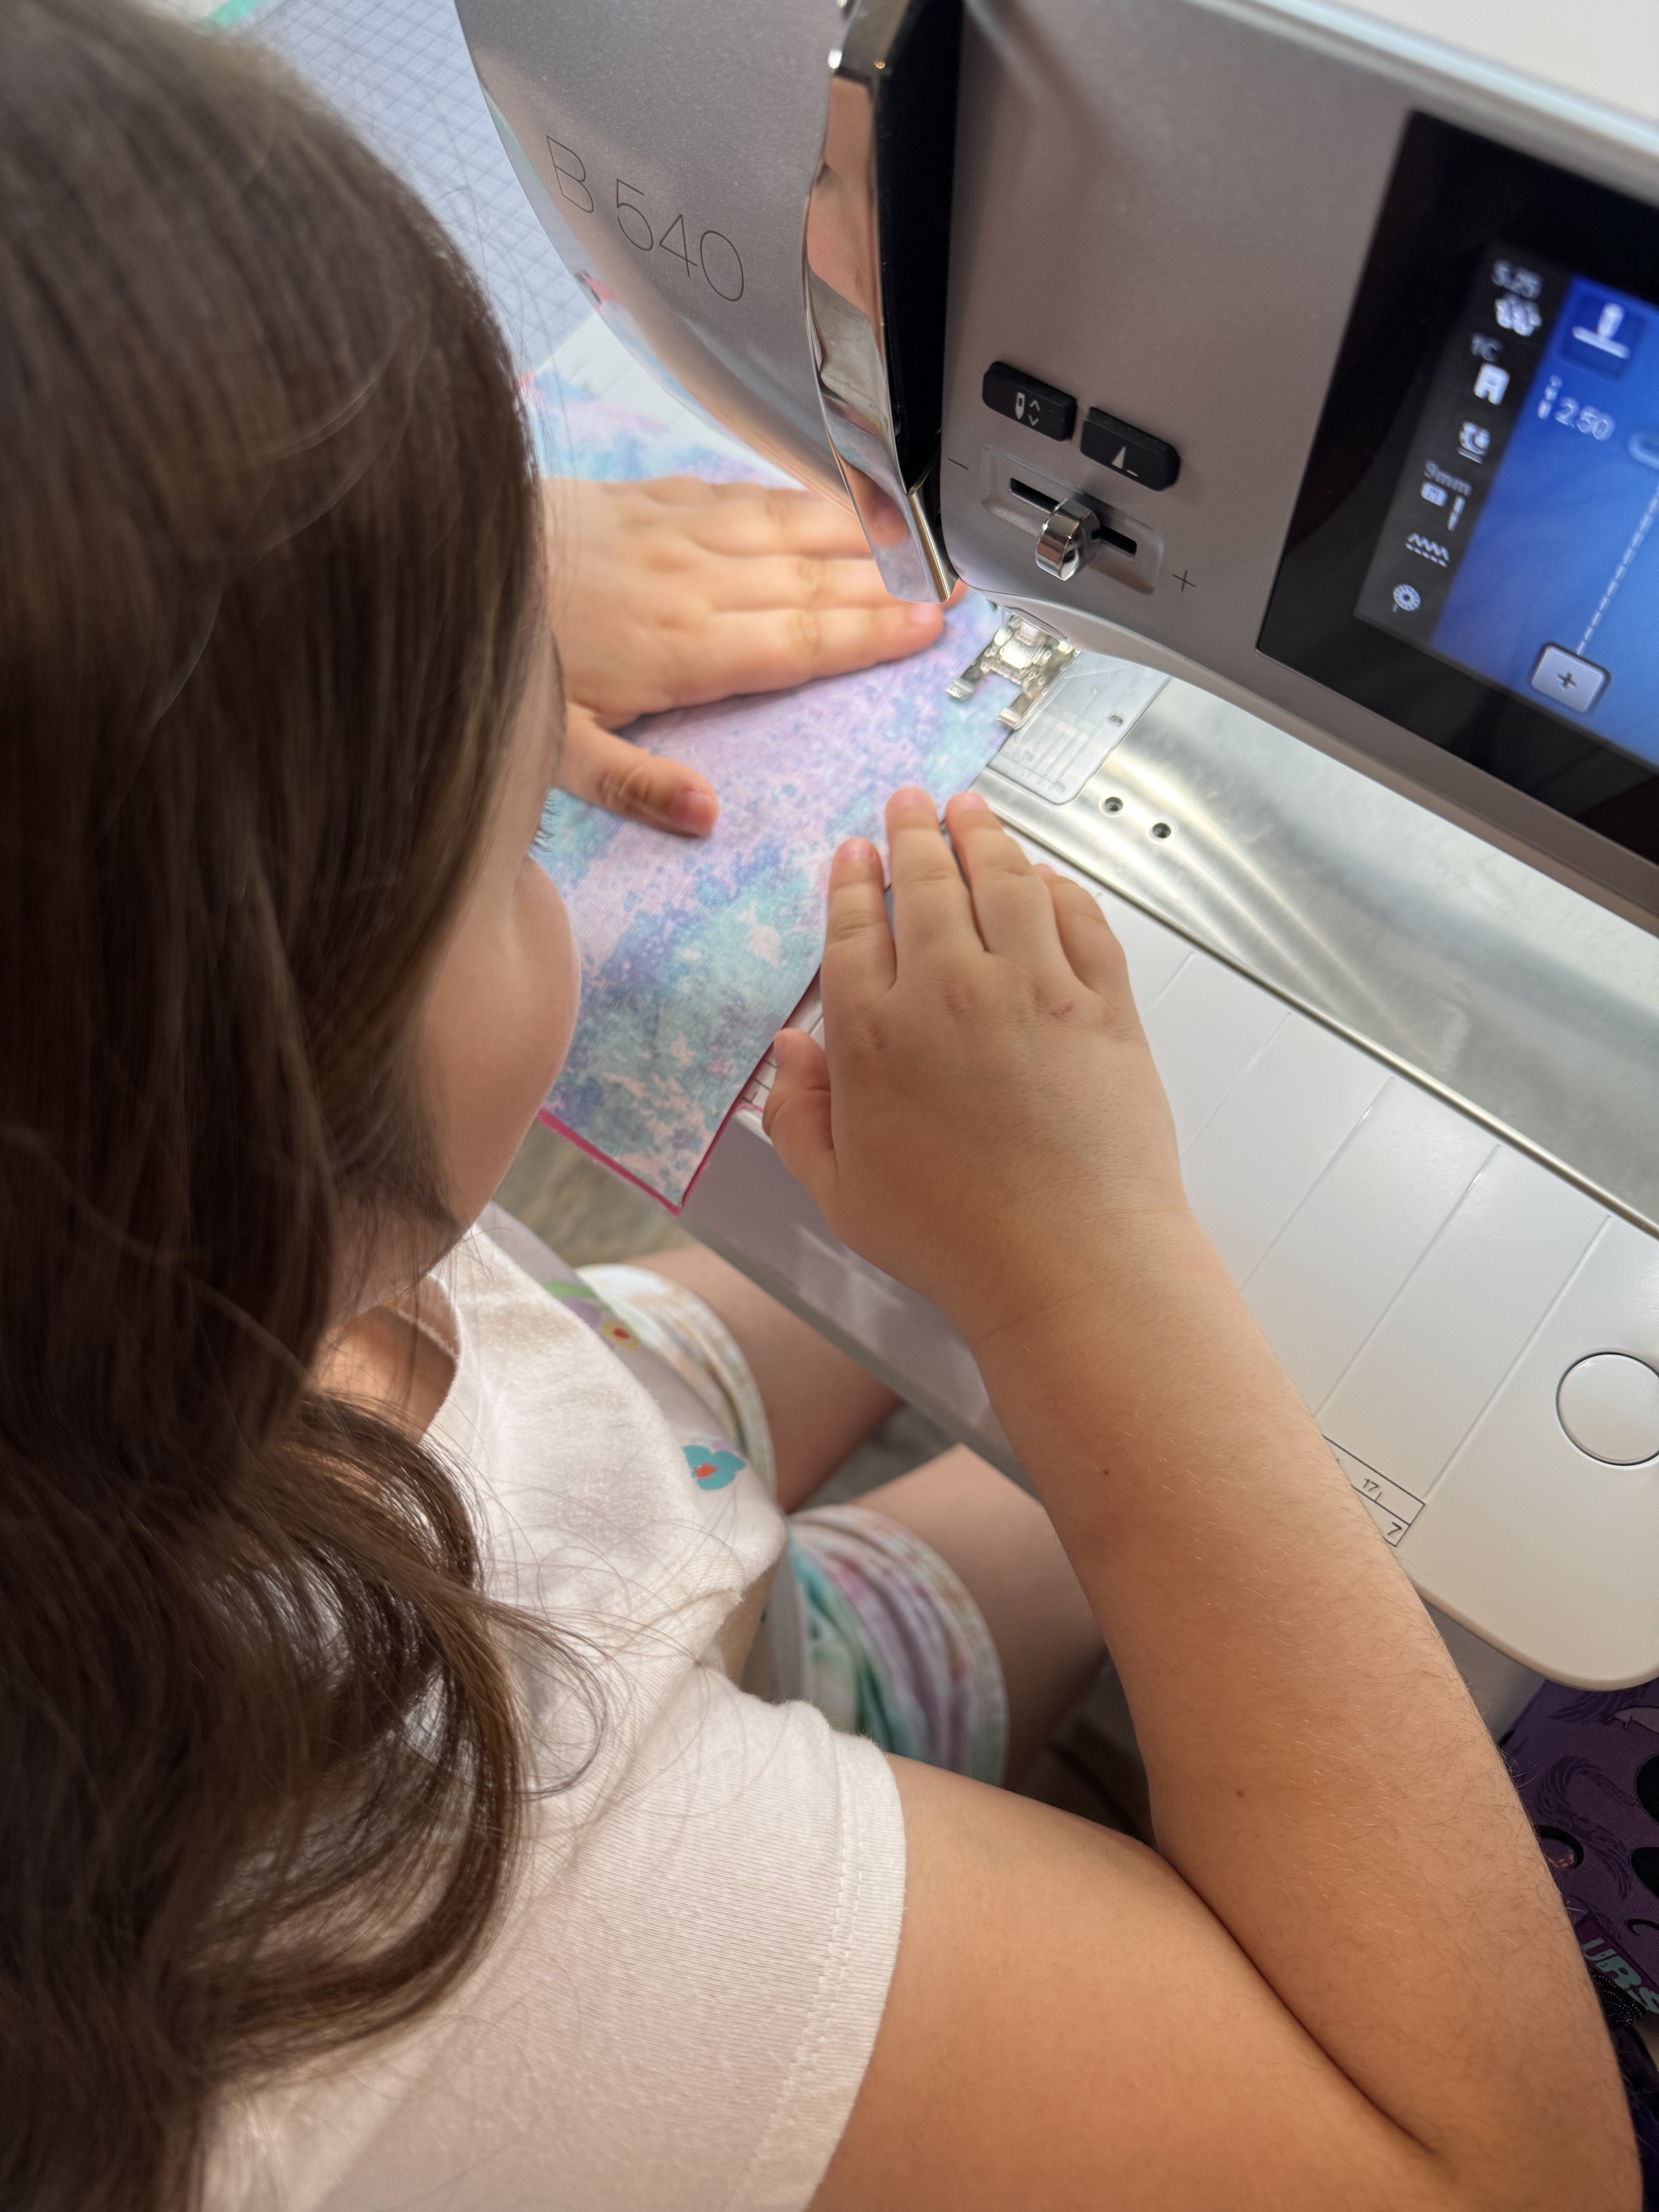
- Teach them to guide, not push or pull, the fabric under the presser foot.
-
Starting and Stopping
- Explain the importance of backstitching at the beginning and end of a seam.
6. Make It Fun and Rewarding
Keep the experience enjoyable to maintain their interest:
-
Use Bright Fabrics
- Let them choose colorful or patterned fabric that excites them.
-
Personalize Projects
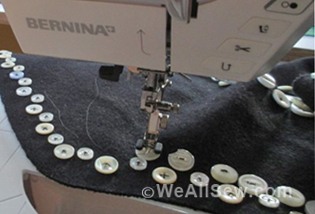
- Add embellishments like buttons or appliqués to make projects unique.
-
Celebrate Success
- Praise their efforts and display their creations proudly.
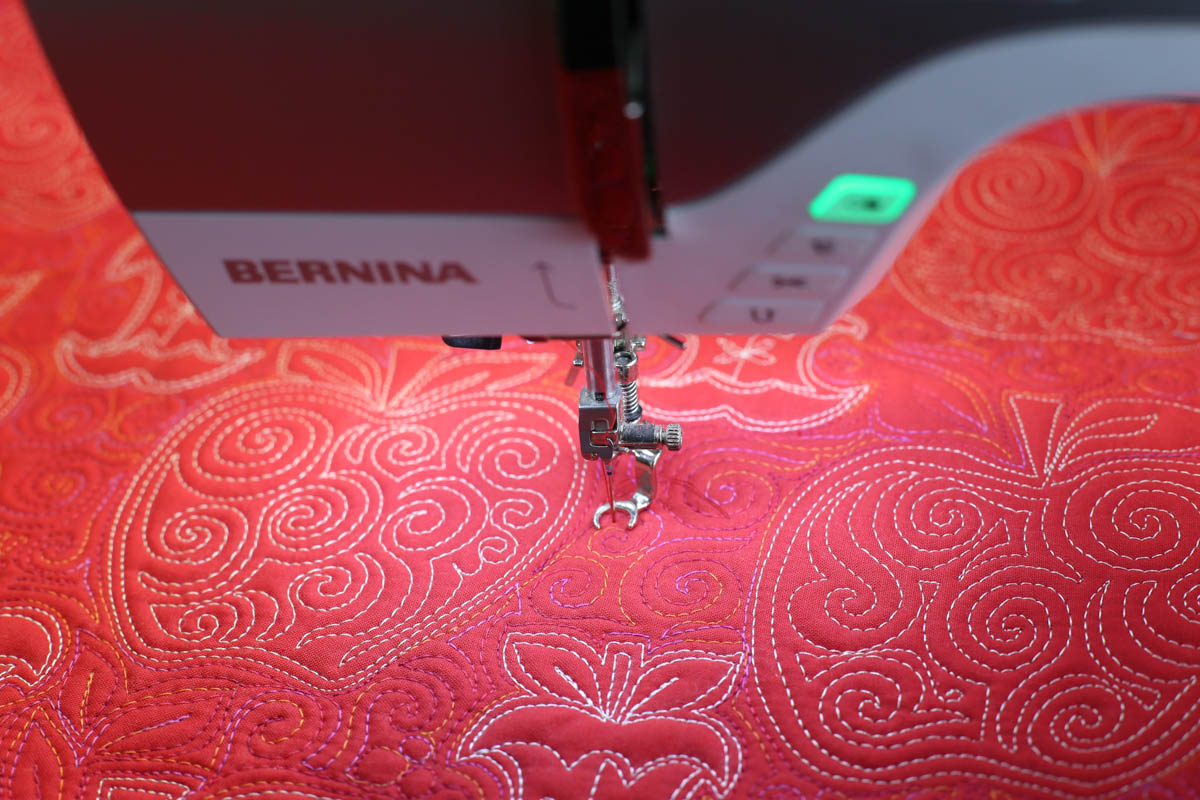
7. Build Confidence Gradually
As their skills improve, introduce more advanced techniques:
-
Seams and Hems
- Teach them to sew basic seams and finish edges.
-
Simple Patterns
- Guide them through reading and following easy sewing patterns.
-
Introduce New Stitches
- Demonstrate zigzag and decorative stitches as they progress.
8. Troubleshoot Together
Equip them with problem-solving skills for common issues:
-
Fixing Thread Snags
- Show them how to re-thread the machine if the thread breaks.
-
Adjusting Tension
- Explain how to recognize and fix tension issues.
-
Clearing Jams
- Teach them to safely remove fabric if it gets stuck.