Tips and Tricks for Embroidery with Velvet
Hello everyone!
I’m Kate Toney of Tough Kitten Crafts. My passion is teaching people get fearless with machine embroidery and a big part of that is helping people learn to machine embroider on fun fabrics. I love guiding people to get out of their comfort zone with machine embroidery!
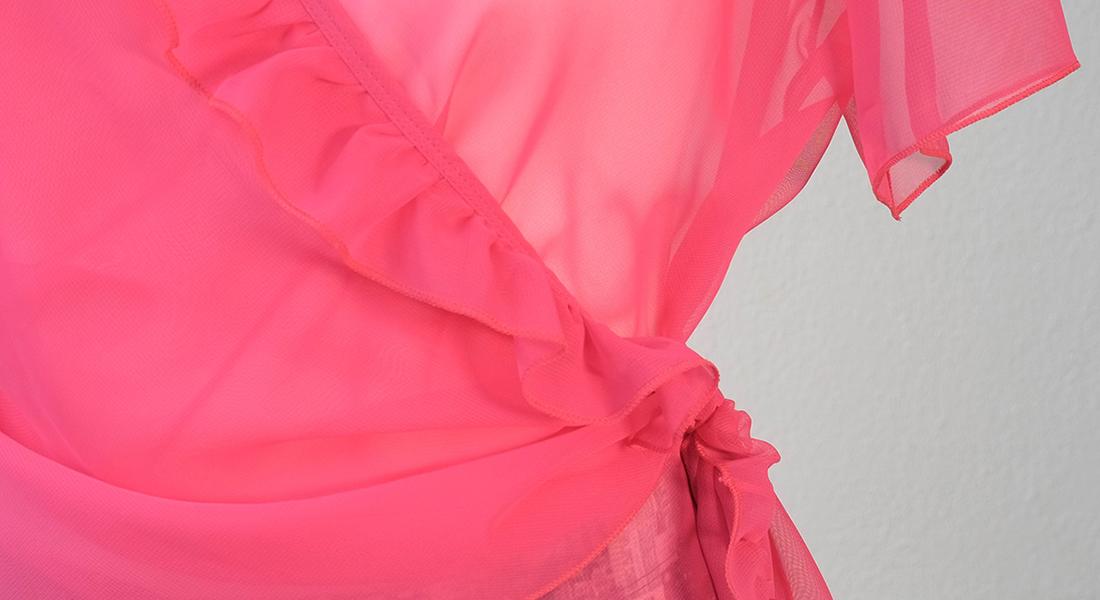
With the holidays coming up it’s a perfect time to talk about machine embroidery on velvet! I love working with velvet! I feel like it instantly elevates any project you are working with and makes the final results that much better. If you’re intimidated by sewing with velvet check out this comprehensive post “Sewing With Velvet: Tips and Tricks” by Debbie Cacciamani . My hope is that between these two posts you will be ready to work with velvet in many new and exciting ways.
Velvet may seem intimidating (I know I was scared of it), but with some understanding of the fabric and these wonderful tips and tricks you can embroider velvet with ease!
Understanding Velvet
The first step in working with velvet is understanding the fabric, this will allow us to avoid some critical mistakes. To borrow an excerpt from the Debbie Cacciamani post about sewing with velvet:
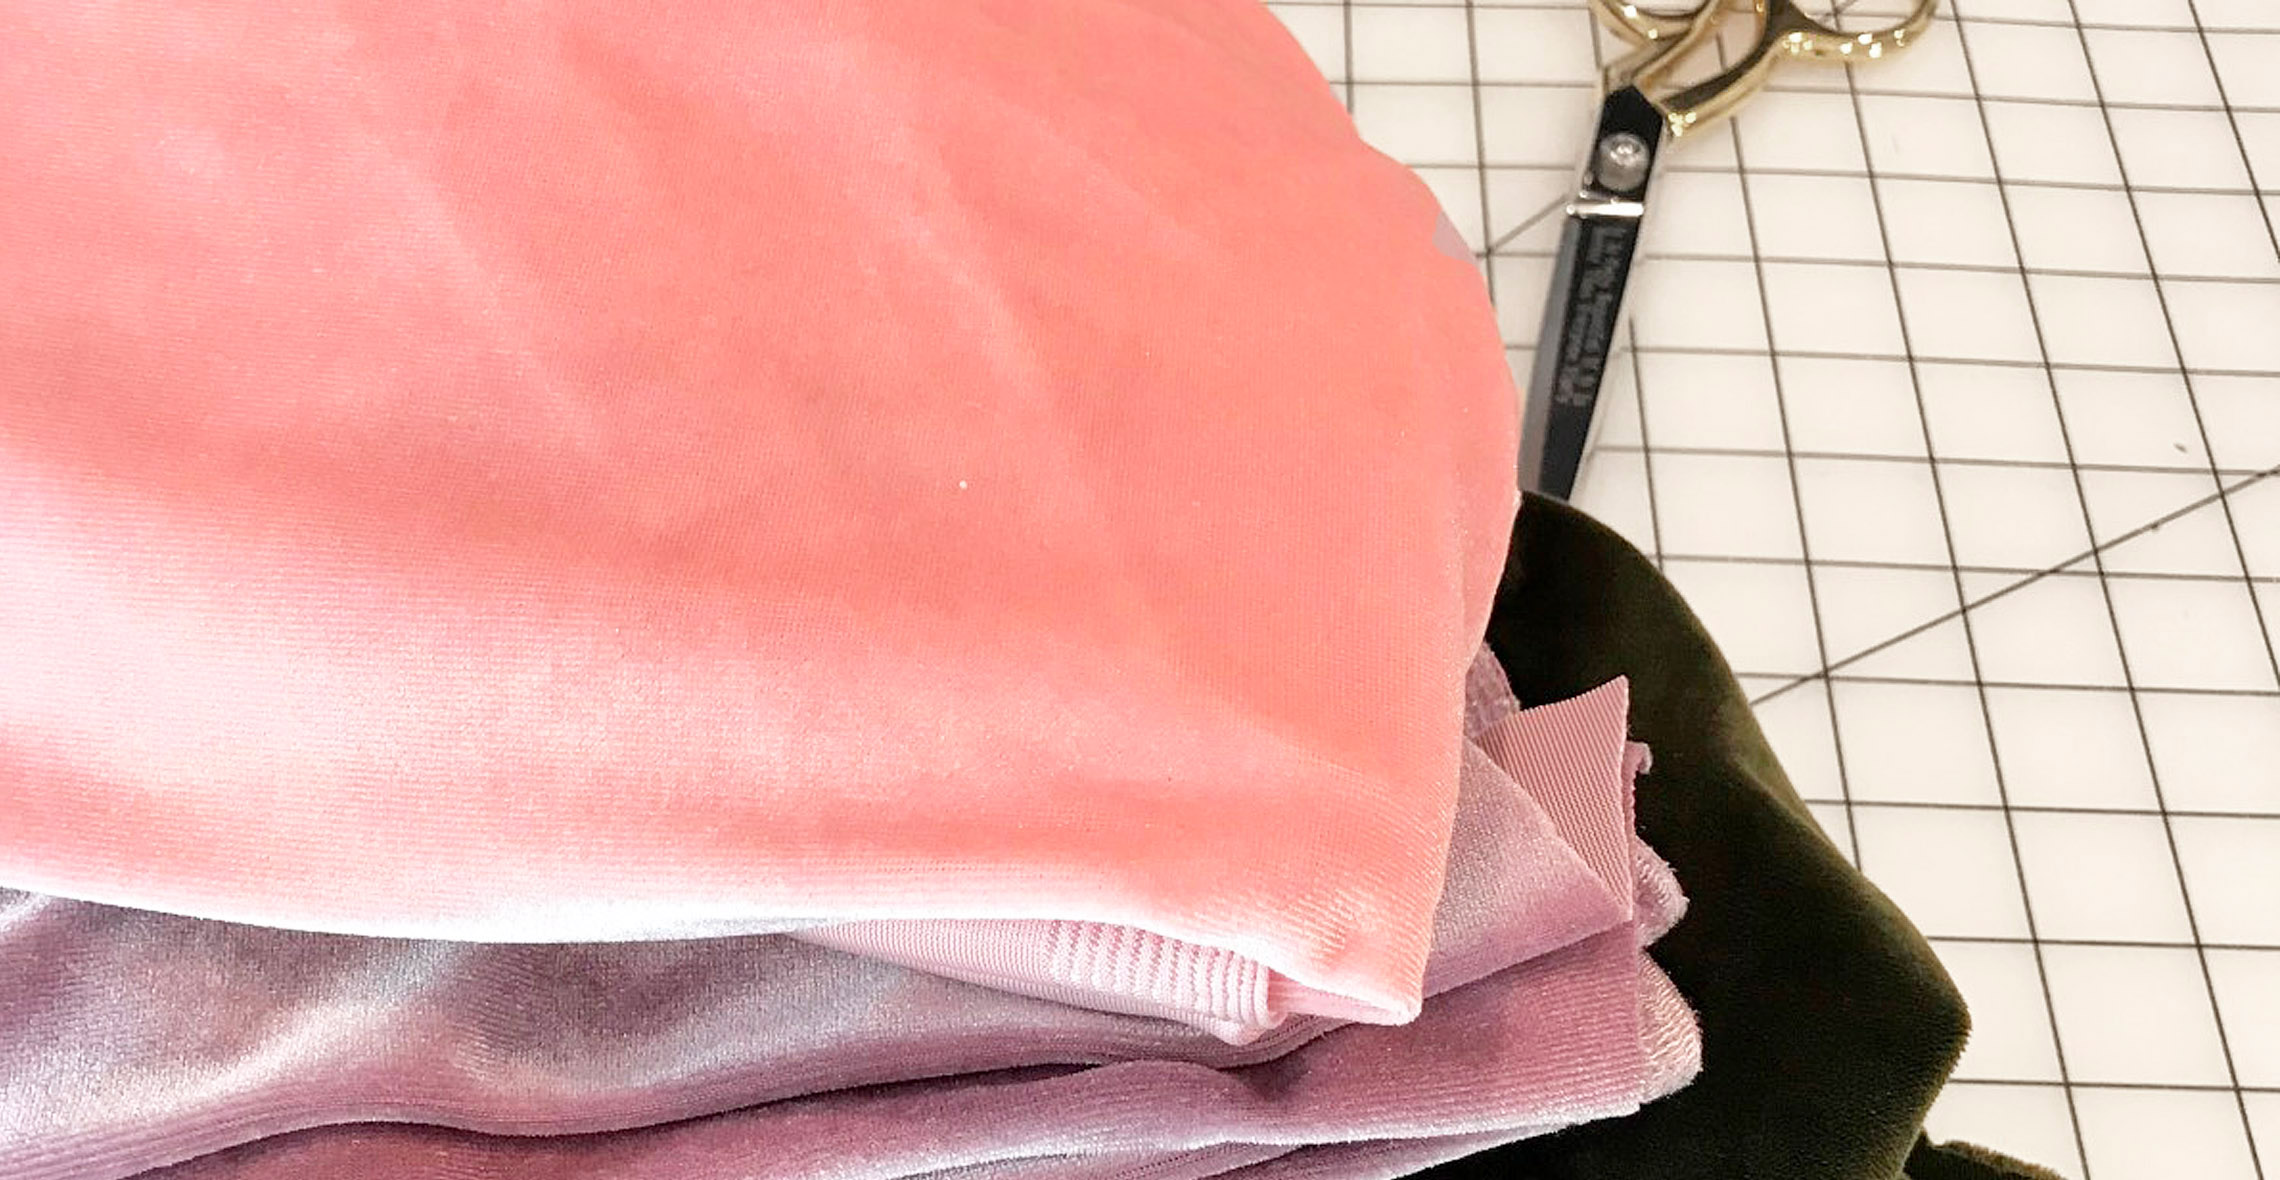
“Velvet textiles are a woven fabric originally made of silk, but can also be made of cotton, rayon, polyester, or a blend. It is woven in a way that a pile is created. If the pile is brushed up, the fabric looks darker in color. If the pile is brushed down, the fabric looks a lighter color. This is called “nap” and must be a consideration when making your project.”
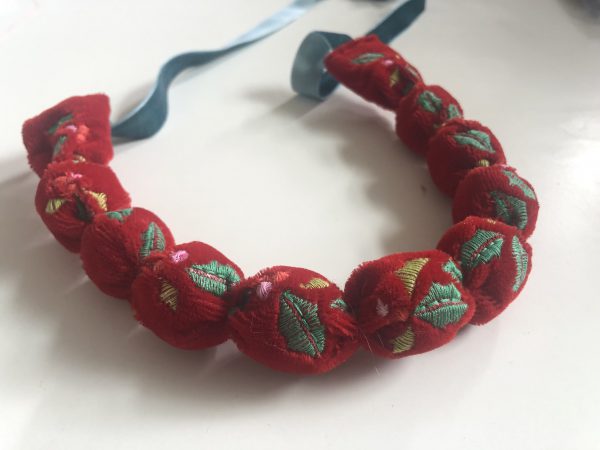
Velvet is wonderful for garments, bags, jewelry, home dec and more! Velvet adds a luxurious, upscale look to your projects and has really made it’s mark as a winter holiday material. While it can be a bit more costly of a fabric, there are many affordable ways for working with velvet.
Let’s take a look at the Sewing with Velvet Blog post again to learn a little more about the characteristics of velvet:
Fabric Characteristics of Velvet:
- Lightweight velvet has beautiful drape and flow
- Has a shimmery surface
- Requires a nap pattern layout
- The pile sheds at cut edges
- Easily marked by pins, heat, moisture
- More difficult to sew – fabric creeps, may pucker
- Edges may fray
Care and Use of Velvet:
- May need dry cleaning
- Never touch iron to velvet surface
- Use a steamer to release wrinkles
- Perfect for projects from garments to upholstery
- Store velvet rolled, not folded
When we are considering velvet for an embroidery project the three most important things we need to take into account are:
- Velvet has a nap or pile
- This tells us we will need a topper on our fabric
- Easily marked by heat and moisture
- This informs the stabilizers we will use
- Cannot be folded or pinched
- This determines the method of hooping that is necessary
Before we get into these specifics let us first talk about the basics of what we will need to embroider these fabrics.
Embroidery with Velvet Basics
You’ll find the basics of machine embroidery with velvet aren’t anything out of the ordinary, but I think they’re still worth discussing briefly to help you feel more confident in your embroidery.
Thread
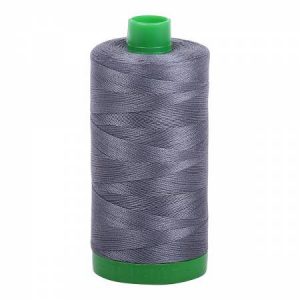
I have embroidered velvet with 40 wt cotton thread and polyester embroidery thread and have had incredible results with both on polyester velvet. I am always a fan of Isacord and Aurifil threads and always recommend them for embroidery.
Tip: Don’t be afraid to play around with thread weights and thread types on your velvet! Have fun and experiment
Needle
I have embroidered stretch velvet as well as non-stretch velvet with no issues, of course, that’s partially because I matched my needle to my fabric!
For stretch velvet, I used a ball point needle and regular velvet I used an embroidery needle.
Needle size will depend on your thread- for regular embroidery thread a size 80/12 should work perfectly!
Foot
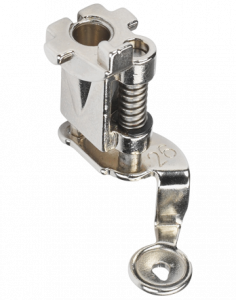
Use your standard Drop Shape Embroidery Foot #26 for velvet embroidery, this foot comes with your embroidery module.

Of course, if you wanted to use your Free-Motion Couching Foot #43 to couch on velvet, I think that would be an amazing project to try out and you should definitely send me pictures!
Tip: Buy extra velvet to practice! You will absolutely want at least one practice run the first time you work with velvet. Be sure to buy enough fabric to test out your whole setup (Stabilizers, thread, etc) before you work on your final project.
Embroidery with Velvet
We are going to focus on the three most important factors when working with velvet: Topper, Hooping and Backing Stabilizer. These three elements are the key to perfect embroidery with velvet!
Topper
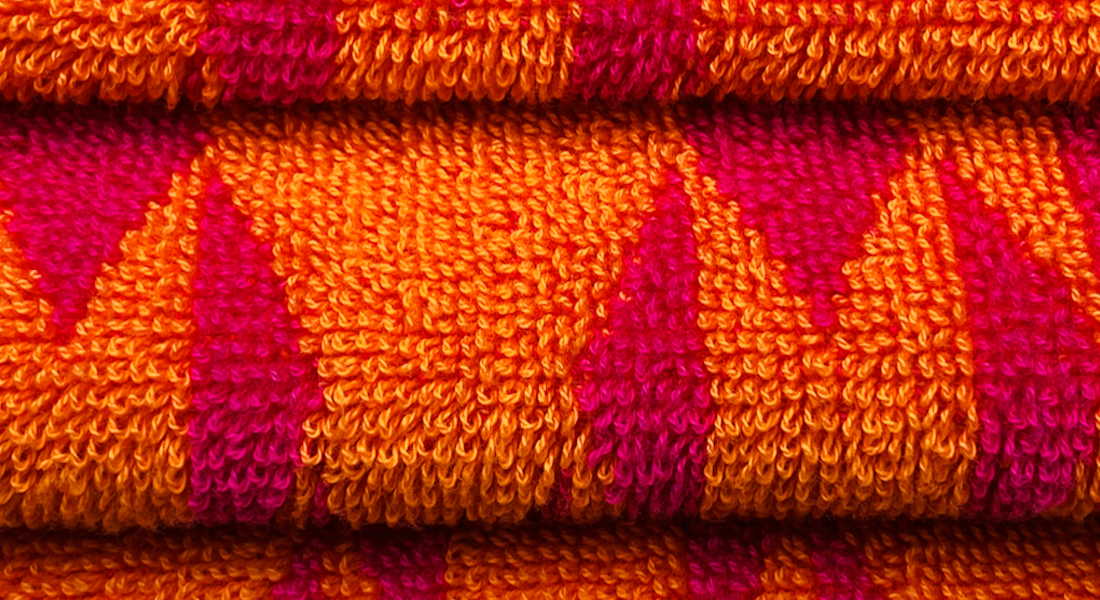
While most stabilizers go on the back of the fabric (which is why they are commonly known as backing in commercial embroidery), topper is a stabilizer that goes on top of your fabric. Topper comes in removable versions as well as permanent toppings, depending on your project needs, and it also has heat away or wash away versions. The most common need for a topper is when working with fabric that has a nap or pile like terry cloth towels, fleece, minky and, you guessed it, velvet!
What we know from the “Characteristics of Velvet” section is that velvet is easily marked by both heat and water, and we should never put an iron to our velvet. This can make choosing a topper feel like a lose-lose scenario, but it doesn’t have to be!
When working with velvet I strictly adhere to the “no irons” policy and keep in mind, at all times, the fact that water on my velvet has the potential to mark the fabric. Having said that I like to use StitcH20 WashAway over a more permanent topper like Top Cover because I like how light the StichH20 is under my stitches, but feel free to experiment with both!
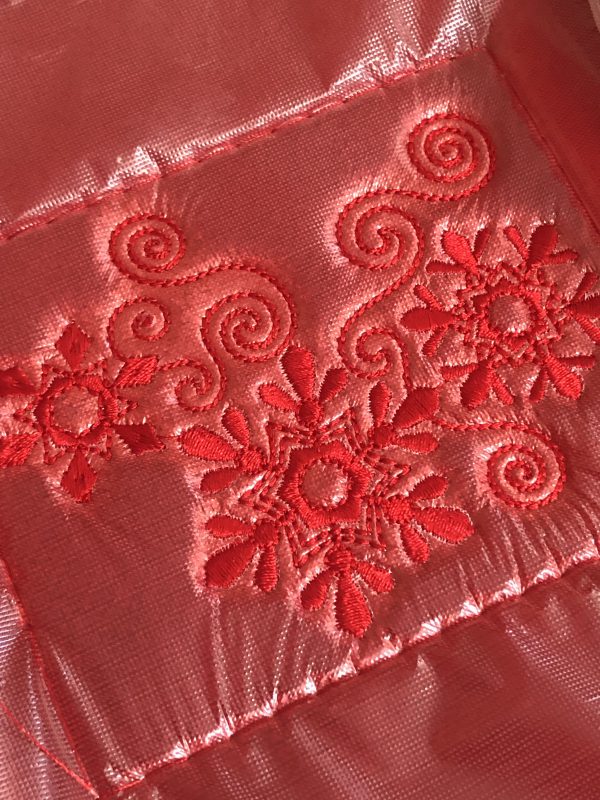
With the StitcH20 I try to remove all the stabilizer gently with tweezers and sometimes, because of the shape of your design, this is all you need to remove the topper! I’m always happy when simply tearing away the topper gets rid of all of it! There may come a day when tearing away all the topper isn’t an option, this happened to be with the snowflake design- there were too many nooks and crannies to remove all the stabilizer! In this case I had to actually get my velvet wet to remove the topper.
When rinsing topper from velvet embroidery it’s important to never touch the right side of the velvet while it’s wet- this will crush the pile and permanently mar your fabric. If you are sewing this piece of velvet into a project, which to likely are, then you can touch within the seam allowances since they will never show (I like to use 1/2 inch seam allowance when sewing with velvet since it can be a little fussy) but be careful since velvet does fray easily.
For me, I will rinse my velvet thoroughly in tepid water, cradling it in my hands under the faucet. I then lay it flat to dry on a towel overnight, only pinching the edges to hold it/move it when absolutely necessary. In the morning, if your velvet looks a little pokey that likely means you didn’t rinse enough of the starch out and it’s making the pile look a little strange; simply rinse and dry flat again.
Tip: Velvet frays and once it goes, it can start to fray very fast. Be sure to cut a piece a few inches bigger than you need to account for the fraying on the edges and be careful when handling your velvet. I like to run my velvet pieces through my L890 Overlocker before embroidery to secure the edges.
Hooping
This might be the most important tip in this whole blog post: Do not hoop your velvet in any hoop.
What I mean by this is: our velvet cannot be hooped within the inner and outer embroidery hoop, we must float our fabric.
Remember from the Characteristics of Velvet section that cannot be folded without serious risk to the fabric, same goes for pinching, squeezing or intense friction on the fabric. Hooping our velvet in a standard hooping, where the fabric and stabilizer are held between the inner and outer hoop, would cause “Hoop burn” to the velvet. Hoop burn is when your hoop damages your fabric causing an irreversible mark on your fabric in the shape of your hoop therefore ruining your material. We can easily avoid damaging our velvet with a simple floating technique!
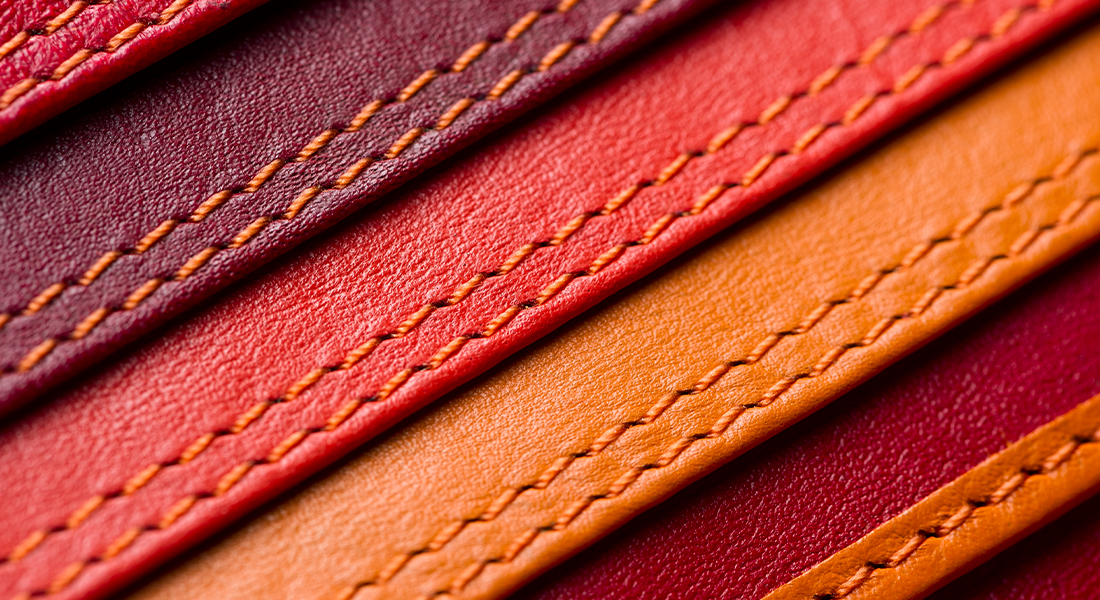
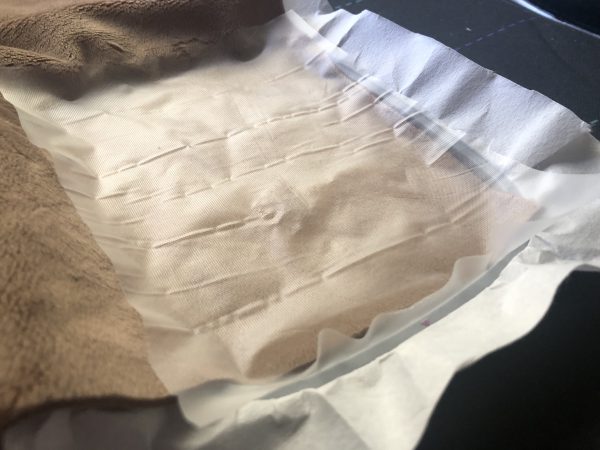
“Floating” refers to hooping the stabilizer within the inner and outer hoops then affixing the material to be embroidered to the stabilizer, so the item does not have to be between the inner and outer hoops. This method is incredibly useful for items that are too thick or bulky or too small to be hooped in the standard fashion. It’s also frequently used for specialty fabrics like Velvet, leather, vinyl, silk and cork that could be ruined by hoop burn.
People often ask if they can hoop their velvet with magnetic hoops, but I advise against it. Floating your fabric will ensure the best possible results for your velvet.
Tip: When floating items, I always use the basting box, if the material allows. Definitely use a basting box when floating your velvet. Materials I skip the basting box with are ones where the holes will not close up and will remain permanent like vinyl, cork or leather.
Stabilizers
Stabilizers can be a very personal choice, and I don’t think that gets enough merit in the discussion of them! Any one who has been embroidering for any amount of time knows the stabilizers they prefer to use and ones they tend to avoid. If you are a newbie, give it time and you too will have your own distinct opinions on stabilizers.
While tearaway or cut away could both be appropriate for embroidery with velvet, depending on your project, having a sticky stabilizer is game changer for hooping your velvet!
Since we are working with a “floating” technique a sticky stabilizer will create secure adhesion between the velvet and the stabilizer. I love OESD StabilStick CutAway and OESD StabilStick TearAway for floating my velvet fabric.
Tip: Sometimes I embroider with cut away with the express intent of leaving it in my project to keep the embroidery looking perfect and to act as a kind of interfacing for the fabric. Try it with embroidered pillows, wall hangings and bags for extra structure in your embroidered project.
I hope this blog post empowers you to try velvet embroidery for a multitude of different projects! Even if you don’t quite believe in yourself, I believe in you. I know you can work with velvet in your machine embroidery and create some amazing things.
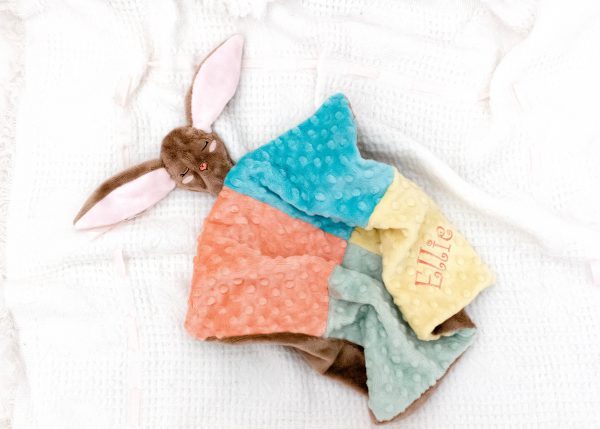
If you’re not feeling up to trying velvet quite yet you can try these other projects that will allow you to try some of these exact skills on other napped fabrics: Sew Your Own Snuffle Mat, Machine Embroidered Minky Cuddle Bunny and How to Embroider a Towel.
Can’t wait to see what you create!