Union Square Framed Quilt Block
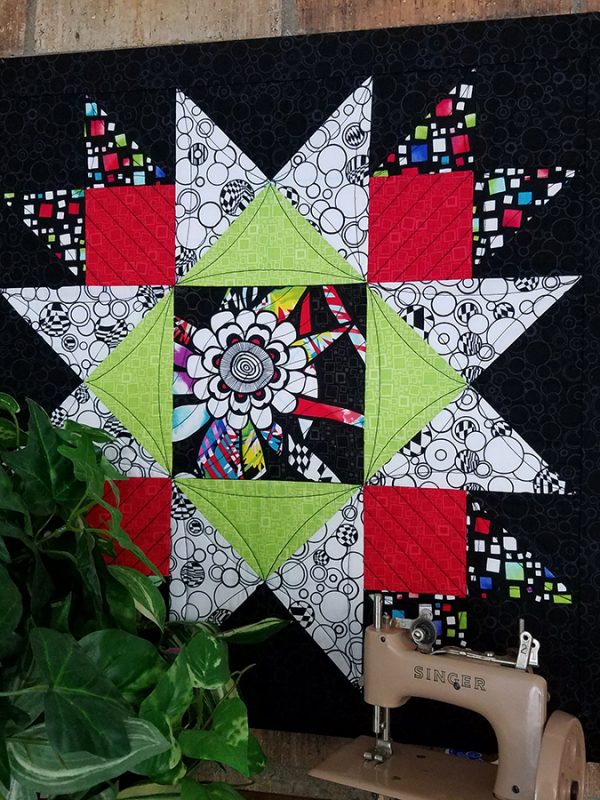
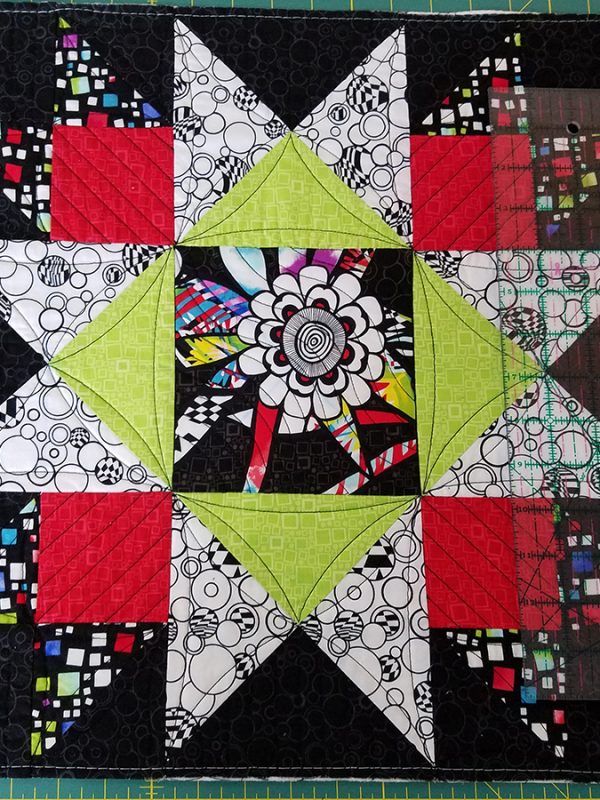
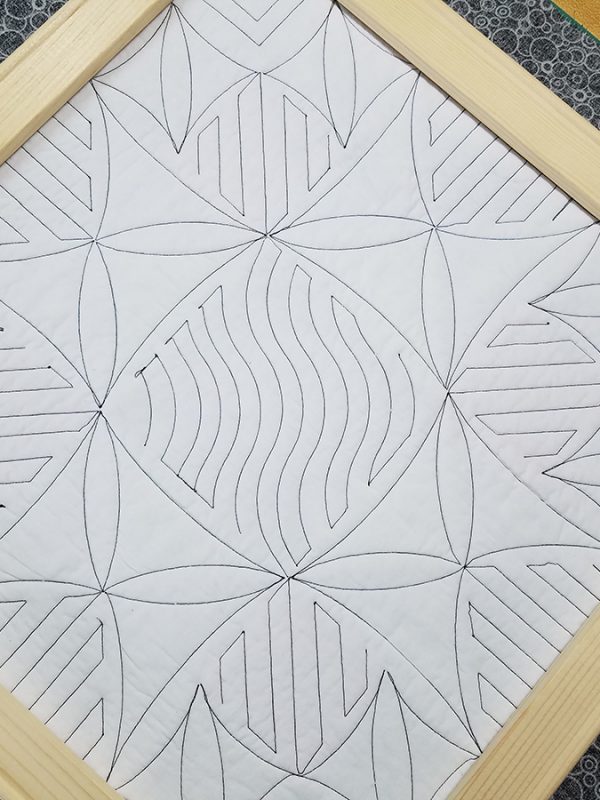
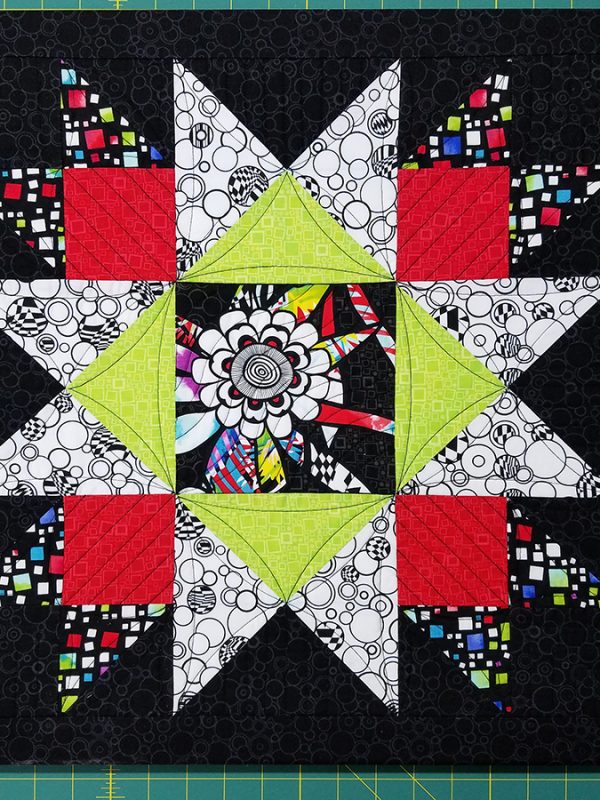
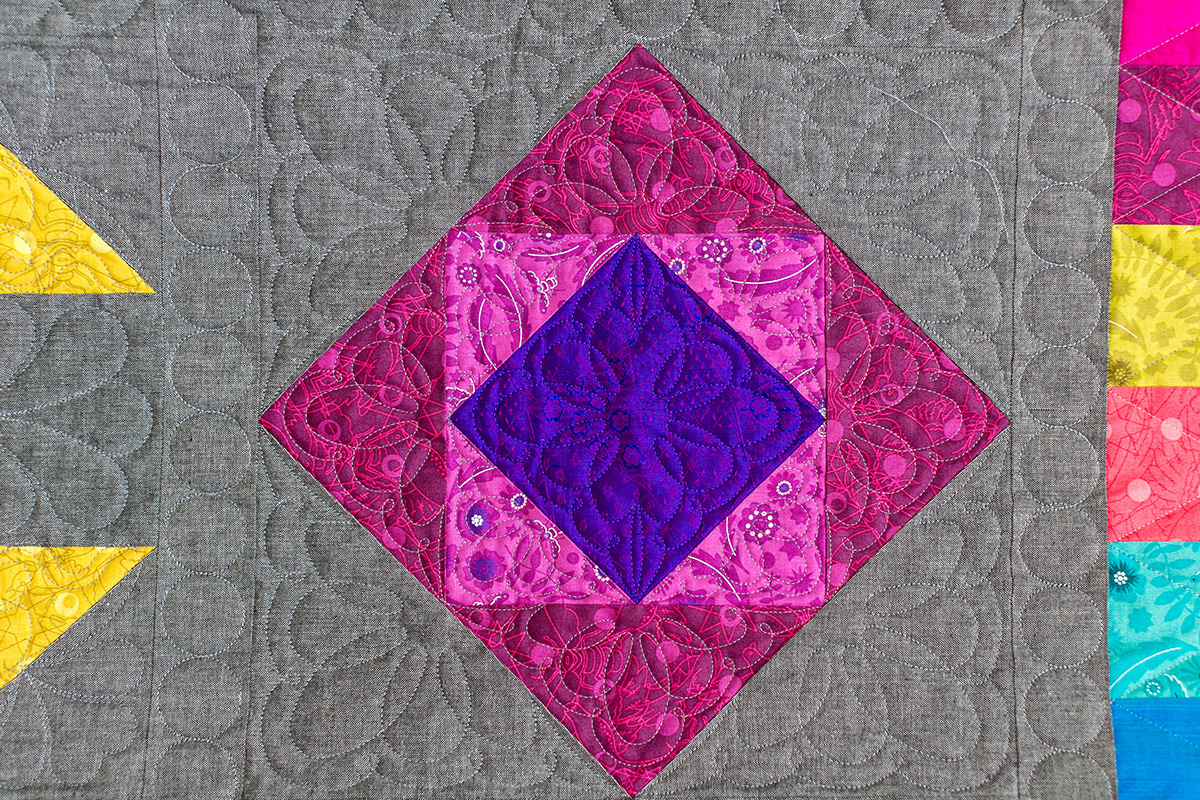
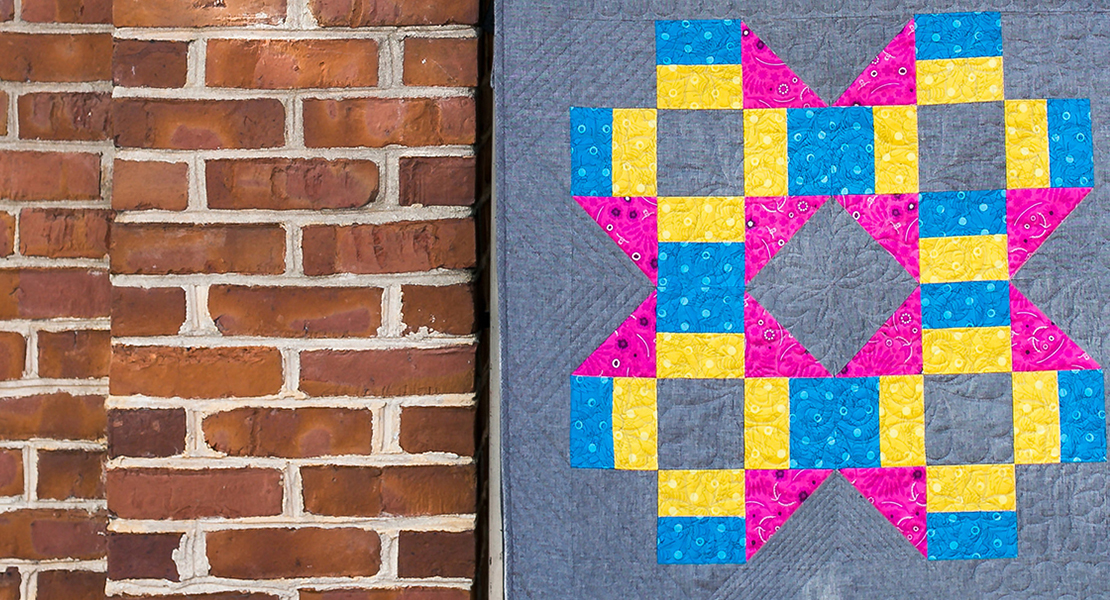
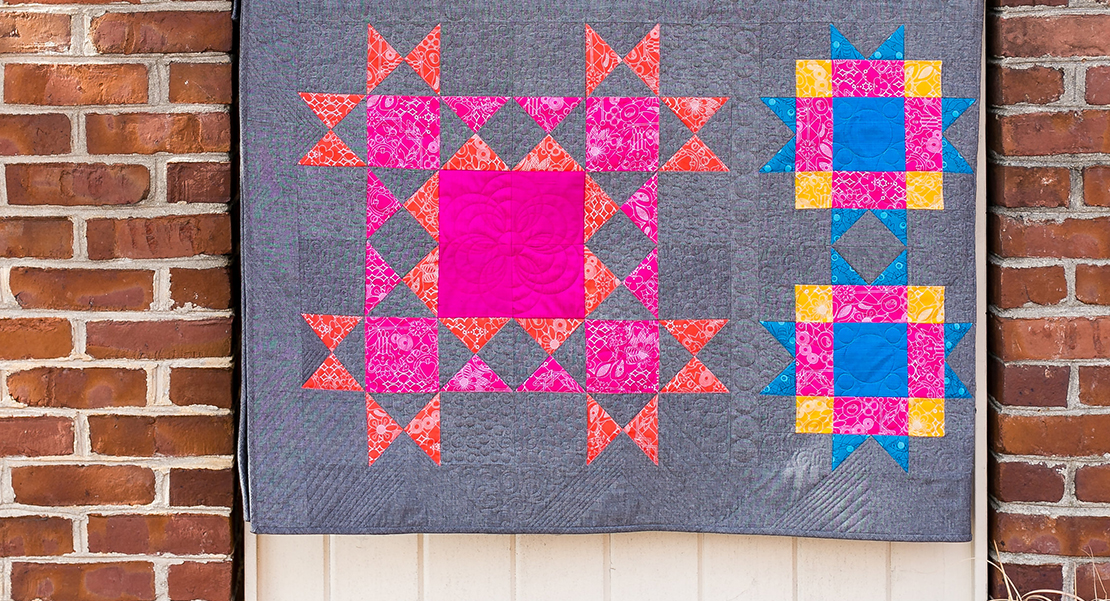
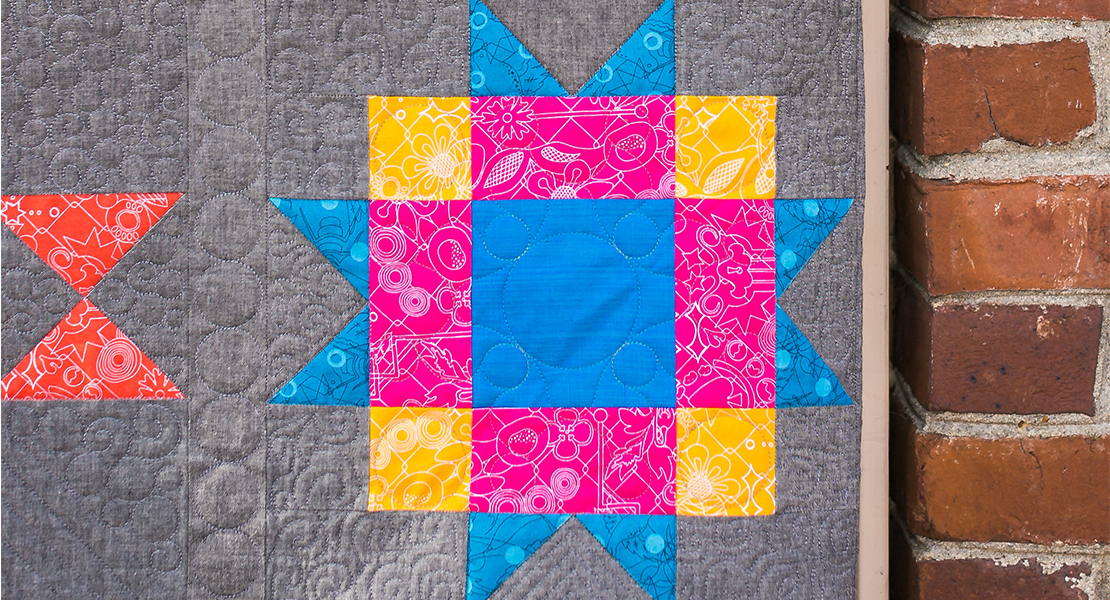
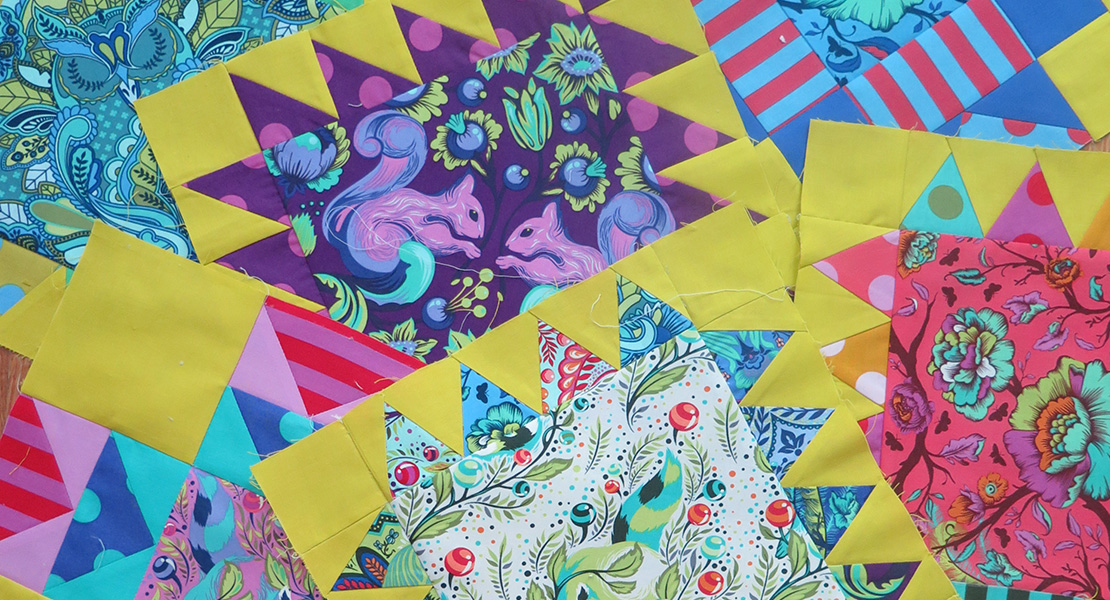
The Union Square Block was so much fun to do ruler work on. Using the RulerWork Foot made it turn out so perfectly, I thought it should be framed! After the quilting is finished, we will add borders, but without batting, and wrap this block over canvas stretchers.
Materials to Make a Union Square Framed Quilt Block
- 5 fat quarters of your choosing for the block plus 2 fat quarters for background (I used the Anything Goes fabric collection by Benartex Fabrics)
- Batting: Cut to 21″ x 21″
- Backing : Cut to 22″ x 22″
- Borders:
- Cut 4 – 4″ x 4″ corner stone squares
- Cut 4 – 4″ x 22″ strips (these will be cut to length later)
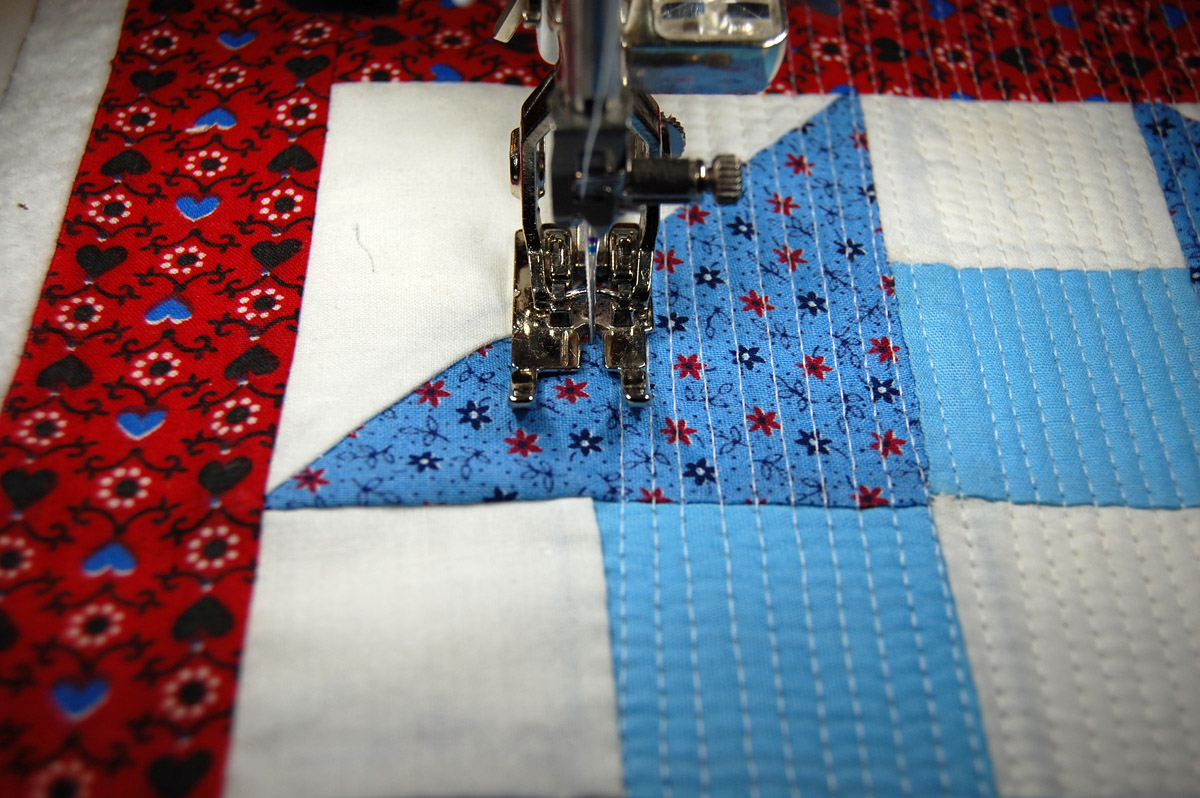
- Patchwork Foot #37/37D
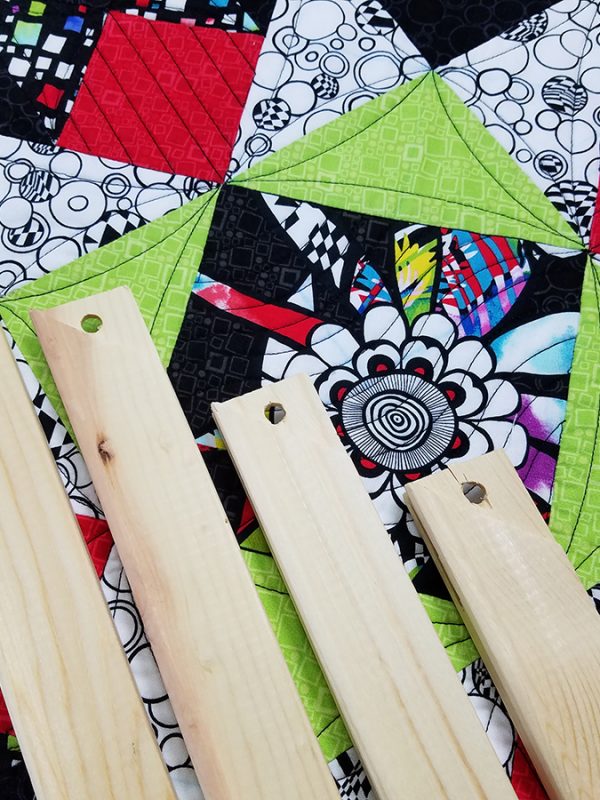
- 4 – 20 inch canvas stretchers
- One sheet poster board
- Glue (I used Aleene’s Original Tacky Glue, but wood glue will also work)
- Staple gun
Create the Union Square Framed Quilt Block
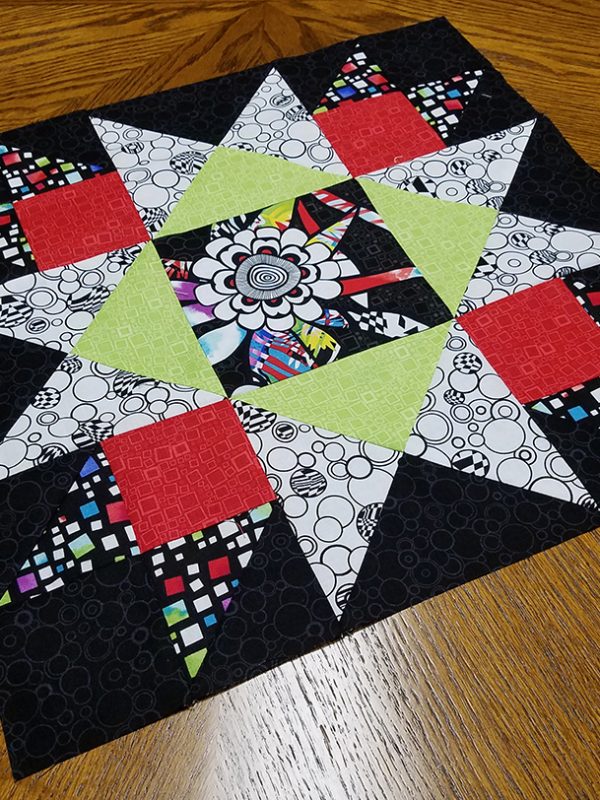
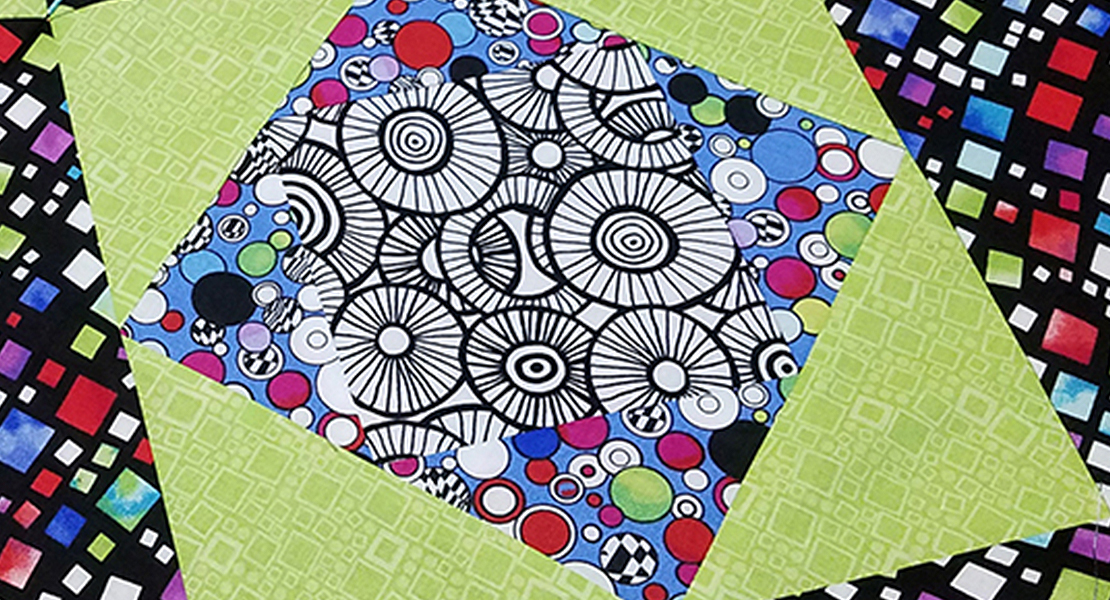
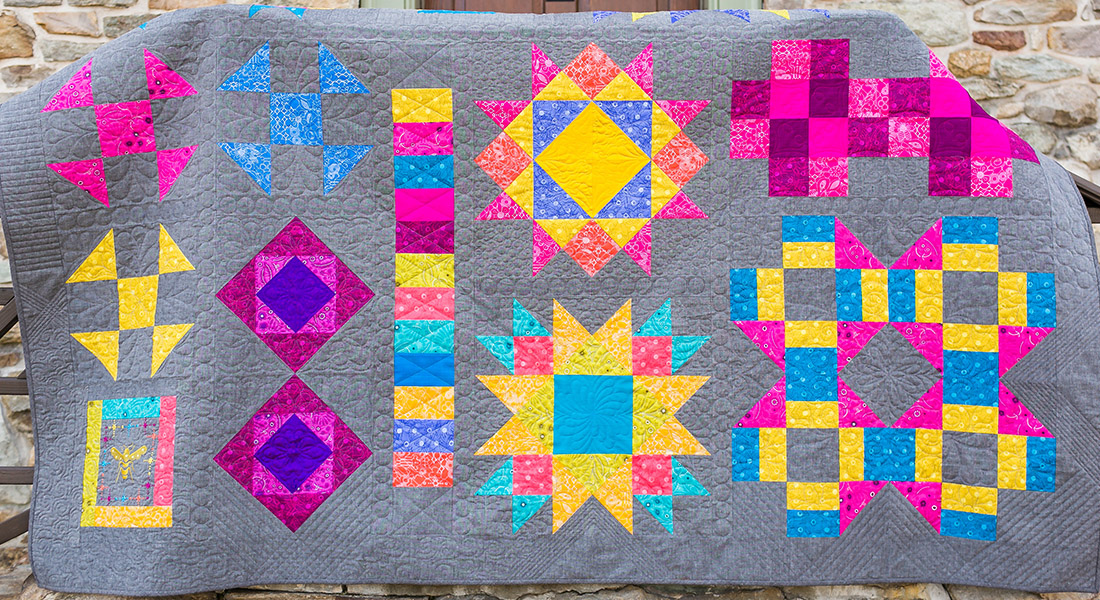
Piece together the Framed Union Square Block follow the instructions from the BERNINA Block of the Month.
Make a quilt sandwich by layering the backing right side down, the batting, and then the quilt top right side up.
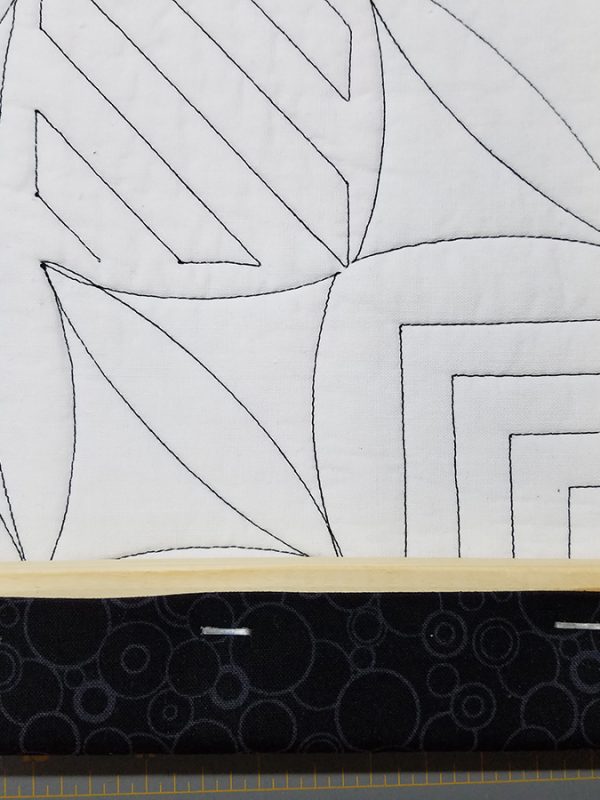
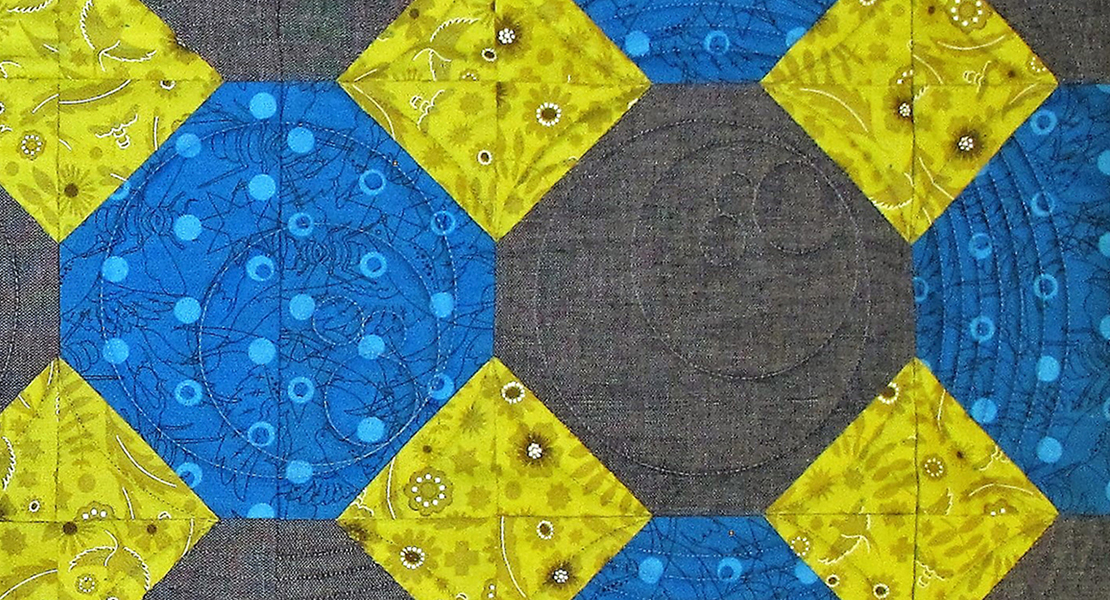
I quilted the block using rulers. For more information on using the new rulers, refer to the quilting lesson instructions from Nina’s Magic Circle Block.
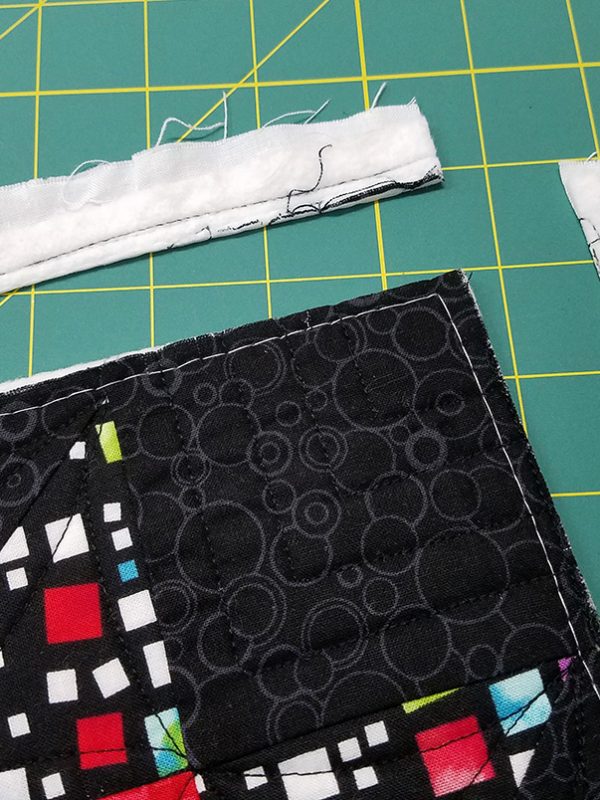
Trim and square up the block after you have quilted it.
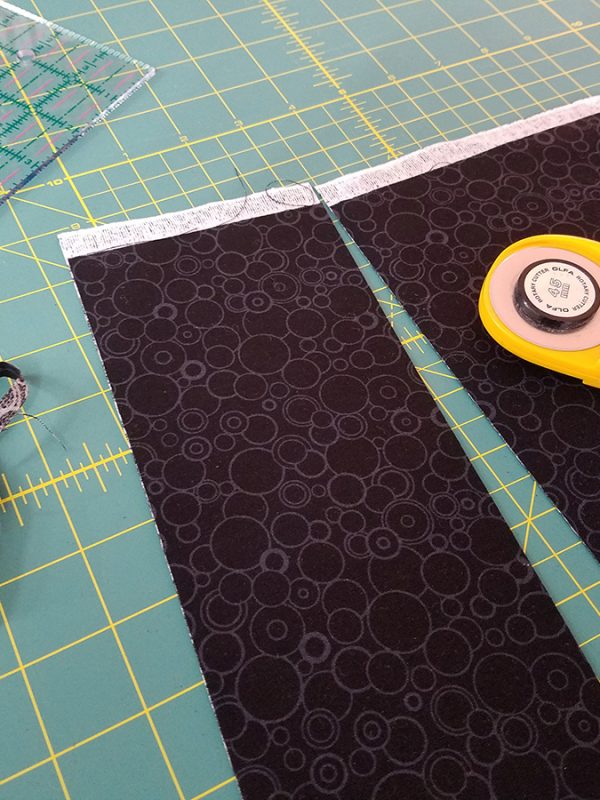
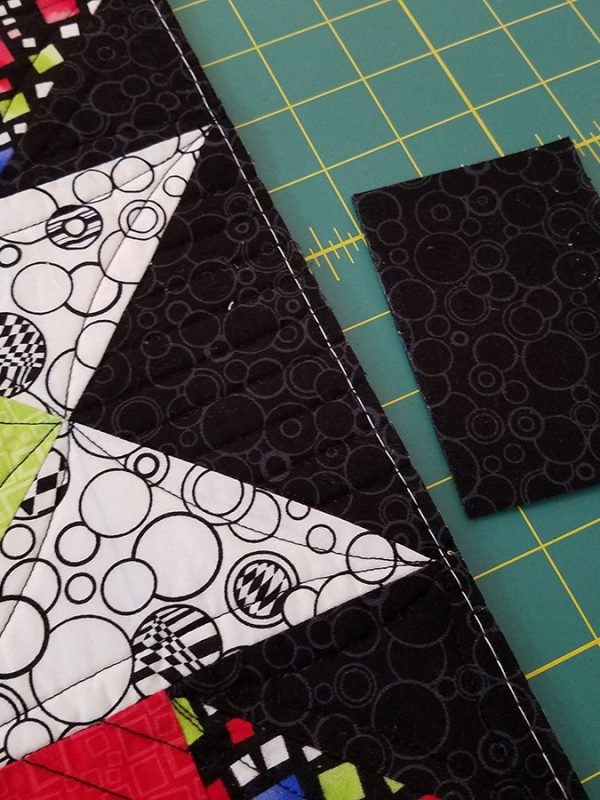
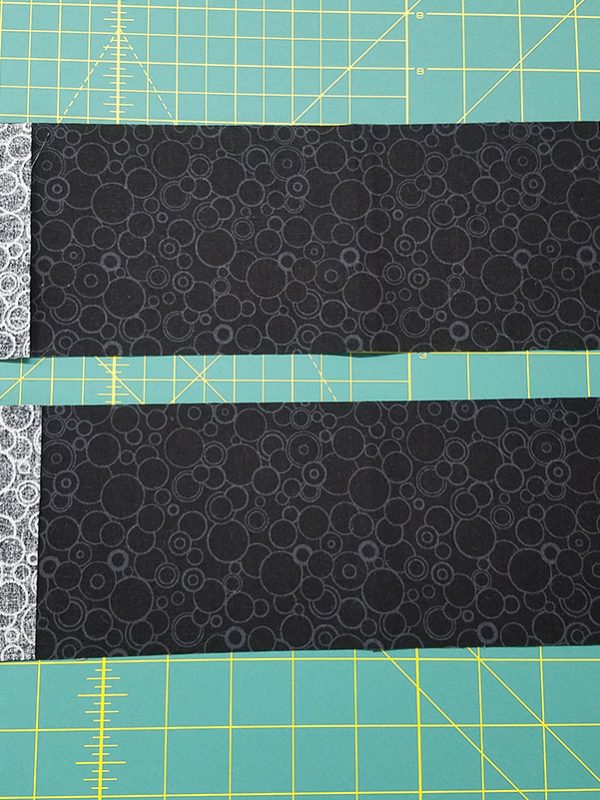
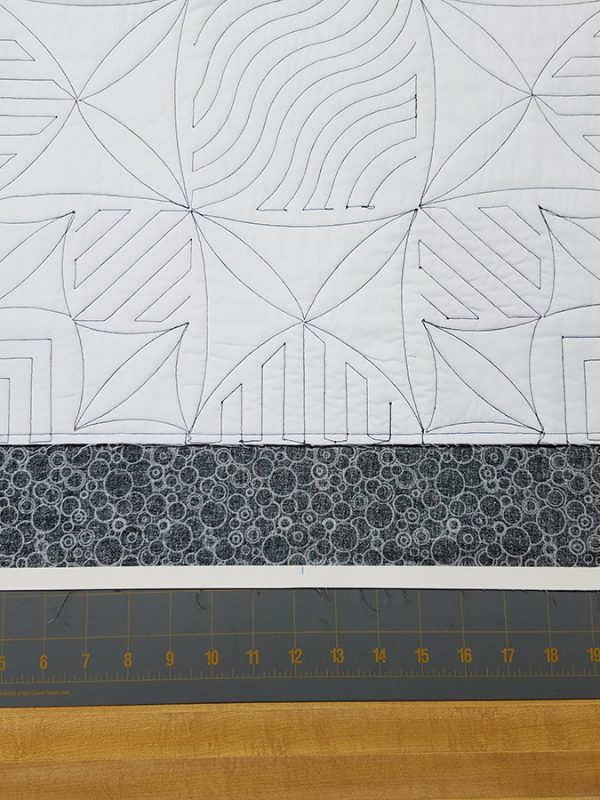
After cutting the four 4” x 22” border pieces, stack all four strips on top of each other.
Place the stack under the center of the finished block so that the ends of the strips extend on each side of the block.
Trim the extra lengths of the stacked strips from each side of the block. Trimming them this way will help to ensure that your block stays square as the border is stitched to the block.
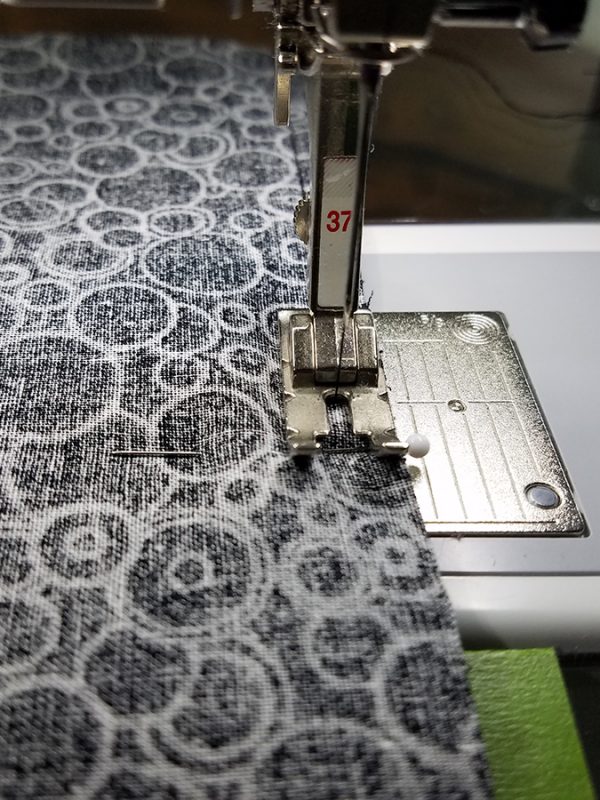
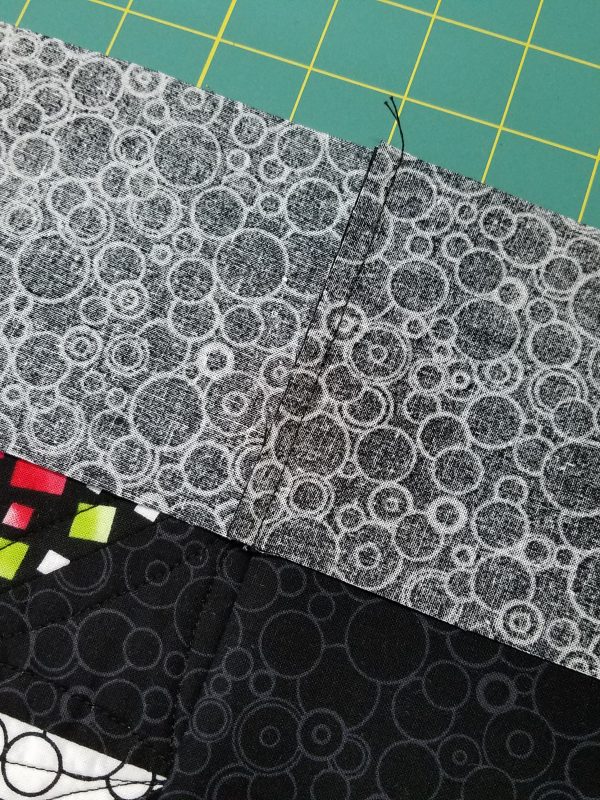
Using two of the border pieces, stitch to two opposite sides of the block using a quarter inch seam allowance with Patchwork Foot #37/37D. (There will be no batting on these borders. This will make it easier and neater to fold around the corners of the canvas stretcher frame.)
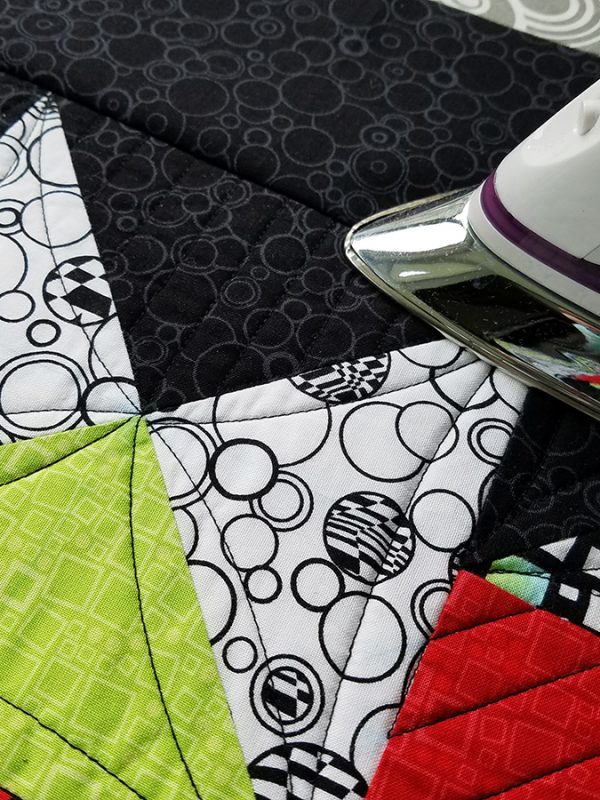
Fold the border out and press the seam allowance toward the border.
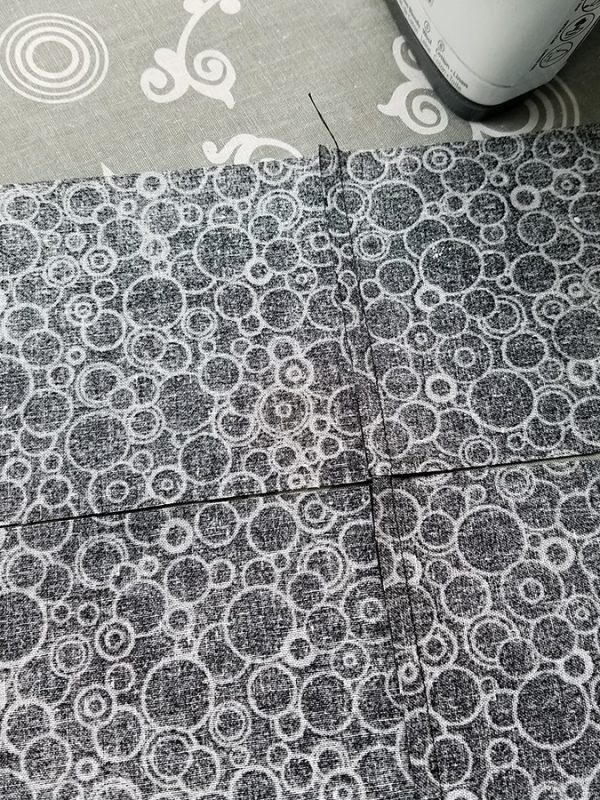
Stitch the four corner stone squares to each end of the remaining two border pieces.
Stitch with a quarter inch seam allowance. Press seam allowance away from the corner blocks toward the border fabric.
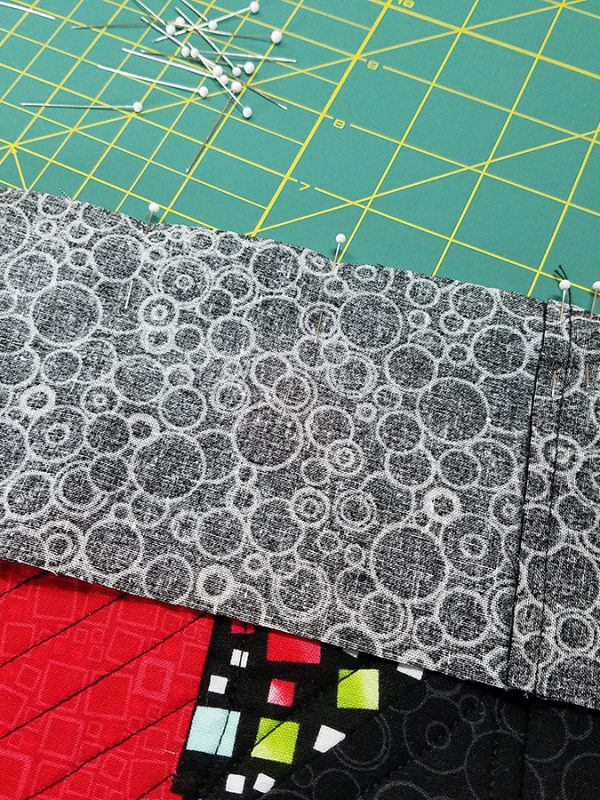
Place these two border pieces to the remaining two sides of the block matching the seams and pin in place.
Fold border out and press so that the seam allowance is toward the border.
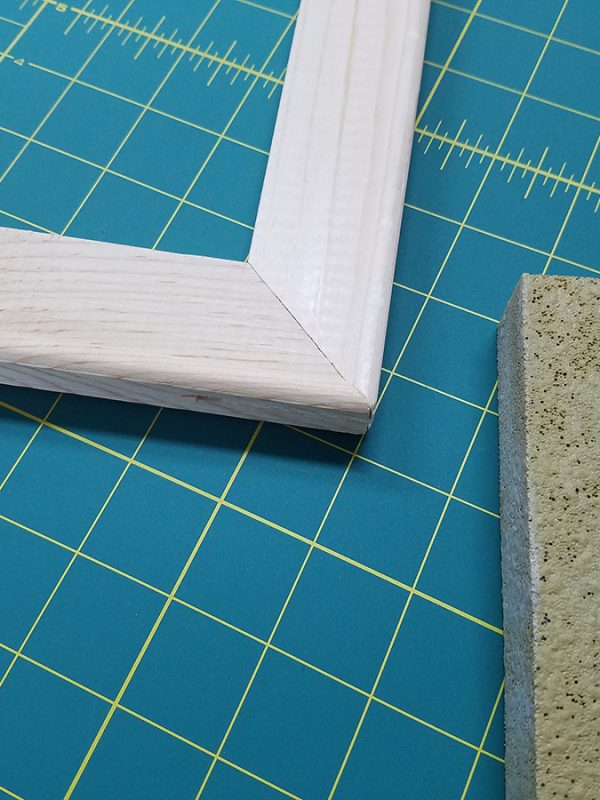
Assemble the four canvas stretchers together. Use a bit of glue to help hold the stretchers in place to form the frame. Let dry.
If the edges are rough, use a sanding block to smooth things out. I found the corners on my frames a little sharp, so I also sanded them to round them up a little.
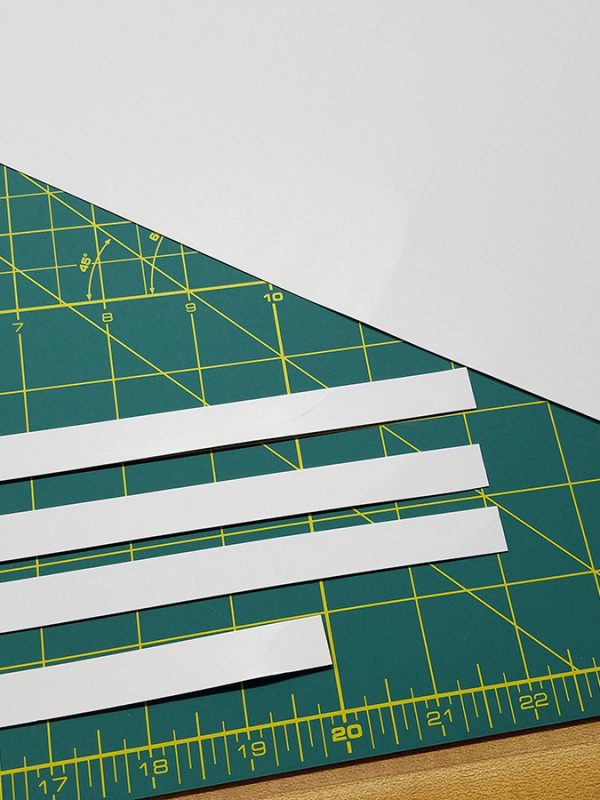
Cut the poster board into four ½” x 19 ½” strips. (The poster board strips will add support to the fabric as it is stapled in place later.)
Mark a center dot 9 ¾” from each end of the poster board strips. Find the center of each side of the borders (fold in half and mark). Align the center marks of the poster board and the center of the border, and glue the strip in place at the lower edge of the border. Repeat for all four sides. Allow time for the glue to dry.
Center the frame over the back of the block.
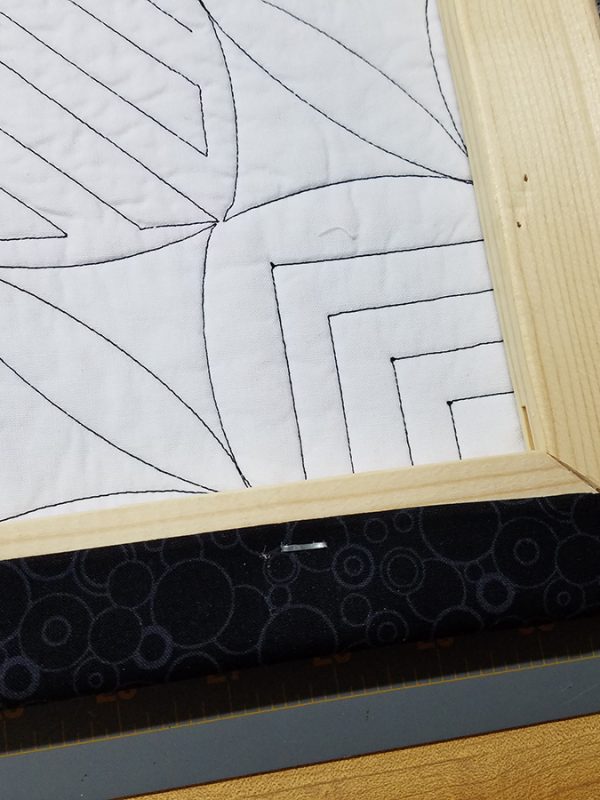
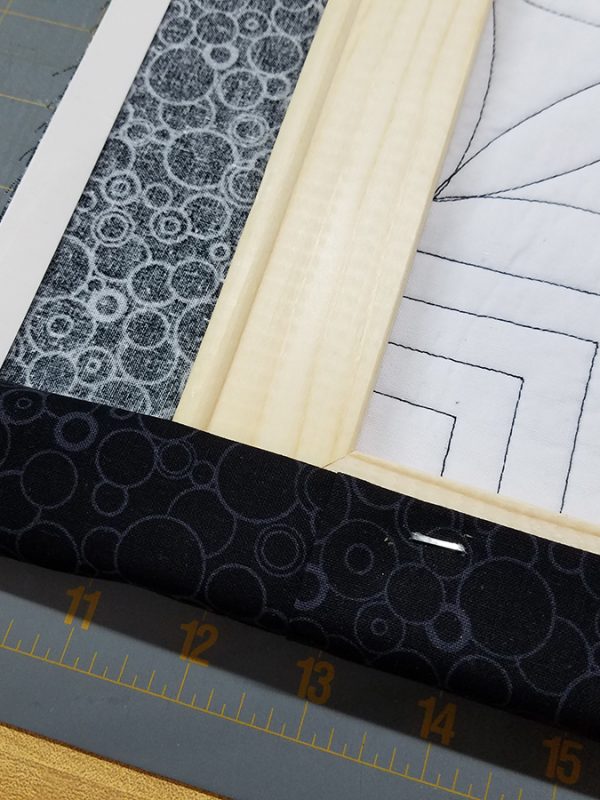
Fold the glued poster board strip over to the back of frame. Staple the fabric in place on one side. On the opposite side, repeat the process pulling just a little as you staple in place.
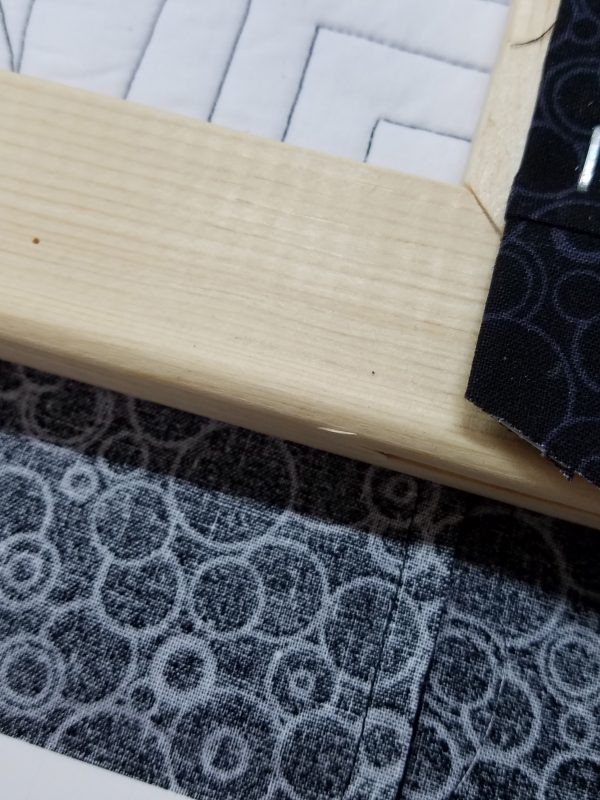
Trim part of the fabric away as in picture below. The part with the poster board glued to it will need a soft angle so that the corner will be smoother when you fold it up.
Repeat the process as you fold the strips on the two remaining sides over the back of frame and staple in place.
Congratulations, you are finished! I loved creating this project, and hope that you enjoy it also!
What you might also like
2 comments on “Union Square Framed Quilt Block”
-
-
Hi Carol,
It was a pleasure to have you and Tony in our class and I so glad you are going to start with this project. It was one of my favorite. We look forward to having you both in the Q-matic class. Happy quilting and see you soon.
Denise
-
Leave a Reply
You must be logged in to post a comment.






Denise,
Tony and I are just home from Bernina Creative Center Q24 class with you and Nina. I just want to thank you for excellent instruction and infinite patience! I’m looking forward to applying my new skills and will start with this project.
Fingers crossed, we will be back for the QMatic class when the wait list opens up and we wait our turn.
Carol Eberhardt