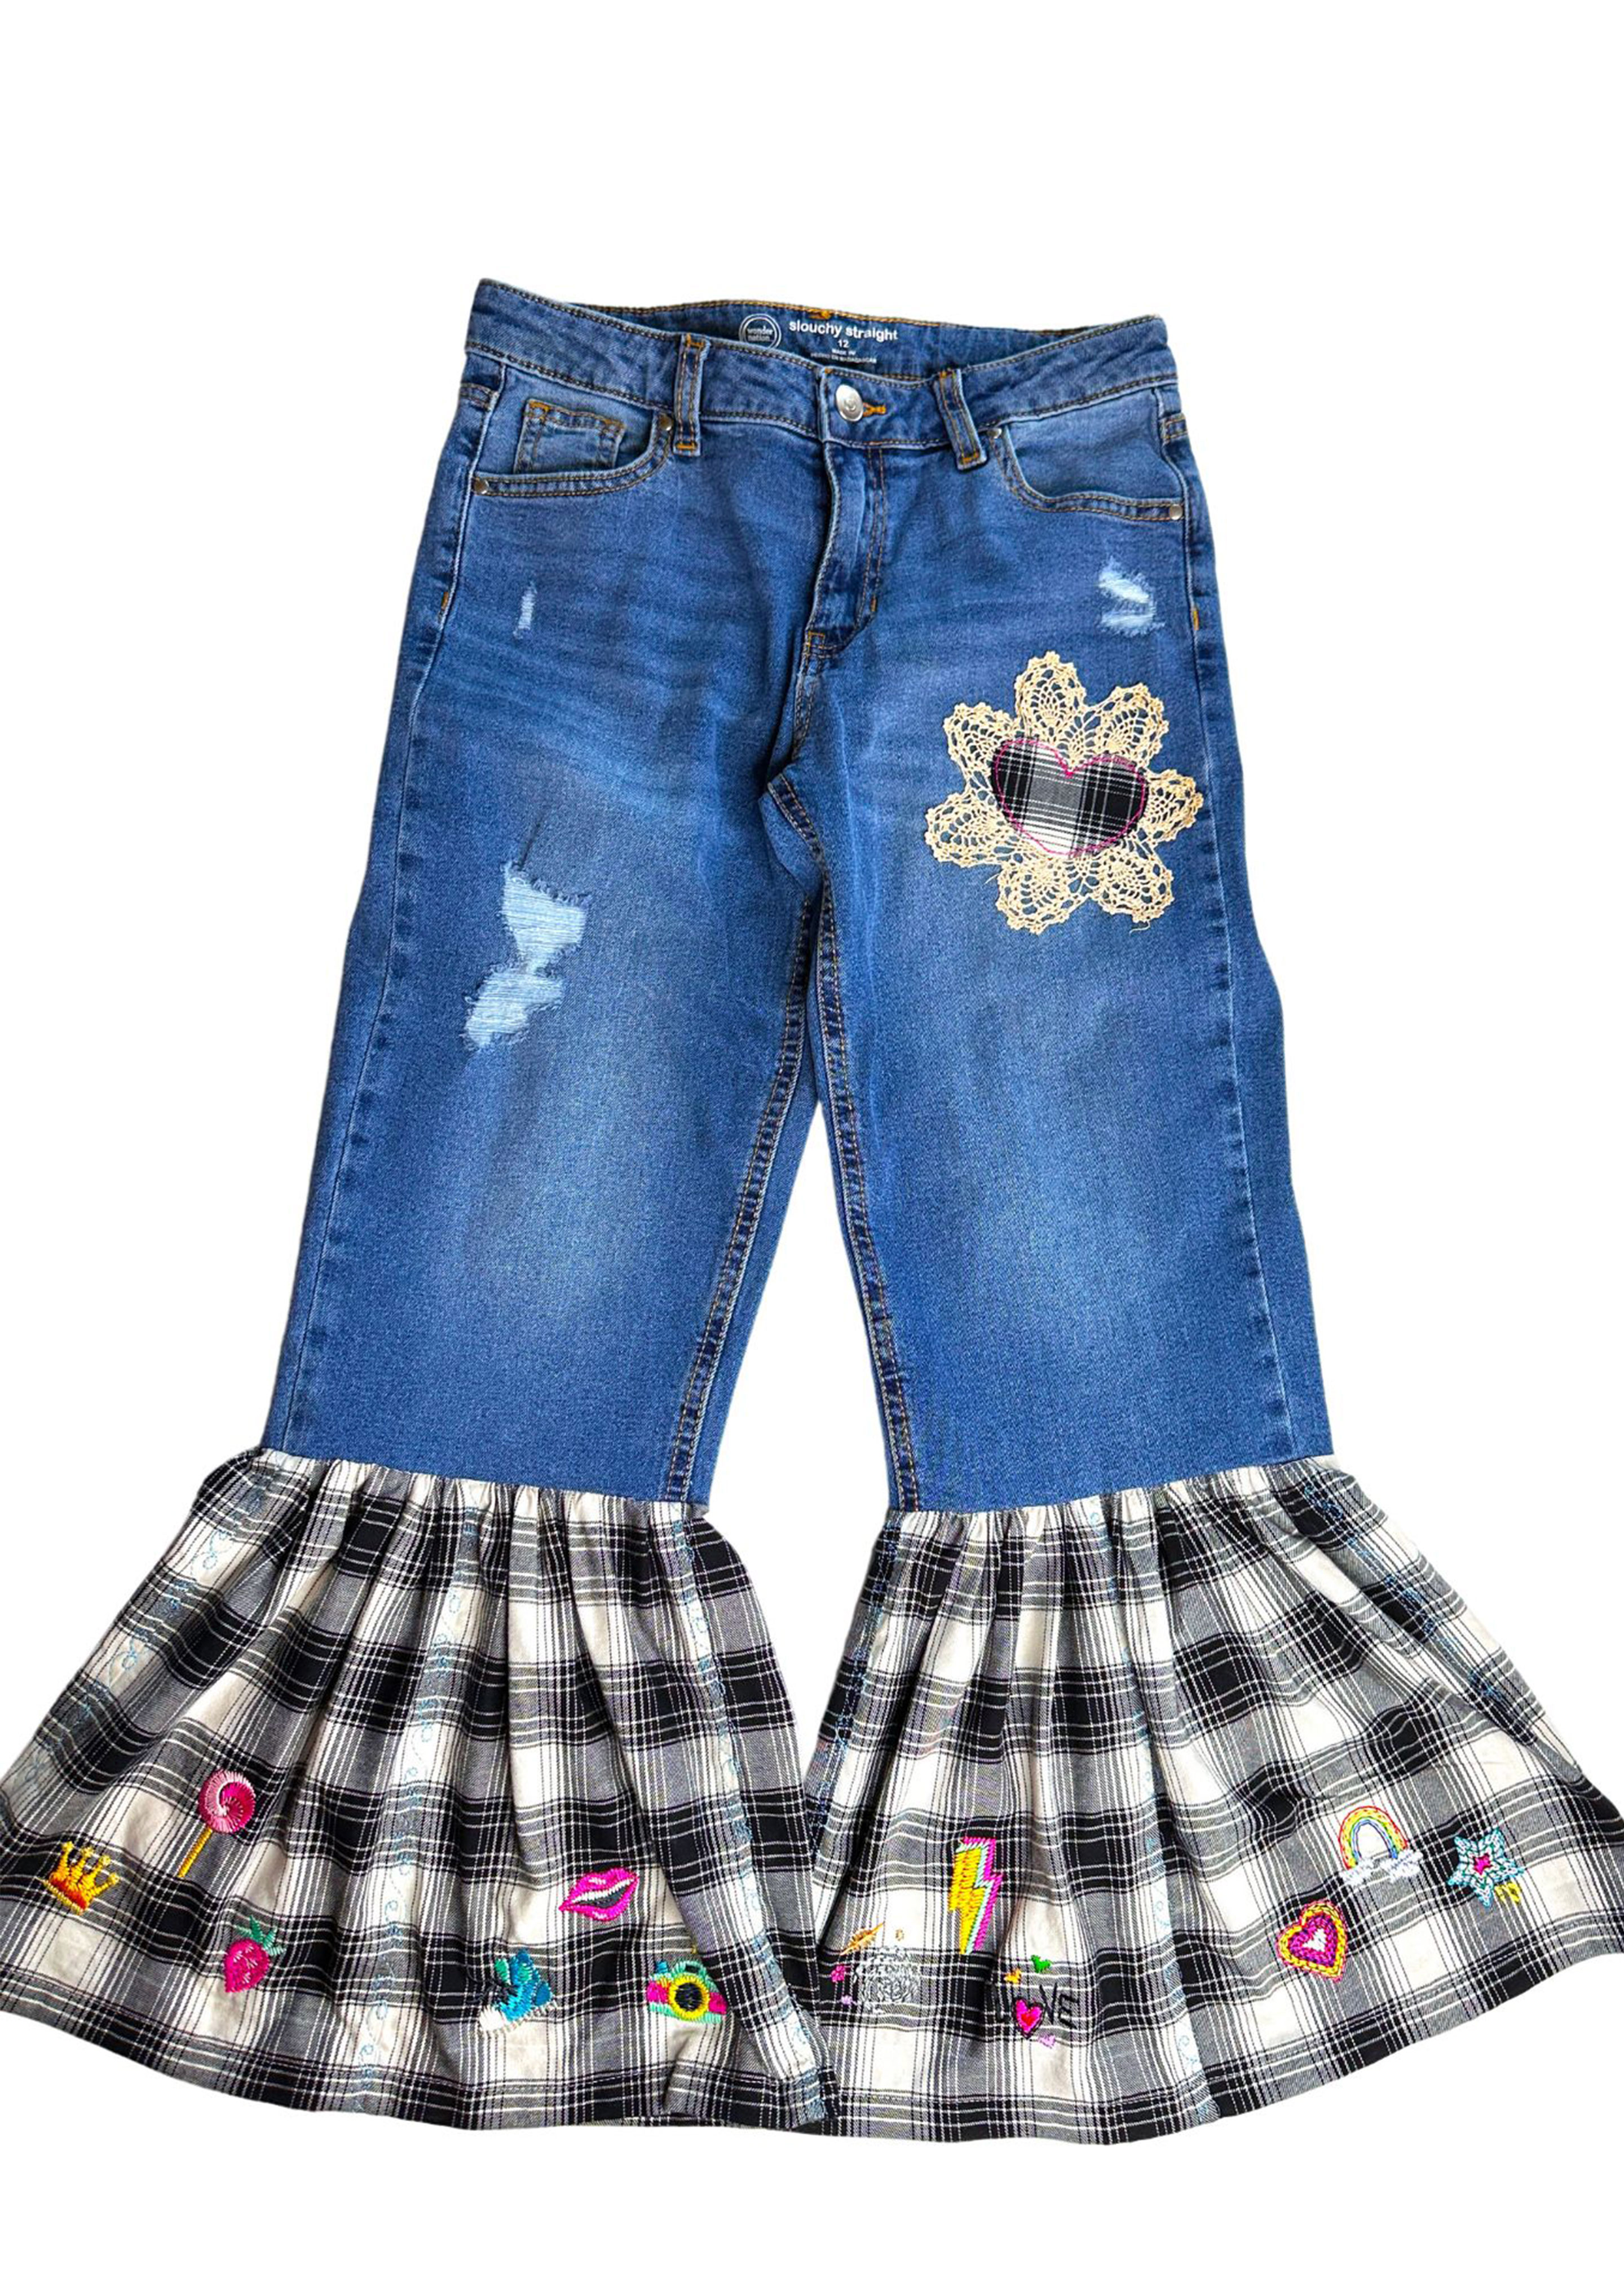
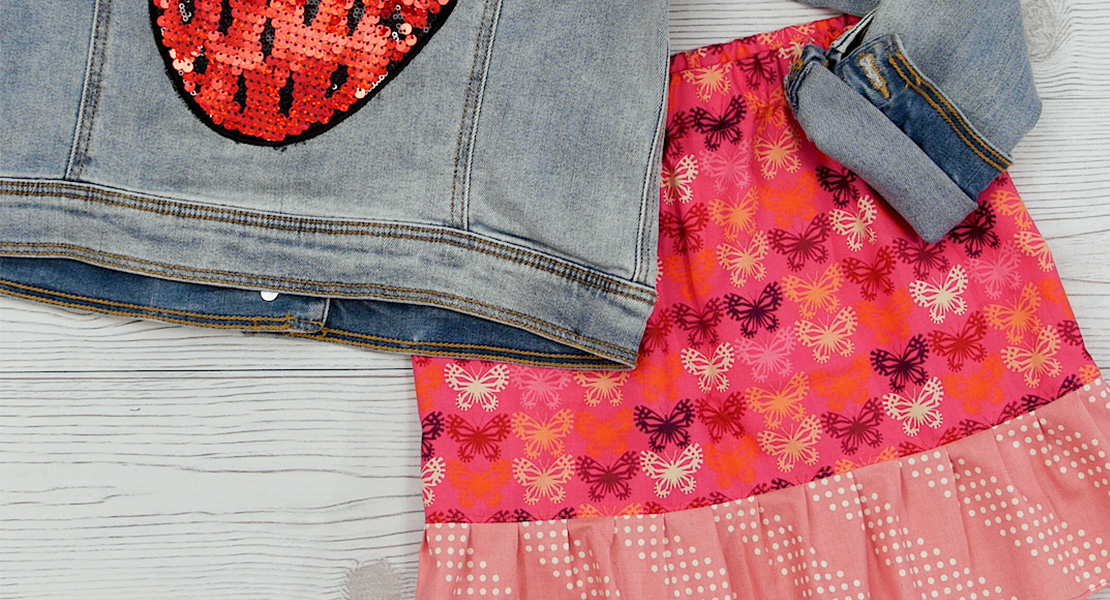
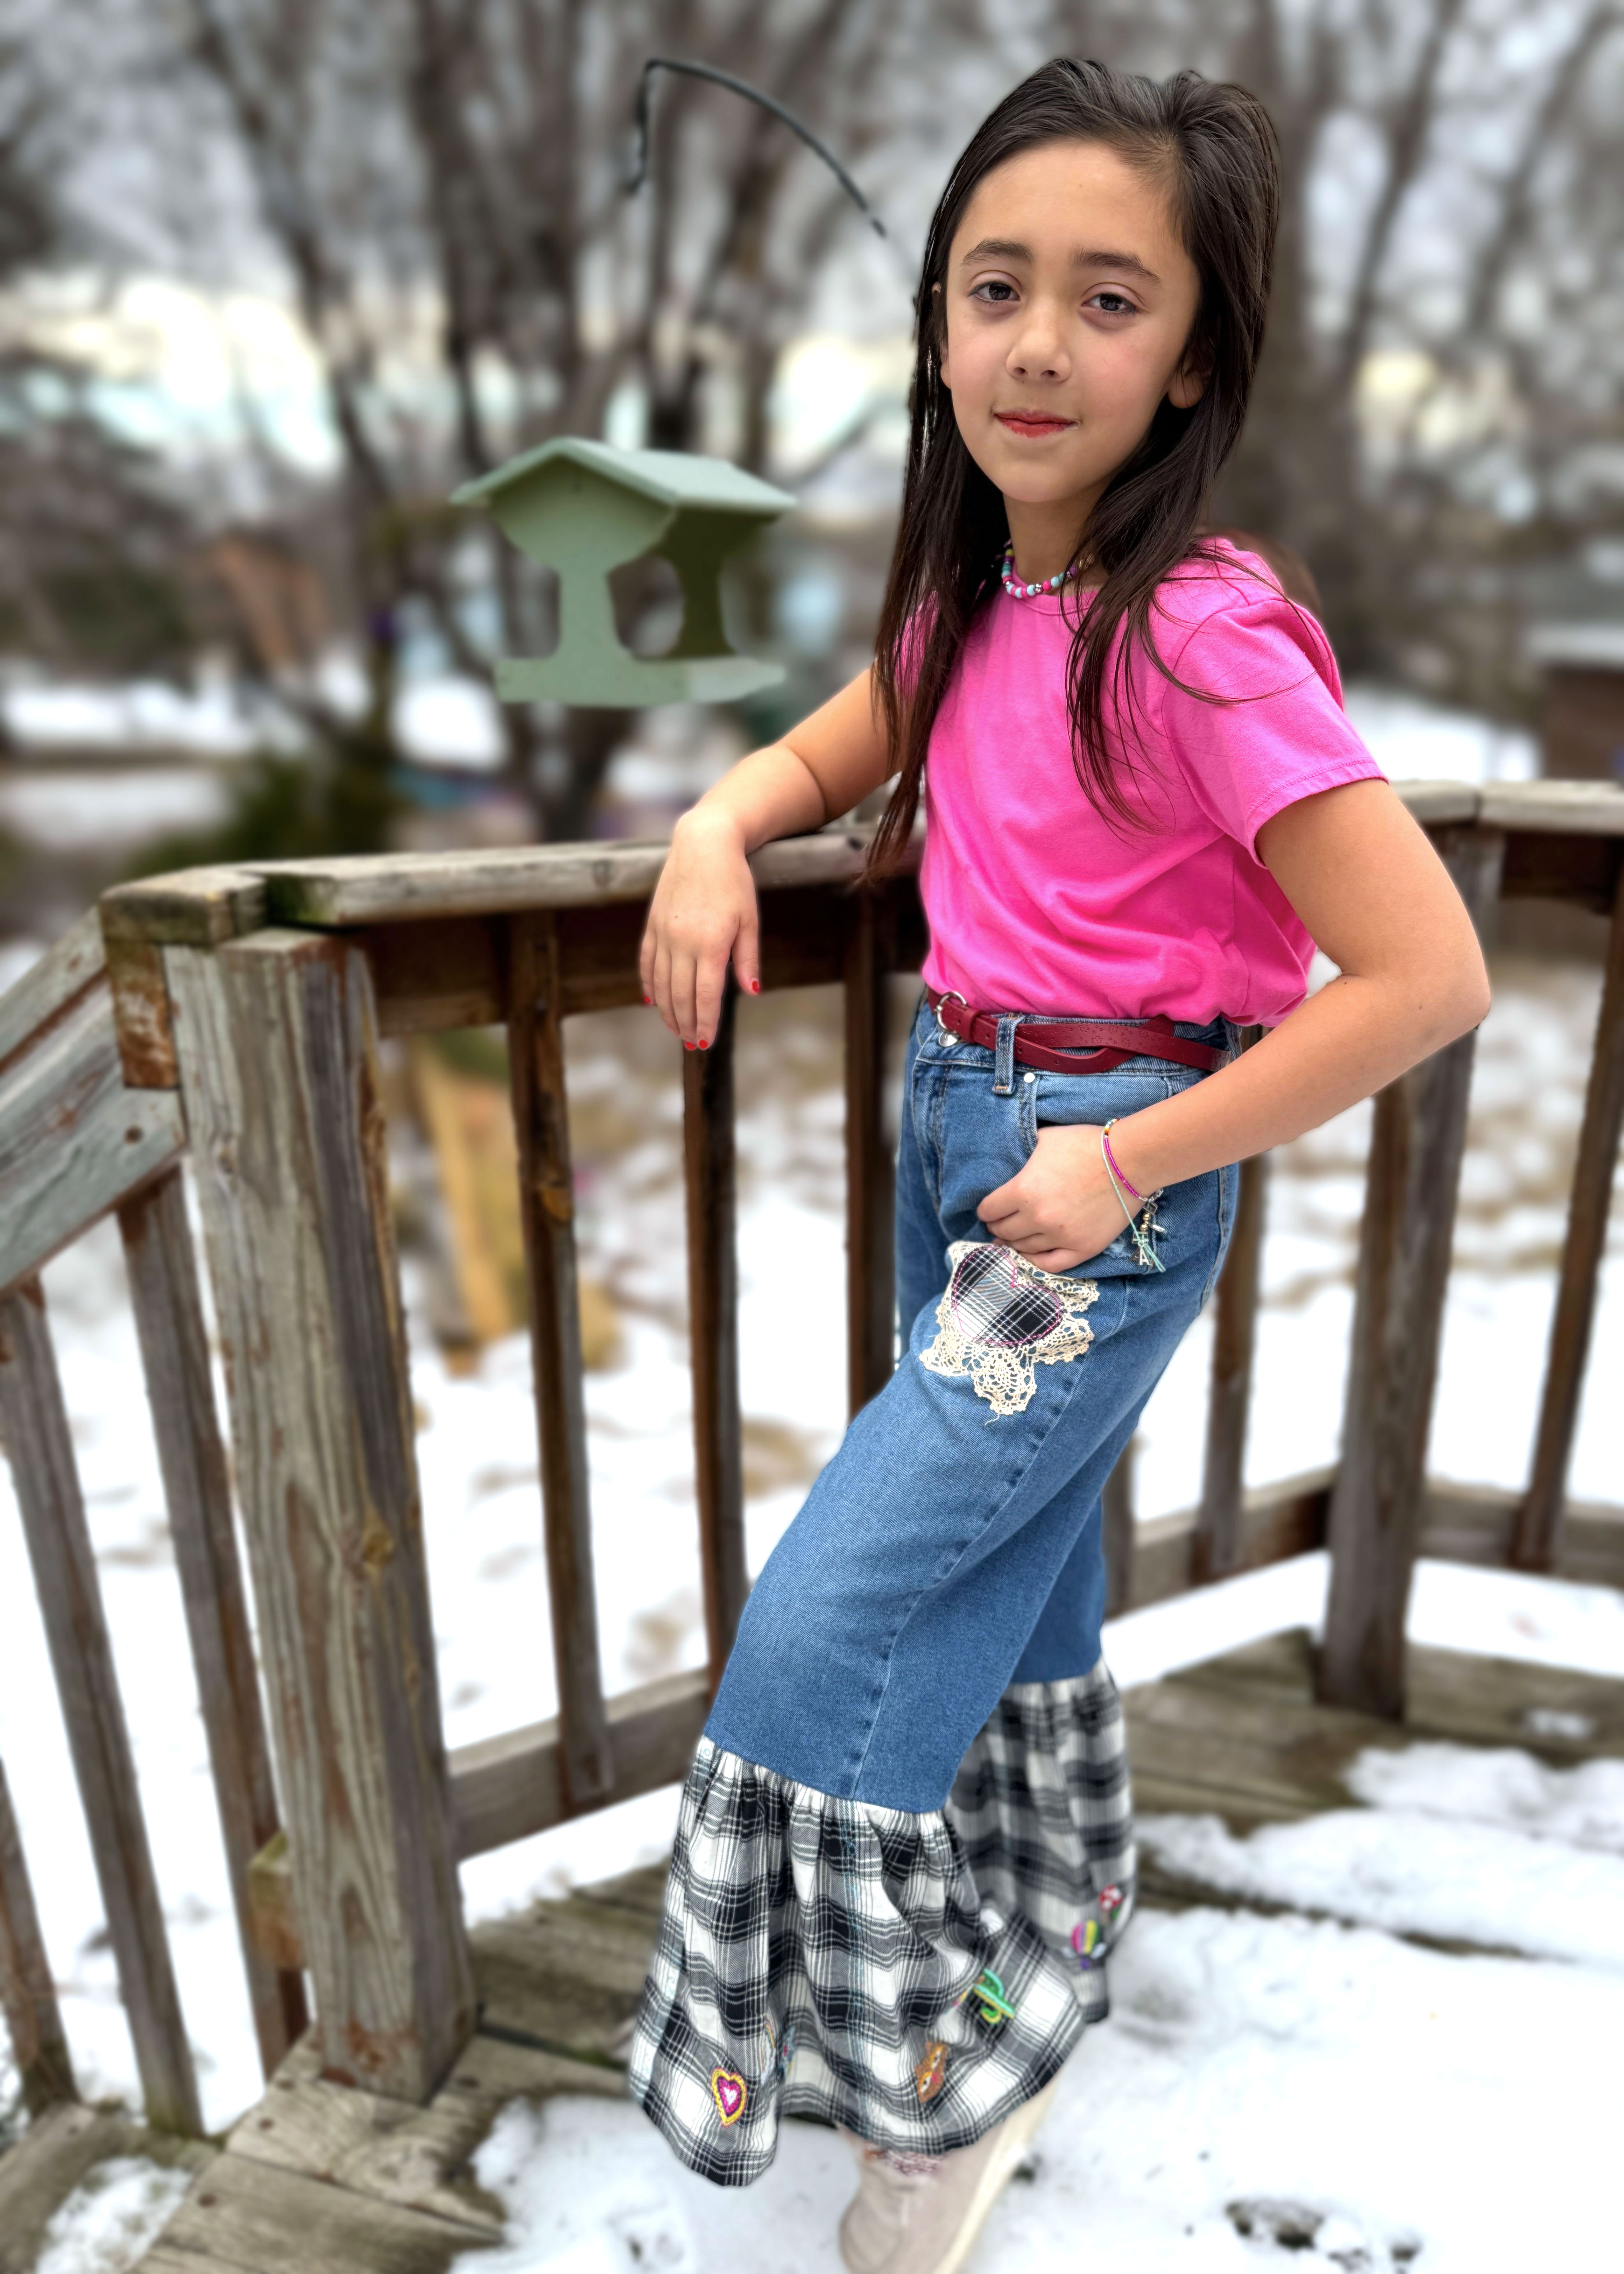
Upcycled Embroidered Ruffle Jeans
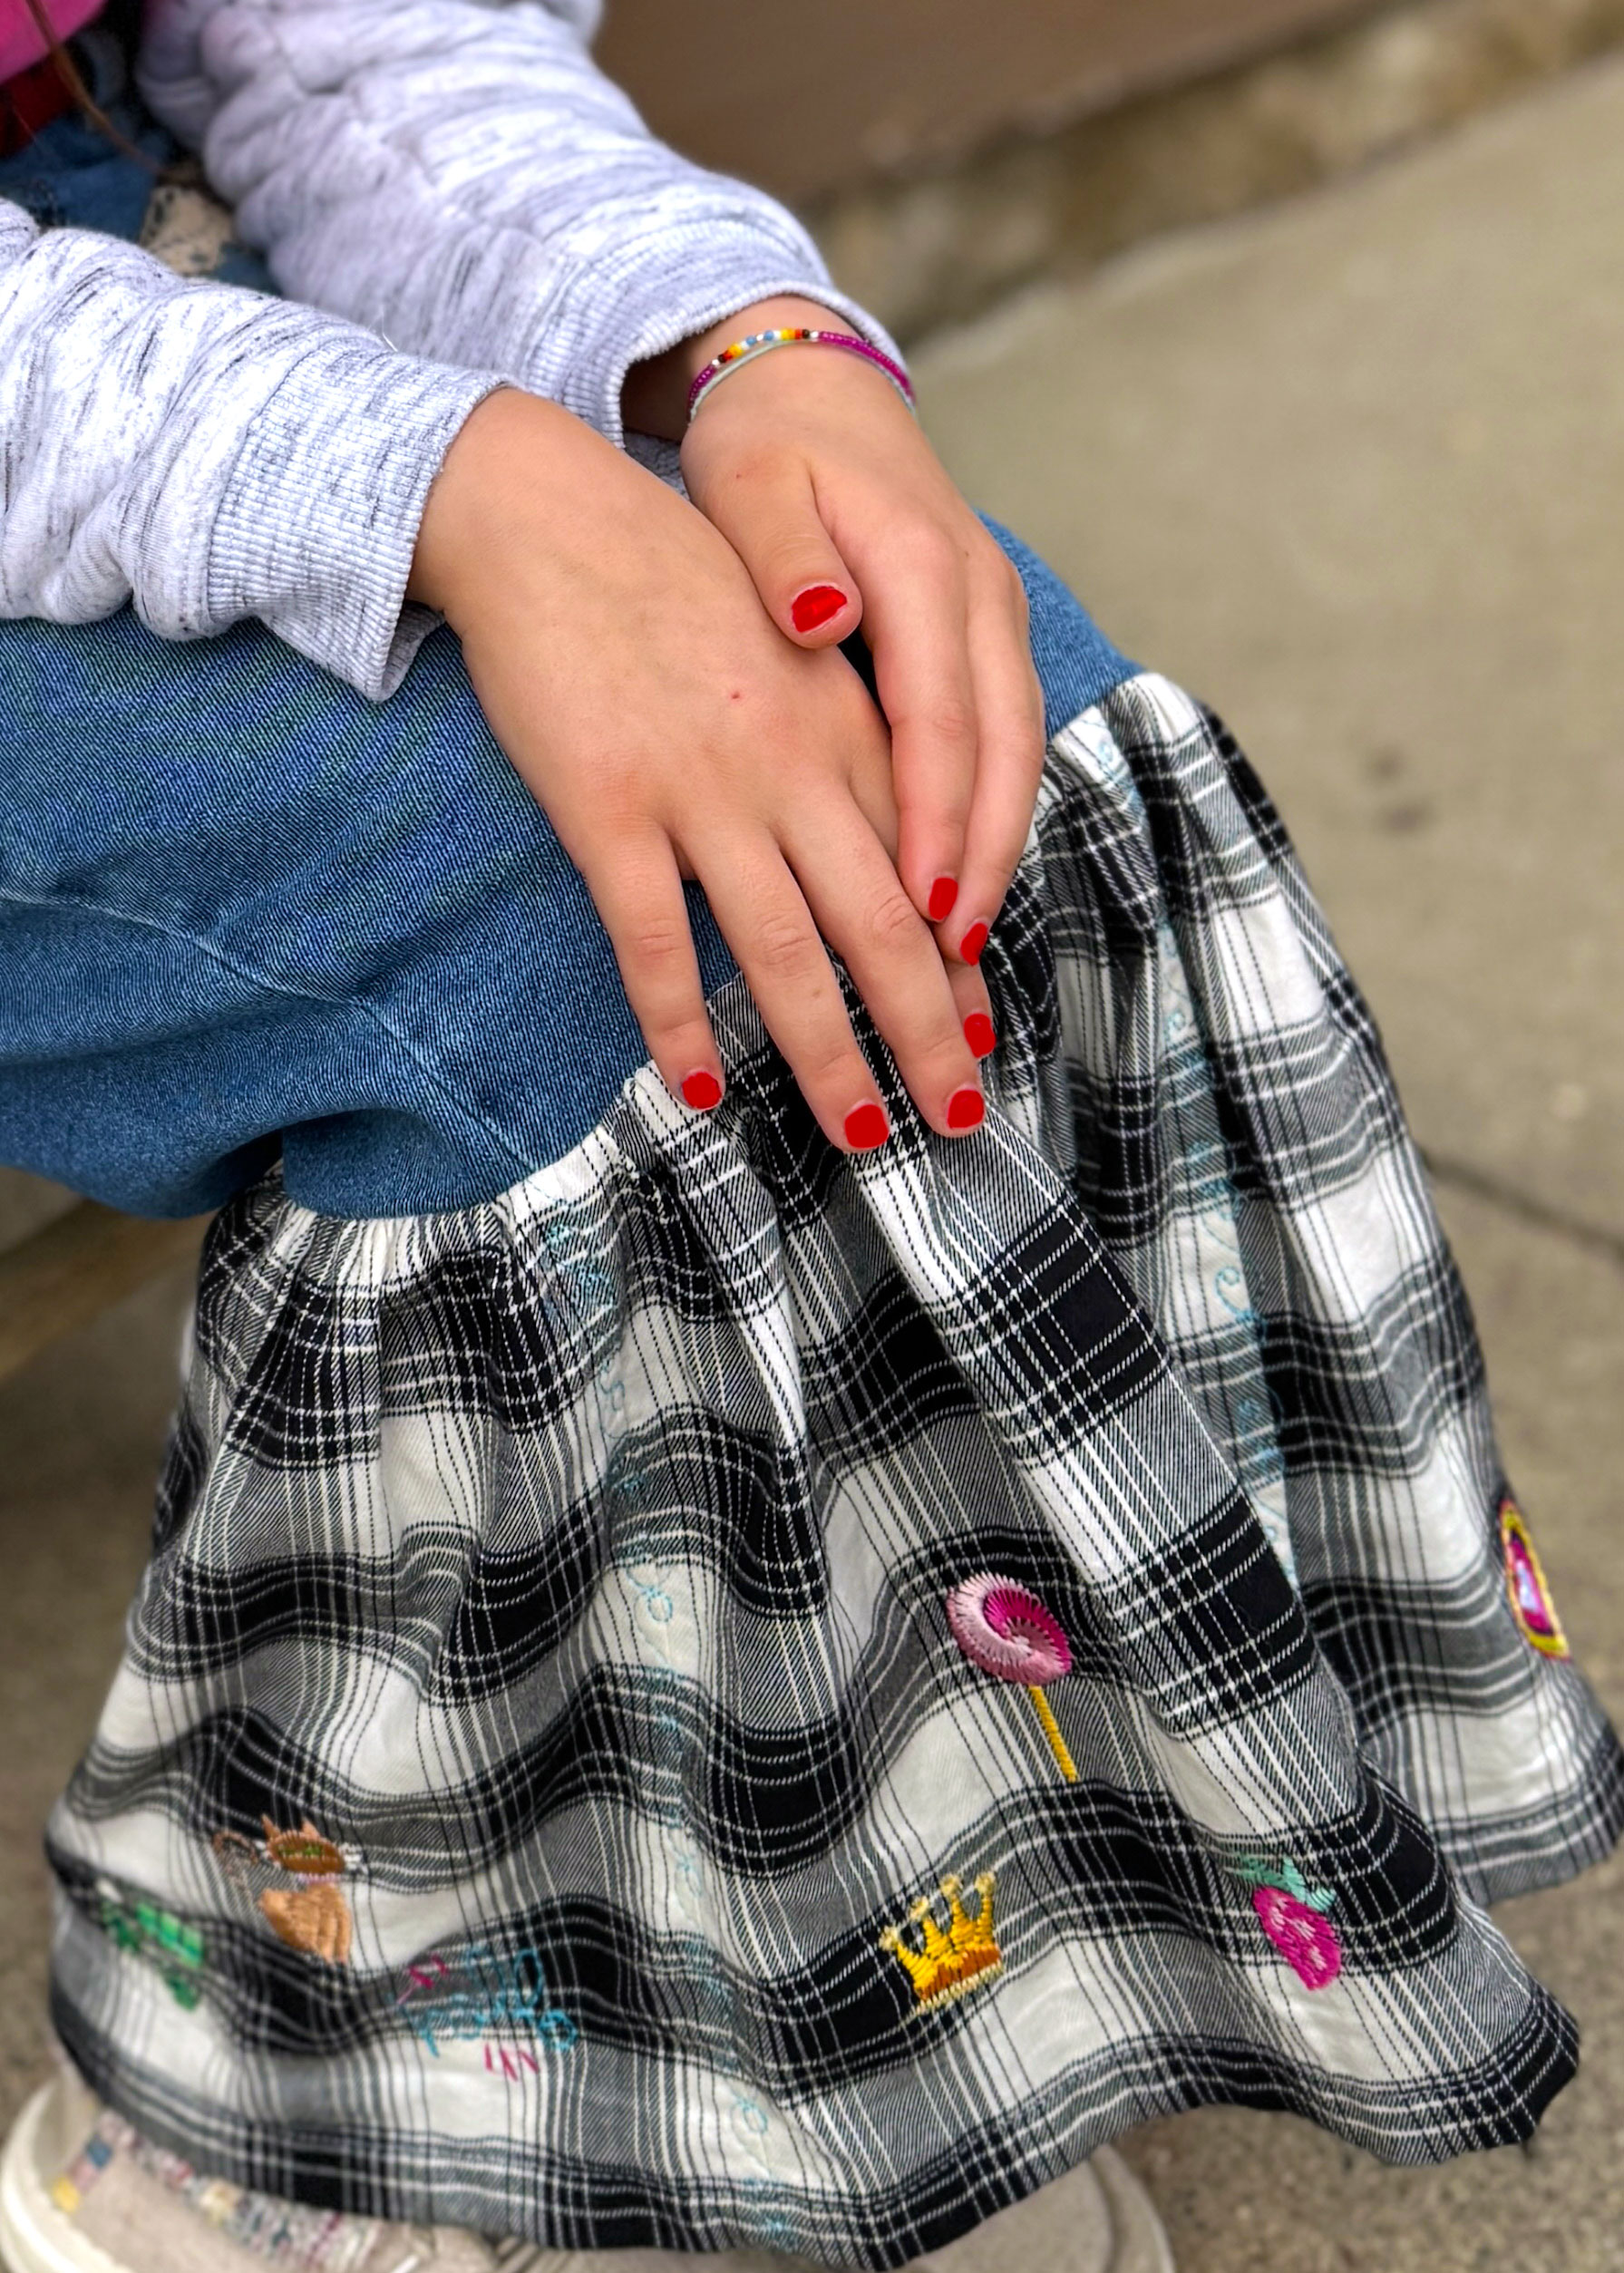
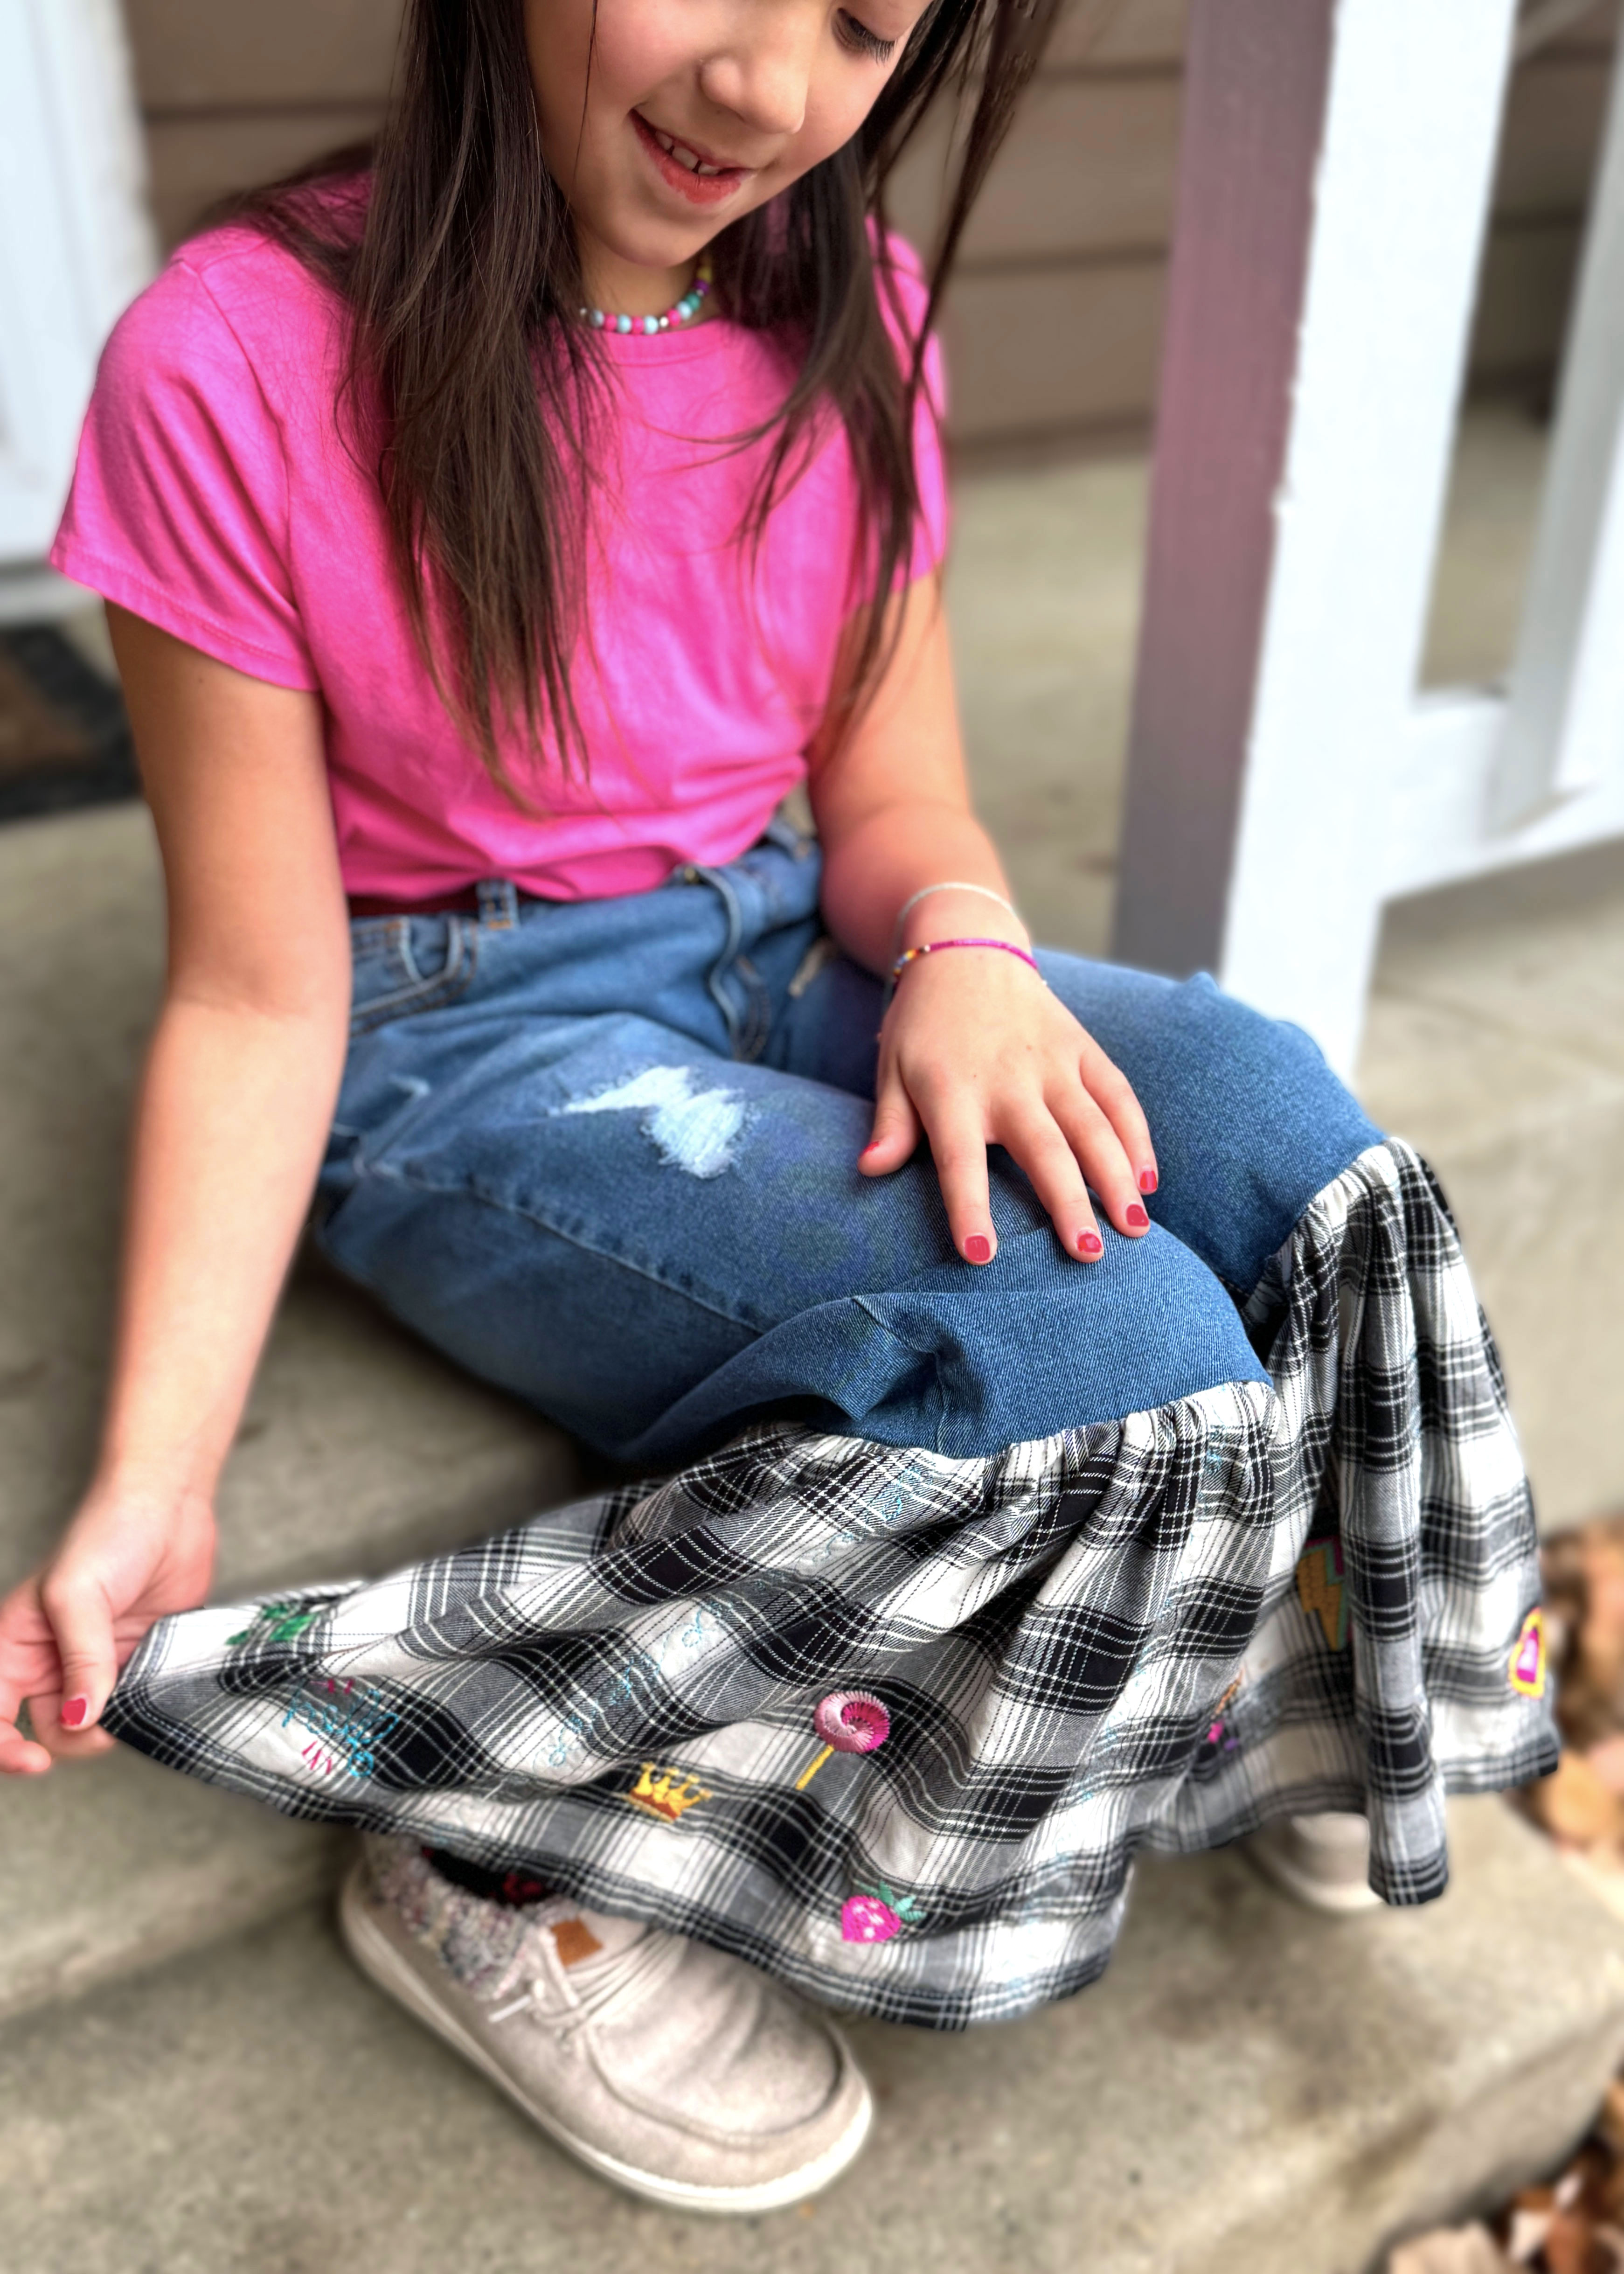
Turn a child’s pair of jeans into an adorable boho look with a contrast ruffled hem filled with embroidered designs that are sure to bring a smile to their face. I’ll show you how to easily add the small embroidered designs and then transform the jeans into a one-of-a-kind look. The whimsical designs used on these jeans reflect the personality of the wearer, an artistic pre-teen who loves animals, the outdoors, and photography.
Hello everyone! It’s Sharon Madsen from Sharon Sews, a sewing enthusiast and instructor. You can connect with me on YouTube and Instagram, where I share sewing tips, projects, reviews, and fashion sewing ideas.
First, we’ll embroider the designs, then add the ruffle and appliqué to the jeans. Let’s get started!
Materials for the Upcycled Boho Jeans
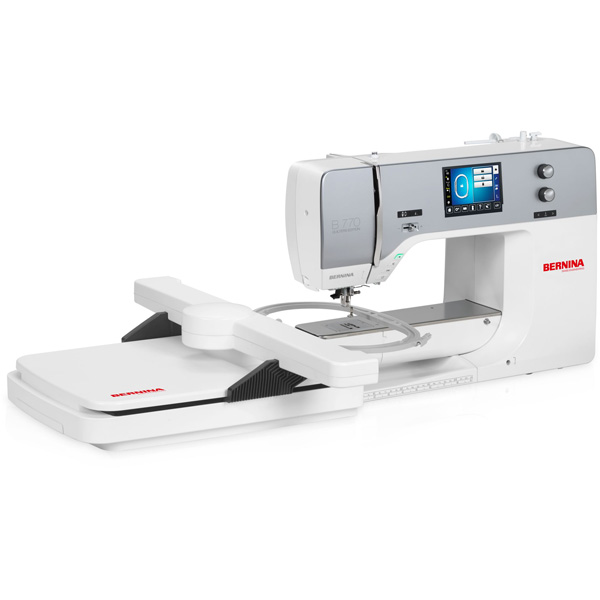
- Sewing and embroidery machine – I used my BERNINA 770 QE PLUS
- Pair of jeans
- These are a child’s size 10/12
- Lightweight cotton for the ruffle, 8 pieces approx. 9″ x 11-1/2″ each
- Size could be larger or smaller depending on size of jeans used
- The plaid is a shirting fabric similar in weight to quilting cotton
- Coordinating all-purpose thread
- Fabric shears
- Ruler
- Chalk or removable fabric marker
- General sewing supplies
- Iron and pressing surface
Materials to Embroider the Upcycled Boho Jeans
- Embroidery module – I used my Embroidery Module L – with Smart Drive Technology
- Stabilizer – I used OESD Ultra Clean & Tear
- Temporary fabric spray adhesive – I used OESD 505 Temporary Spray Adhesive
- Medium embroidery hoop
- Embroidery foot #26
- 80/12 embroidery needle
- Bobbin thread – I used OESD expert embroidery bobbin thread 60 wt
- Embroidery thread – I used Isacord embroidery thread, colors based on individual designs
- Embroidery design – I used designs from the Tiny Treasures and the Tiny Treasures II collections, both from OESD
- Small scissors to snip threads – I used the Straight Micro Tip Scissors from Sookie Sews
Measure and Cut Fabric for the Ruffle
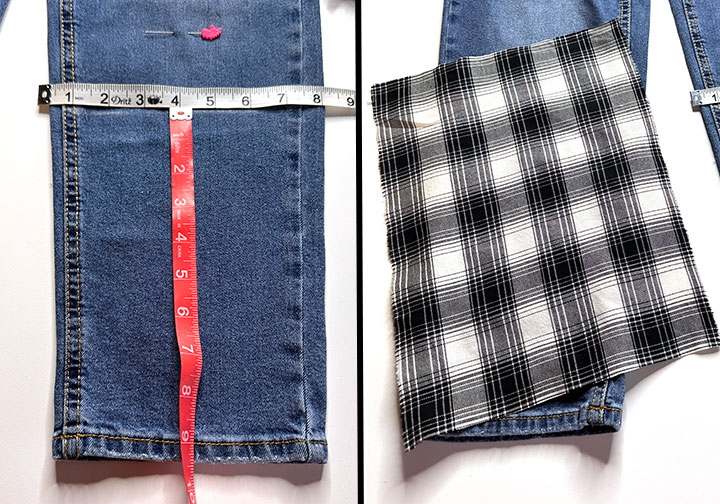
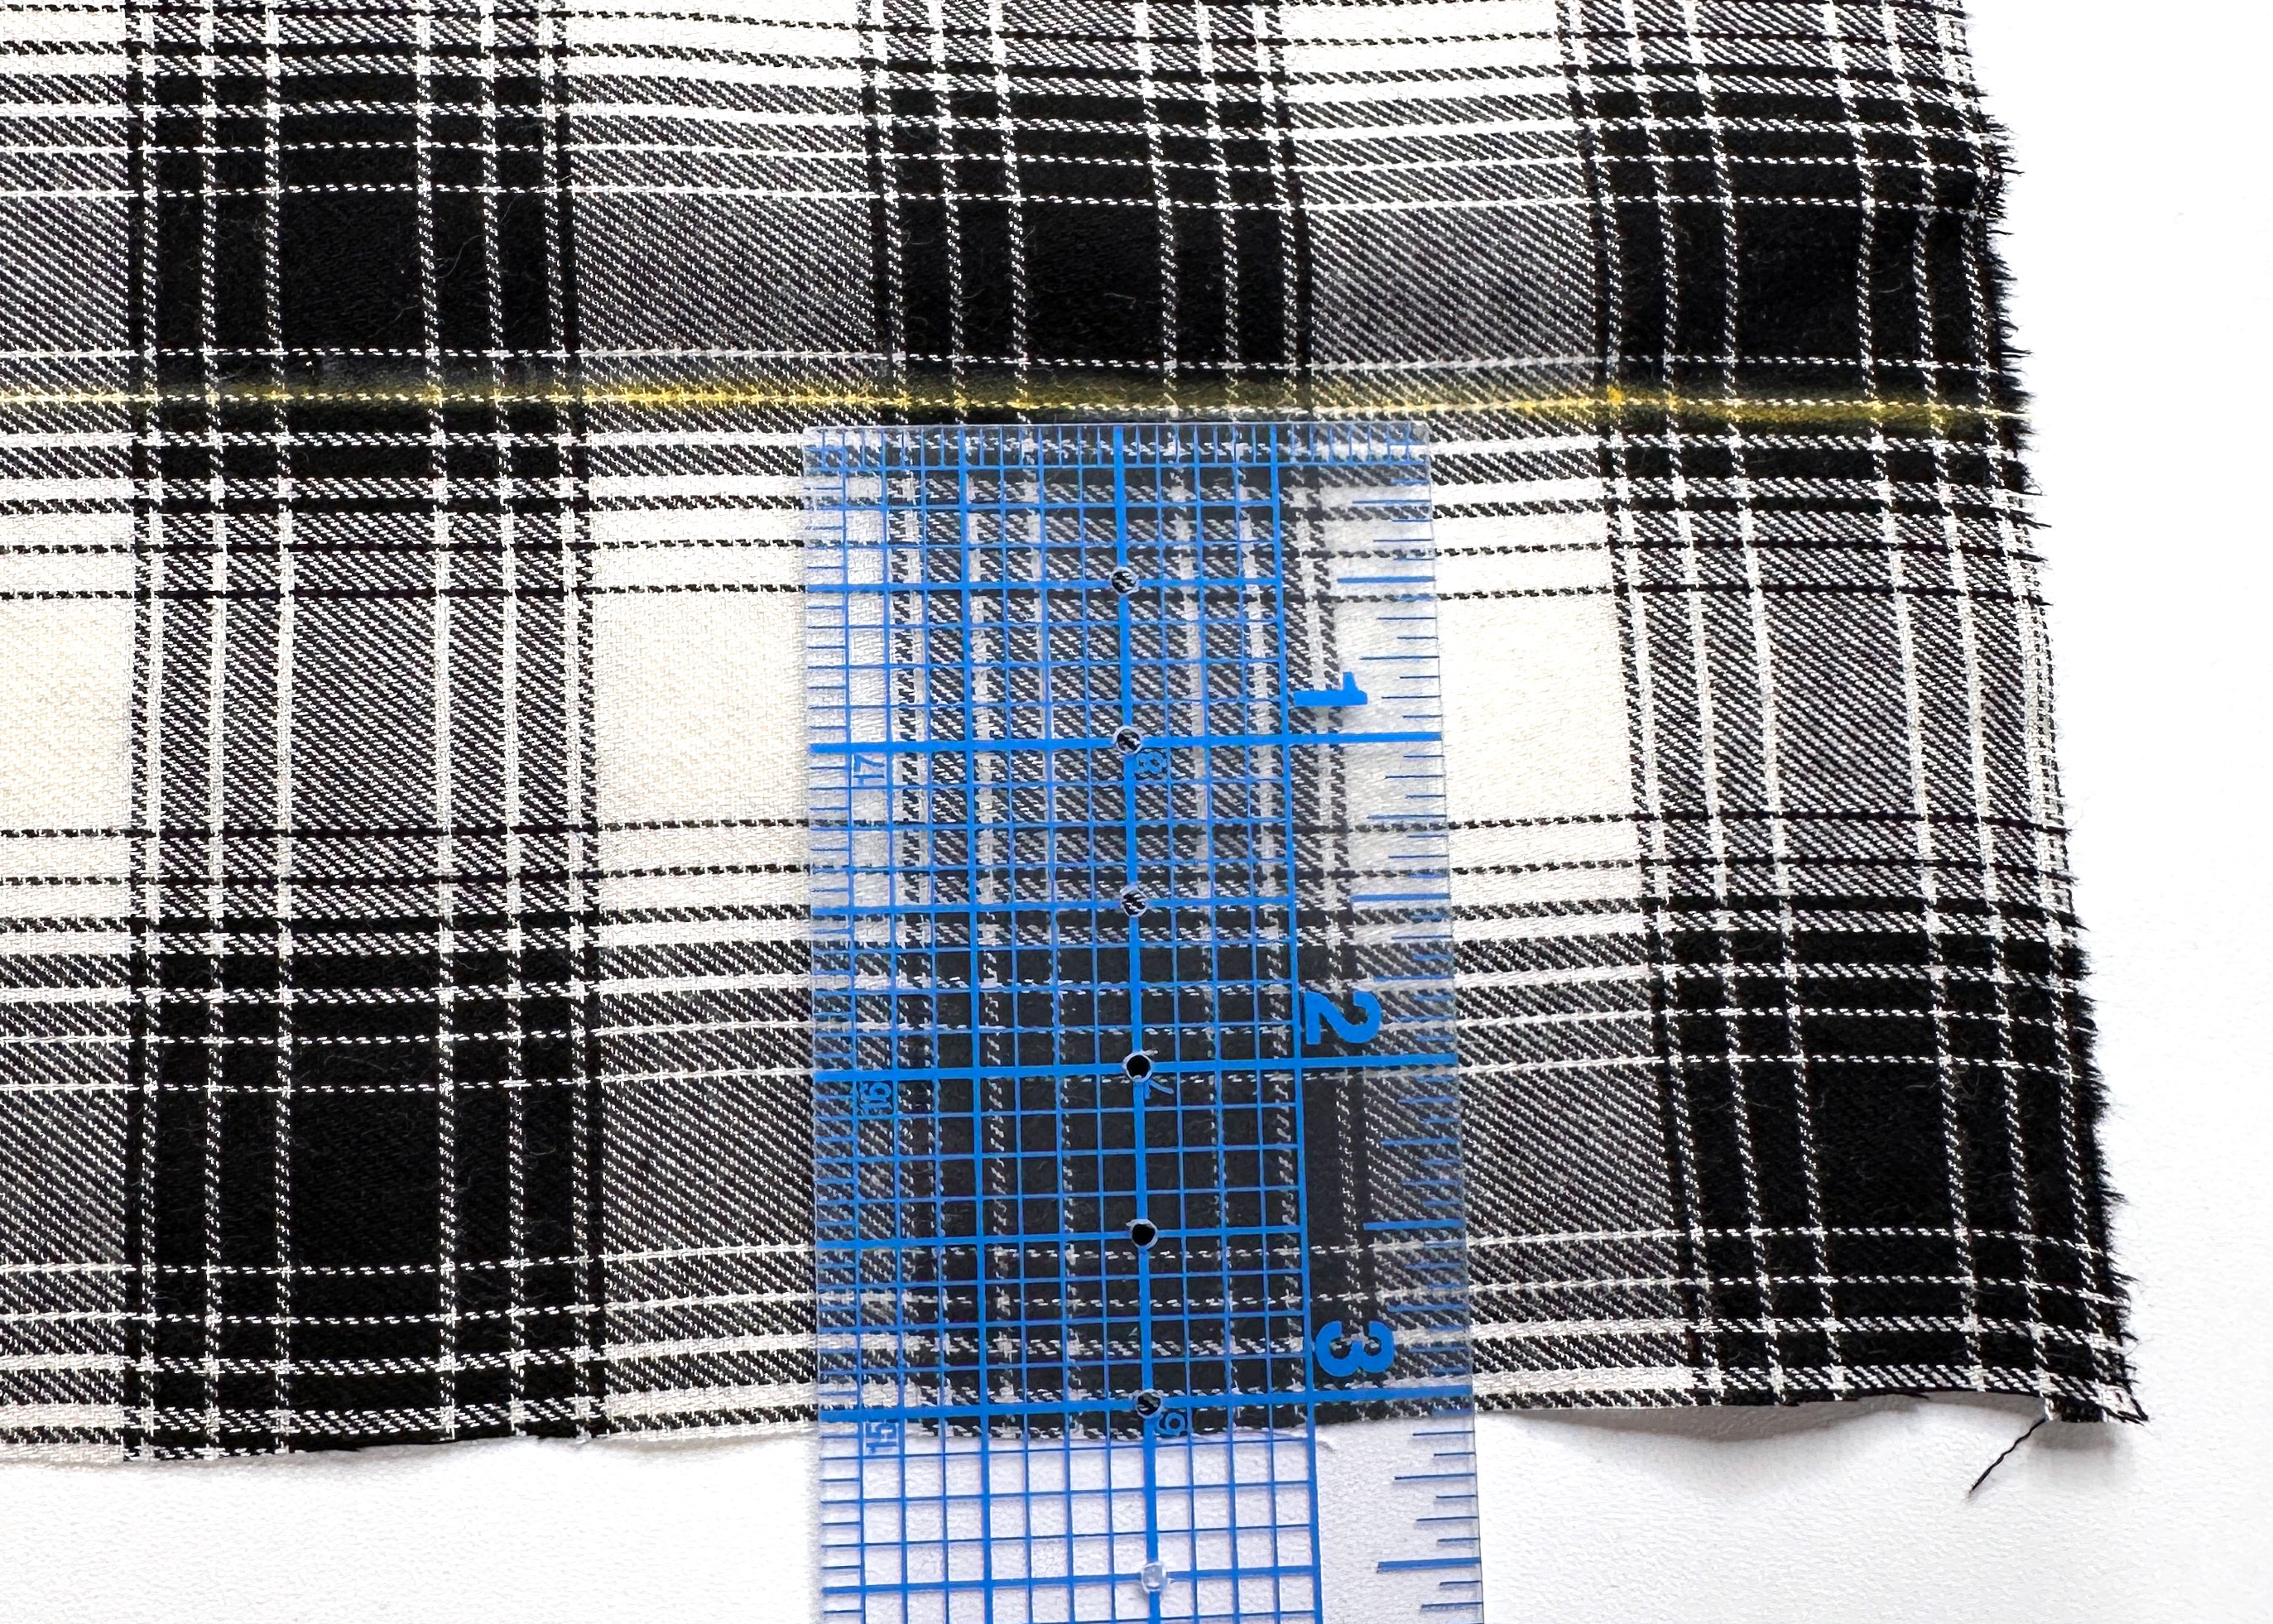
The ruffle is added 2-1/2” below the knee of the jeans. To find the approximate location of the knee fold the hem of the jeans up to the crotch, mark the crease with chalk or a pin and unfold. Measure 2-1/2” down from the mark and draw a straight line with chalk or removable fabric marker.

Measure the width of the leg along the chalk mark and the length from the marked line to the hem. Add 1″ to the width and 2″ to the length. Cut 8 pieces of fabric using these measurements.
The pieces for my jeans were 9″ x 11-1/2″.
Embroider the Designs on the Ruffle Fabric
Clean and oil your machine, attach the embroidery module, install the embroidery foot and a new needle, put on the straight stitch plate, lower the feed dog, and insert a bobbin with embroidery bobbin thread.
The Embroidery Designs Used on the Ruffle
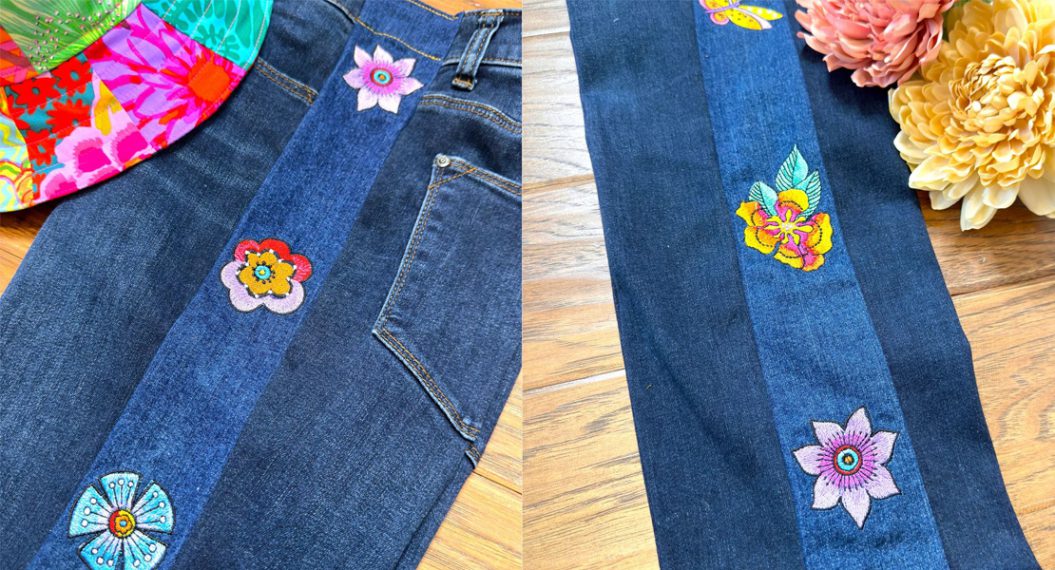
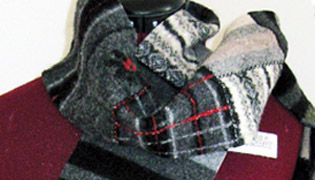
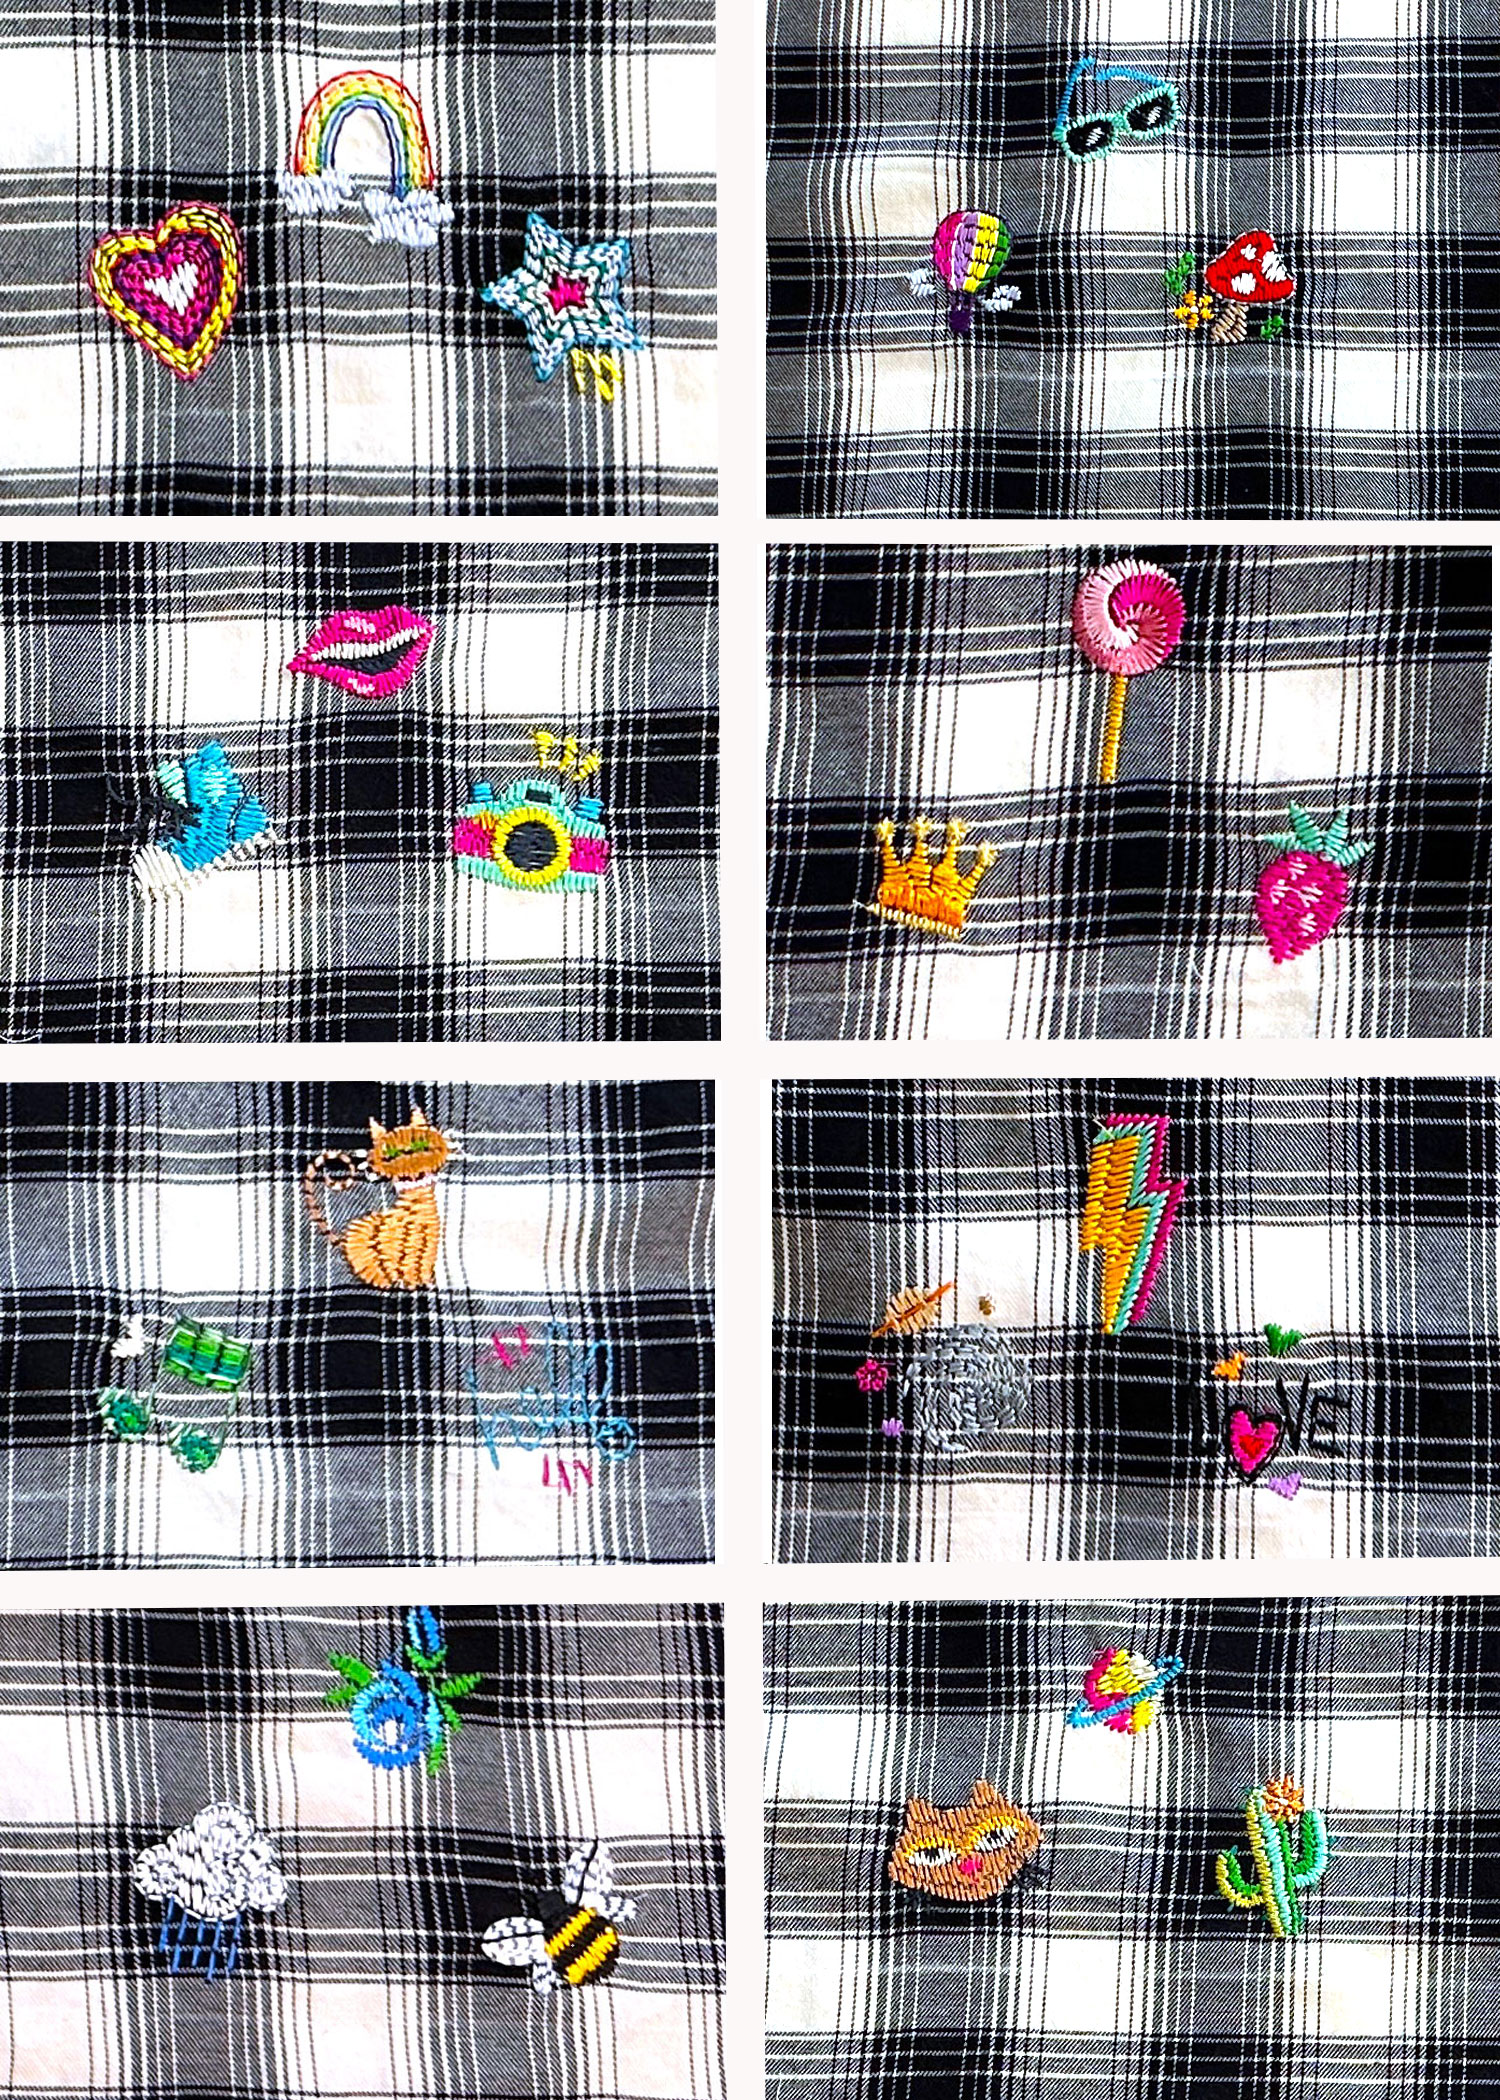
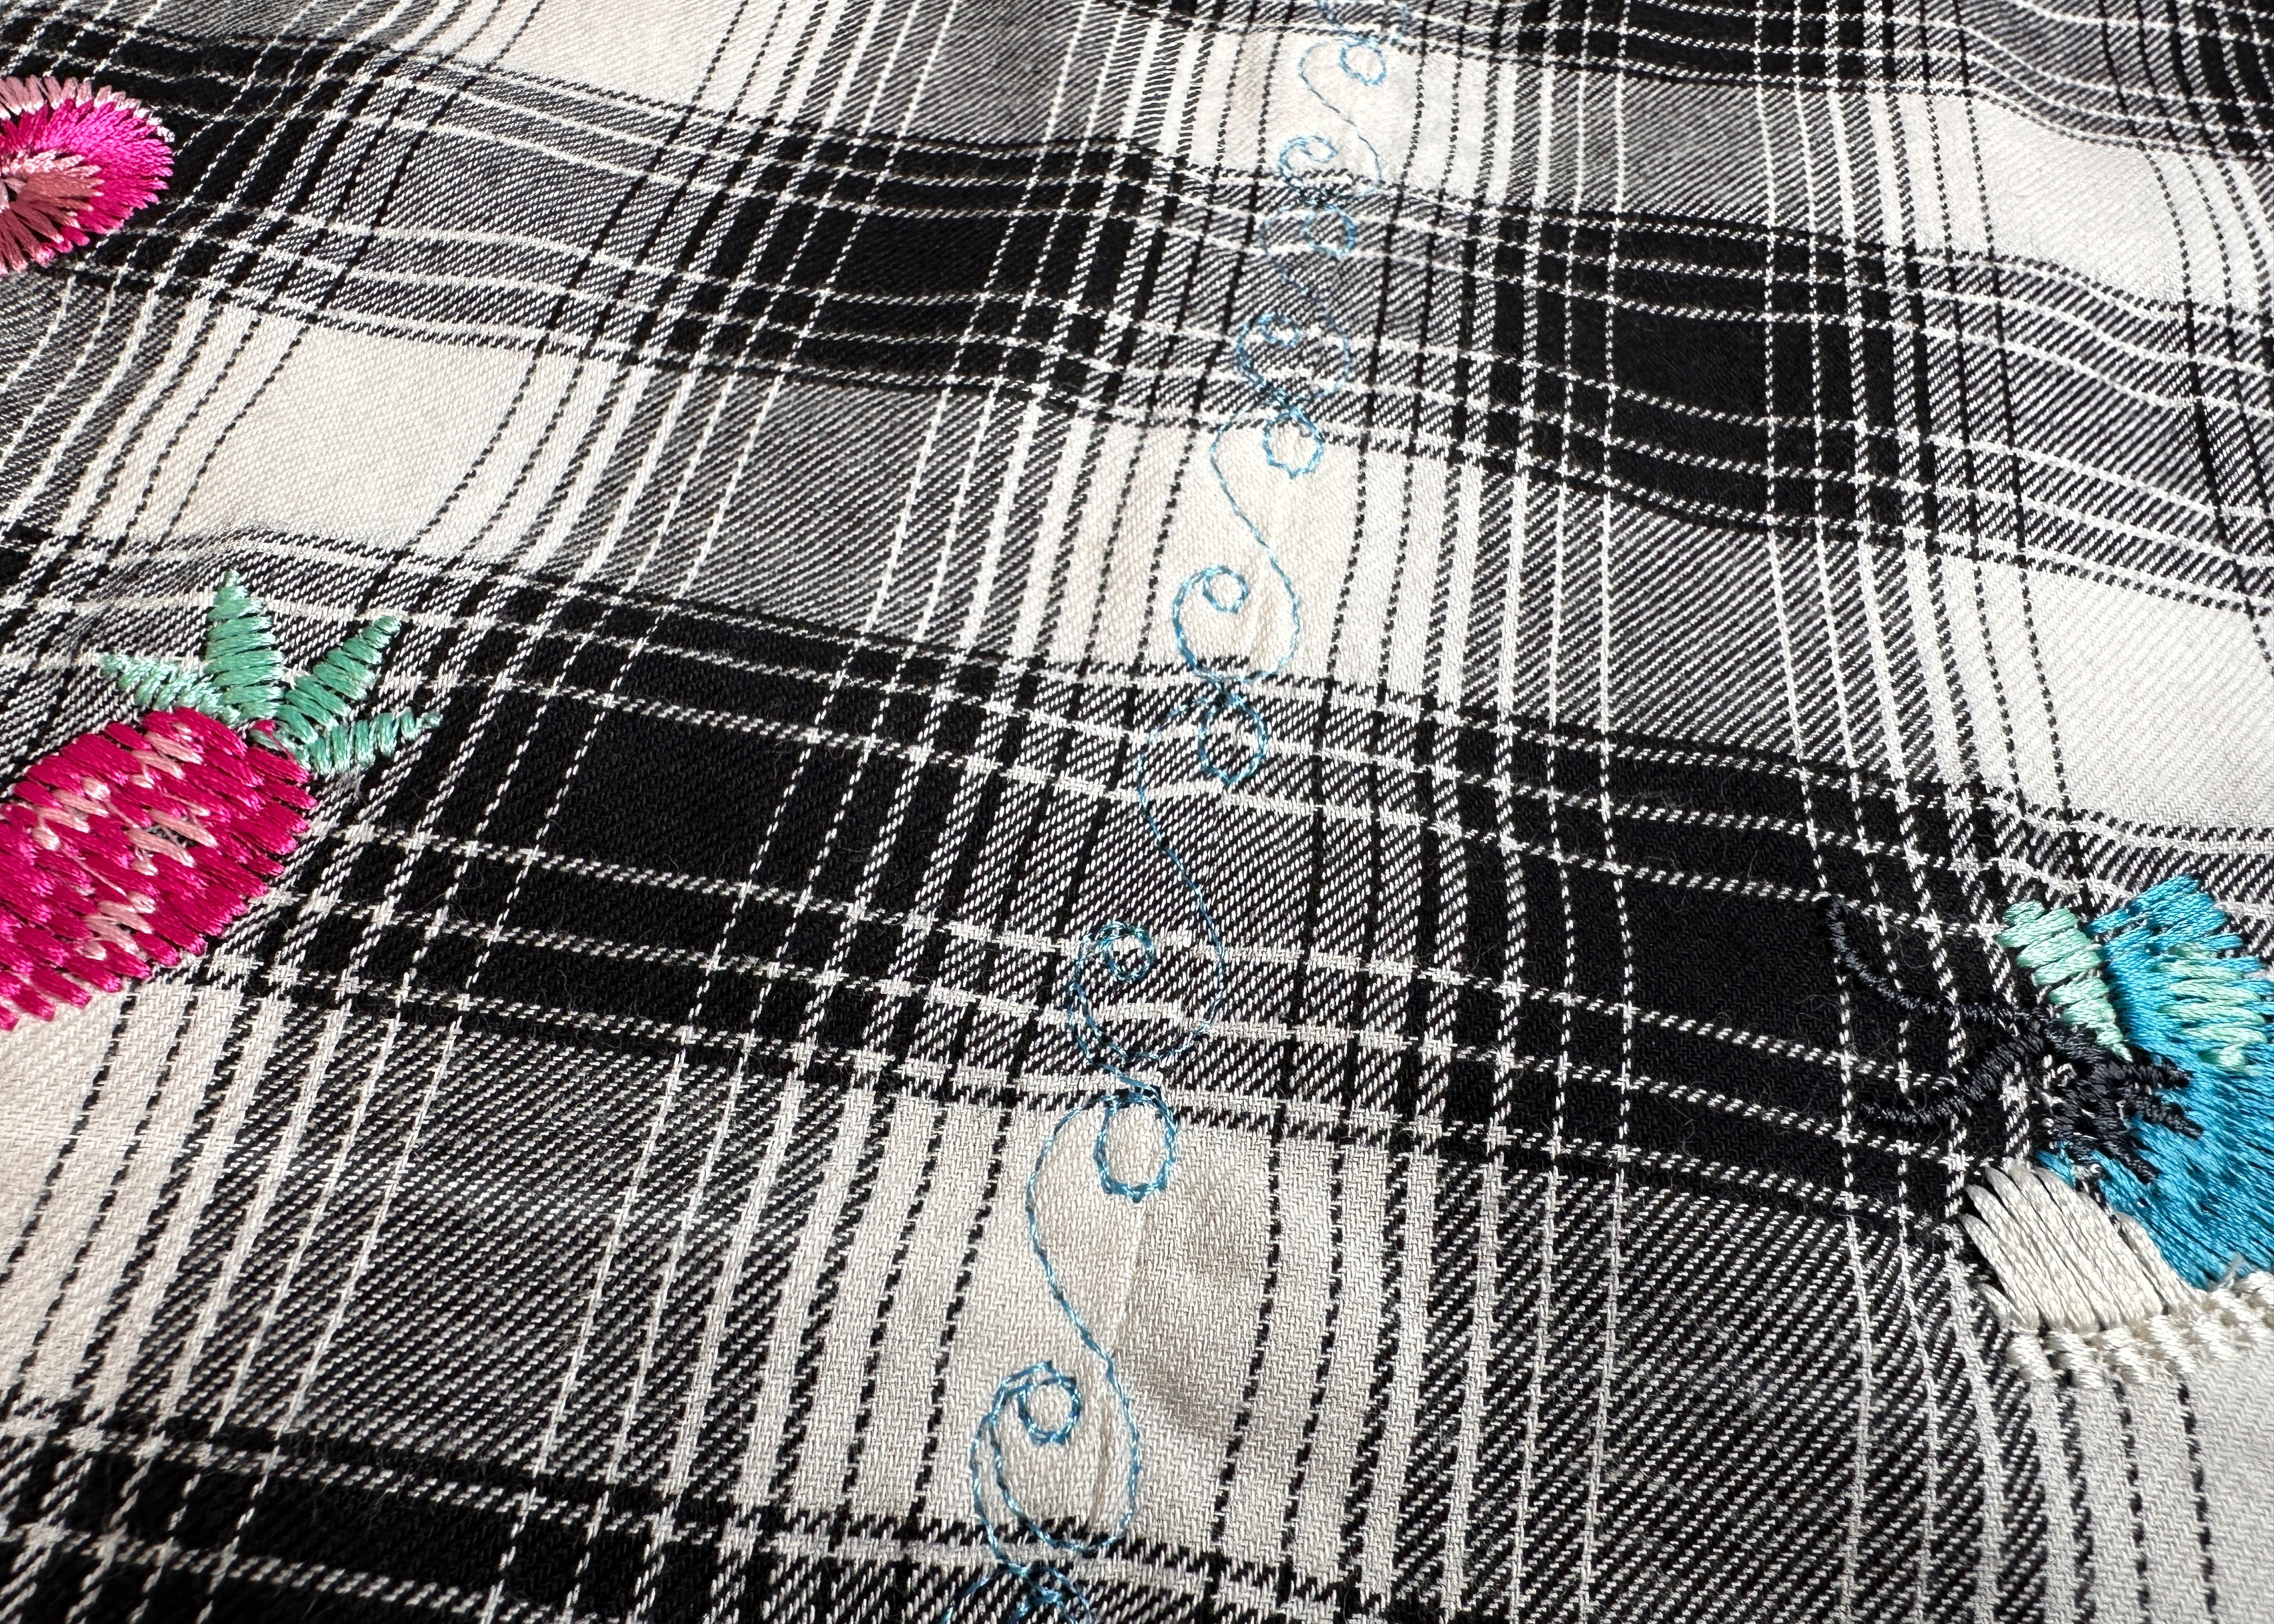
After seeing a designer camp shirt that was filled with random embroidery designs, I was inspired to use twenty-four different designs adding to the whimsical boho look I wanted. Three embroidery designs are added to each ruffle section.
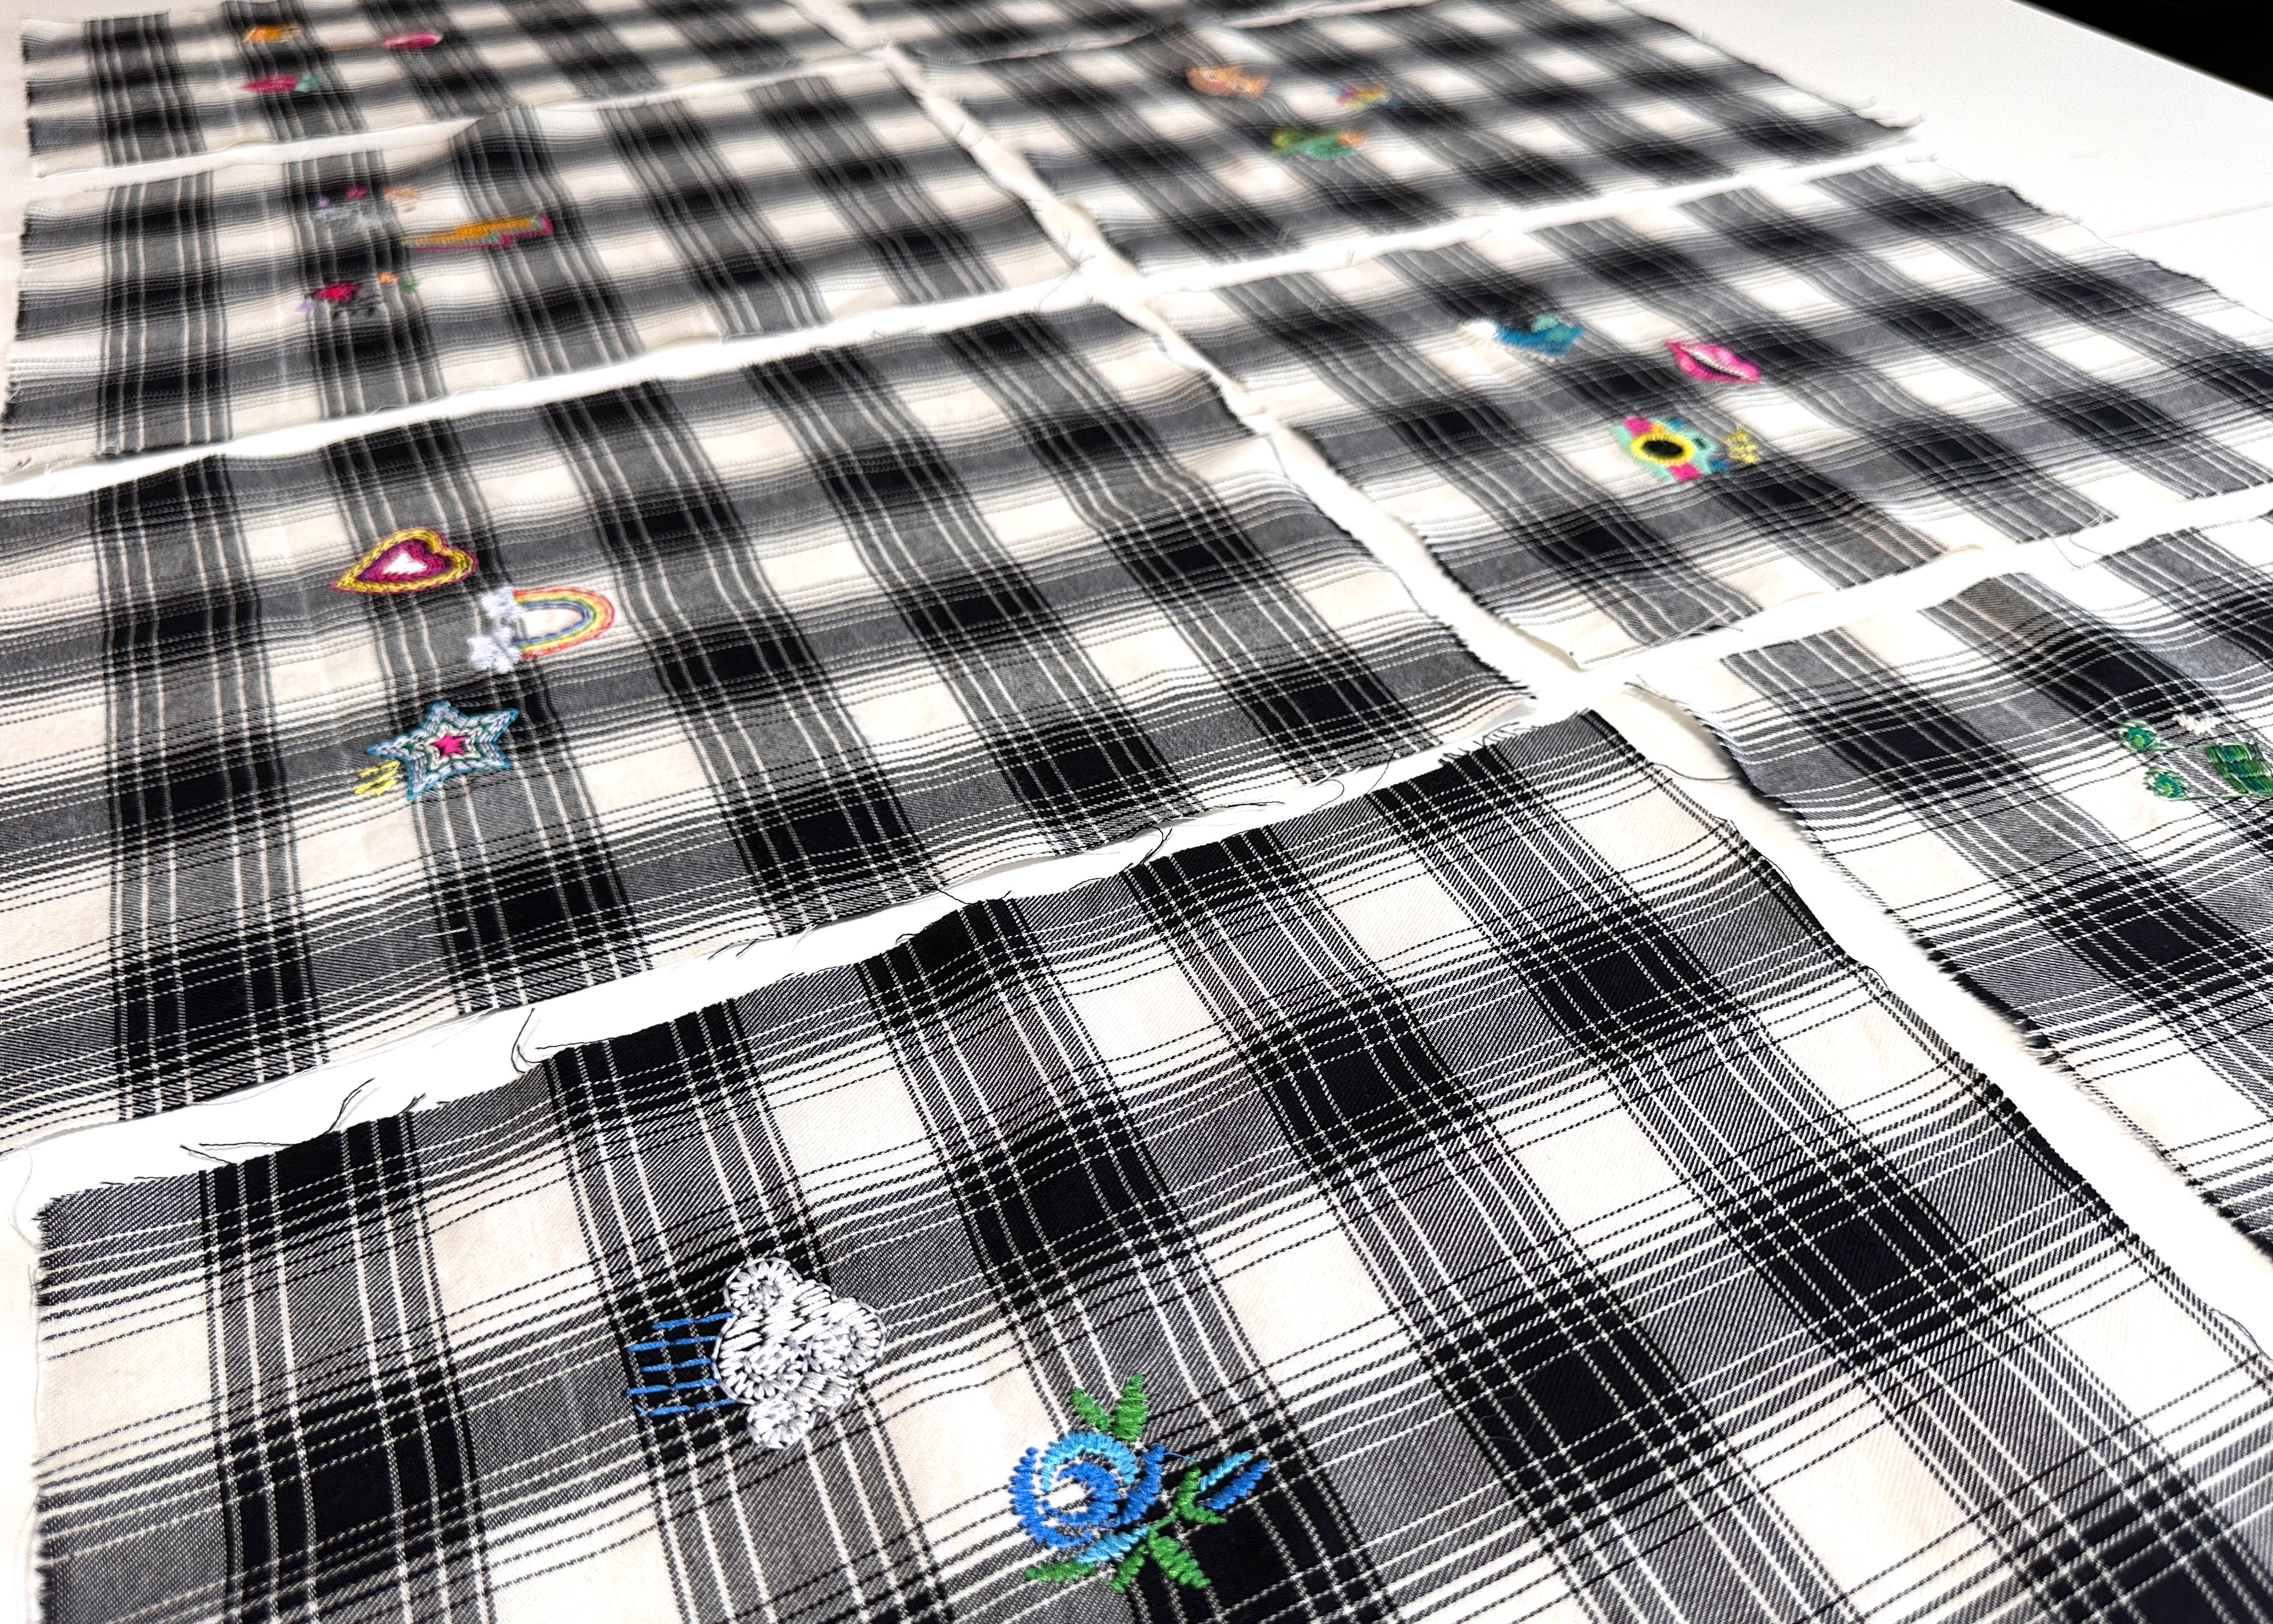
The Tiny Treasures designs used include the Bee, Cactus, Cat, Heart, Hello, Hot Air Balloon, Hello, Mushroom, Musical Note, Raincloud, Rainbow, Rose, Space, and Star.
The Tiny Treasures II designs used include the Lighting Bolt, Lollipop, Camera, Cat Face, Sneakers, Sunglasses, Lips, Strawberry, Saturn, and Crown.
Prepare the Ruffle for Embroidery
Place a ruffle section right side up on a flat work surface. Measure 3″ from the bottom and draw a line with chalk or removable fabric marker.
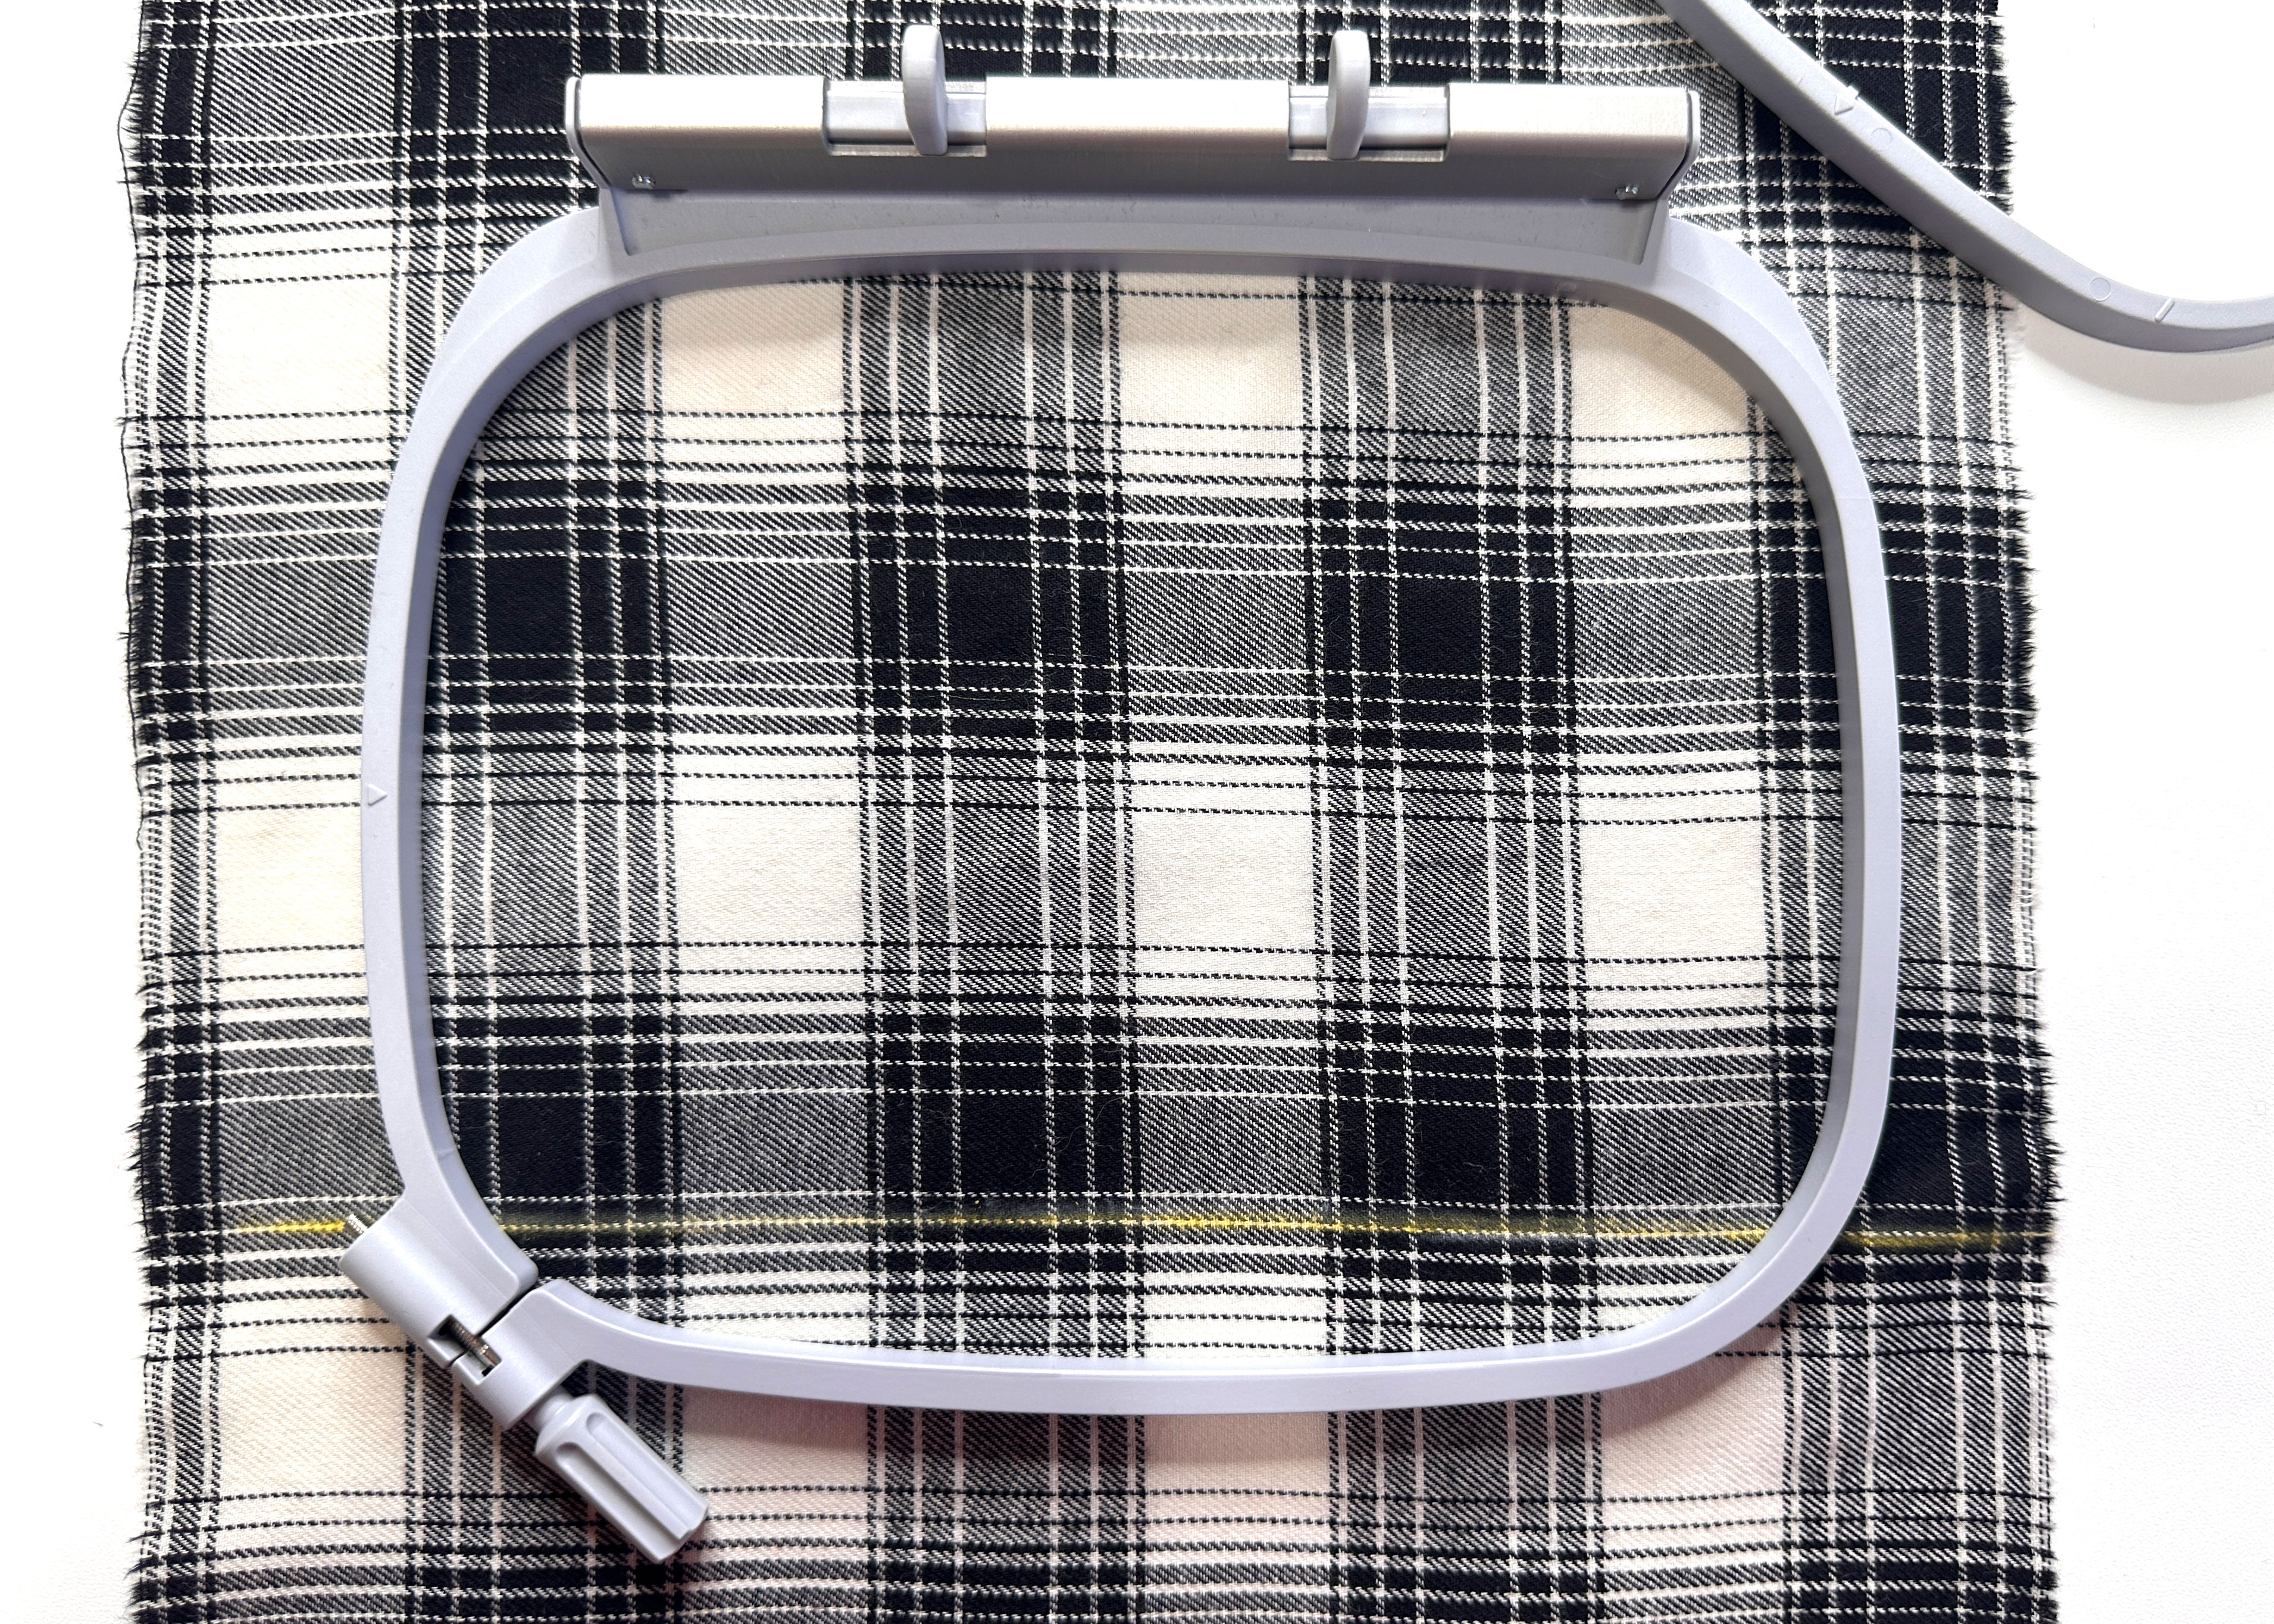
Apply stabilizer to the back side of the fabric using temporary spray adhesive before hooping the fabric in the medium hoop. When placing the fabric in the hoop make sure the line is near the edge as it serves as the hemline for the ruffle.
Embroider Three Designs on Each Ruffle Section
All of the designs are rotated 270 degrees and increased to 115%.
To rotate a design, select the “i” icon, select the Rotate Motif icon, and touch the Rotate icon.
To increase the size, select the “i” icon, select the Change Motif Size icon, and use the Multifunction to resize.
Select the first design, rotate and resize, then move the design near the upper right close to the marked line.
Add the second design, rotate and resize, then move it to the center.
Finally, add the third design (remember to rotate and resize) and move it to the lower right above the marked line.
The placement of the three designs to be embroidered will look like this.
![]()
Because three designs are combined, there could be duplicated colors in the designs. To reduce the number of repeated color changes, use the Color Resequence icon to group like colors together.
When stitching out these three designs, the color pink was stitched for all three before the thread color was changed.
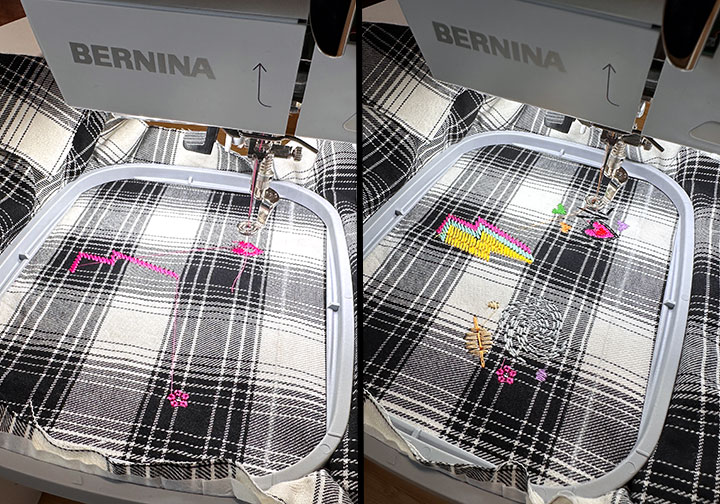
Stitch the three designs on the first ruffle panel, then repeat the process until there are three designs embroidered on each of the eight ruffle panels.
Tear away the stabilizer from the back of the fabric. The stabilizer that remains exposed will disappear when laundered but remains under the stitching to provide support to the design.
Sew the Ruffle to the Jeans
Stitch the Ruffle Panels Together
With right sides facing and using a 1/2″ seam allowance, sew two ruffle panels together along one side edge. Continue until you have four ruffle panels sewn together forming a tube. Repeat for the remaining four ruffle panels.
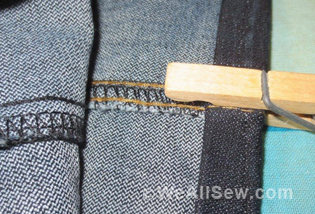
Finish the seams as desired (this blog post includes four different seam finish options).

Optional Decorative Stitches on Seam Lines
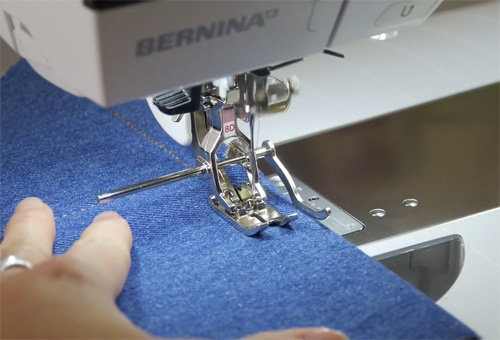
As an option, you can add decorative stitch along each ruffle seam. I used stitch 656 on my B 770 QE PLUS.
Hem the Ruffle
Fold the bottom edge of the ruffle 3/4″ to the wrong side and press. Fold again by 3/4″, press, then stitch in place.
Add Gathering Stitches to the Top of the Ruffle
Using a 1/2” seam allowance and a long gathering stitch (the longest straight stitch on your machine), stitch along the upper edge of each ruffle. Do not backstitch and be sure to leave a long thread tail at the beginning and end. Repeat to stitch a second row of gathering stitches 1/4” from the upper edge.
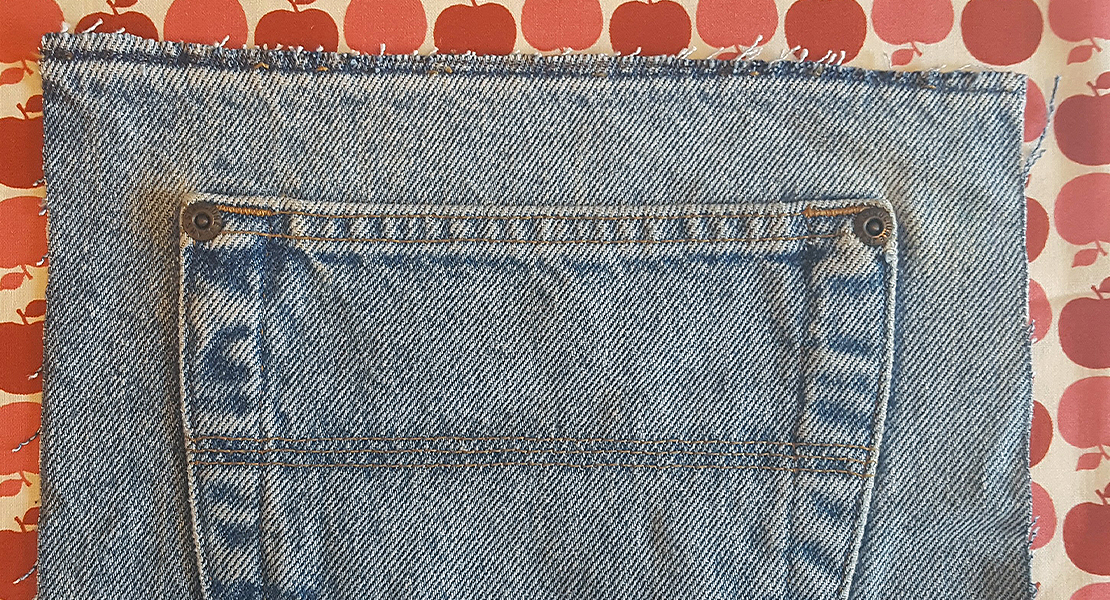
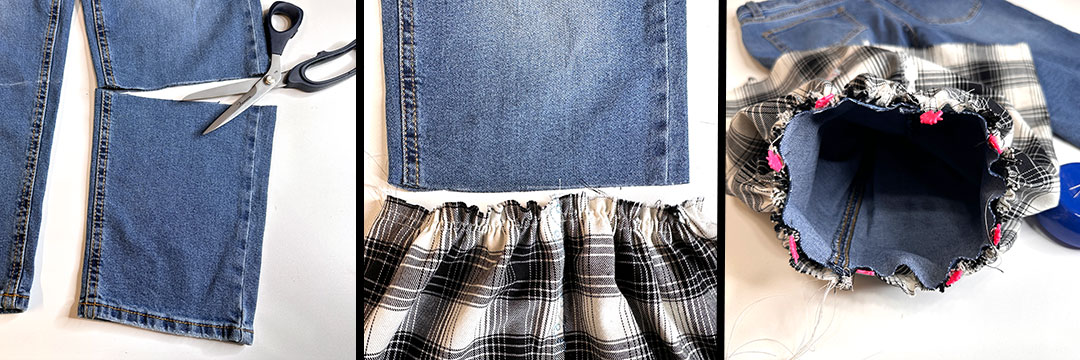
Cut off the bottom of the jeans along the marked line. Gently pull the bobbin threads to gather the upper edge of the ruffle to match the bottom of the jeans. With right sides together pin the ruffle to the jeans.
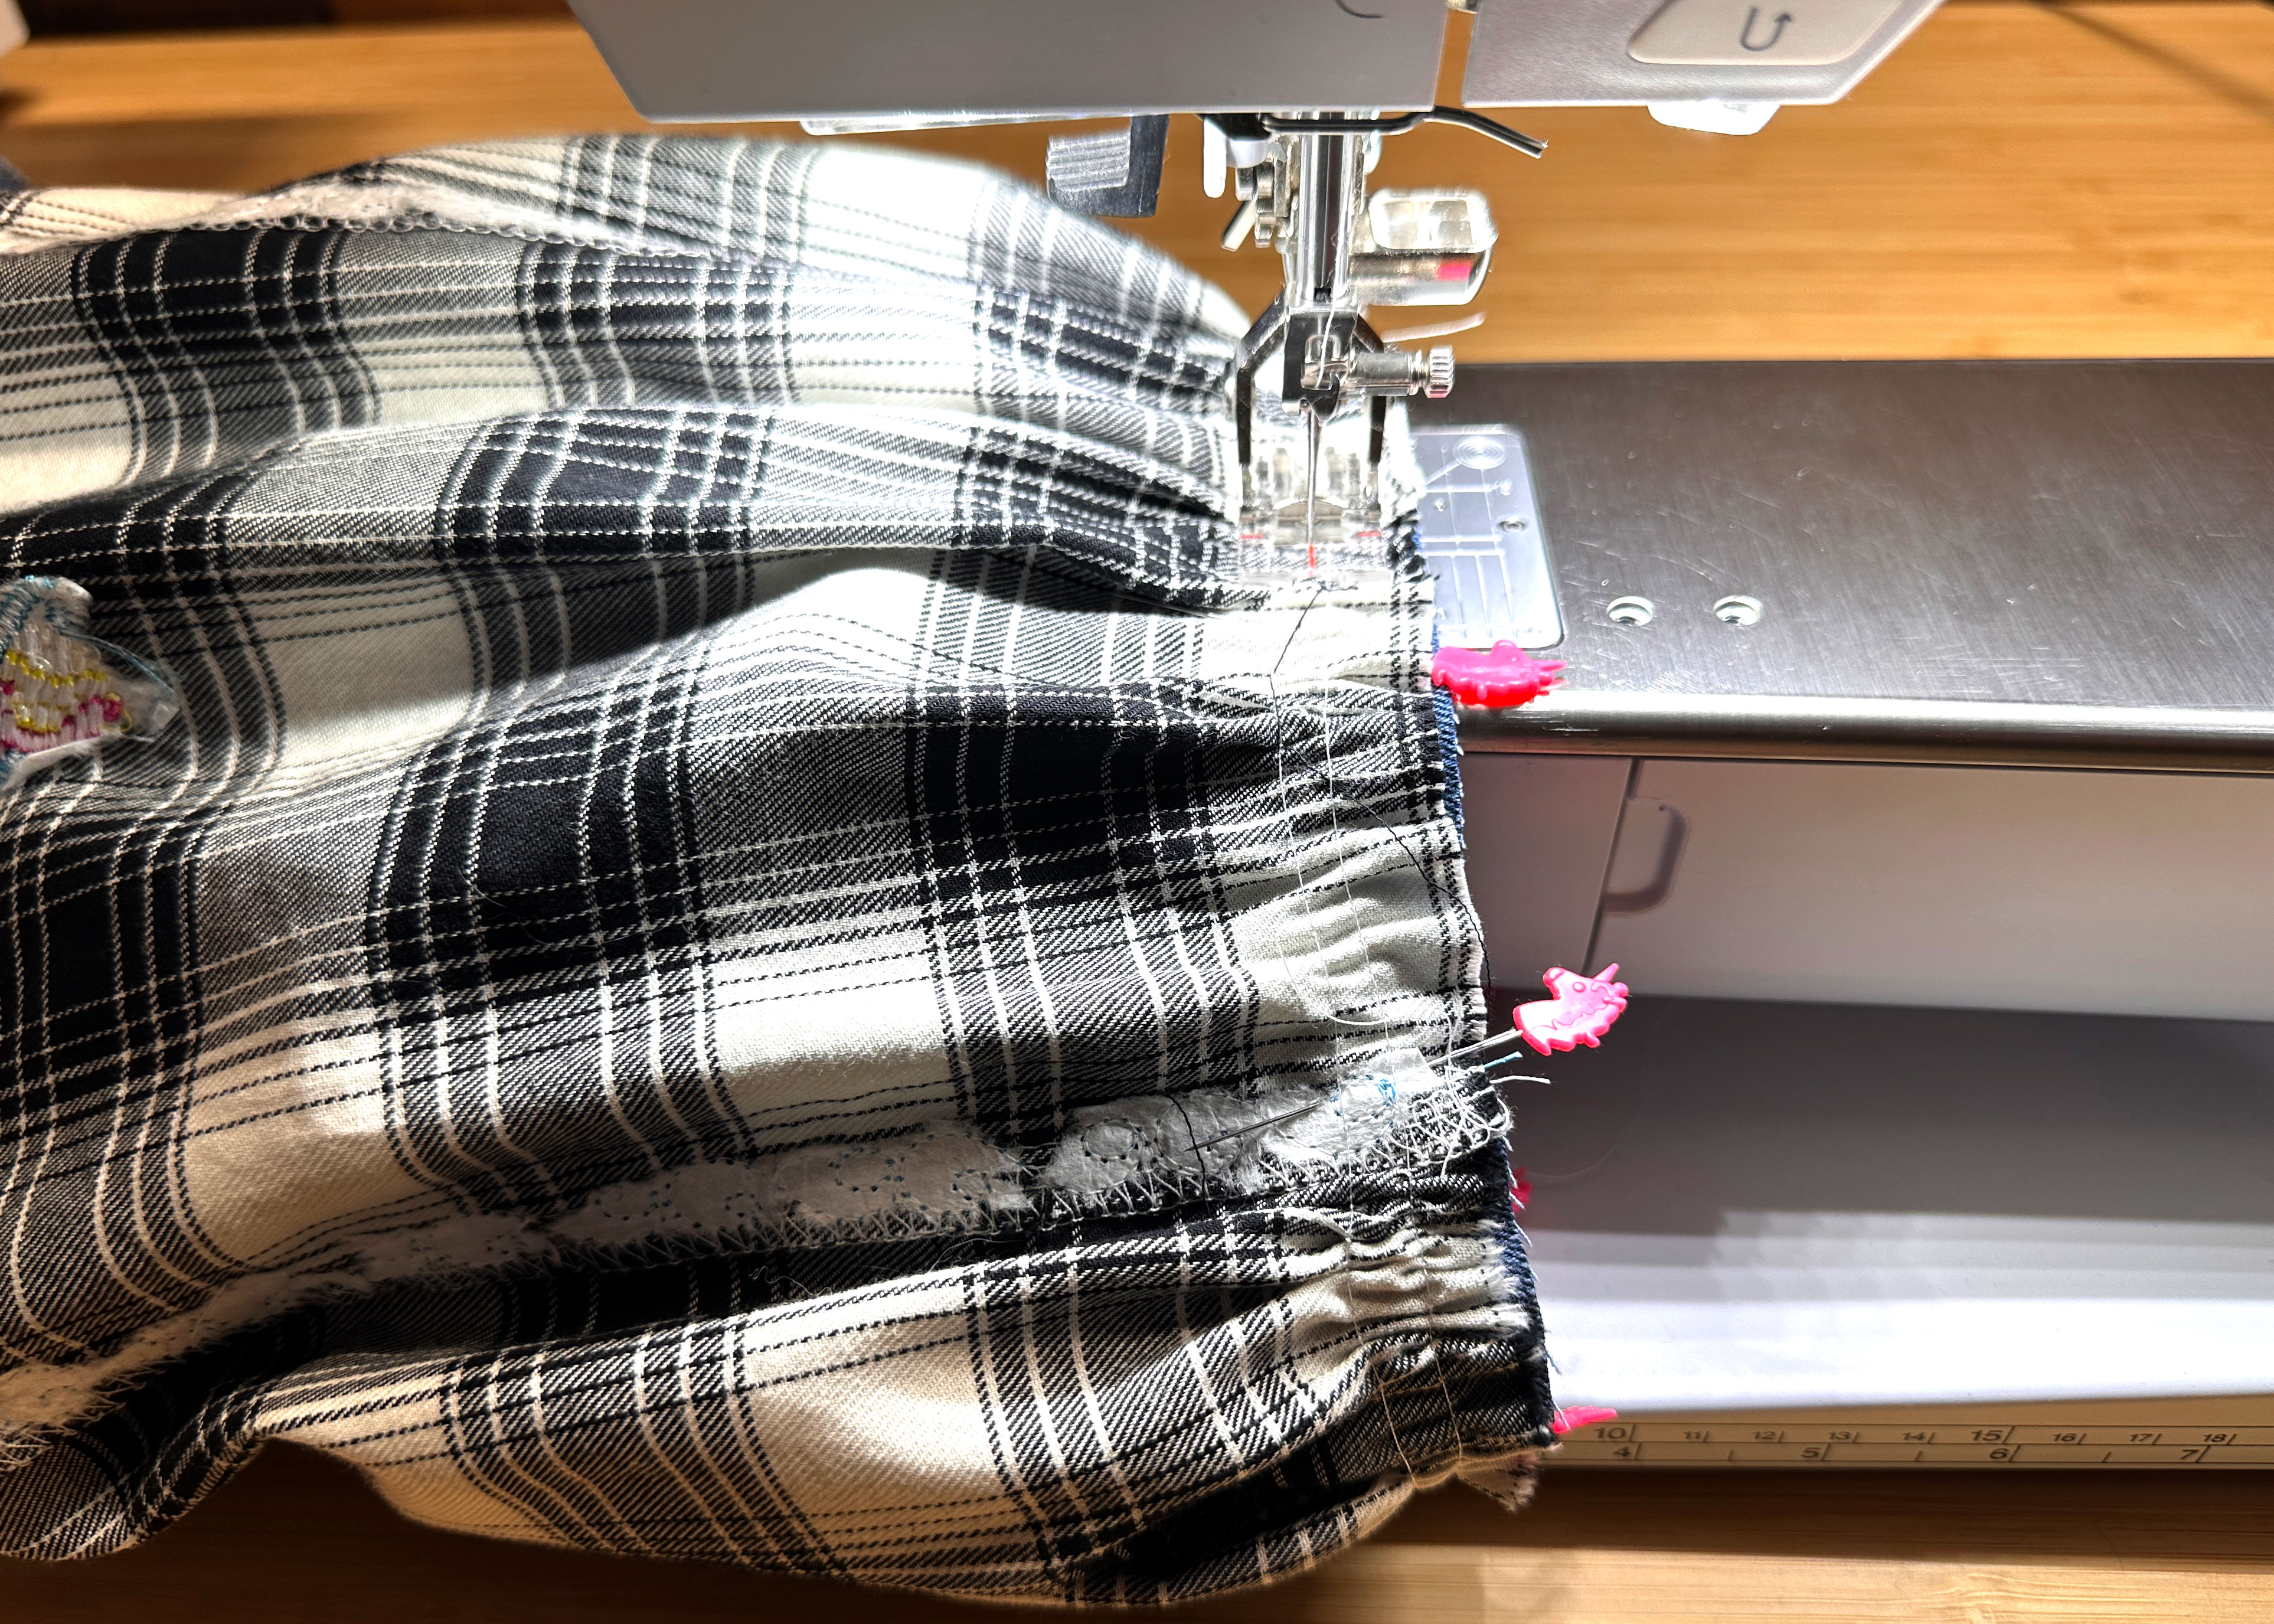
Stitch using a 1/2″ seam allowance, finish the seam as desired and press the seam toward the jeans.
At this point, the upcycled boho jeans are done. But why not add some lace and an appliquéd heart on the leg of the jeans!
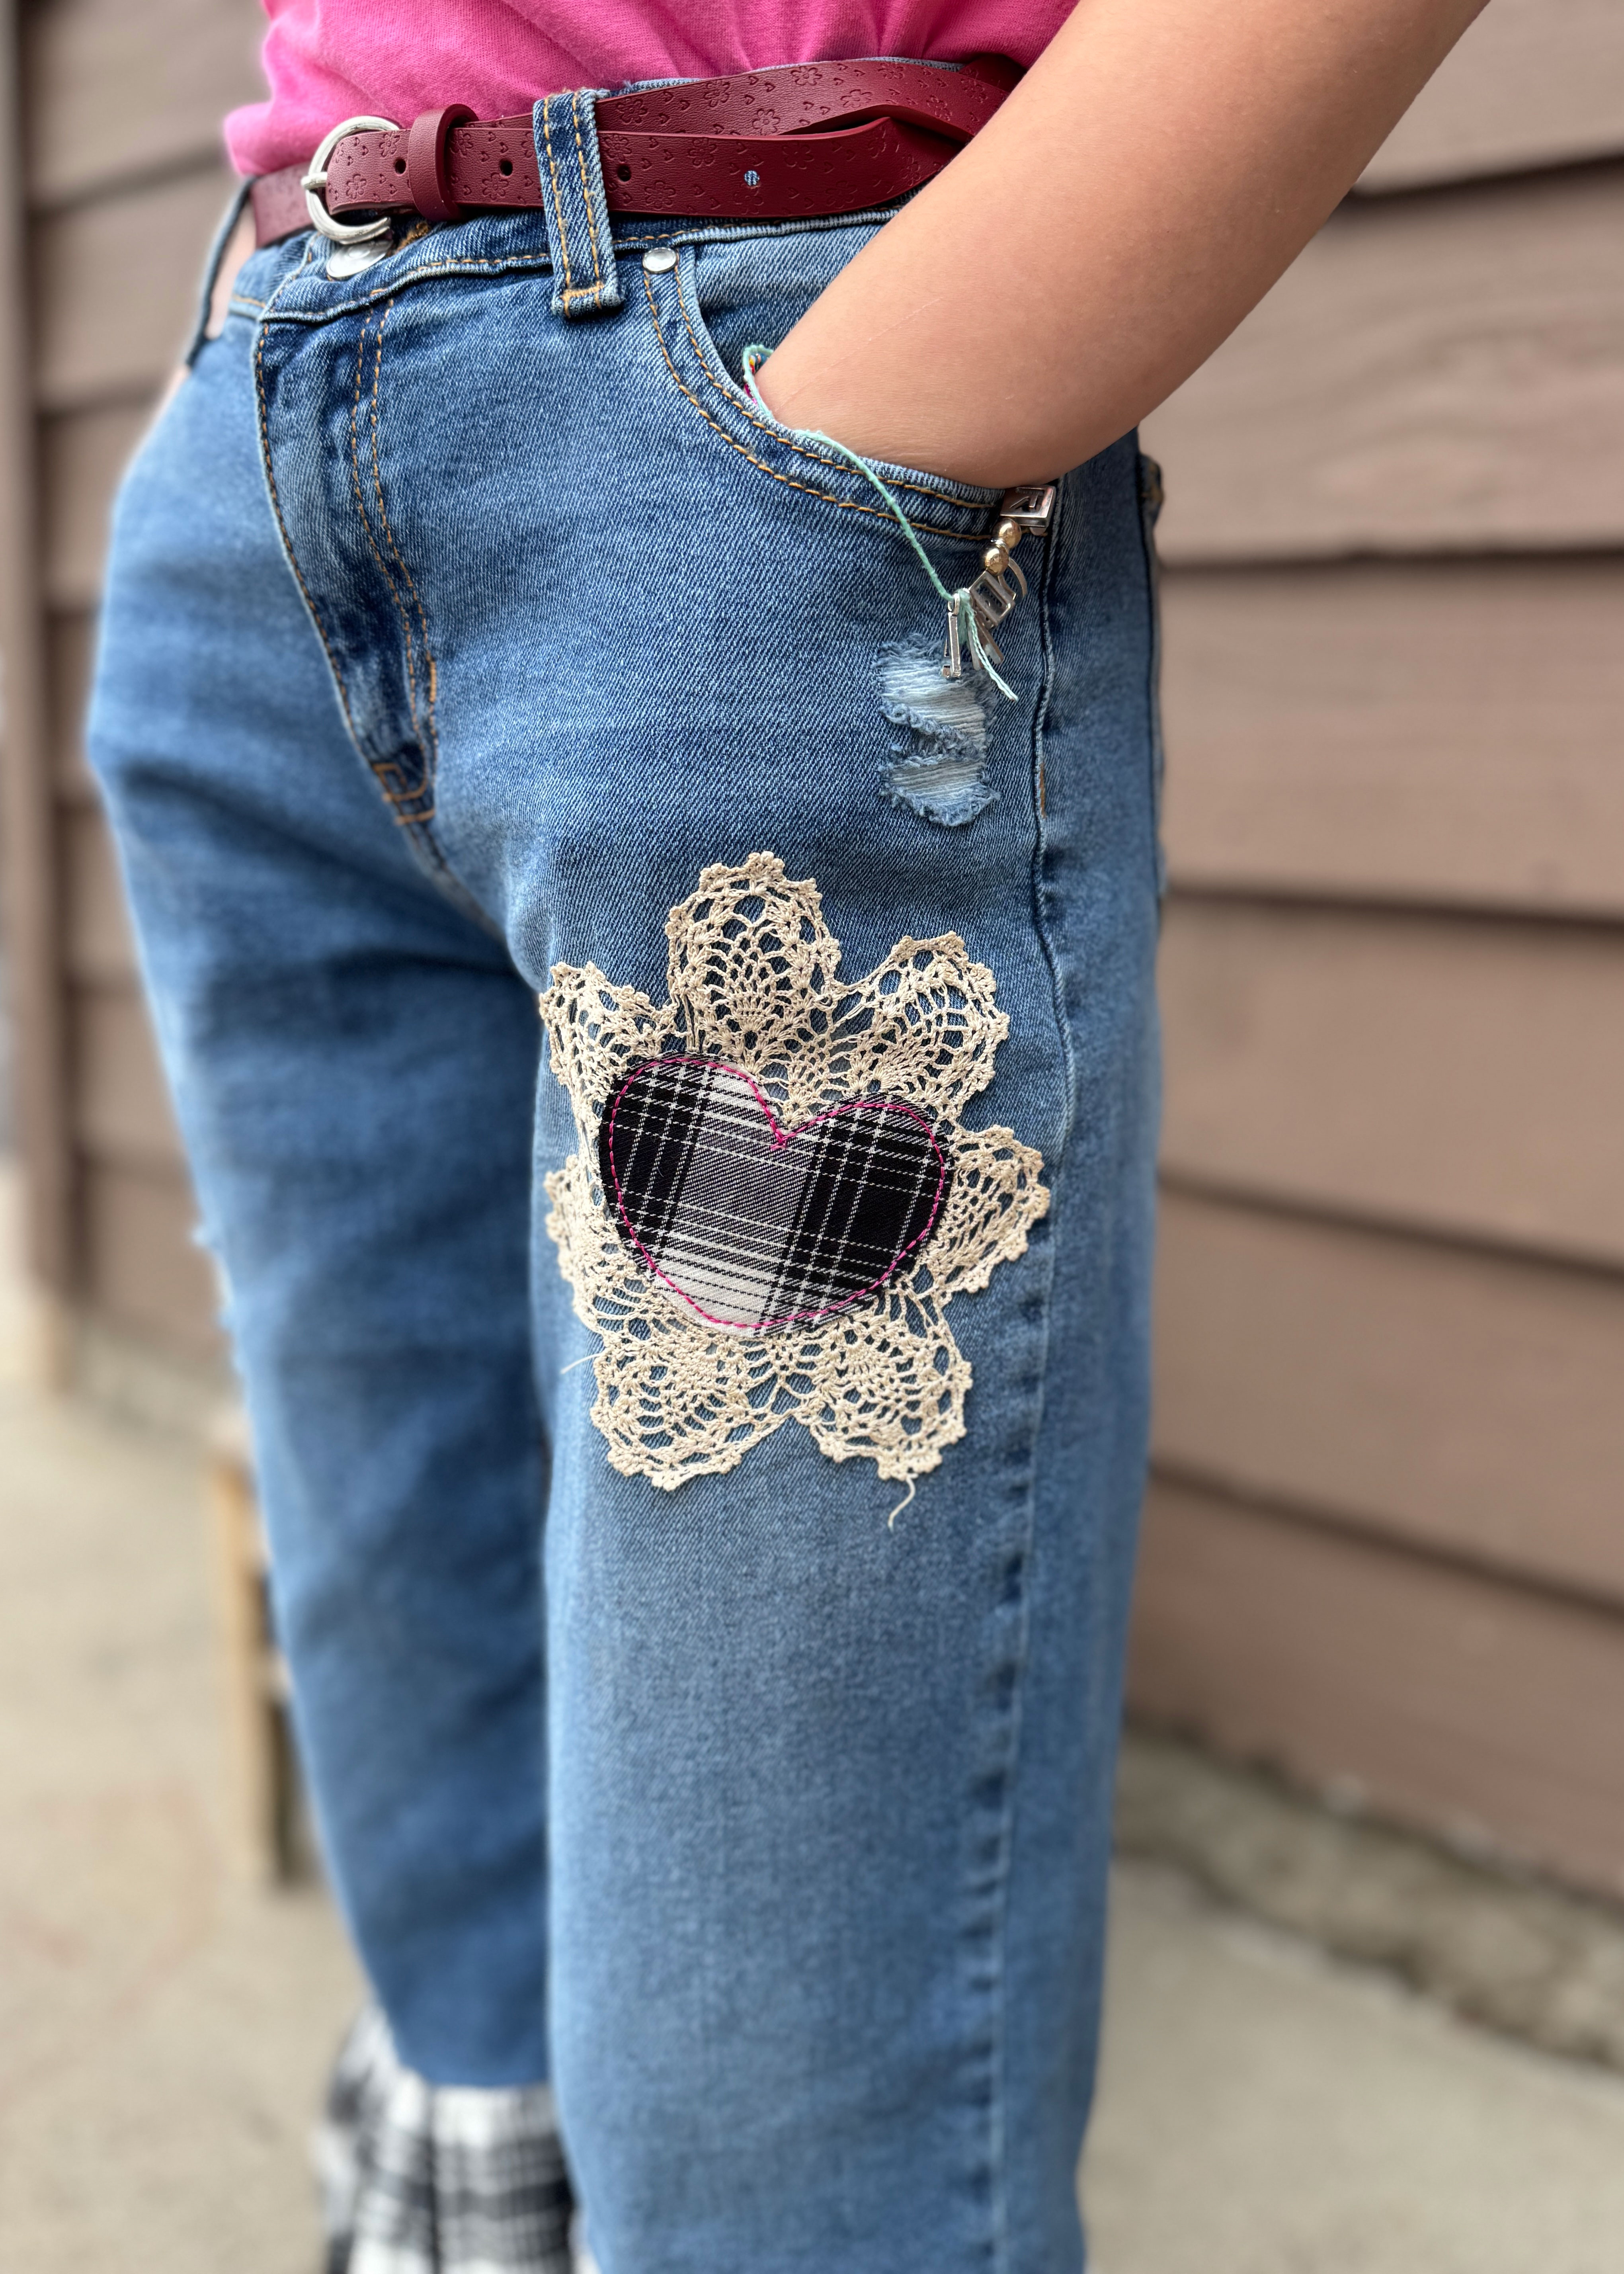
Optional Lace and Heart Appliqué
To continue with the boho look, stitch a lace doily and fabric heart to the front of the jean leg.
Place the lace doily on the jean leg and stitch around the outer edges using matching thread. Iron a piece of interfacing or heat n bond to the back of a small piece of the ruffle fabric, then cut out a heart shape and place it in the center of the lace doily.
Put on the Open Embroidery Foot #20, change to a contrasting thread color, and stitch around the heart using the triple stitch (the number 6 stitch on my machine).

The lace and appliquéd heart add more visual interest to the upper part of the jean leg.
Have fun and be creative with this project! When this pre-teen received her pair of jeans she couldn’t wait to wear them and show all her friends the embroidered icons.
When you create yours, please share a photo and tag me @TheSharonSews and @berninausa on Instagram.