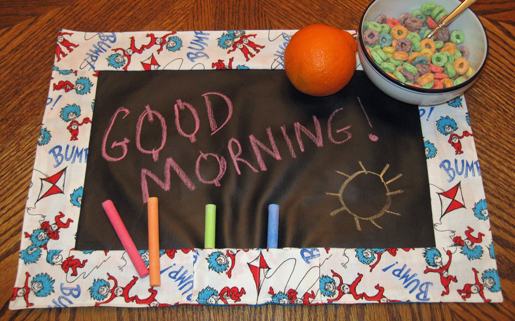
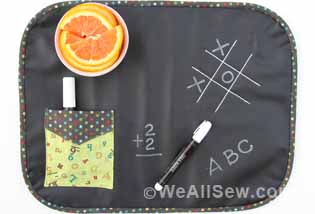
How to Make a Chalkboard Placemat
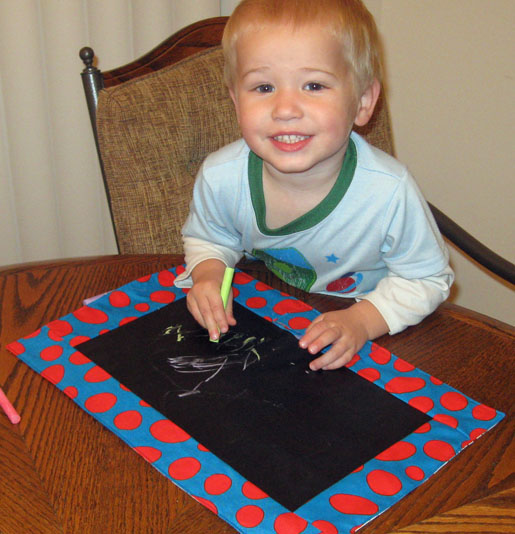
Keep the kids entertained at dinnertime (or anytime) with this easy-to-sew chalk cloth placemat. Make a few extras to post menus, write fun messages or just to express your creativity at the table.
Supplies
- 1/2 yard chalk cloth (chalkboard) fabric
- 1/2 yard of fabric(s) for border and back of placemat*
- Coordinating thread
- Scissors and/or rotary cutter and mat
- Water-soluble marking pen or tailor’s chalk
- Ruler
- Four sticks of colored chalk
*Cotton fabric can be used for the borders and backing, but if you want to make your entire placemat easy to clean, use a laminate fabric for these areas.
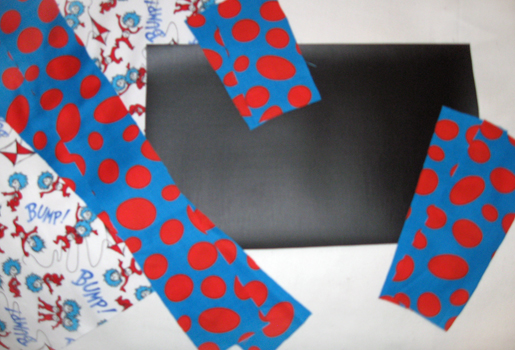
Step 1) Cut the fabric pieces.
From Chalk Cloth
- Cut one 8-1/2″ x 14″ rectangle
From Border/Backing Babric
- Cut two 3″ x 8-1/2″ rectangles
- Cut two 3″ x 18″ rectangles
- Cut two 3″ x 5-1/2″ rectangle for chalk holder
- Cut one 12-1/2″ x 18″ rectangle for backing
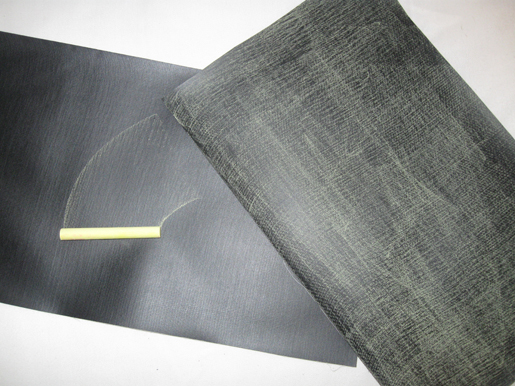
Step 2) Prime the chalk cloth.
It’s important to prime the chalk cloth before you start using your placemat. To do this, rub a piece of chalk across the material (back and forth, up and down) and then wipe with a damp cloth. Priming allows the chalk to “stick” to the material. You may find after repeated use that the fabric must be reprimed.
Tip: Be Careful! Never crease your chalk cloth. This will crack the surface of the material, making it unusable. When pressing the fabric, use a press cloth and the synthetic setting on your iron.
Step 3) Construct the placemat front.
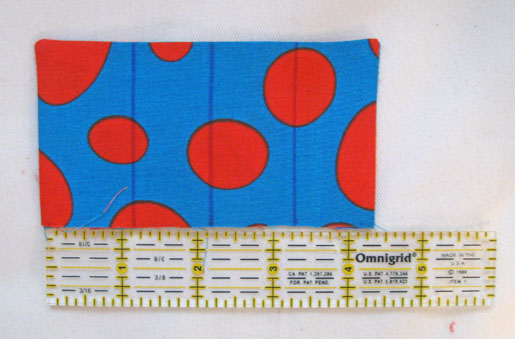
Place the two 3″ x 5-1/2″ rectangles (chalk holder) right sides together. Sew around three sides.
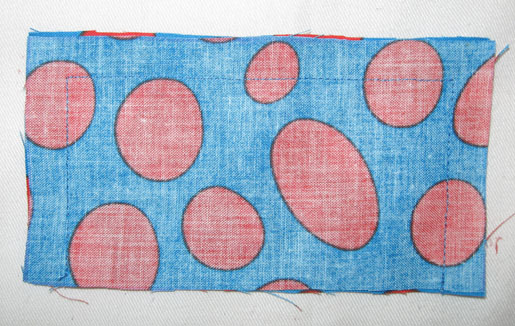
Clip the corners, turn right side out, and press.
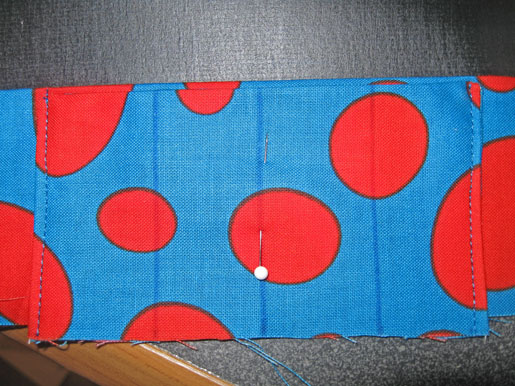
Using a water-soluble marker or tailor’s chalk, draw horizontal lines 1-1/8″, 2-1/8″ and 3-1/8″ from the finished edge. Set aside.
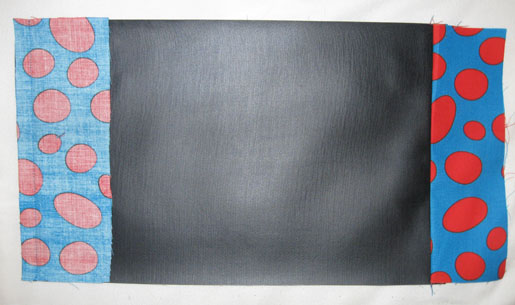
With right sides together, sew a 3″ x 8-1/2″ strip to each short end of the chalk cloth. Press seam allowances open.
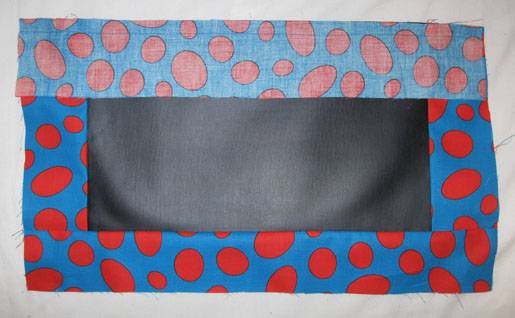
With right sides together, sew a 3″ x 18″ strip to each chalk cloth side border. Press seam allowances open.
Center the chalk holder pocket on the lower edge of the placemat, aligning raw edges.
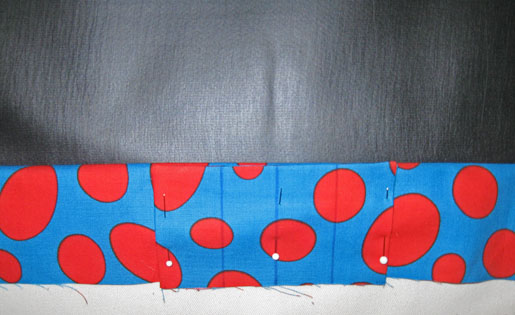
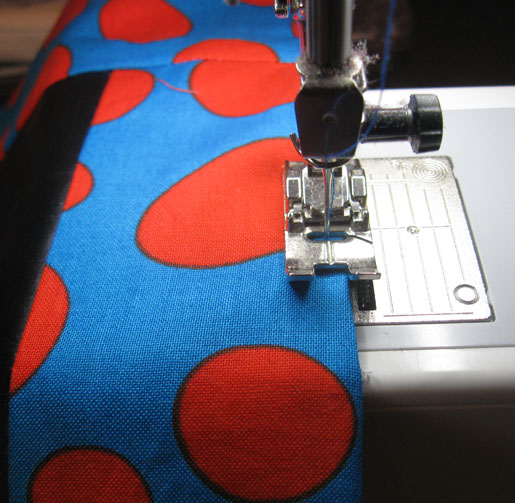
Attach the pocket to the placemat by edgestitching (sewing about 1/8″ away from) the side edges.
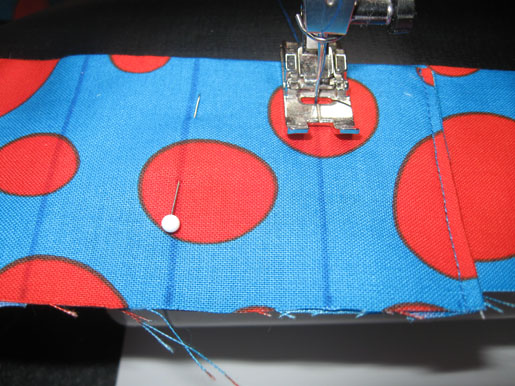
Machine stitch along the drawn lines, through all thicknesses, to create the individual chalk pockets.
Step 4) Complete the placemat.
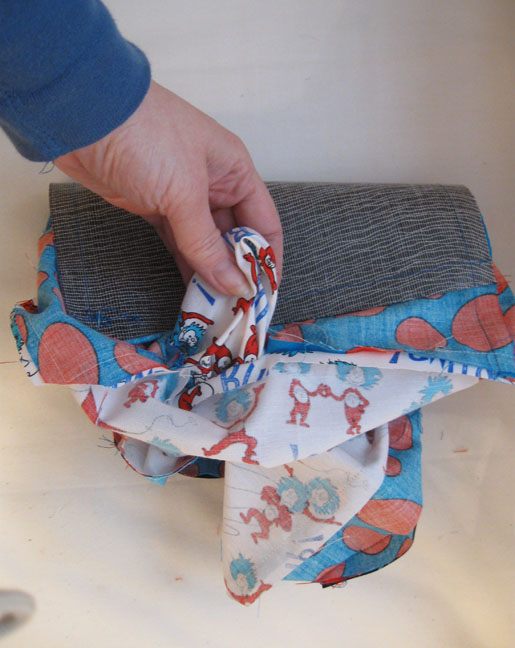
With right sides together, sew the placemat front and back together, leaving a 3″ opening for turning.
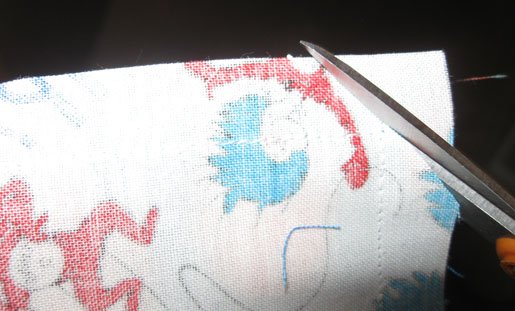
Clip the corners.
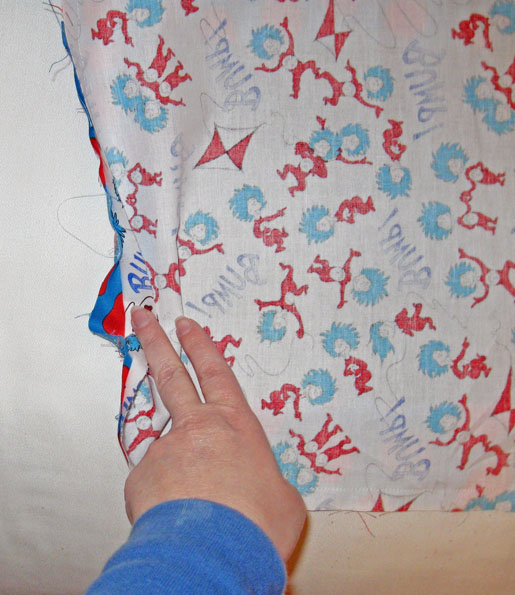
Turn the placemat right-side out through the opening. Press.
Edgestitch 1/8″ away from the finished outer edge of the placemat. It is not necessary to sew the slipstitch opening closed, as the edgestitching will “naturally” close the opening.
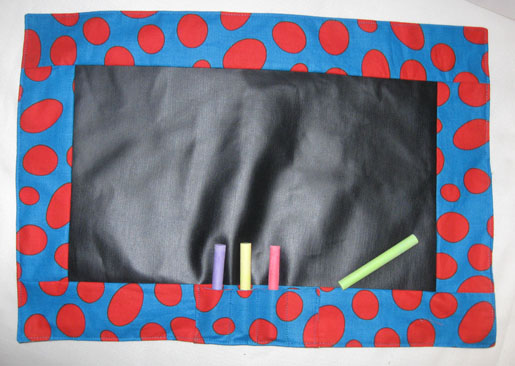
Place chalk sticks in the holder pockets and have fun! To clean, simply wipe the chalk fabric with a damp cloth.


What you might also like


4 comments on “How to Make a Chalkboard Placemat”
-
-
I am just about to make this, but it doesn’t say what size needles to use or what are the width of the seams.
Cathy (narrawallee)
-
I don’t have her instructions here, but I think her seam allowances were 5/8″. I would use regular Universal needles, size 12/80. Hope that helps! Jo
-
Thank you for replying so quick…I was going to use 5/8″ seam but wasn’t sure about the needle so I thought the best thing to do is ask 🙂
-
-
Leave a Reply
You must be logged in to post a comment.

the placemats look easier then the book I made earlier