How to Make a Faux Fur Capelet
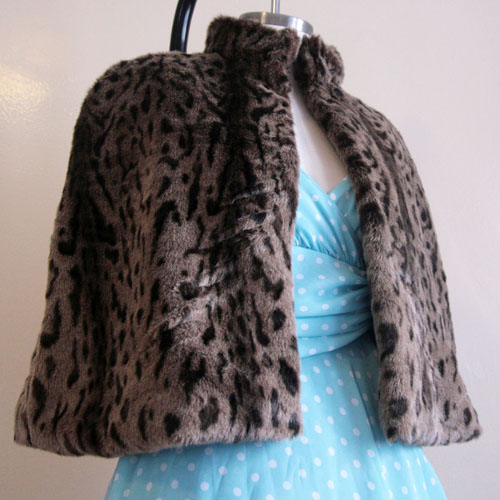
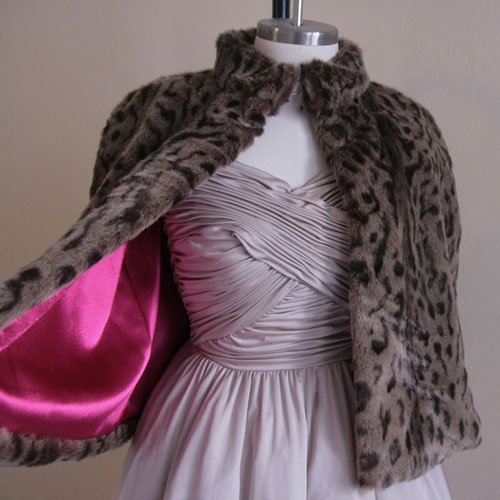
Faux fur achieves true style in this simple, classic design. Go ahead and dress it up or down, wrap yourself in a bit of glam and make a striking entrance. Nothing draws the eye like feline elegance.
Supplies
- 1-1/2 yards faux fur fabric
- 1-1/2 yards lining fabric
- 1/4 yard of fusible interfacing
- Coat hook-and-eye set
- Ready-to-wear coat for tracing
- Pattern paper
- Marking tools
- Scissors
- Thread
- Hand-sewing needle
Step 1) Draft your capelet pattern.
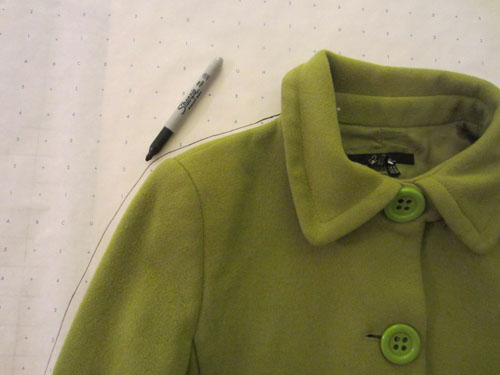
Lay your coat on the pattern paper.
Trace the shoulders, neckline, and center fronts to form the basis of your cape pattern.
Add to the lower edges to make the fronts the length you would like for your finished cape.
Turn the coat over and trace the shoulders, neckline, and back for the basis of your pattern.
Add to the lower edges to make the back the length you would like for your finished cape.
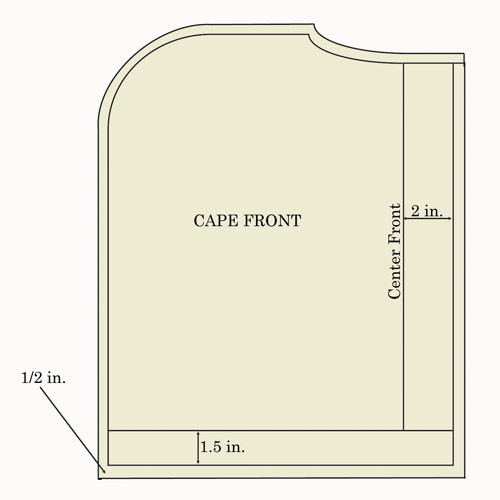
To complete the capelet front pattern:
- Add a 2″-wide facing to the center front edges.
- Add a 1-1/2″-wide hem allowance to the lower edges.
- Add a 1/2″-wide seam allowance to all of the edges.
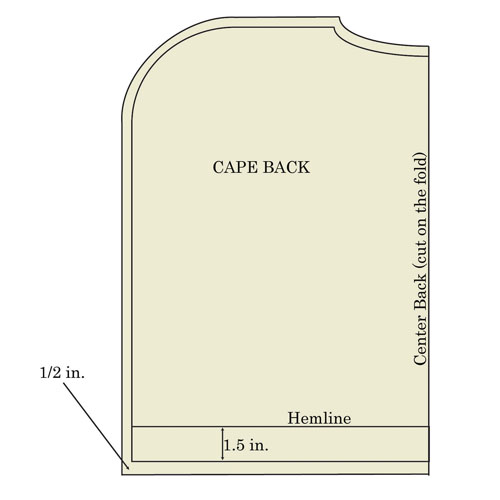
 To complete the capelet back pattern:
- Add a 1-1/2″-wide hem allowance to the lower edges.
- Mark the center back; this is the center back fold line.
- Add a 1/2″-wide seam allowance to all edges except the center back fold line.
 To complete the capelet front lining pattern:
- Trace a copy of your cape front pattern.
- Bring in the center front and hemline edges 1-1/2″.
- Add a 1/2″-wide seam allowance to the new edges.
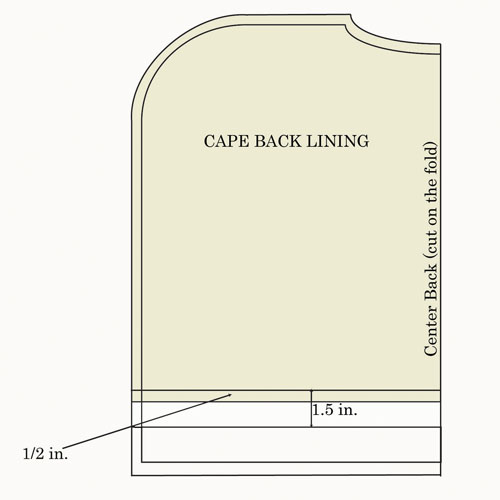
 To complete the capelet back lining pattern:
- Trace a copy of your cape back pattern.
- Bring up the hemline edges 1-1/2″.
- Add a 1/2″-wide seam allowance to the new edge.
 Tip: Download printable pattern-making diagrams HERE: Faux_Fur_Capelet_pattern_specifications.pdf
Step 2) Cut the fabric pieces.
Cut two capelet fronts from the faux fur—one for the right side, one for the left side.
Cut one capelet back—on the fold—from the faux fur.
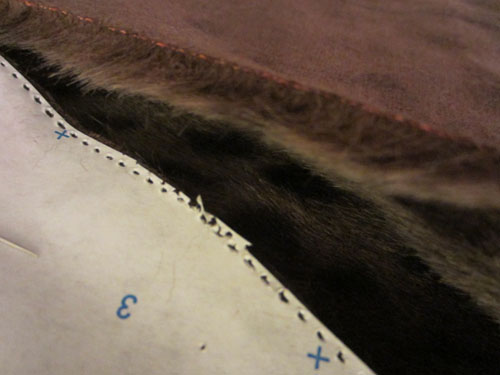
Tip: When cutting faux fur, take care to cut through the fur’s backing only, and avoid cutting through the fur’s nap.
Cut two capelet front linings from the lining fabric—one for the left side, one for the right side.
Cut one capelet back lining—on the fold—from the lining fabric.
Step 3) Construct the capelet.
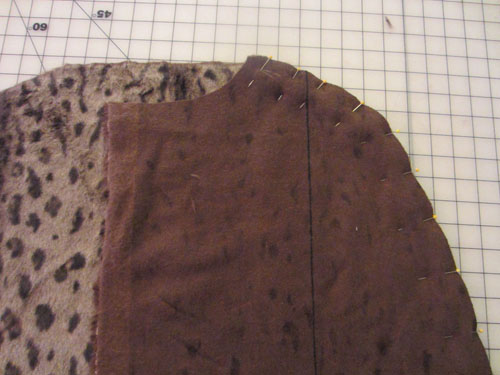
With right sides together, sew the two capelet fronts to the capelet back along the shoulder seams using a ½ʺ-wide seam allowance.
Repeat, joining the two lining fronts to the lining backs.
Turn the faux fur hem under 2ʺ; press.
Turn each front facing under 2-1/2ʺ; press.
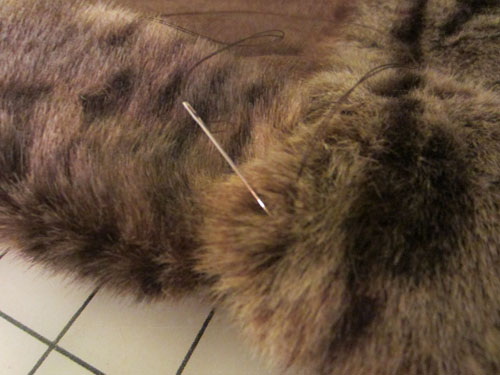
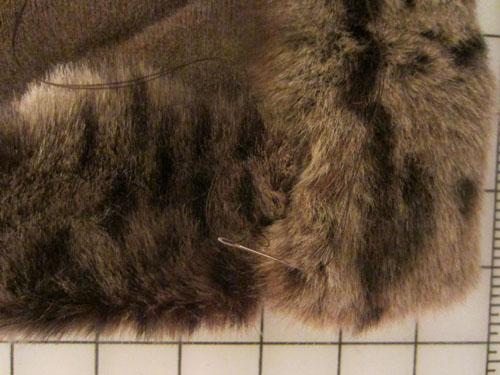
Hand-stitch the facing to the hem allowance where they overlap, turning under 1/2ʺ along the facing’s raw edge.
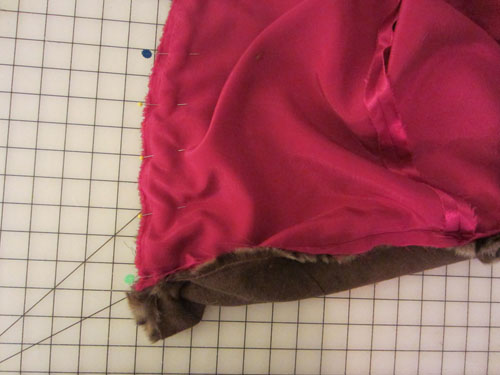
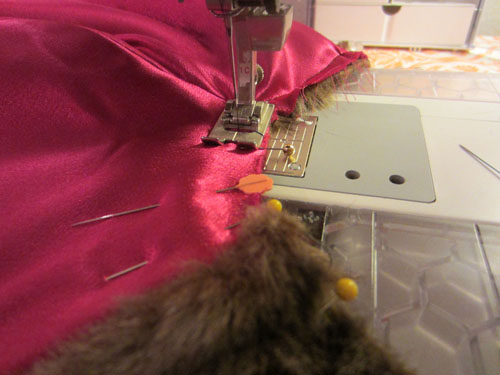
With right sides together, pin the lining to the capelet, aligning the hem and facing edges.
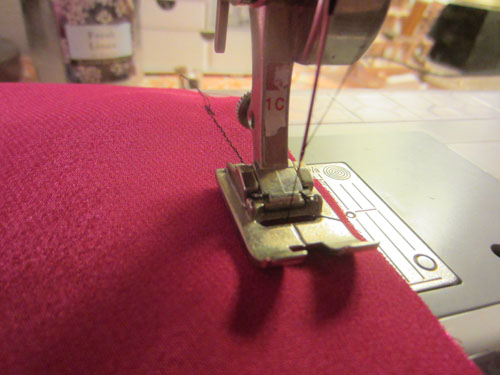
Stitch using a 1/2ʺ-wide seam allowance.
Step 4) Add the collar.
Turn the capelet right side out.
Turn under 1/2ʺ along the faux fur and lining necklines.
With wrong sides together, align and pin the necklines.
Topstitch 1/4ʺ from the edge.
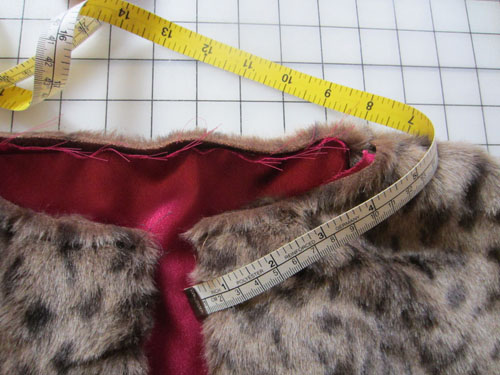
Measure your capelet’s neckline and add 1”. This will be the length of your collar.
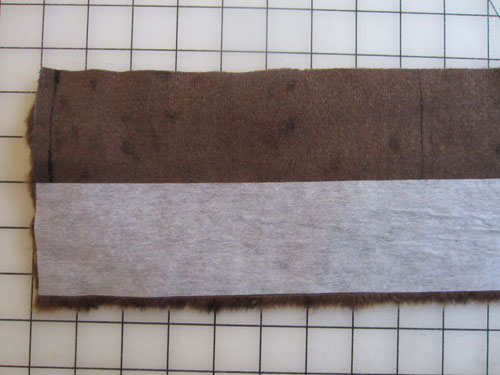
Cut a 4”-wide rectangle of faux fur the length of your collar.
Cut a strip of fusible interfacing the length of your collar and 2” wide.
Fuse the interfacing to the wrong side of the collar, aligning one long edge.
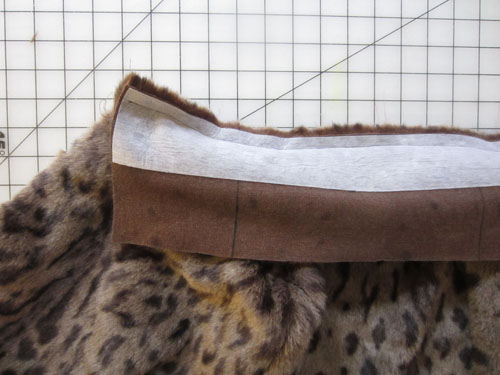
With right sides together and raw edges aligned, pin one long edge of the collar to the cape with the collar’s ends extended 1/2ʺ beyond the sides of the cape.
Stitch in place with a 1/2ʺ-wide seam allowance.
Turn under the free long collar edge 1/2ʺ.
Fold the collar right sides together along the interfacing edge.
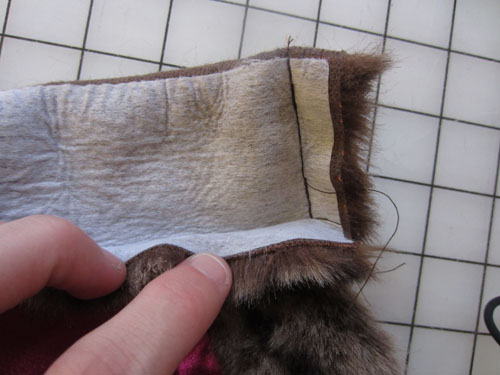
Sew each short end with a 1/2ʺ-wide seam allowance.
Trim the corners and turn the collar right side out.
Hand-stitch the collar closed along the inside edge of the neckline.
Sew the hook and eye to the wrong side of the collar along the center front edges.













3 comments on “How to Make a Faux Fur Capelet”
Easy & beautiful!