Your Mother Should Know: How to Sew Beautiful Zigzags Using Triangles
Here’s a terrific triangle tutorial from Ashley Nickels, who blogs over at Alphabet Summer. Such an awesome concept: 26 letters, 26 projects, activities, or destination. In alphabetical order. I need to jump-start my left-brain exercise regimen, and this sounds like a routine I could stick to and enjoy. (I’ll let you know how it goes.) Today Ashley demonstrated how to sew triangles with perfect points, a technique she used for her Z is for Zigzag: Zipper Clutch last month.
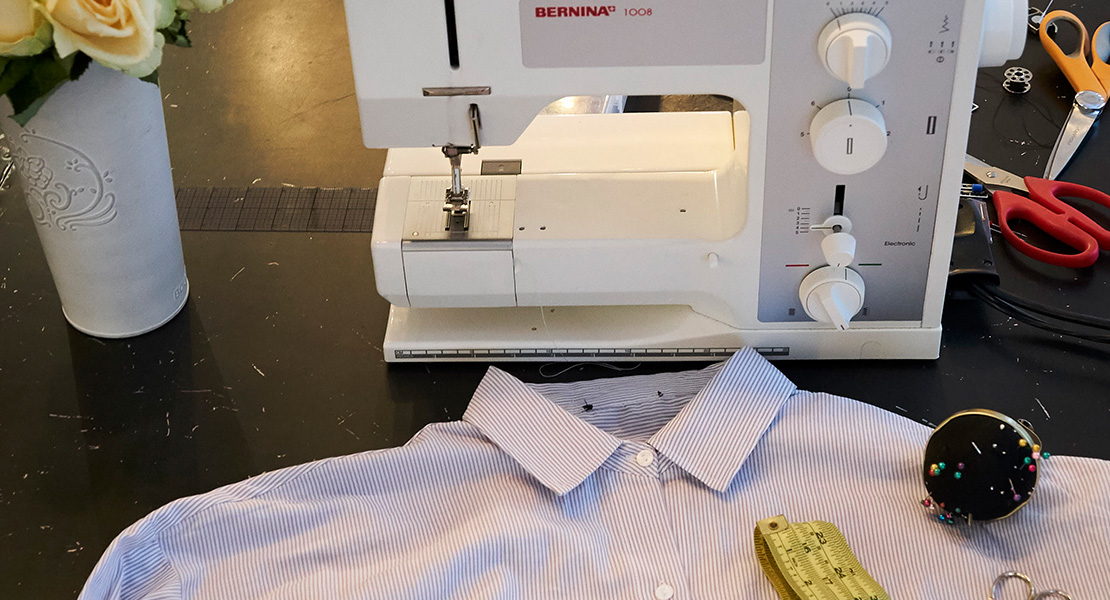
Ah, to grow up in a quilting household. By default, the sewing machine drew me in as a young person, and is still my favorite tool for creative expression. But, like most sassy teenagers, I was both interested in sewing and a strong-willed/roll-her-eyes kind of daughter, which meant that a lot of extremely useful lessons from my mom around sewing went actively unlearned for many years. As a result (thanks, teenage Ashley!), I went out into the world and had to learn a lot of things the hard way. I’m here to share a few sewing tips that I learned on my journey.
One aspect of sewing that I really love is that it can be freeform. I make a lot of bags, wallets and one-of-a-kind projects that don’t necessarily have to fit a certain body, shape or size. I used to scoff at the term “seam allowance.” Ha! Measure? That’s crazy talk. And then I began quilting. Quilts, my friends, do not allow for such luxuries! You must be precise at every stage.
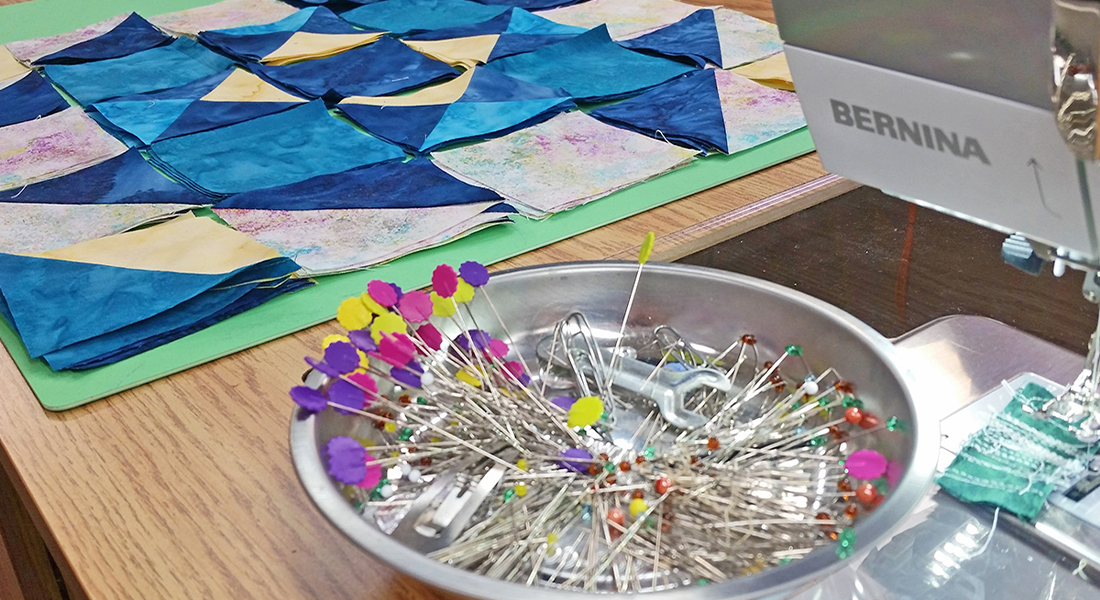
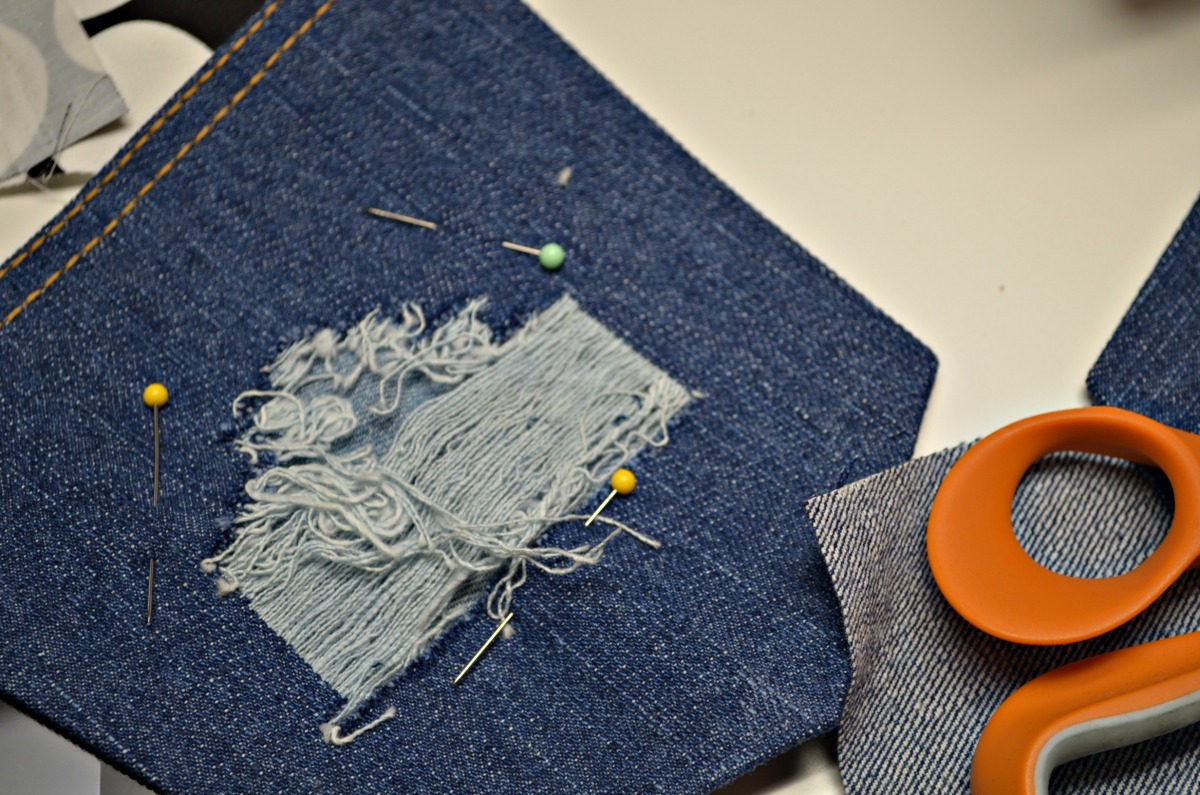
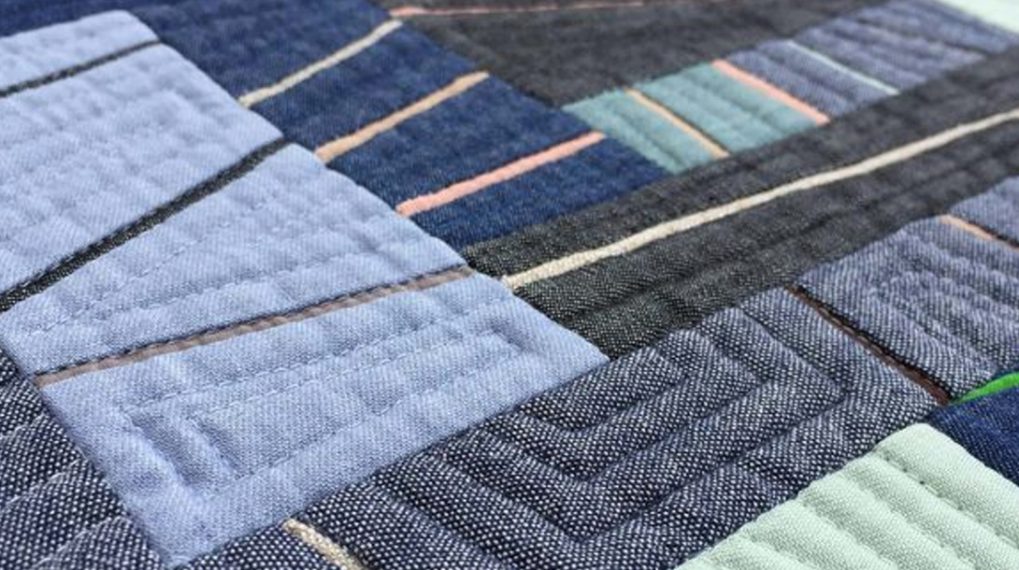
When sewing triangles together to make a zigzag pattern, it’s of utmost importance to respect the quarter-inch seam allowance. Otherwise, you get what I like to call “The Volcano Effect.” Yep, that means that, instead of perfectly pointed mountain tops, the triangles will look more like volcanoes.

Here’s how to avoid “The Volcano” in four easy steps:

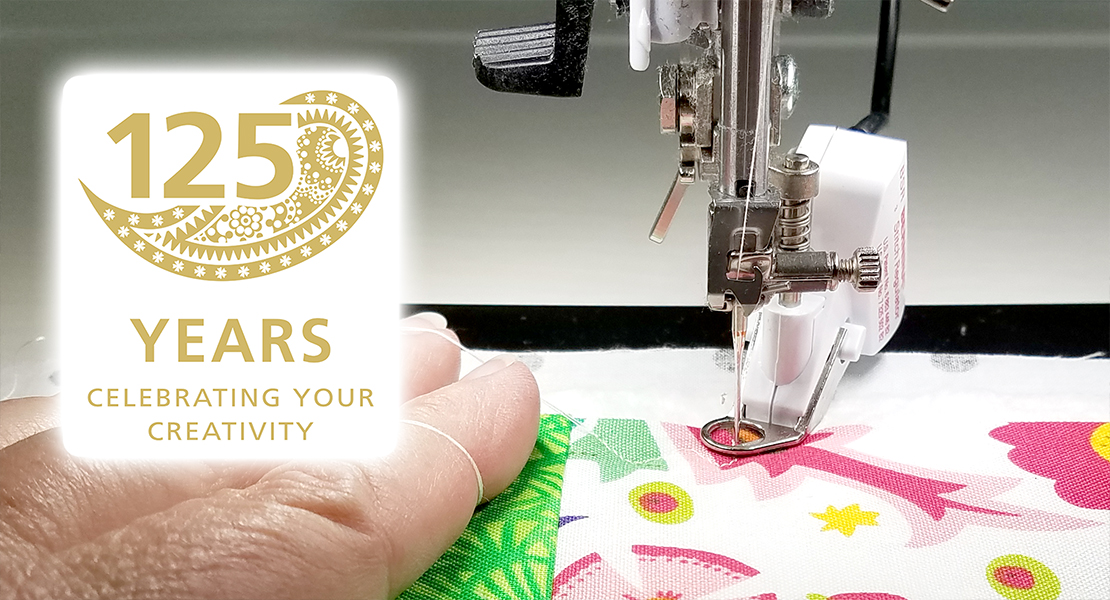
Offsetting your triangles by a quarter inch might seem counterintuitive. However, if you line up the edges perfectly, your triangle top will be chopped off when you sew the rows together.

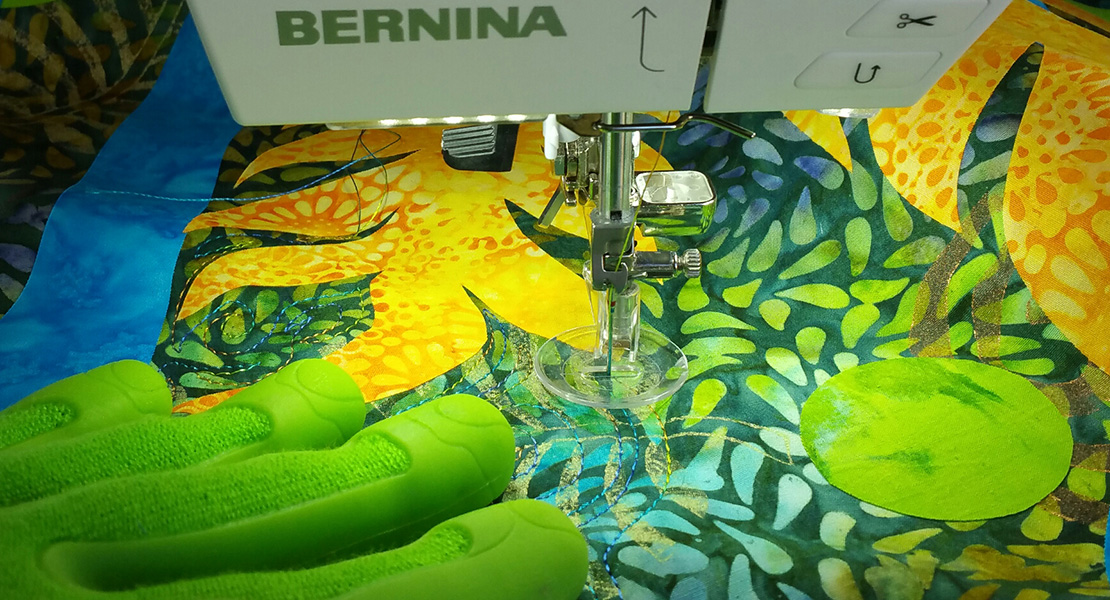
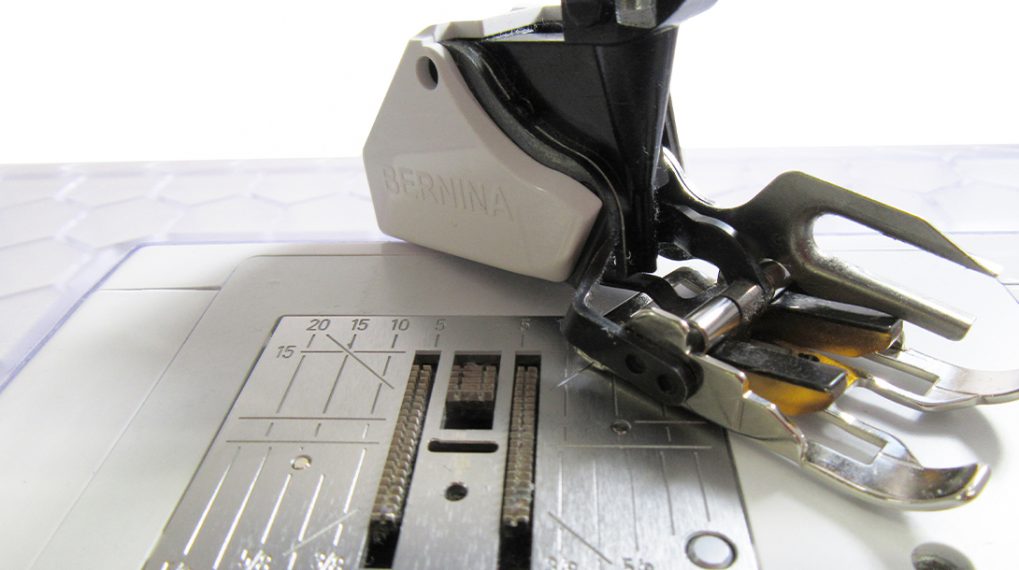
Using a ¼-inch foot (BERNINA Patchwork Foot #37) will help you measure to check that you have the correct seam allowance every time.

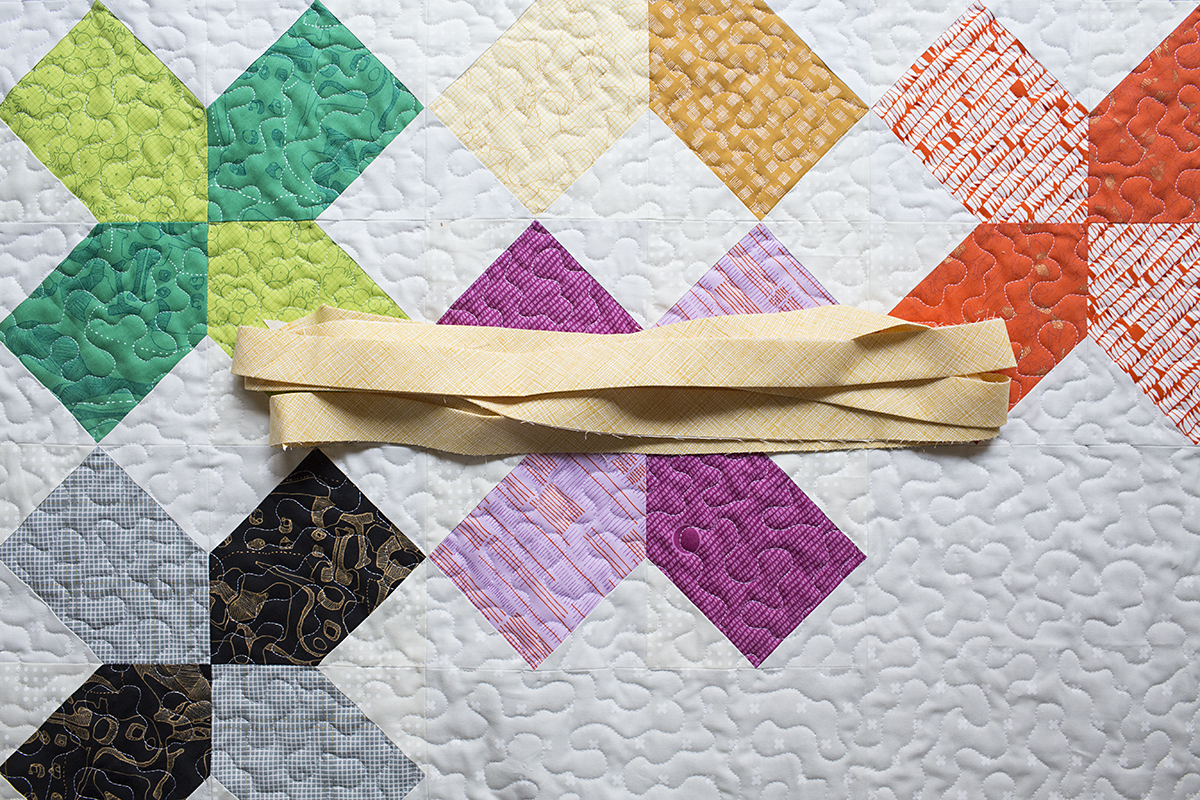
Once you sew all of the triangles together, you’ll have a perfectly measured ¼ inch seam allowance on either side of the strip.


Voilà! You avoided “The Volcano” and your triangles are perfectly aligned, giving you an awesome zigzag pattern.
Though she was born a long, long time ago… Your mother should know. I know mine does!
For more on this project, which turns itself into a zipper clutch, check out my blog at http://alphabetsummer.com/.
Ashley is a teacher, blogger and general maker of things. Growing up surrounded by quilters, she began “selectively apprenticing” with her quilter mother (Sue Nickels) at a young age, making a fabulously boxy skirt from a yard of tulle and a piece of elastic. You can read about her current sewing escapades at www.alphabetsummer.com.


2 comments on “Your Mother Should Know: How to Sew Beautiful Zigzags Using Triangles”