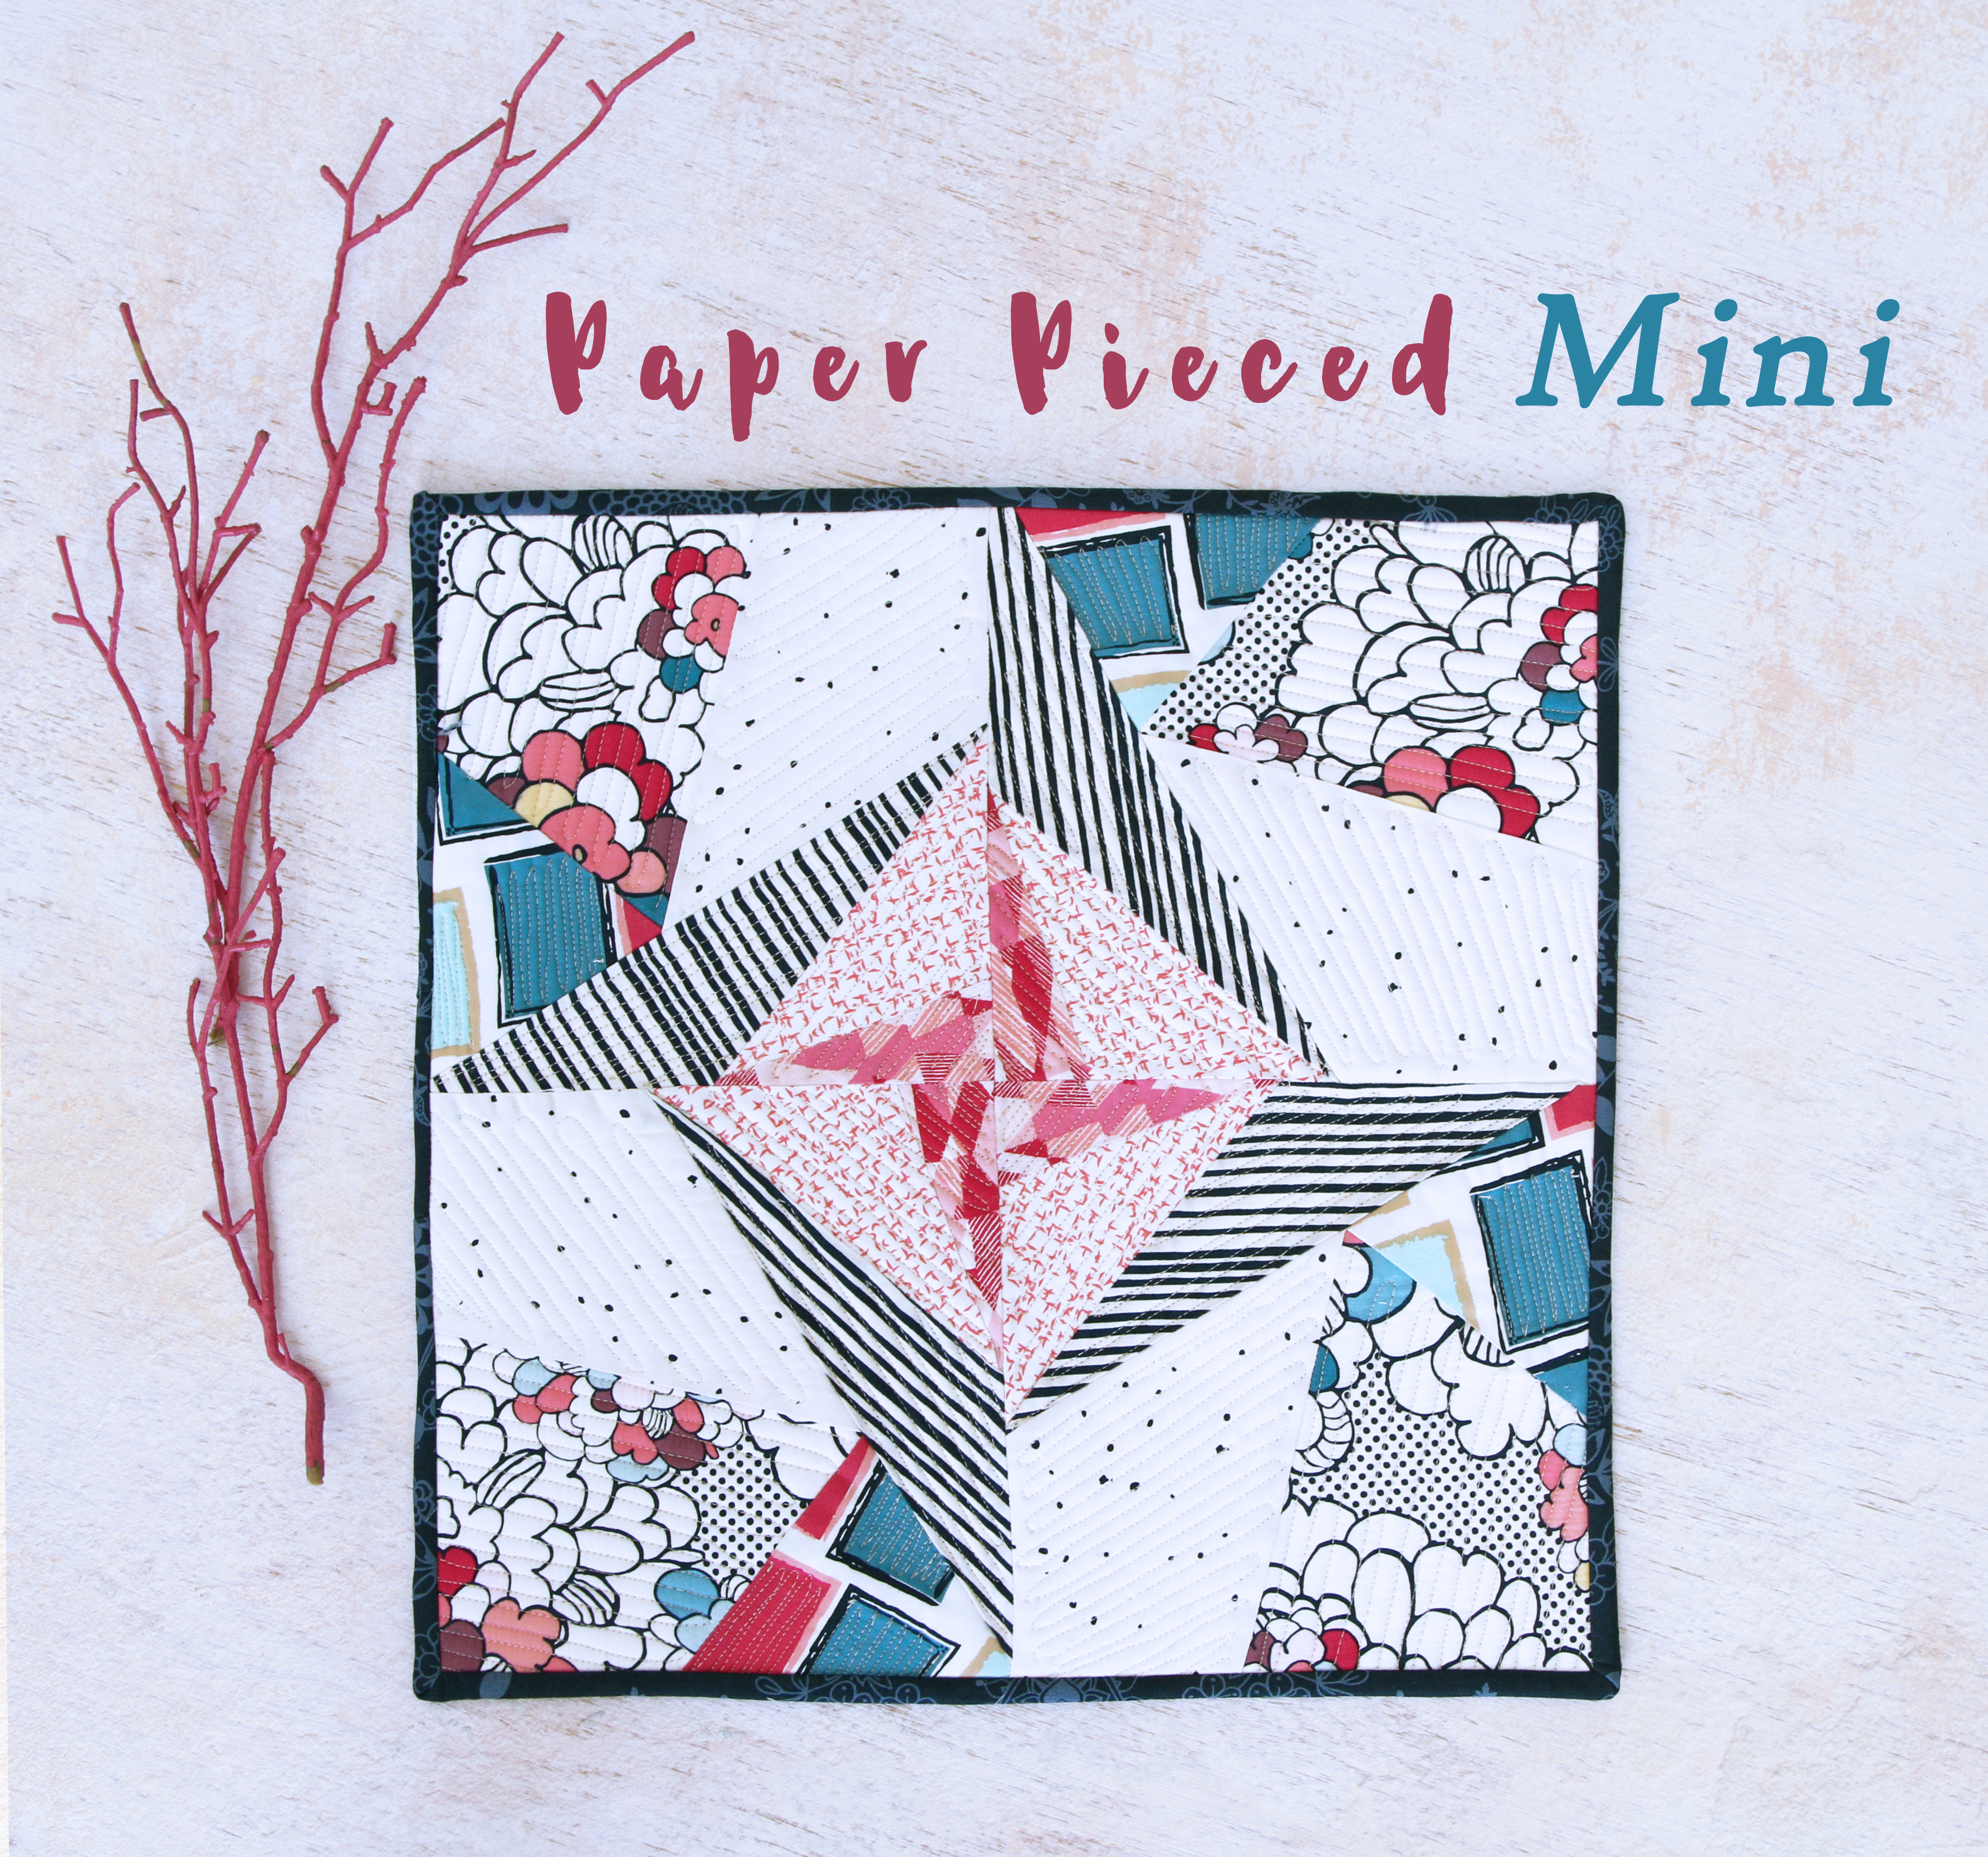
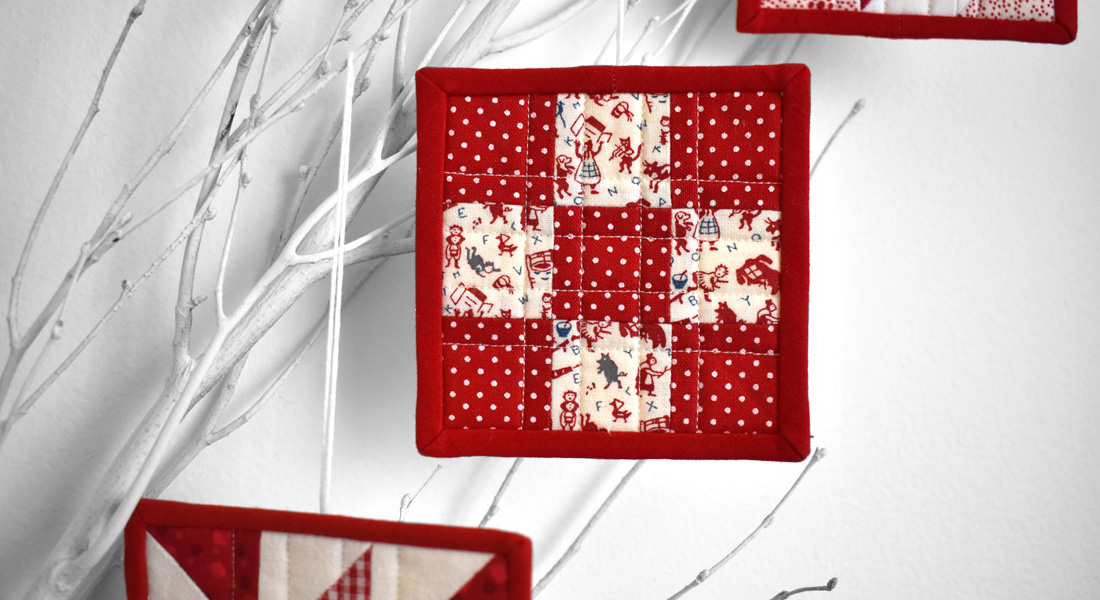
How To Make a Paper Pieced Mini
I am currently obsessed with mini quilts and especially with paper pieced minis! Some beginner quilters find paper piecing a bit complicated but it is one of the easiest methods, I will try my best to explain it in detail for all of you. Stay tuned and get ready to try the paper pieced mini!
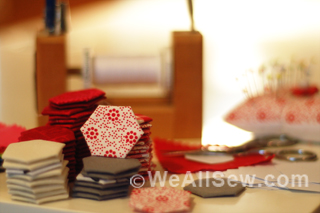
Materials to sew the Paper Pieced Mini
- Fat Eight of ESS-II-251 from Essentials II Fabrics FABRIC A
- Fat Quarter of DAR-64305 from Dare Fabrics FABRIC B
- Fat Quarter of ESS-II-152 from Essentials II Fabrics FABRIC C
- Fat Quarter of DAR-64311 from Dare Fabrics FABRIC D
- Fat eight of DAR-54304 from Dare Fabrics FABRIC E
- Fat Eight of ESS-II-154 from Essentials II Fabrics FABRIC F
- 1/2 yard of batting
- Universal needles, size 80/12
- Your sewing machine and embroidery machine: I sew on a BERNINA 790
- All-purpose presser foot (BERNINA Reverse Pattern Foot #1/1C/1D), and free motion quilting with regular stitch length (BERNINA Stitch Regulator)
- AURIFIL cotton thread #2309
- Safety pins
- Paper Pieced Mini Pattern (print four)
Cutting Instructions:
- Cut 4 (four) 5.5” by 3.5” of FABRIC A
- Cut 4 (four) 7” by 5.5” of FABRIC B
- Cut 4 (four) 9” by 7” of FABRIC C
- Cut 4 (four) 5.5” by 6.5” of FABRIC D
- Cut 4 (four) 5” by 7” of FABRIC E
- Cut 4 (four) 5” by 8” of FABRIC F
- 18” by 18” square of batting
Step 1- Paper Piecing Top
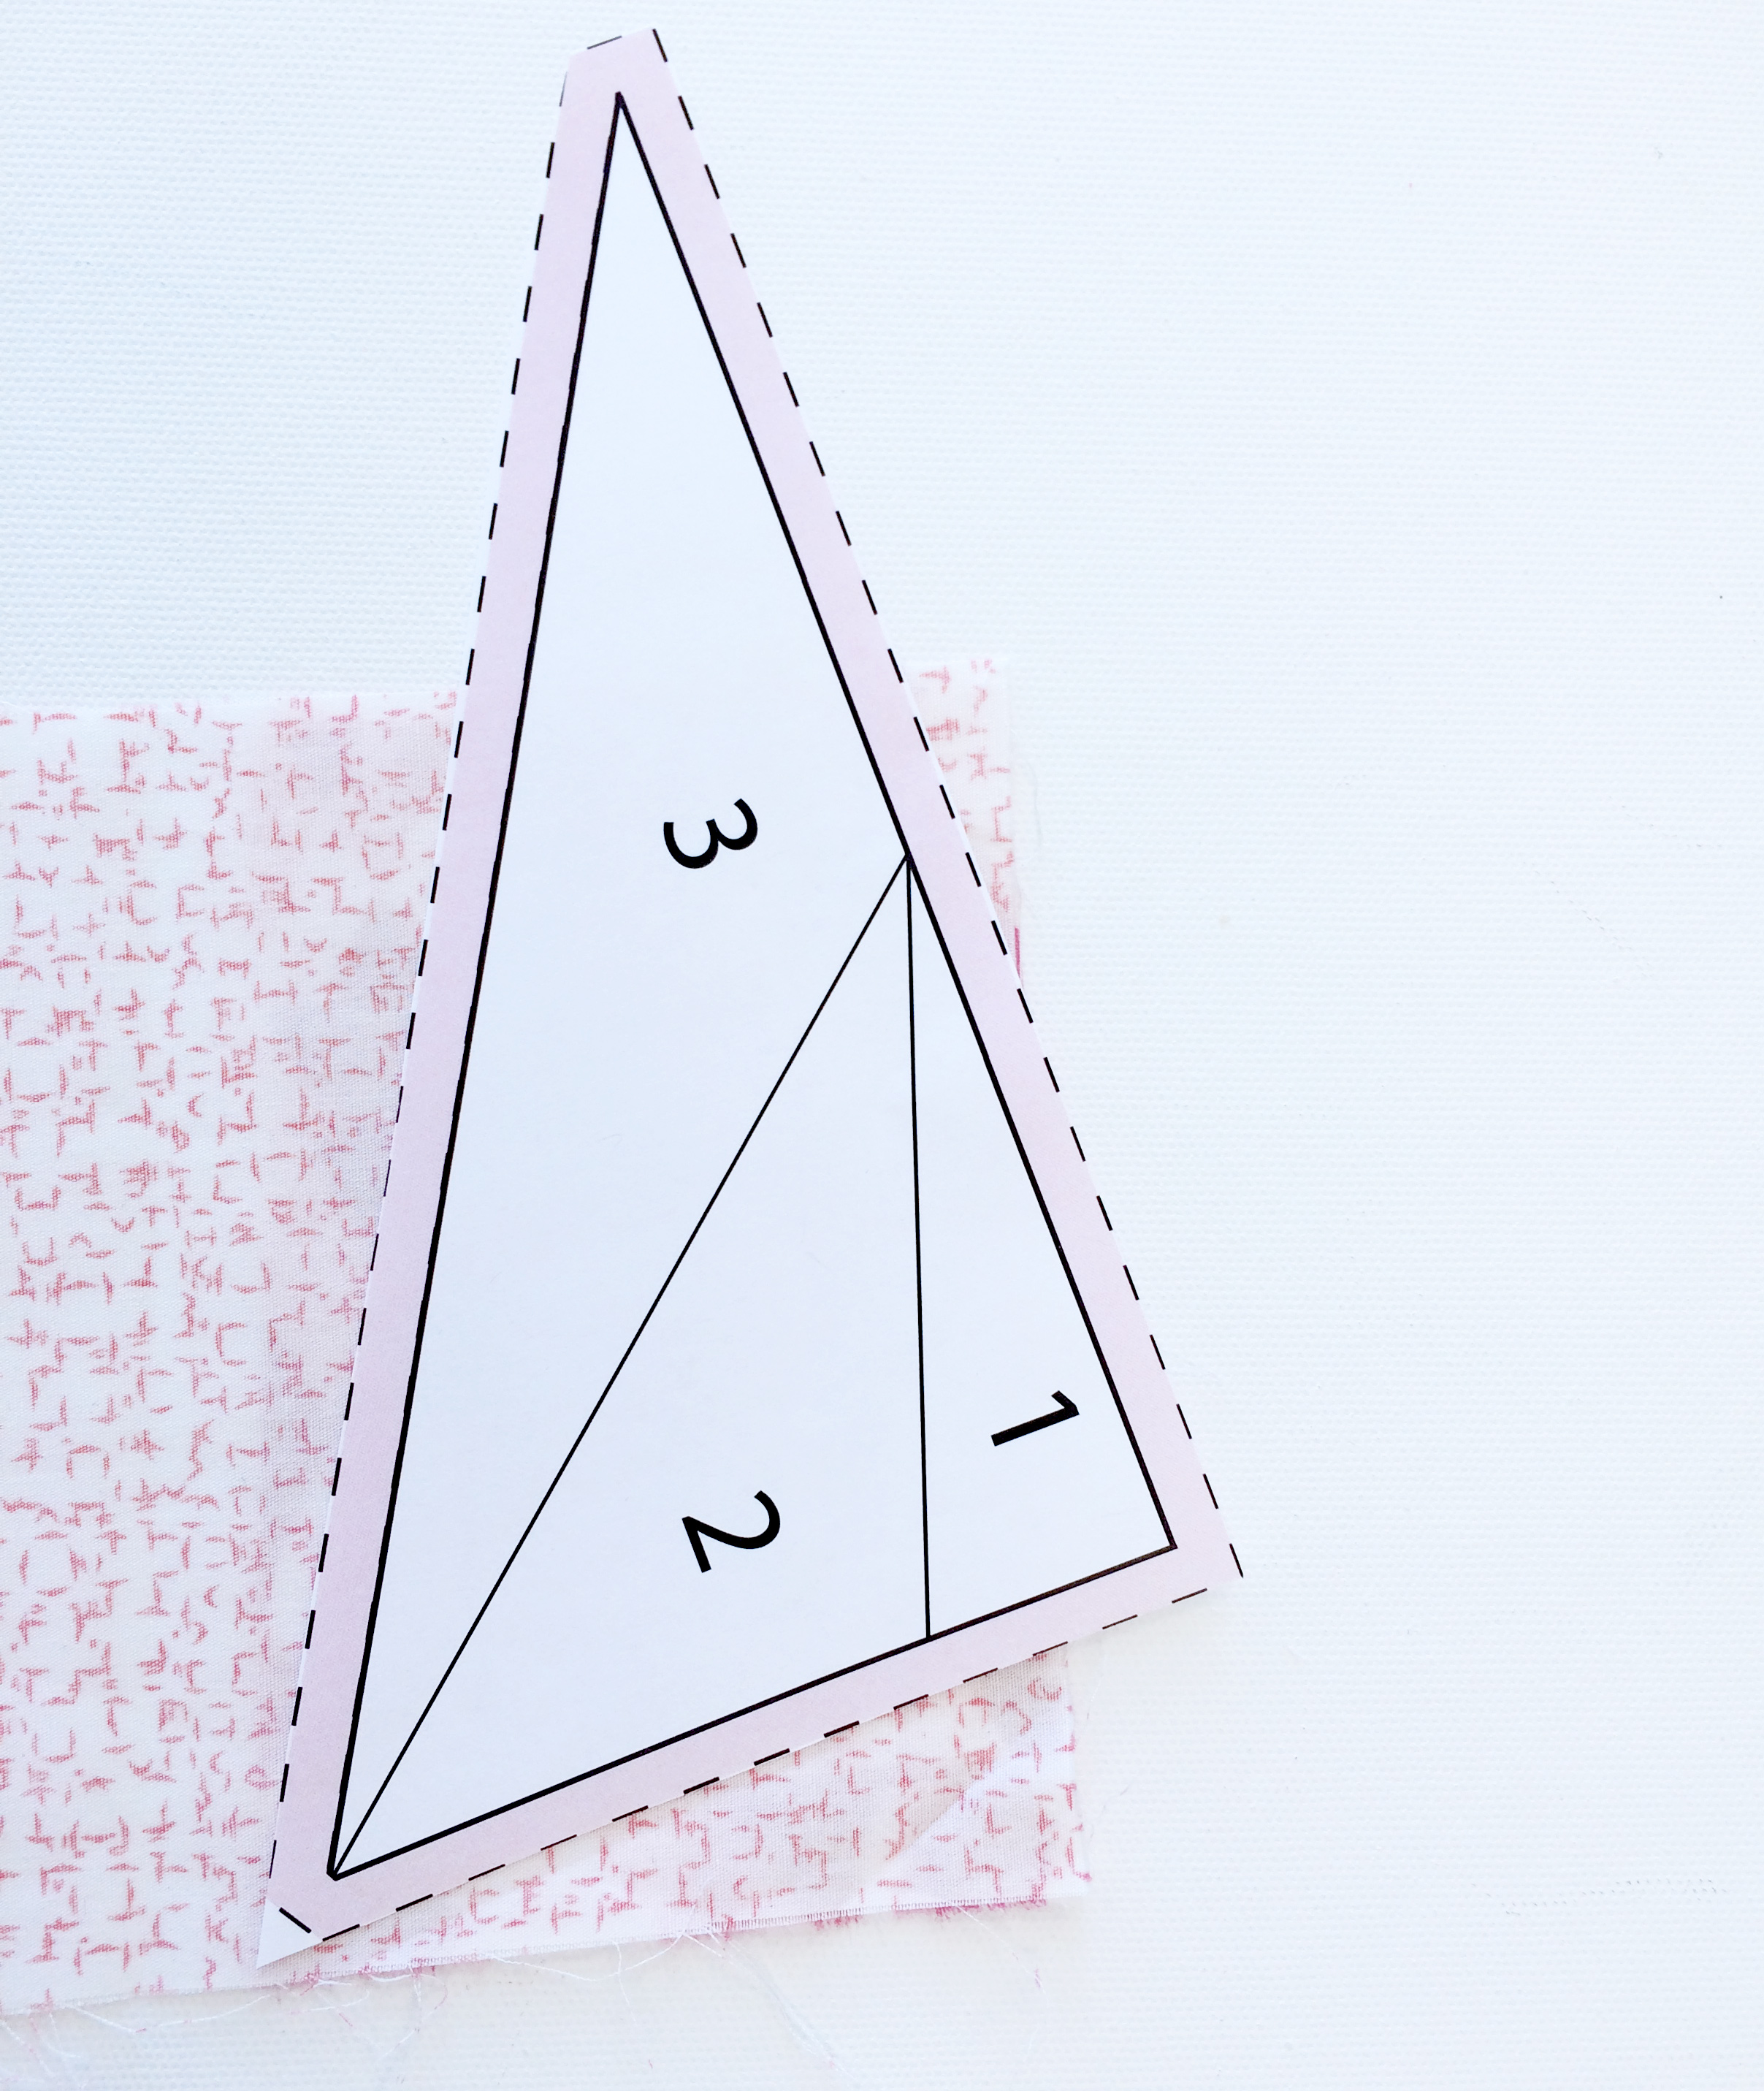
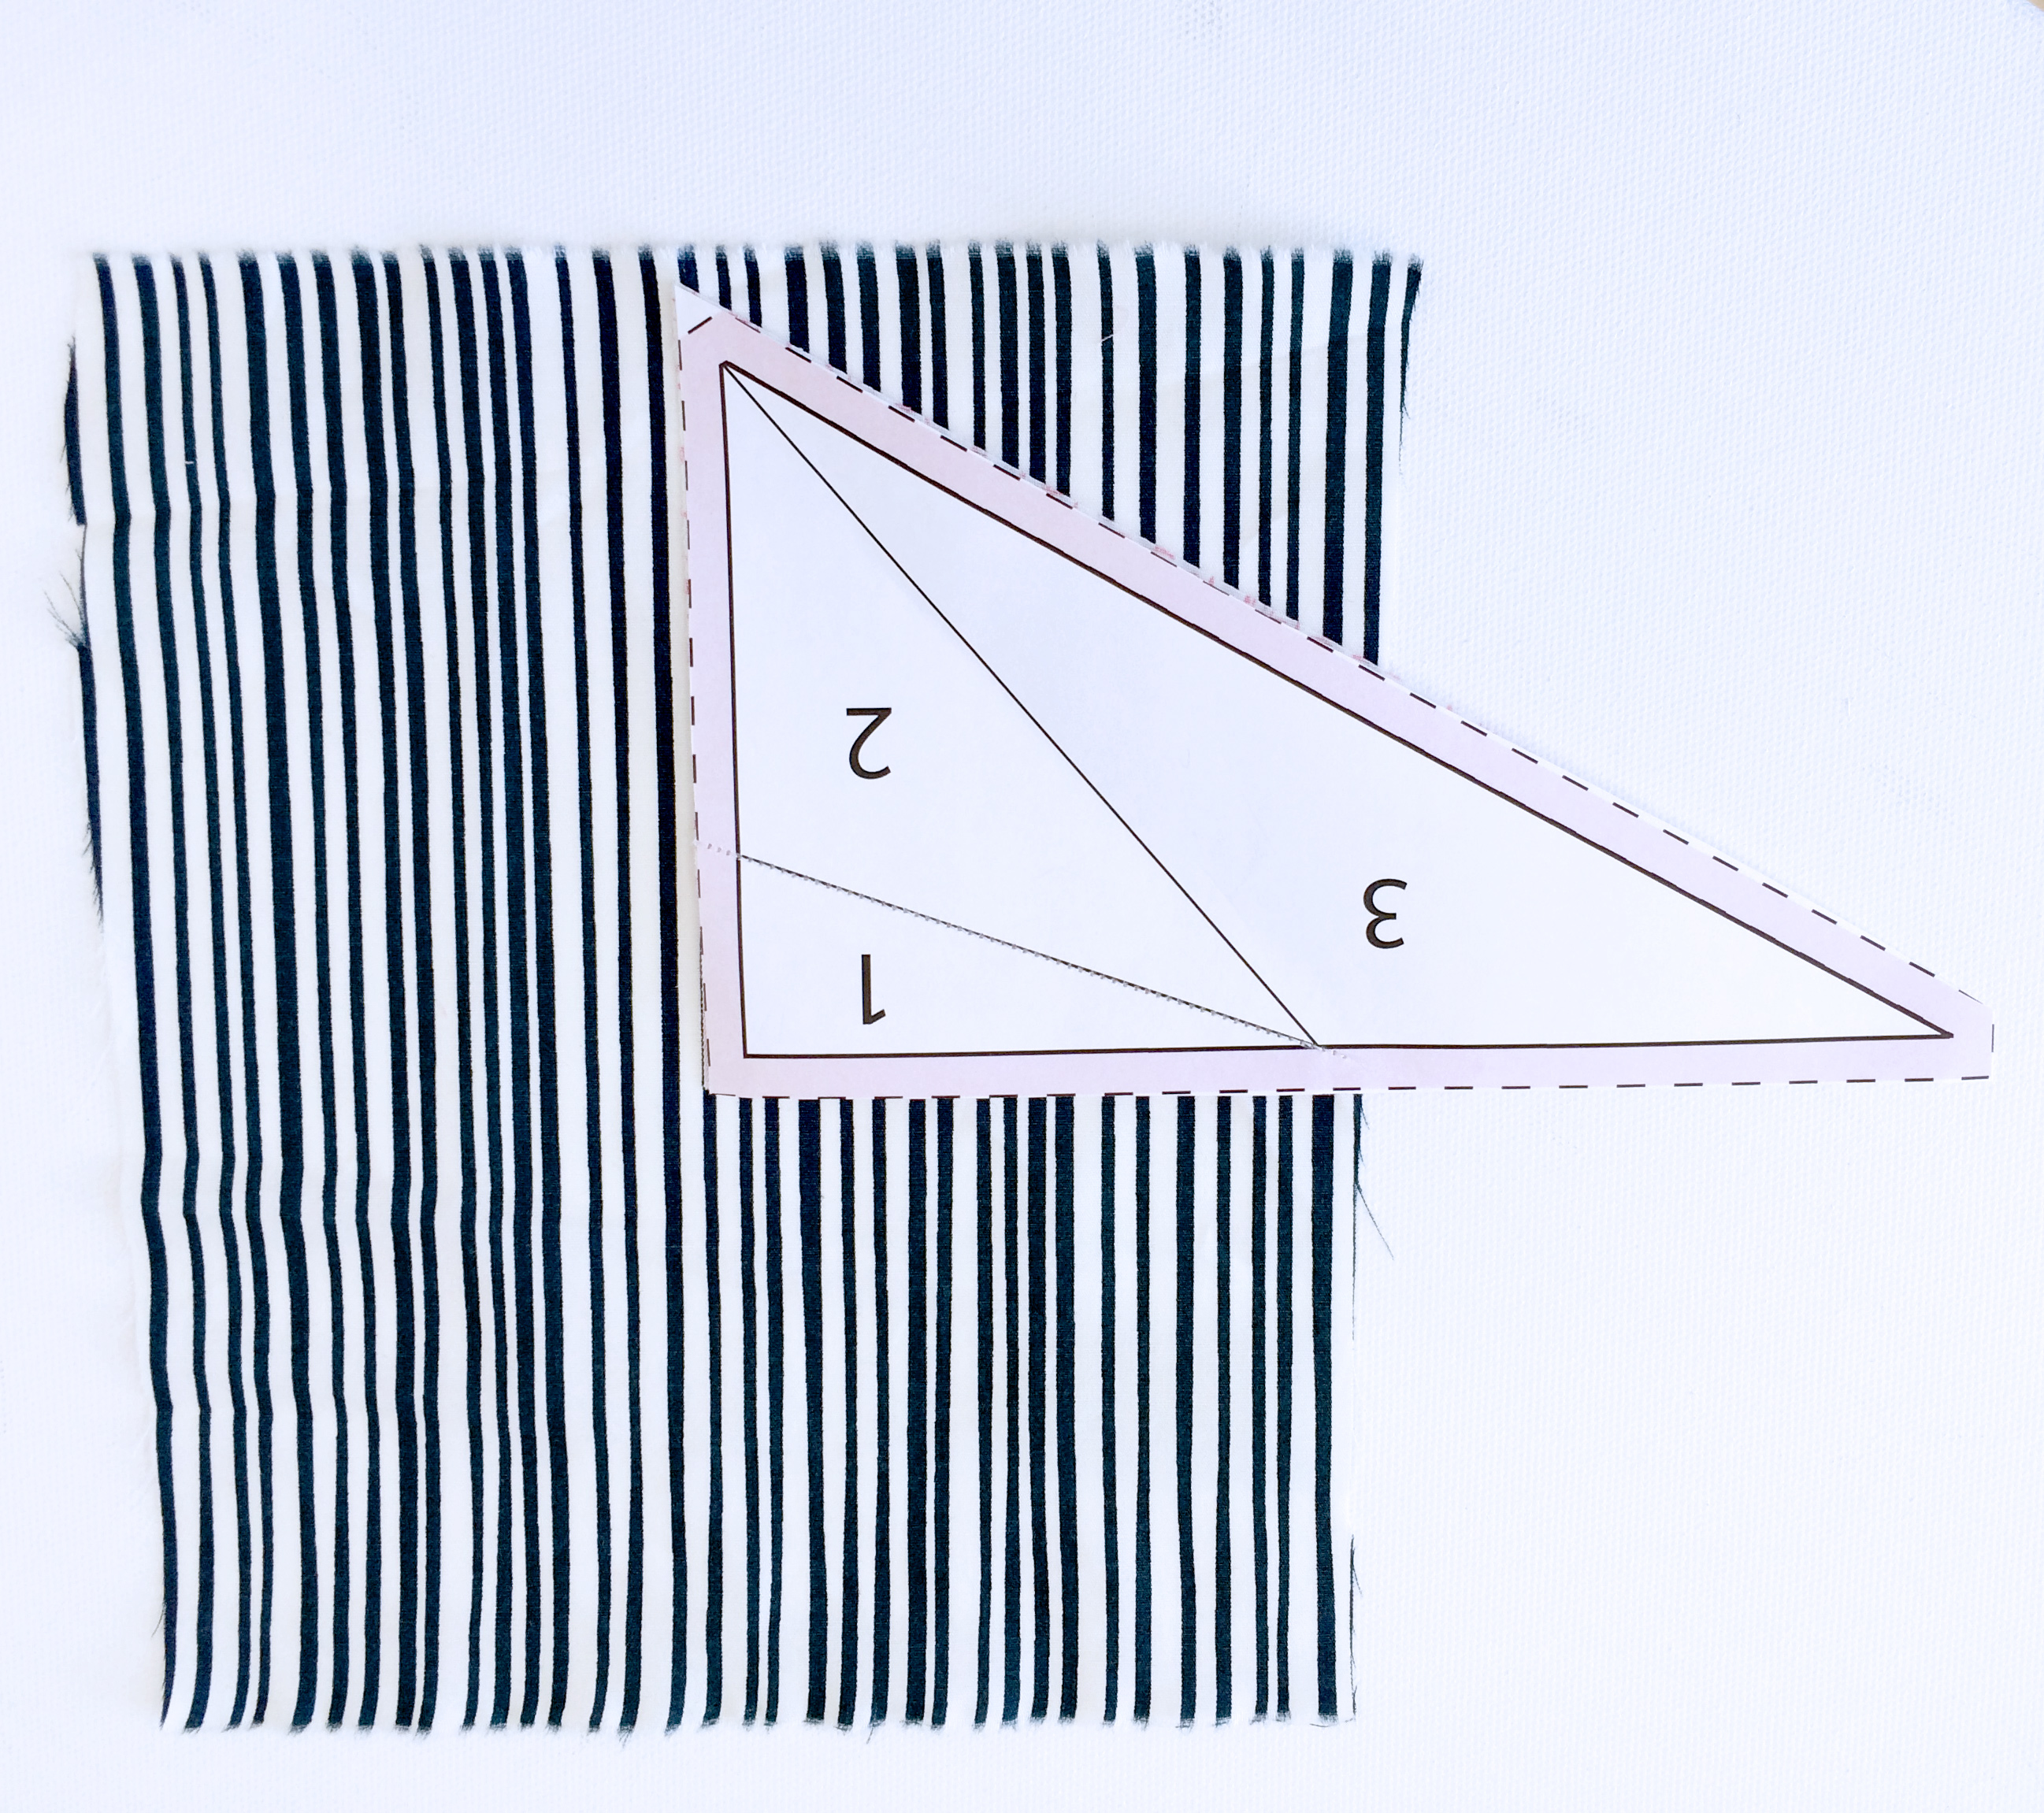
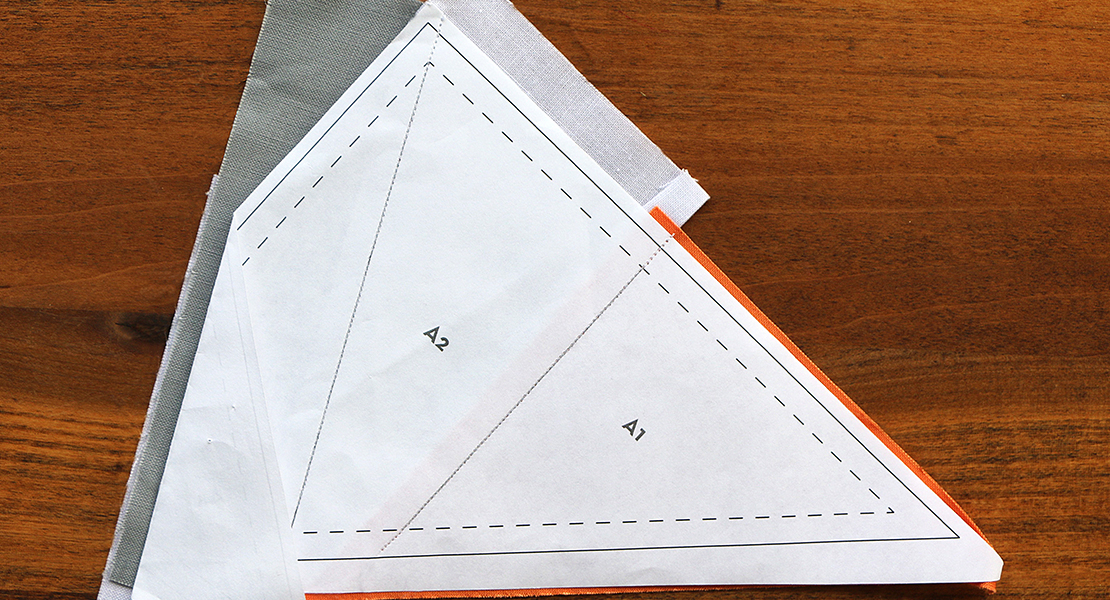
Paper piecing is a bit hard to explain, but like I said before I will try my best to give you all the easiest explanation. The good thing about paper piecing is that you don’t need an specific measurement in which each piece needs to be cut, but for the purpose of this tutorial and for an easier explanation, I decided to have measurements for each fabrics piece. Get one of the paper piecing templates and cut it as directed on the template. Take one piece from Fabric A and place in on top of your cutting table.
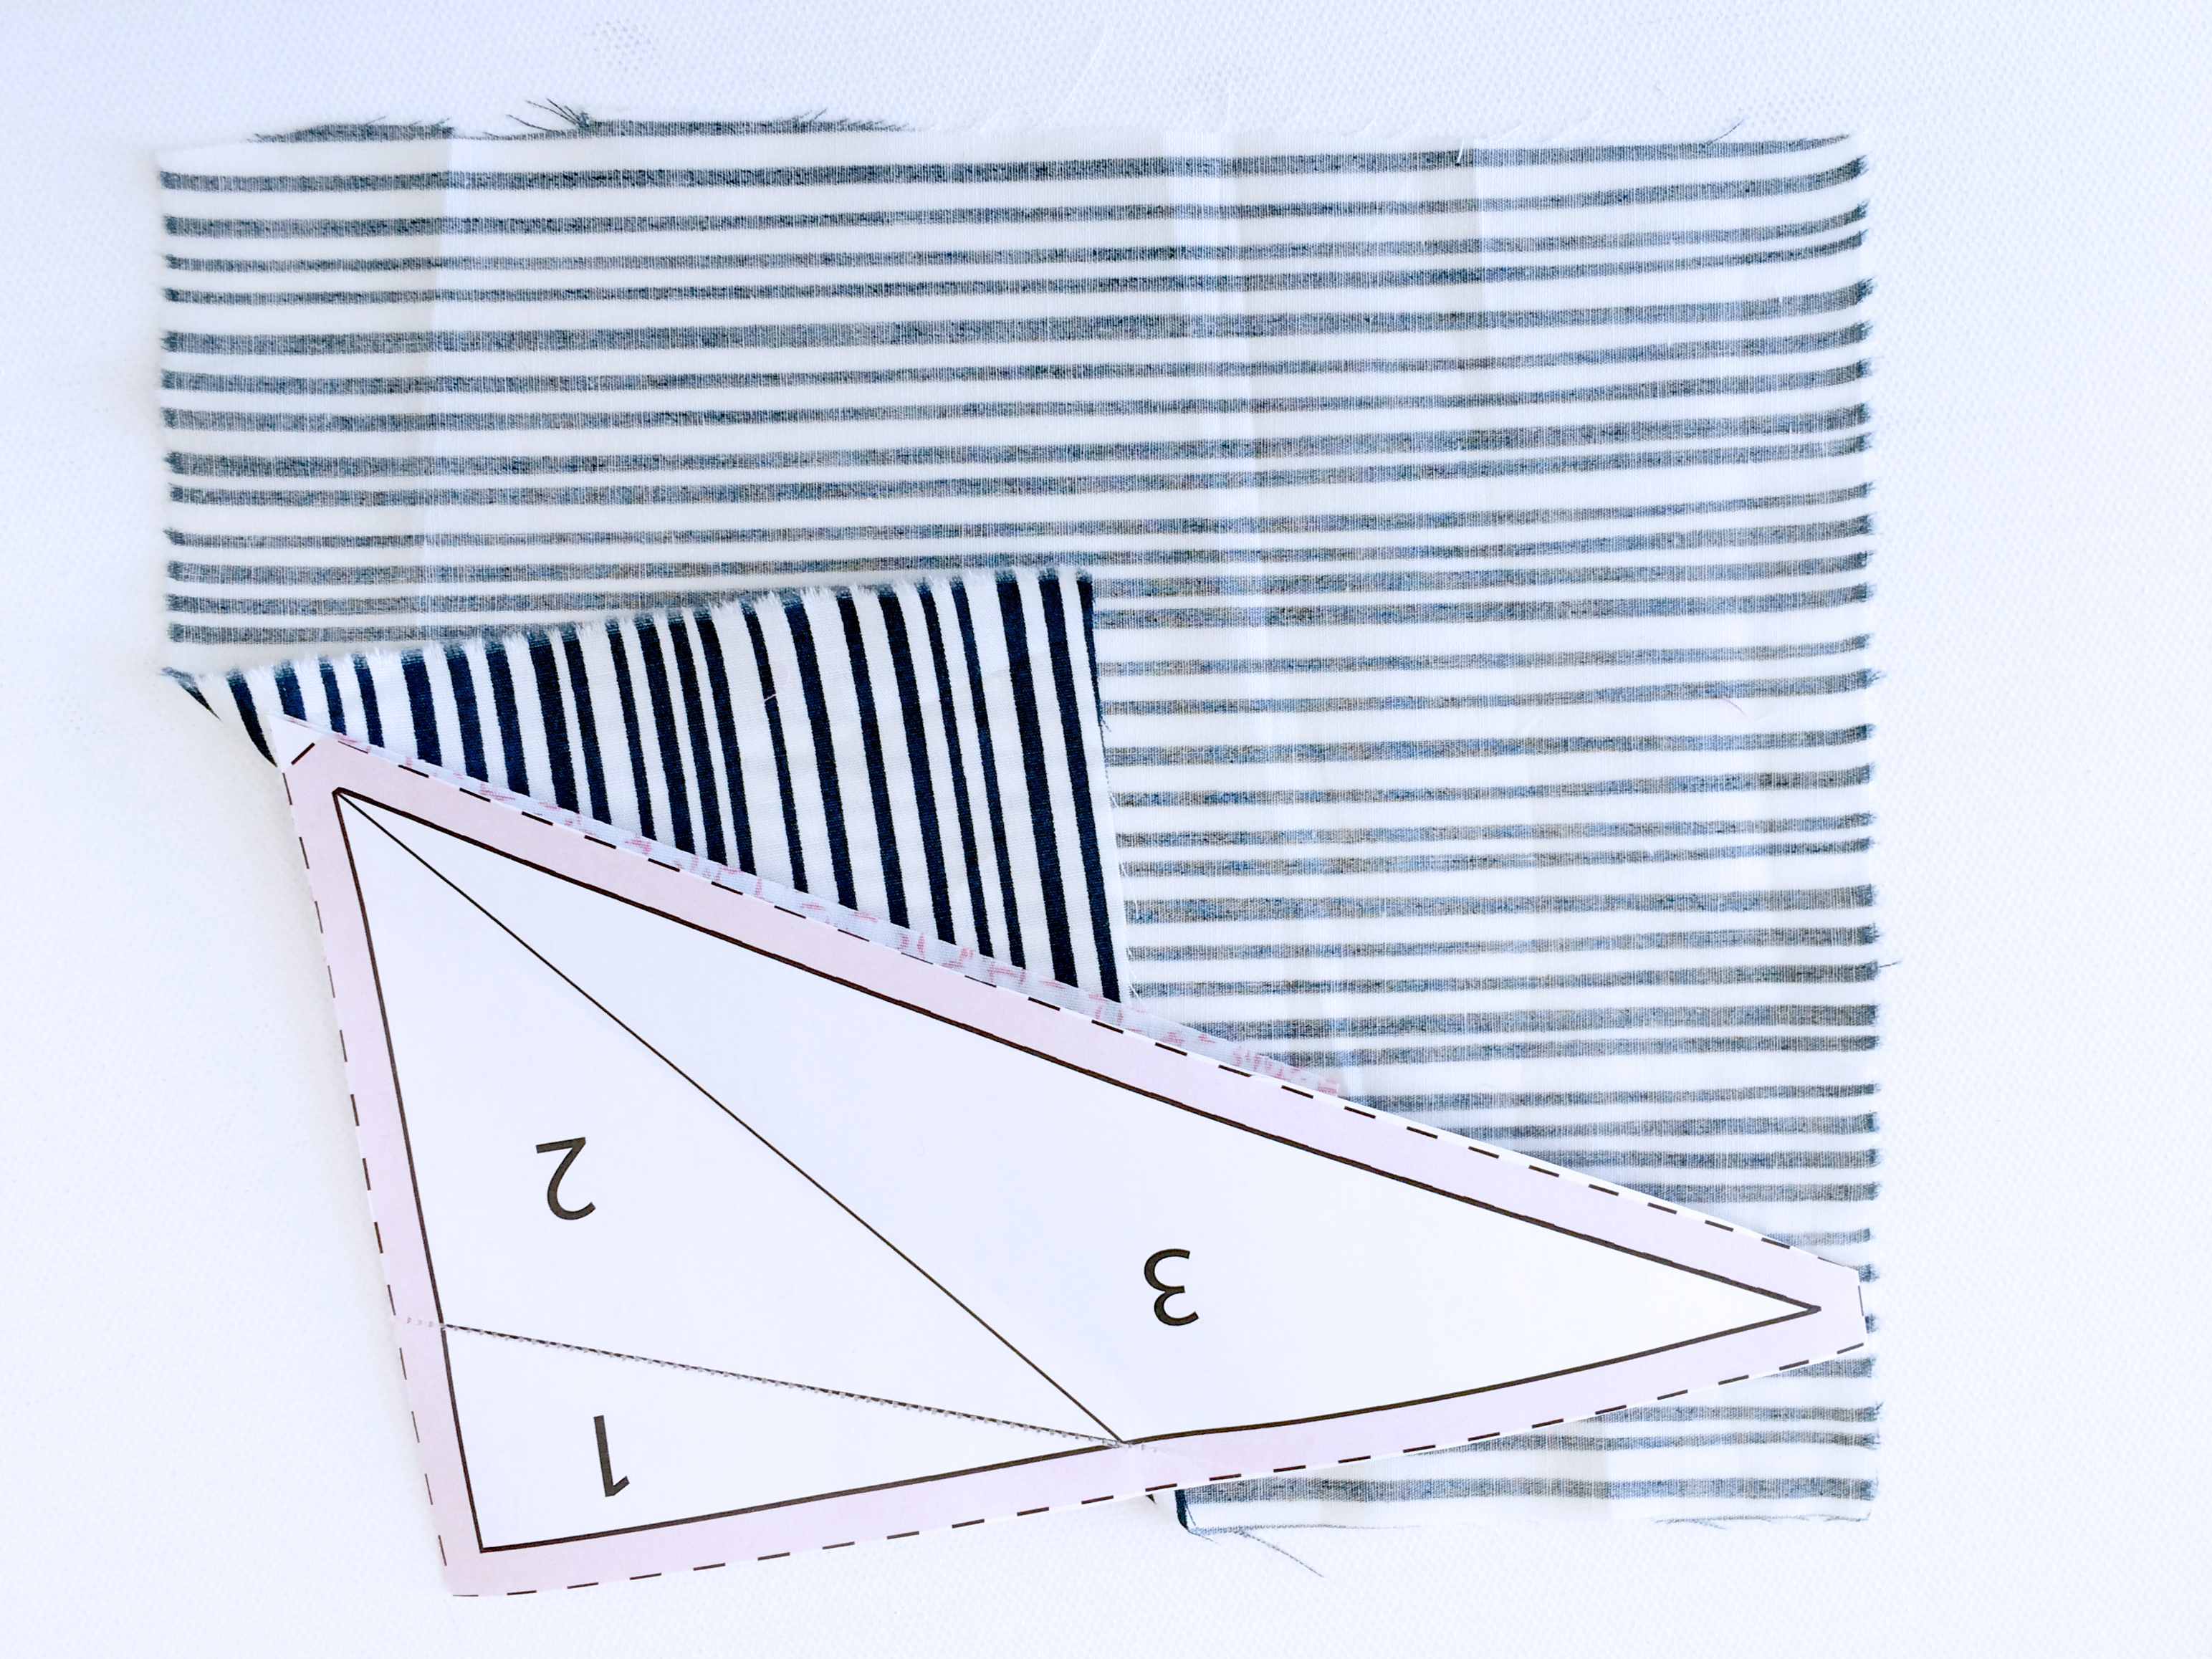
Now take the top part of your already cut template (where numbers 1, 2 and 3 are printed corresponding on the order that we are going to sew these pieces together) and place Fabric B on top of Fabric A, with wrong side of the fabrics facing each other, as pictured below. Remember, we are combining pieces 1 and 2. If you feel more comfortable with paper piecing, you can always place your piece (with only Fabric A) through a light source and then you can match up the edge of Fabric B (piece 2) at least 1/4 seam allowance.
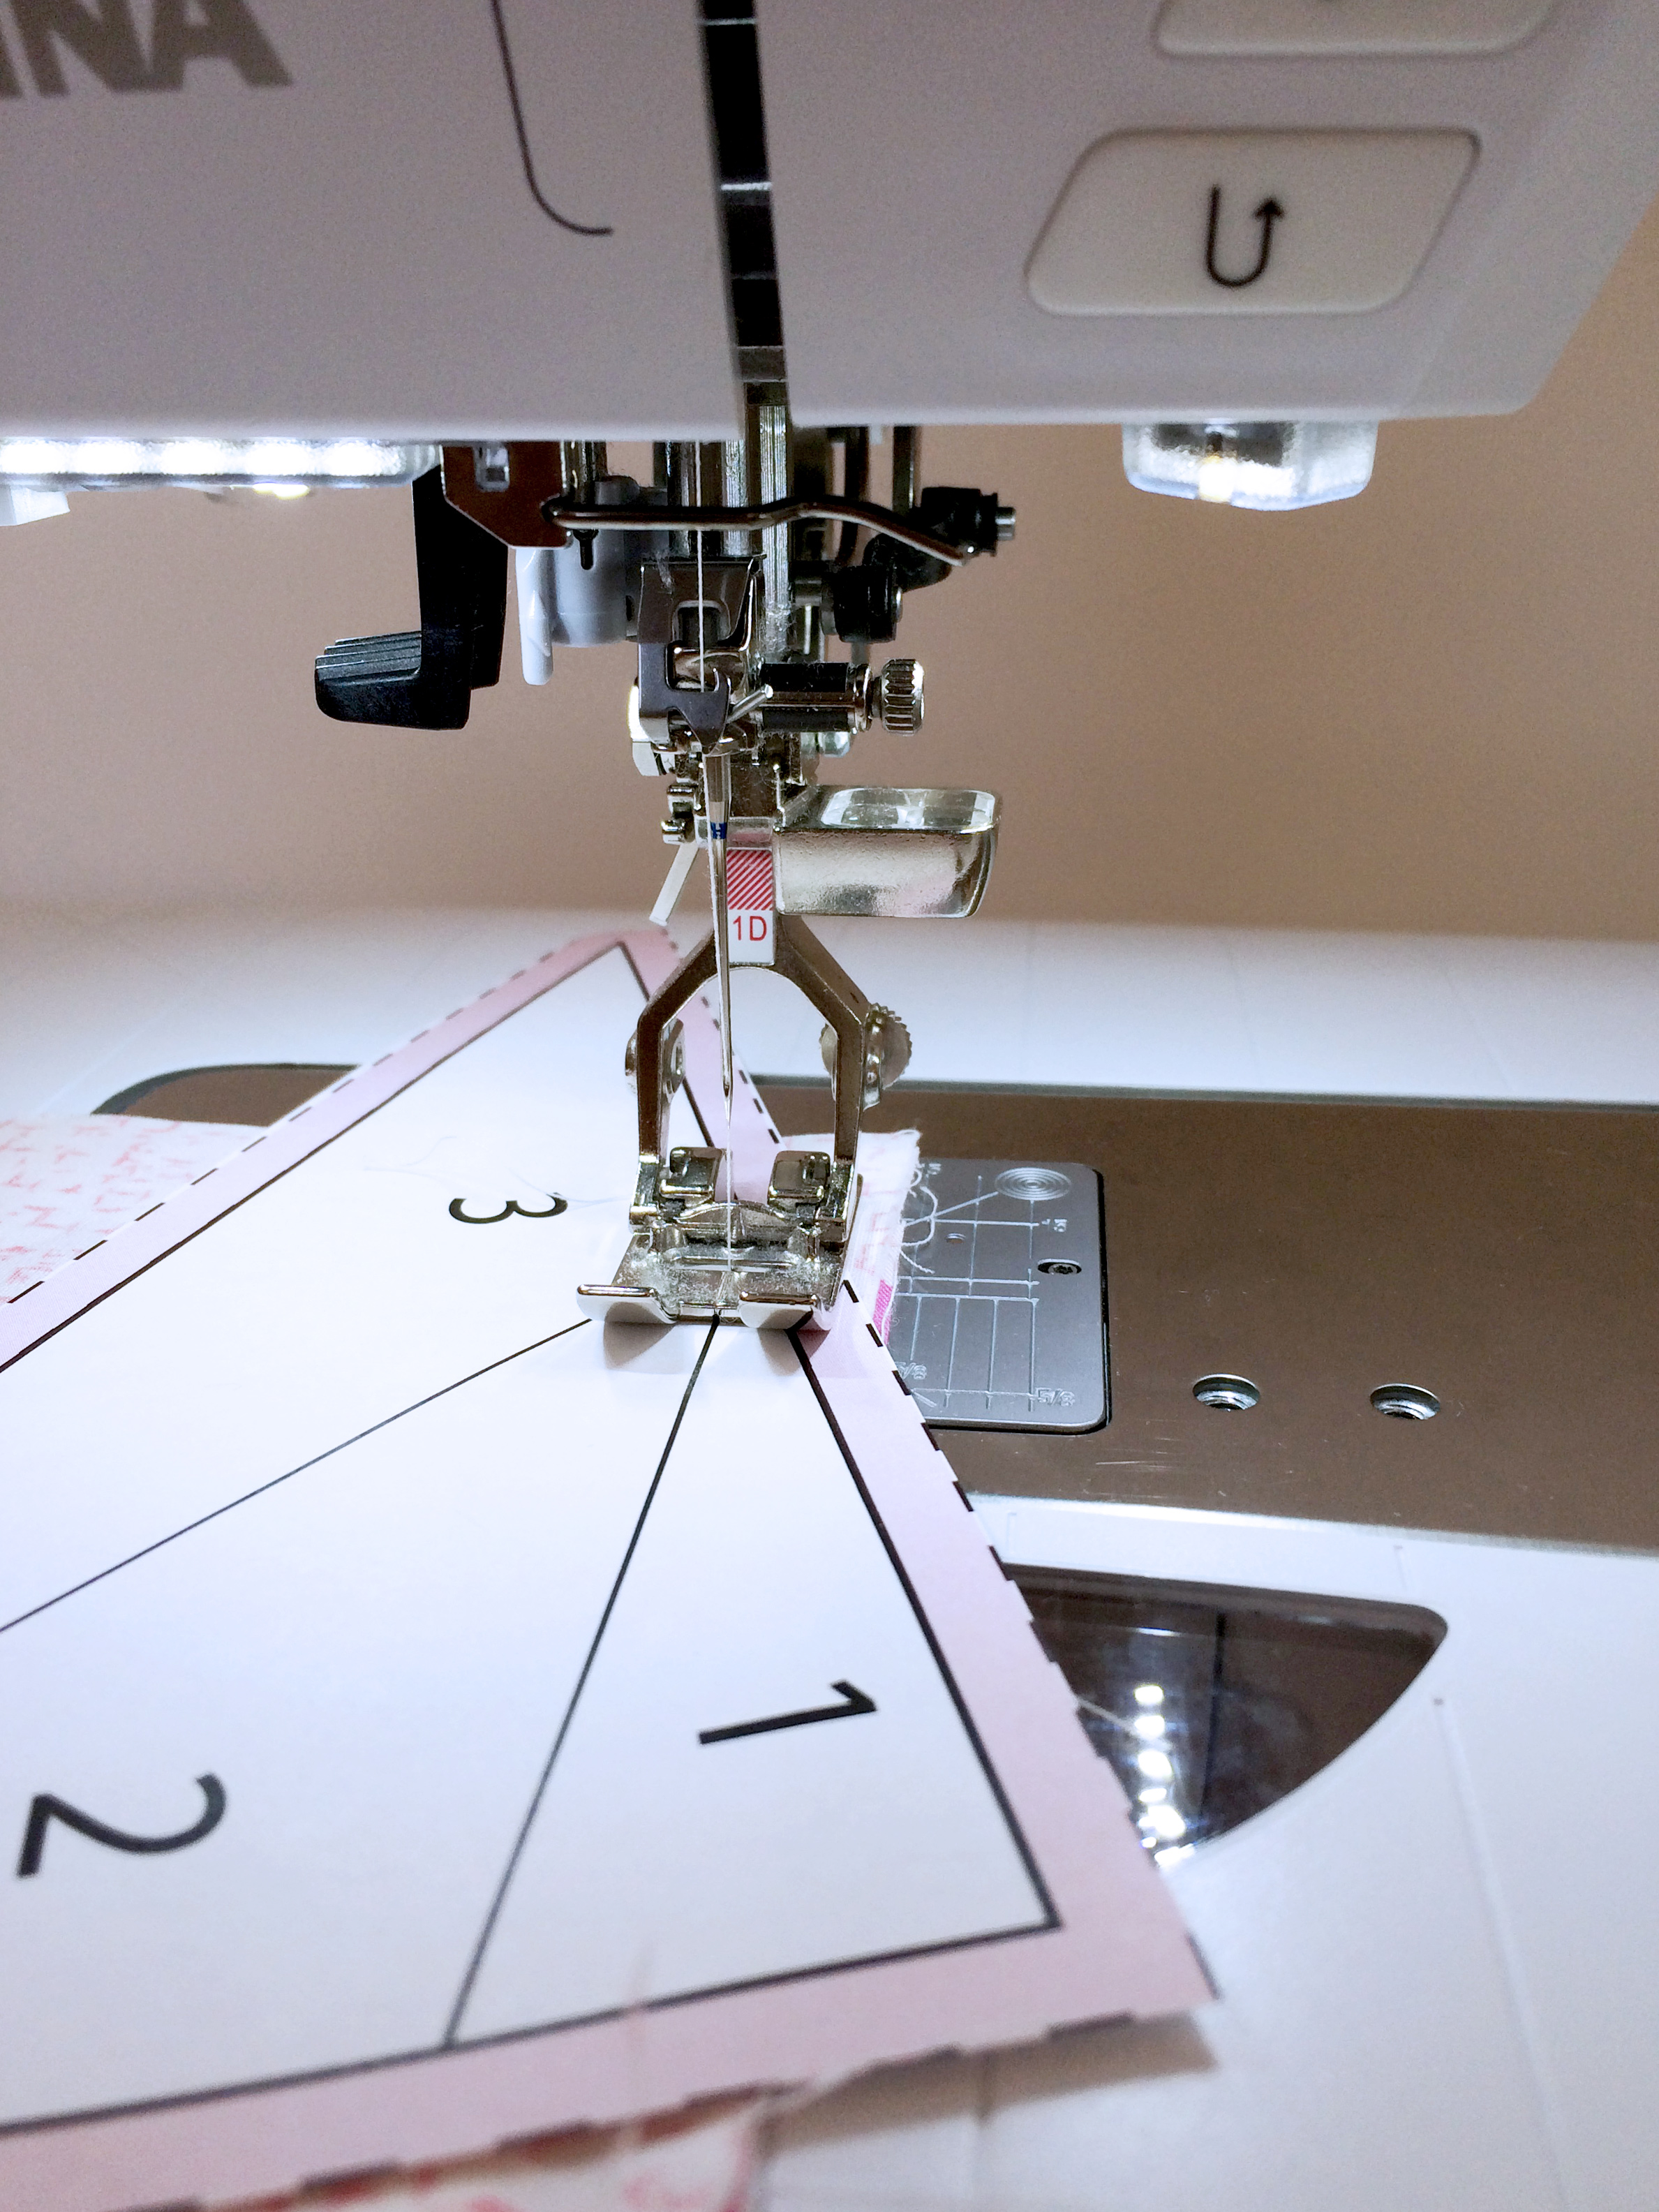
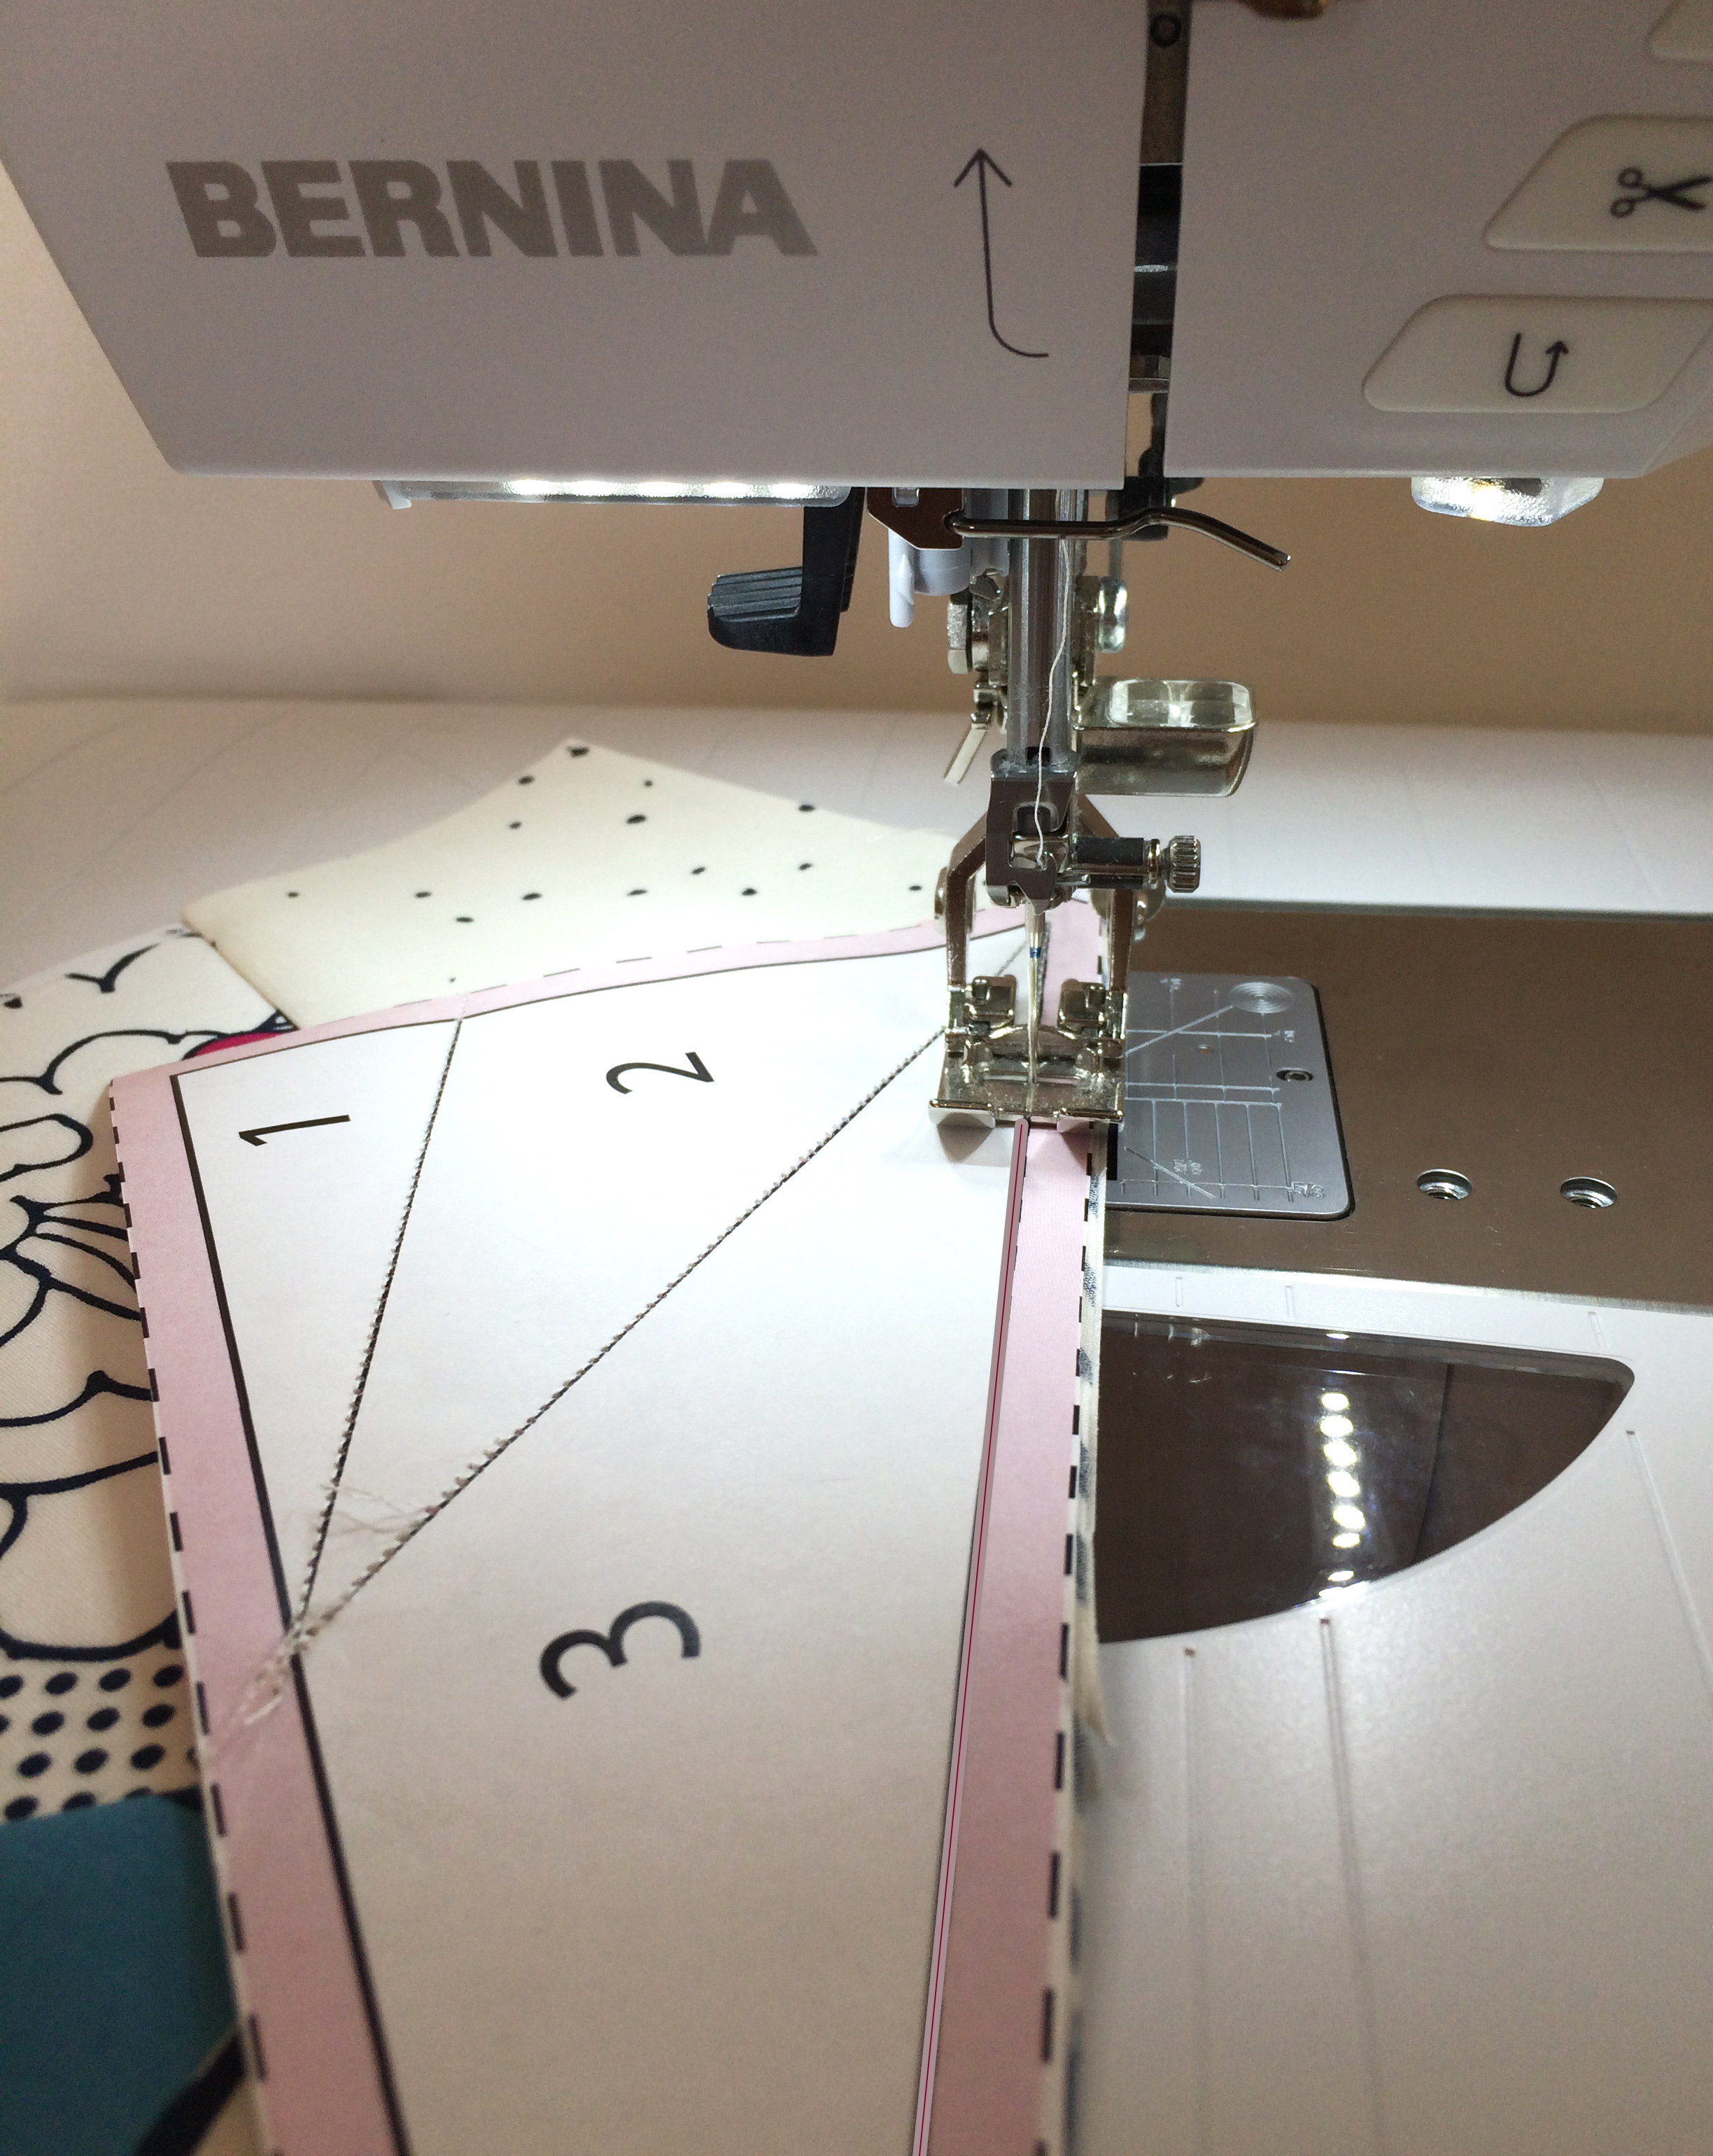
Get ready to stitch up by prepping your sewing machine with straight stitch #1 and move the needle position to #3 to the right, this will provide you with the desire seam allowance. Change the stitch length to 1.5 because this will work as a source of perforation which will make it very easy later on to tear of the paper.
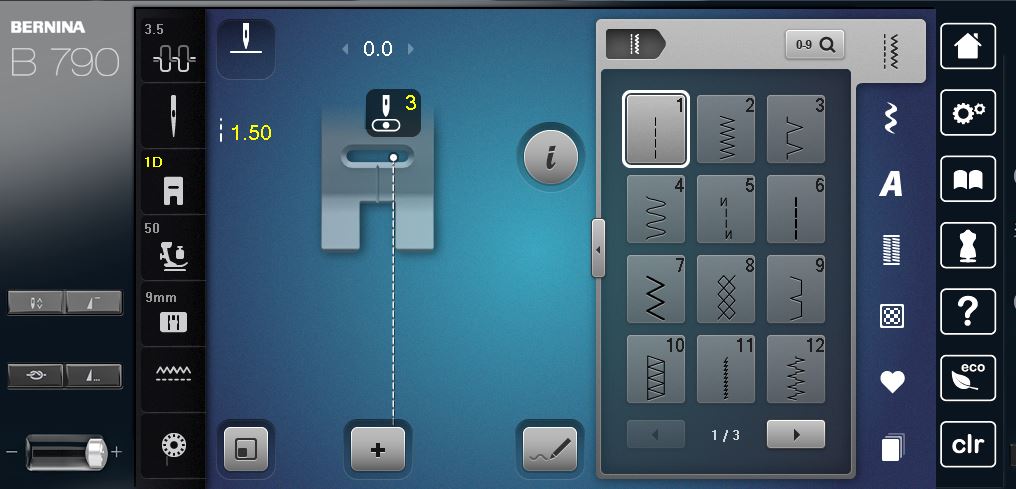
Using the All-purpose presser foot (BERNINA Reverse Pattern Foot #1D), stitch directly on the line as shown in the image below.
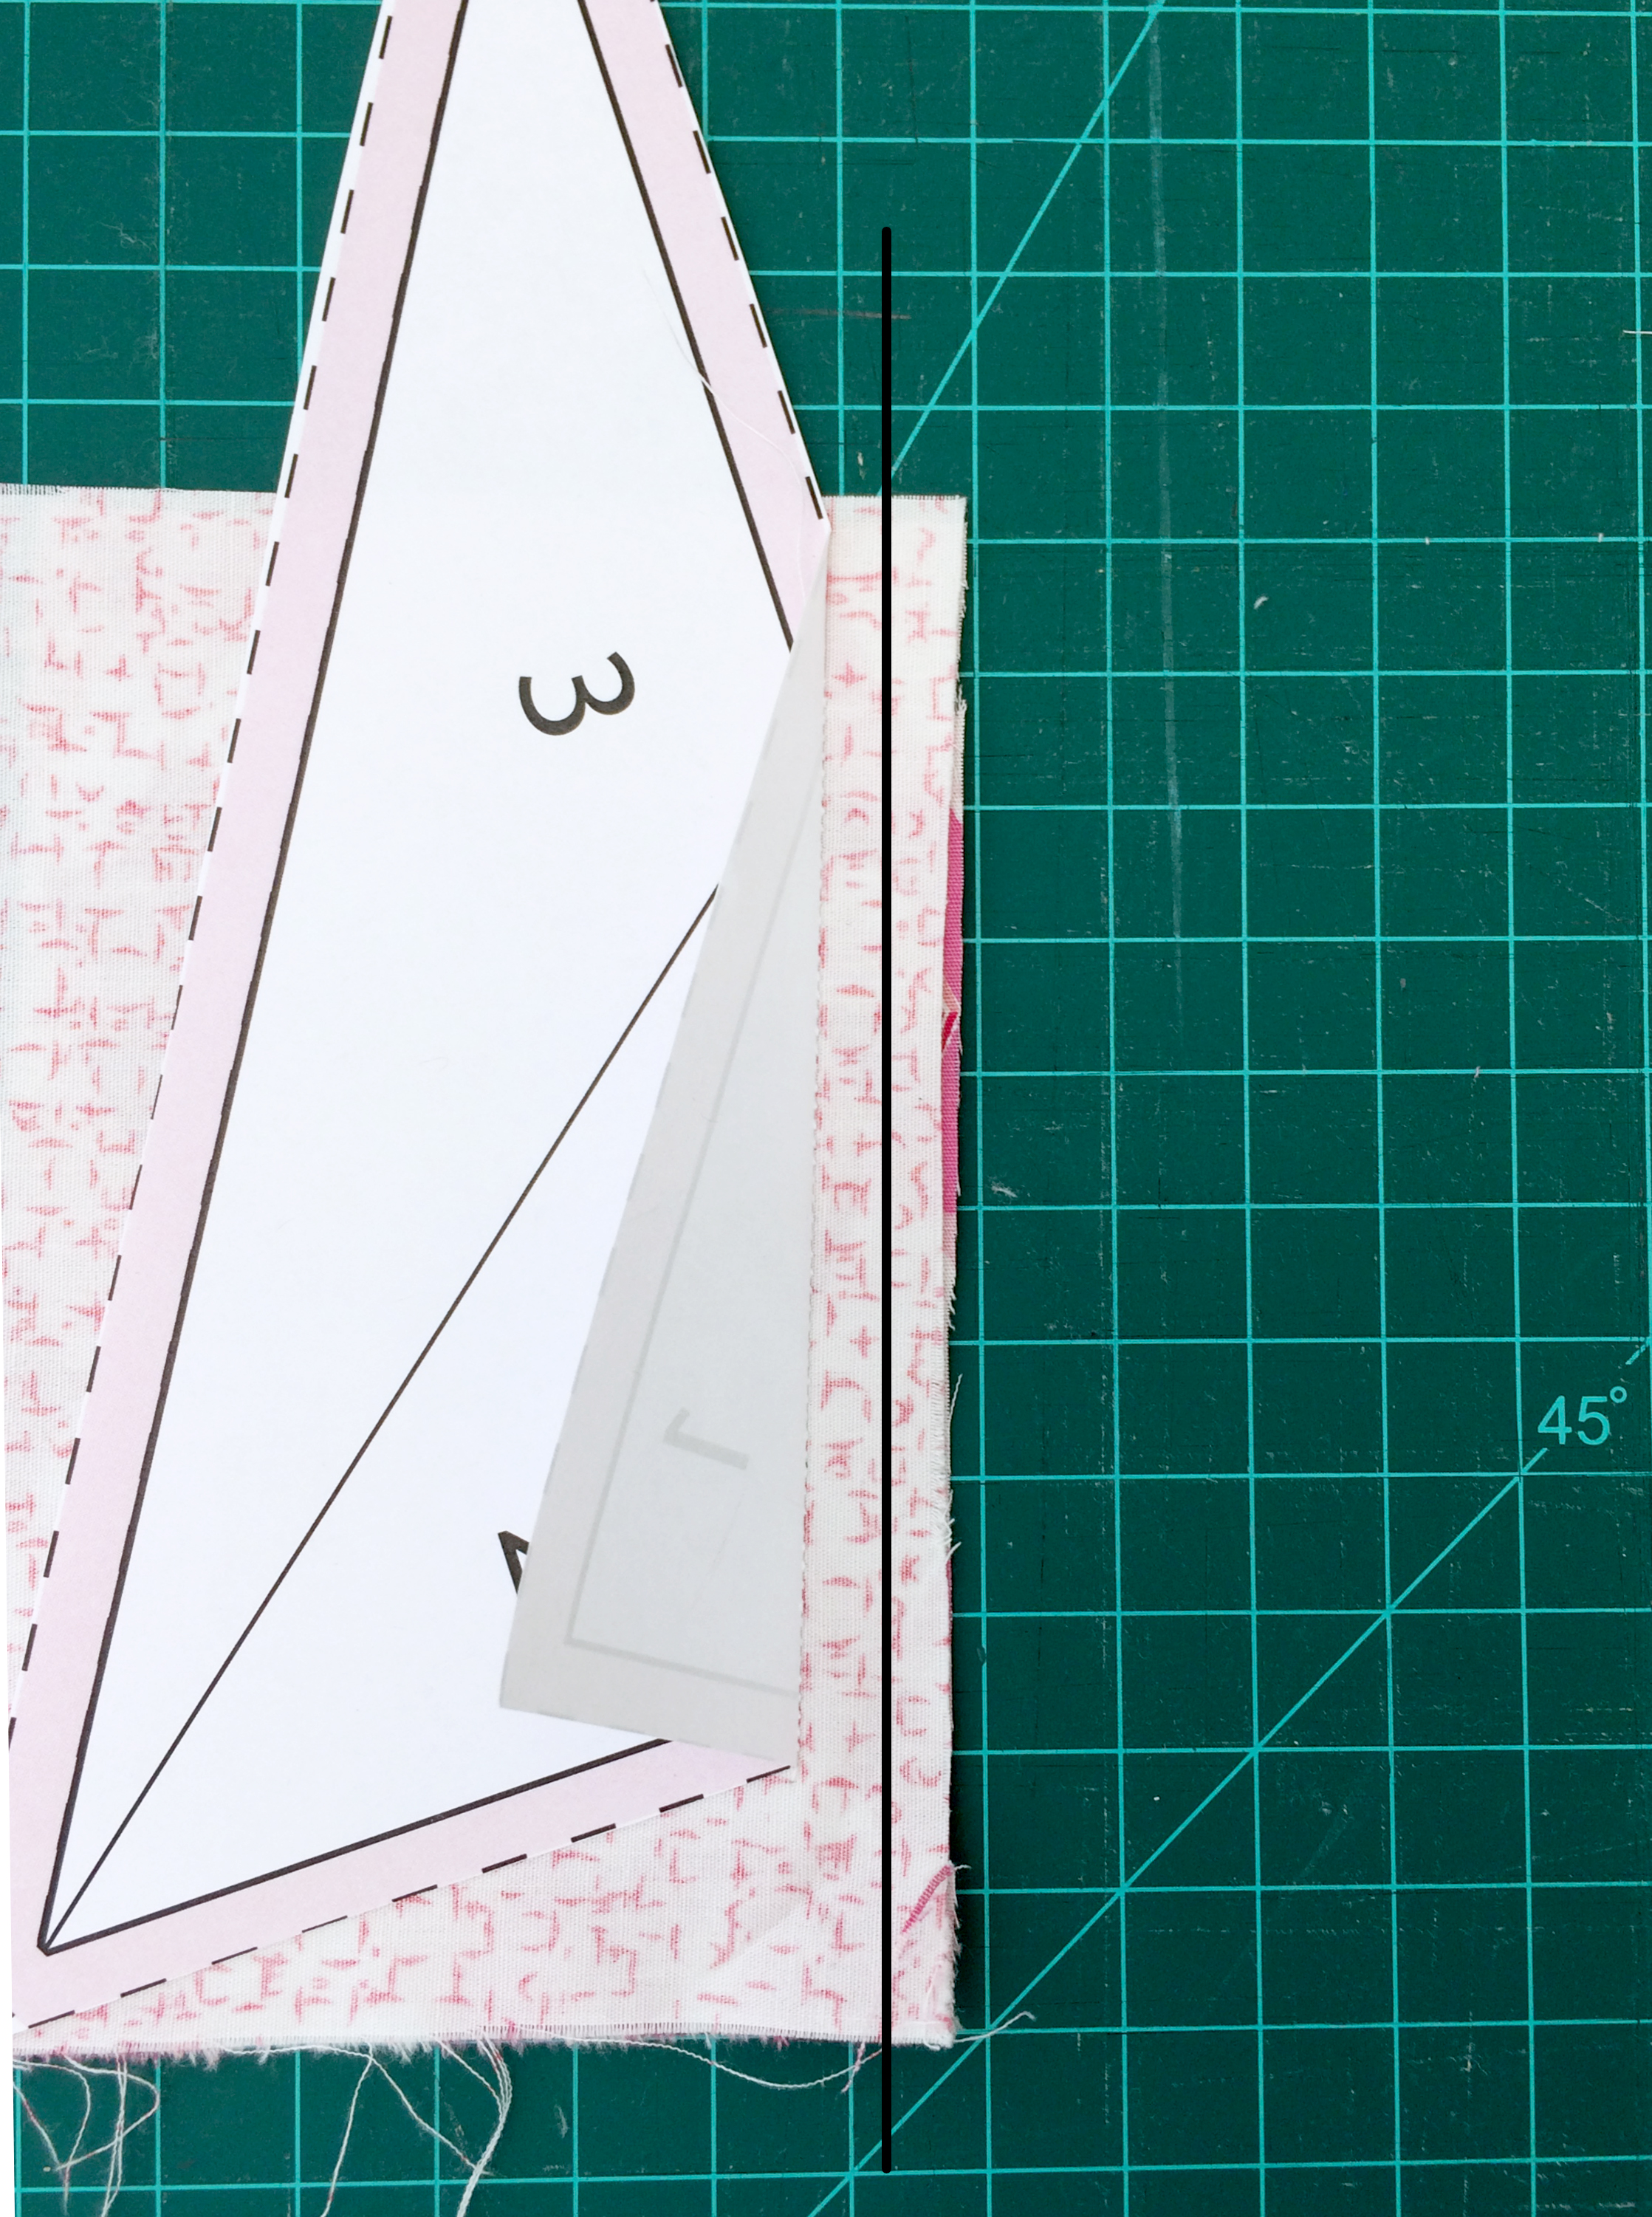
Flip paper piece side 1 over to the side and cut the extra fabric with 1/4 seam allowance.
NOTE: When cutting seam allowance on paper piecing, make sure your pieces are to the opposite side of the piece you wish to cut. That way, we prevent from cutting fabrics that are part of the paper piece block.
Flip piece to the other side and press.
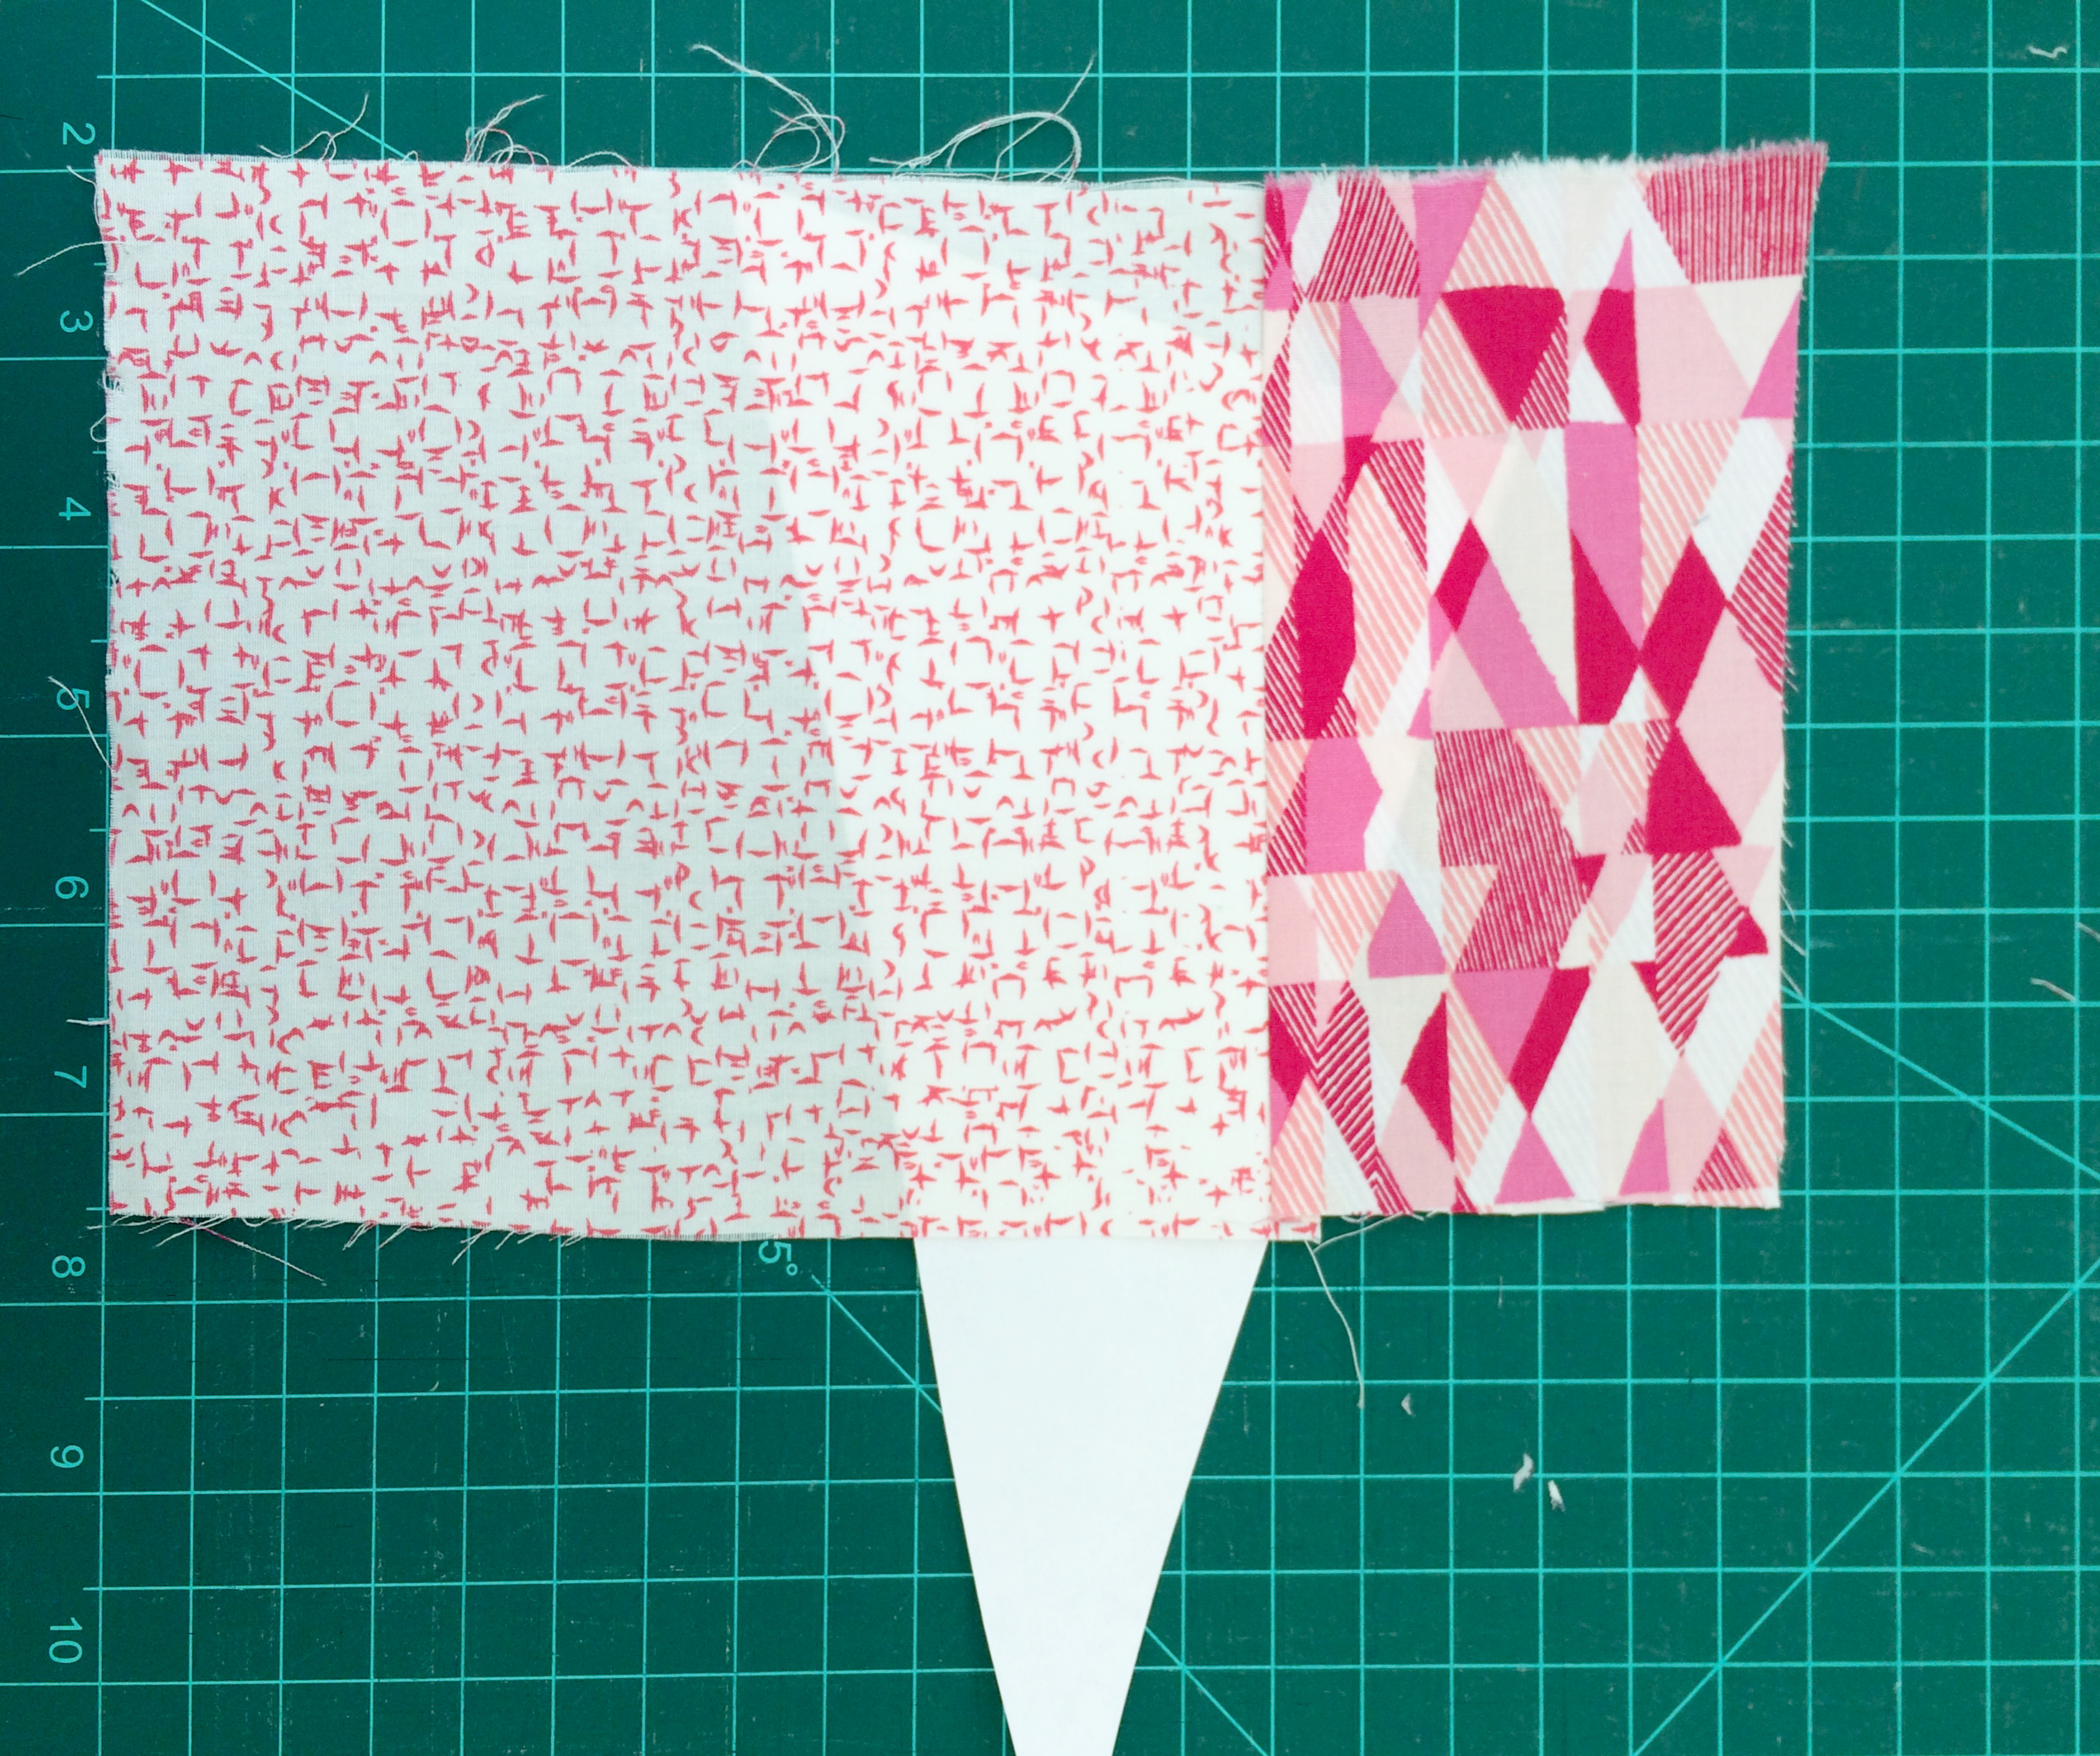
For your convenience, cut the extras from Fabric A and B, make sure that it is bigger than the paper piece.
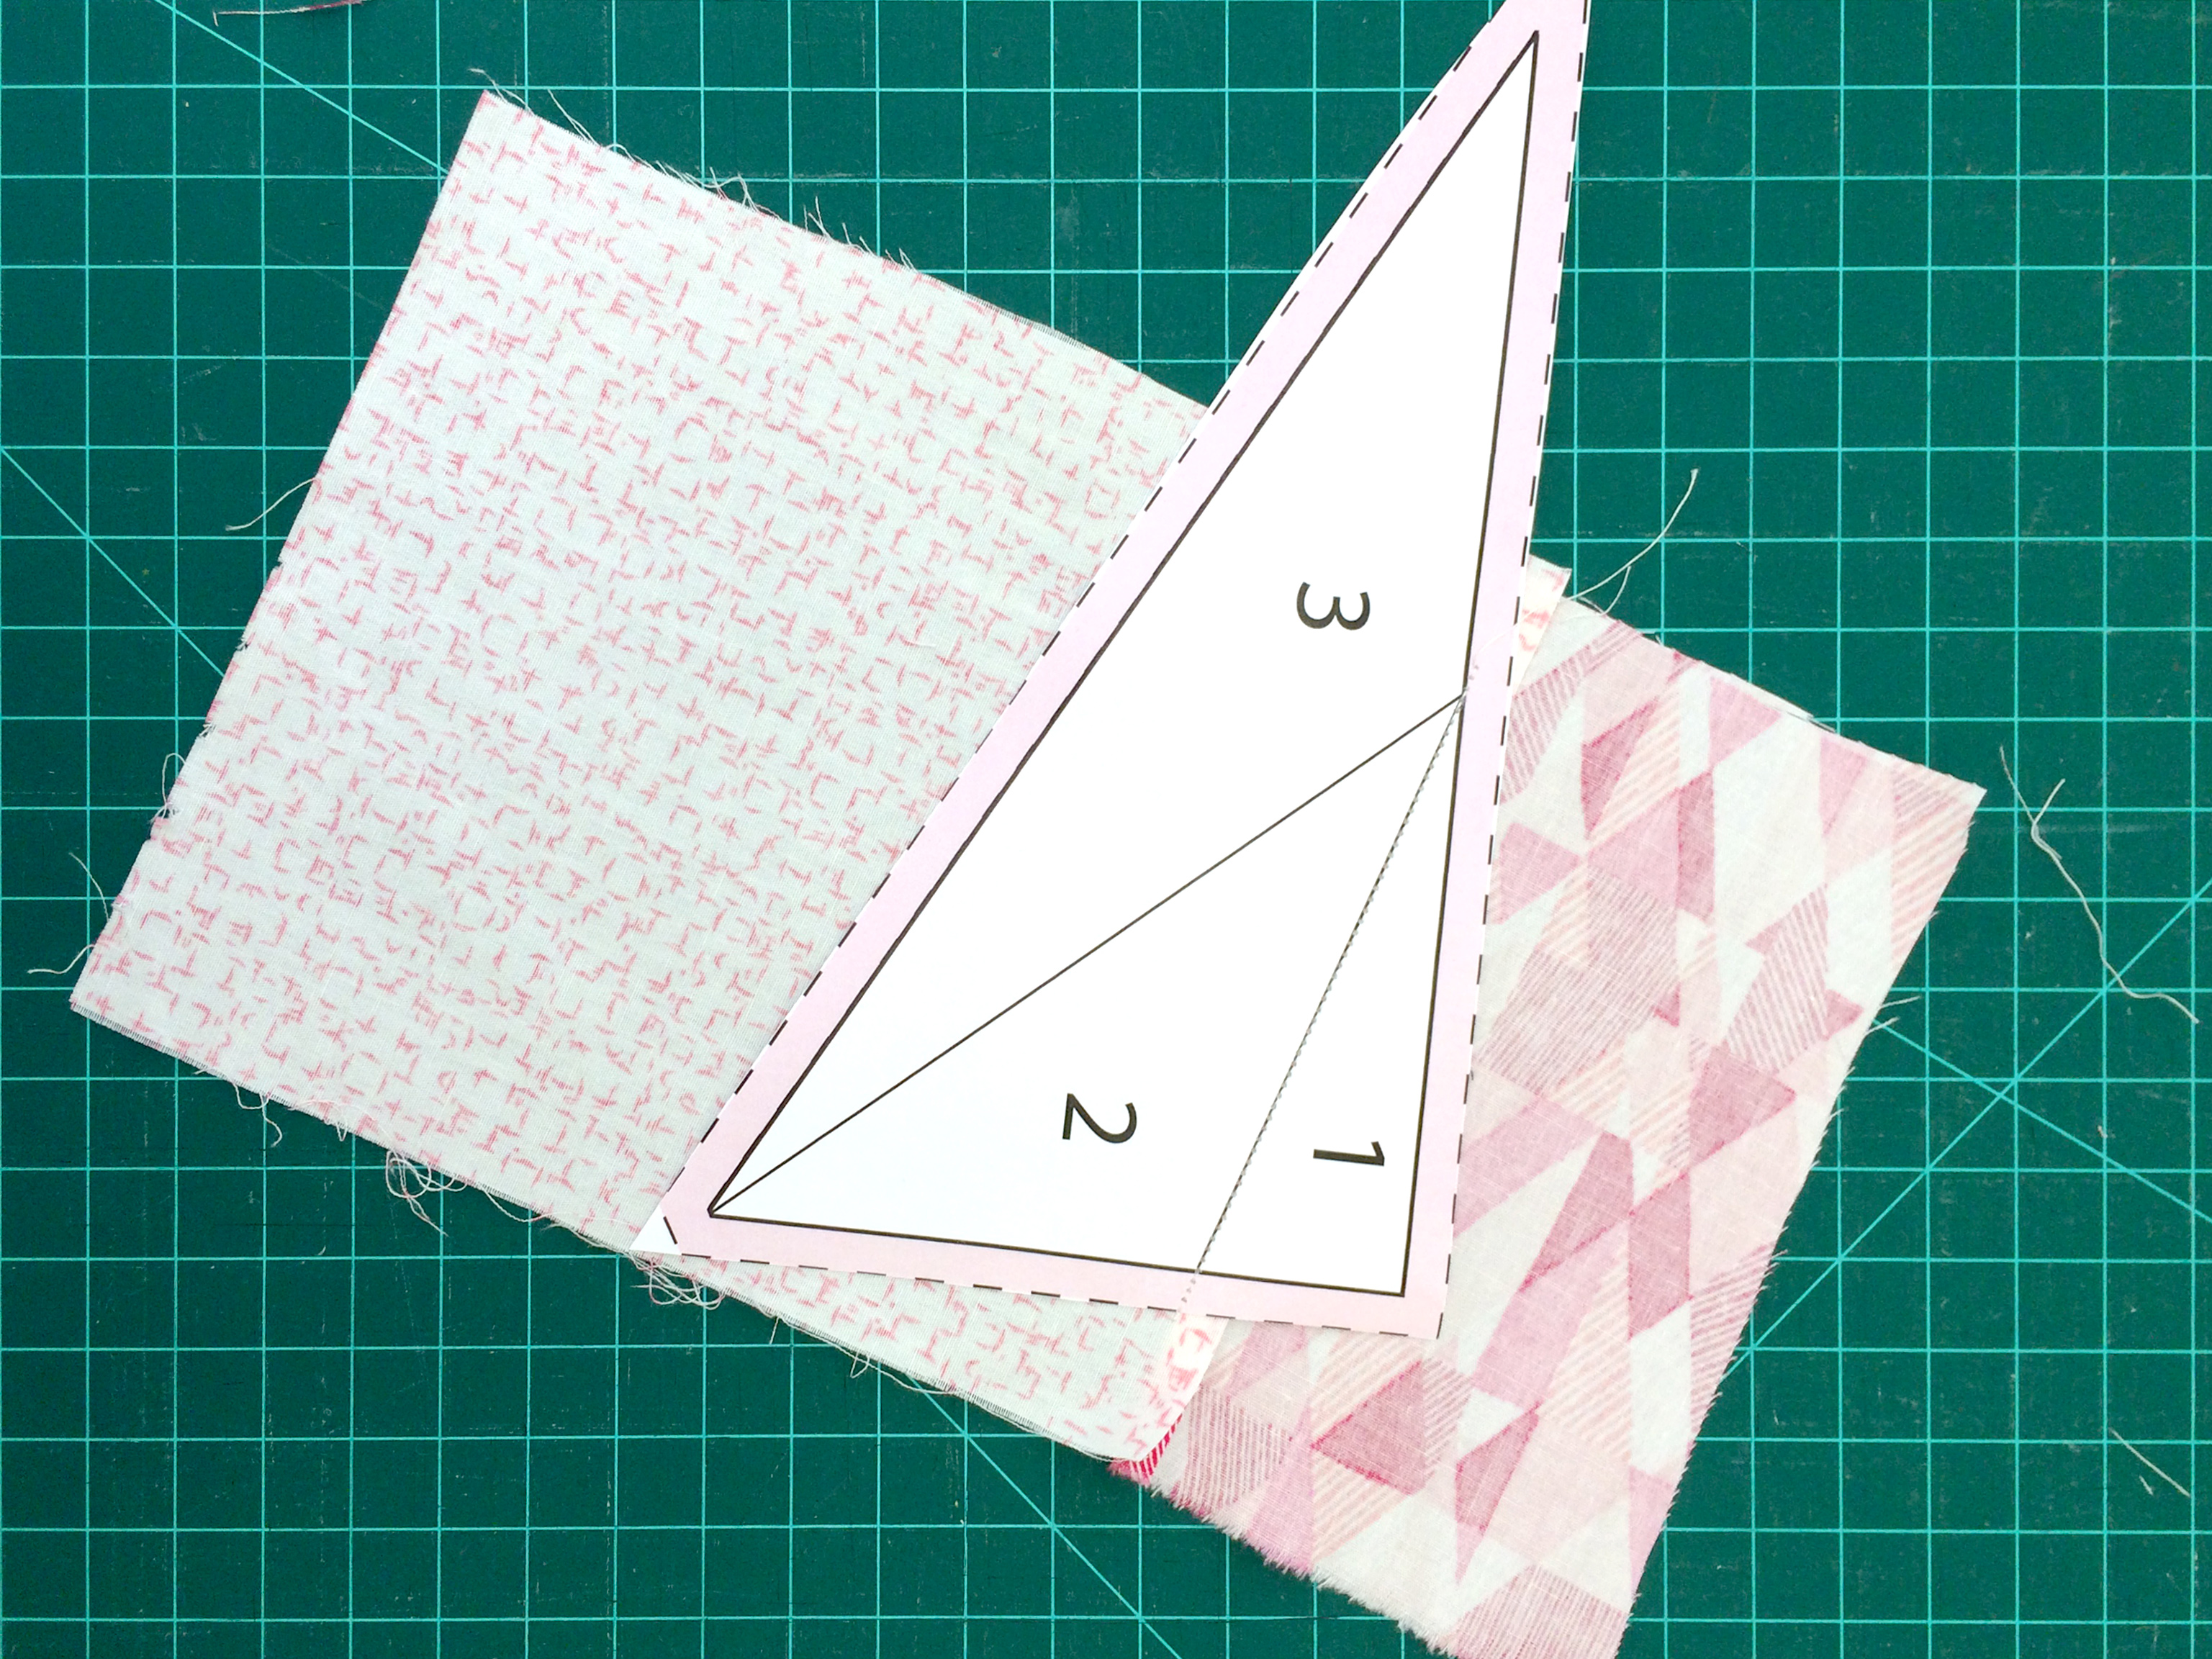
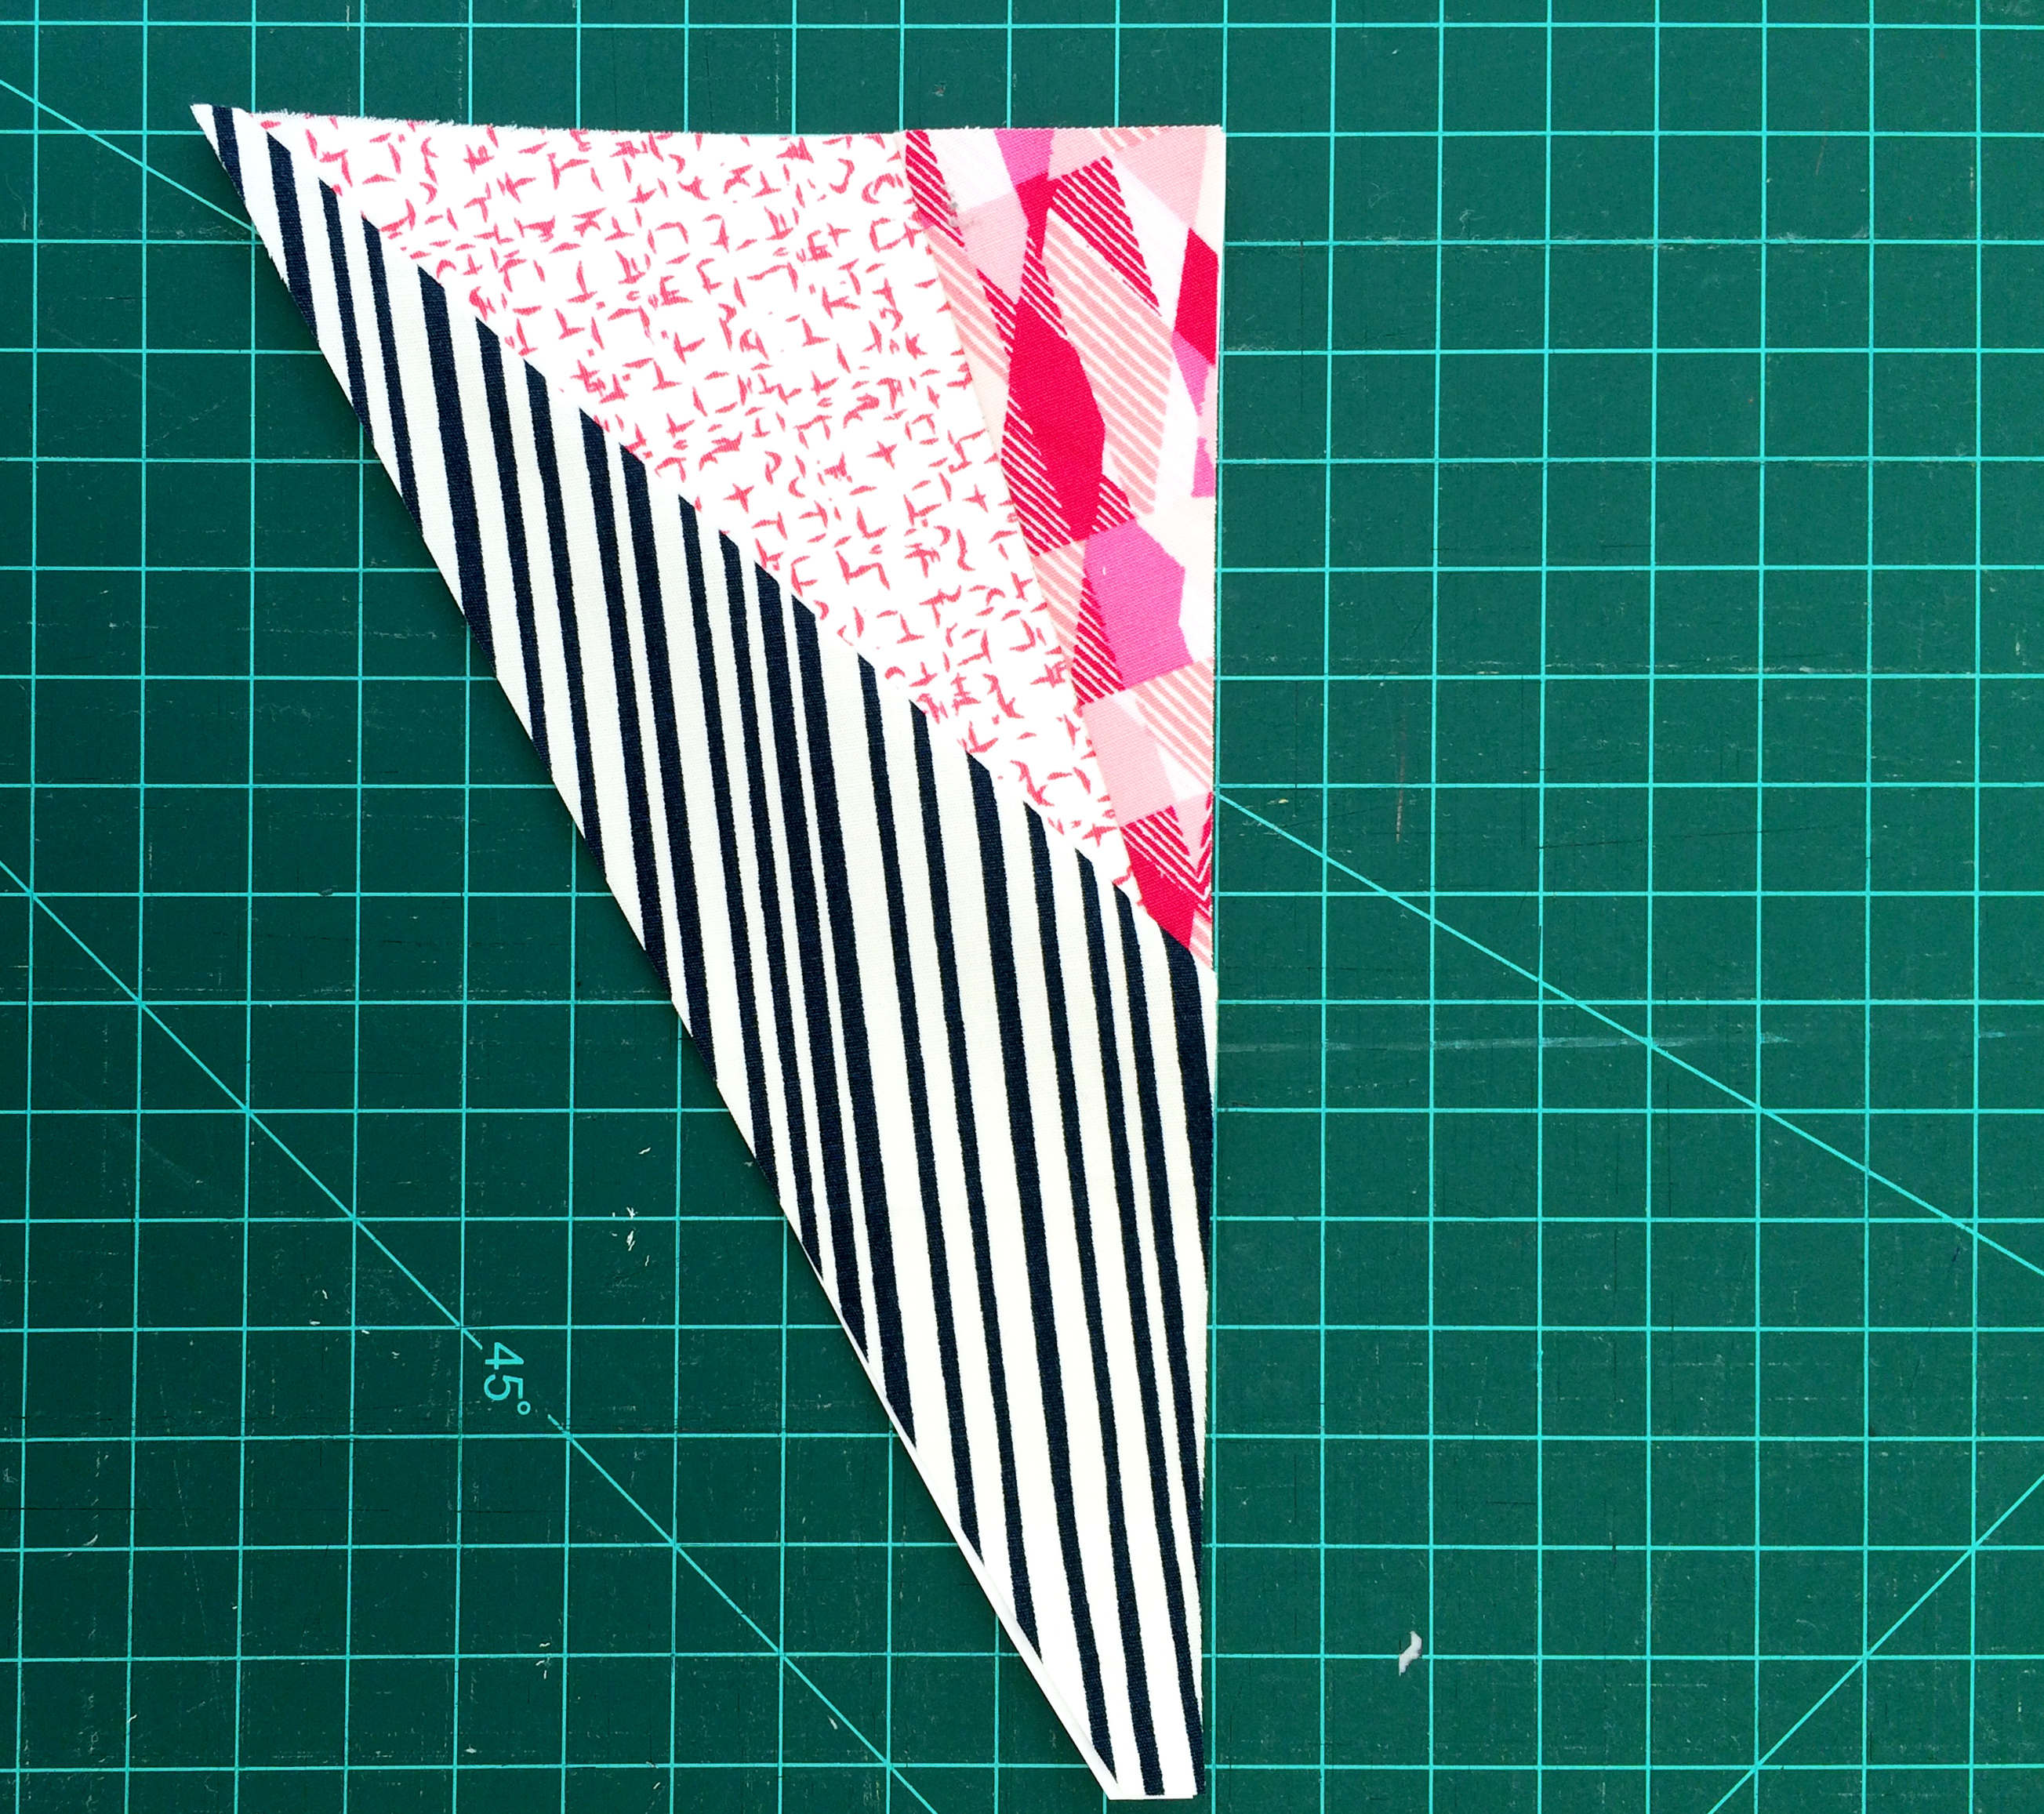
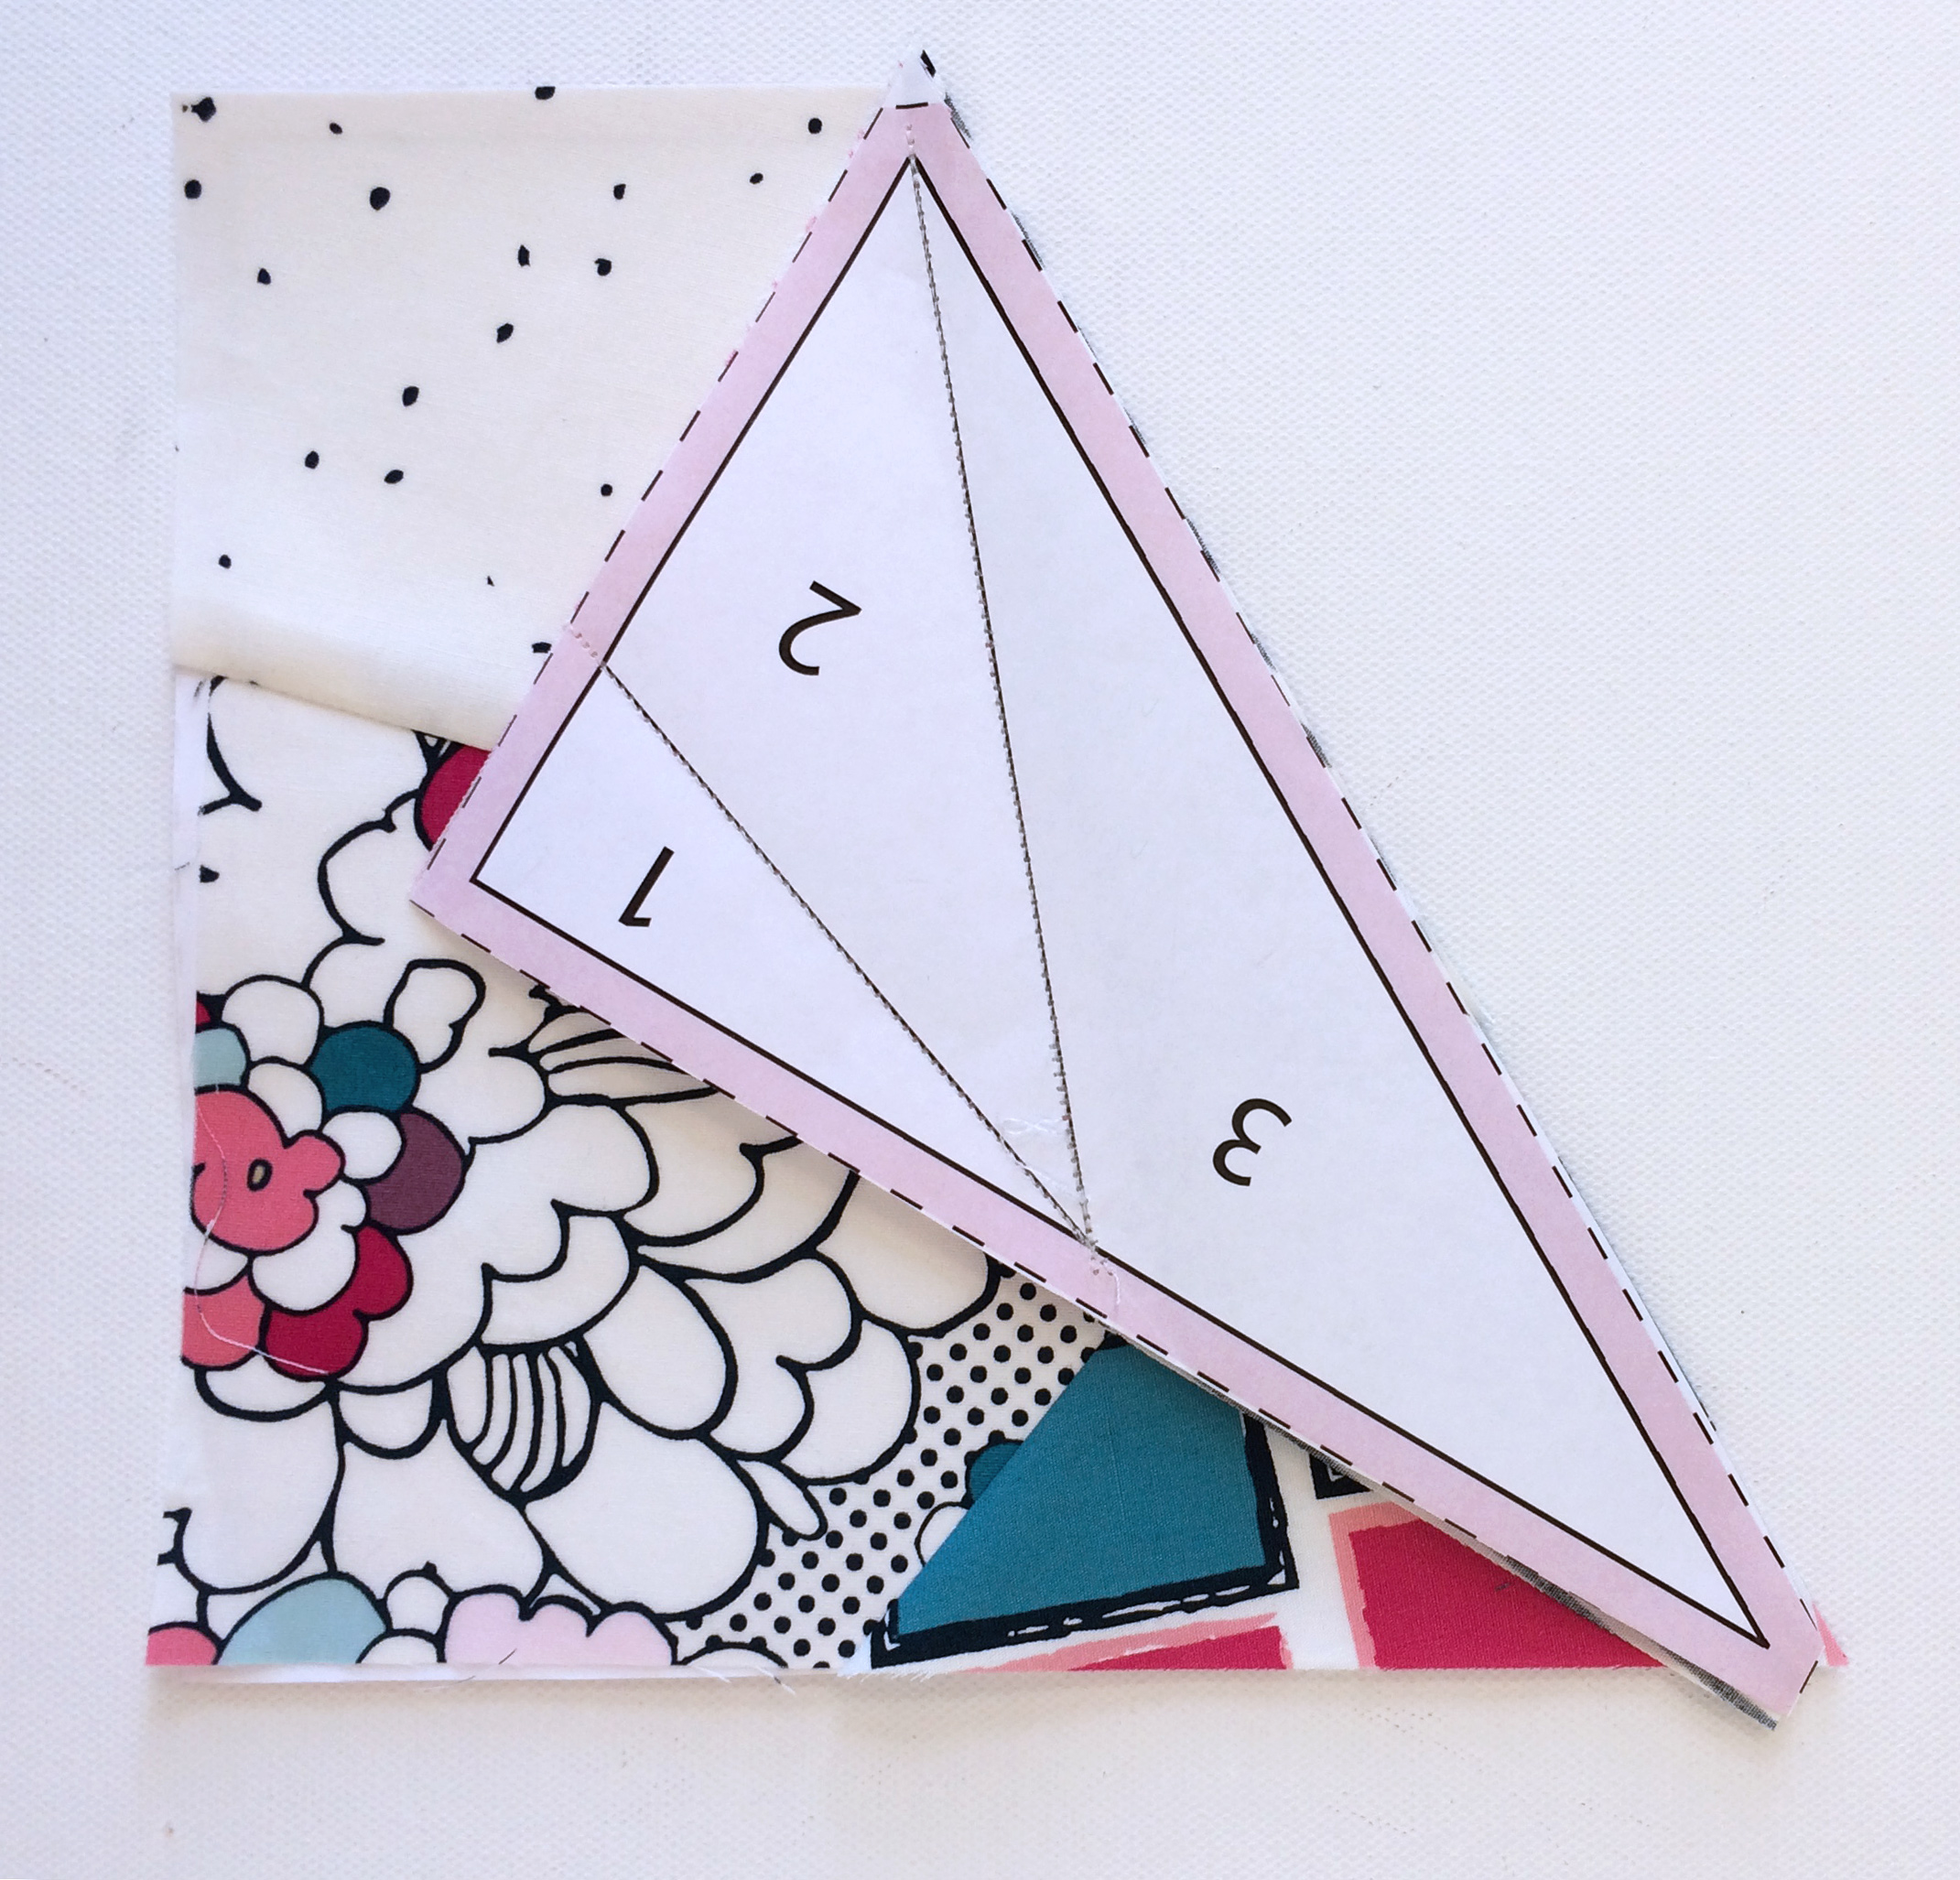
Get Fabric C and place it as instructed below, right side facing up.
Take it to your sewing machine and stitch directly on the line between the line 3 and 2.

Cut the seam allowance as explained before by flipping side 3 (along with the fabric) over to the side.

Now you will have your first paper piece completed, do not remove paper piece yet.
Step 1- Paper Piecing Bottom
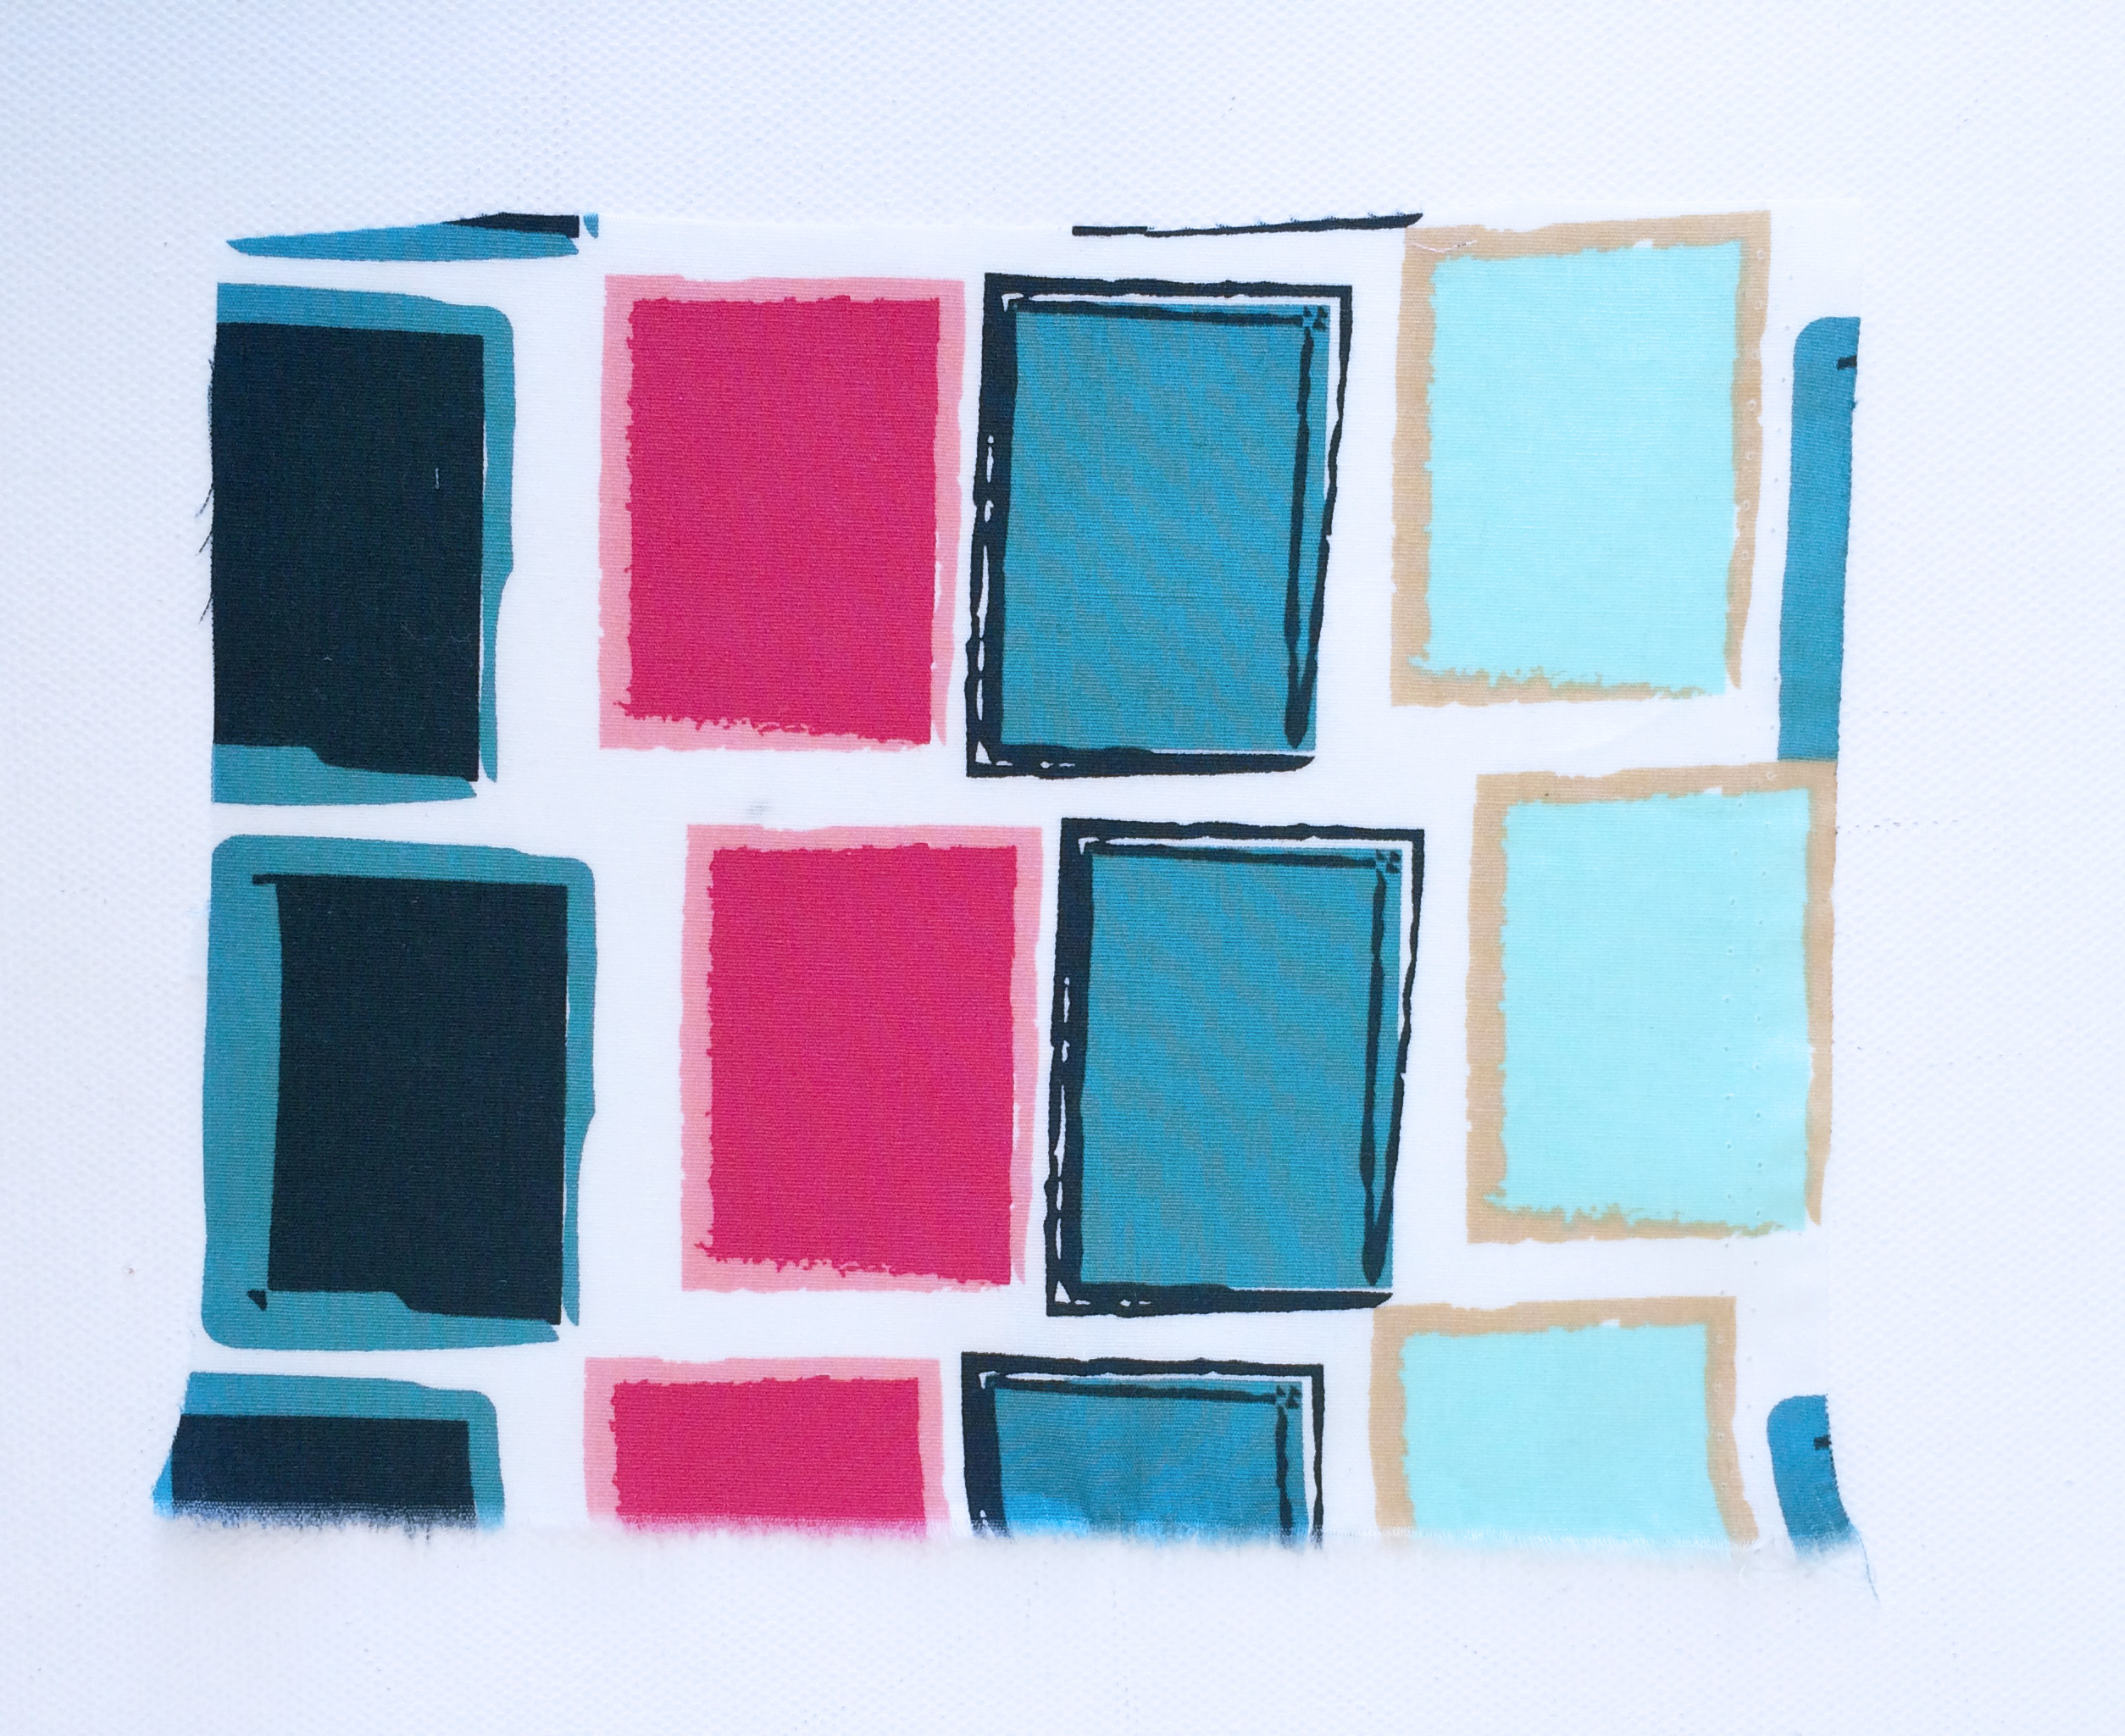
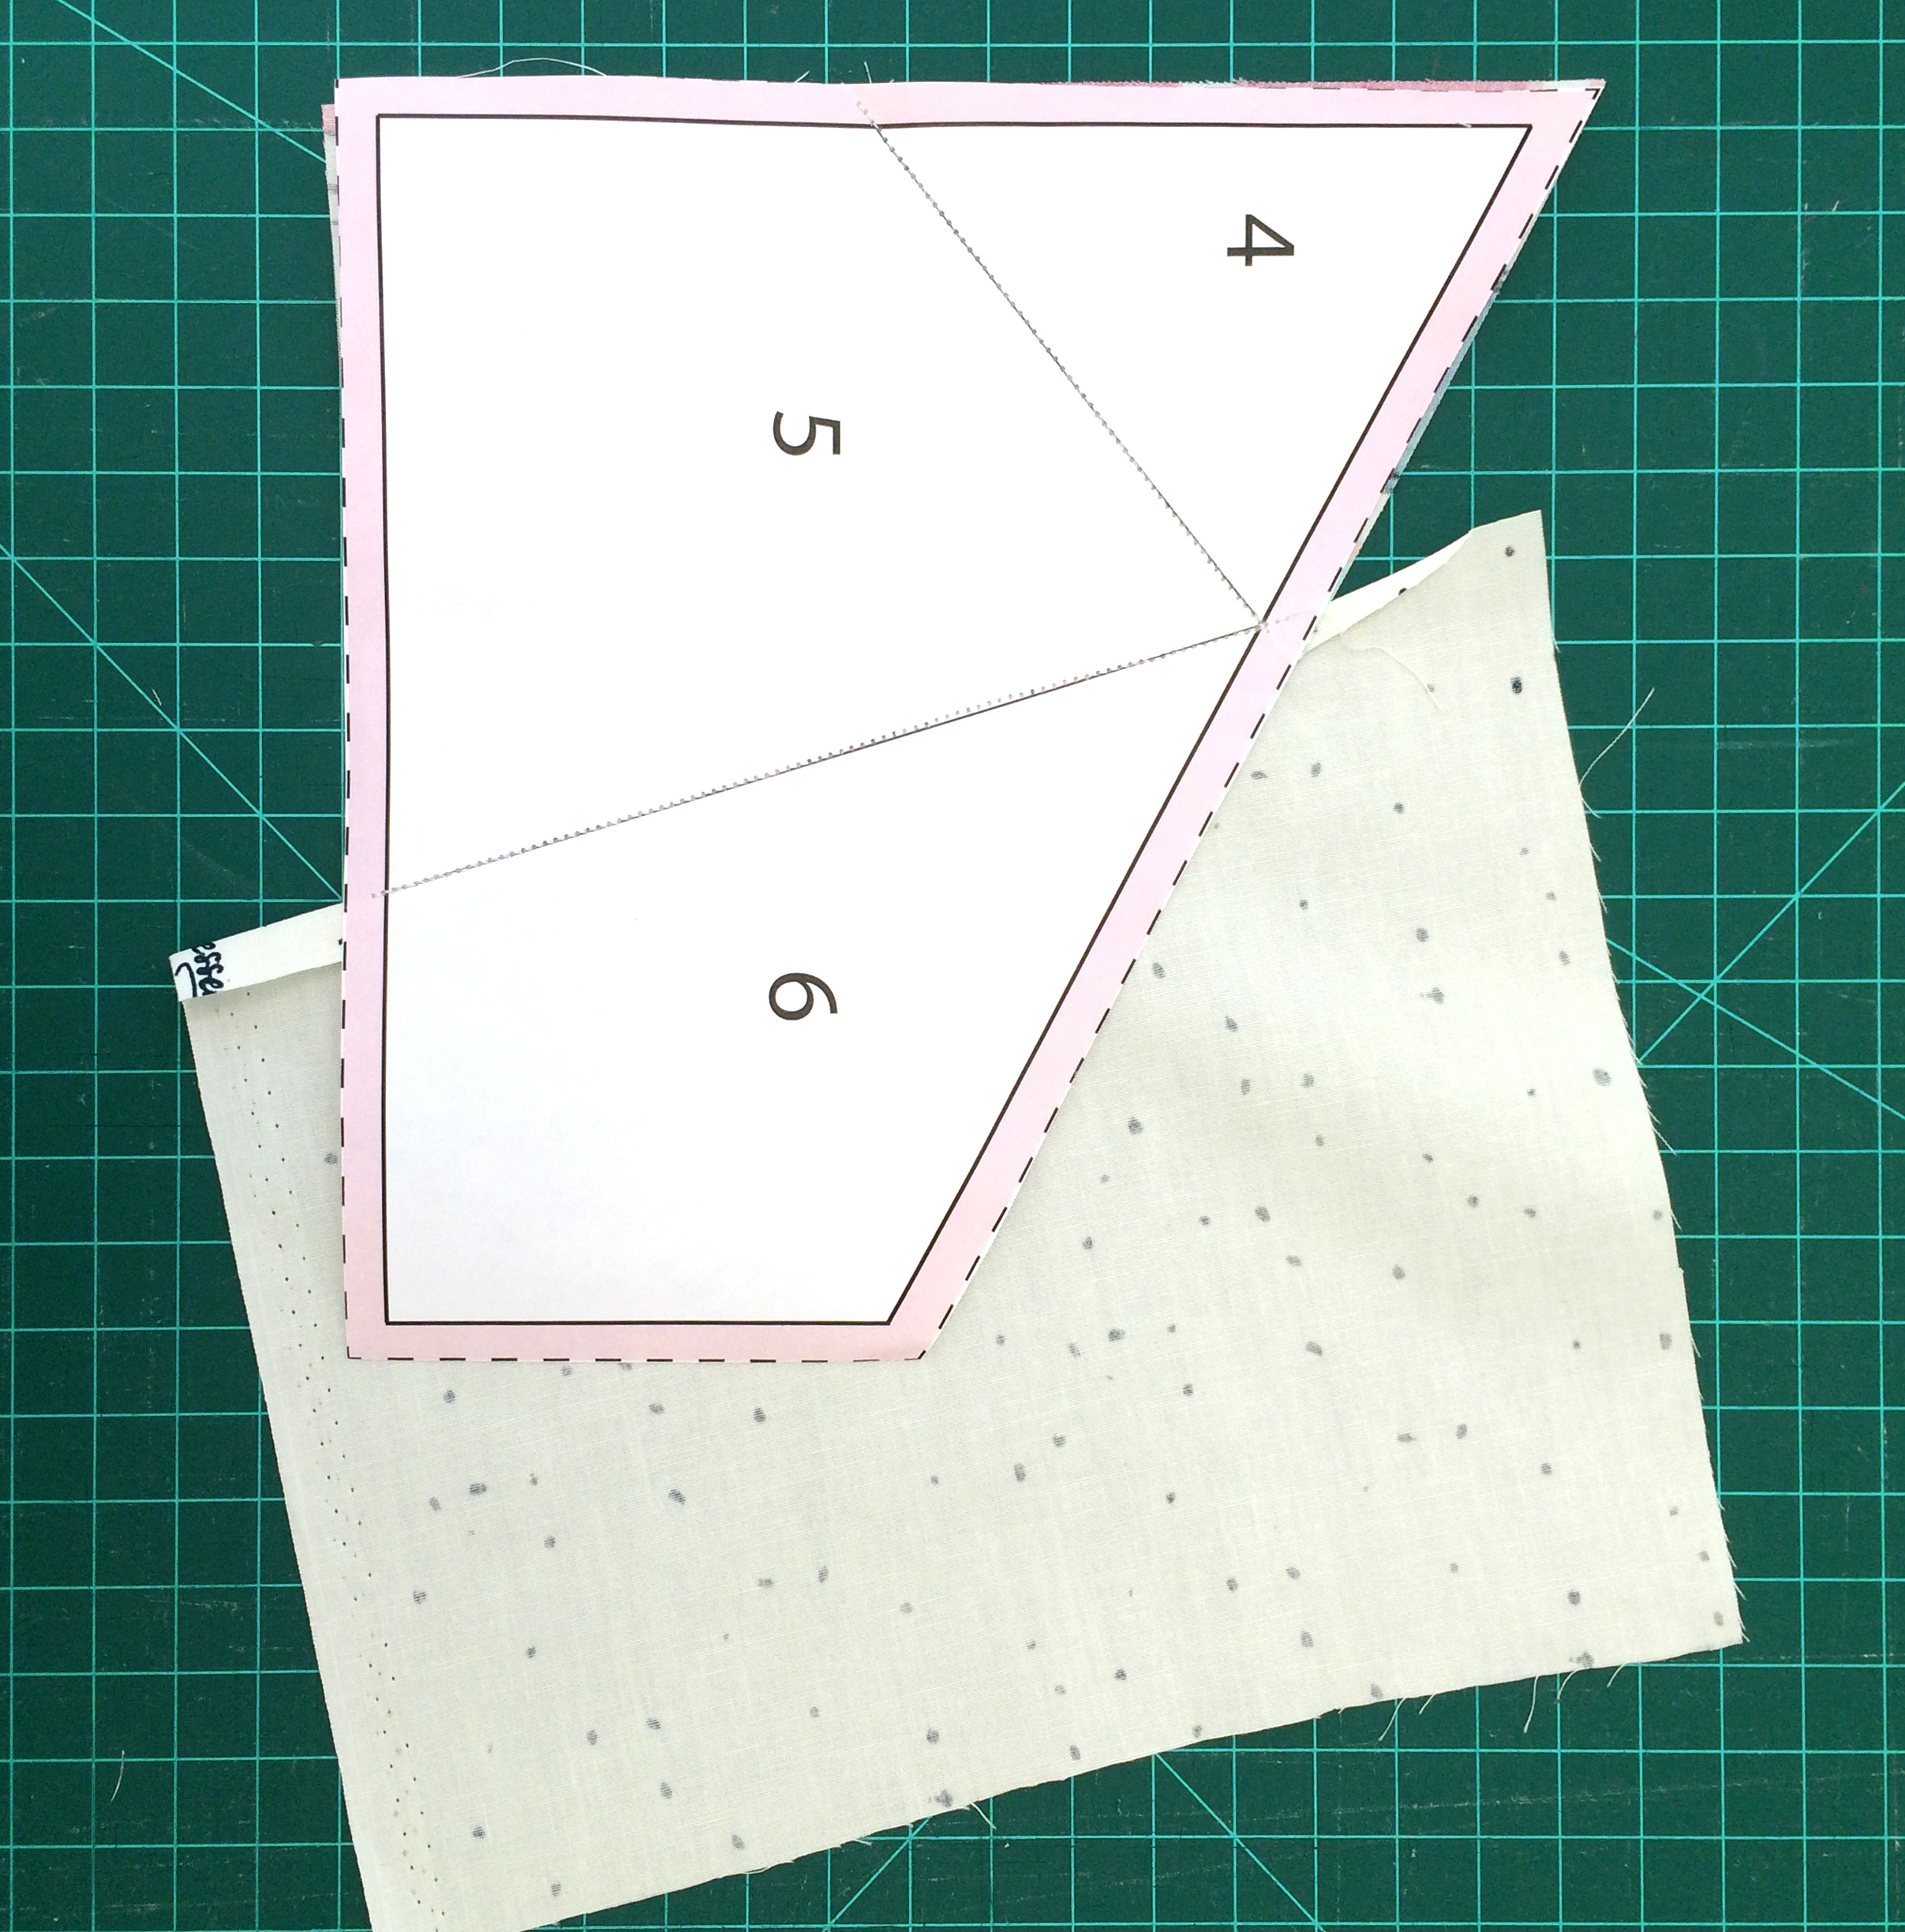
Now that we have our top part completed, it is time to create the bottom piece. Repeating similar steps from Step 1. Place Fabric D on top of your cutting table with right side facing up.
Then place Fabric E on top of Fabric D (right sides facing each other). Always make sure the fabrics cover the complete piece you are going to sew.
Remember we are putting together piece 4 and 5 so stitch directly on the line between those two numbers (pink line).
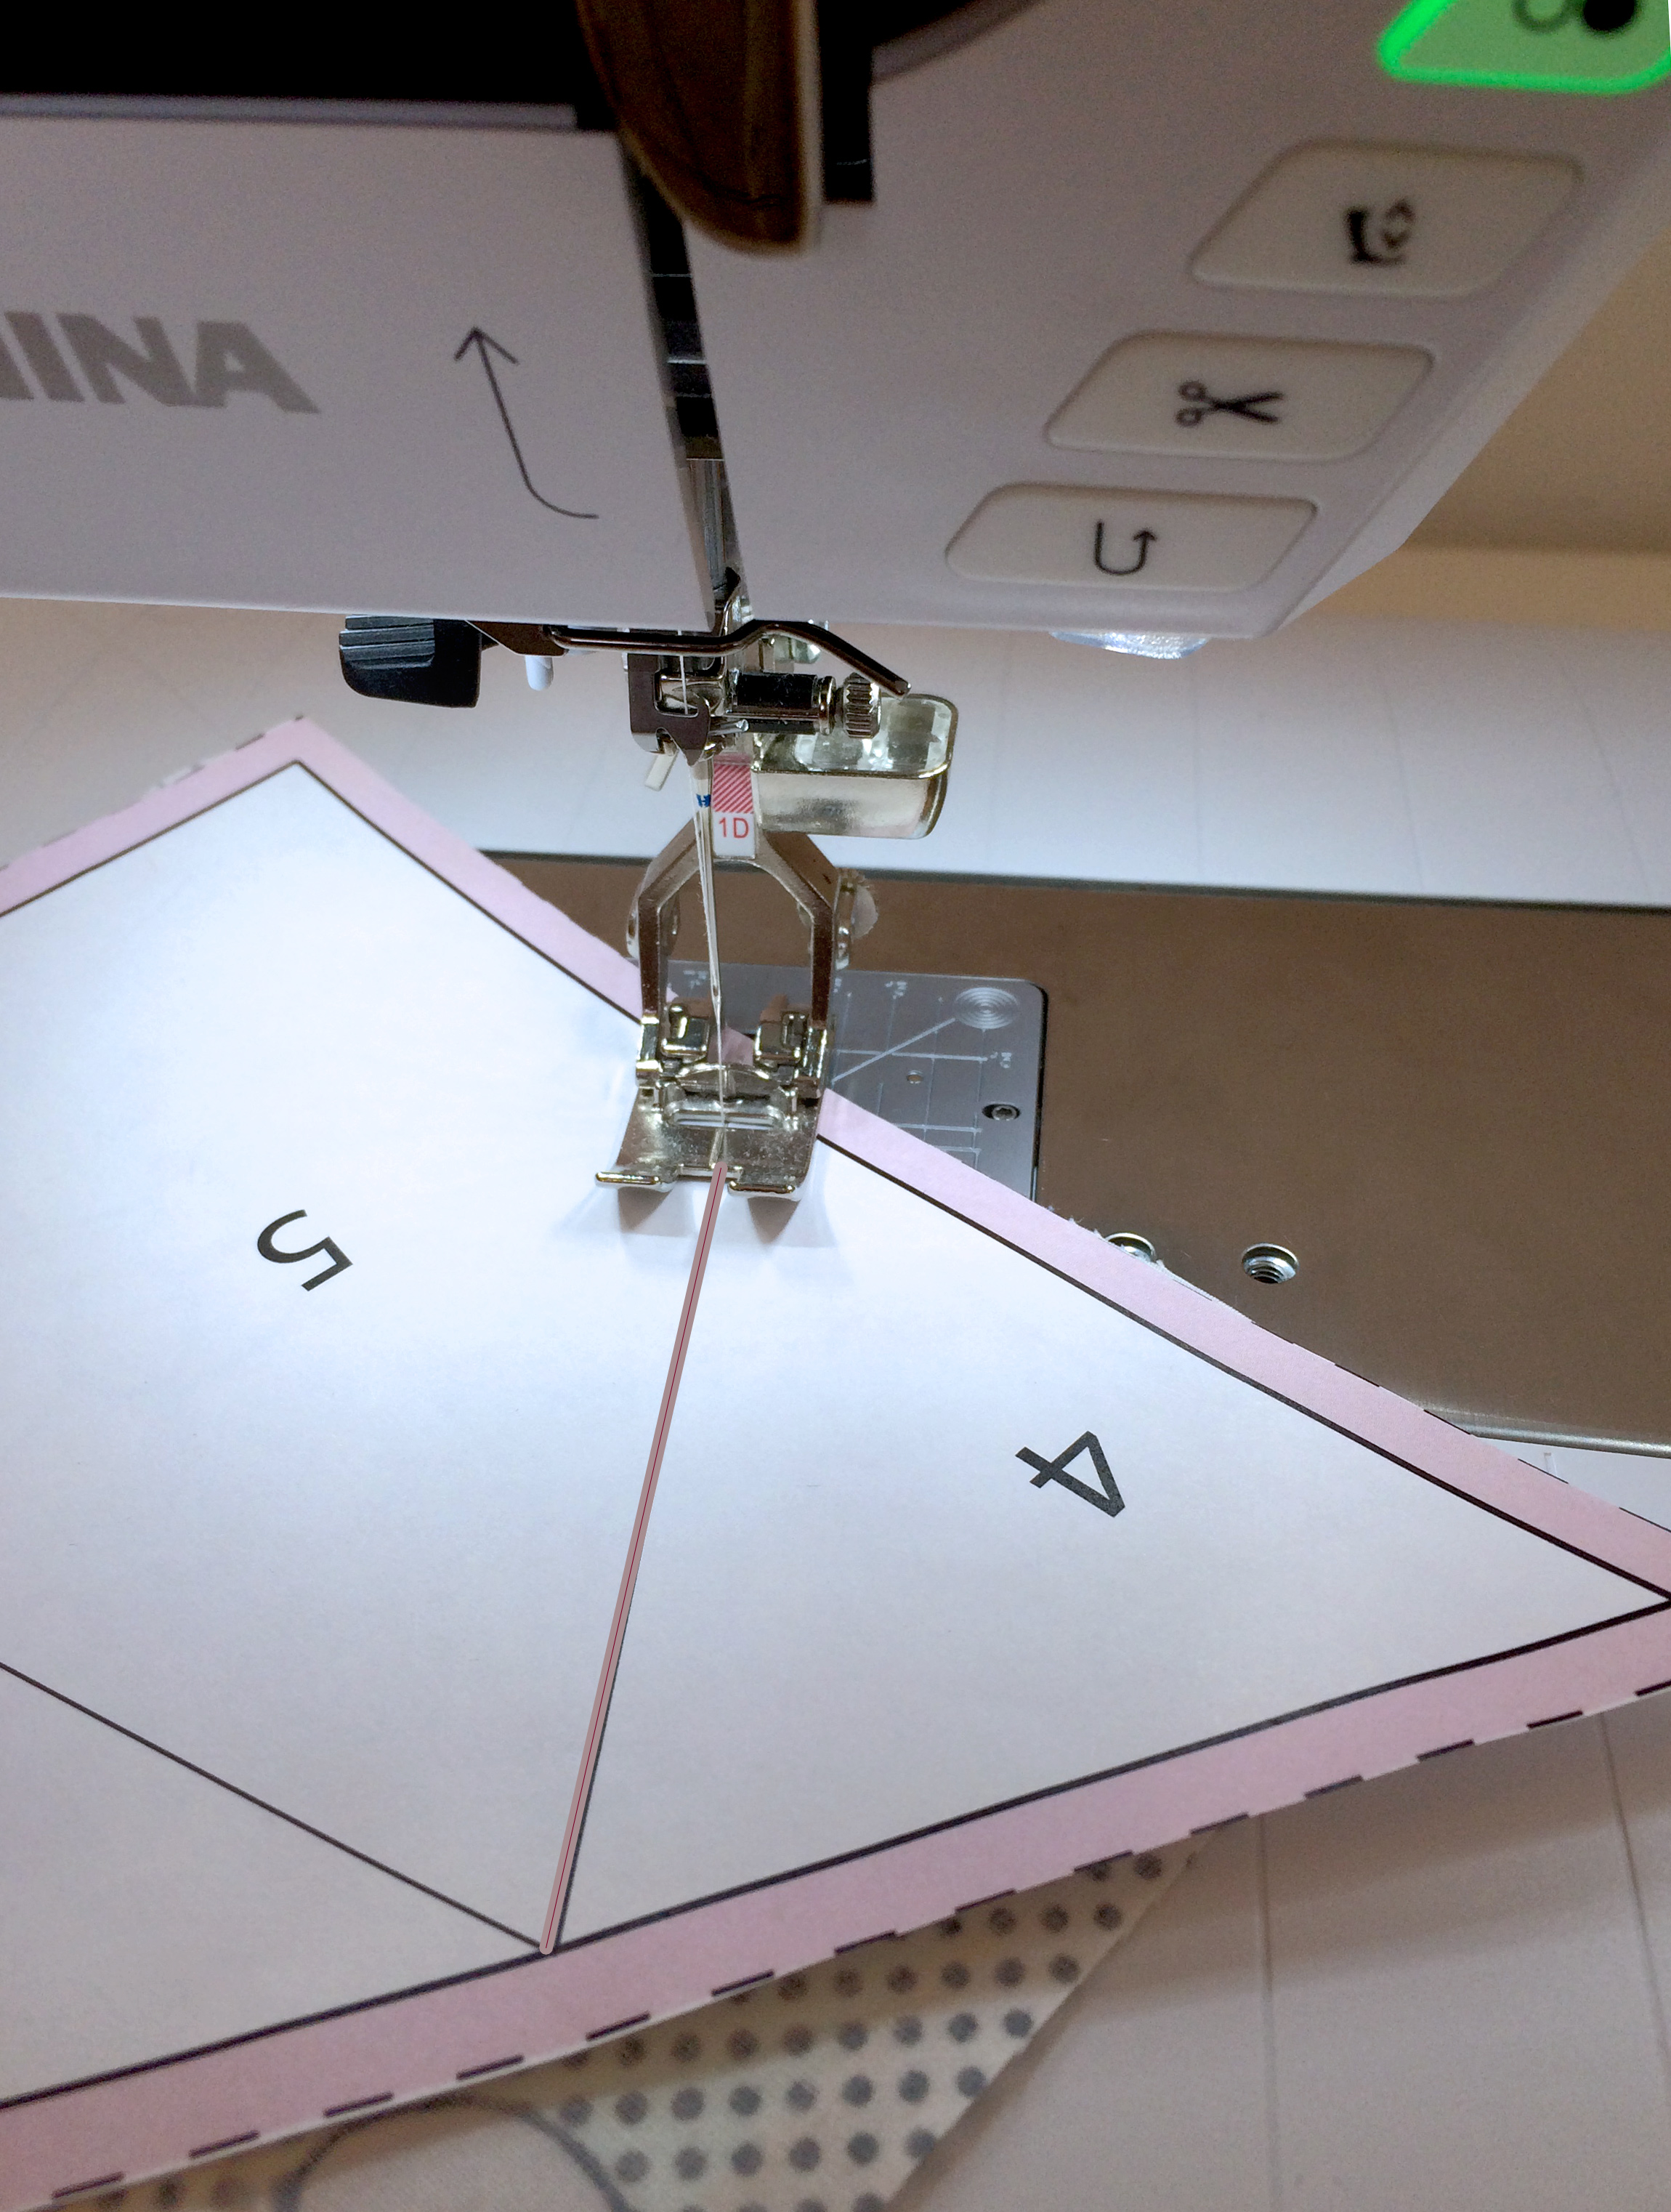
Make sure to press seams open and cut extra fabric.
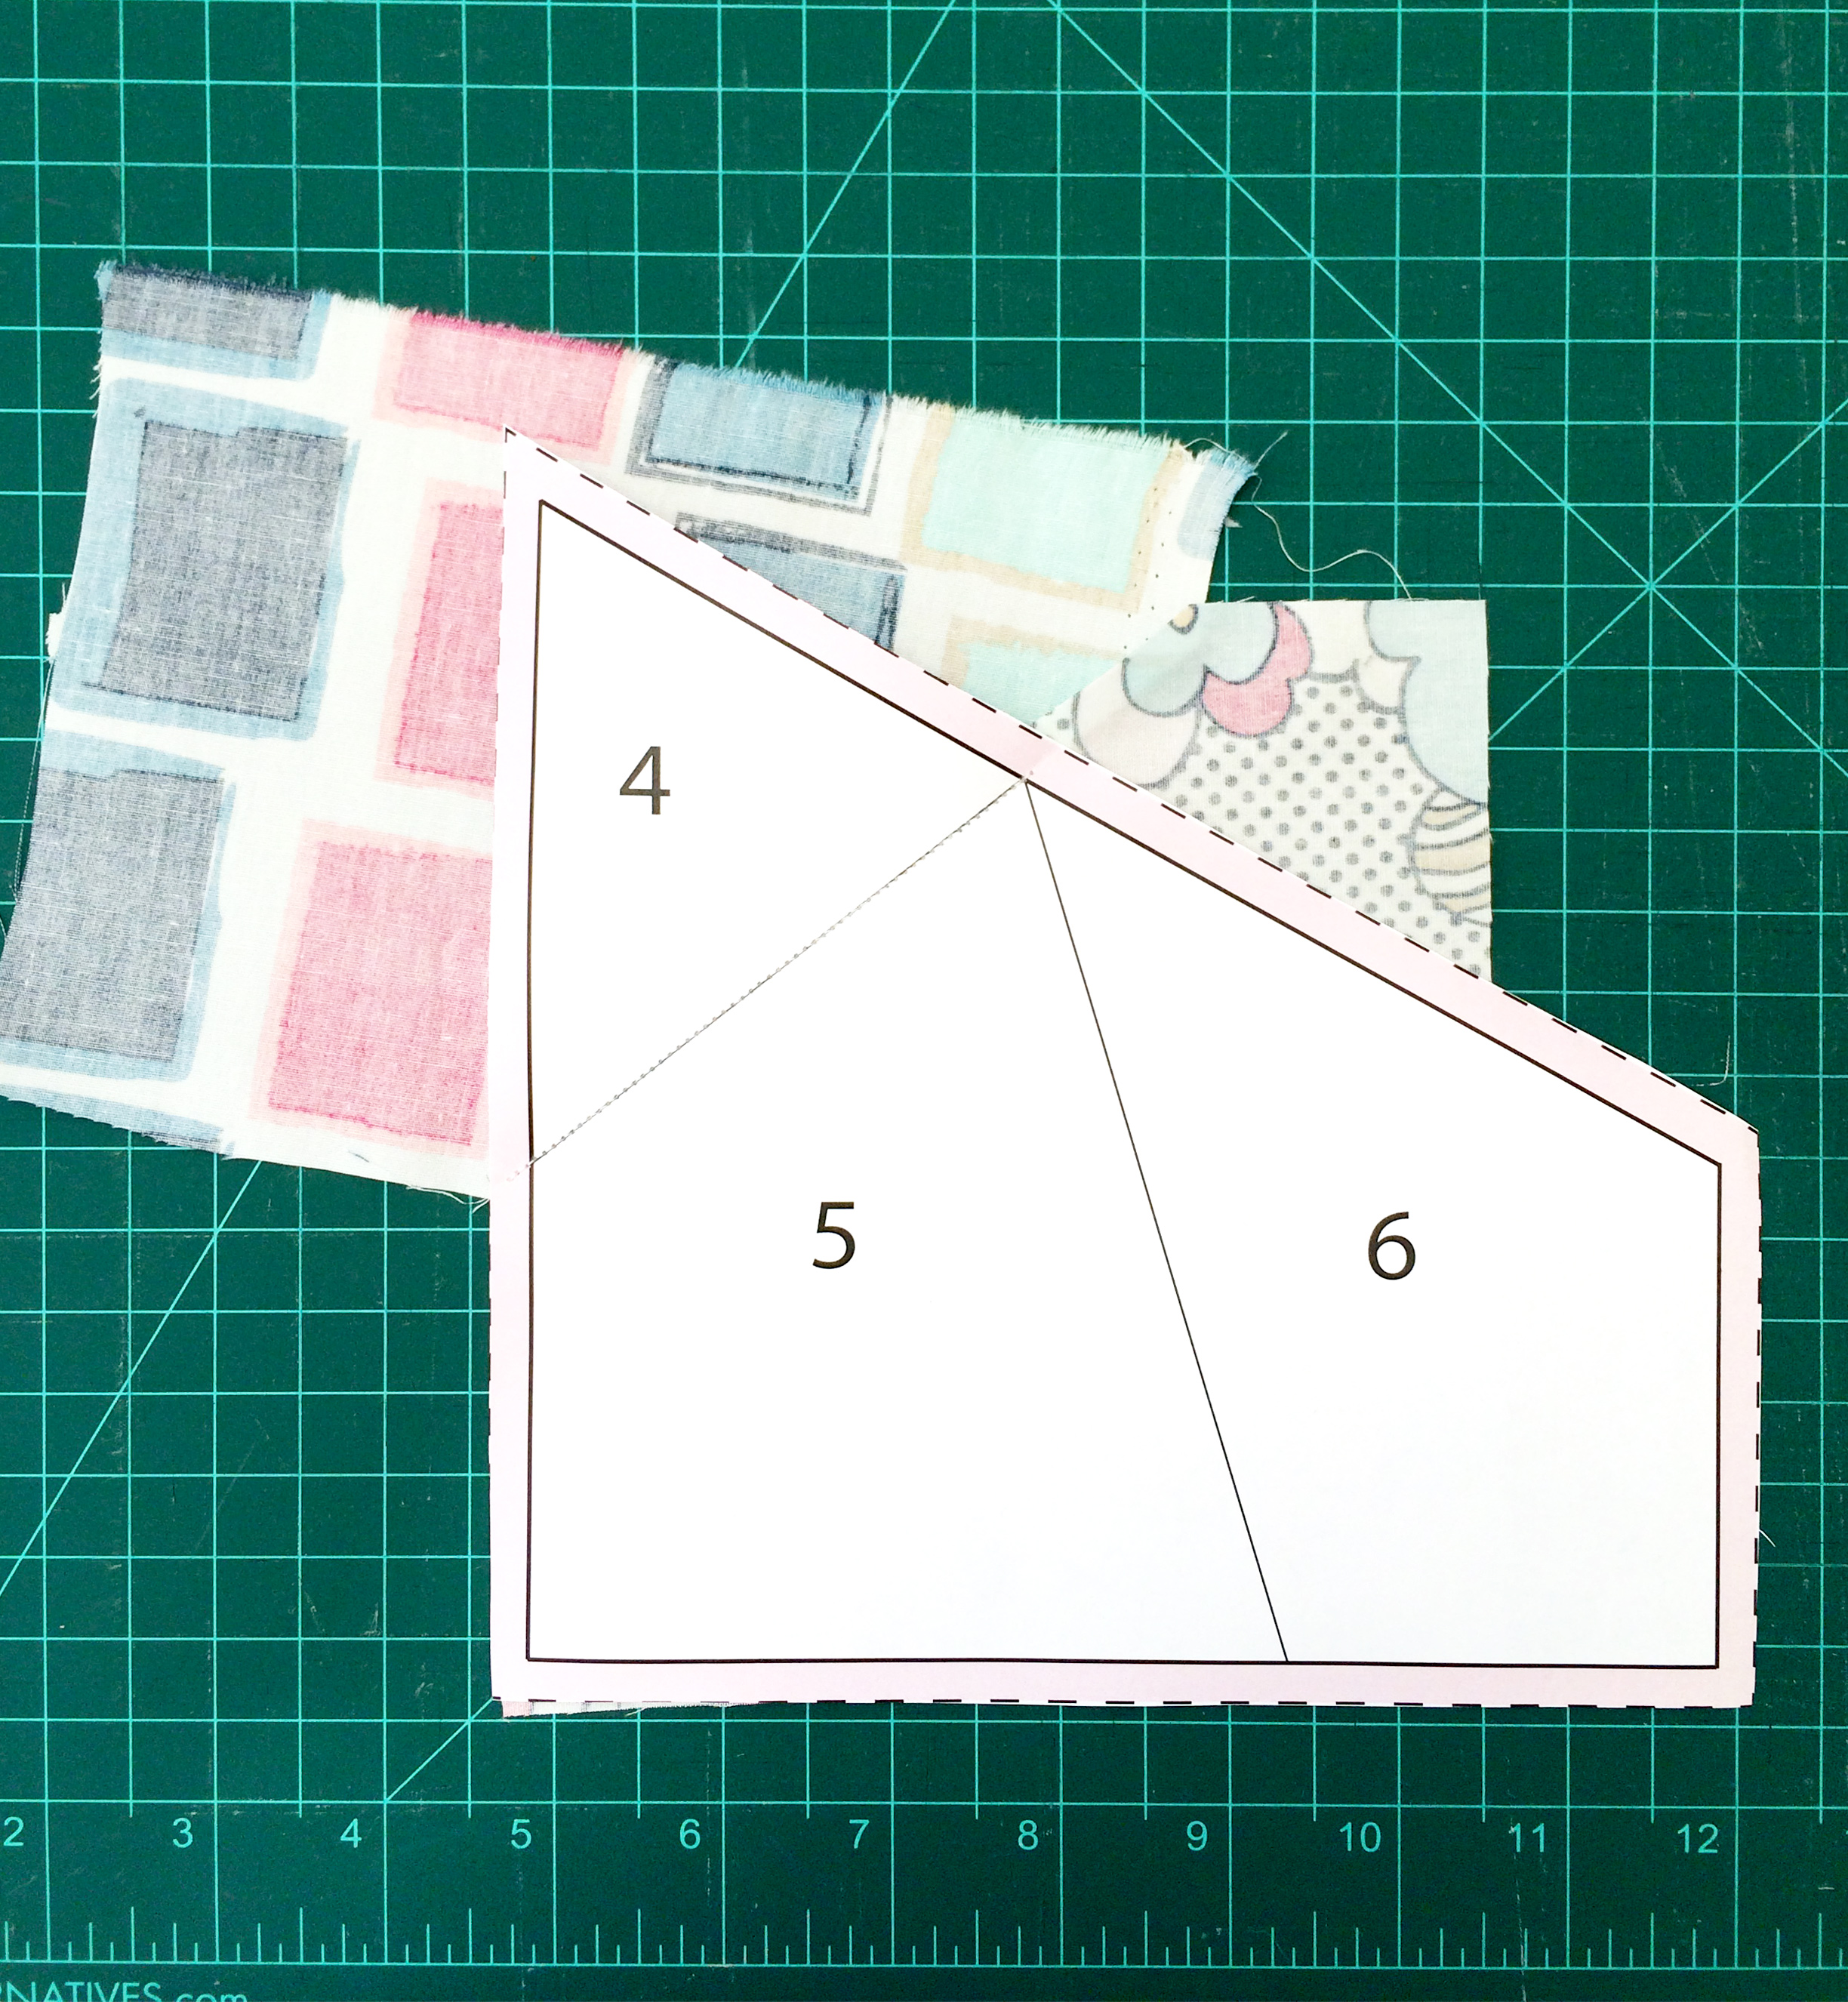
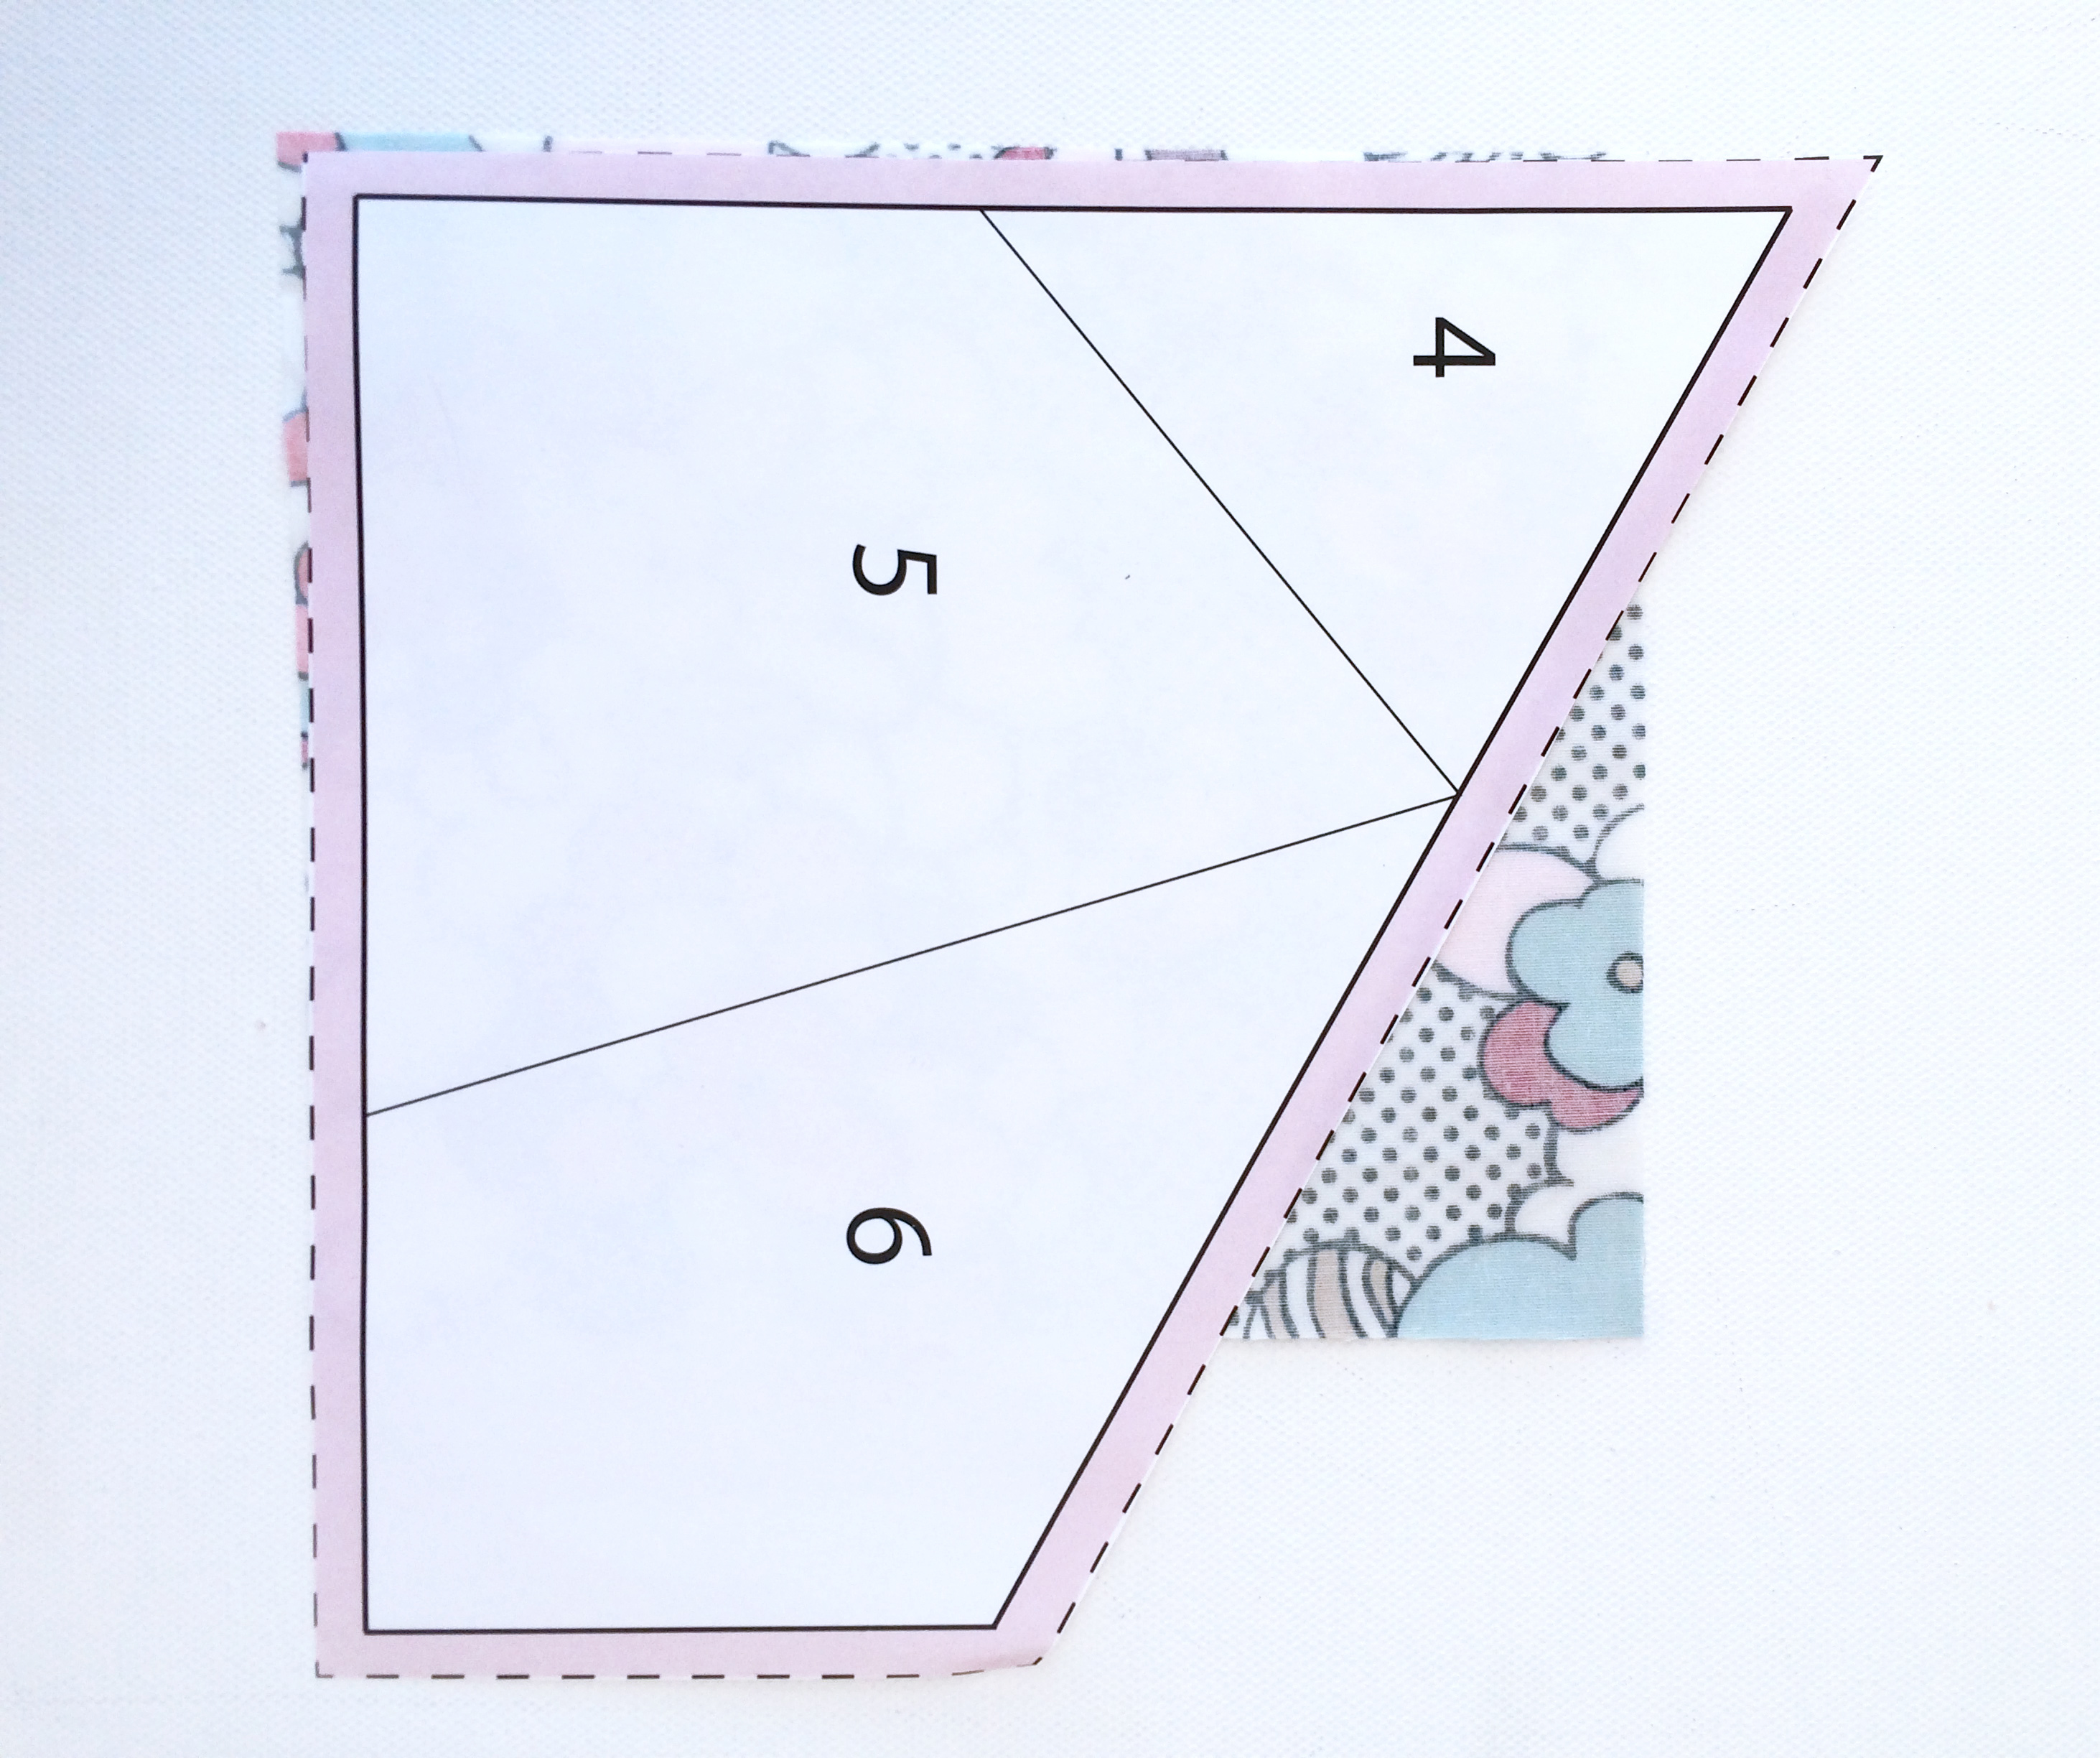
Lastly, we take the last piece which is Fabric F and place it as explained below. Like I said, you can always place your piece (with only Fabric F) through a light source and then you can match up the edge of Fabric F (piece 6) at least 1/4 seam allowance.

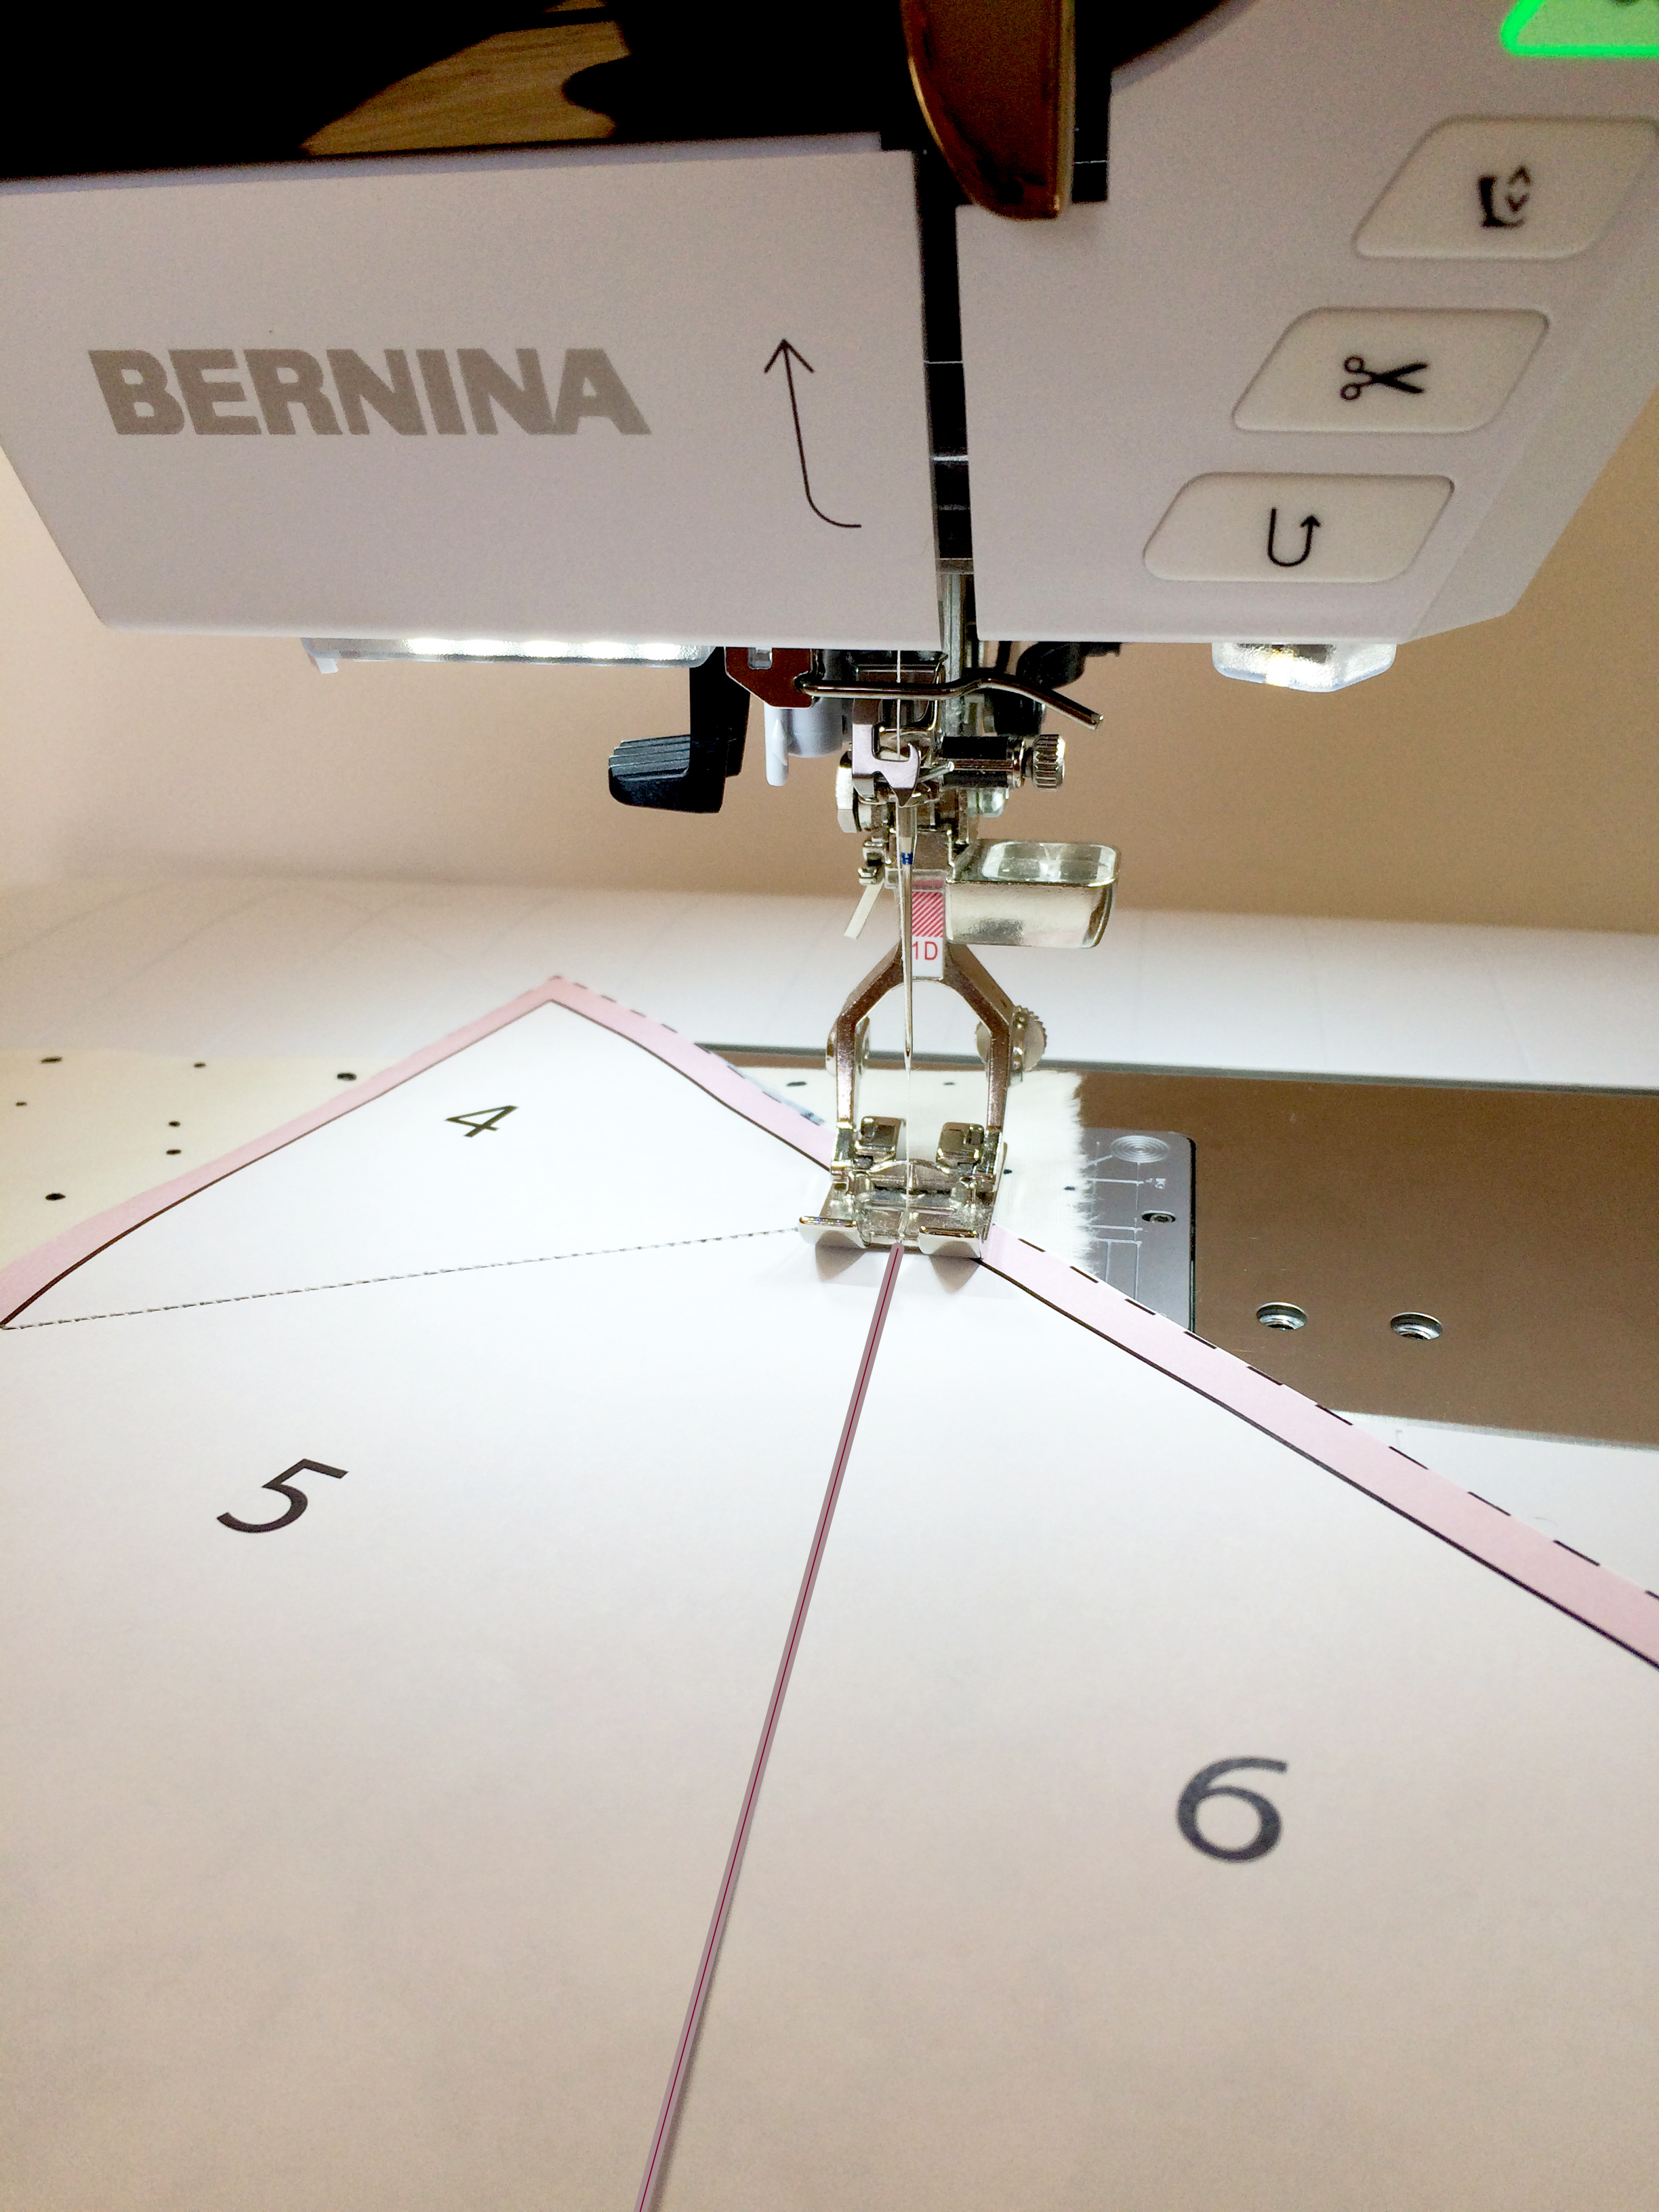
Take it your BERNINA and stitch directly on the last line, between 5 and 6 (pink line in image).
Cut the seam allowance.
NOTE: When cutting seam allowance on paper piecing, make sure your pieces are to the opposite site of the piece you wish to cut. That way we prevent from cutting fabrics that are part of the paper piece block.
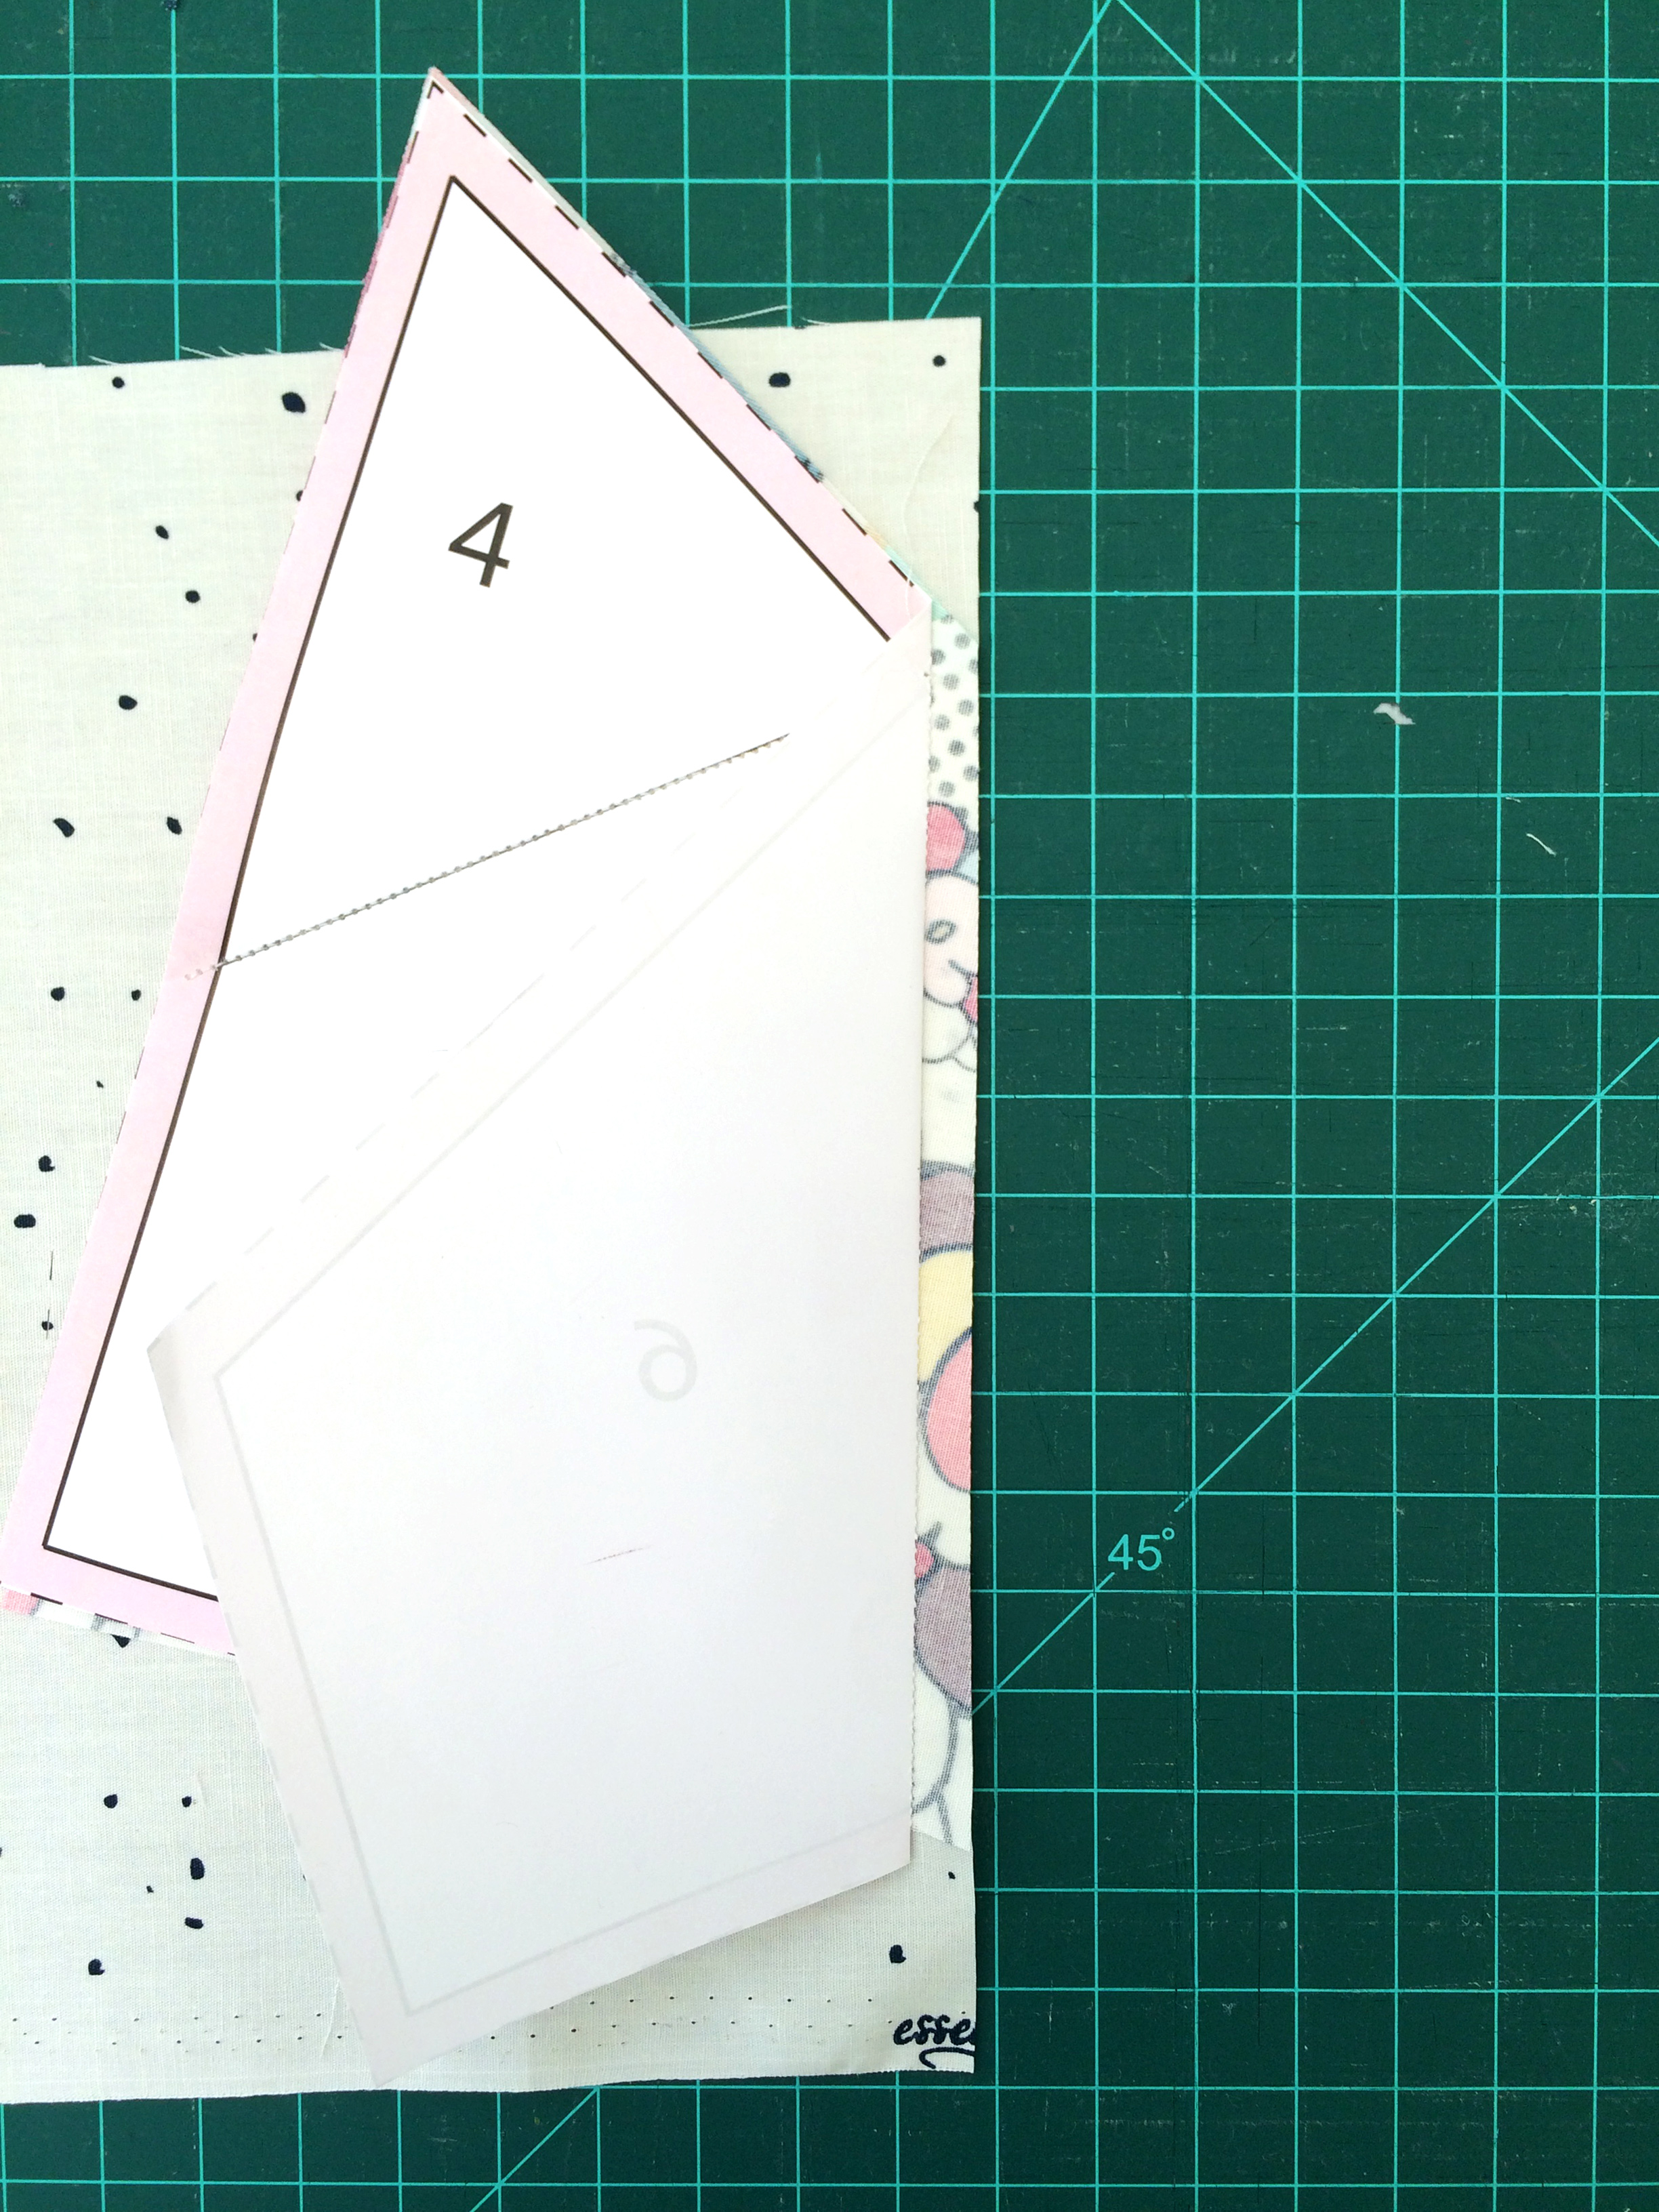
Now press Fabric F to the side, press seams and cut extra fabric. Remember to not remove paper.
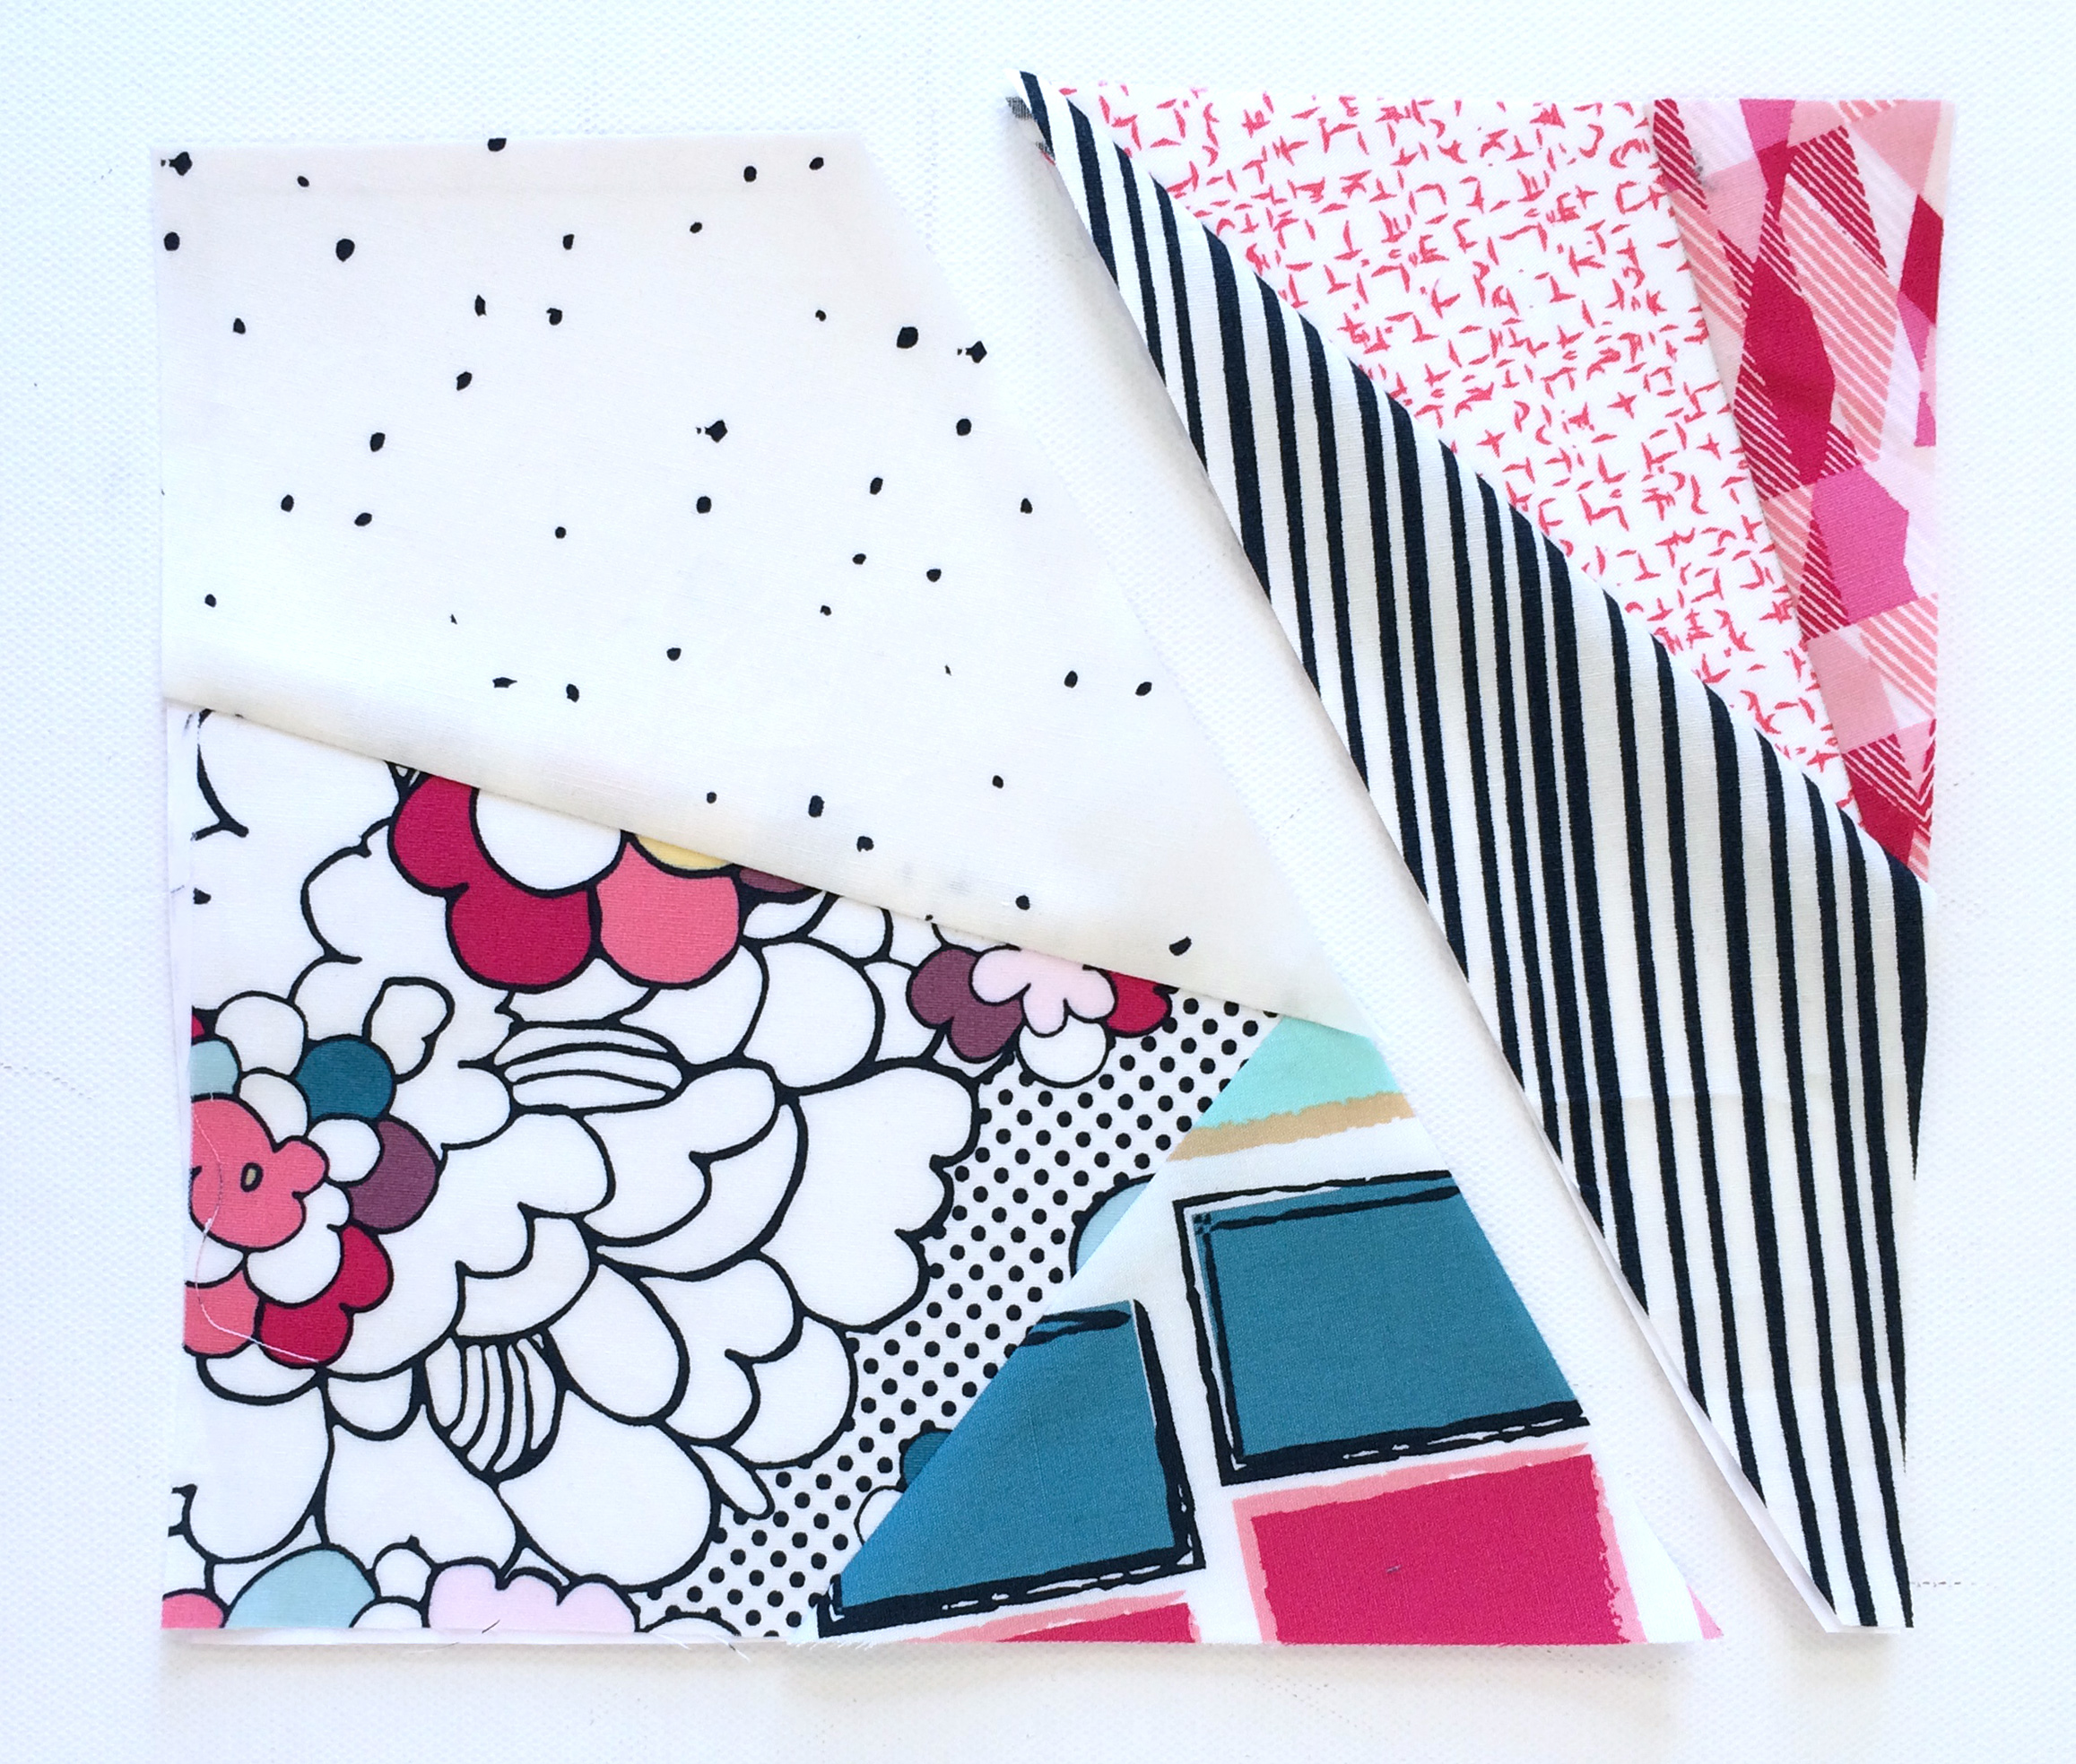
Now you will have both pieces completed that sewn together will make one paper pieced block.
Step 3 Attach Pieces
Now it’s time to attach both pieces together, this is why I instructed not to remove the paper, for seam guidance.
Place both pieces as instructed below and stitch in place, following the seam guide line (pink line).
And it’s completed! You have your first paper piece square, now it’s time to repeat this same steps three more times.

You can now tear off the paper, and you will find the shorter stitch length helpful while removing each piece of paper.

Setp 4 Quilting
Now that your 4 paper pieced blocks are completed it is time to attached them following the design below. Get the 18” by 18” piece of bating and place the complete mini on top.
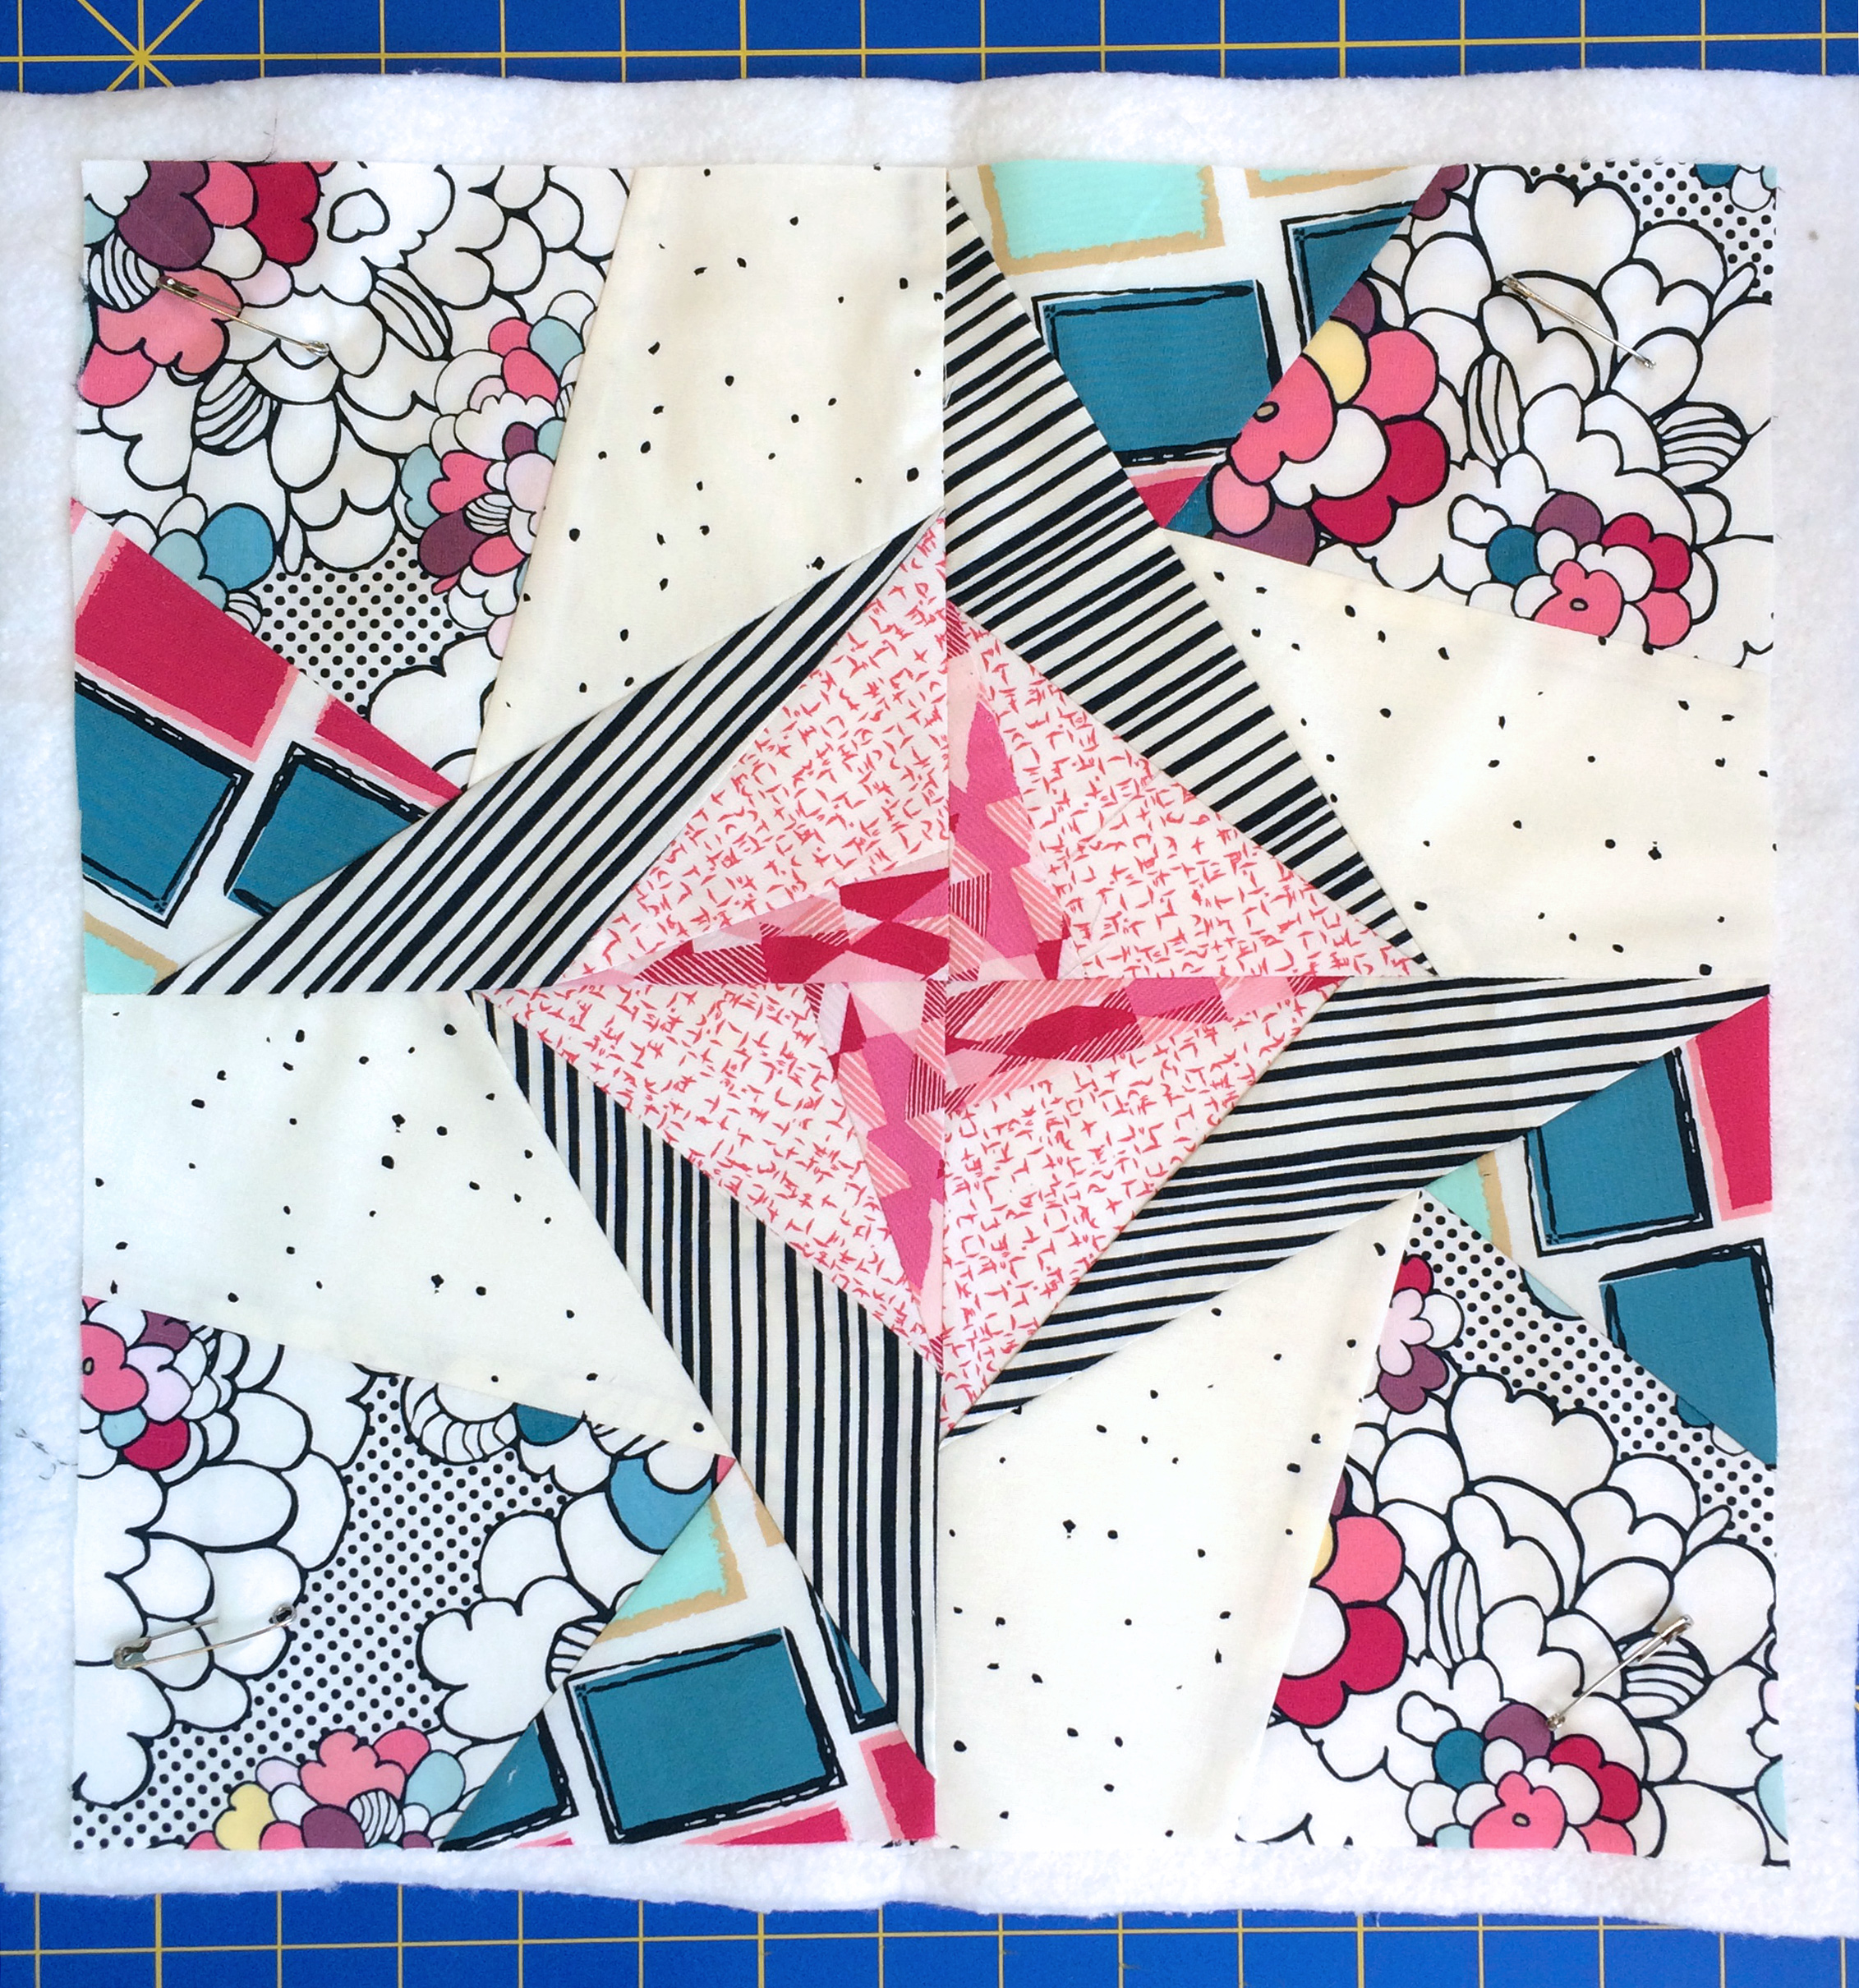
Secure the mini with safety pins.

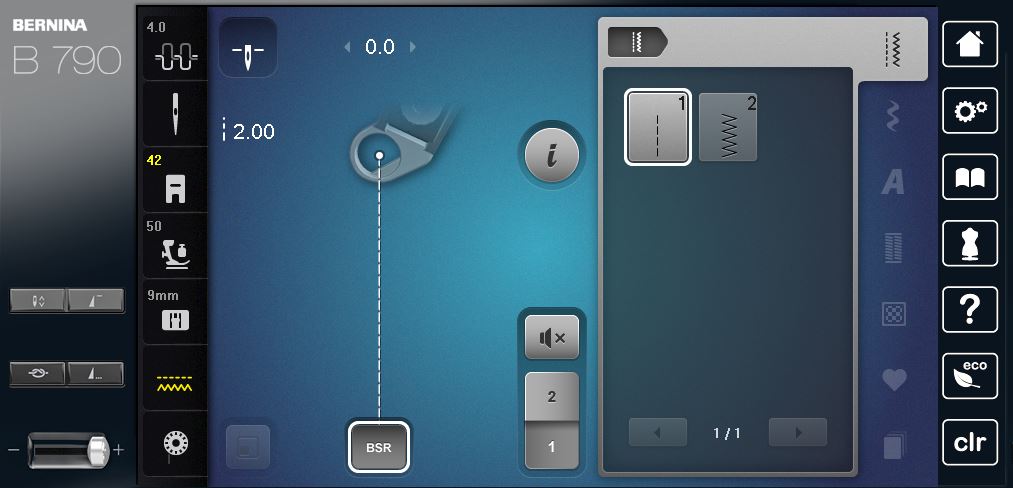
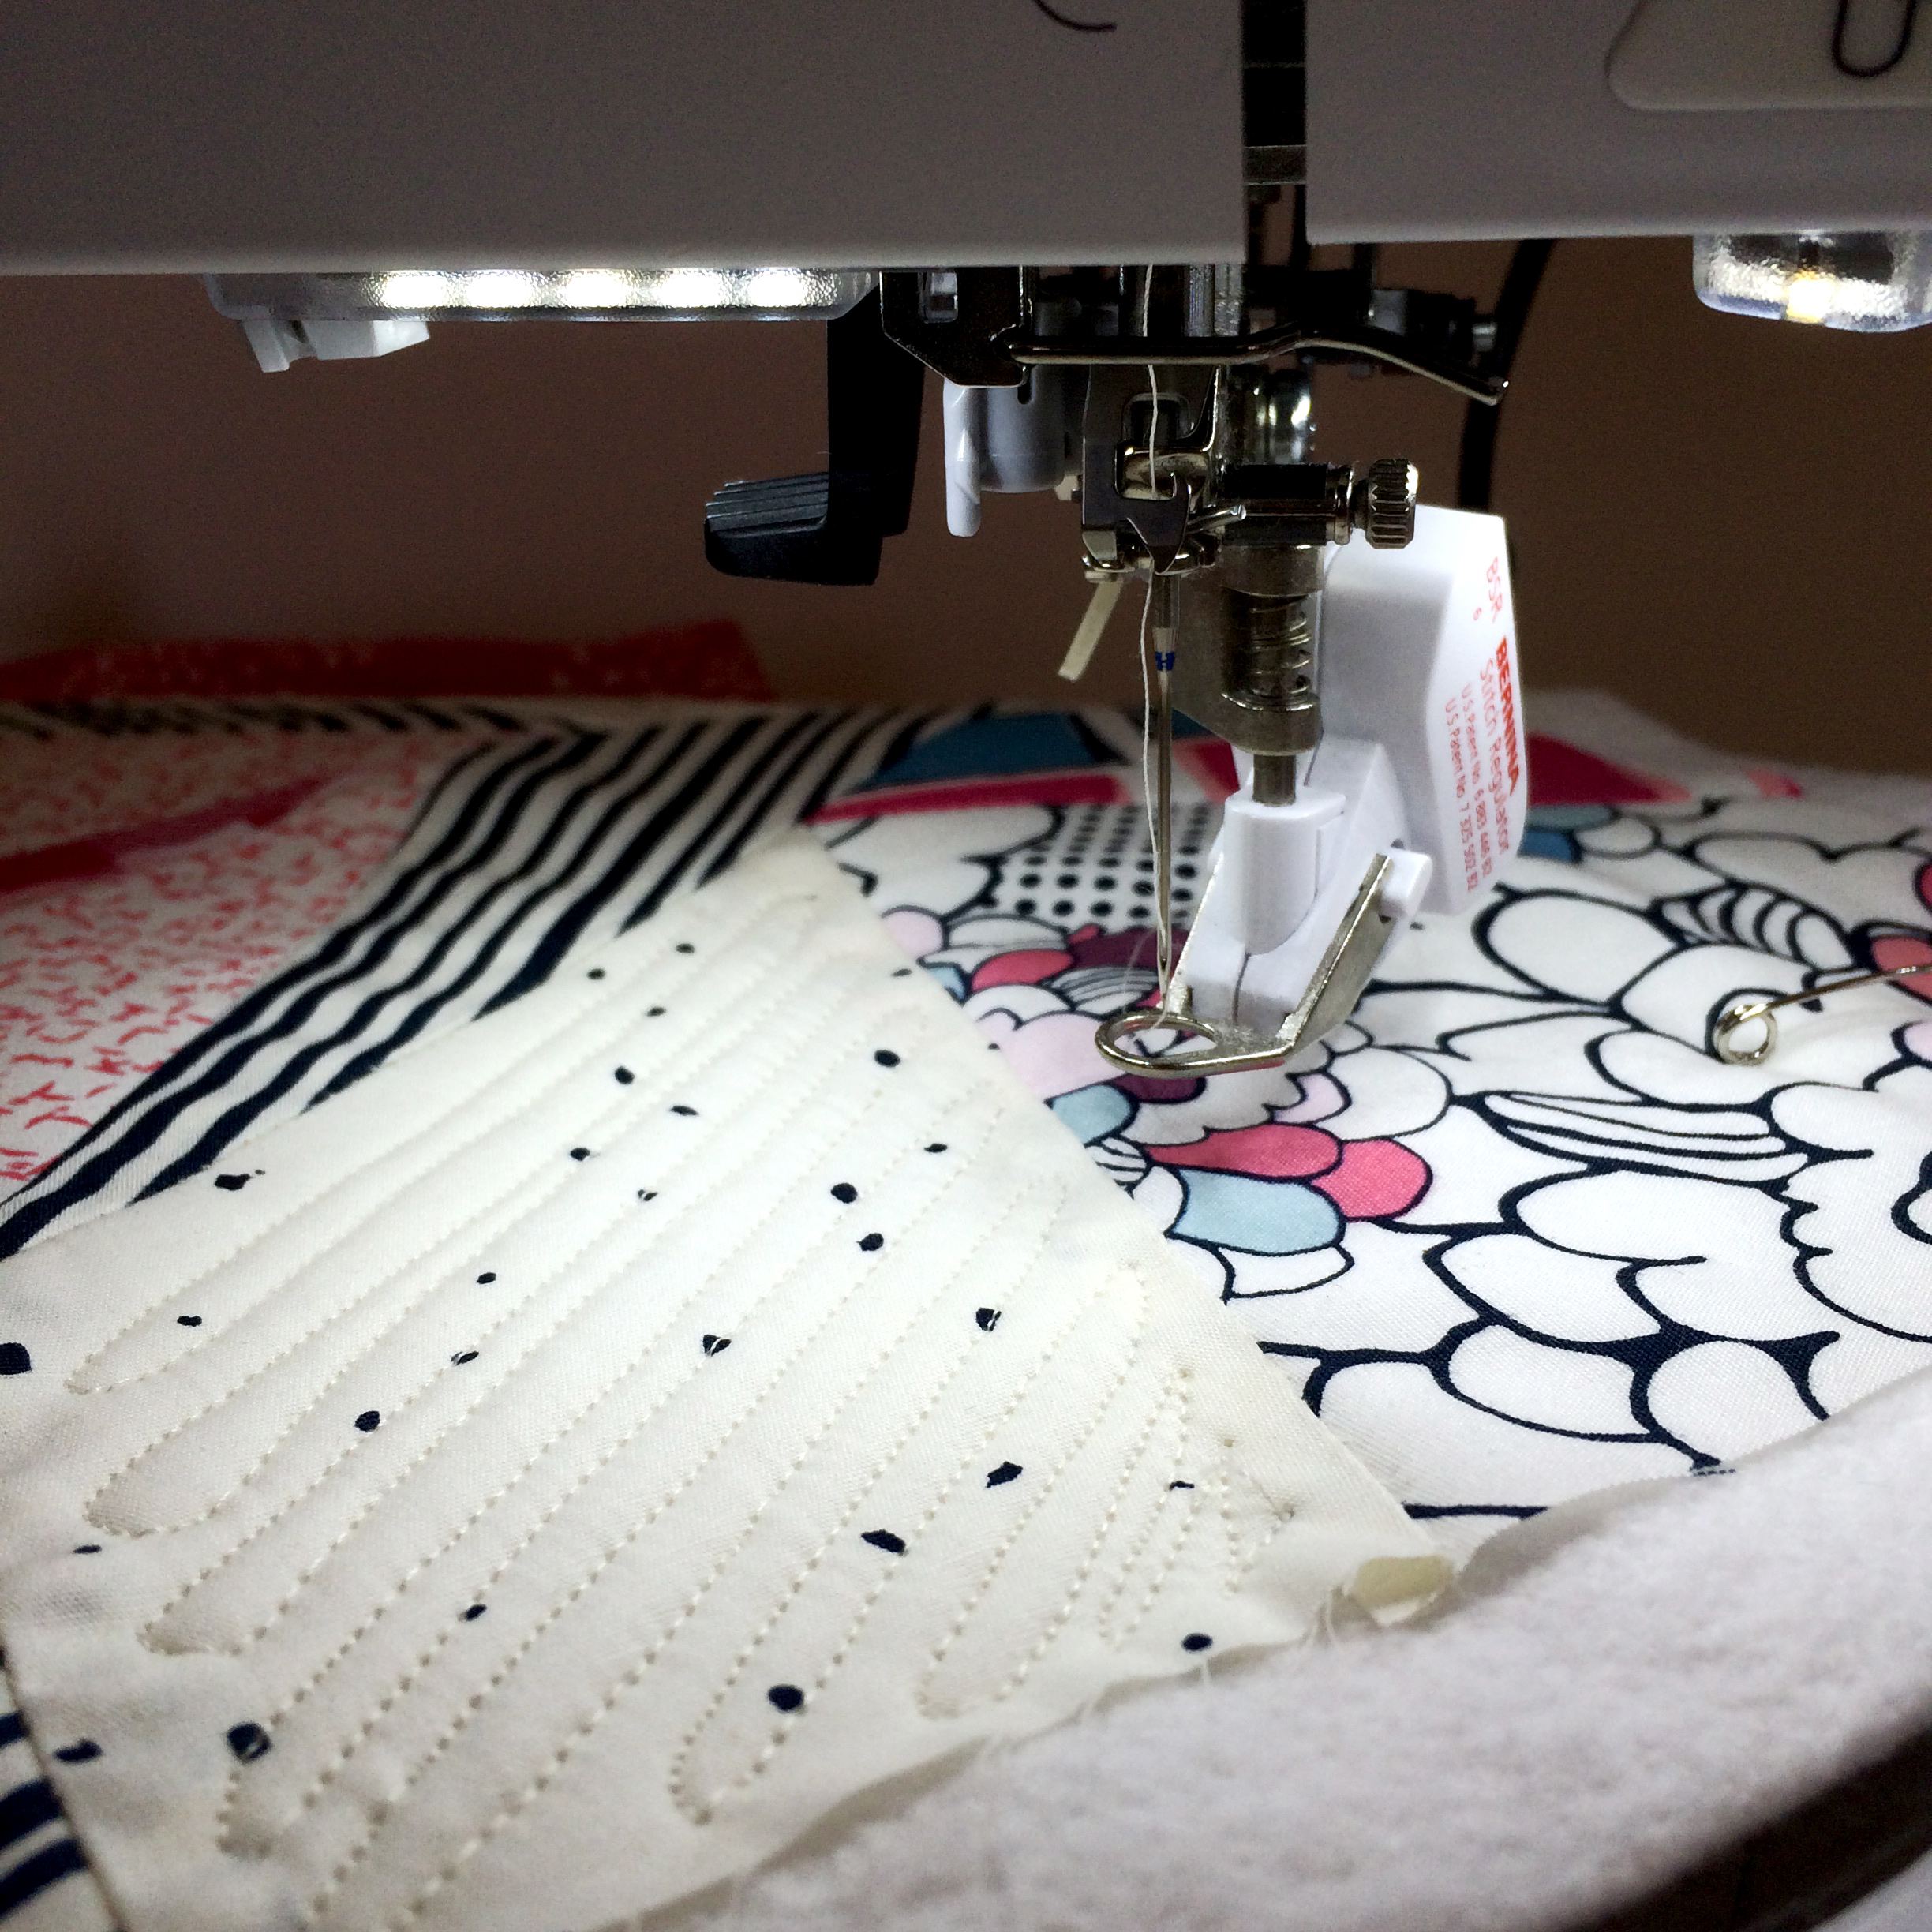
Now prep your matching for free-motion quilting by switching from the all purpose presser foot to the BERNINA Stitch Regulator (BSR).
You can do any type of design in your mini, but I decided to use this one because it goes perfectly with the design of the mini. Remember to practice your quilting on scraps before going to your complete mini, removing free-motion stitches are a pain and not so pretty after.
Always remember that with free-motion, the movement of the project determines the speed. Also, if you see the BSR foot glowing red, the BSR function is activated and tasks such as threading or changing the needle cannot be completed.

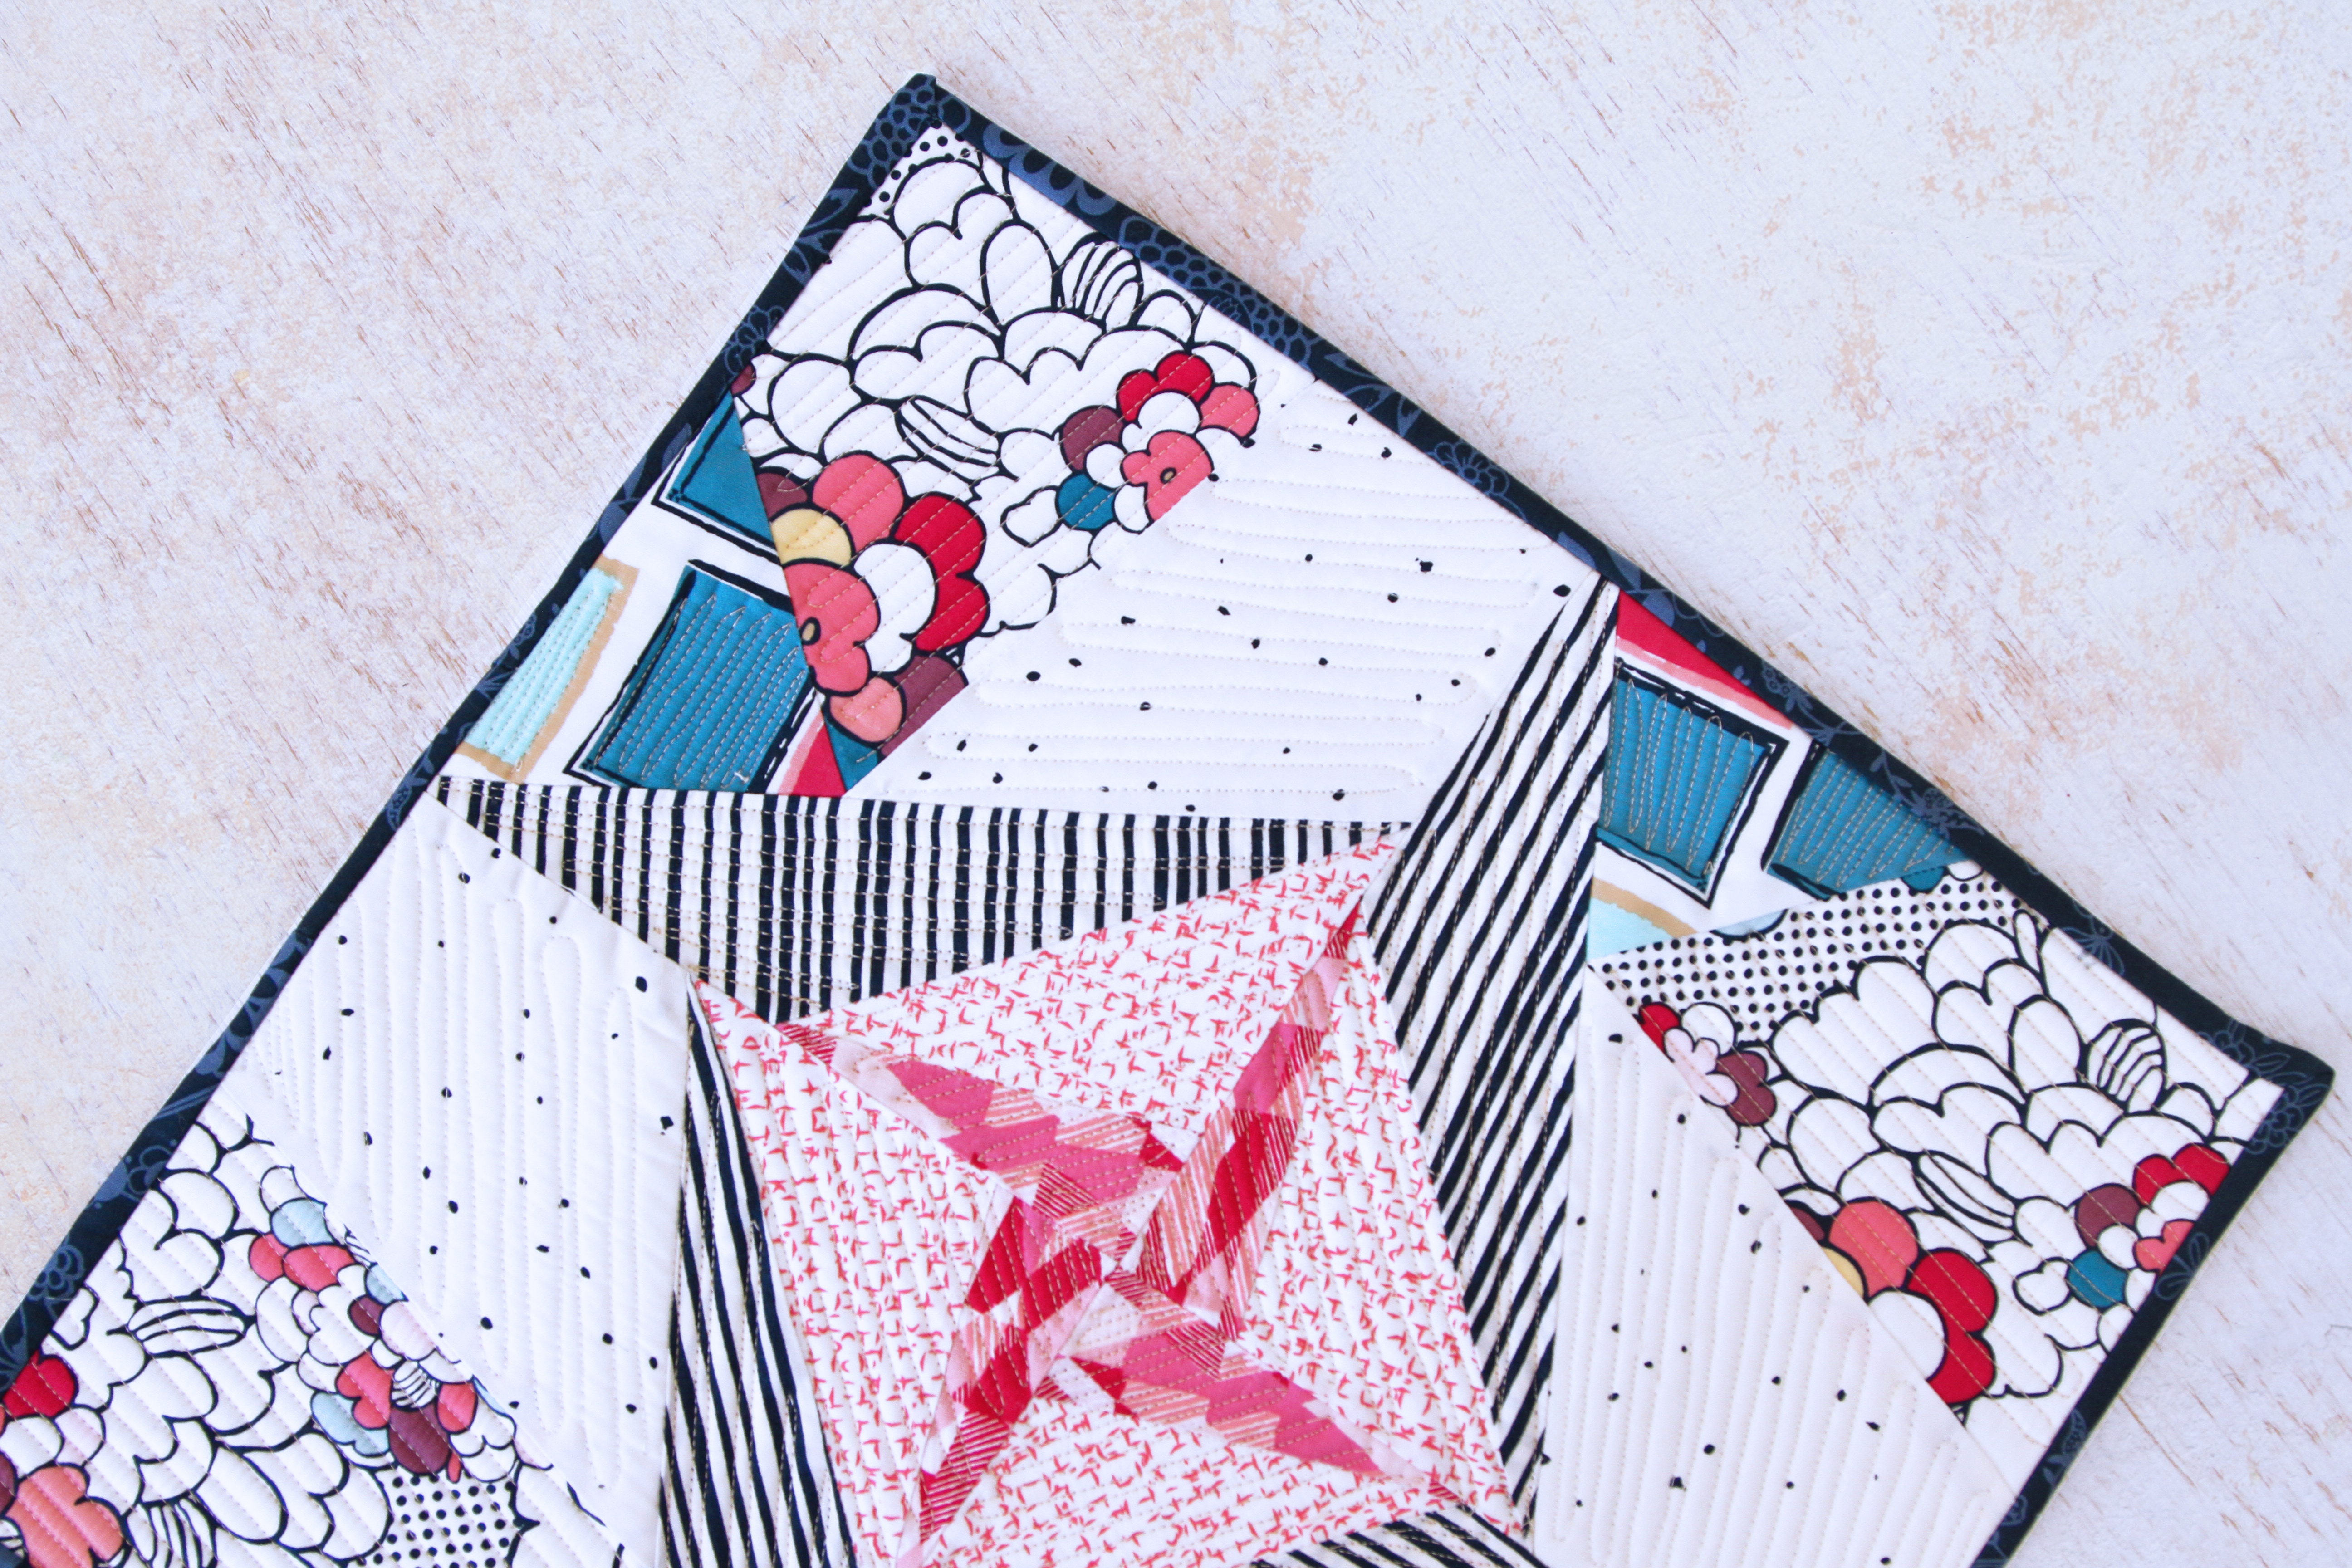
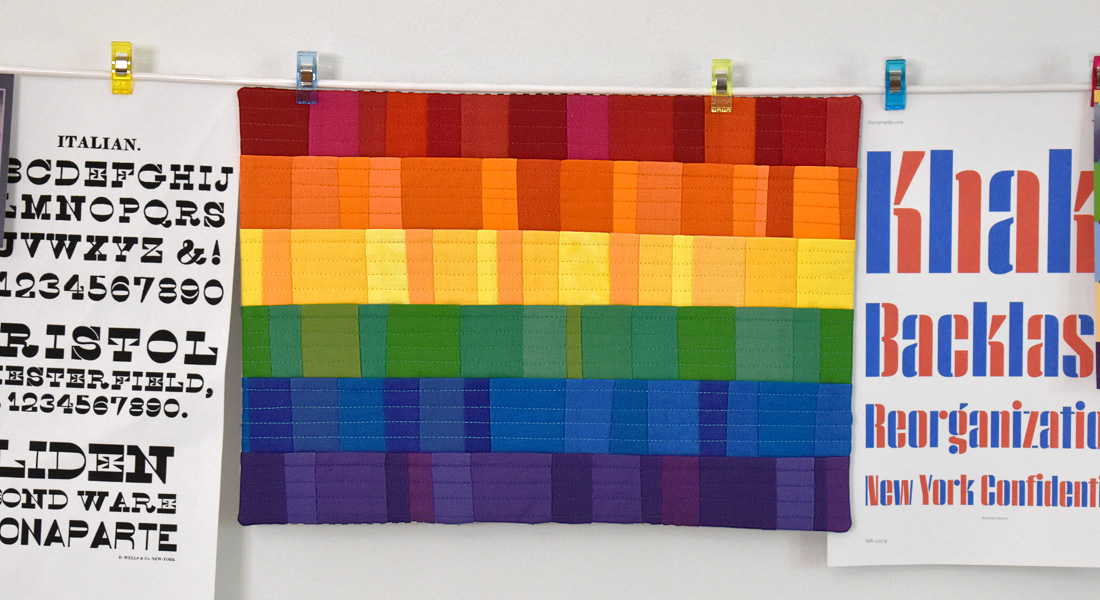
For binding the quilt, click here to follow my project where I explained how to do it. And voila! your Paper Pieced mini quilt is completed and ready to be hang anywhere you’d prefer or gifted to a dear friend!

Stay tuned for more projects here on WeAllSew!


