Repurposing an Old Quilt
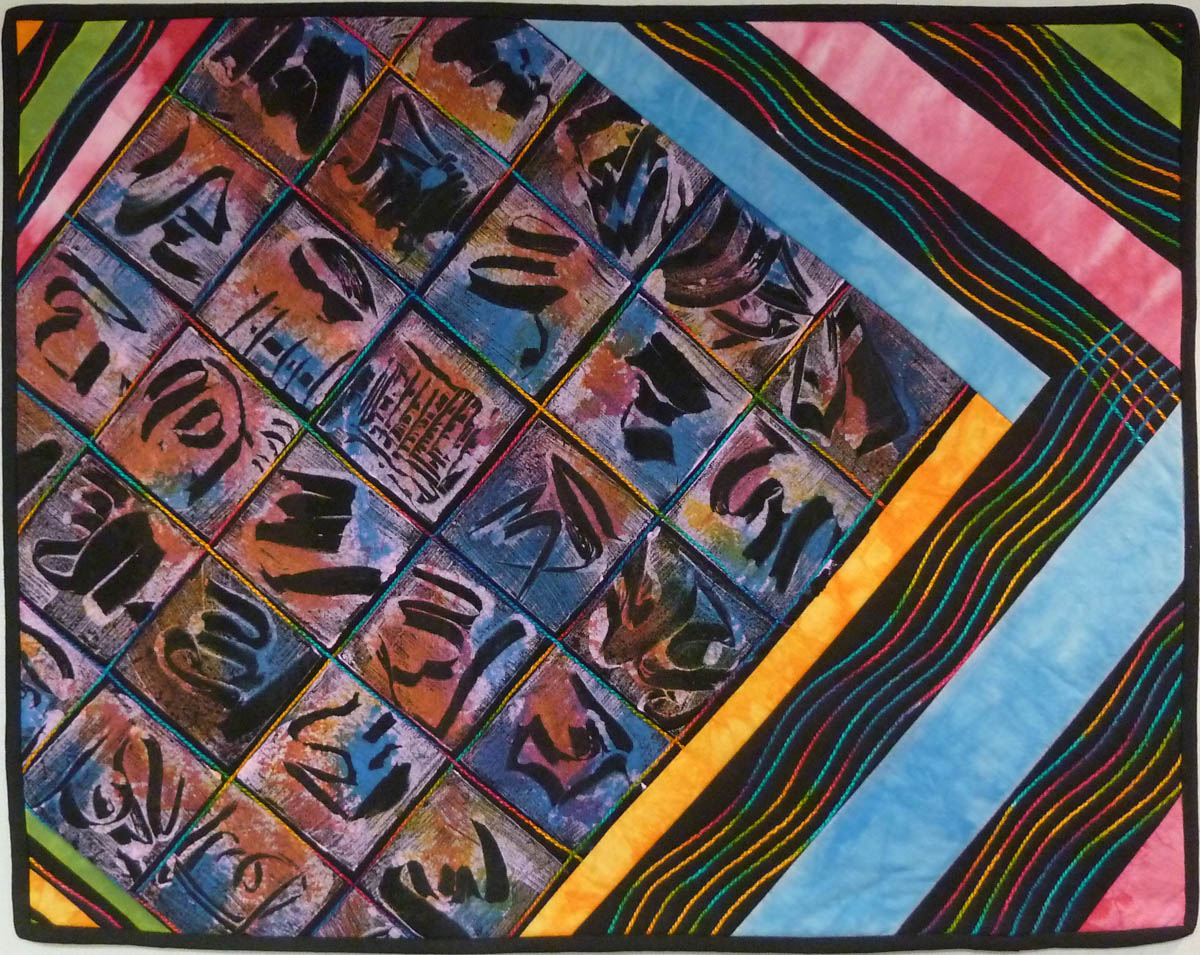
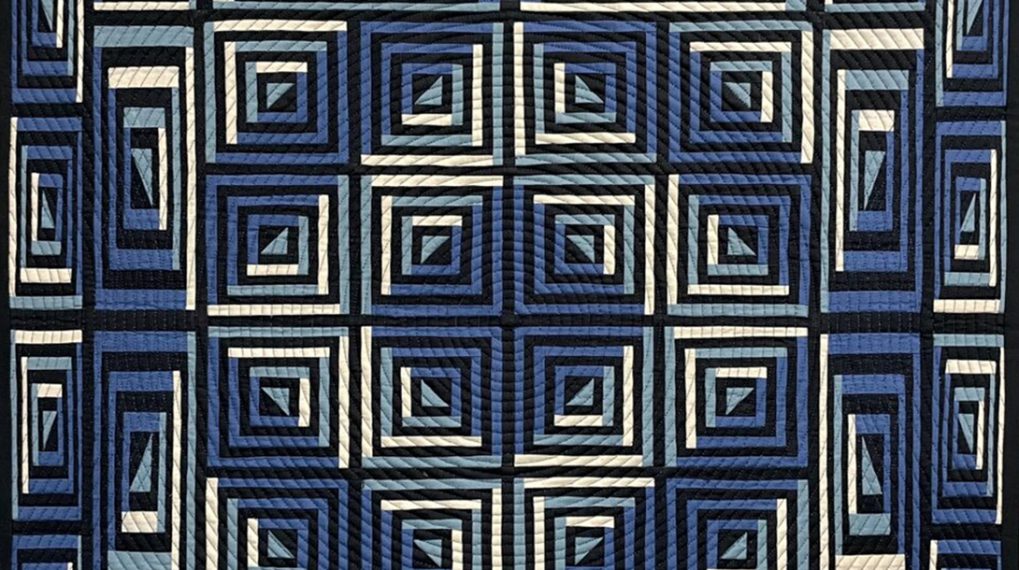
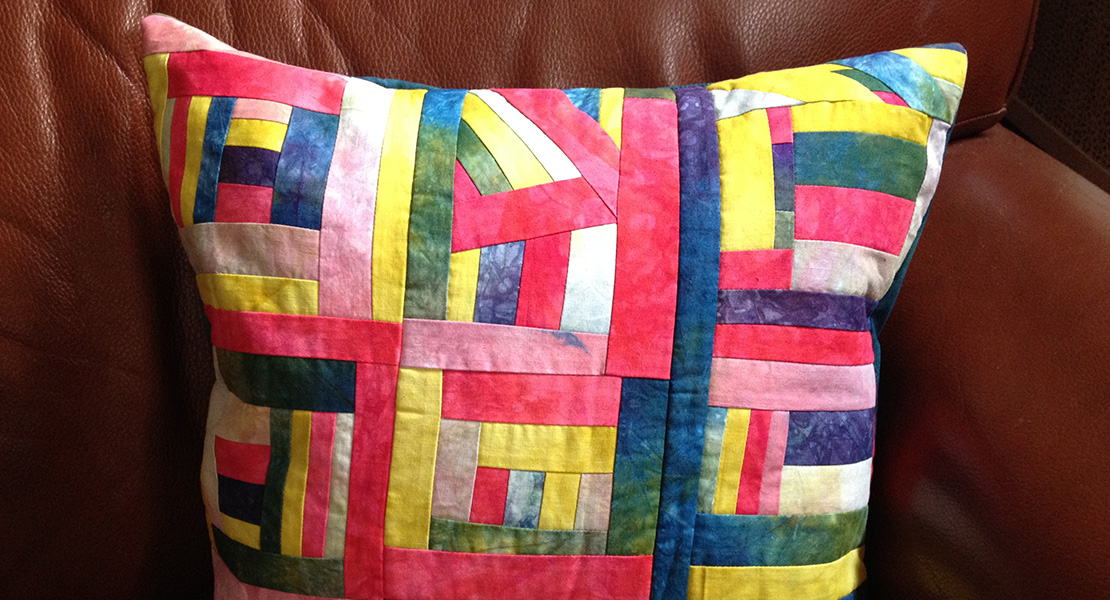
Calligraphy IV (24″ w x 19″ h) by Laura Wasilowski
It’s been 20 years, but I’ve finally found a purpose for this quilt. Calligraphy IV was created in 1995 while exploring my surface design skills and a new passion, making art quilts.
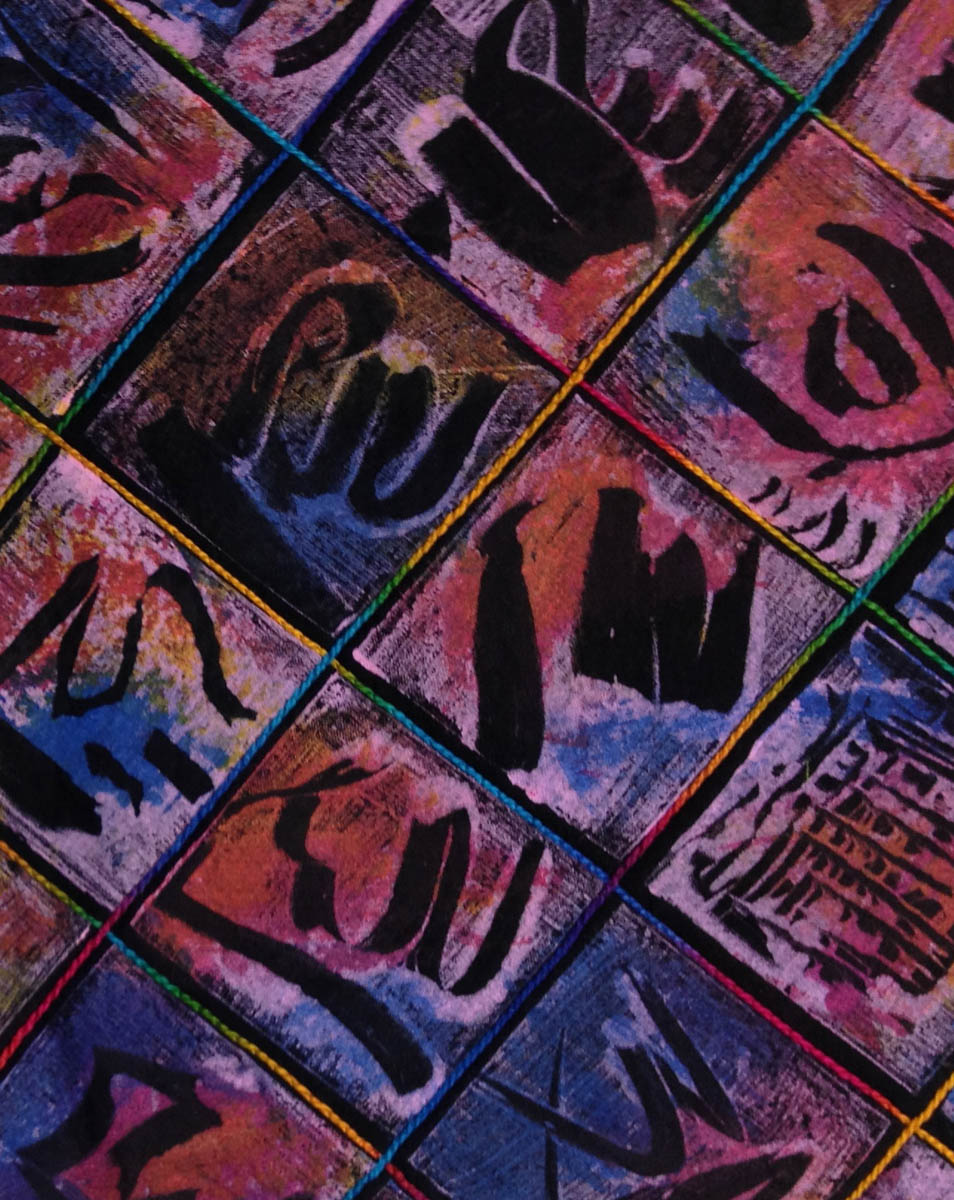
To make the quilt, I first mono-printed a grid of squares on black fabric. Mono-printing is painting textile ink on a flat surface (like a square of Plexiglass), drawing on the surface with an eraser or other flexible tool, and stamping the ink onto fabric. Each printed square is unique and full of movement.
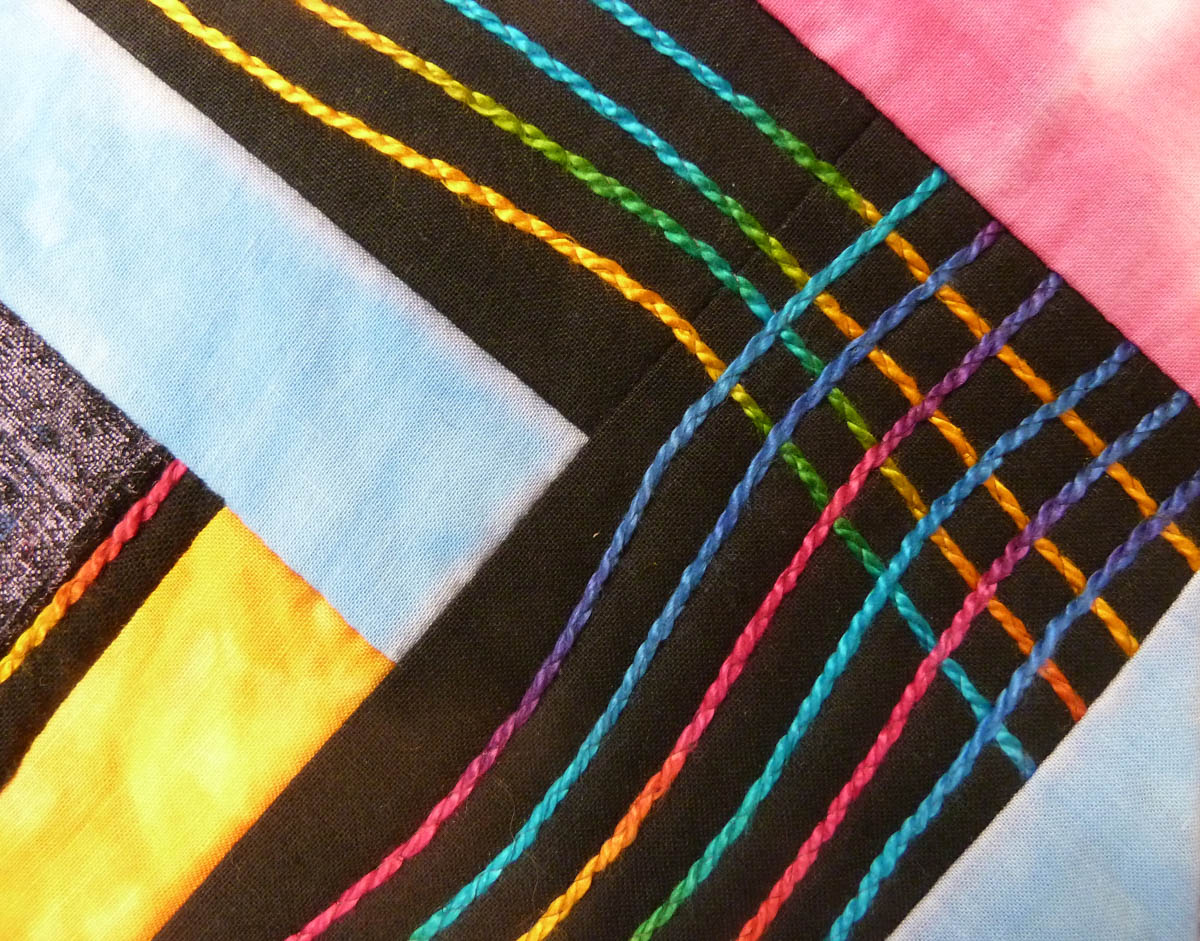
The mono-printed fabric was pieced with hand dyed and black fabrics. On the black fabric I experimented with a new skill, couching threads by machine. To my delight, the couched threads (size 3 pearl cotton) gave the quilt design even more movement and texture. It was these two techniques, mono-printing and couching, that came together in a series of small quilts called Calligraphy.
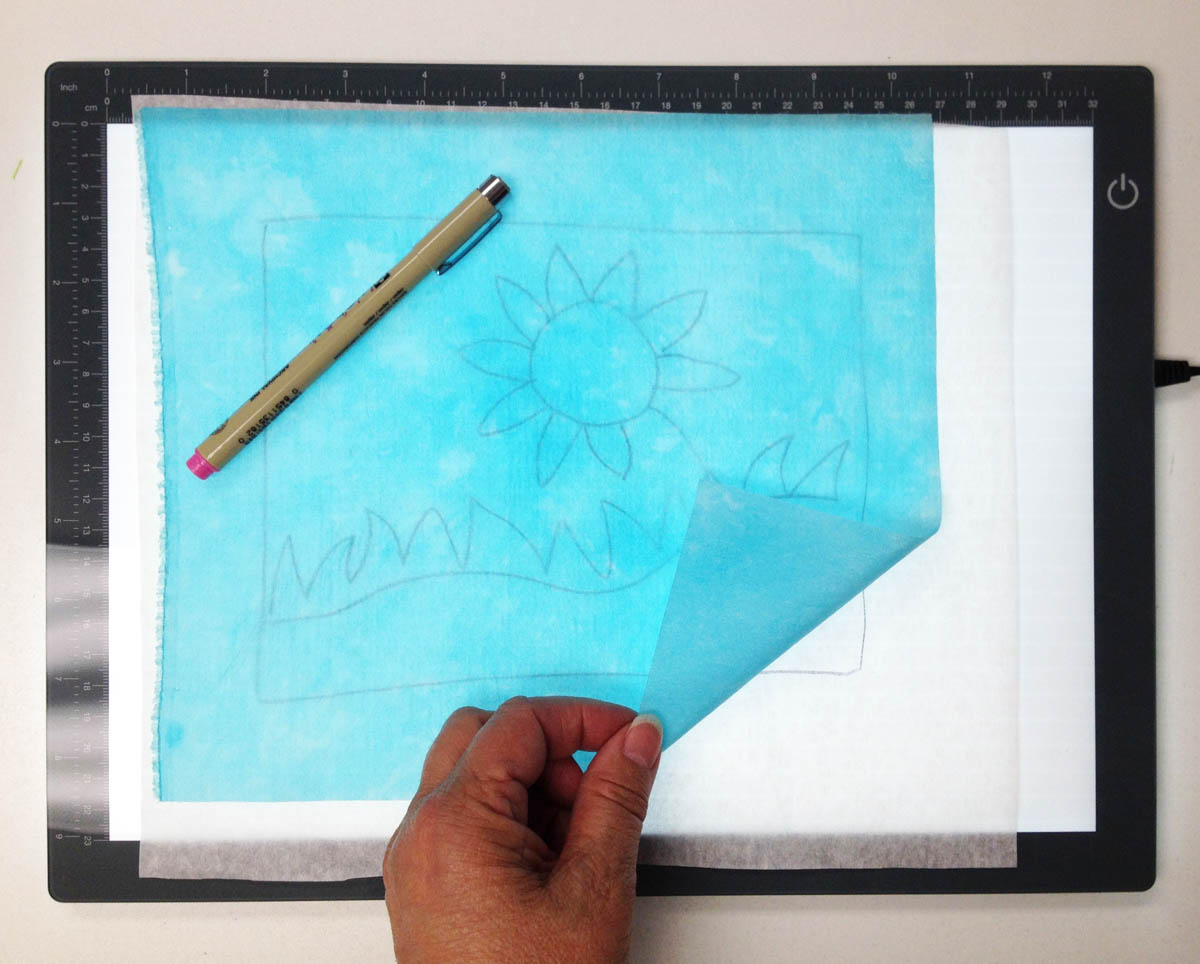
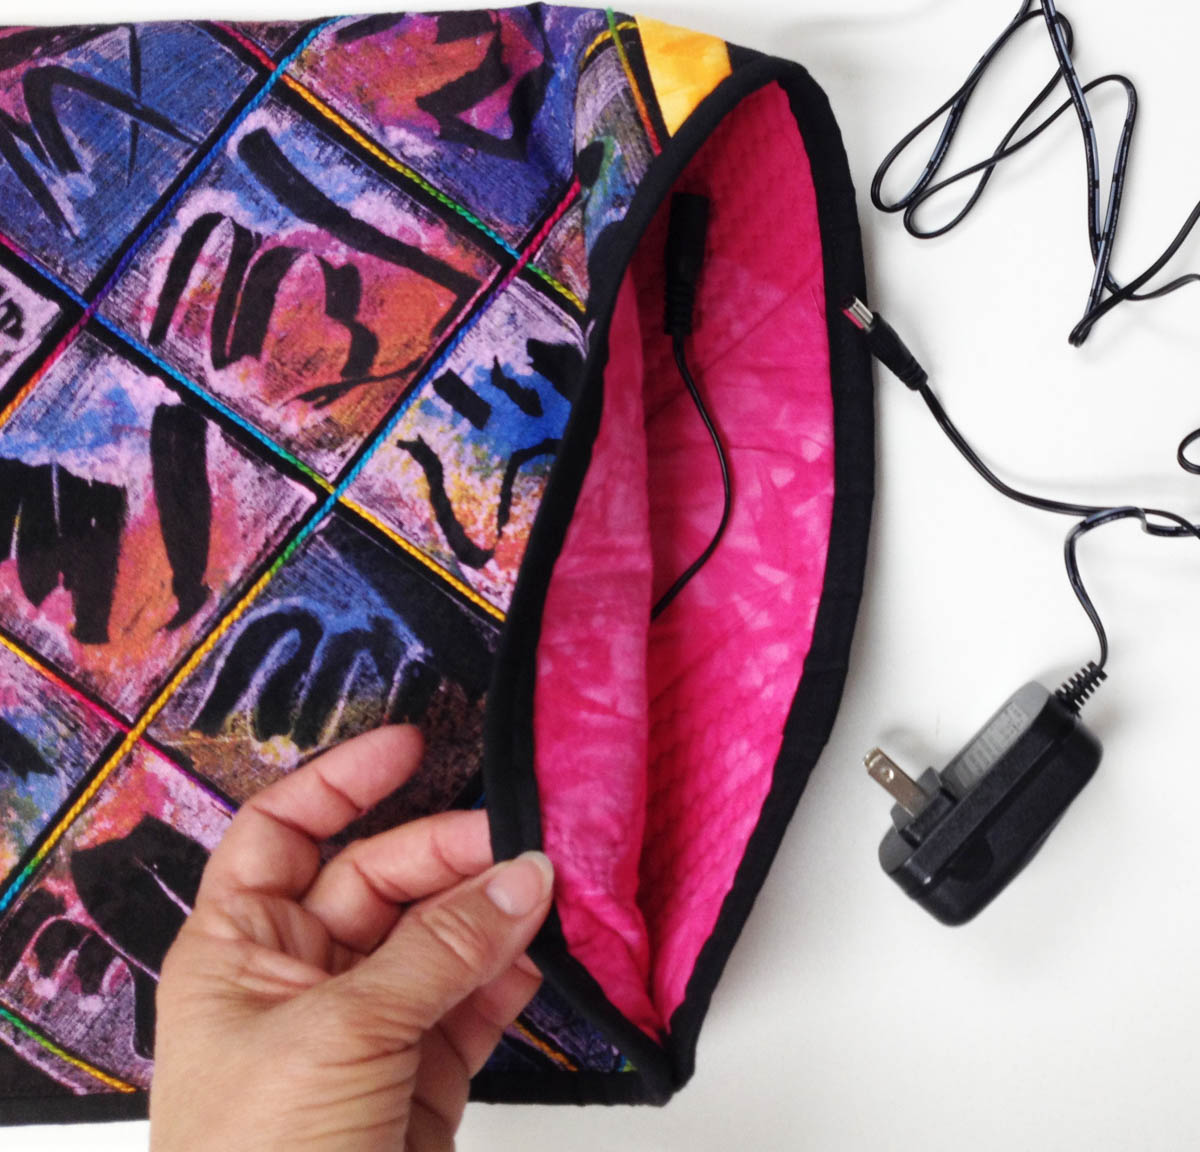
Jump twenty years later and I’ve another technique to explore: free-stitched hand embroidery on silk. And for this technique I need a new tool: a lightbox. It will travel with me to the embroidery workshops I’m teaching. This Wafer I lightbox from Daylightcompany.com measures 10.6″ x 14.4″. It’s very thin (less than .5″ thick), light weight, and throws a great light for tracing images on the silk fabric. But it has one drawback: it has no protective cover.
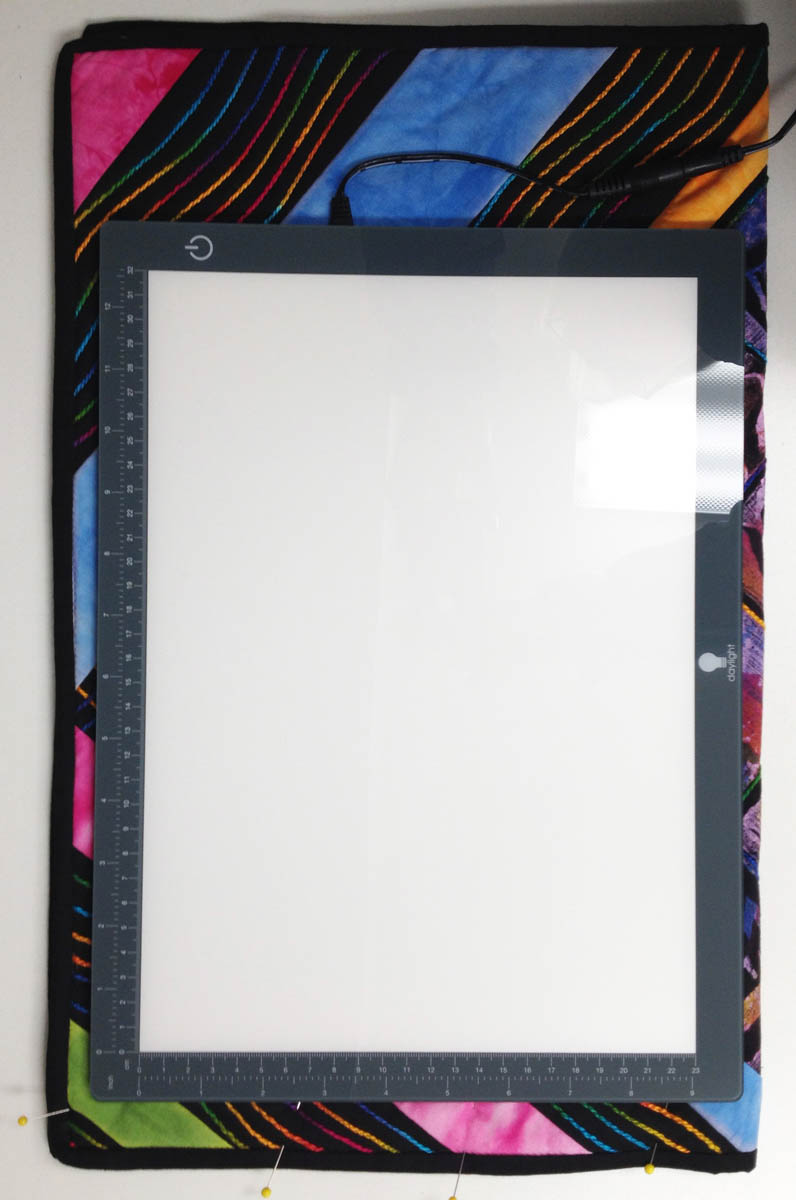
When folded in half and stitched around the outside, the new lightbox will slide safely inside the quilt with room to spare at the top opening. It’s a quick and easy way to repurpose an old quilt and give it new life.
Here’s how to repurpose an old quilt for your lightbox or other electronic device
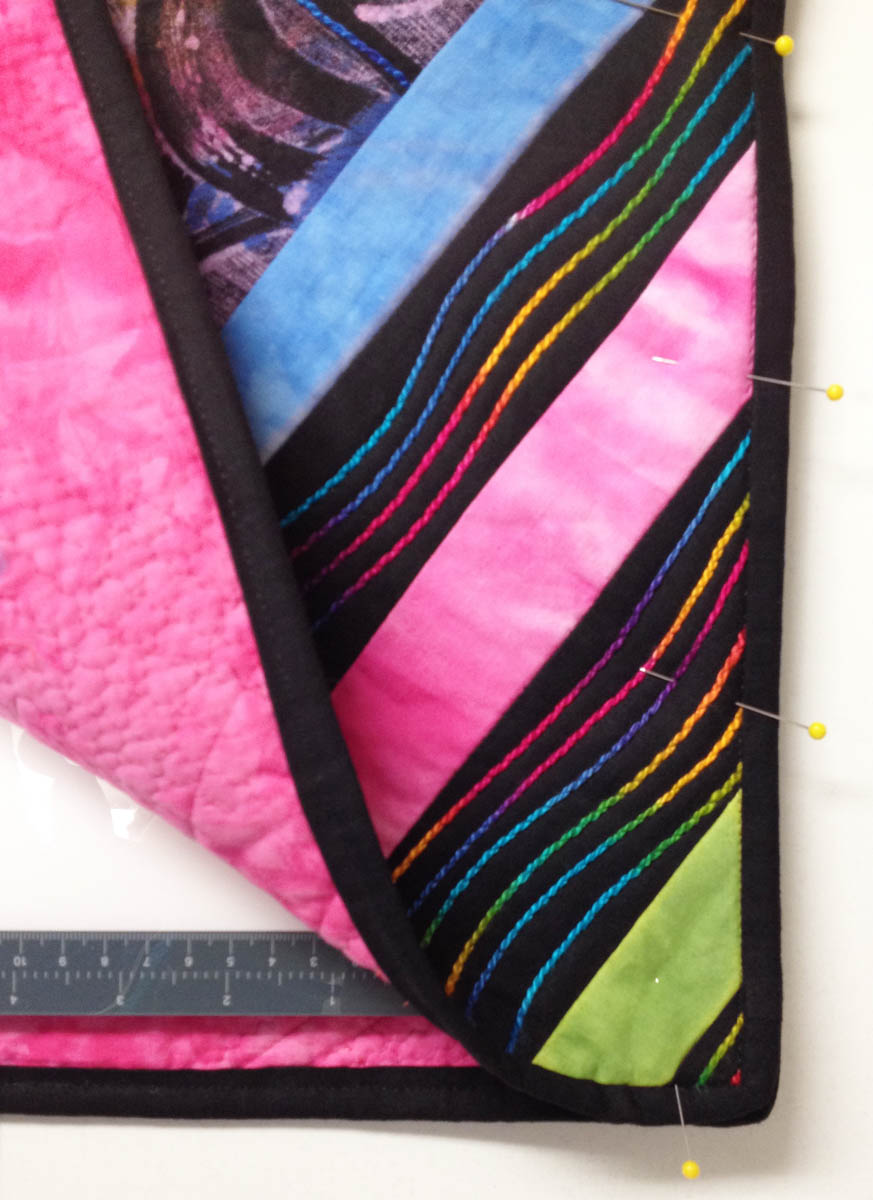
Fold the quilt in half with the right sides out. Pin the quilt together around the edges and slip the device inside to make sure it fits. Remove the device.
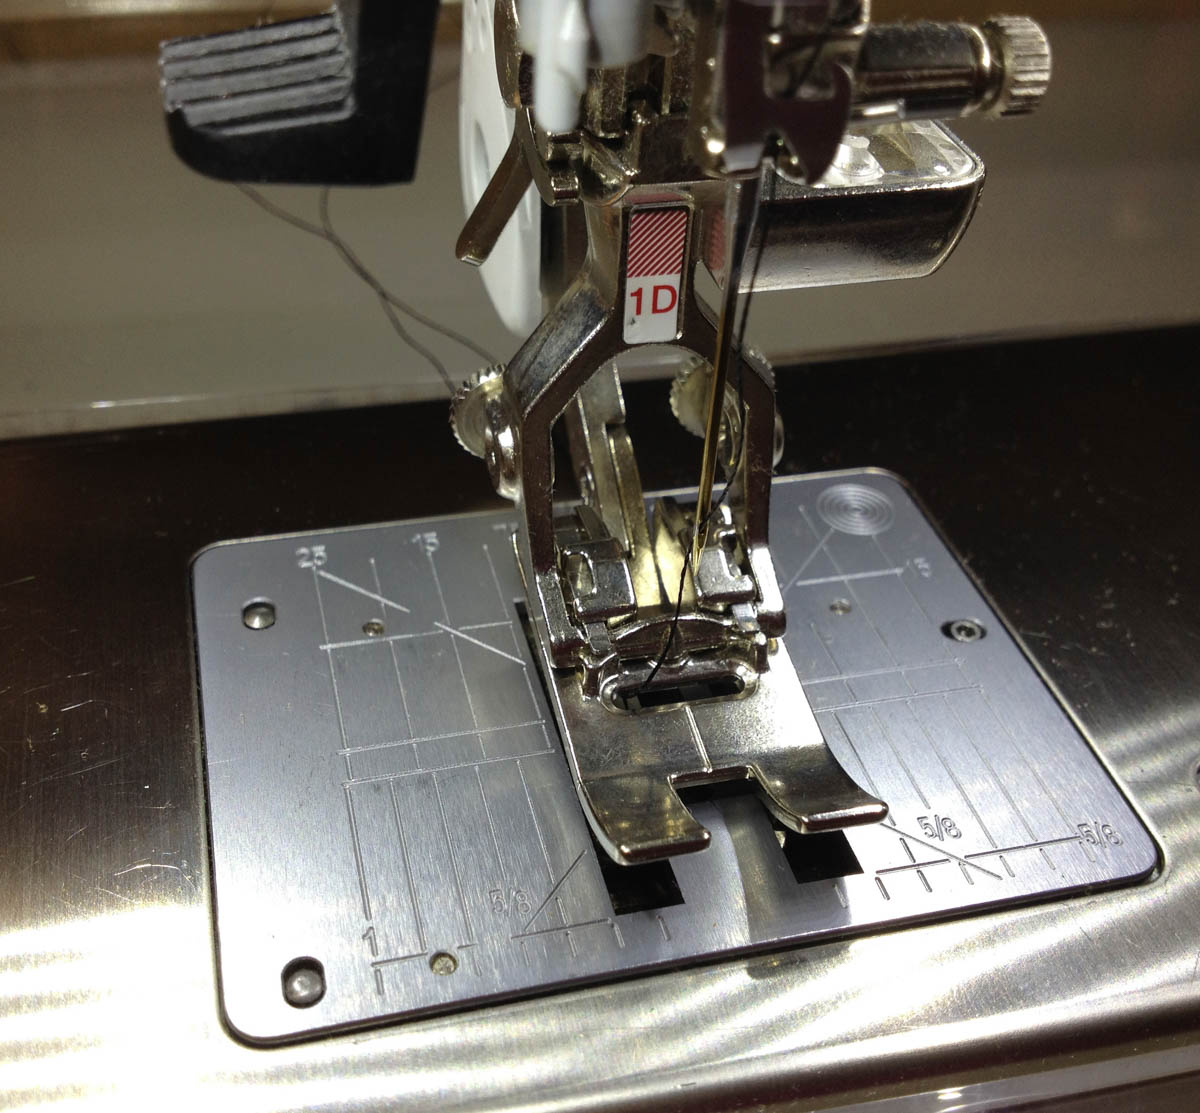
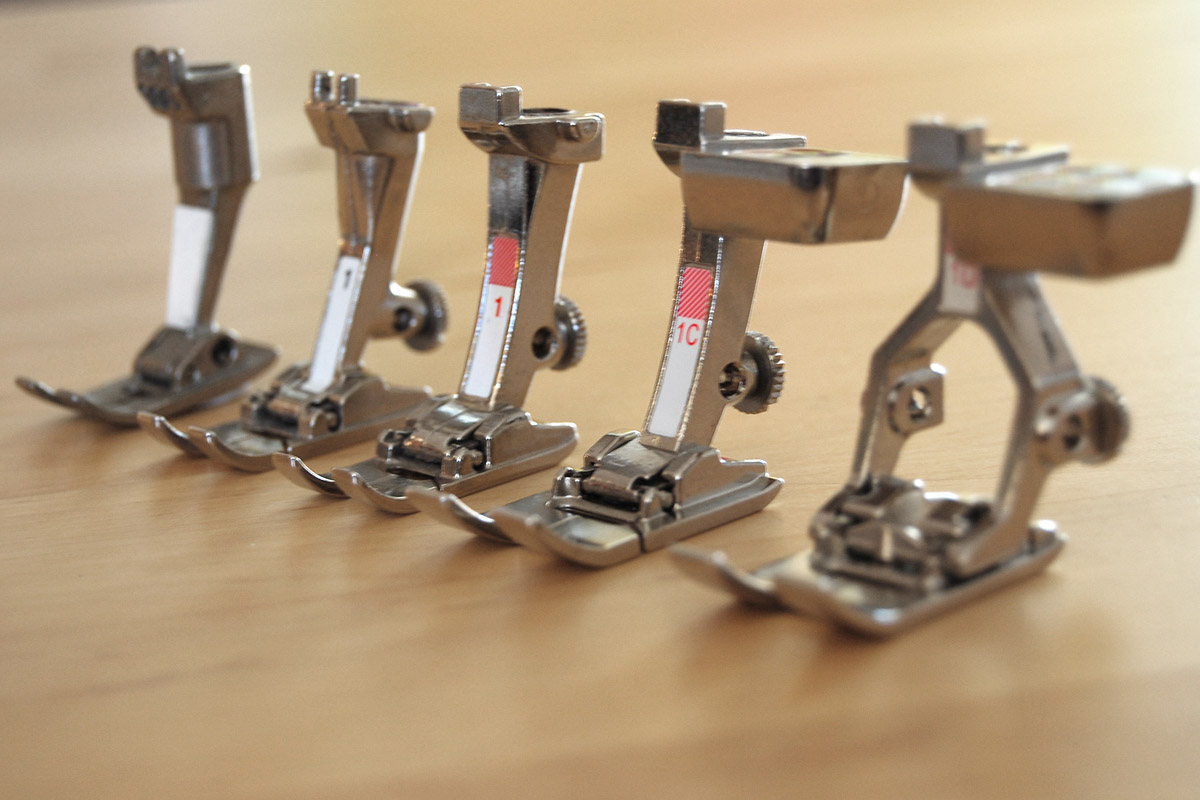
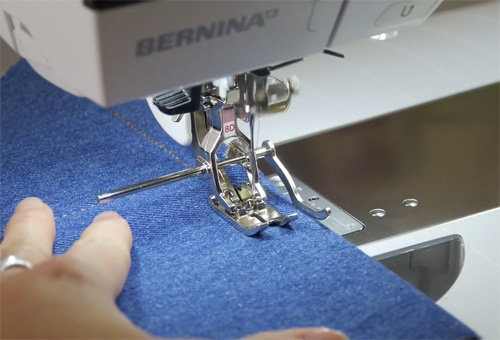
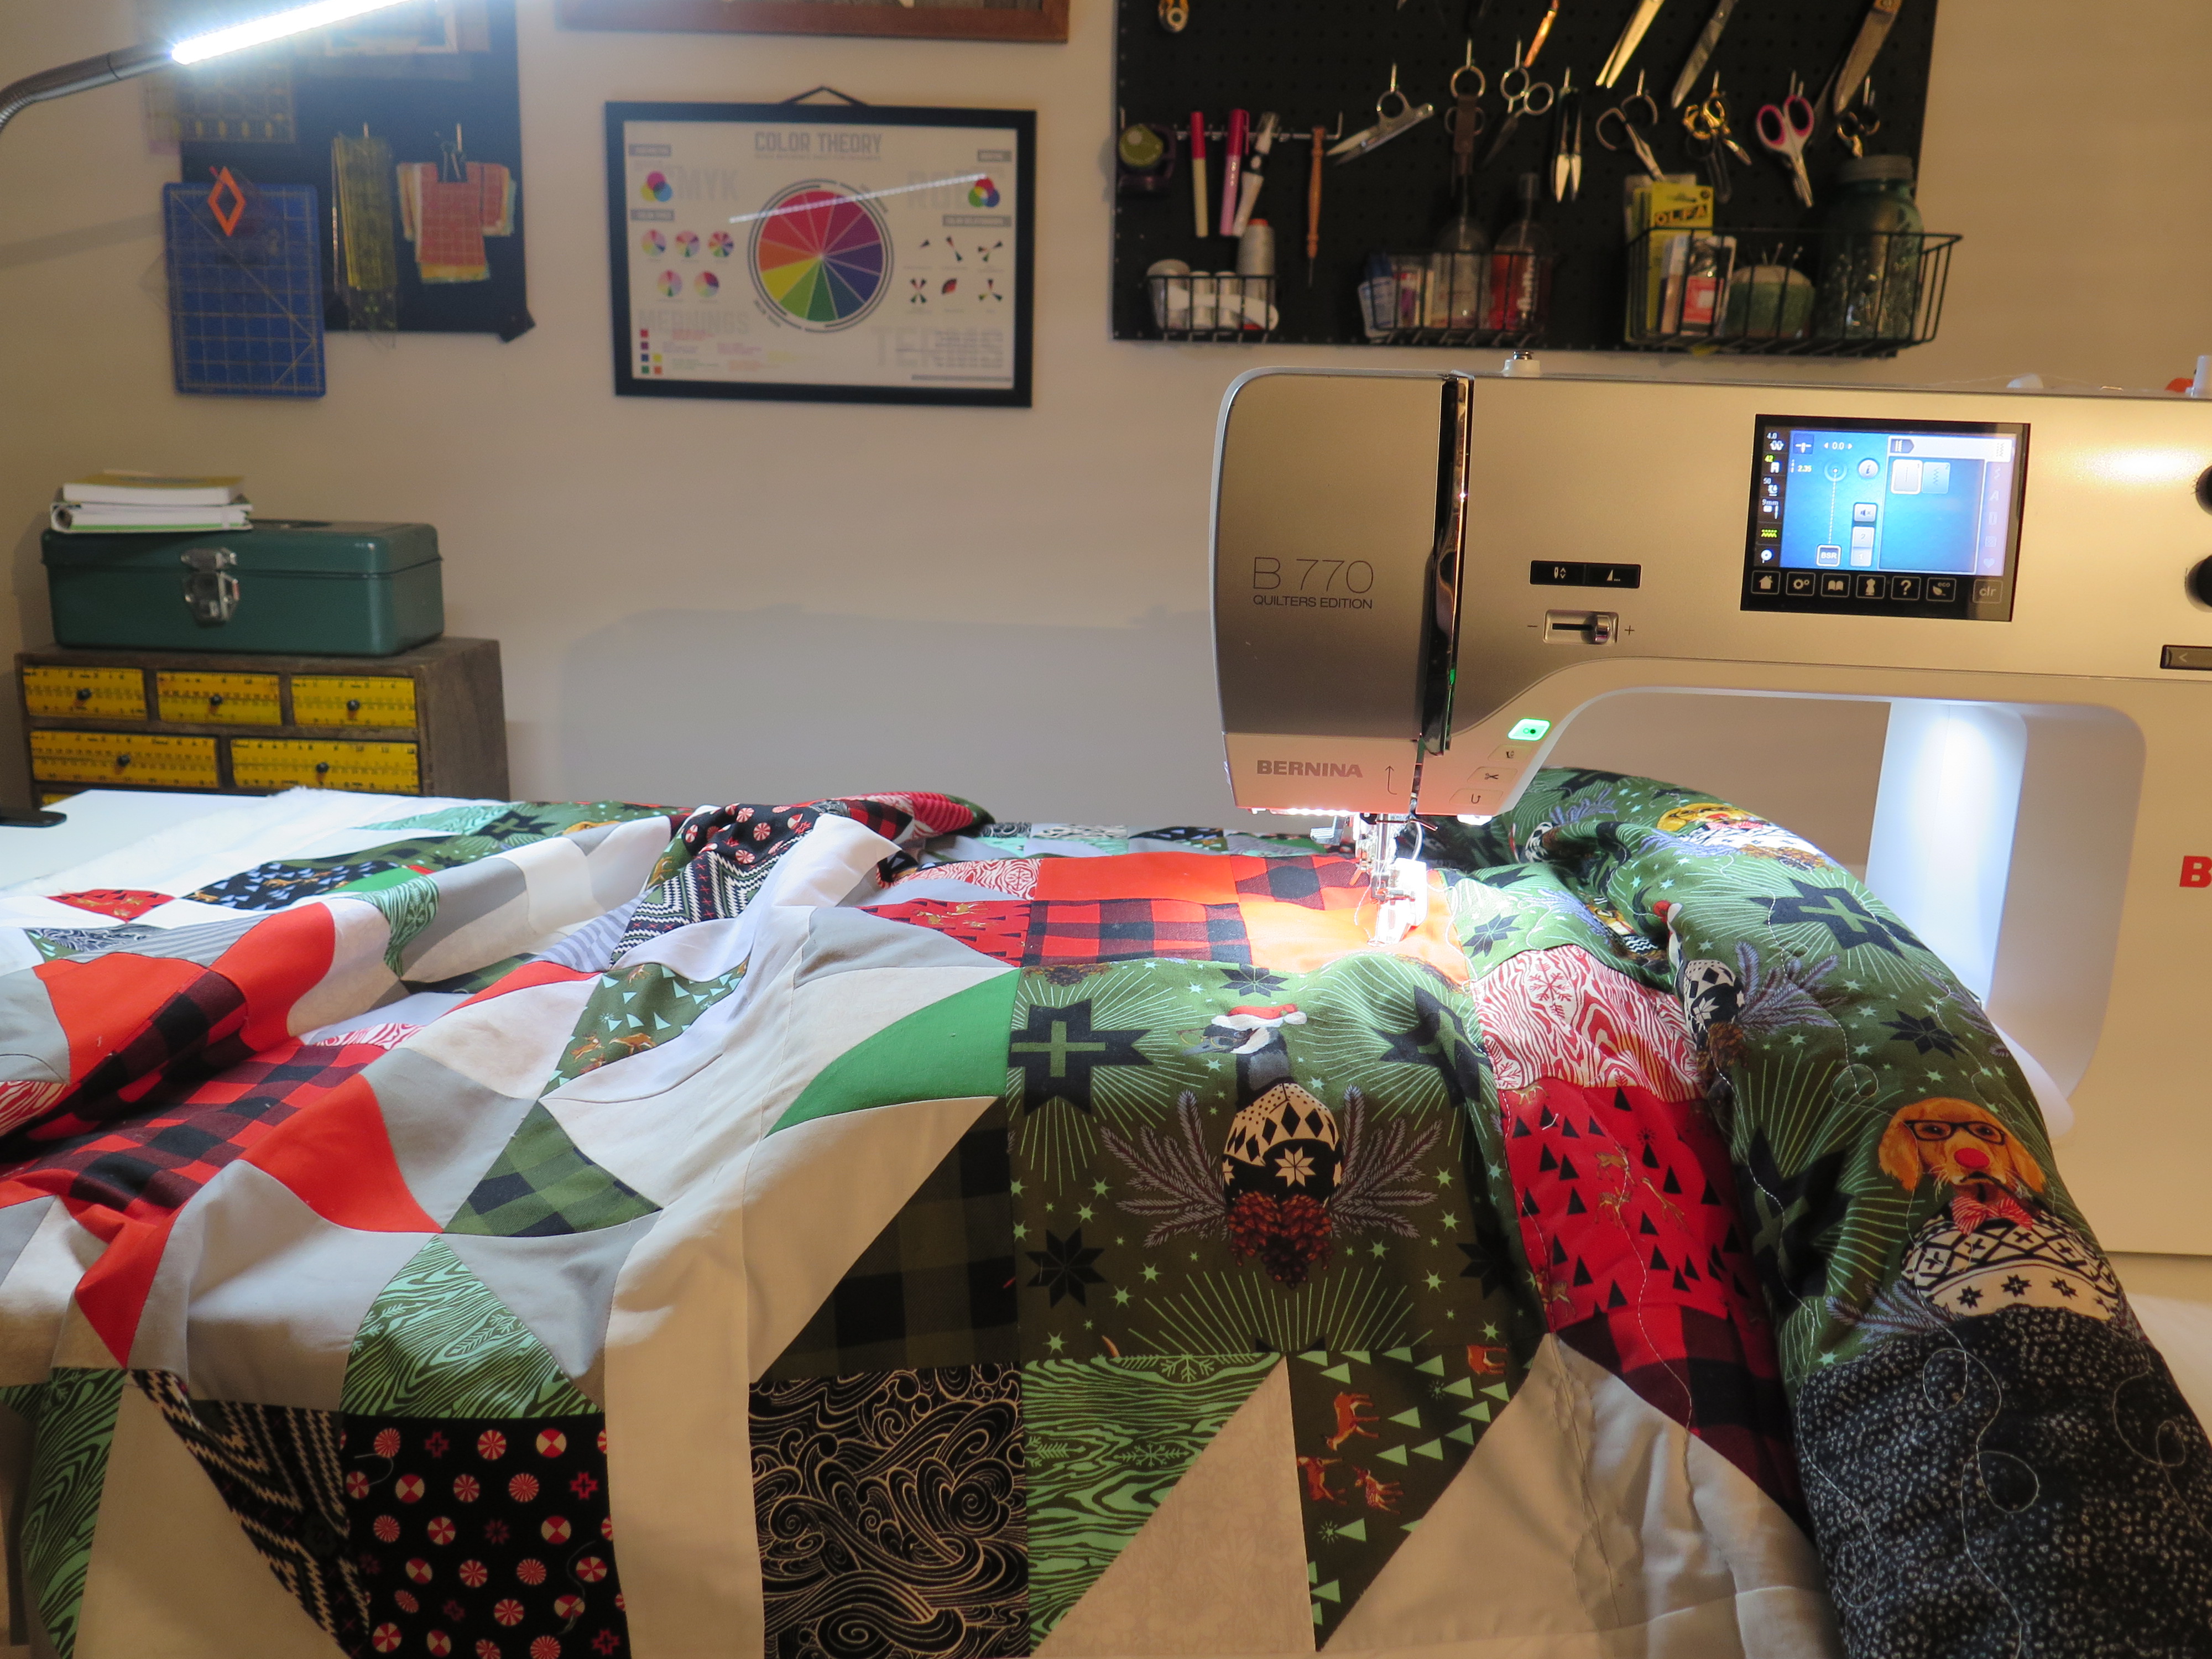
Attach a presser foot that accommodates the BERNINA Dual Feed on your machine. These presser feet are from the “D” series and have a cut-out at the center back for the Dual Feed mechanism. (On the BERNINA 750 QE the Reverse pattern foot # 1D will work.)
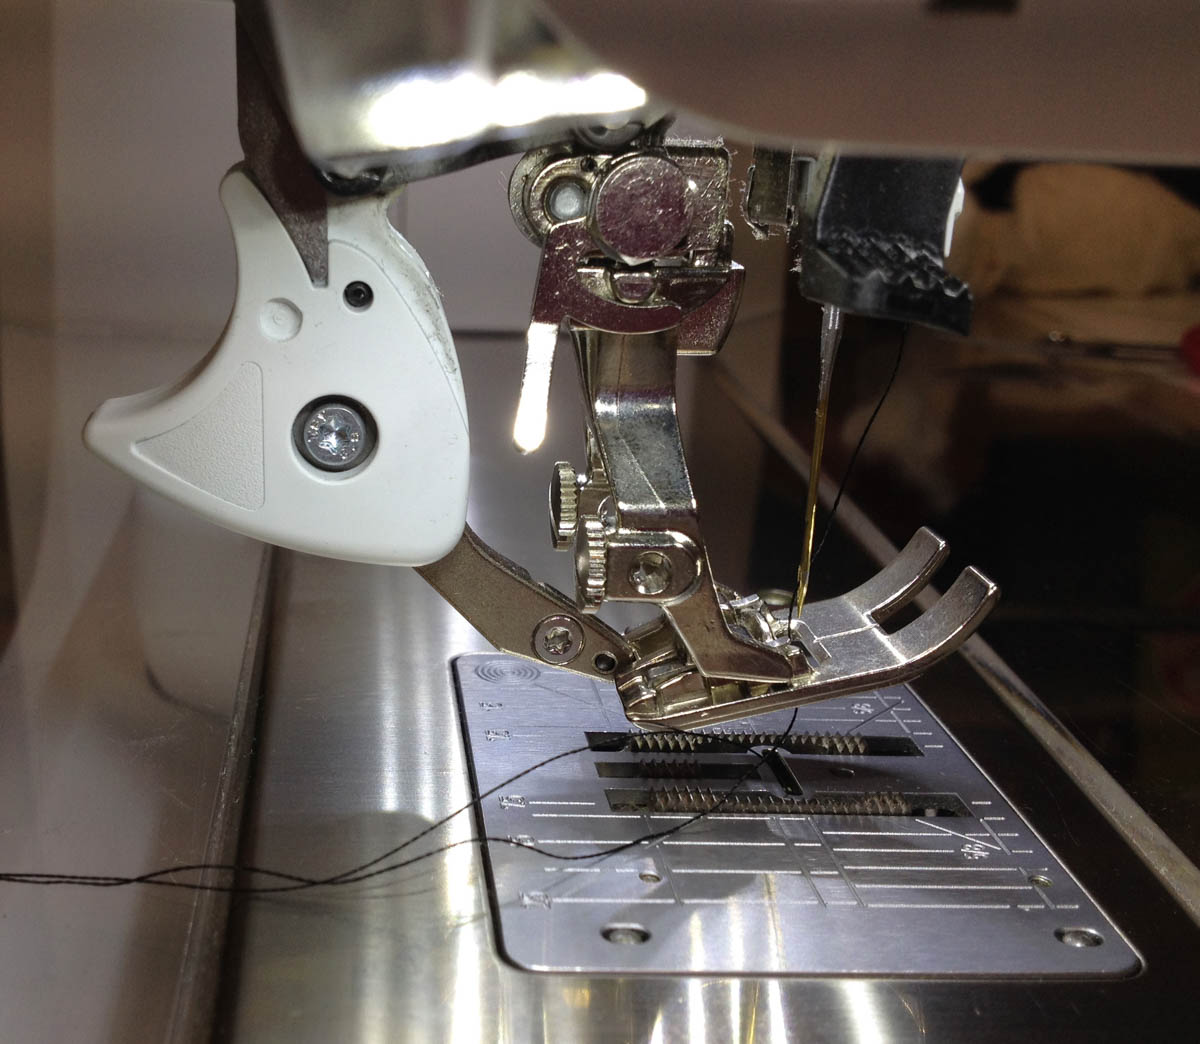
Raise the presser foot on the machine and pull the Dual Feed down until it engages. (Watch this great video on how the Dual Feed works on the BERNINA 750 QE.)

Begin at the fold and stitch the end and one side of the quilt together. Stitch in the ditch. Line the engraved notch on top of the foot with the join of the binding and quilt top. As you stitch, reinforce the corners and ends with a back stitch. Concerned about stitching through all those layers of fabric and batting? Not to worry. The BERNINA 750 QE will power through all the layers and the Dual Feed keeps everything lined up.

In keeping with my “make it quick and easy” attitude, I decided against folding over the open end and adding a closure to the cover. You’ll see a permanently attached cord at the end of the lightbox. I didn’t want to stress the wires on that cord so I made sure my cover was long enough (about 5″ longer than the lightbox) to give the cord room to stretch out. (Or at least that’s what my “quick and easy” self believes.)
My next step? To make a bag for the many cords packed in my luggage for even more electronic devices. Hmmm, maybe I’ll look through my old quilts. There is bound to be something I can repurpose!