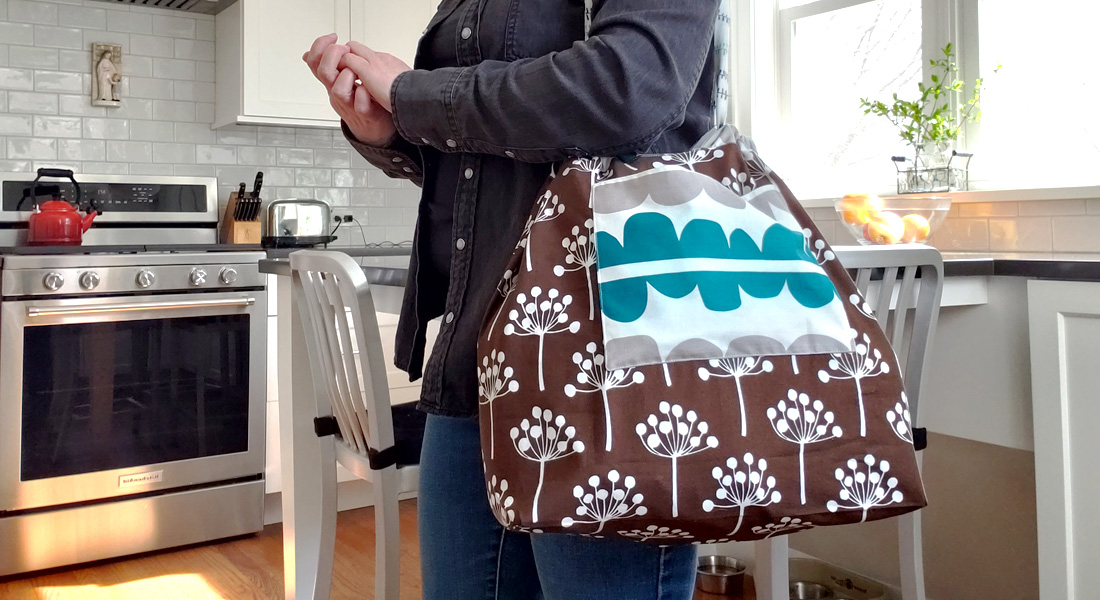
Rustic Tote Bag Tutorial
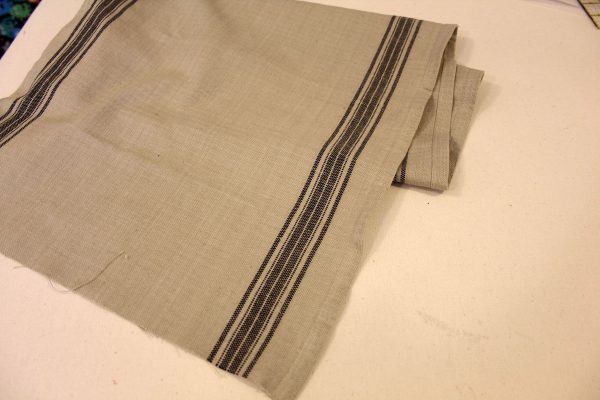
Ticking fabric is tightly woven cotton or linen which often features a striped design. Ticking was traditionally a utility fabric used to cover pillows, as the tight weave kept down feathers from poking through. These days, ticking fabric isn’t restricted to pillows, but is often used decoratively as in tablecloths, quilts, and more.
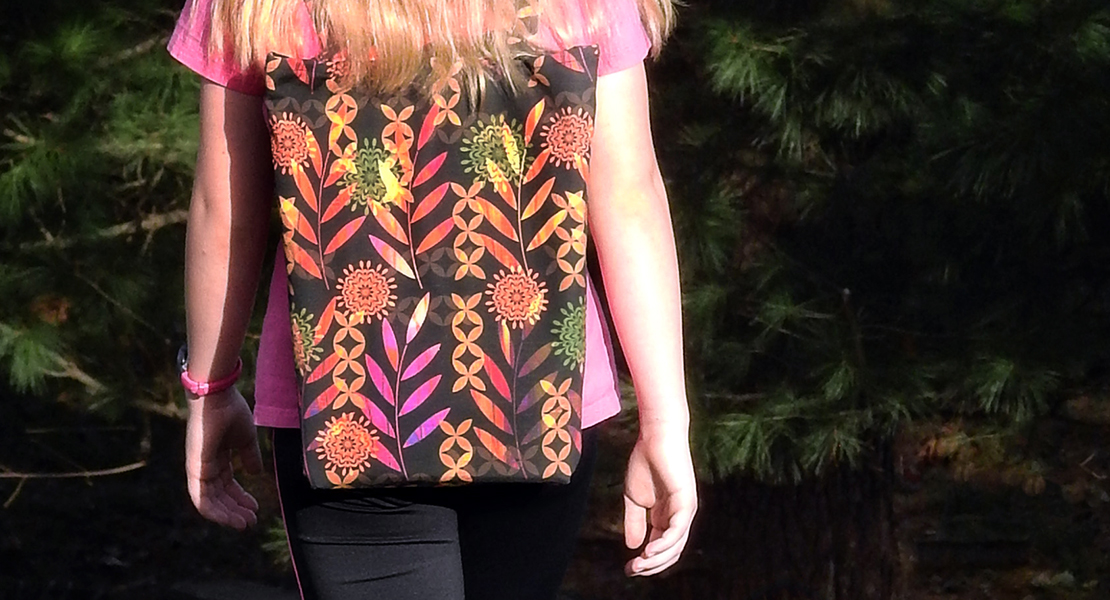
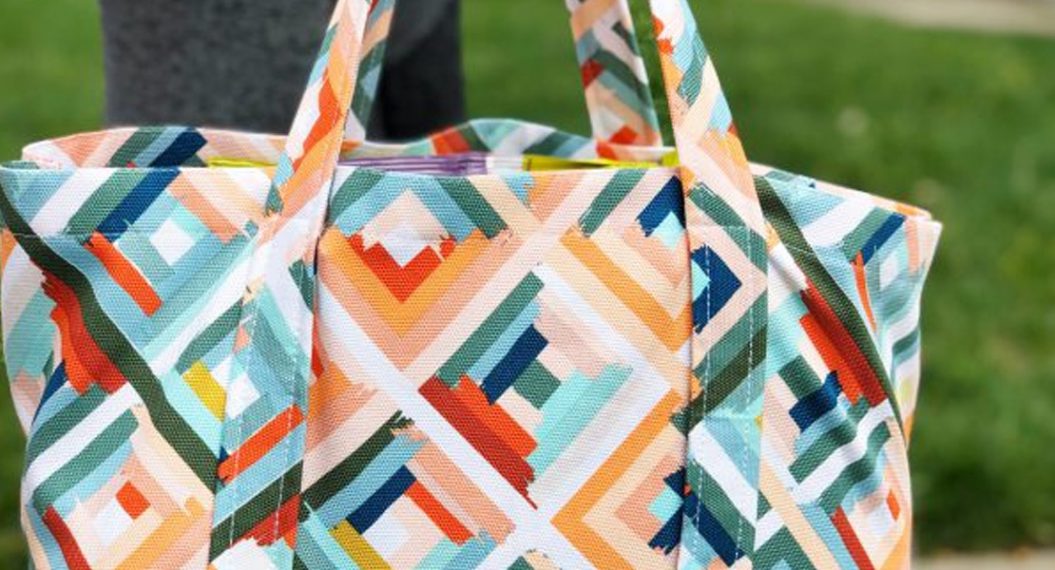
I came across a beautiful roll of ticking fabric in my local quilt shop and I couldn’t resist buying a couple of yards. The already hemmed edges would have made it easy to turn it into some dish towels but I couldn’t resist using it to create this easy to make farmers market tote bag instead. Here is a Rustic Tote Bag Tutorial so you can make one of your very own.
Materials to make a Rustic Tote Bag:
- Cotton or linen ticking fabric (16″ wide) – 2 yards
- Contrasting cotton or linen fabric – 1 fat quarter (18″ x 22″)
- Decorative button
I used two of my favorite feet for this project, the Reverse pattern with clear sole #34/#34C/#34D, and the Patchwork foot #57/#57D with guide.
Instructions to make a Rustic Tote Bag:
For the tote body, cut one piece of ticking 38″ x 16″.
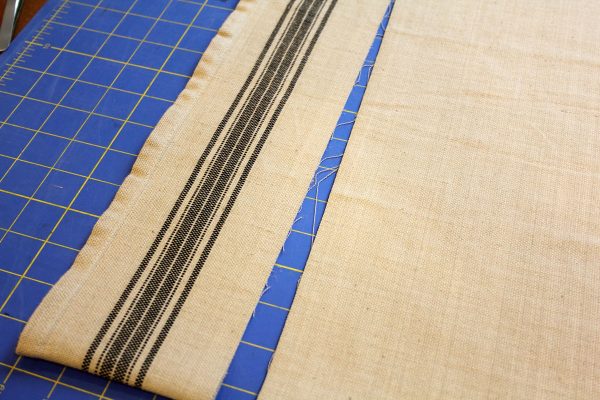
To make the straps I cut two 4″ x 21″ strips off each edge of the remaining piece of ticking because I wanted the black striping to show on the straps. For the pocket, cut one piece 7″ x 14″.
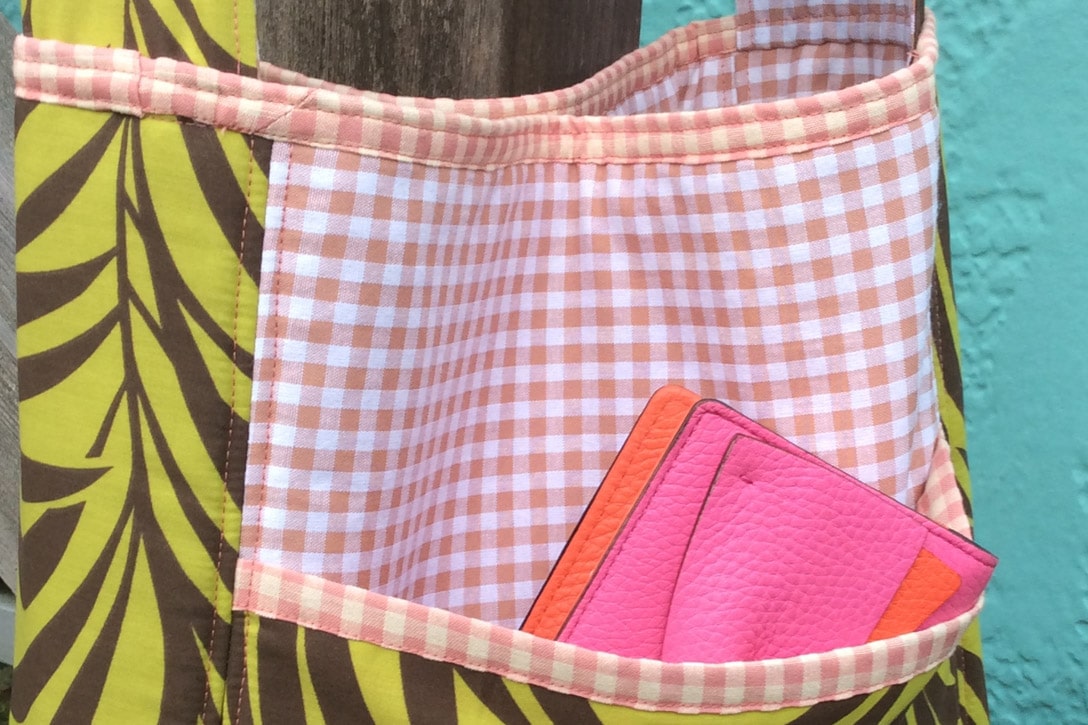
To make the pocket, cut a piece of fabric 2 1/2″ x 8″ from your contrasting fabric.
Fold up one long edge 1/2″ and press it to the wrong side of the fabric. Fold the pocket piece in half wrong sides together and press.
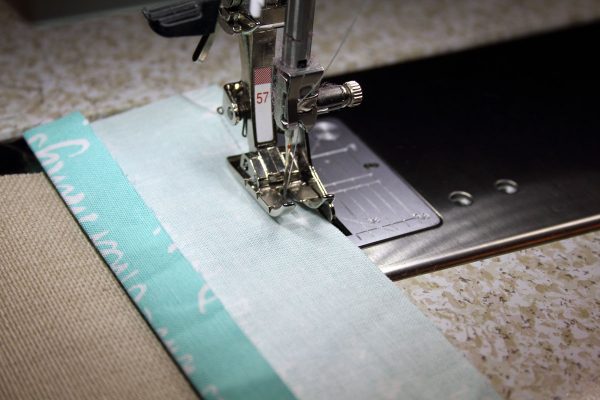
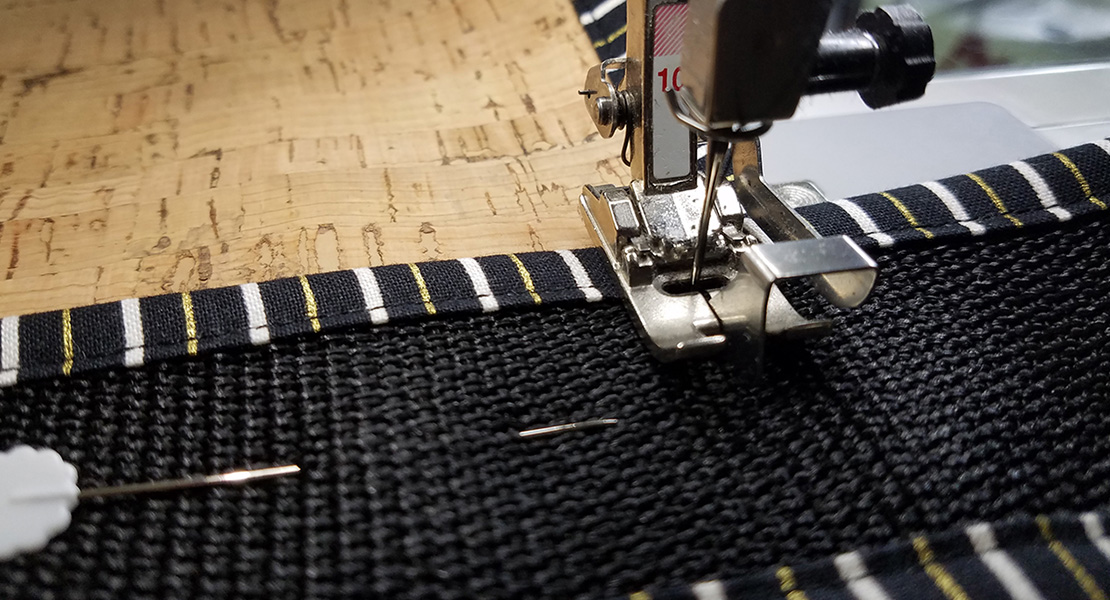
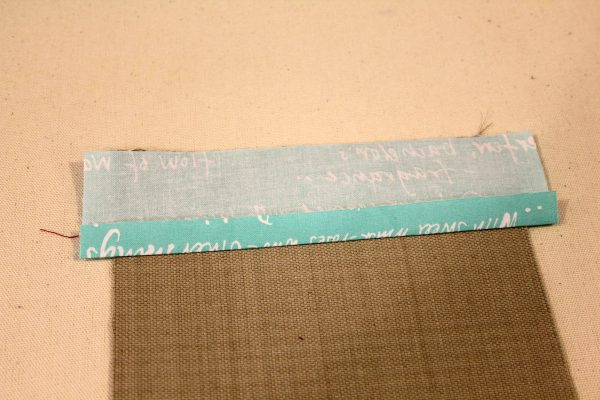
Place the contrasting piece along the top edge of the pocket aligning the raw edges. The folded edge of the pocket will be the bottom edge of the pocket. The contrasting piece is a little wider than the pocket. I did this on purpose to make it easier to start and stop when stitching. Stitch the contrasting band to the pocket edge using a 1/4″ seam allowance. I switched to the Patchwork foot #57D with guide to make this easier.
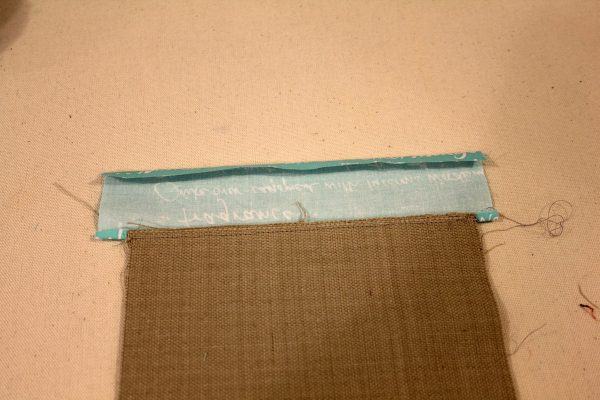
Press the band open and trim off the excess.
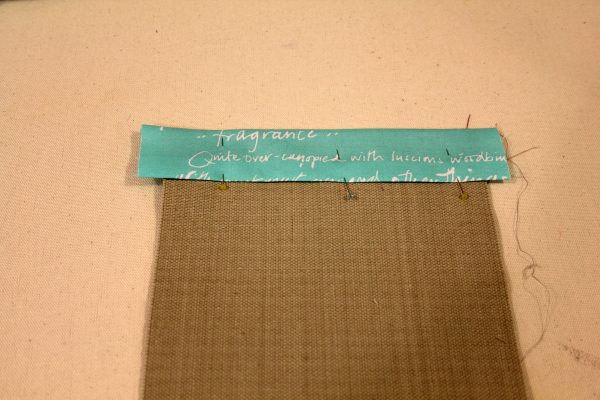
Fold the band towards the front of the pocket, pin in place and topstitch along the top and bottom edge of the band.
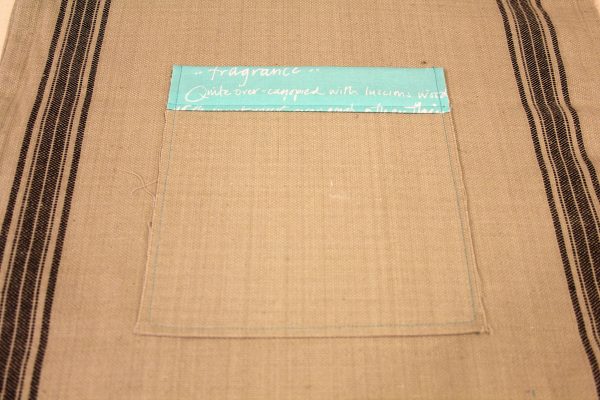
Place the pocket on the front of the bag 4″ from the top edge. Stitch it in place using a 1/4″ seam allowance along the left, bottom, and right edges.
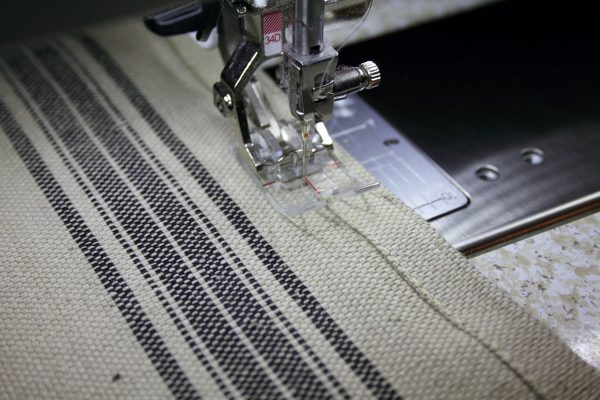
Fold the bag body in half, rights sides together, and stitch along the right, bottom, and left edges. Because my ticking was hemmed along the edges I placed my stitching right along the edge. Along the bottom edge, I just used the edge of the Reverse pattern foot with clear sole #34D to guide me aligning the edge of the foot with the bottom edge of the bag.
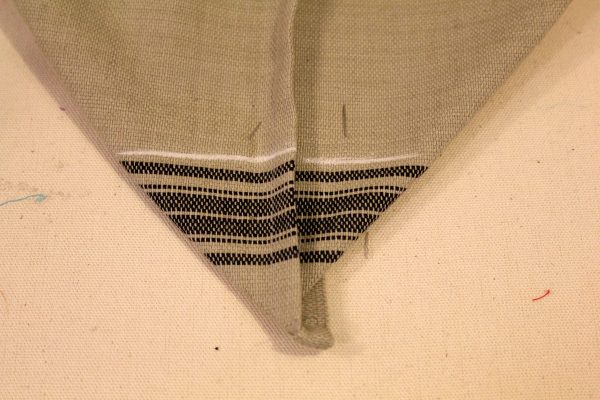
To box the corners of the bag pinch the lower corner of the bag together matching the bottom seam and the edge seam that you just sewed. This creates a triangle. Draw a line 2″ from the point of the triangle using a chalk marker and then stitch along this line. Repeat this for the other side of the bag
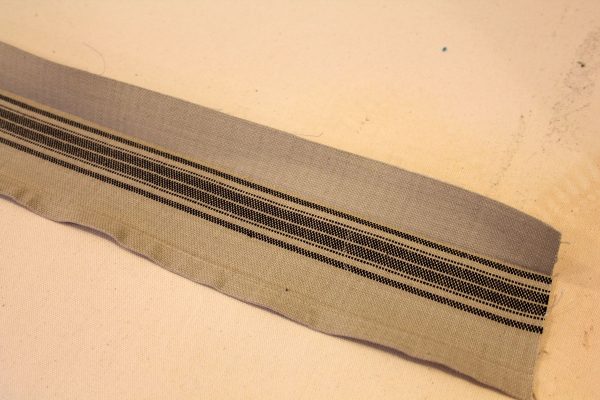
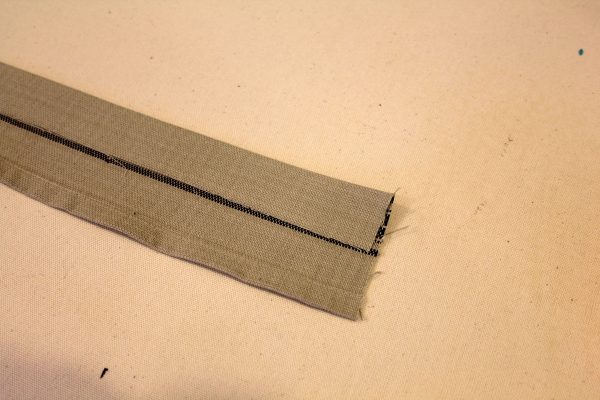
To make the straps place the strap piece right side down on your ironing surface. Fold the long raw edge over about an 1″, just to the edge of where the black ticking line is. Press it well.
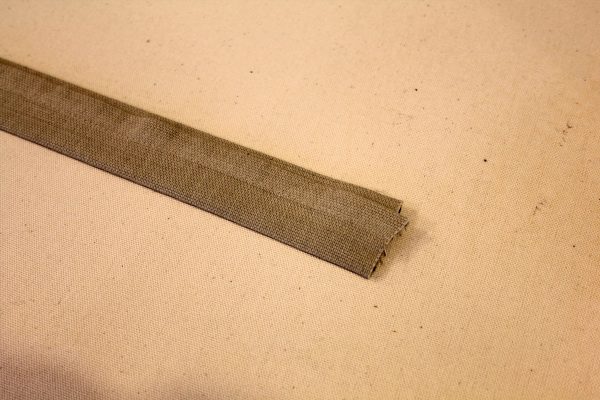
Then fold the hemmed edge over and press it well. Topstitch the strap along each edge.
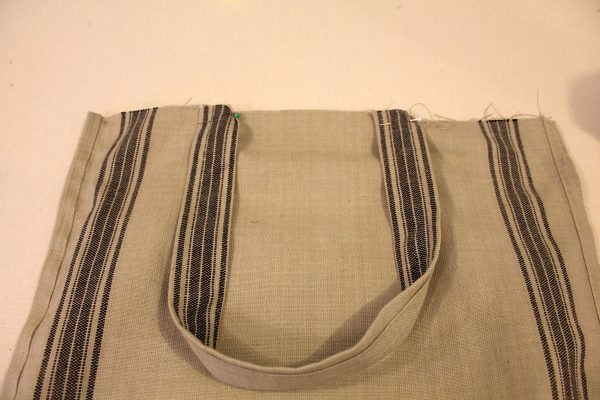
With the bag still right sides together, pin the straps to the top of the bag matching the raw edges. Sew the straps in place using a 1/4″ seam allowance.
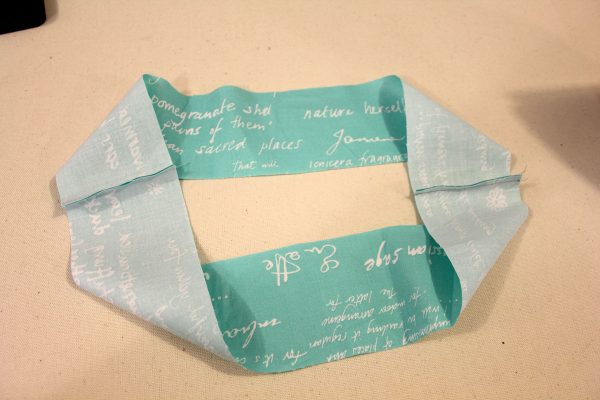
To create the contrasting band at the top of the bag, cut two pieces 3″ x 8″ from your contrasting fabric. Sew them right sides together using a 1/4″ seam along the short edges to create a loop.
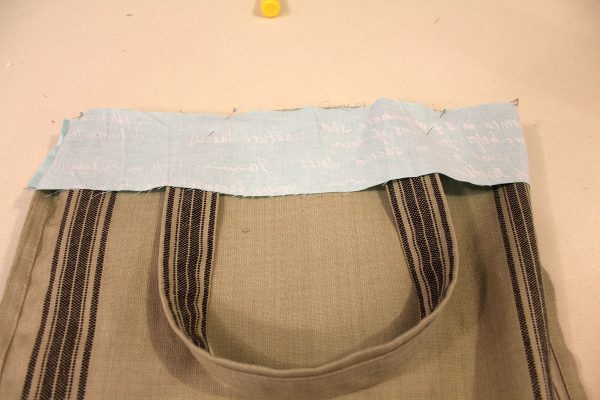
With the bag still right sides together, pin the band to the top of the bag with the right side of the band against the wrong side of the bag aligning the side seams of the bag with the side seams of the band. The straps will be between the band and the bag.
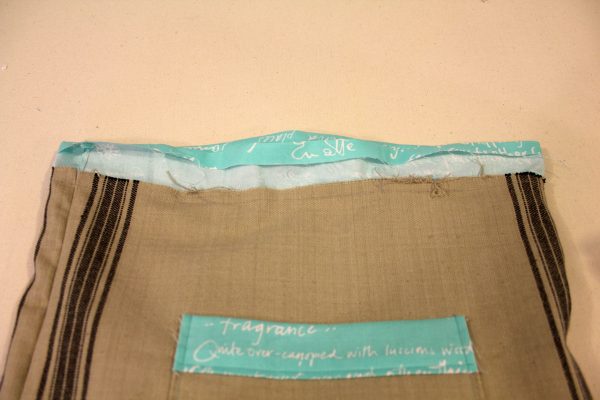
Sew the band to the bag using a 1/2″ seam allowance. Press the band towards the outside of the bag.
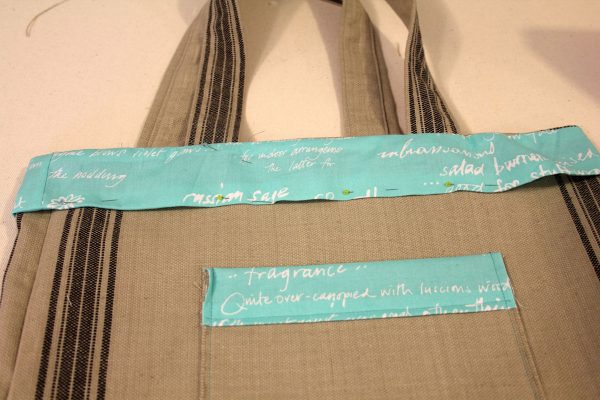
Turn the edges of the band under 1/2″ and press and then fold the band to the outside of the bag, pin it in place and then top stitch along the top and bottom edge of the band.
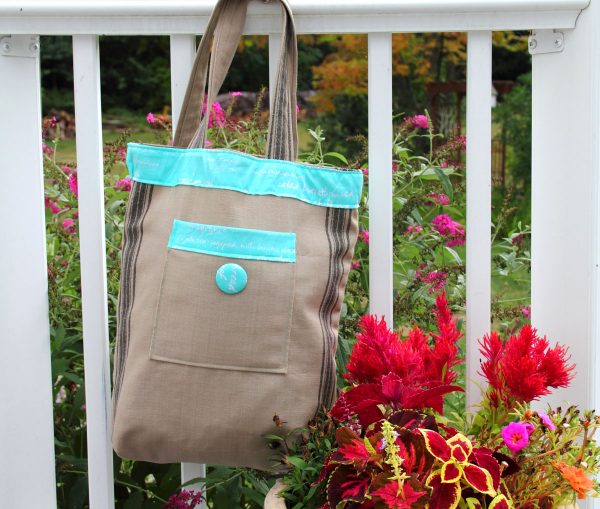
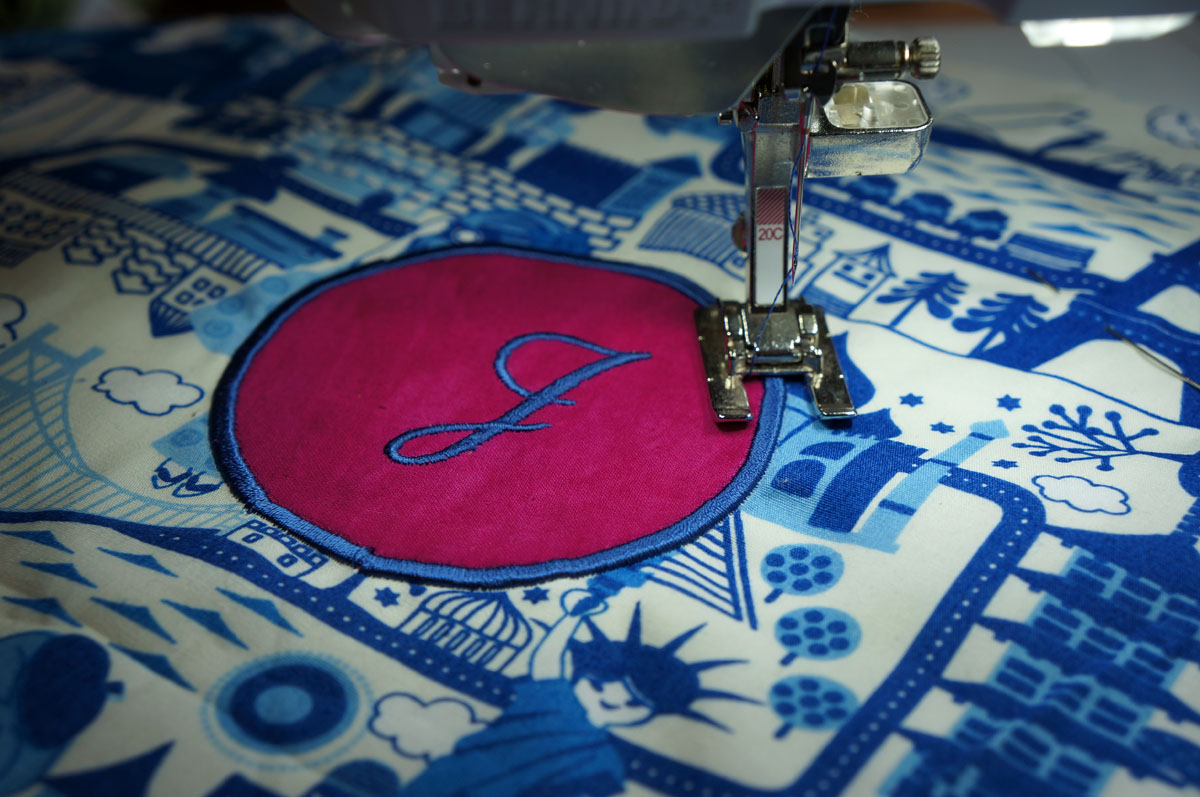
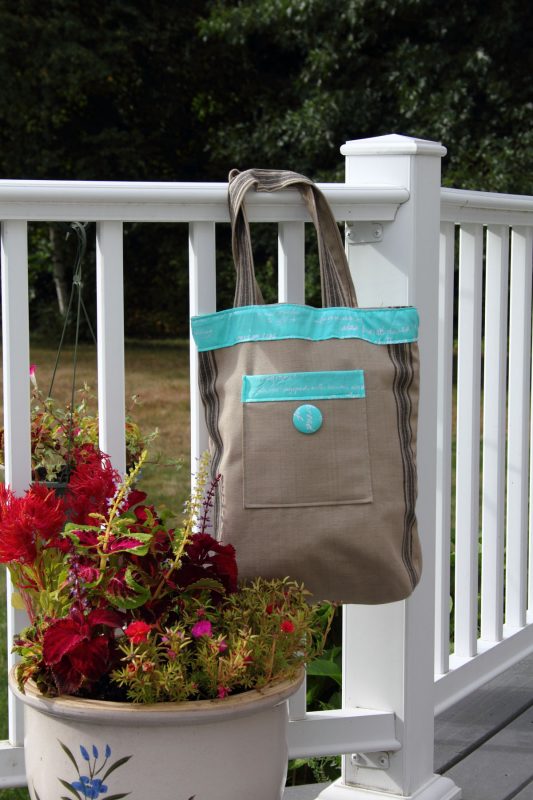
Add a decorative button to the pocket and you’re done!
Sue Bleiweiss is an award-winning full-time fiber artist and BERNINA Ambassador. Check out her new book, Colorful Fabric Collage, for more bright and colorful projects.