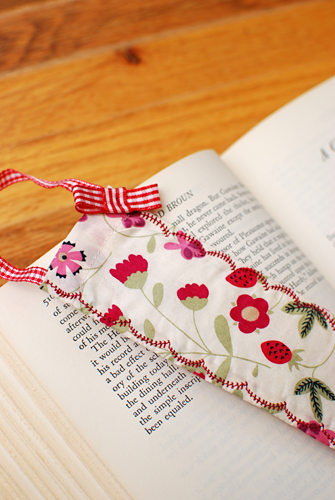
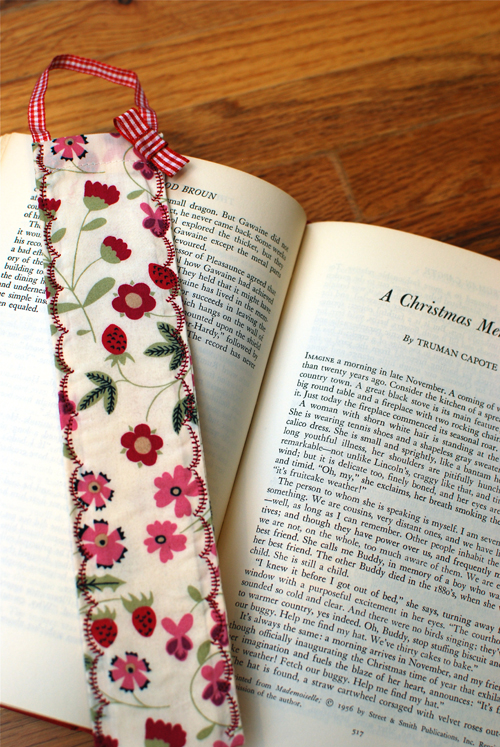
How to Make a Scented Bookmark
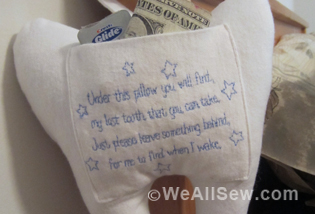
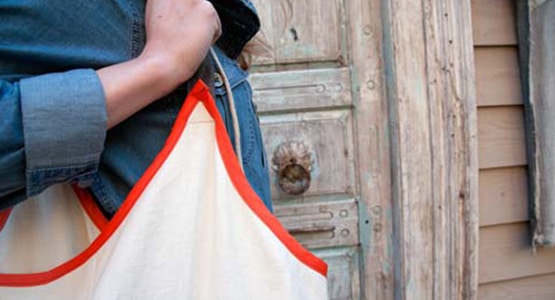
Whether you need something to keep your place in your latest read, or you want to make the gift of a paperback more appealing, you’ll need this bookmark. It’s pretty and useful, and it can smell wonderful if you want it to. The hidden talent of this little bookmark: space inside to place a scented cardboard strip. The bookmark will perfume the pages of your book or you can hang it in your handbag, as I do, to catch a whiff of scent each time you rummage in your purse for something.
Supplies
- 2-1/2″ x 20″ rectangle of cotton lawn, such as Liberty of London, or a similar fabric
- All-purpose polyester thread for construction in a blending color
- Decorative embroidery thread in a coordinating or contrasting color
- 2″ x 9″ rectangle of heavy interfacing, such as Timtex
- Approximately 12″ of narrow ribbon
- Perfume-infused strip of cardboard (optional)
Step 1) Stitch the bookmark body.
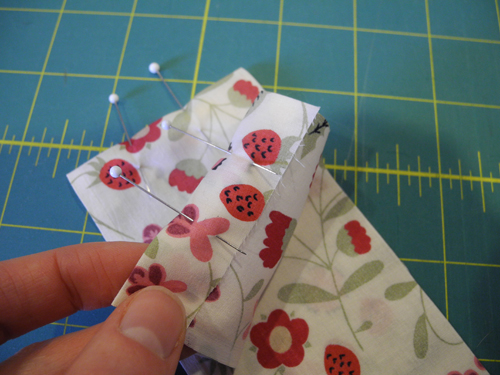
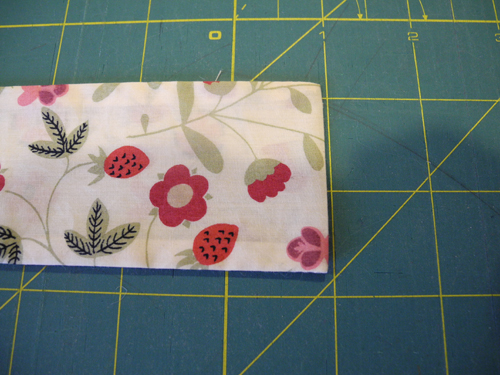
Fold the long piece of cotton lawn in half, right sides together, to form a long rectangle measuring 2-1/2″ x 10″. Fold back a little over a half-inch from the top on each raw end. Press.
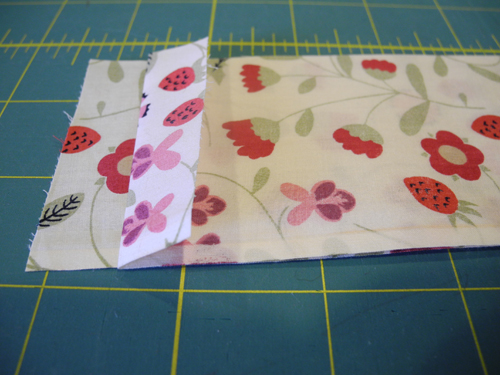
Pin in place.
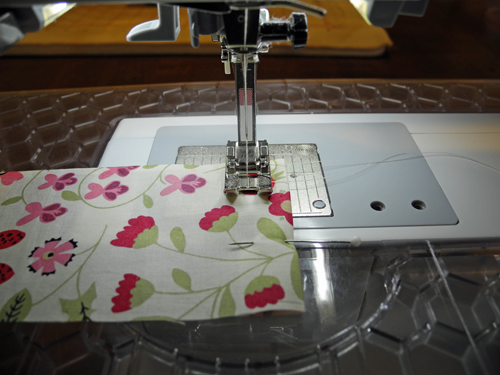
With the right side of the fabric facing you, topstitch each end 1/2″ from the fold.
With right sides together, sew along each long side with a ¼” seam allowance to create a long pouch.
Clip the corners at the folded edge.
Turn the tube inside out and push the corners out neatly with a point turner or chopstick. Press.
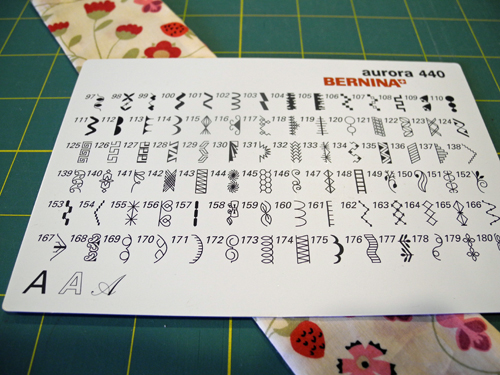
Step 2) Add decorative stitches.
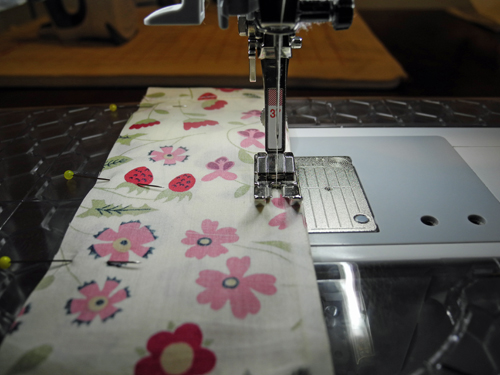
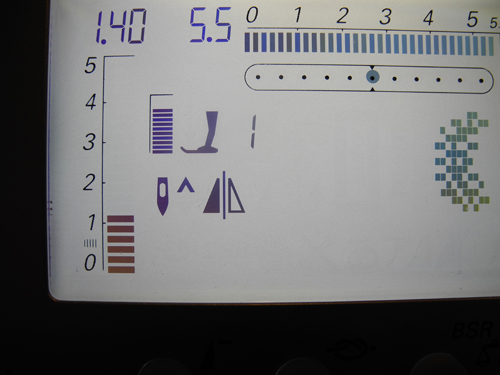
Pick a decorative embroidery stitch for the sides. Thread the needle and bobbin with embroidery thread.
Cut a 6″ piece of ribbon and place it inside the tube, fitting it snuggly against one side seam.
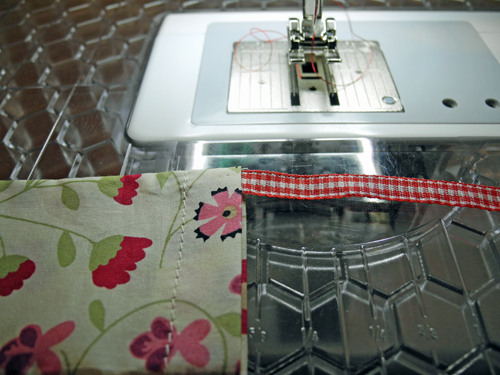
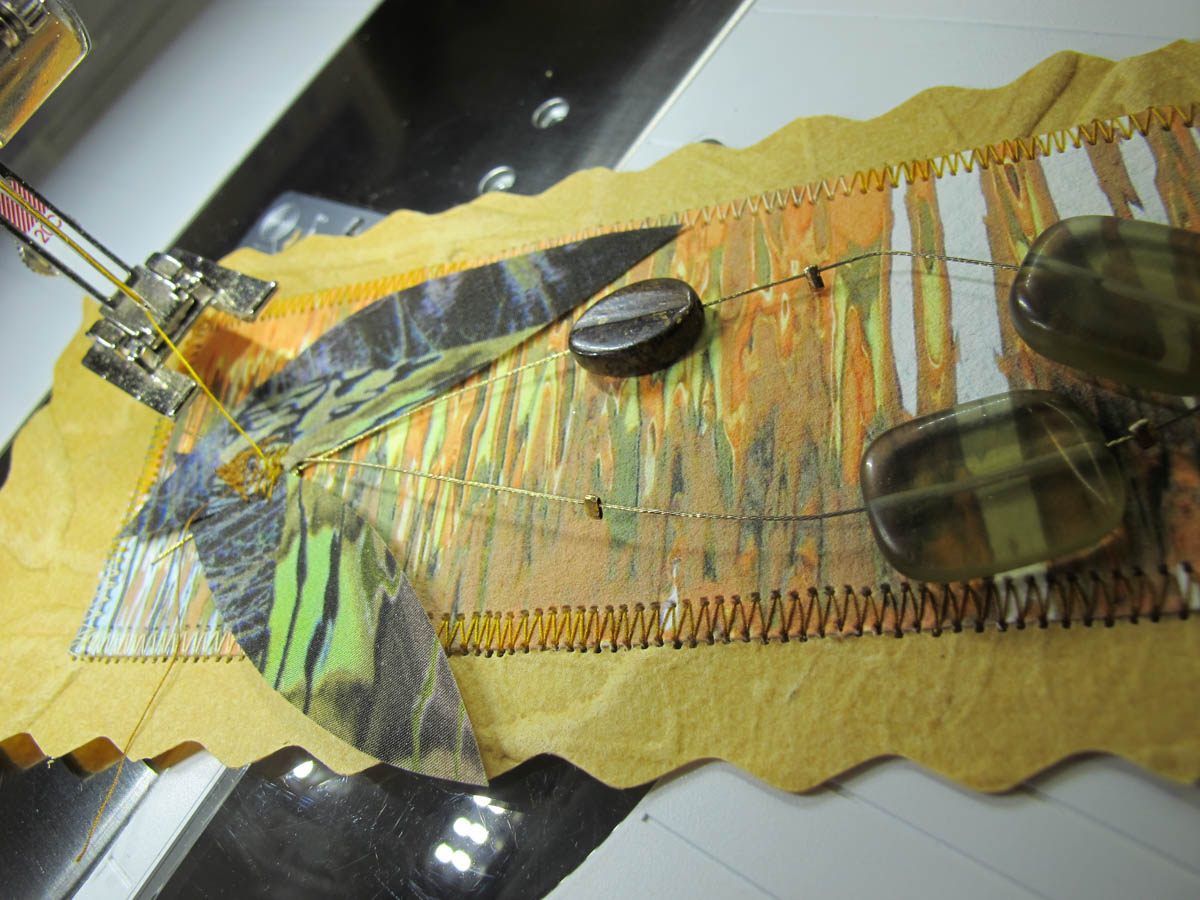
Start embroidering; the ribbon will help you guide the work evenly.
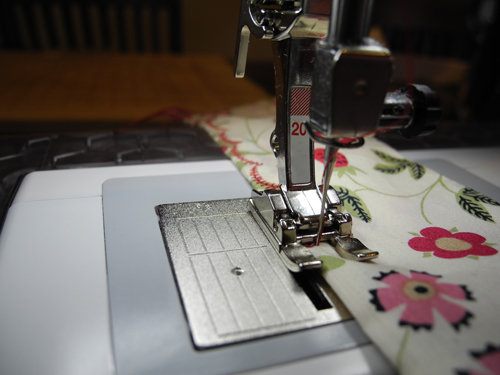
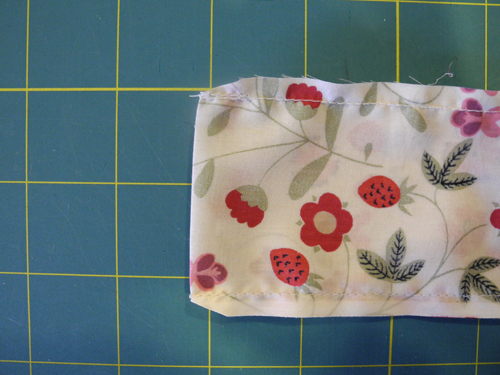
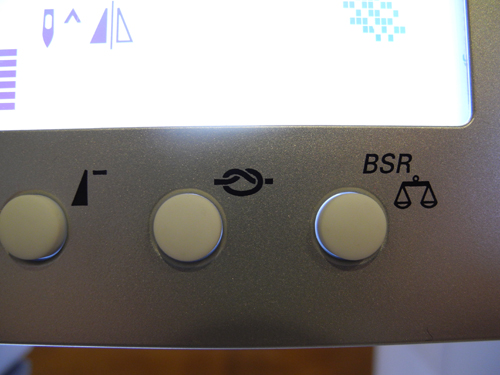
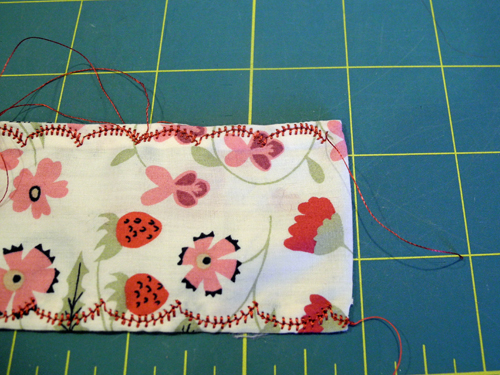
As you near the end of the bookmark, use the sewing machine’s Securing function at the beginning of the last repeat.
Be careful! If you wait too long to press the button, the machine will do one repeat too many, as was the case for the lower line of stitching in the photo.
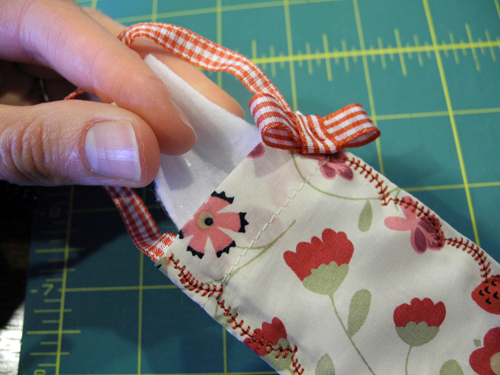
Place the remaining end of the ribbon inside the bookmark, against the side seam. Take advantage of the machine’s Mirror Image function by engaging it before stitching the opposite side.
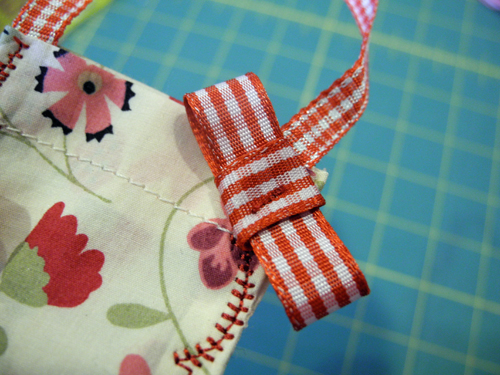
Step 3) Add a bow.
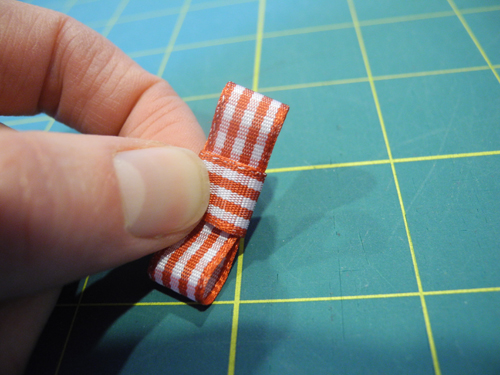
Make a little bow out of a folded 3″ piece of ribbon.
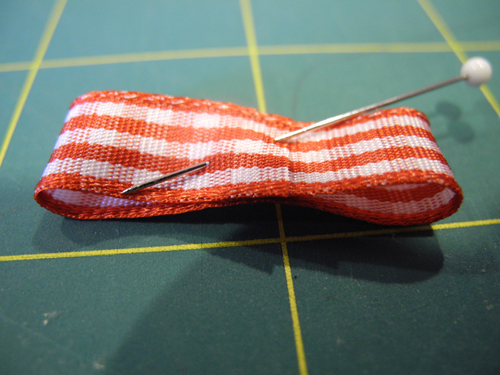
Wrap it with another 3″ piece of ribbon.
Tack the pieces in place with the sewing machine.
Step 4) Insert the stabilizer.
Place the 2″ x 9″ strip of interfacing inside the bookmark. Flexing the edges will help with this task. Slip a strip of perfumed cardboard into the bookmark if you’d like.