Silhoucat Quilt-Along with LUKE Haynes
Join me for my three-part Silhoucat Quilt-Along and learn a really nice way to combine some piecing with an easy appliqué. Taking a basic half square triangle pattern and adding an appliqué on top makes a nice keepsake or a very attainable, very prized gift!
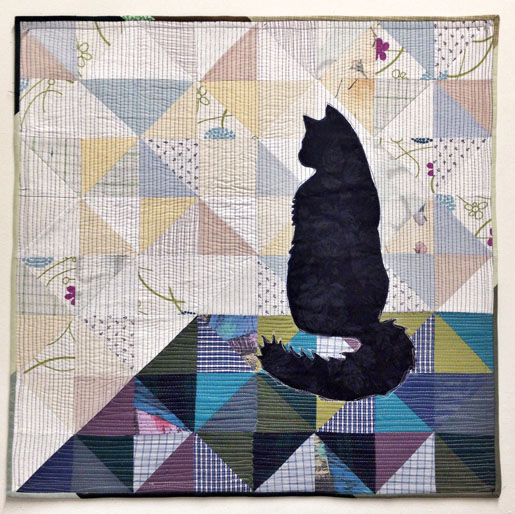
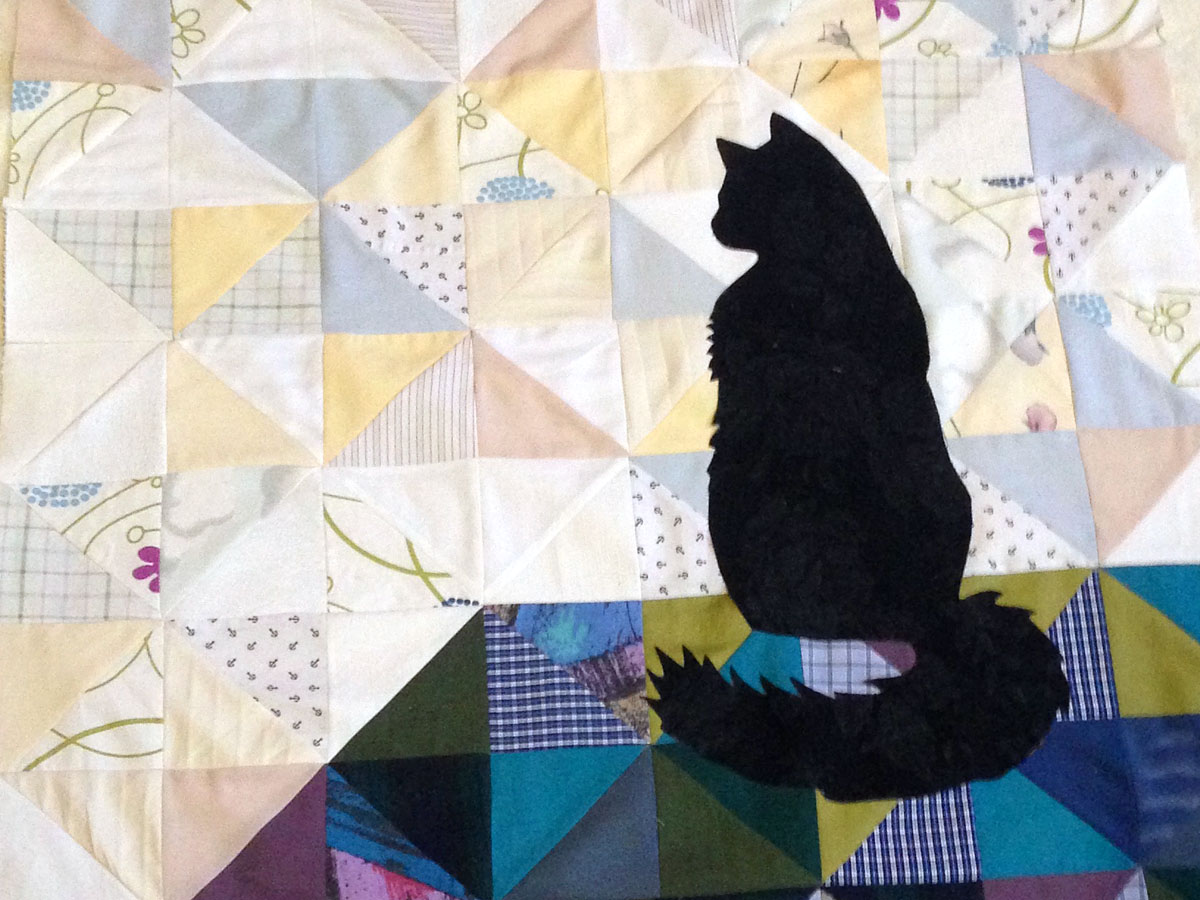
Here’s my finished piece so you can see what I am talking about at each step.
Part 1 Design Layout and Piecing
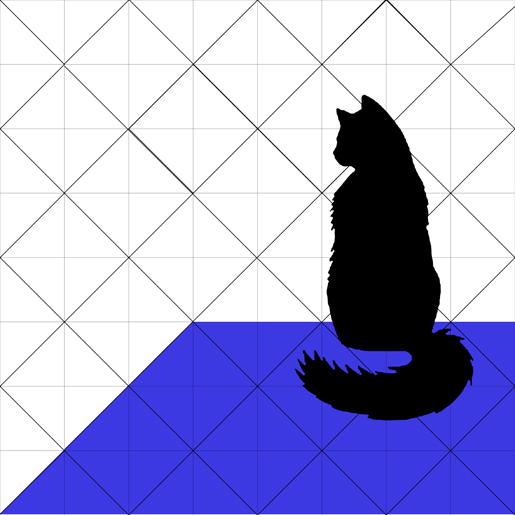
Let’s start from the beginning. I made a design layout so I could calculate the size and shapes before I got started. (And to make sure I want to even make the thing!)
I know the diagram leaves a bit to the imagination as far as interest goes, but you can see the finished product and see where we are going. I have designed it for 4″ half square triangles so the horizon line in the “ground” is super easy.
Materials
OK! Let’s get our materials ready.
Let’s start with the darks. You are going to need 39 half square triangles for the dark ground: 18 full squares and 3 triangles to match with the light for the diagonal line.
I want a range of fabrics for each “color.” In my case, I used blue/greens for the ground plane and whites for the background.
So, go pick as many matching fabrics as you want for the project.
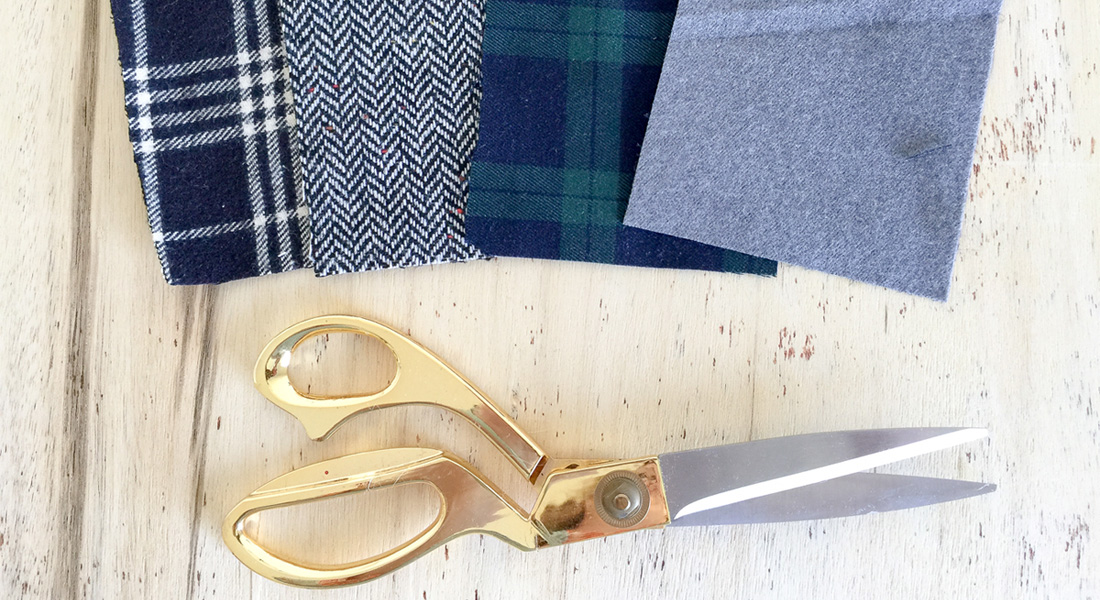
I have a stash of used clothing cut into strips for my materials. You can do the same if you would like and make the piece out of materials specific to the animal you want to immortalize or just use awesome yardage. I grabbed around 10 different pieces, though you can use a single fabric for each if you’d like.
Here is a tutorial I made for the cutting down of the clothing: Deconstruct a shirt with LUKE Haynes
Or you can use this opportunity to thin down your stash. I used blues/greens, but you can use any color or colors that are a bit dark.
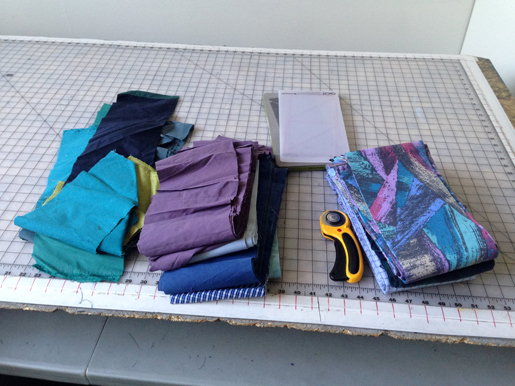
Once you have these dark colors, let’s cut them down into the pieces we need for the 4″ (finished) half square triangles.
I use a die cutter.
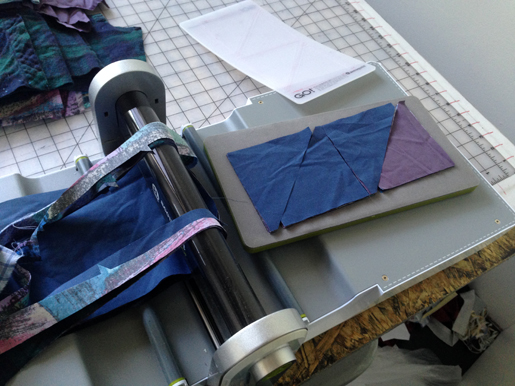
Or you can cut them out of strips. Here is a tutorial for that technique: Half-square Triangles with LUKE Haynes
Or anyway you would like to get your half square triangles cut.
Do make sure to mix them up now so you don’t have to worry about any patterns in the matching later.
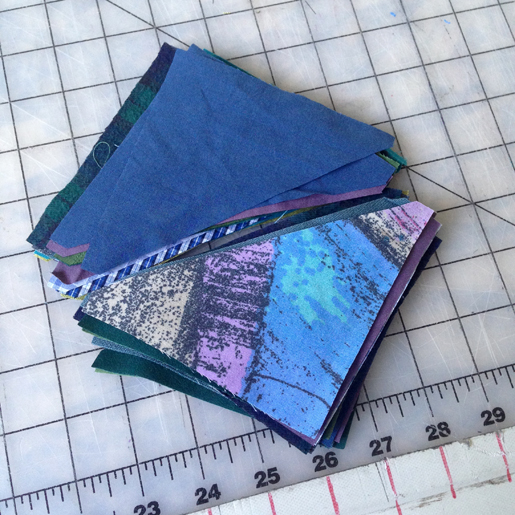
Now cut your white half square triangles just like the darks.
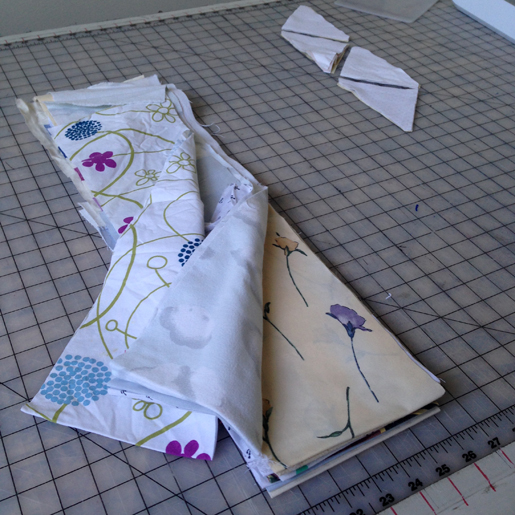
We will need 89 triangles in total for the white.
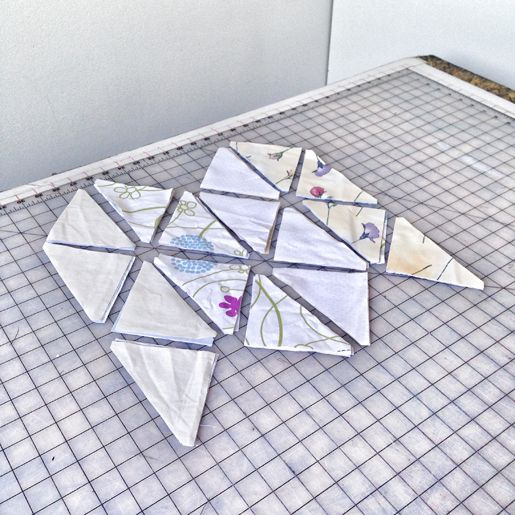
Now that we have all our pieces ready, let’s get started assembling.
I say start with the three diagonal pieces needed for the edge of the horizon.
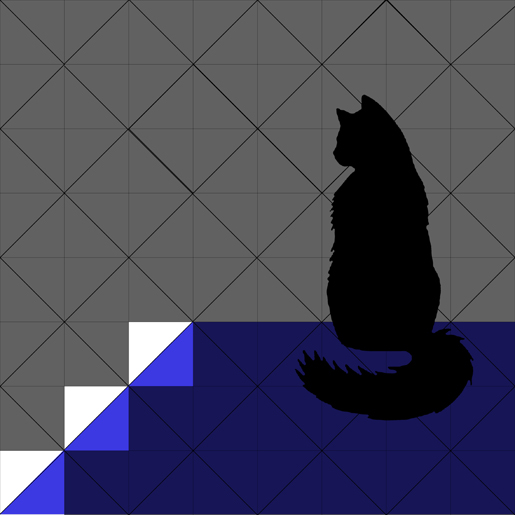
Grab 3 of your whites and 3 of your darks…none of the same if you are using different kinds/colors of fabrics.
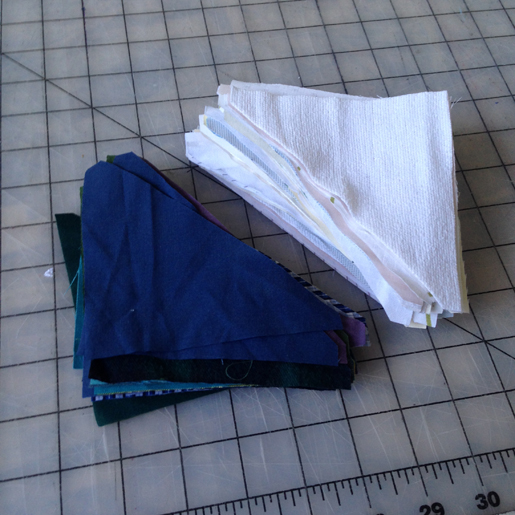
Then sew them together.
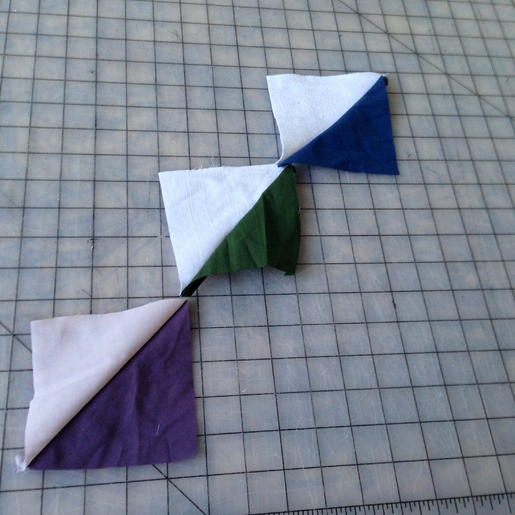
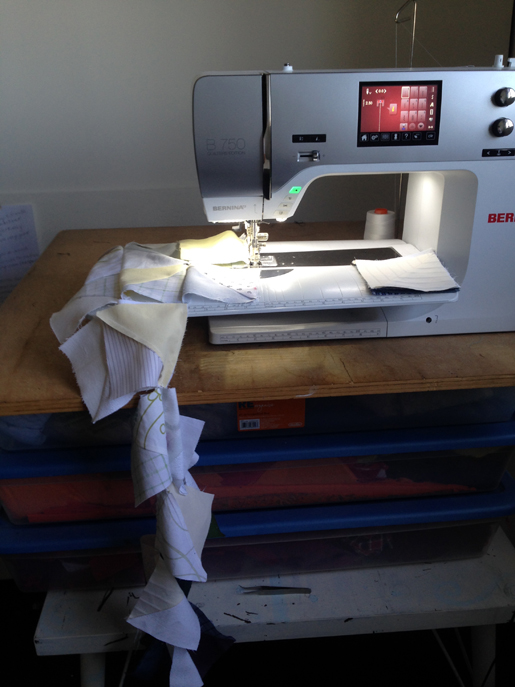
Continue piecing the remainder of triangles. I sew in a line. “Chain piecing” is a super efficient way to sew lots of the same thing together. It saves thread and time, and you get in a rhythm.
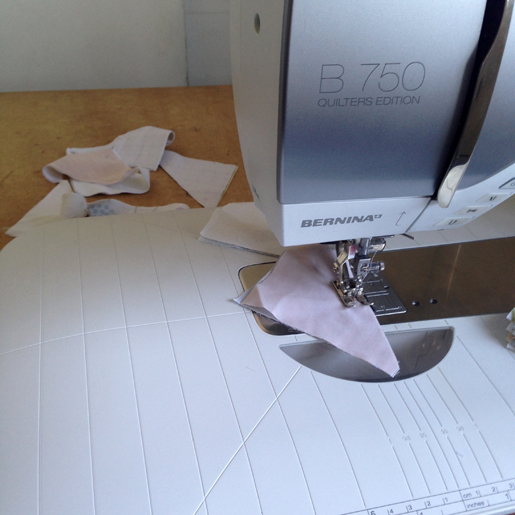
Once all your pieces are sewn together, give them a nice press with an iron.
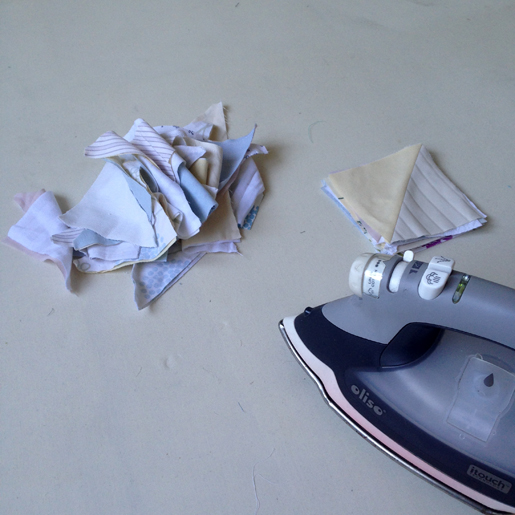
Count your squares. You should have 64 all together: 3 diagonal half and half squares, 18 blues (or other darks if you are using a different color pallet), and 43 whites.
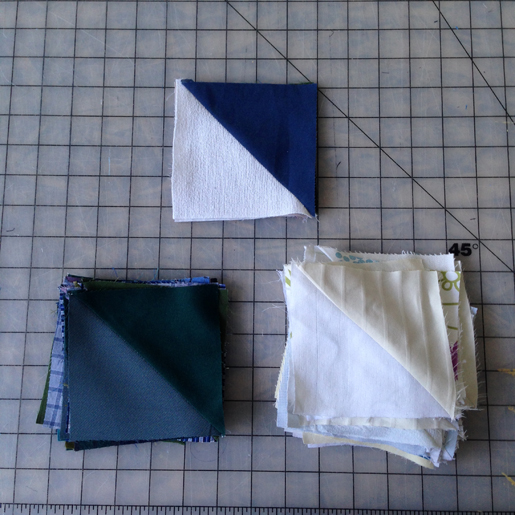
Now sew them together according to the layout.
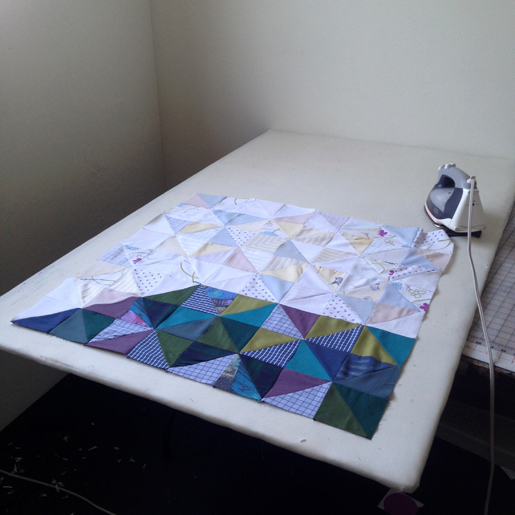
It should look like this when done.
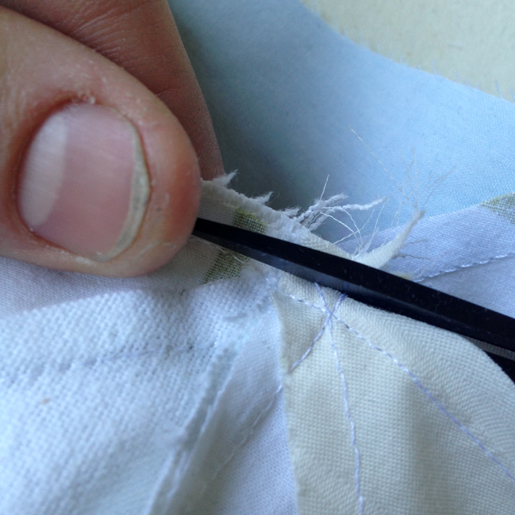
Now be sure to trim the back. Give it a nice haircut to ensure the pieced top will lay flat and the bulk in the seams is reduced for the quilting part that comes later. Trim down at each juncture point to 1/8″ – 1/16″, so it’s nice and small.






4 comments on “Silhoucat Quilt-Along with LUKE Haynes”
Super excited about cat anything