Serger Lace Wall Hanging, Part Two

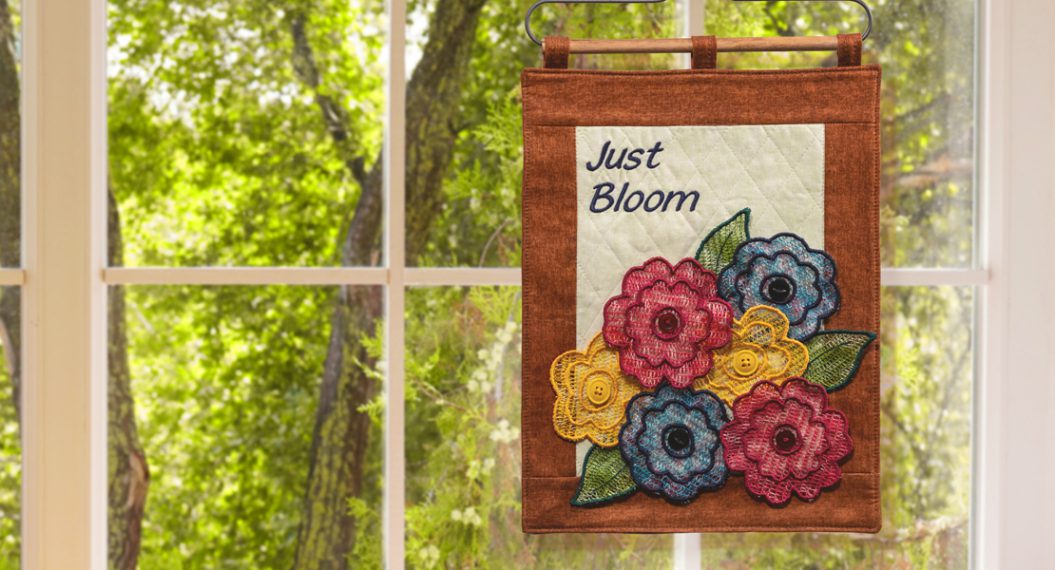
In Part One, you made lots of lacey fabric with your serger. Now it’s time to use software and create the flowers and leaves to make the freestanding appliqué. Let’s get started!
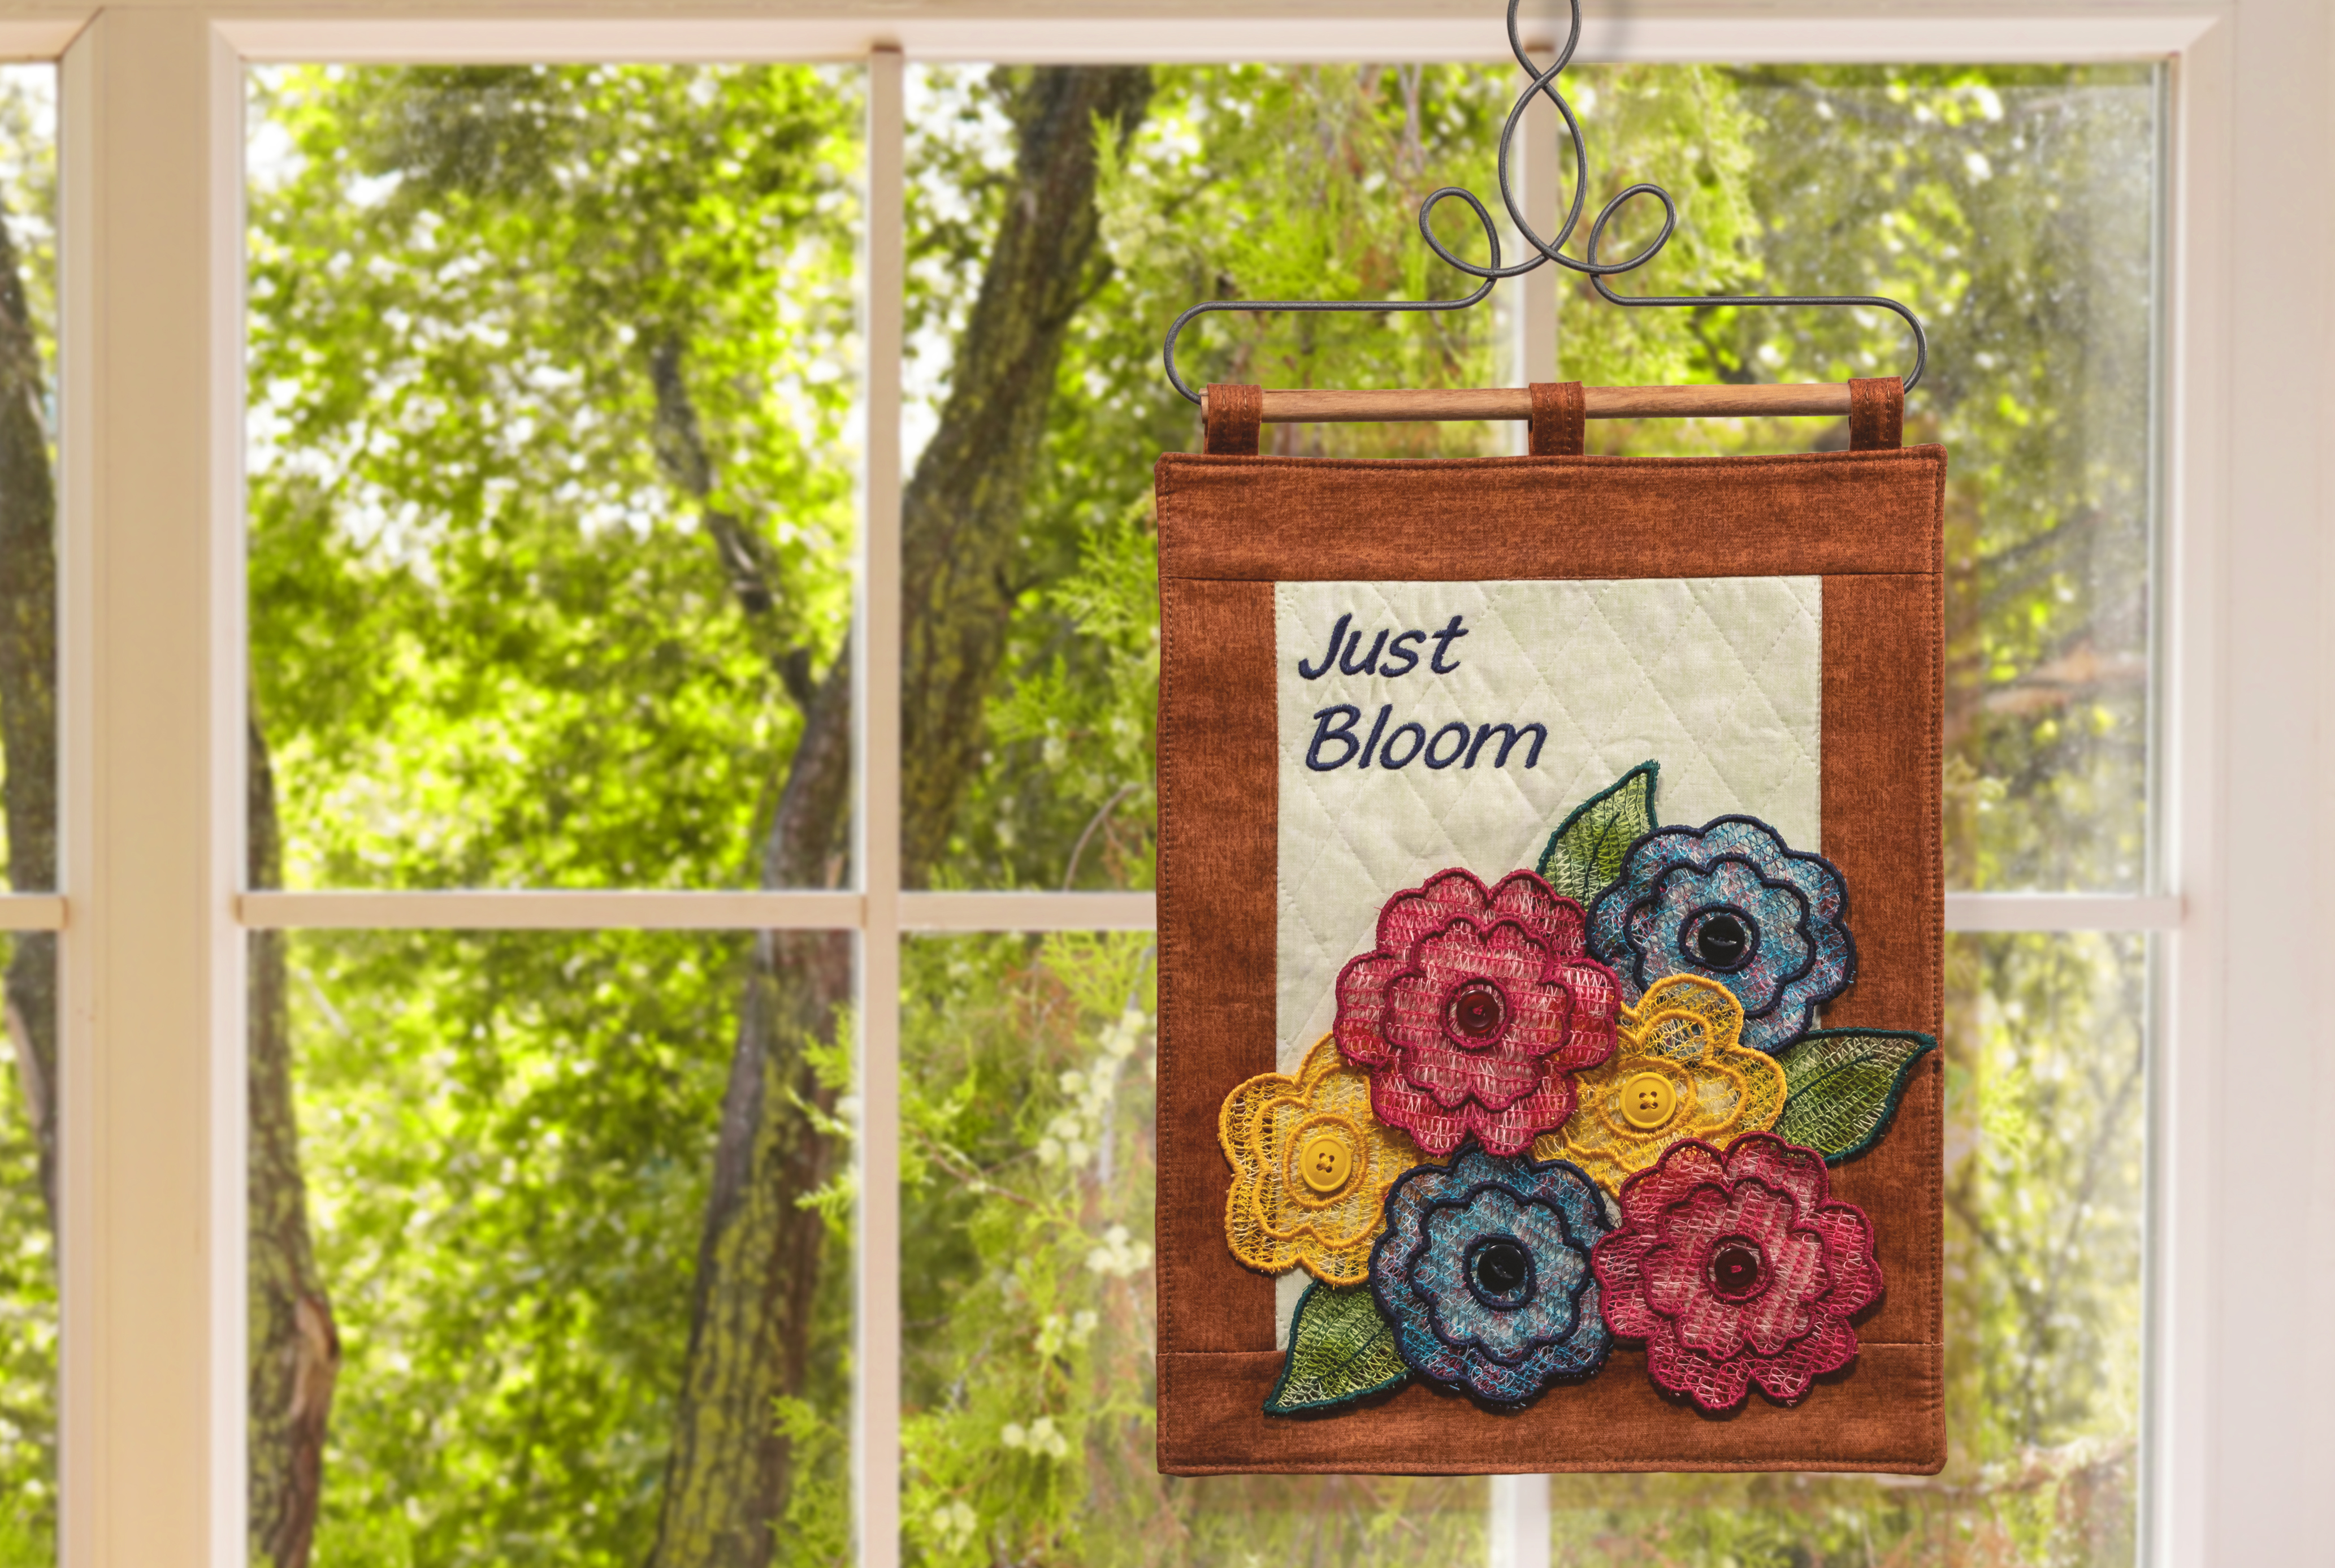
Click HERE for Part One and the complete supply list for the project.
Step One: Design Flower One
Open the BERNINA 9 DesignerPlus Embroidery Software. Switch to Embroidery Canvas. Select Insert Embroidery in the top menu of the screen.
Tip: If you are not sure which icon to use, hover the mouse arrow over the icon and a box will pop up with its name.
Navigate to the included designs and open the folder 01_Basic Shapes. The file path is: Libraries > Embroidery > BERNINA 9 Embroidery> 01_Basic Shapes
Select Shape_10 and open.
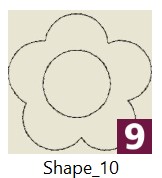
If the hoop is visible on the screen, click on Show Hoop at the top of the screen to deactivate it.
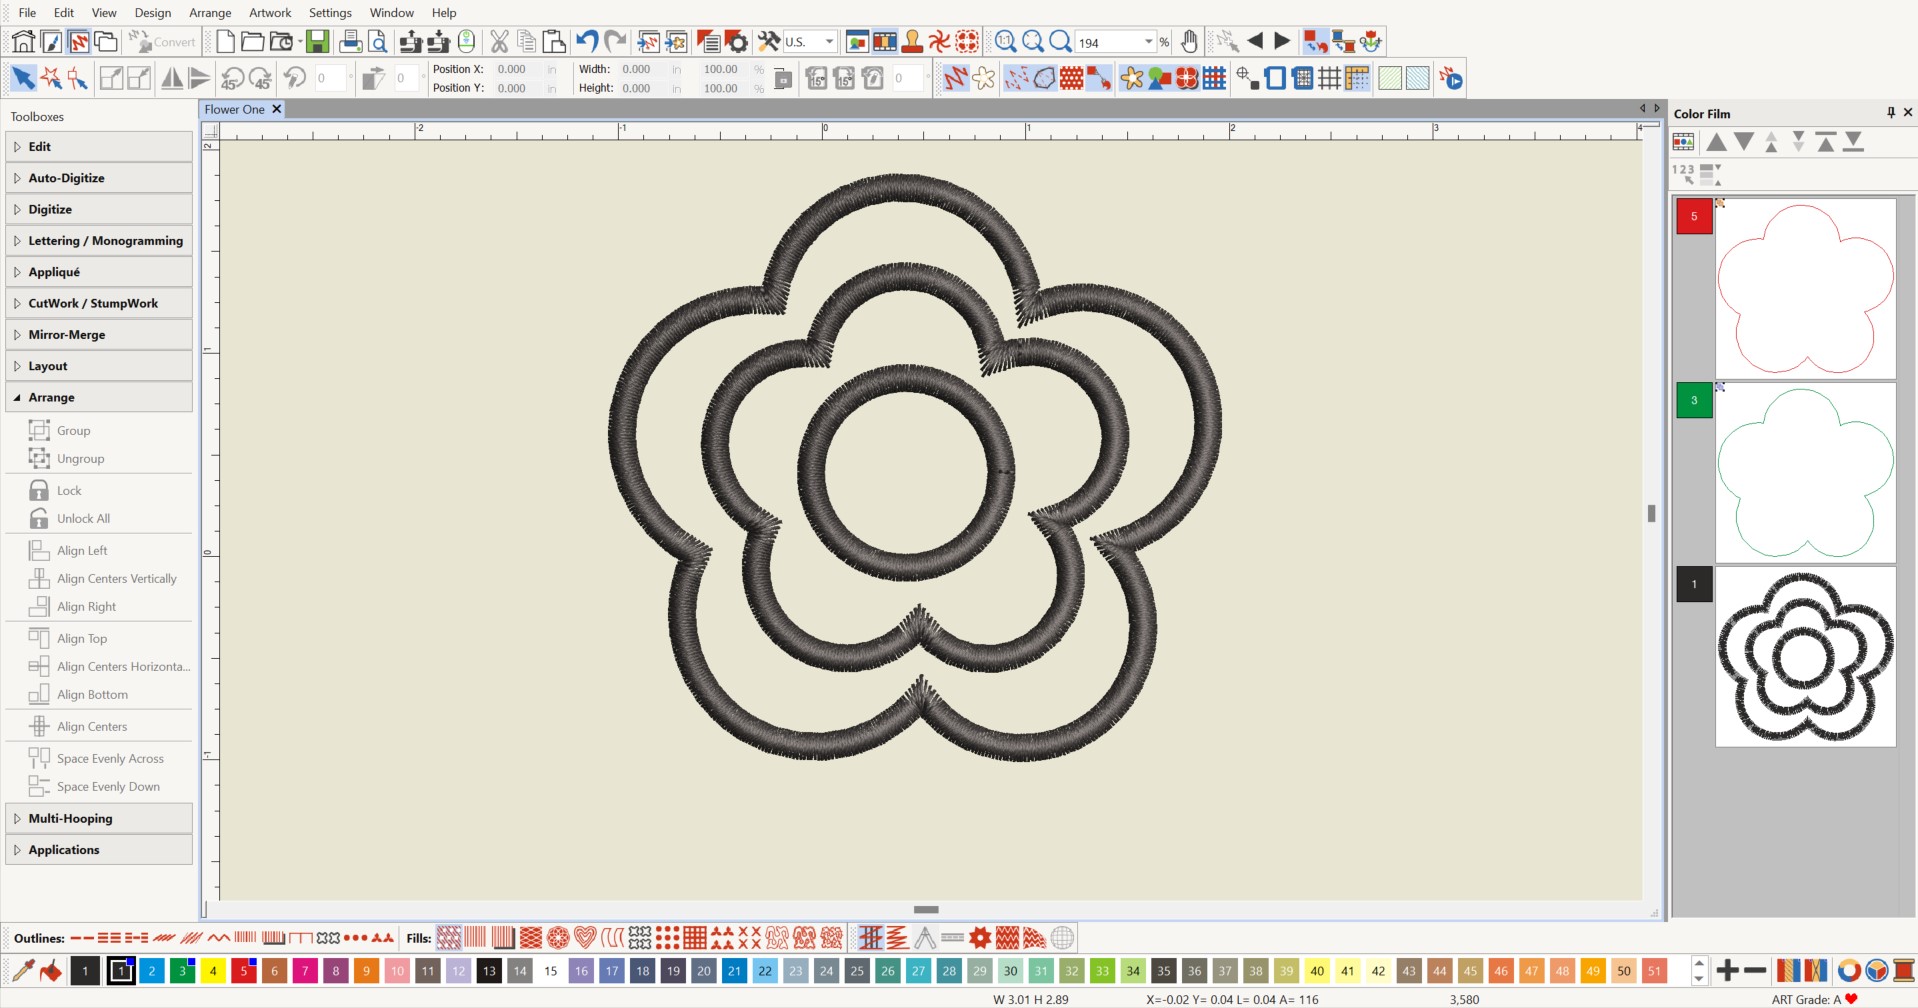
Your screen should look like this. Make sure that Color Film is open and Show Objects at the top of Color Film is deactivated.
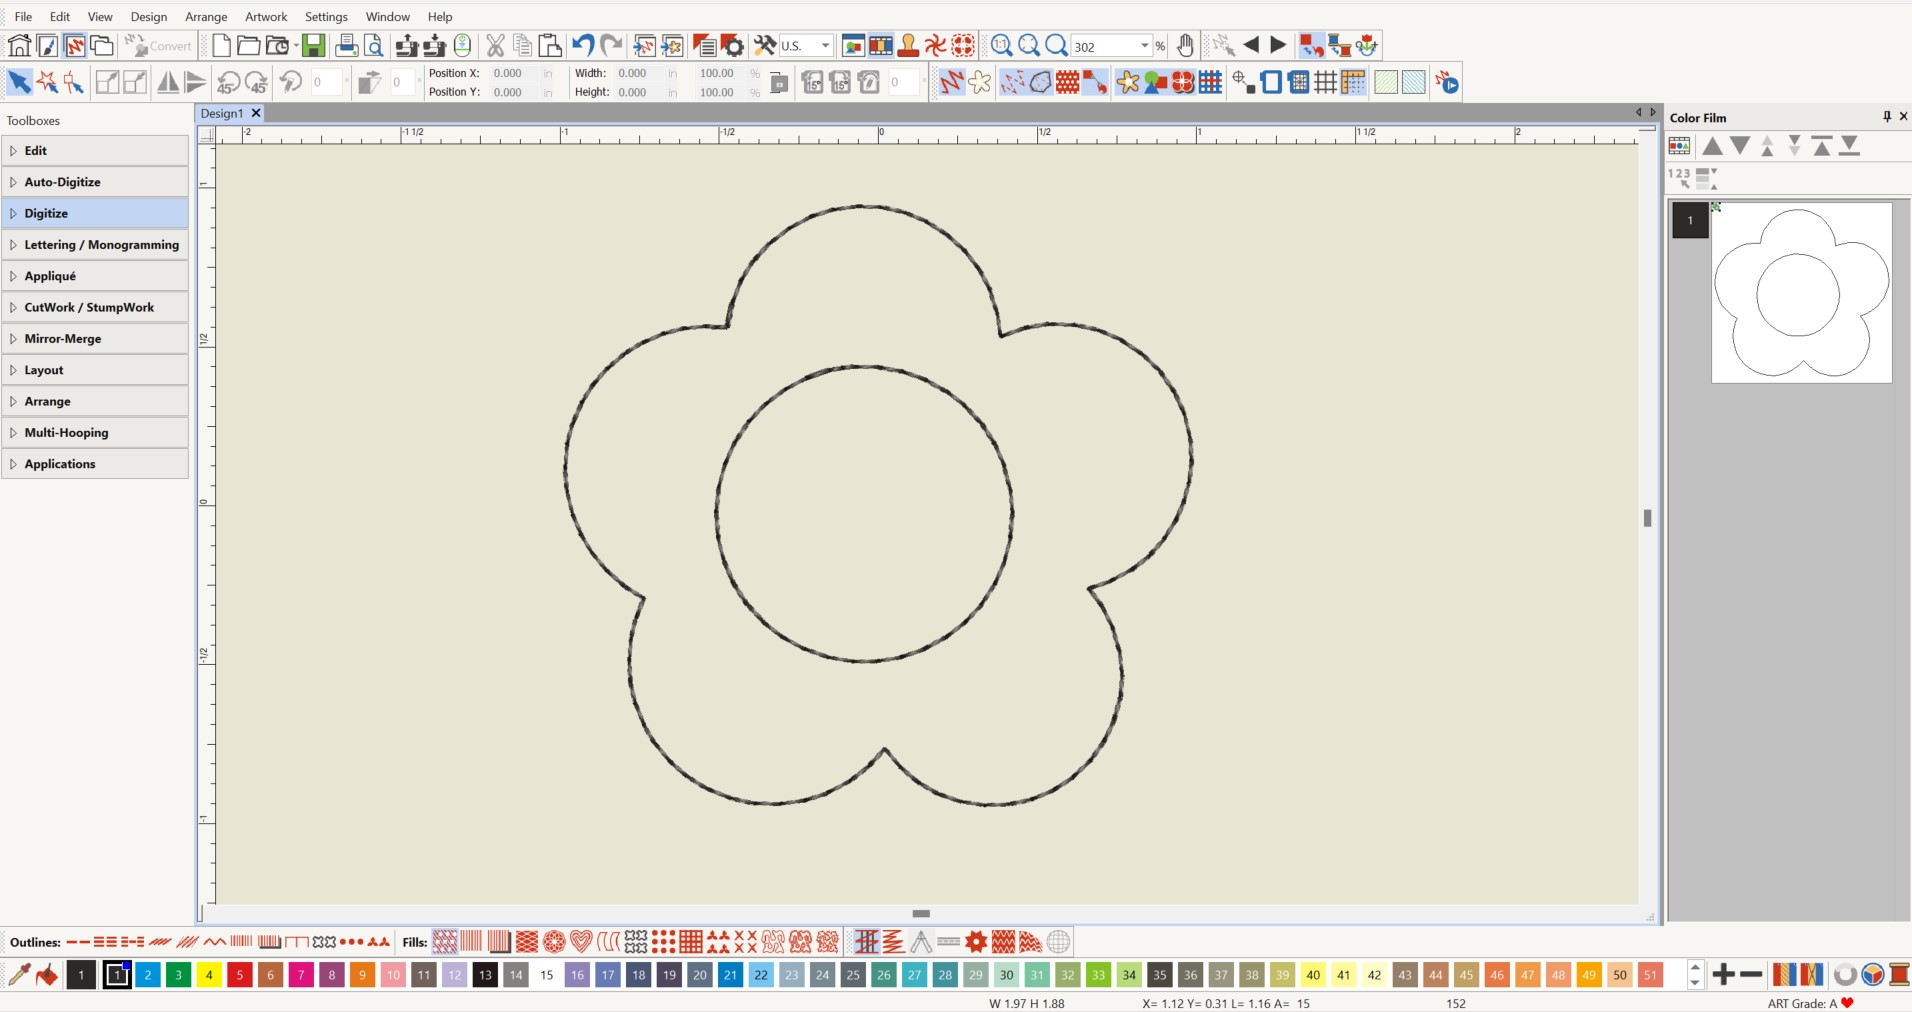
Deselect the design. Press and hold the ALT key and select the outer flower. Copy and paste. Increase the copy 40% by clicking the Size + 10% icon four times. This icon is in the upper menu. Press Ctrl + A to select all. Open the Arrange Toolbox on the left side of the screen and select Align Centers. Your screen should look like this.
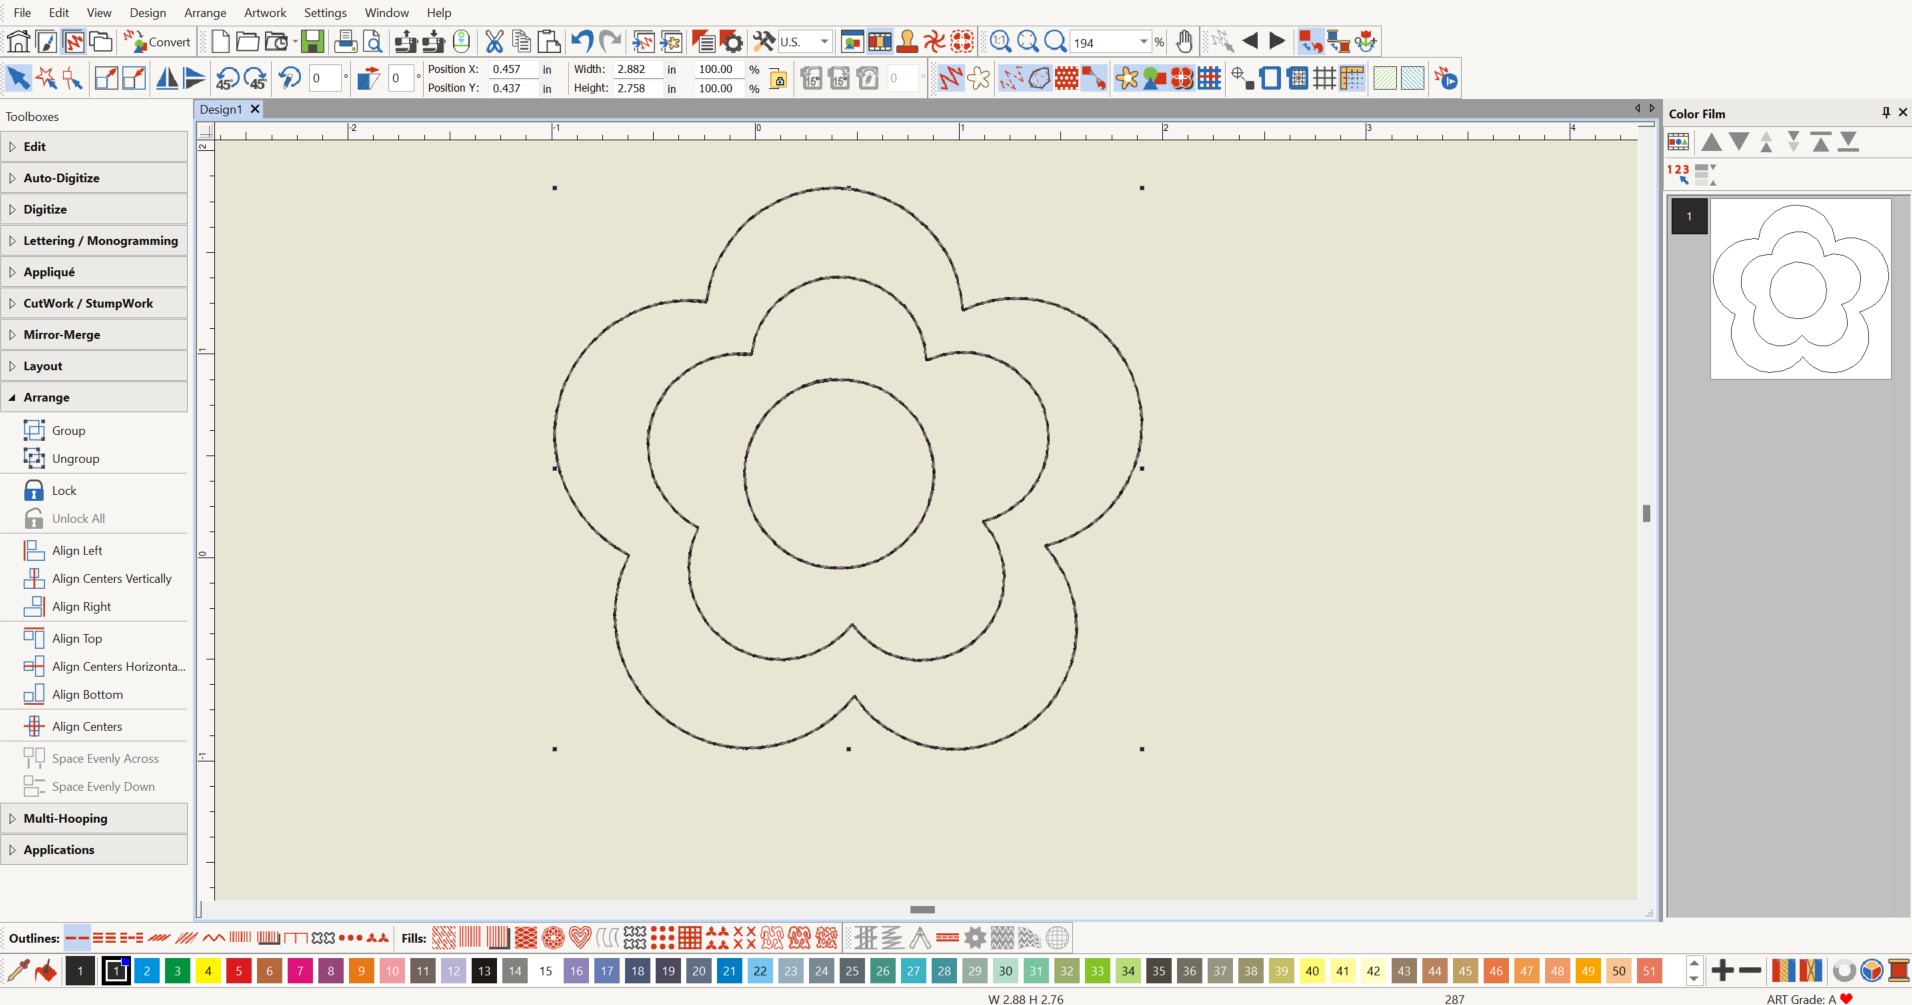
Deselect the design, then select the outermost flower. Copy, paste, and assign a new color. In Color Film, click and drag to move the outer flower copy to the top of Color Film. This will be the placement line for the serger fabric.
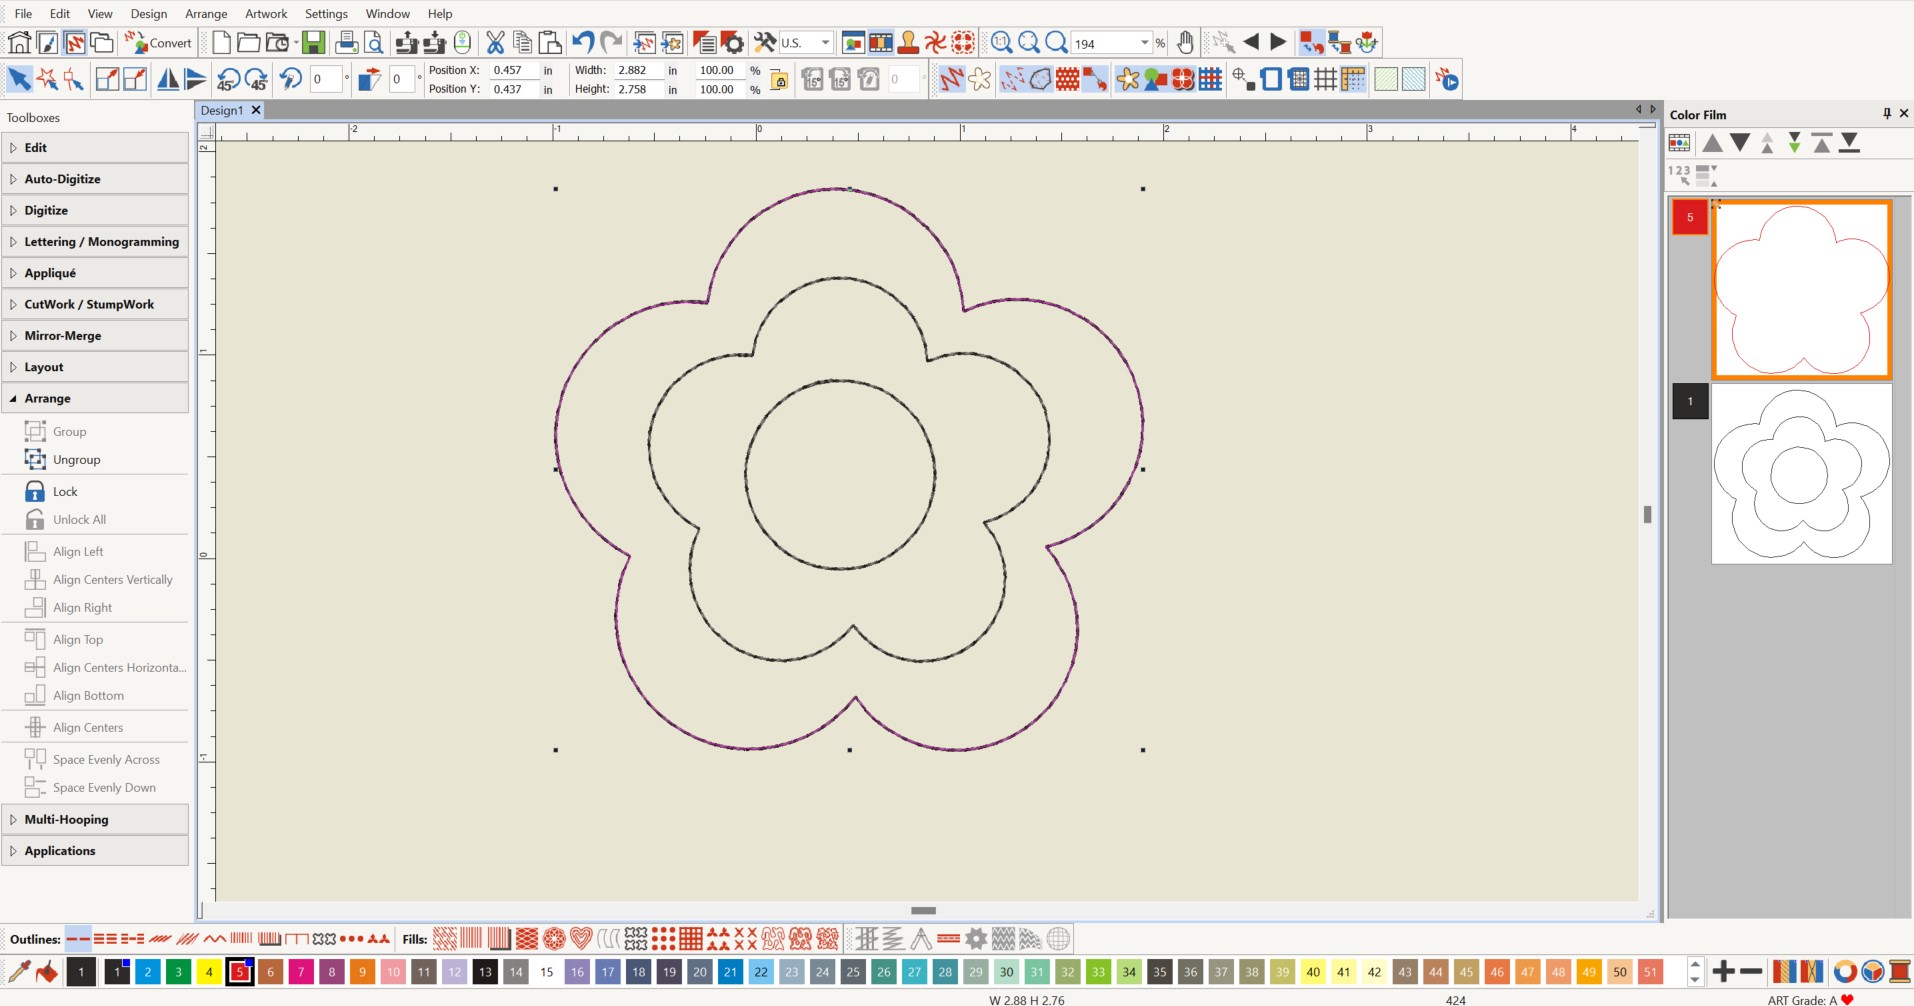
Select the placement line flower at the top of Color Film. Copy and paste. Assign a new color that has not been used. Move into the second position in Color Film by clicking and dragging as before. This will be the fabric trim line.
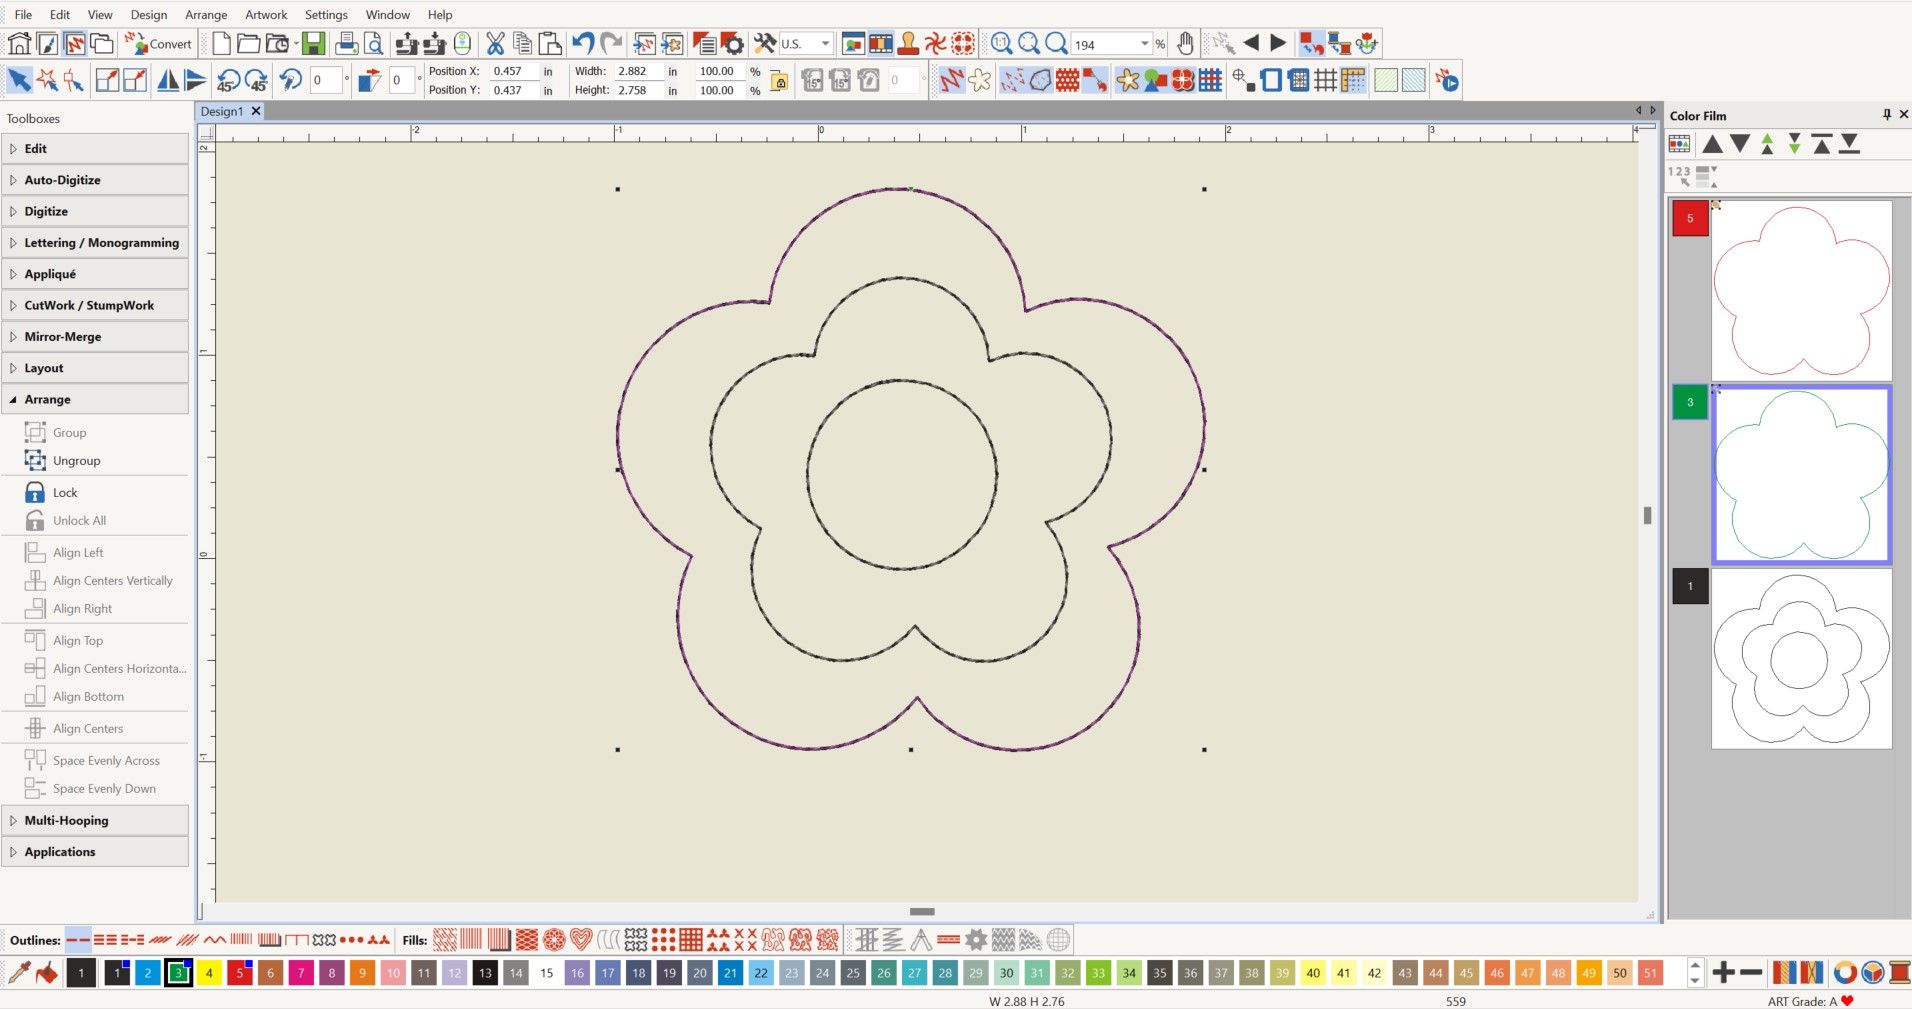
Select the flower design at the bottom of Color Film. Change the outlines to Satin by clicking the Satin Outline icon at the bottom left of the screen. Leave the width at the default of 0.118 inches (3 mm). The flower width should be 3.00 inches. (You can check this in Object Properties if you like.) Save as “Flower One”.
Step Two: Design Flower Two
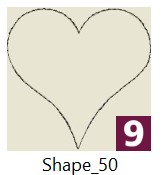
Open a New Blank Design. Insert Shape_50 (heart) from the 01_Basic Shapes folder.
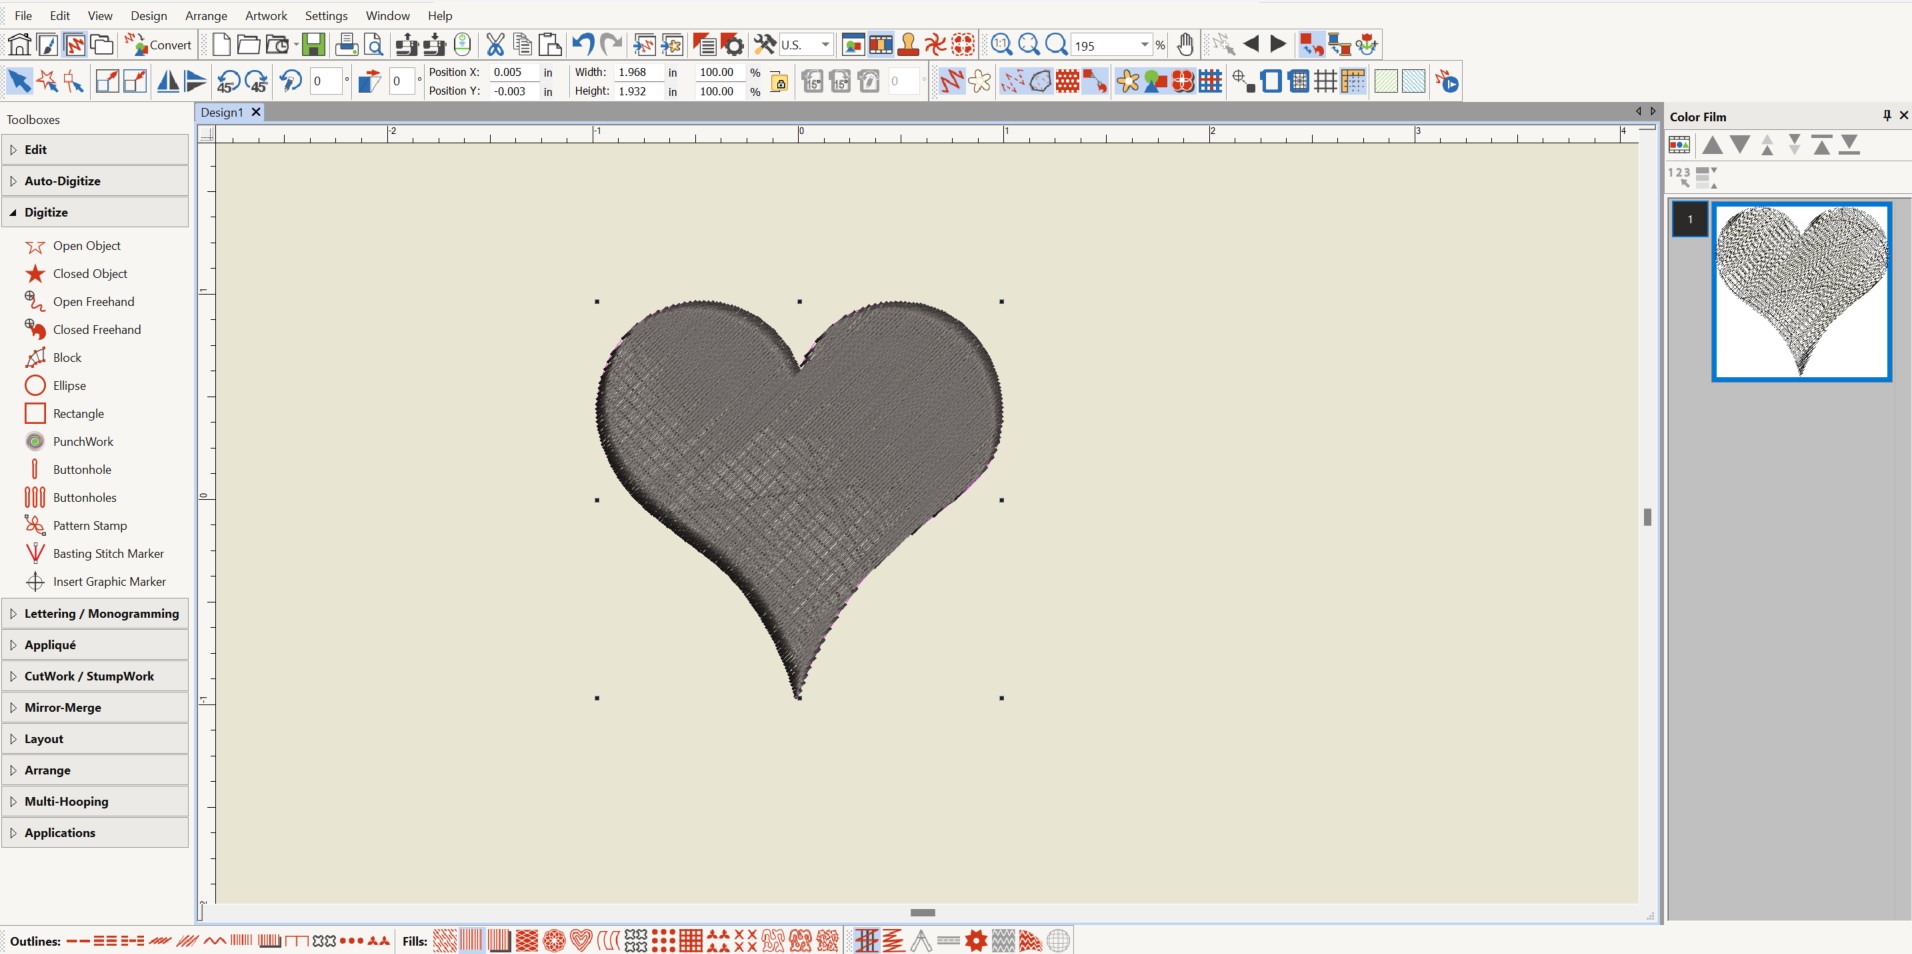
With the heart selected, change to a satin fill by clicking on Satin Fill at the bottom of the screen.
With the design selected, select Wreath in the Mirror-Merge toolbox and choose 6 copies. Place the copies so the bottom points of the hearts are just touching (the heart tops are overlapping).
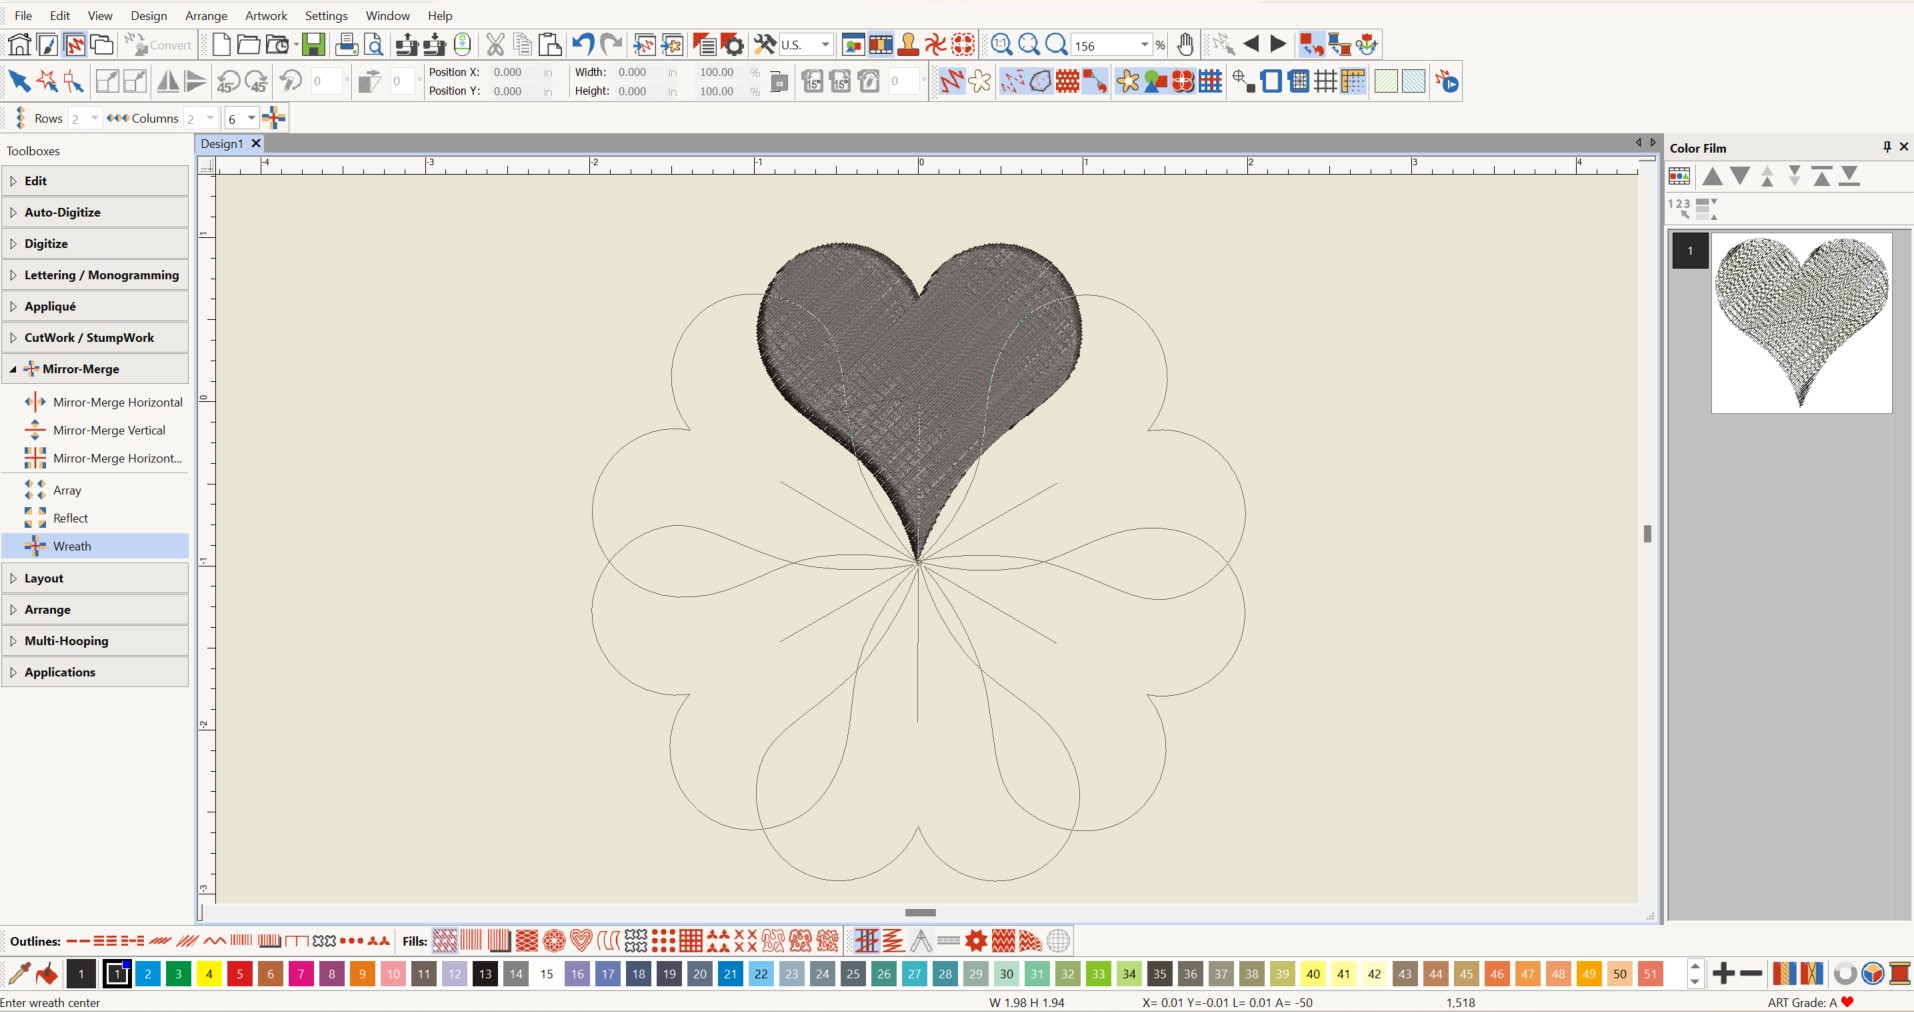
Left click to set the wreath. Click “yes” when asked to merge overlapped objects.
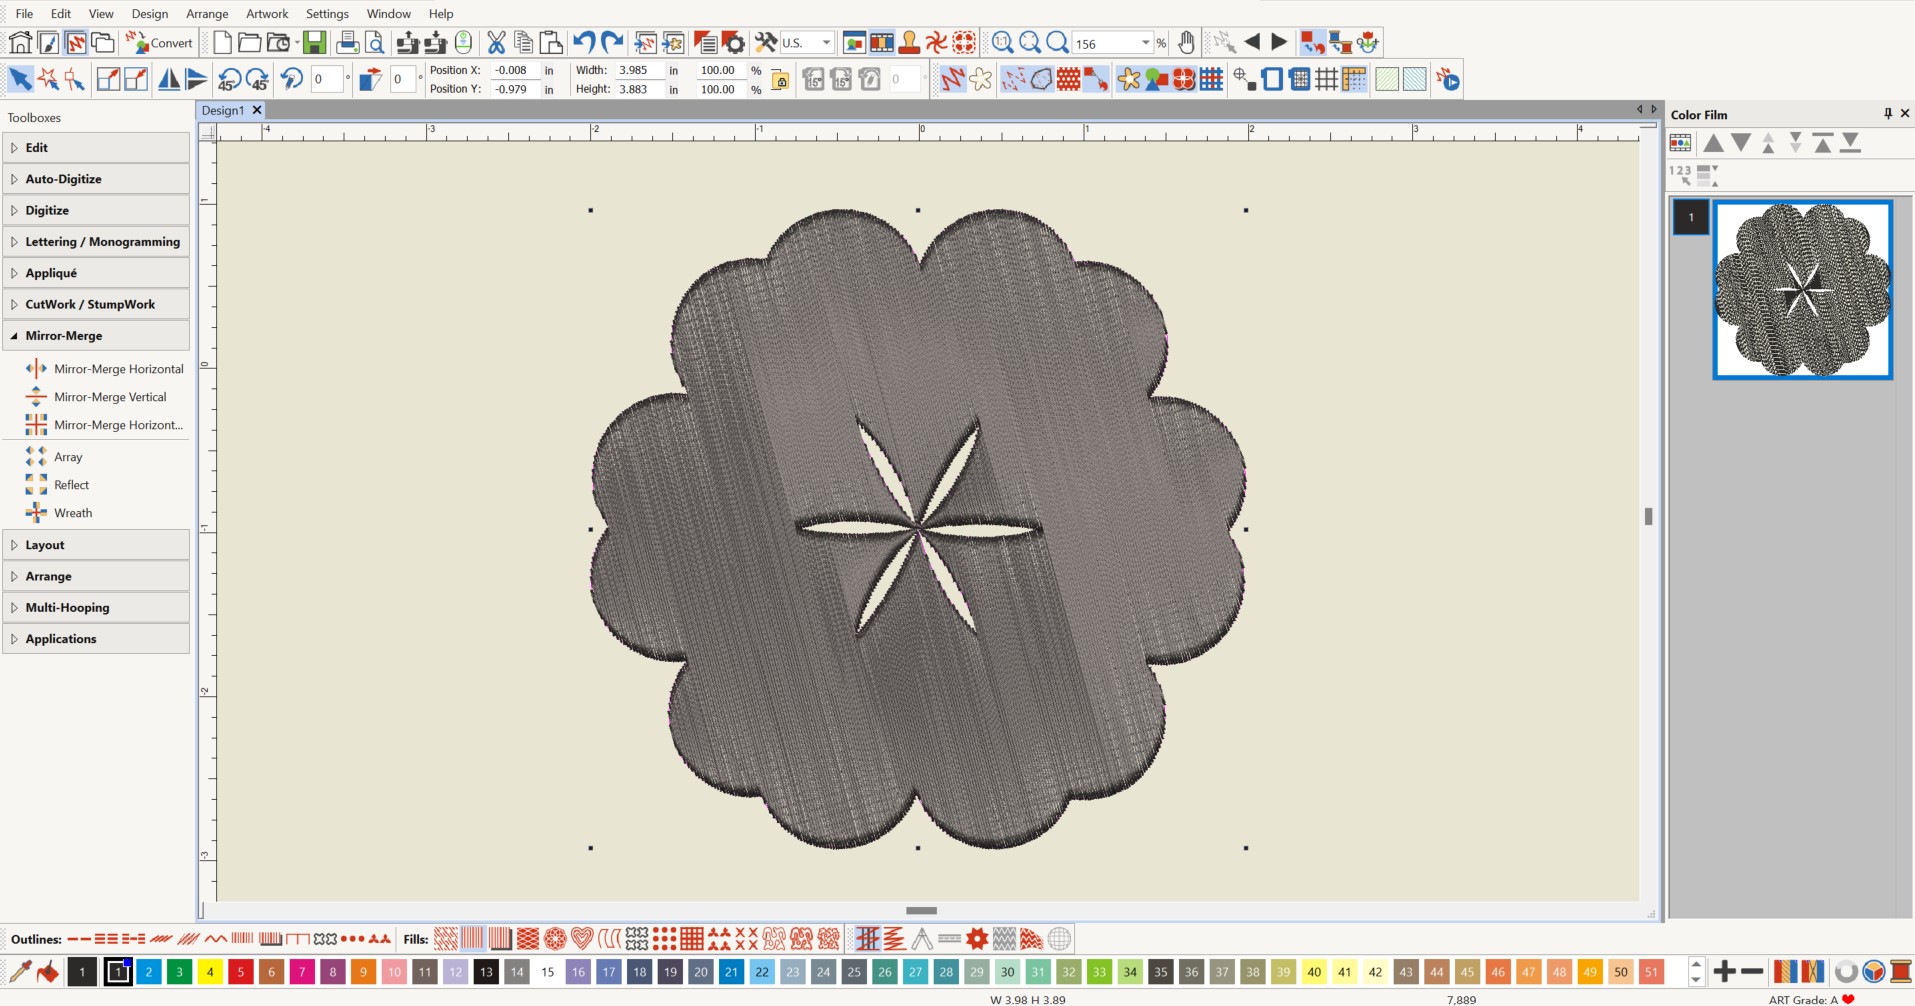
Select the design. Select Single Outline at the bottom left of the screen to change from a satin fill to an outline. Deselect the design. If you have stitches in the center, click and drag a bounding box around them and delete them. Select the flower. At the top of the screen, lock Proportion Scale and resize the width to 3.25 inches. The height is about 3 inches or so. This is your new flower design.
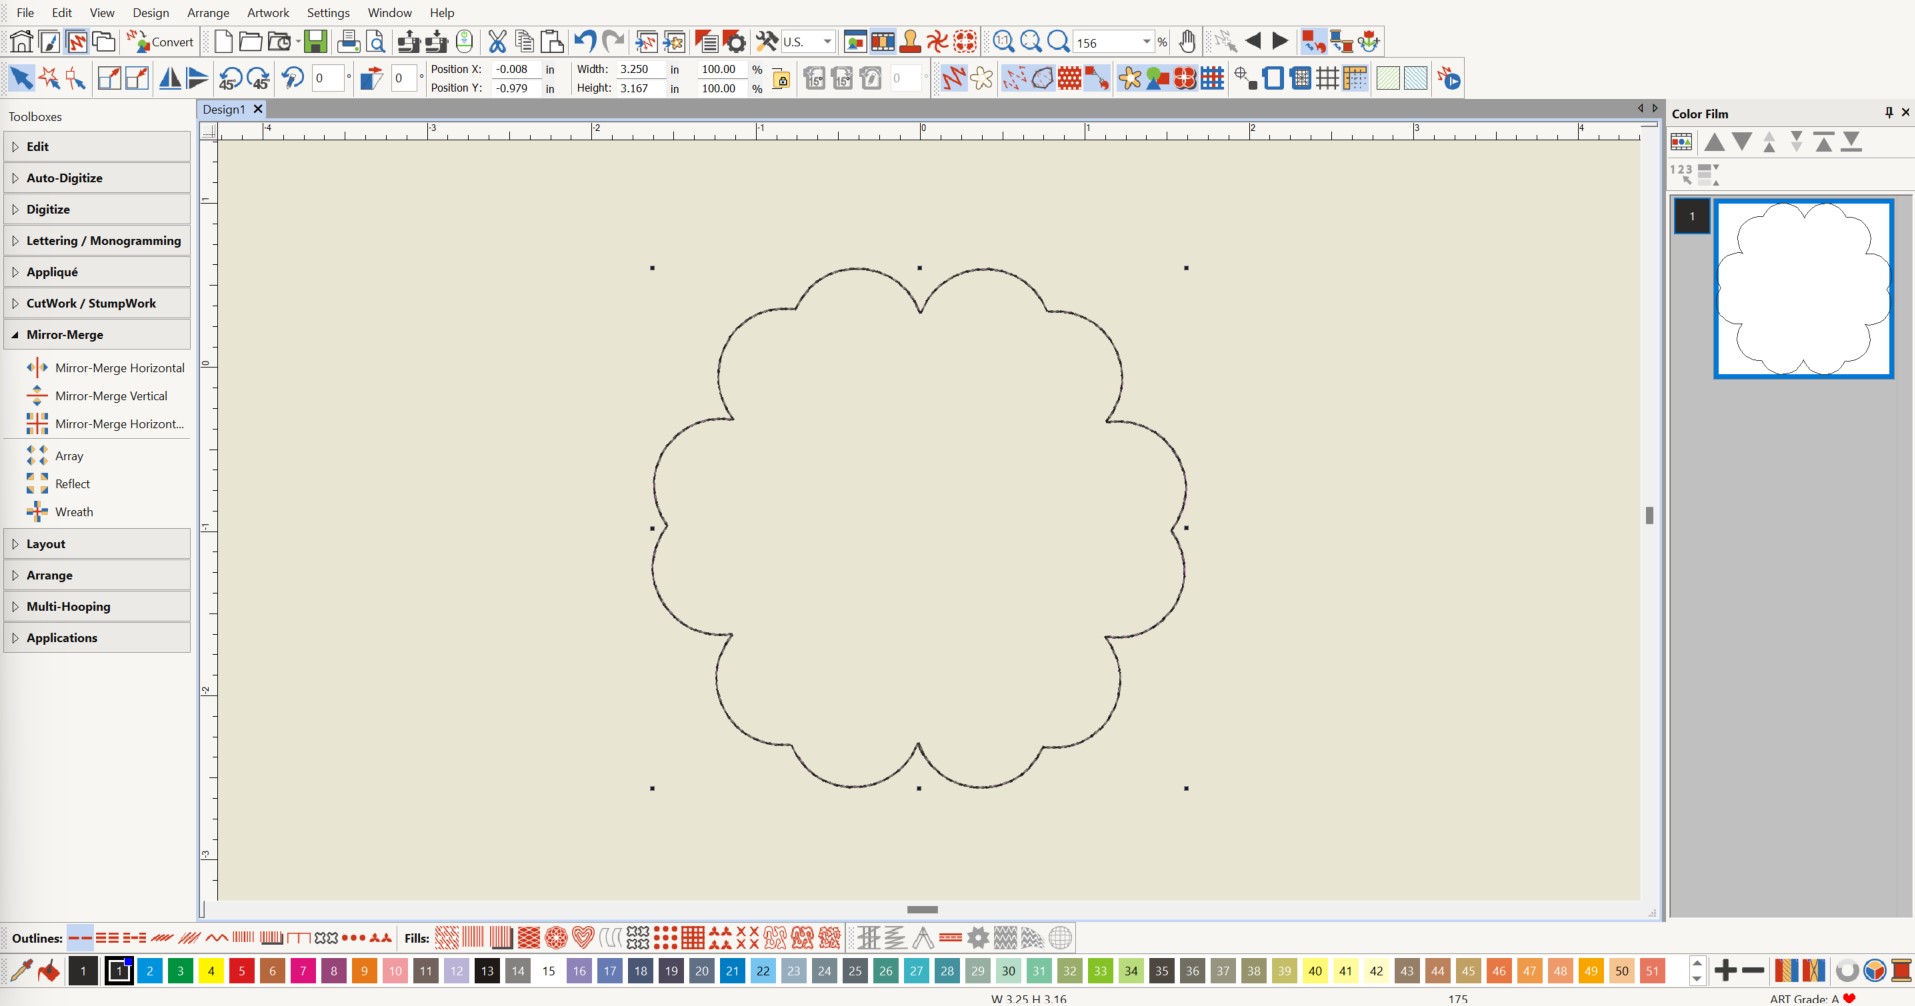
Select the flower and copy and paste. Click four times on the Size -10% to reduce the copy 40%.
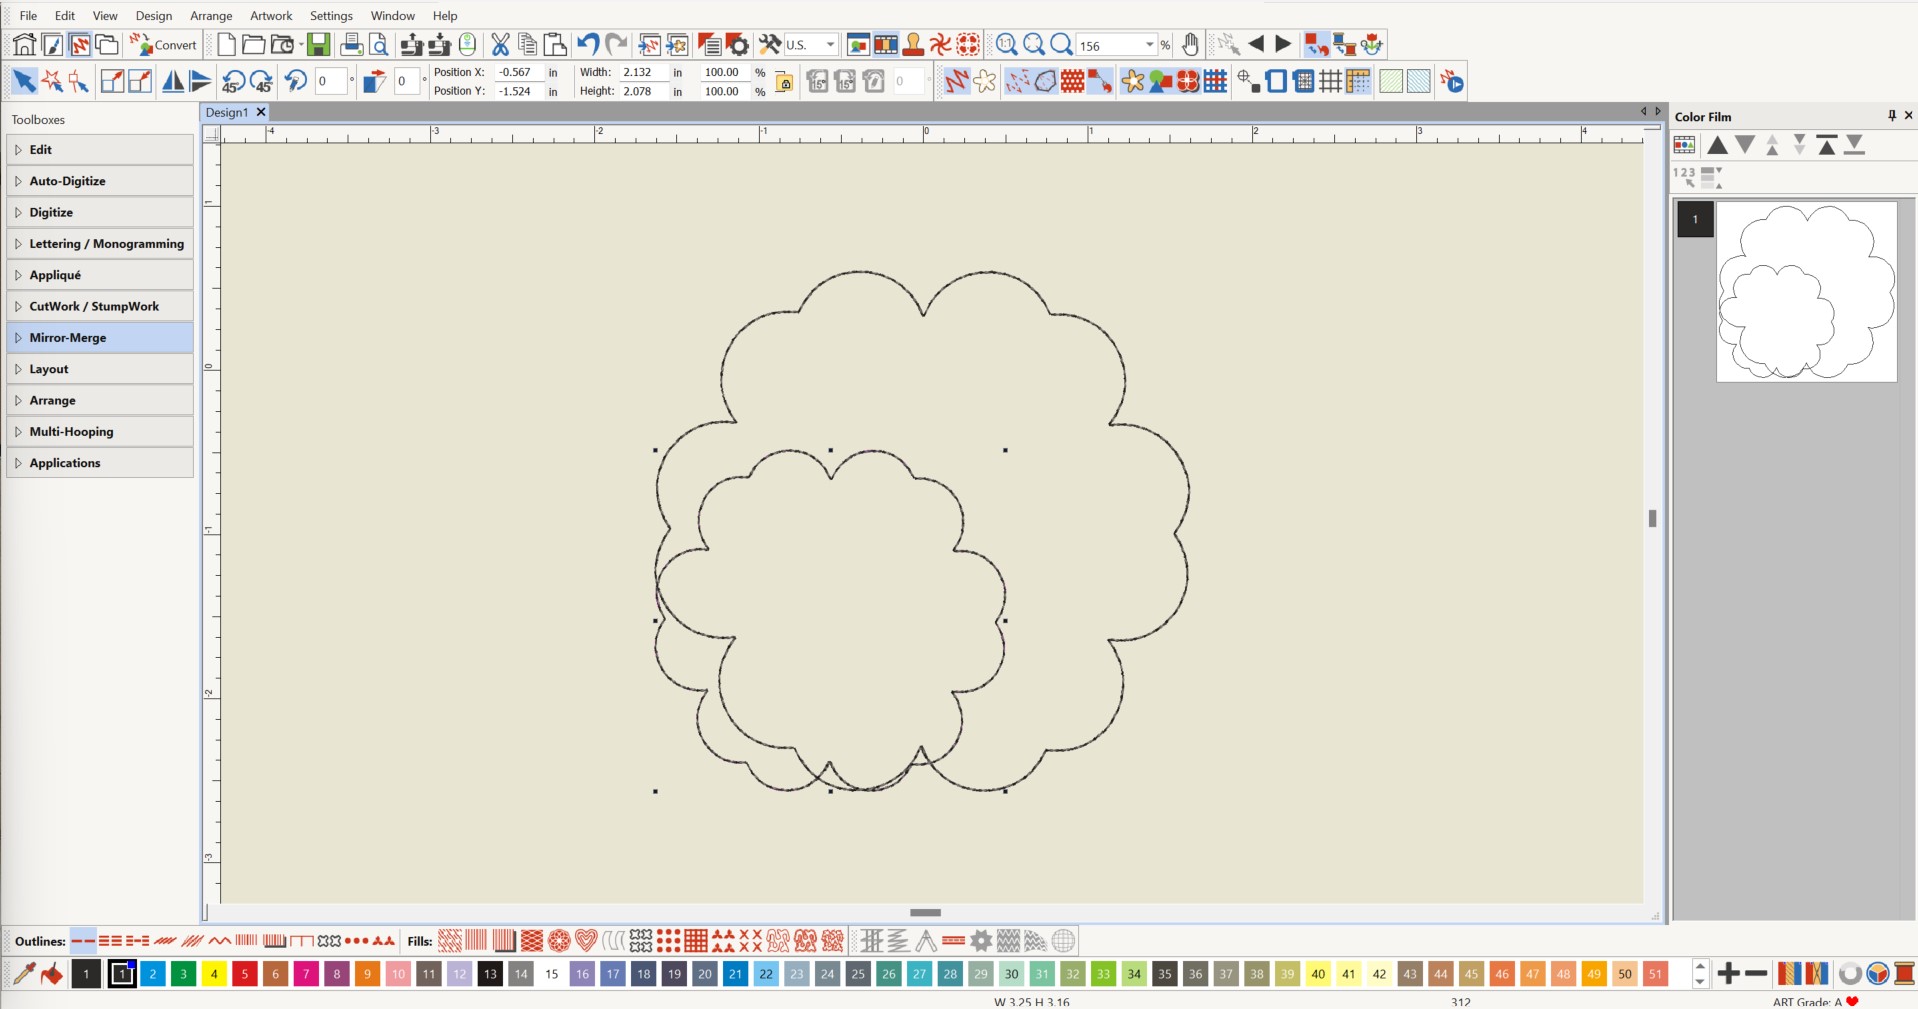
Use the Ellipse Tool in the Digitize Toolbox to draw the flower center. Do this by clicking on the screen, dragging down, and clicking again. Then press enter. Press ESC and then select the circle. Resize it by entering 0.75 inches in the Width box at the top of the screen. Change the satin fill to an outline. Press Ctrl + A to select everything and align centers as you did with Flower One.
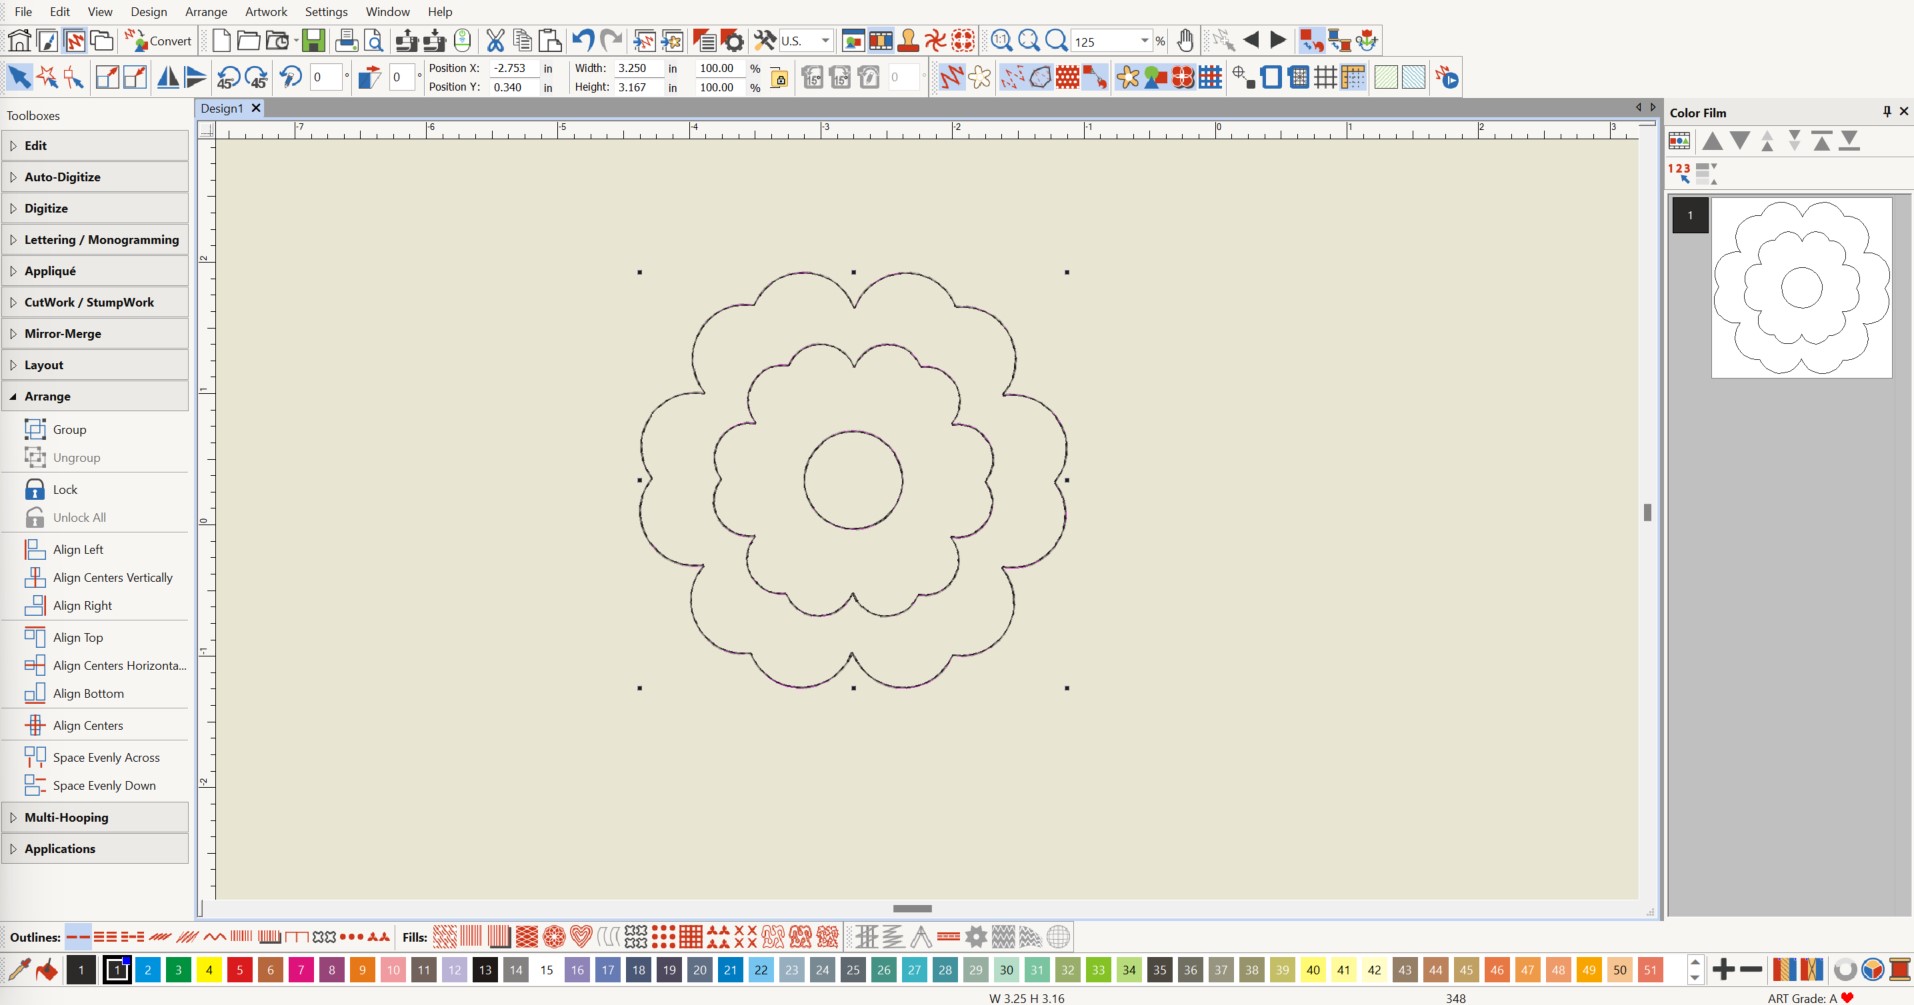
Select the outer flower. Copy and paste and assign a different color. Click and drag the copy in Color Film to the top. Copy and paste the top flower in Color Film, assign a new color, and move to the second position. These are the placement and trim lines for the flower.
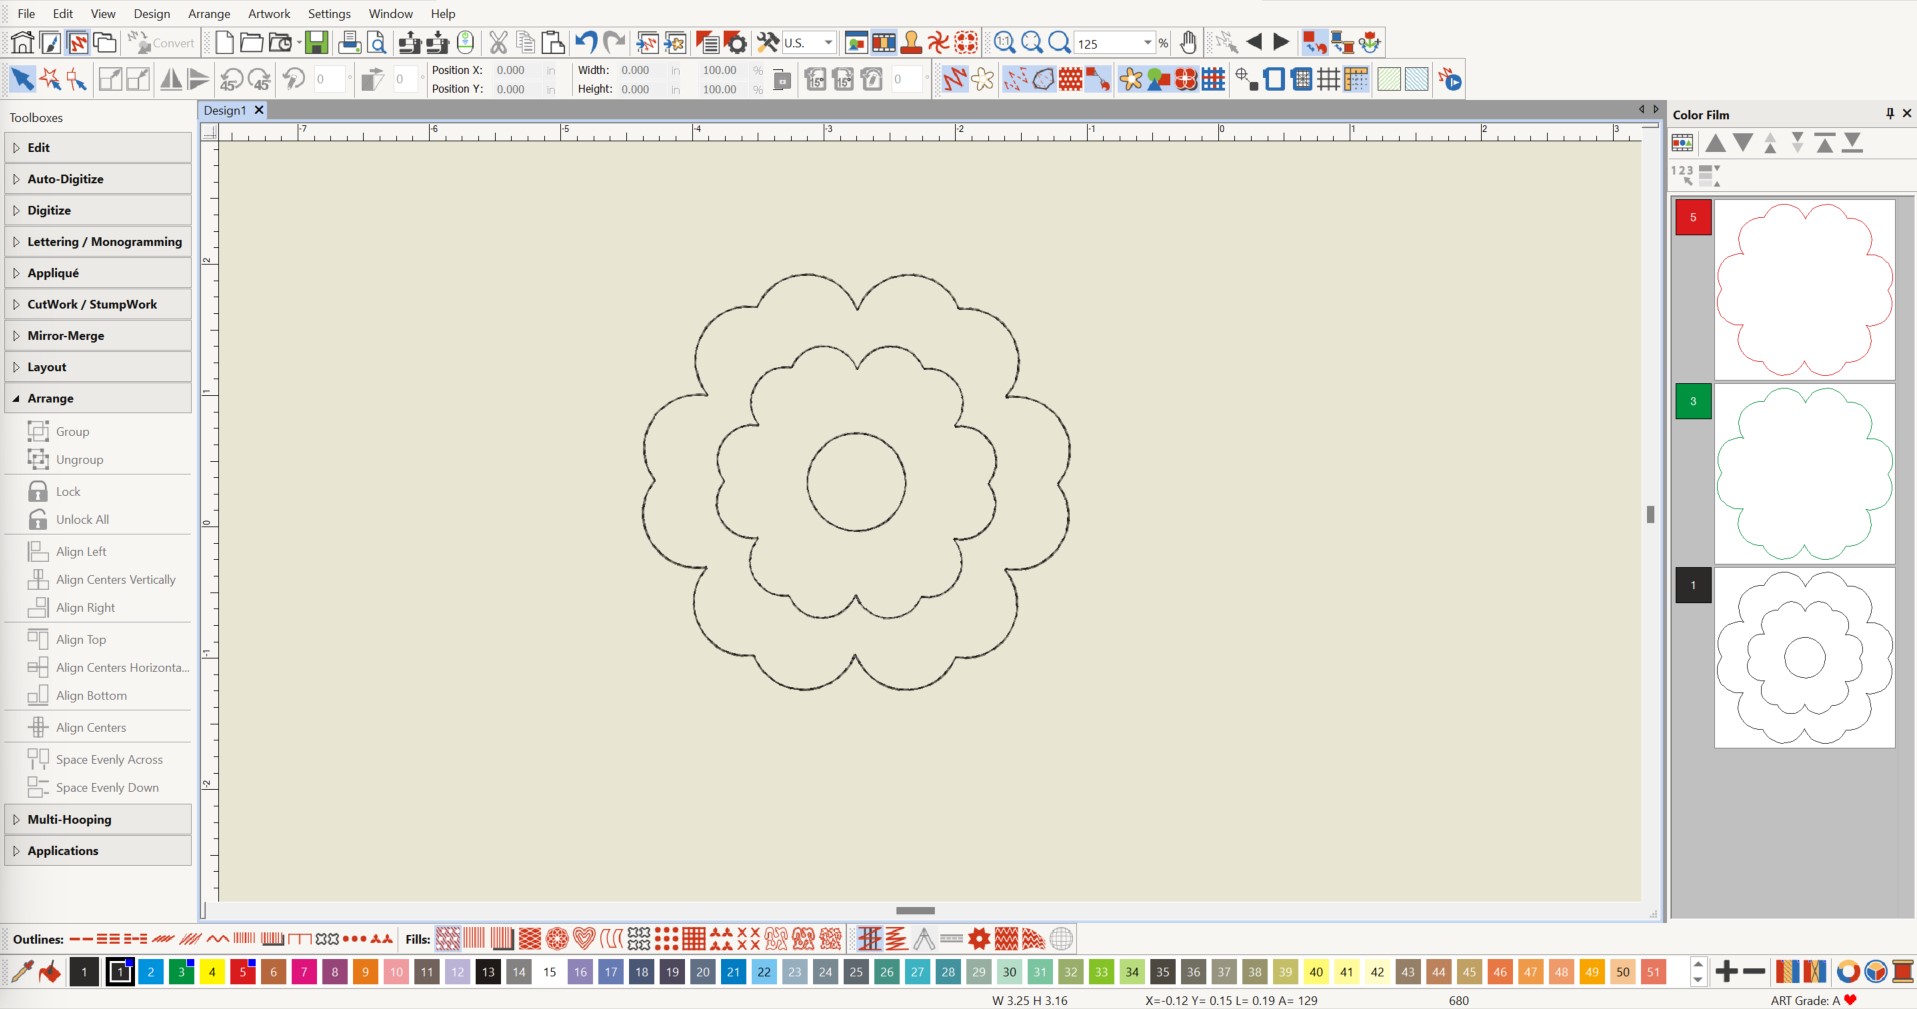
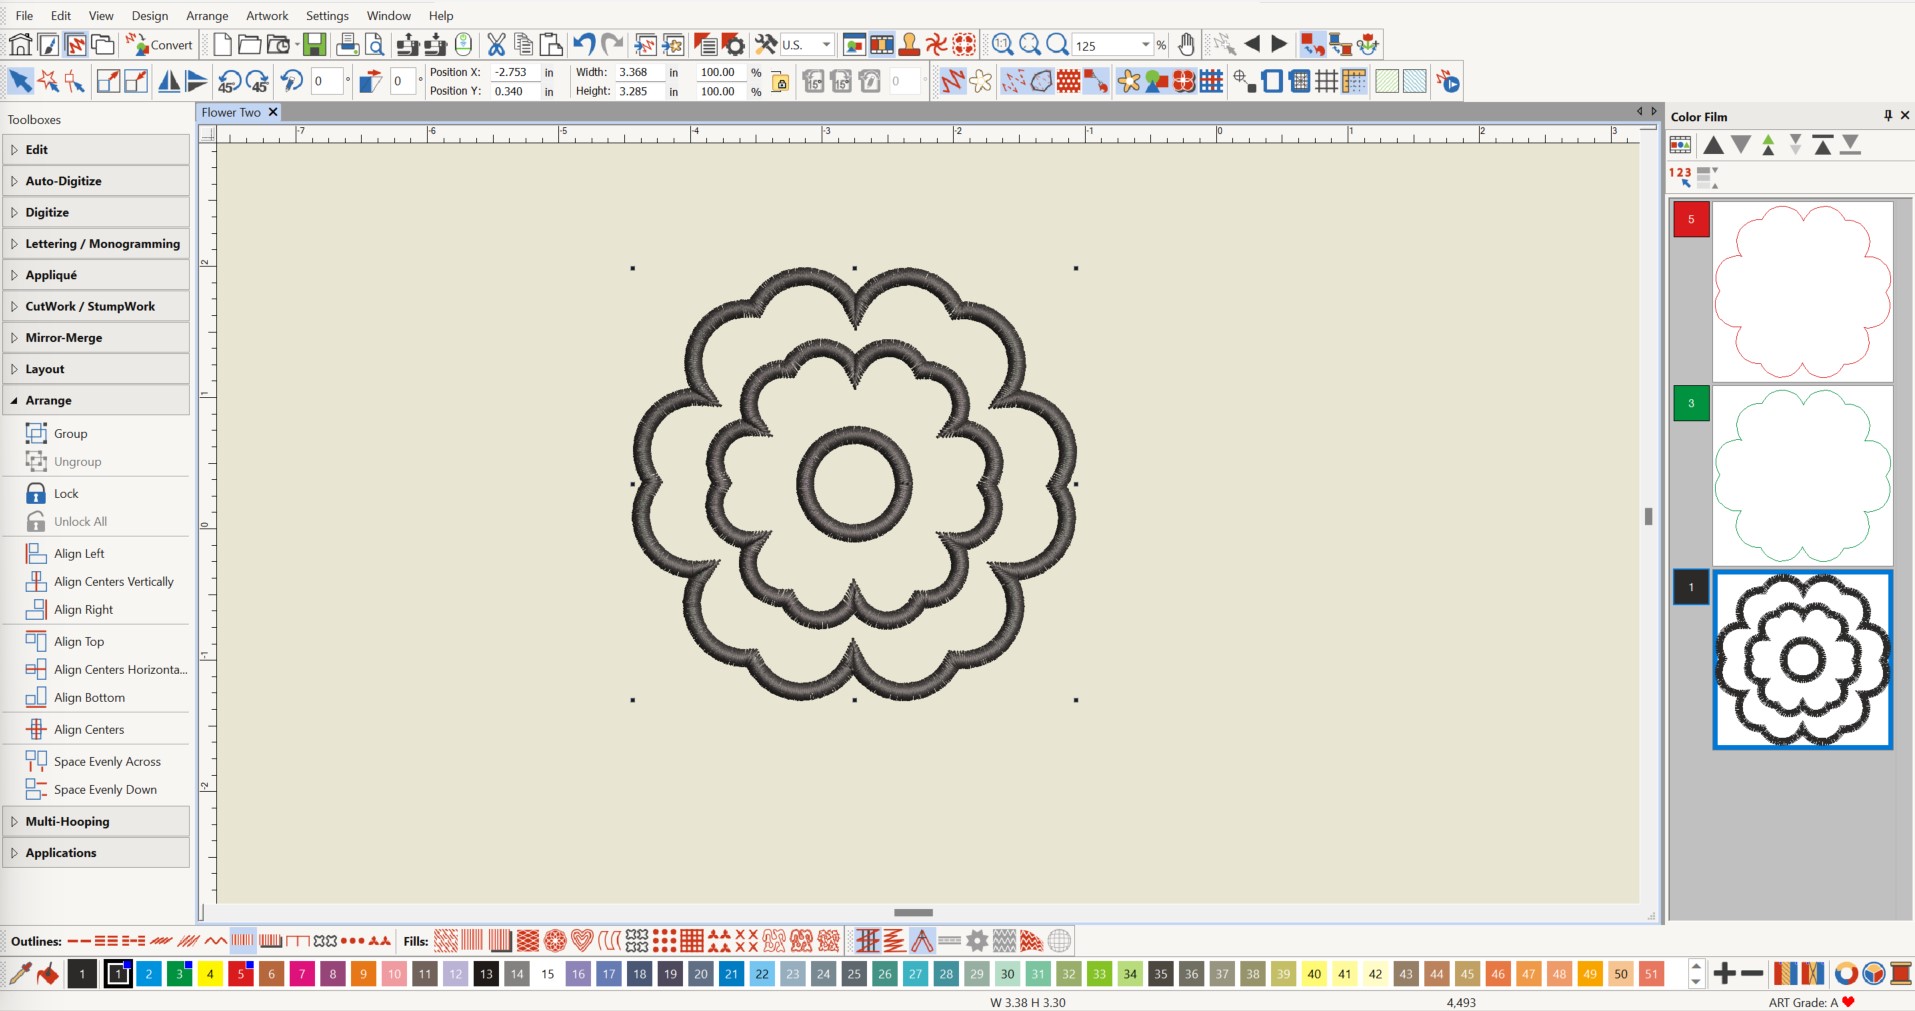
Select the bottom flower in color film. Change to Satin Outline as you have done before. Leave the stitch width at the default. Save as “Flower Two”. The width should be about 3.4 inches.
Step Three: Design Flower Three
Now that you have made two flowers, I’m confident that you can create another one! You will follow the same basic steps as Flower Two. Open a New Blank Design and insert Shape_33 from the Shapes folder, the teardrop. Change it to a satin fill and then create a wreath as before. For this one, use 8 repeats and place the center about a fourth of the way down the teardrop away from the point. Click “yes” to merge.
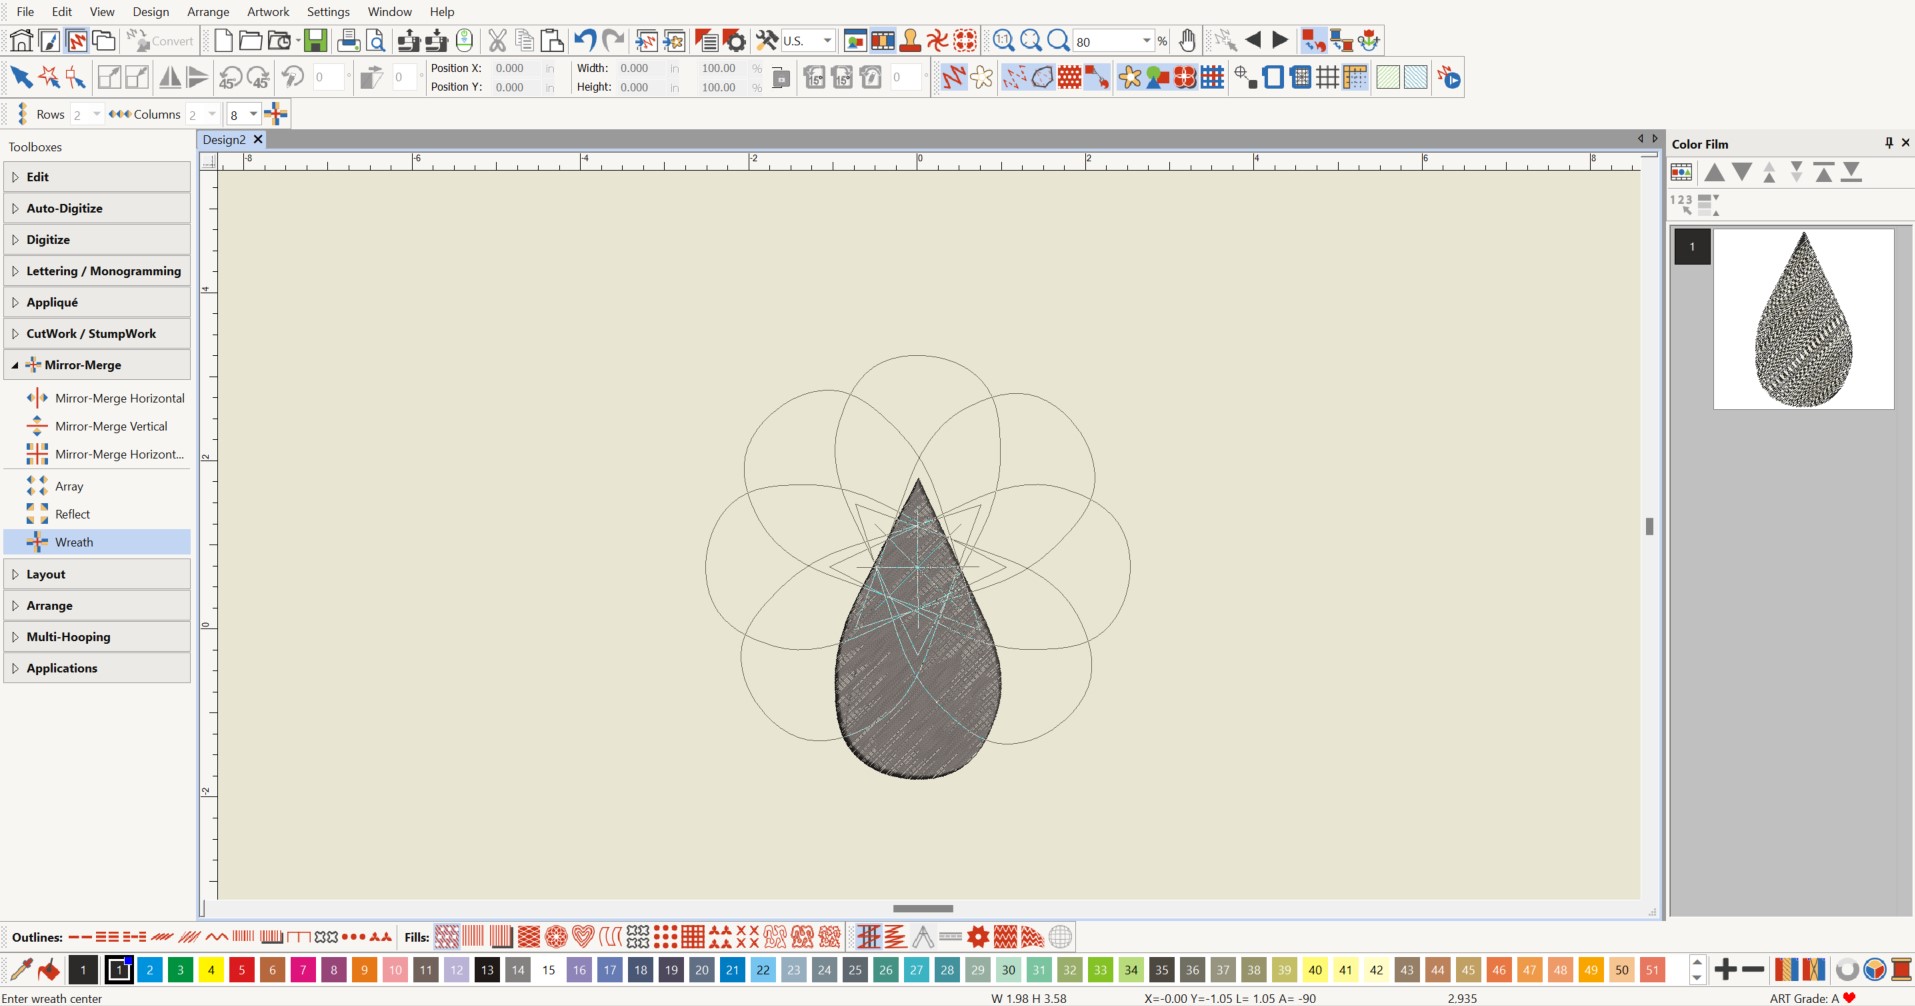
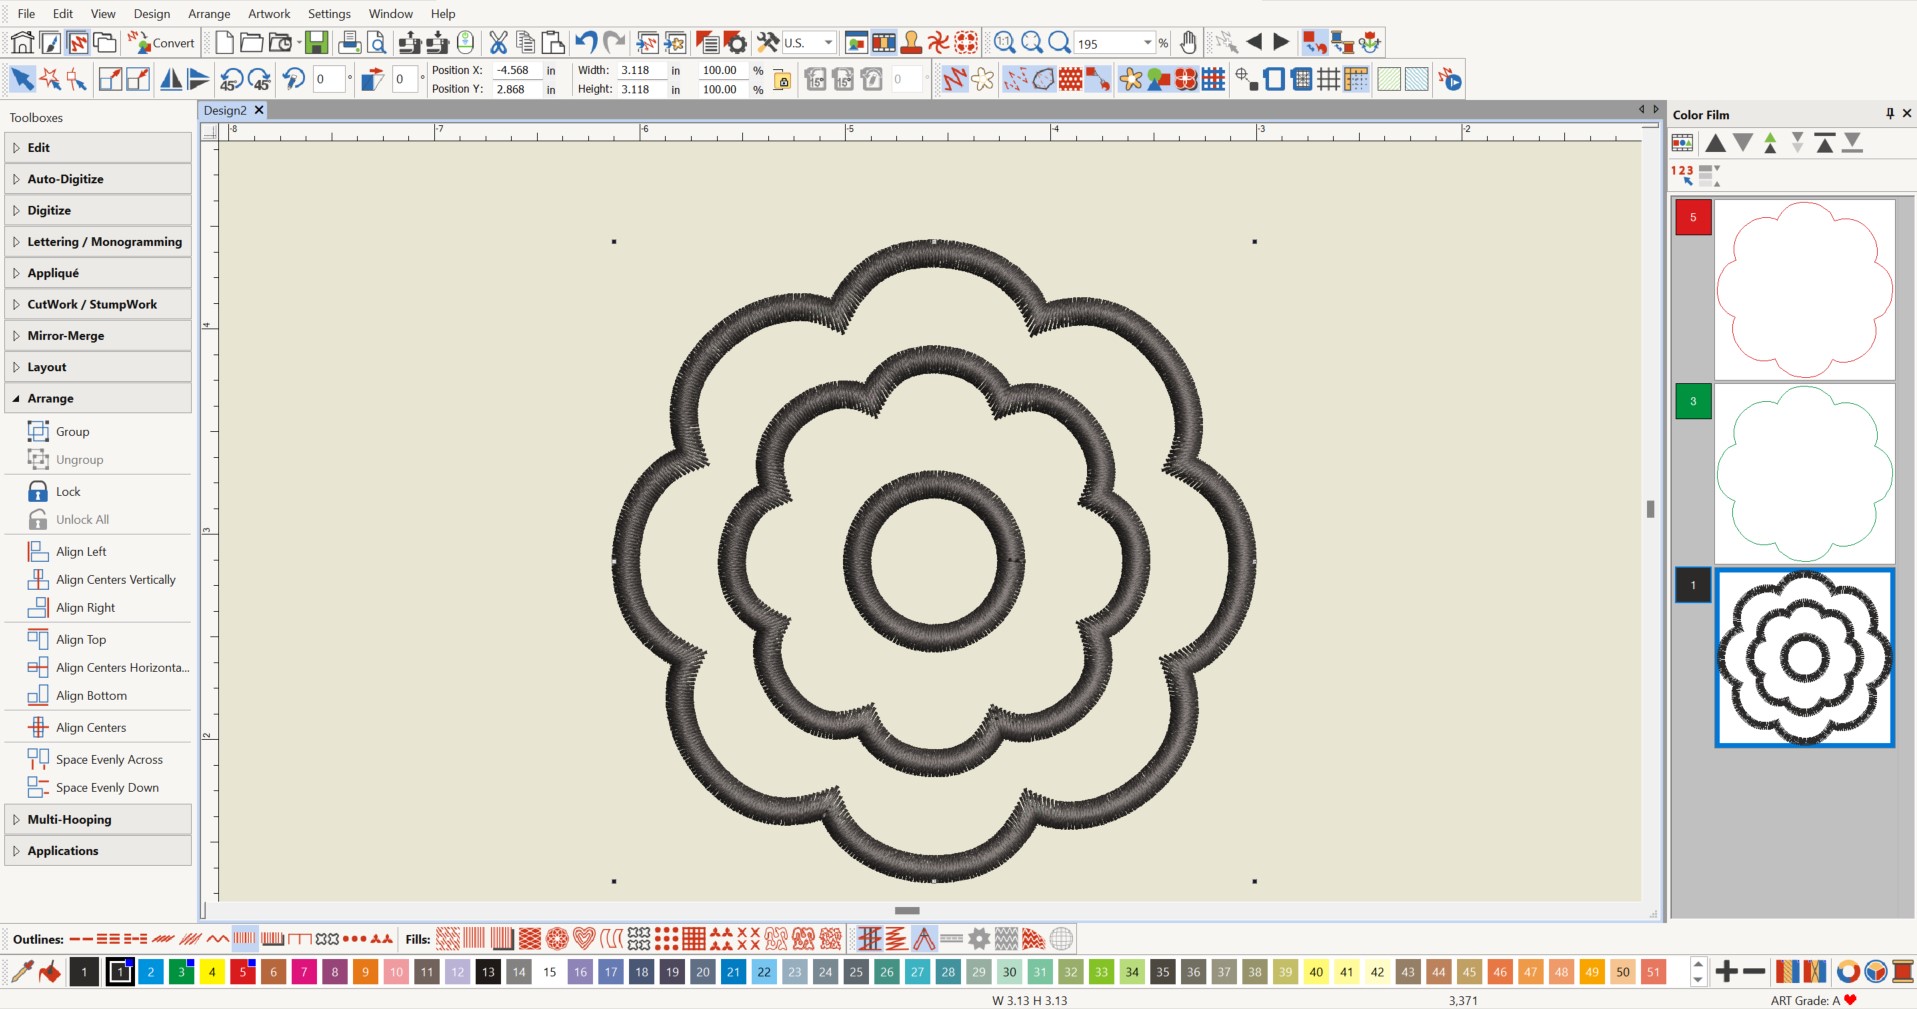
Resize proportionally so the width is 3 inches. Then continue to follow the steps for Flower Two above and name as “Flower Three”.
Step Four: Design The Leaf
The last applique to create is the leaf. Open a New Blank Design and insert Shape_39 from the Shapes Folder, the leaf.
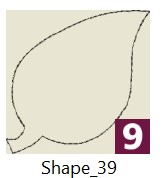
Select the design and select Reshape Object. Note the two yellow squares and two blue circles in the leaf stem. Click to select and delete each one. The leaf shape will automatically close.
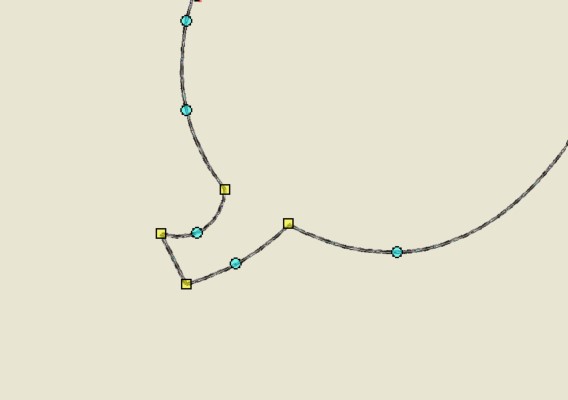
You will see two yellow squares where the leaf stem was connected to the leaf. Click on each one and press the spacebar. This will change them to blue circles and smooth out the leaf. You can select other nodes and move as desired until the leaf is shaped how you like. Press ESC to deactivate Reshape.
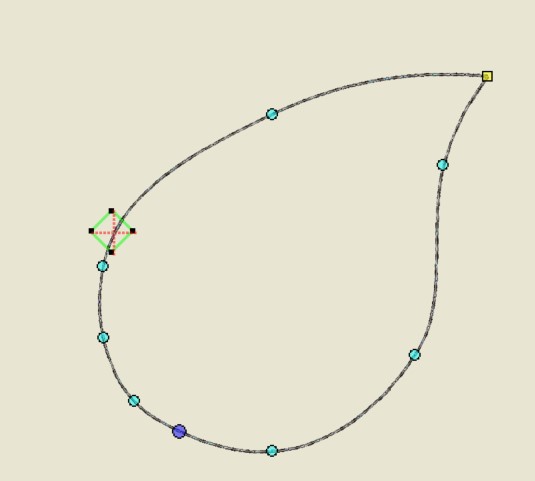
In the Digitize Toolbox, select Open Object. Left click near the bottom of the leaf. With two or three right clicks, make a gentle curve towards the point of the leaf. End with a left click and press Enter. The ends of the vein do not touch the leaf. Press ESC. Select the vein and change the line to a backstitch from the Outline options on the bottom left of the screen.
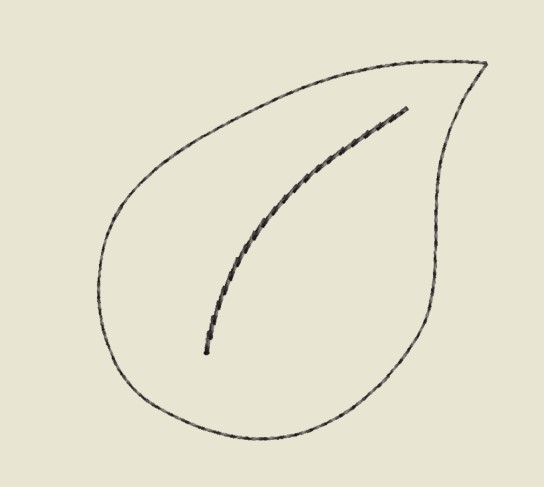
Select the leaf outline (NOT the vein). Copy, paste, assign a new color, and move to the top of Color Film to create the Placement Line. Copy and paste the placement line, assign a new color, and place in the second position of Color Film to make the trim line.
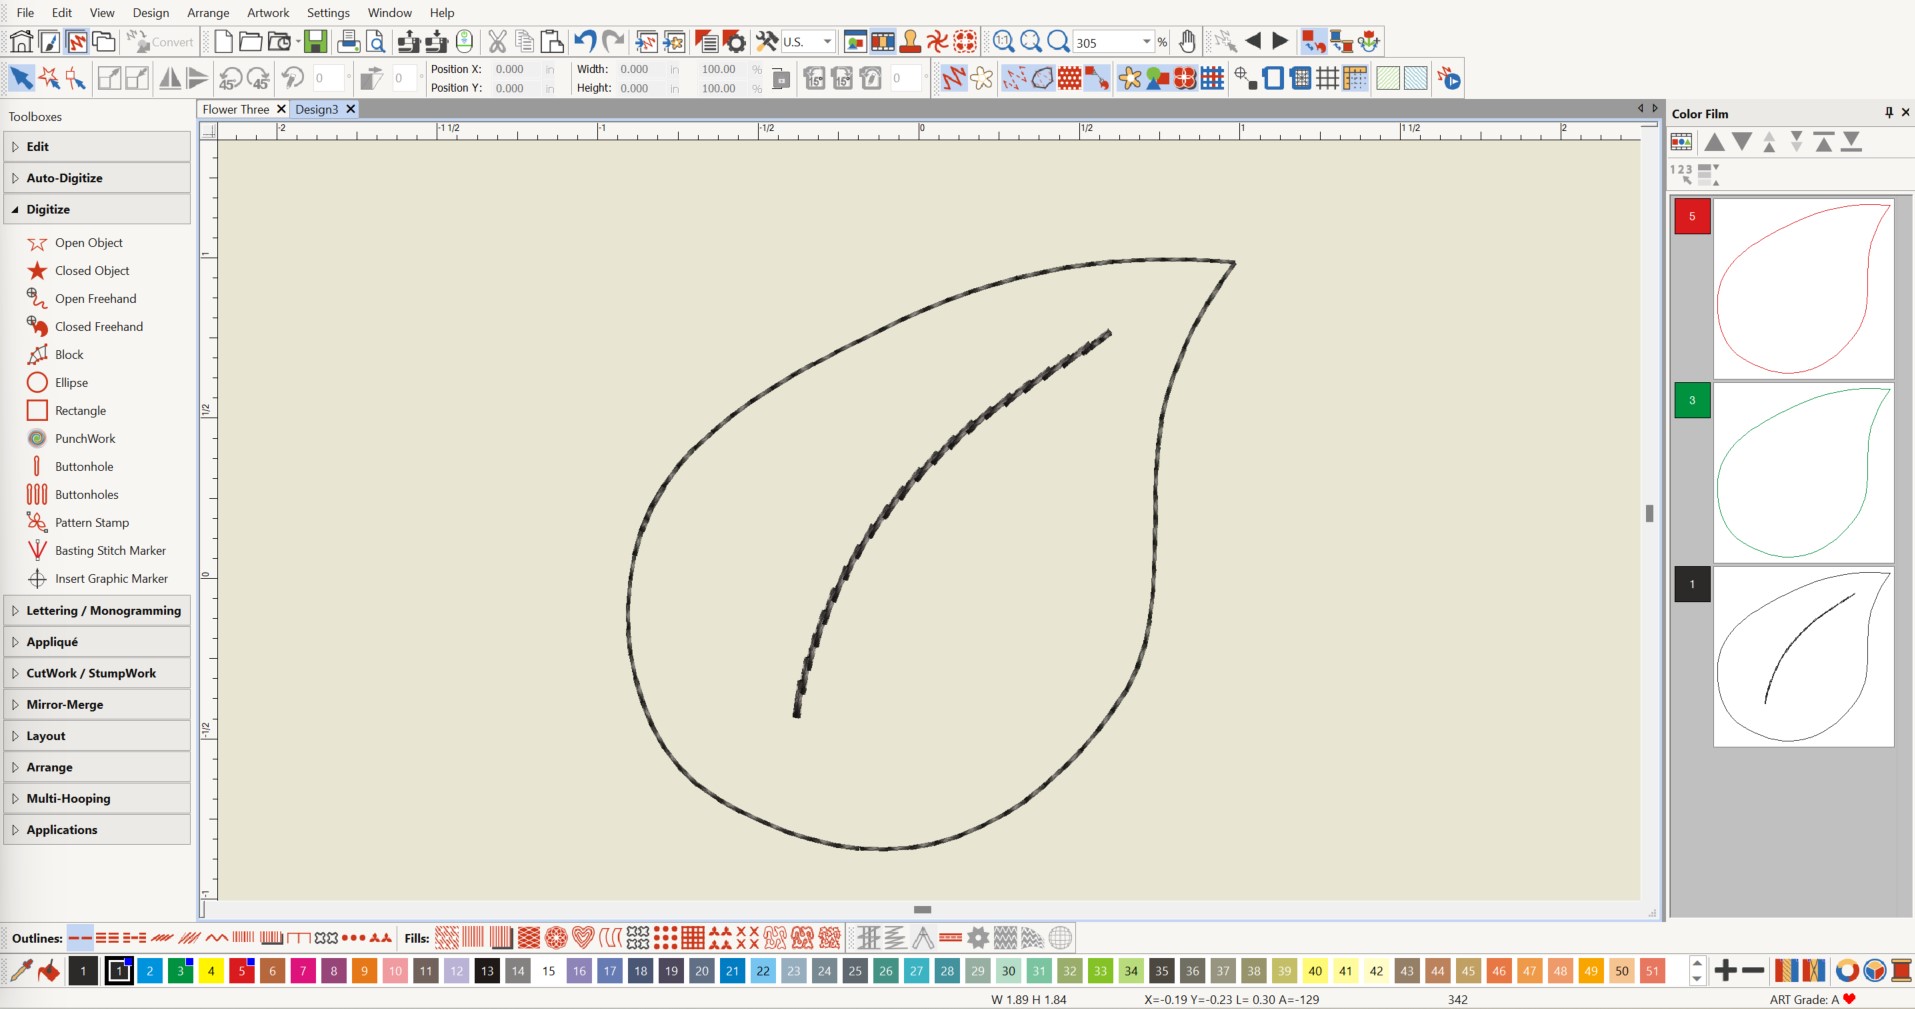
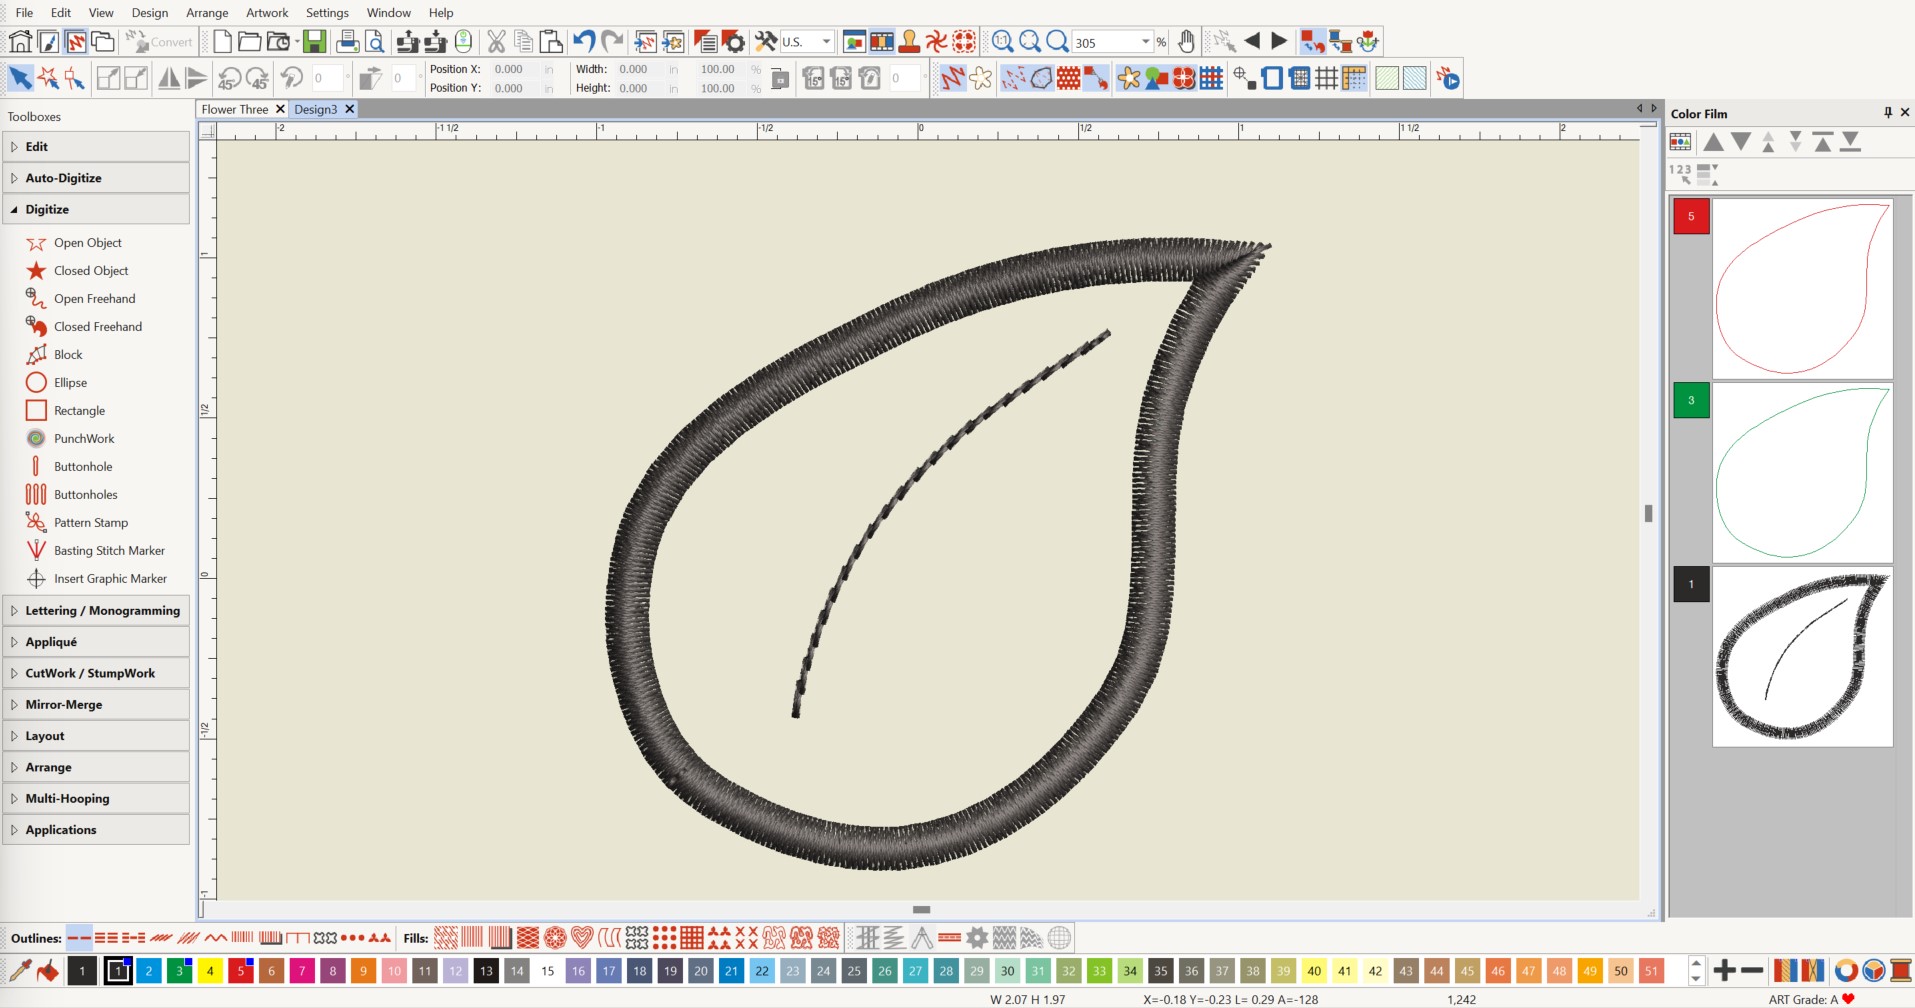
Press the ALT key and select just the leaf outline on the workspace. Change to a Satin Outline and leave at the default settings. Save as “Leaf”.
Step Five: Lettering
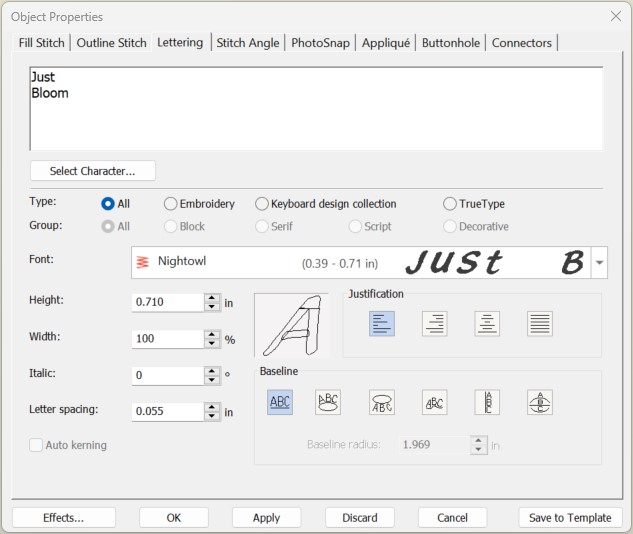
The final embroidery design to set up is the wording that will be in the upper left corner of the wall hanging. Start with a new blank design and open Lettering in the Toolboxes. Right click on Lettering. Type “Just”, enter, and “Bloom”, making two lines of text. Change the font to Nightowl and increase the height to 0.71 inches, the maximum height for this font. Under Justification, select Left Justification.
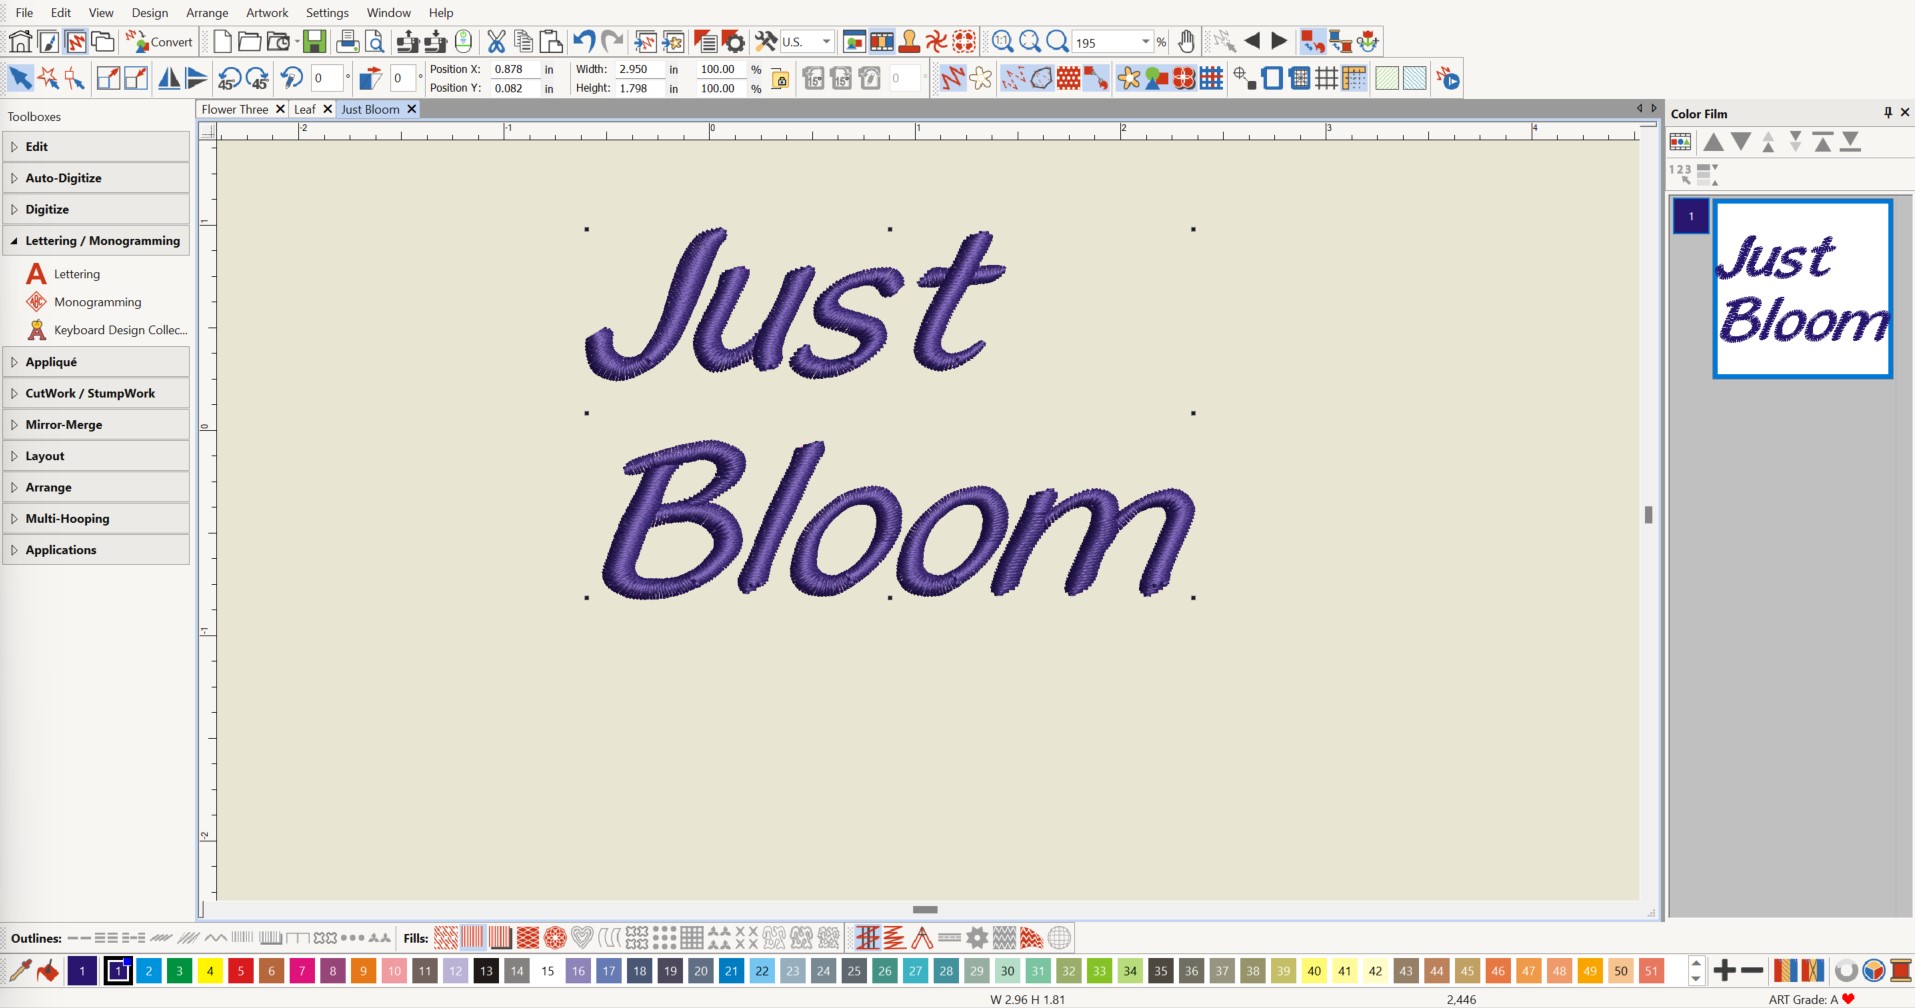
Click OK and click on the workspace. Save the design as “Just Bloom”. I recommend printing the design as a template to aid in placement later.
Step Six: Embroider the Appliqués
Choose embroidery threads to coordinate with your serger lace colors. Attach the Straight Stitch Plate and Embroidery Foot #26L.
Hoop one layer of OESD AquaMesh stabilizer in the Large Oval Hoop. Open Flower One and duplicate so that there are two in the hoop. Thread the machine with matching thread in the needle and bobbin. (Note: If using a Jumbo Bobbin, half full is plenty.)
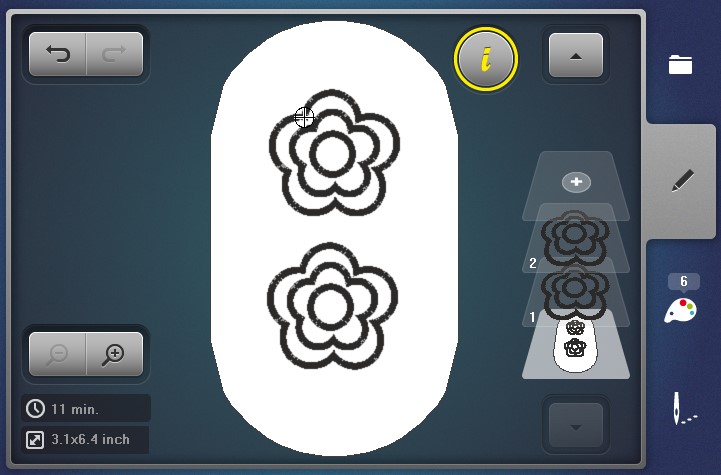
Stitch the placement line for the first flower. Place the serger lace on the placement line and hold with tape. Stitch the trim line. Remove the hoop from the machine and trim the serger lace close to the stitching. Reattach the hoop and finish stitching the first flower.
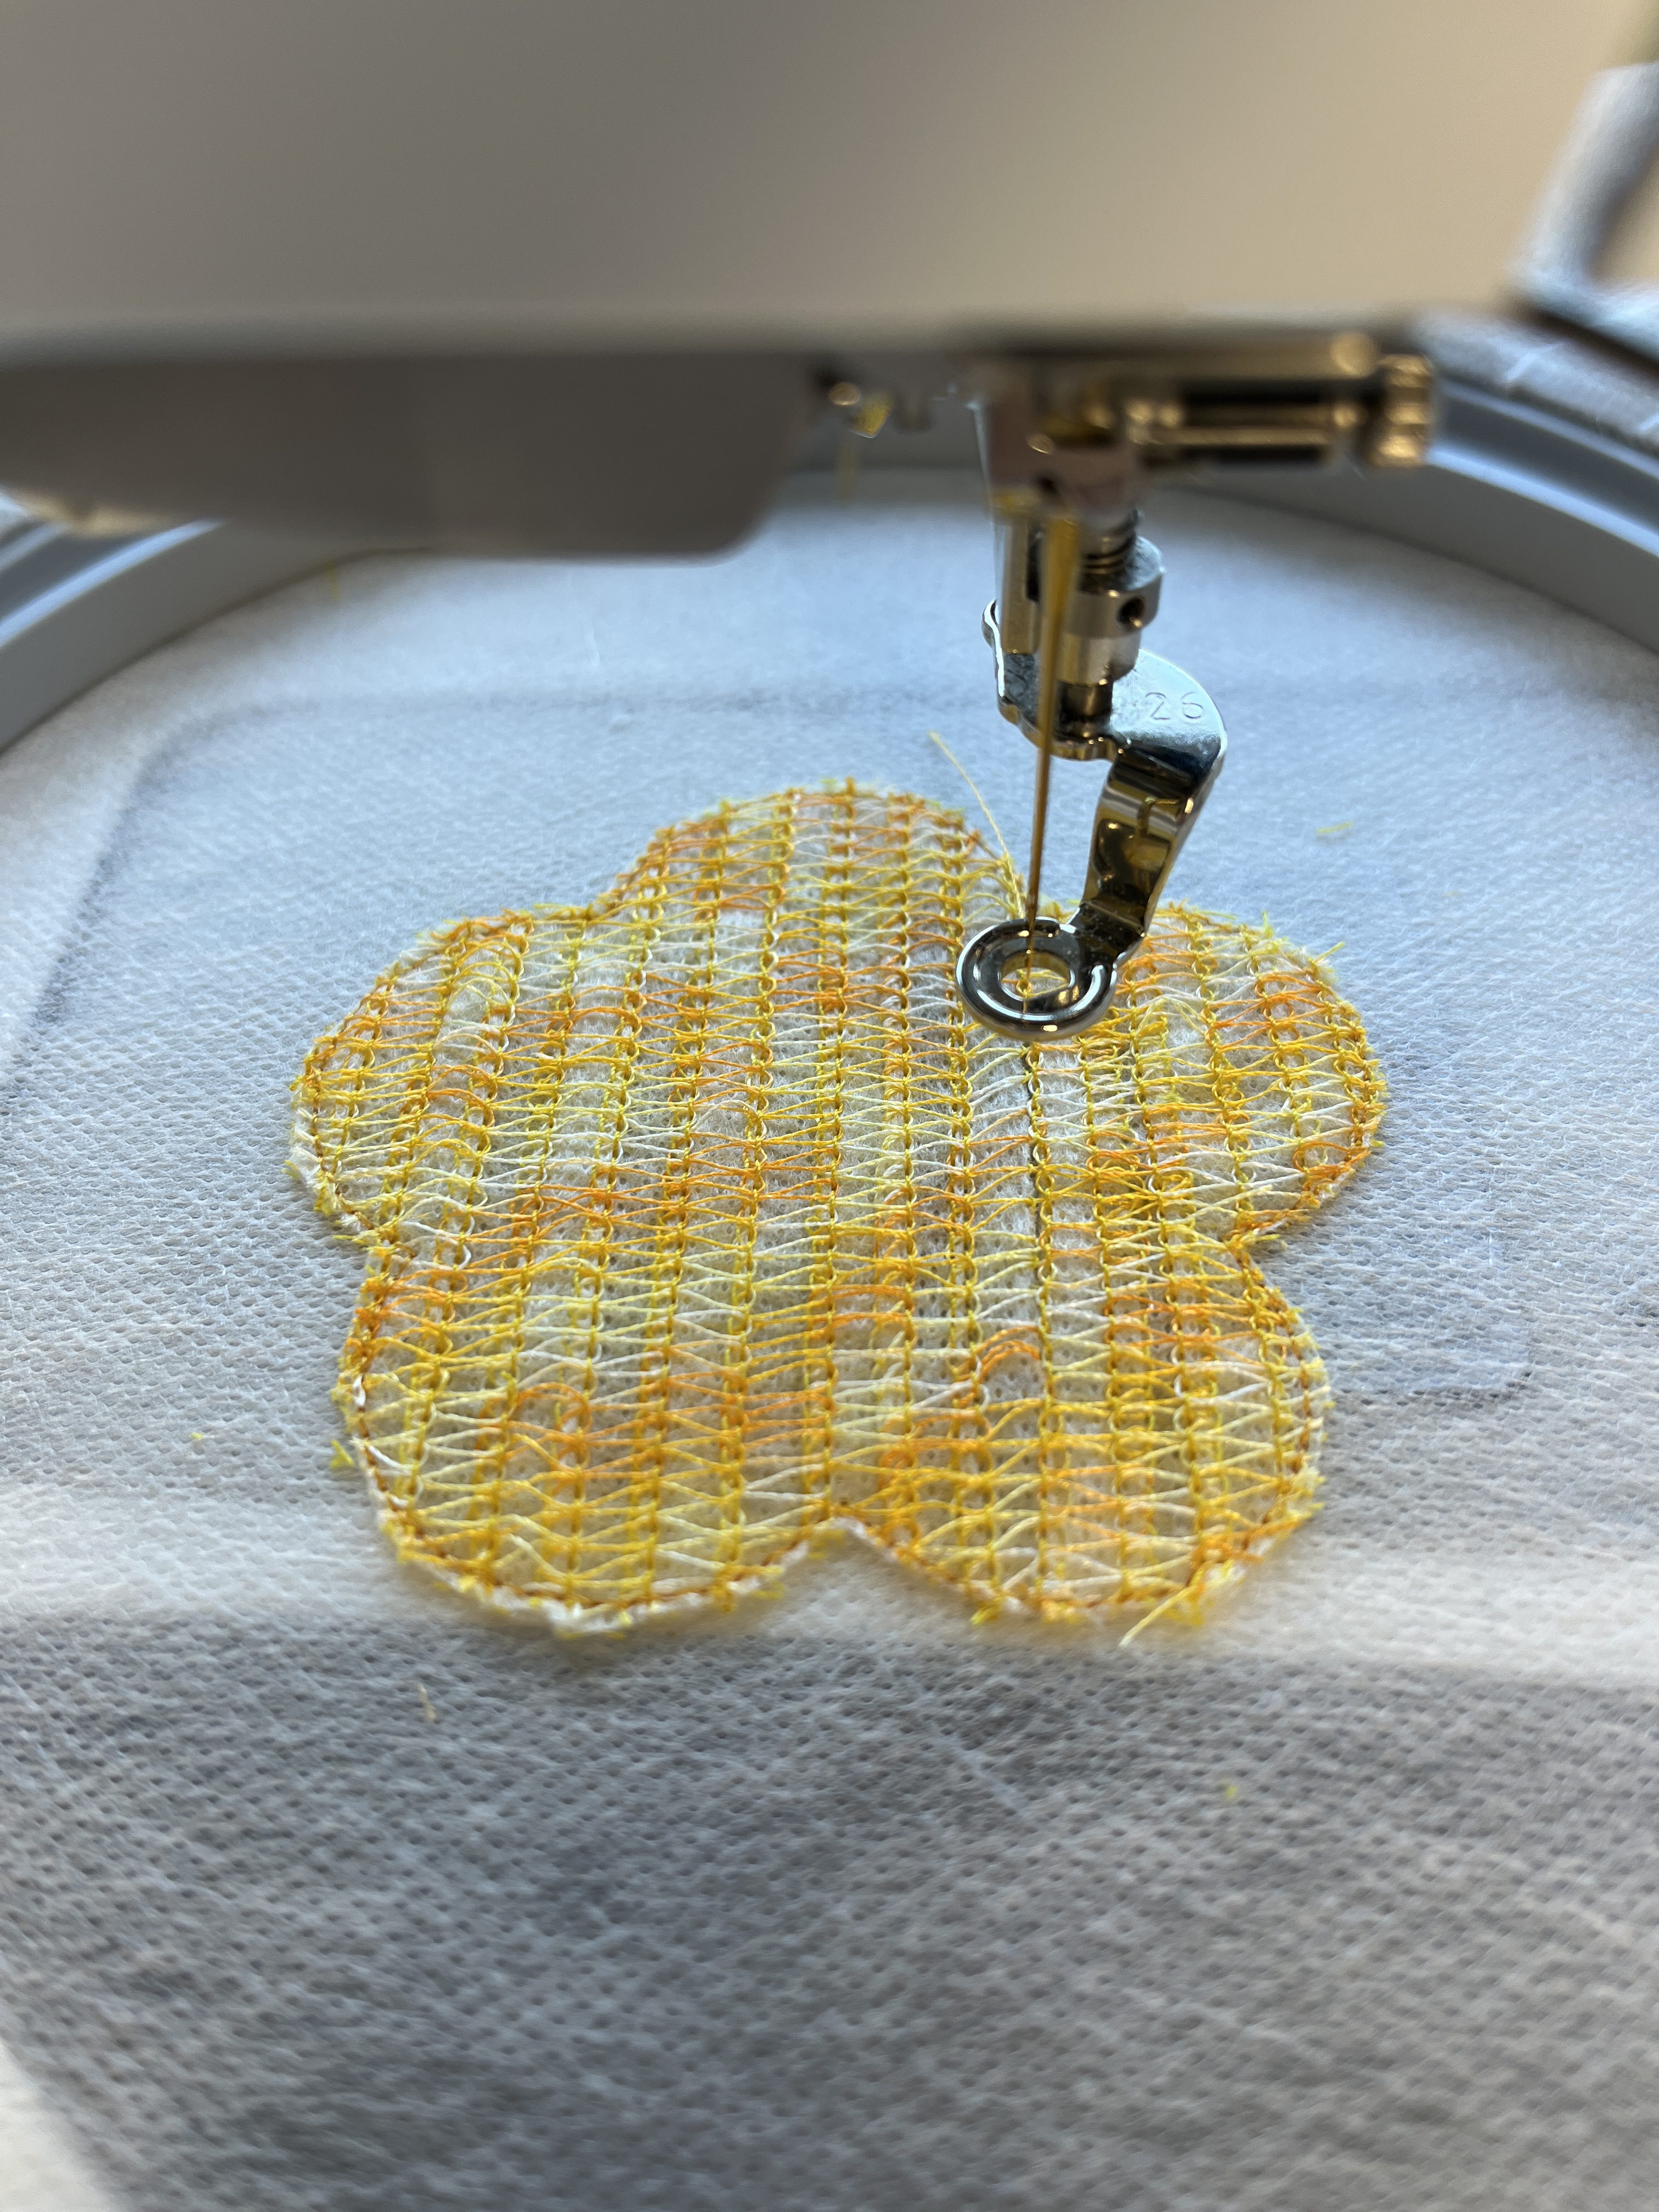
Repeat with the second flower in the hoop.
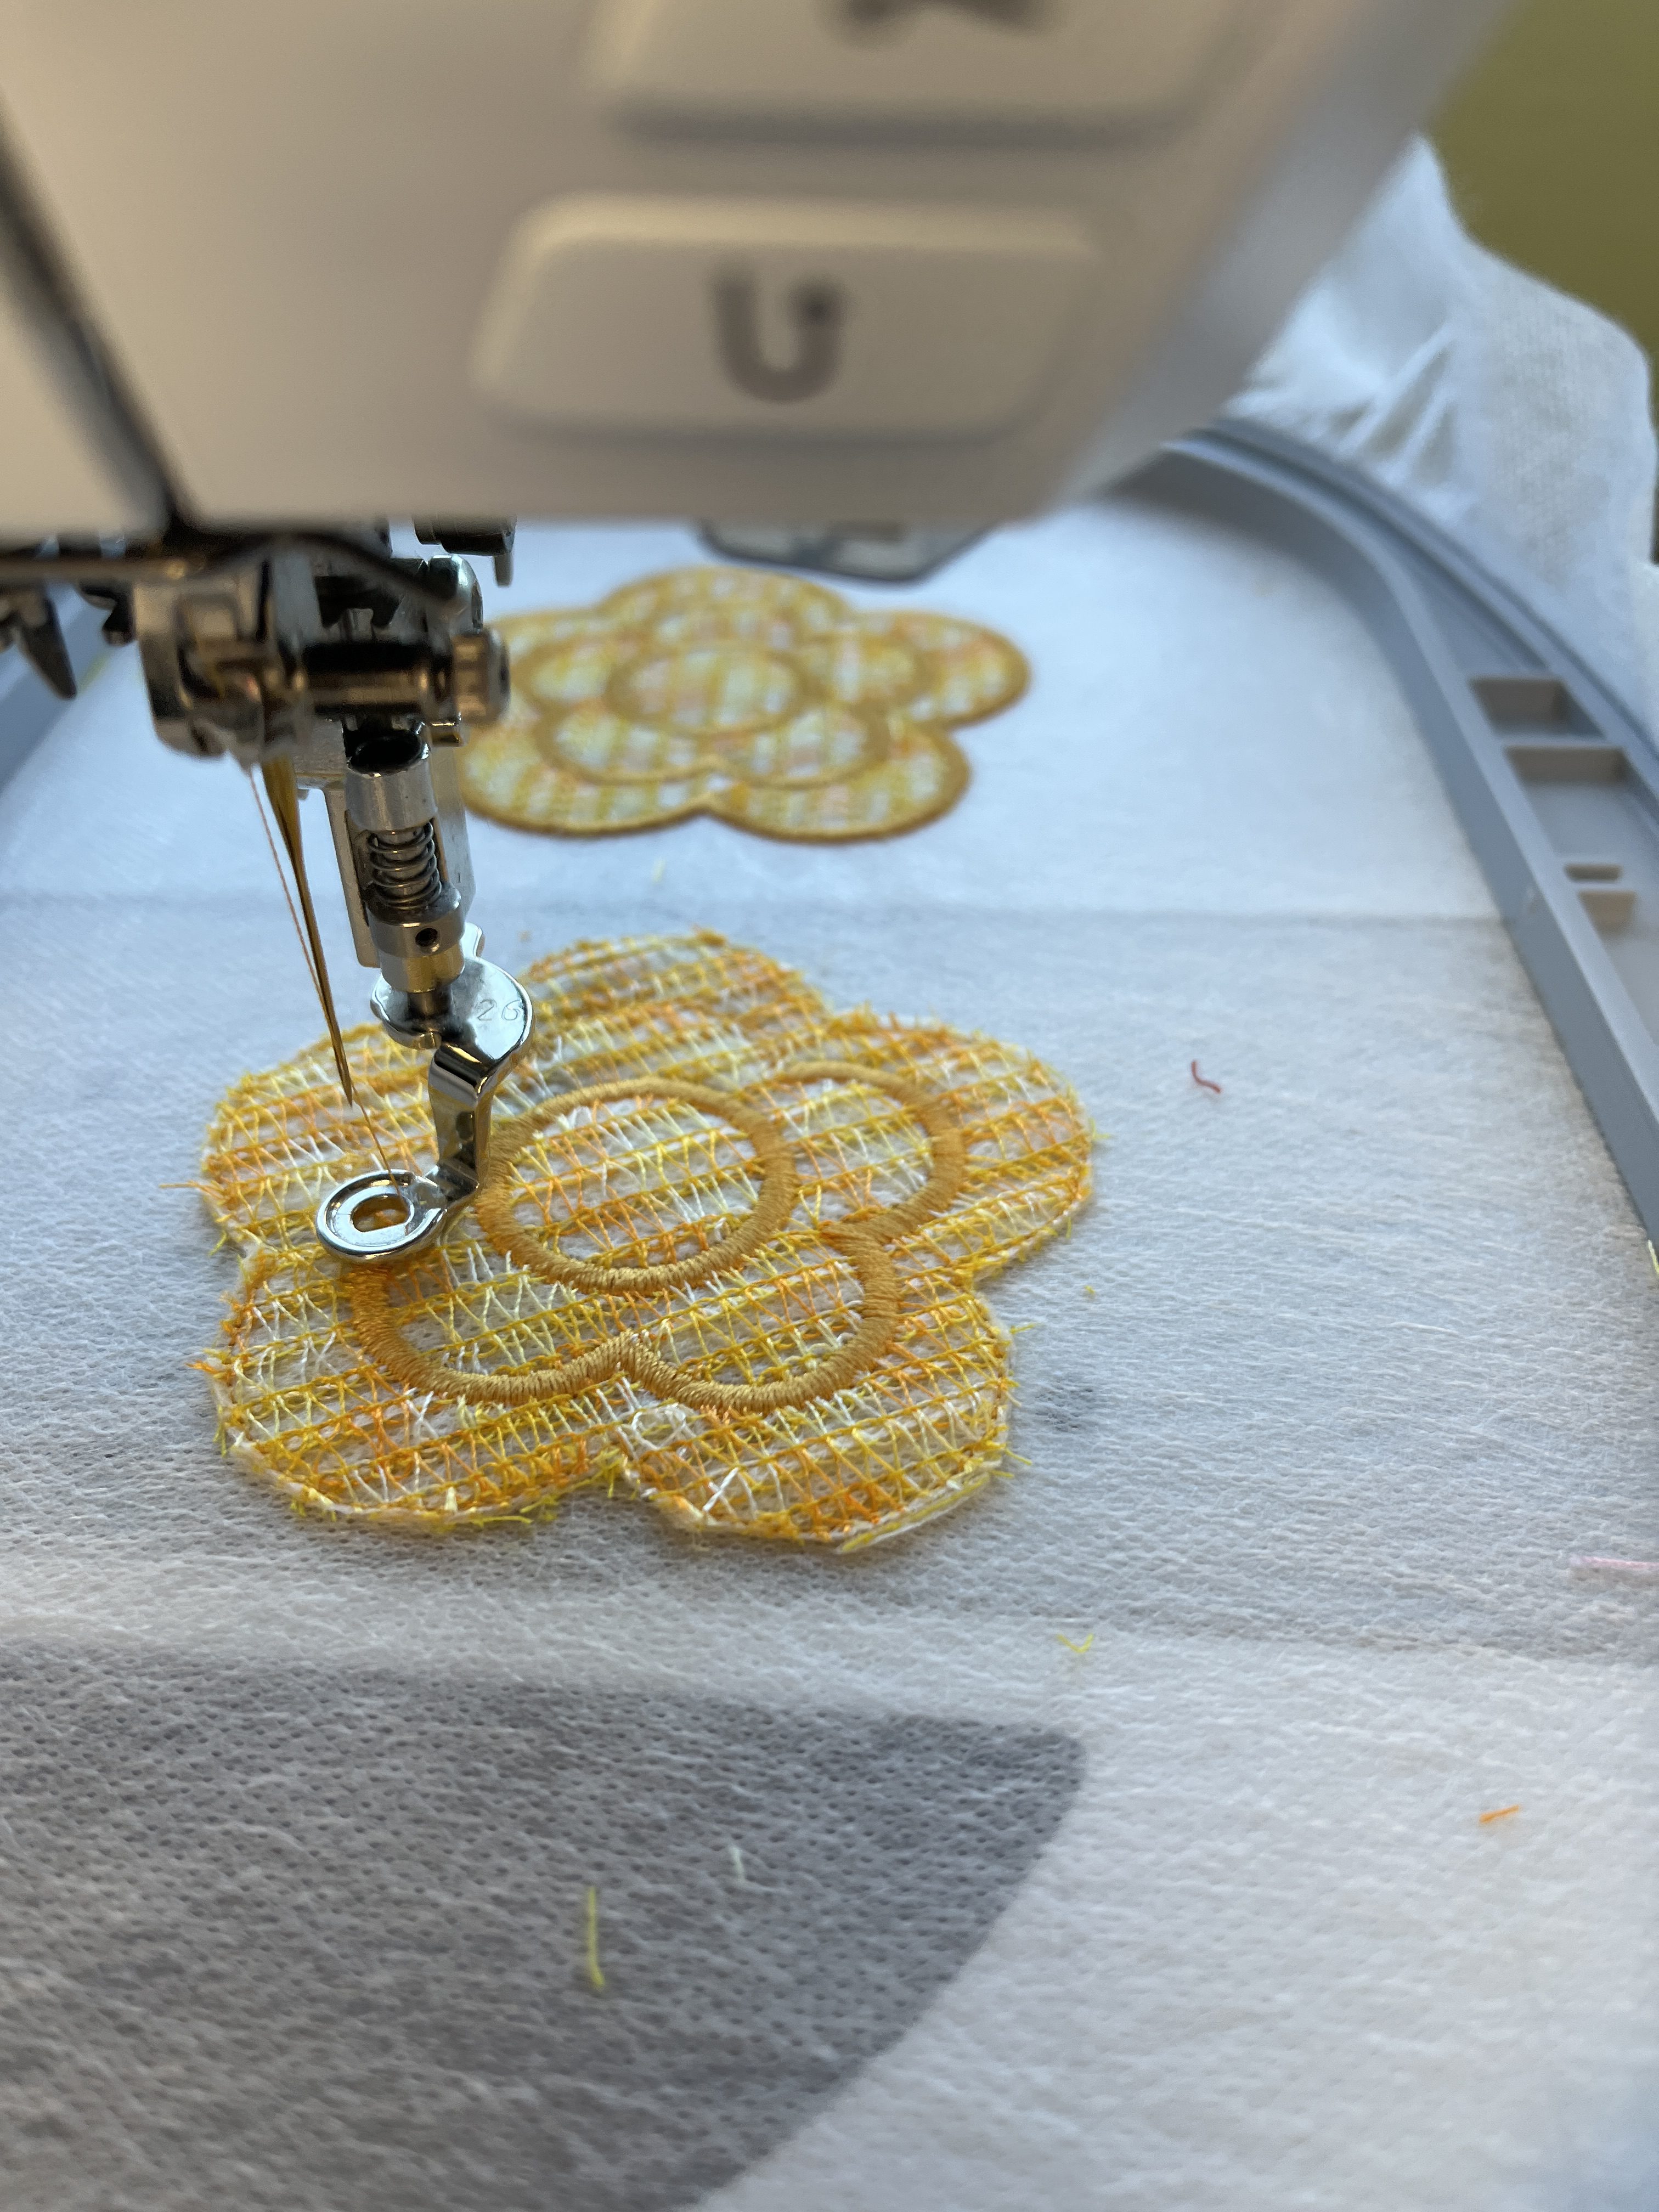
Remove from hoop and trim the stabilizer close to the stitching.
Repeat these steps to create two each of Flower Two and Flower Three. Make three to five of the Leaf design.
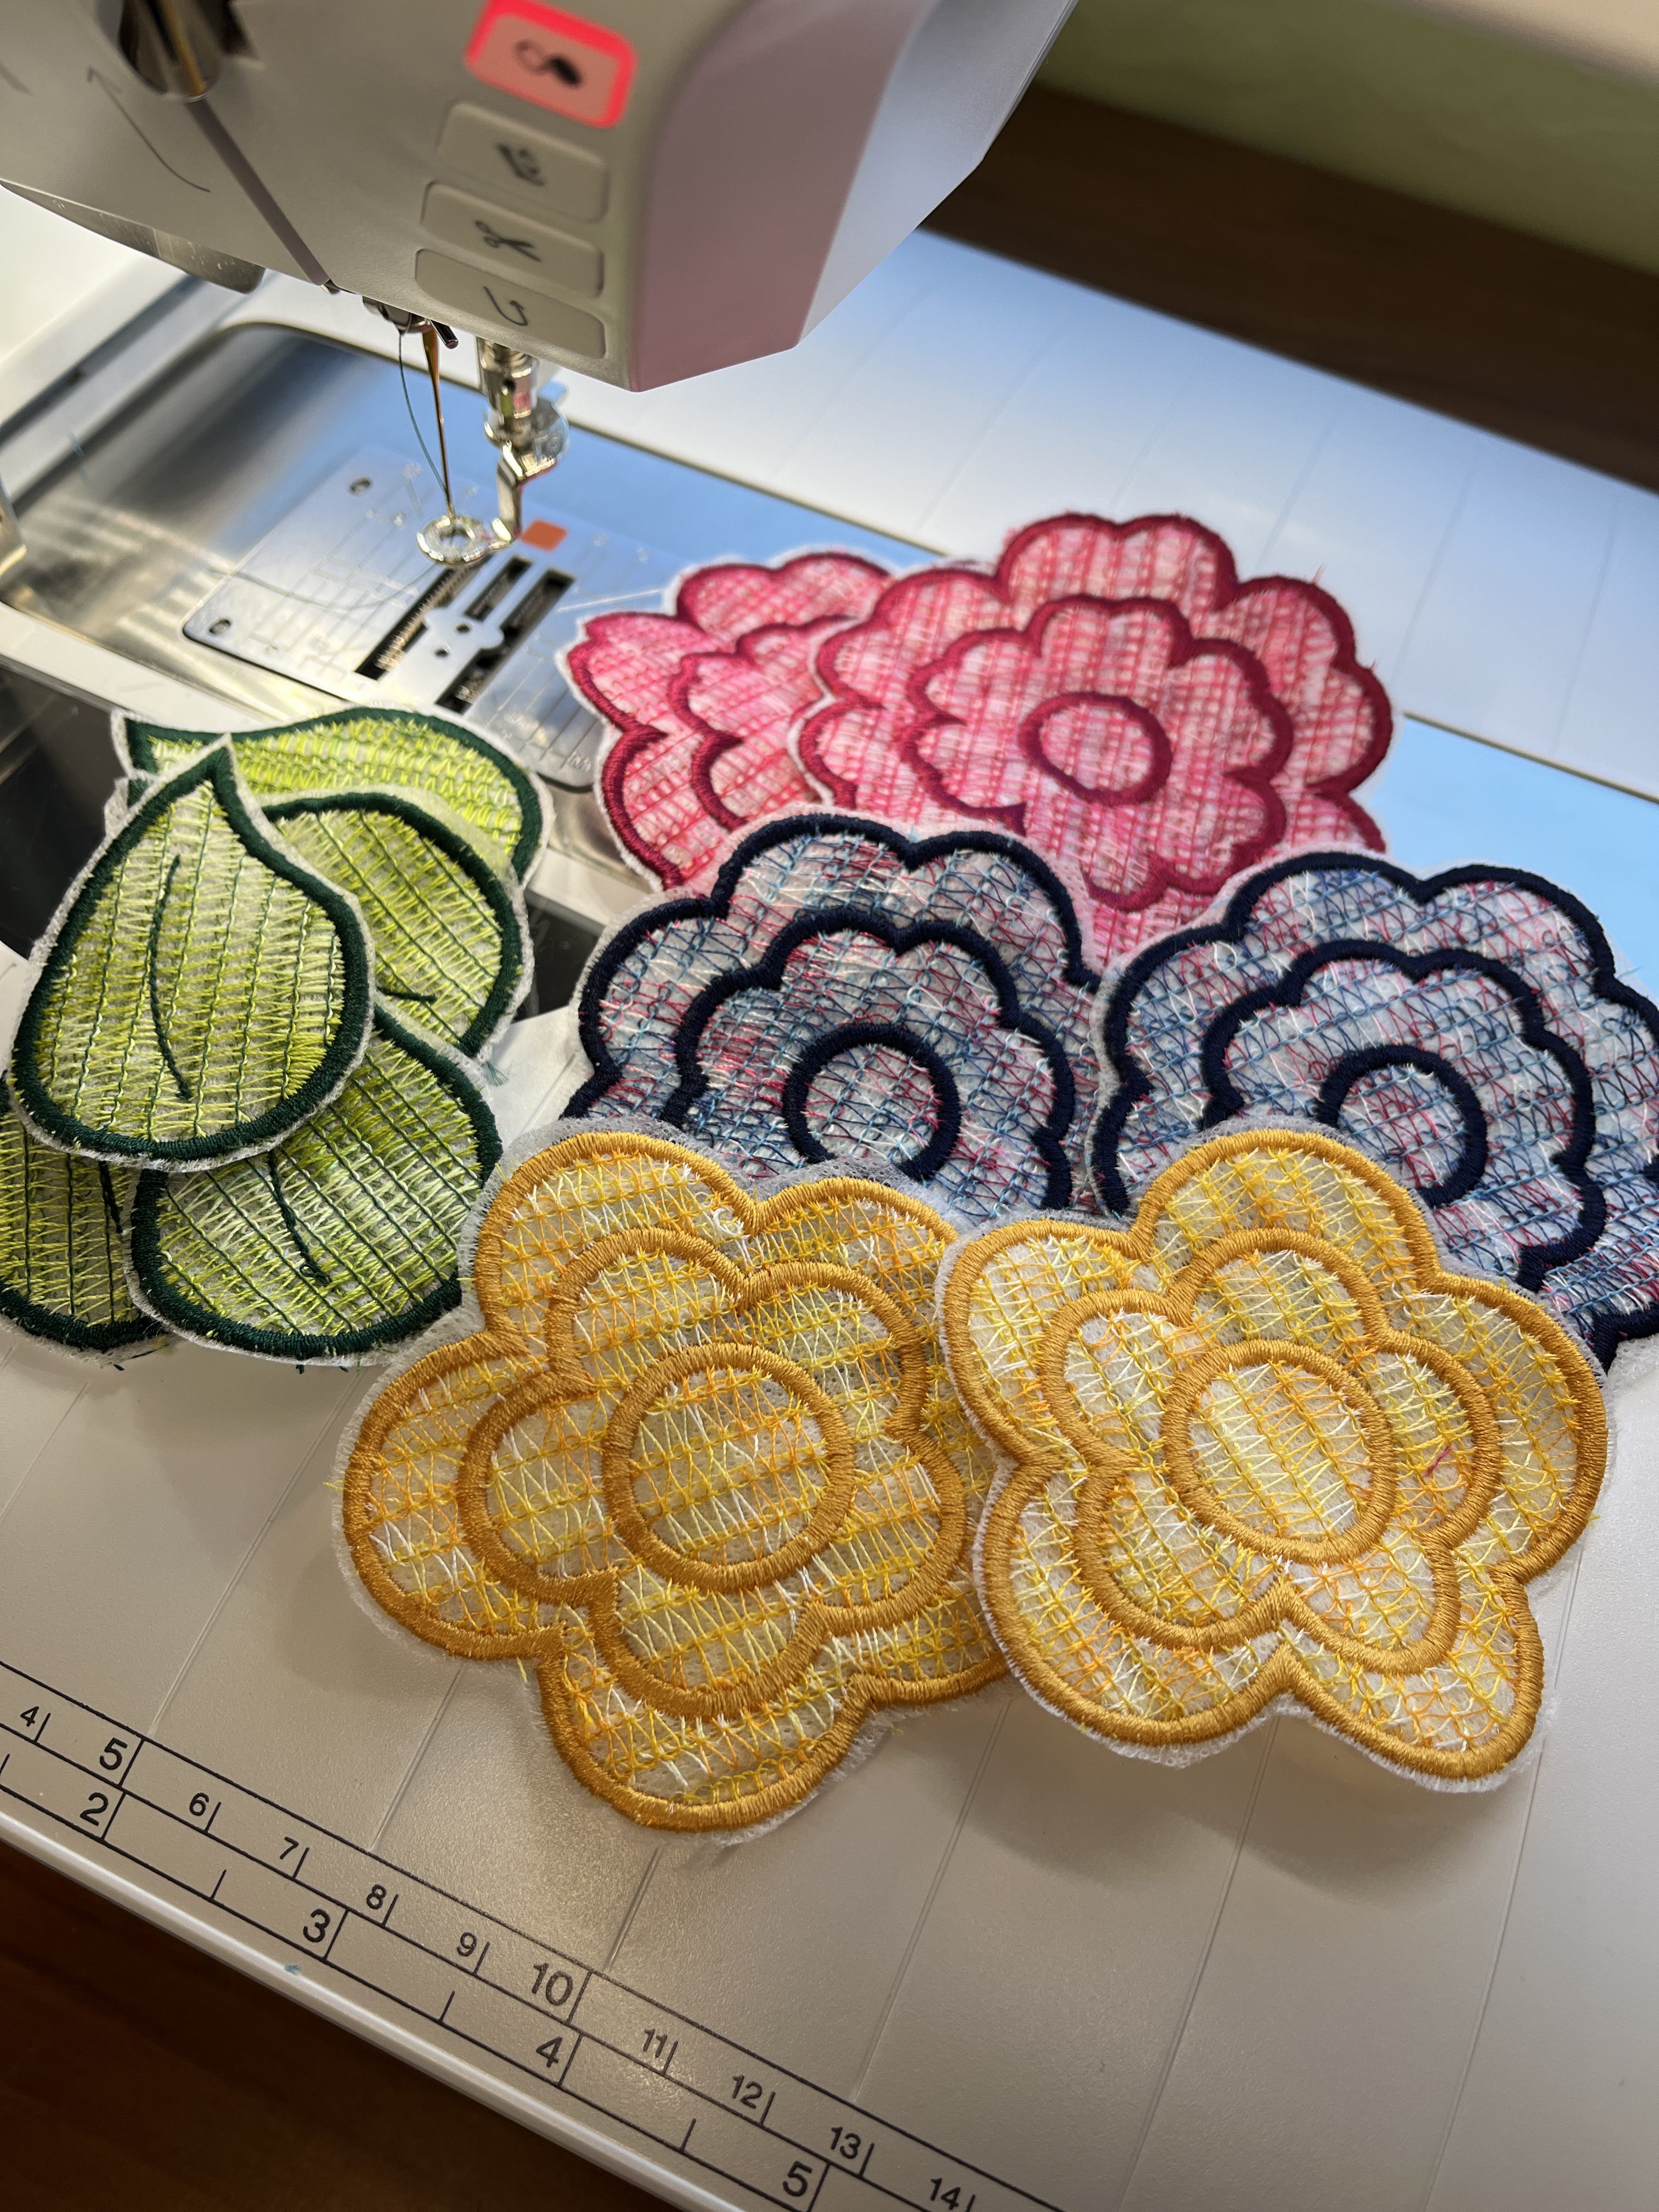
Rinse the appliqués under warm running water to remove the stabilizer until you no longer see the stabilizer. Avoid over-rinsing so that the lace retains a little body. Place flat on a towel to dry.
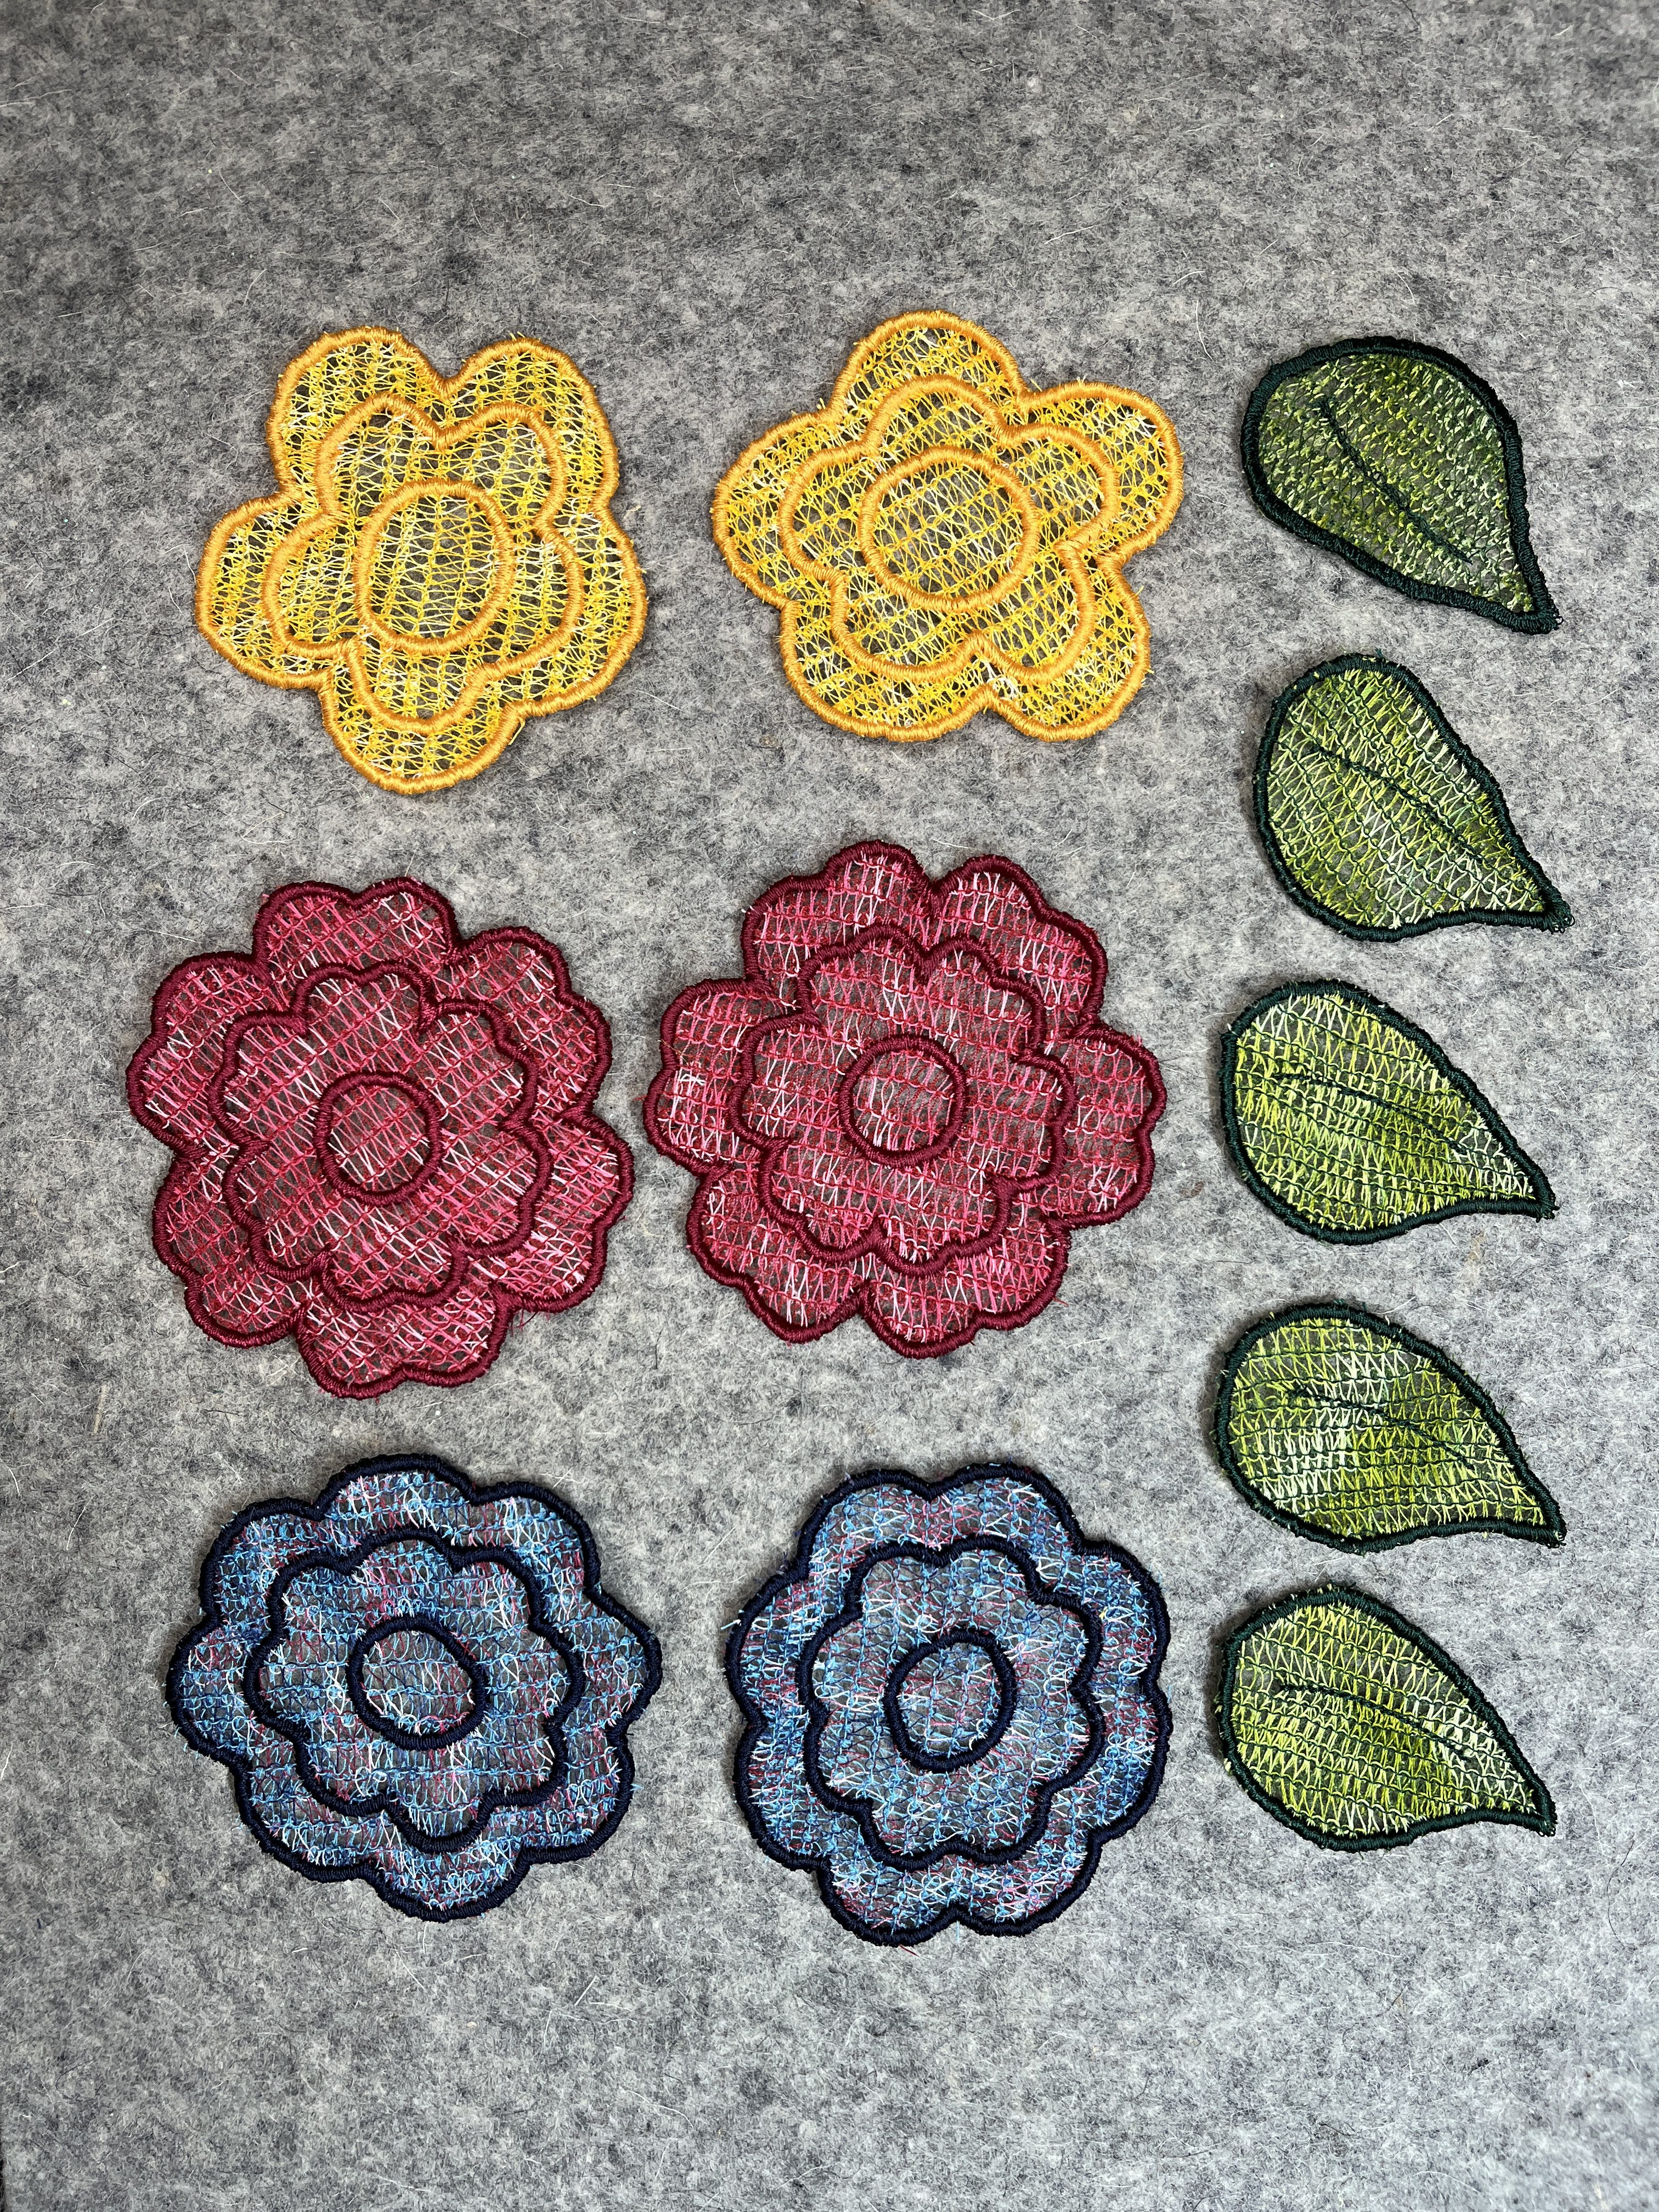
That’s all for today. Join me in Part Three where we will put it all together.
Until next time, happy creating!