Embroidered Bench Pillow Plus Free Embroidery Design for Download
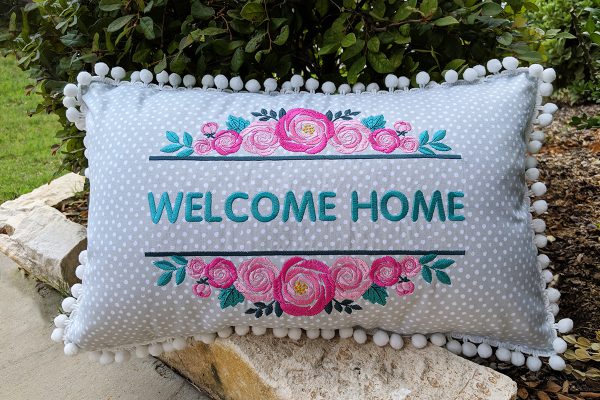
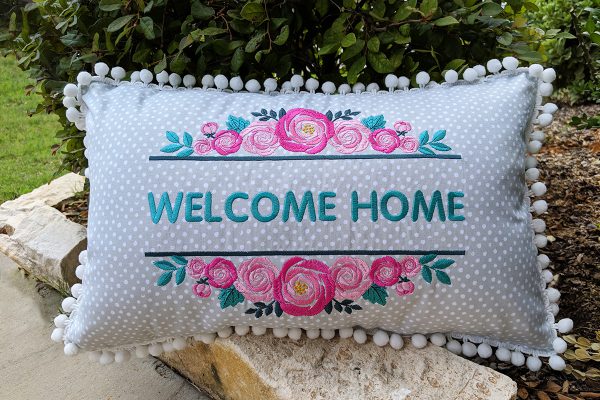
Life is Rosey Bench Pillow
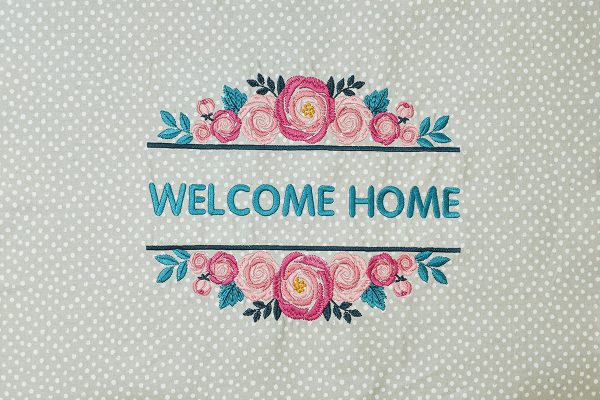
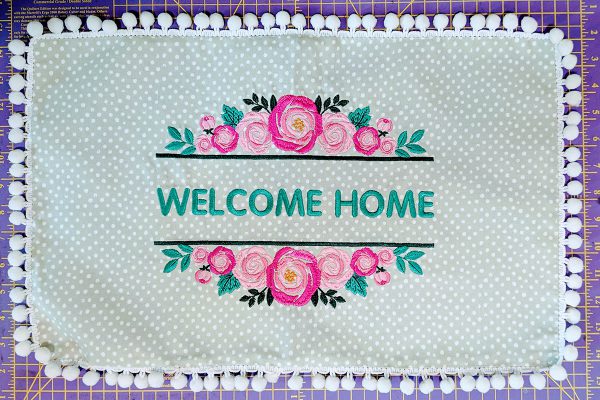
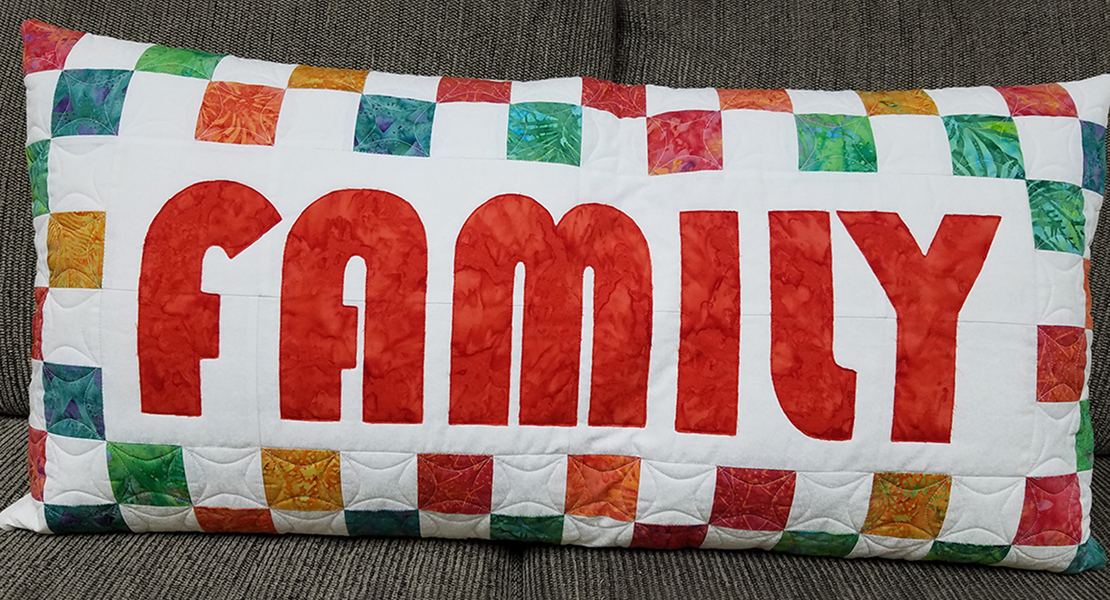
This adorable Bench Pillow is the perfect accessory to brighten any indoor or outdoor space. The addition of “Welcome Home” from built-in lettering on the embroidery machine is the perfect complement to the rose design from the BERNINA Exclusive Design Collection #82024 Life is Rosey. The designs in this collection include the entire alphabet created with roses with lots of extra designs perfect for monogramming!
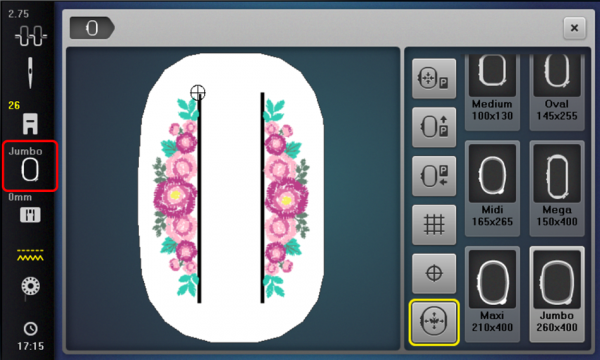
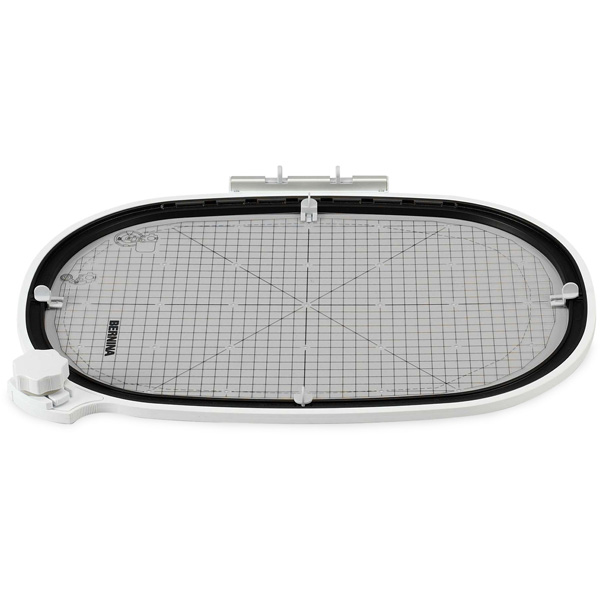
This design for this project can be stitched in the BERNINA Jumbo Hoop or the BERNINA Maxi Hoop. If you do not have a machine that can use these hoops, choose a different design from the collection. Make several and customize with the wording of your choice.
Supplies to Create an Embroidered Pillow
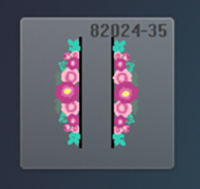
- BERNINA Exclusive E Collection #82024 Life is Rosey (Design: 82024-35)
- BERNINA Jumbo Hoop or Maxi Hoop
- BERNINA Embroidery Machine capable of using either the Jumbo Hoop or the Maxi Hoop
- Grey cotton dotted fabric for front and back: 2/3 yard
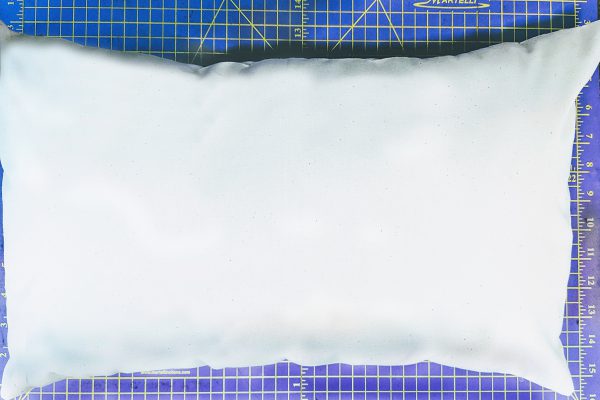
- White muslin: 3/8 yard for pillow insert
- OESD Fusible Woven-White
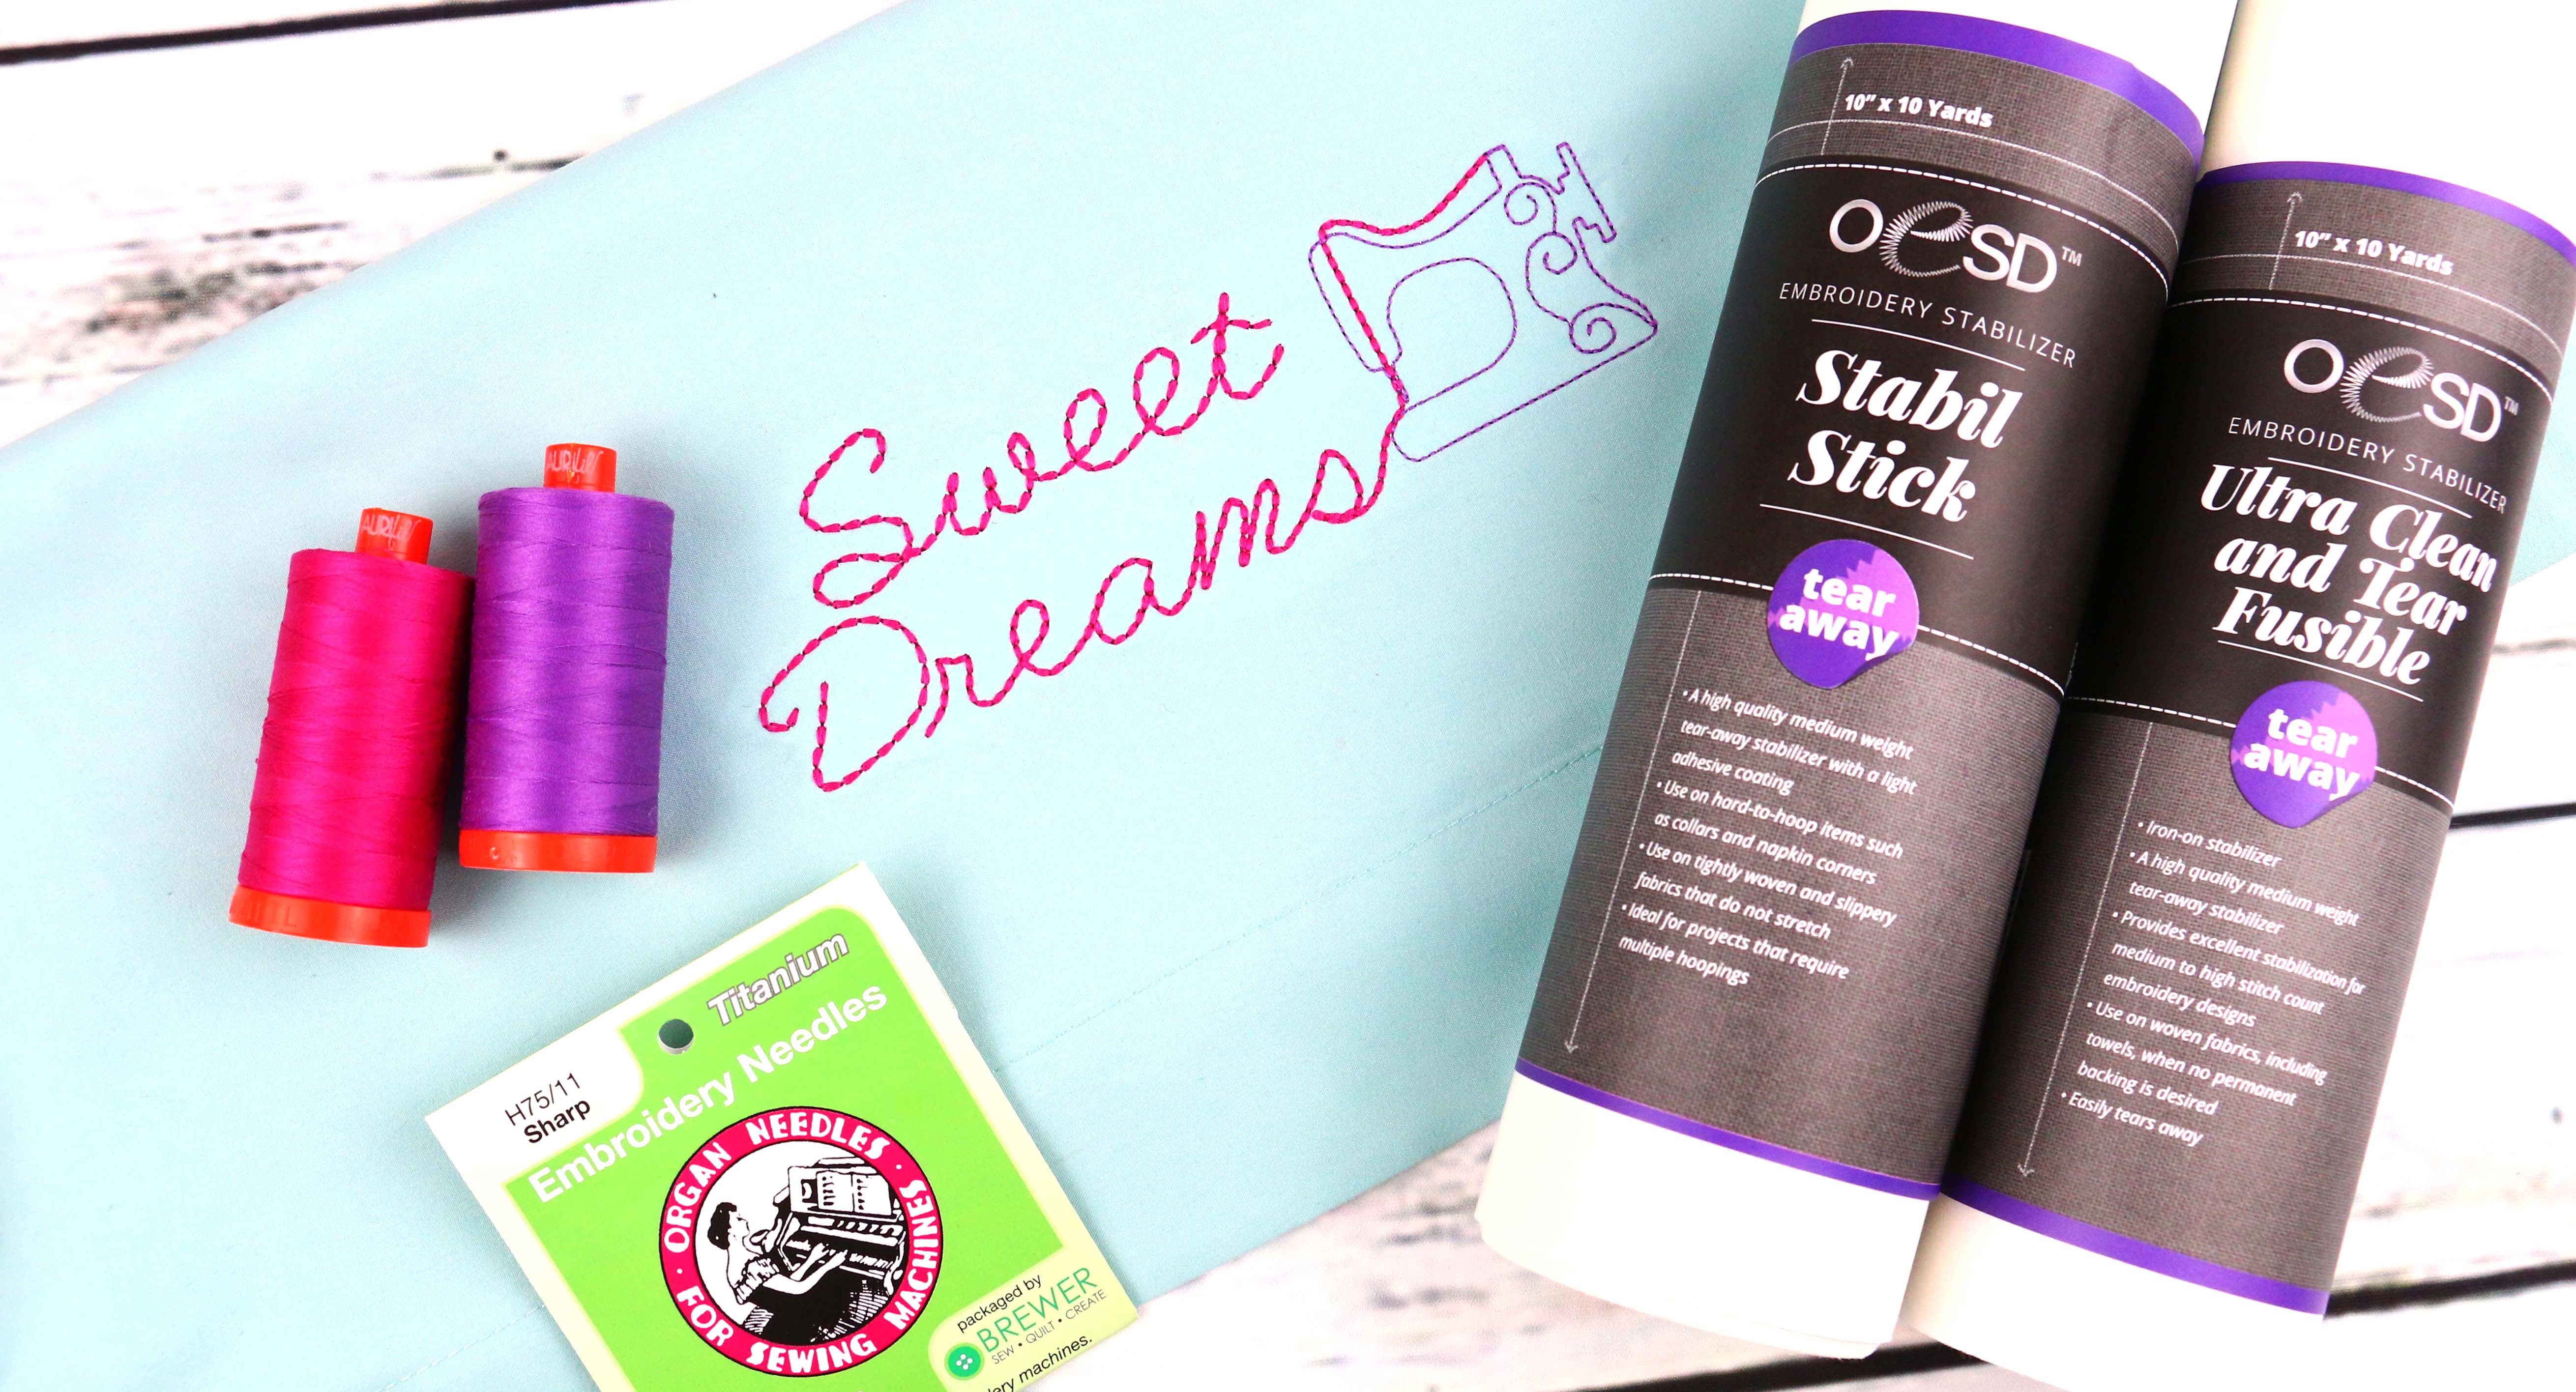
- OESD Ultra Clean and Tear Fusible Stabilizer
- OESD Heavy Weight Tear Away Stabilizer
- Isacord 40: Color numbers 4510, 4644, 2560, 2508, 2532, 0704
- Organ Embroidery Needle: Size 75/11
- 505 Temporary Spray Adhesive
- Pom-pom trim: 6 yds
- 22” invisible zipper
- Polyfil stuffing
- Sewing thread
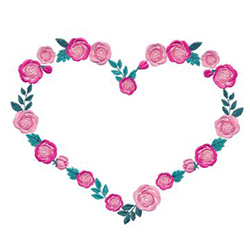
Download your free embroidery design “Rosey Heart”.
Instructions to Create an Embroidered Pillow
From the grey dotted fabric cut:
- 1 piece of gray fabric: 22” x 14” for the front
- 2 pieces 11” x 13” for the back
Adhere Fusible Woven to the wrong side of each piece of fabric according to package directions. Fusible Woven will add body to the fabric, and greatly aid in reducing wrinkling around the embroidered design. This will remain permanently on the wrong side of the fabric.
Center and fuse Ultra Clean and Tear Fusible to the back of the 22” x 14” fabric (on top of the Fusible Woven).
Spray the Heavyweight Tear Away with 505 Temporary Adhesive spray and adhere to the back of the fabric/stabilizer combination.
Hoop the fabric and stabilizer in either the Jumbo or Maxi Hoop.
Attach the hoop to the machine.
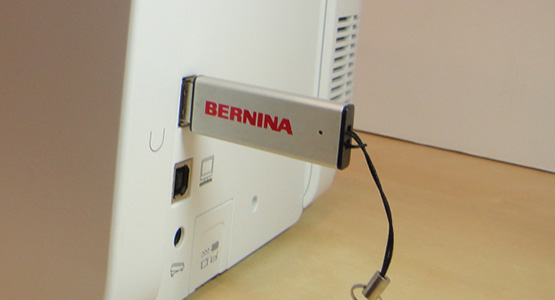
Insert the USB stick into the machine; select the USB icon on the embroidery screen.
Select the design #35 from the screen.
Select the Hoop Indicator/Select Hoop icon and the Hoop Display will open. Select the hoop you will use, either the Jumbo or Maxi on the right side of the screen. Touch Close (x) icon to exit the hoop display.
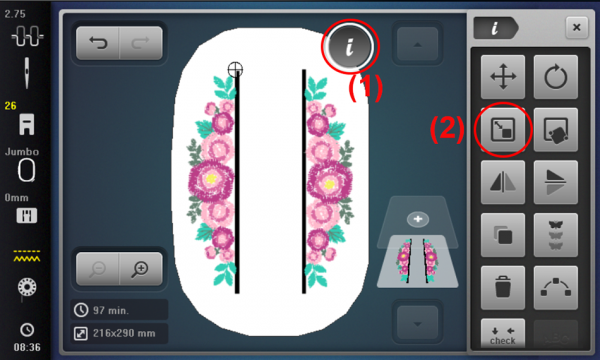
Select the Information (“i”) icon (1). Select the Motif Size icon (2).
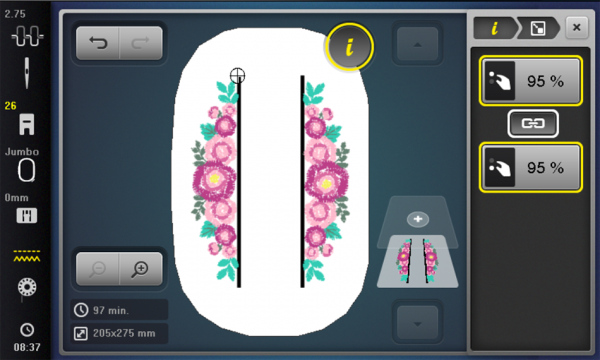
Turn the either Multi-function knob to the left, reducing the design to 95%.
Touch the Close (x) icon to exit.
Select the Add icon (the + at the top of the Layer Panel).
Select the Machine icon to access the built-in folders.
Select the Alphabet folder.
Use the right arrow to scroll through the pages and select the Rounded Sans alphabet (#32 on B 880, #23 on B 790) or alphabet of your choice.
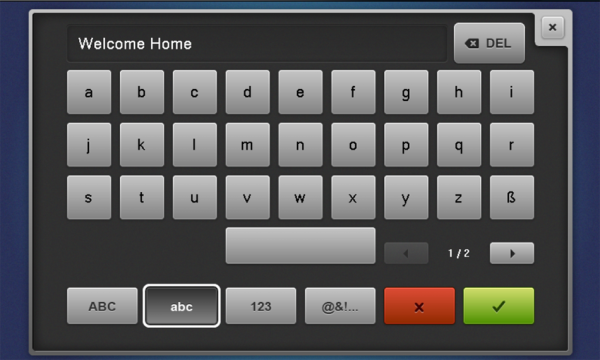
Type “Welcome Home” and select the Confirm (green check) icon.
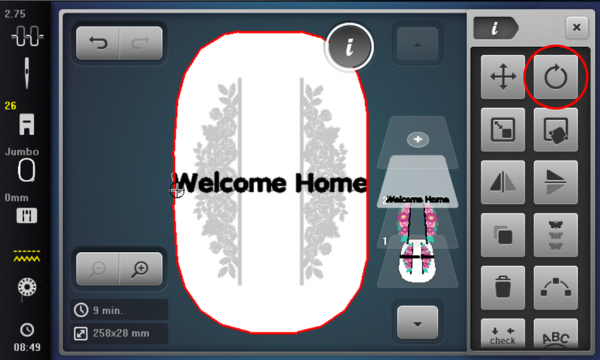
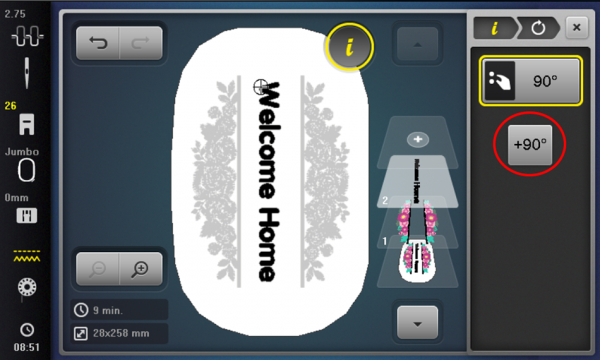
“Welcome Home” needs to be rotated. Select the Information (‘i’) icon.
Select the Rotate icon.
Touch the Rotate 90 Degree icon one time. Touch the Close icon (x) to exit.
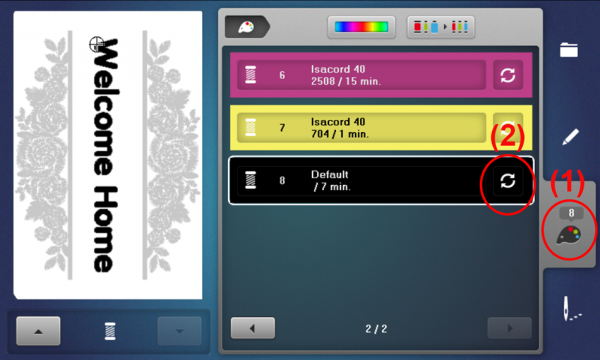
Select the Color Number tab (1). Select the Alter Color/Brand icon on the right side of the Default color bar (2).
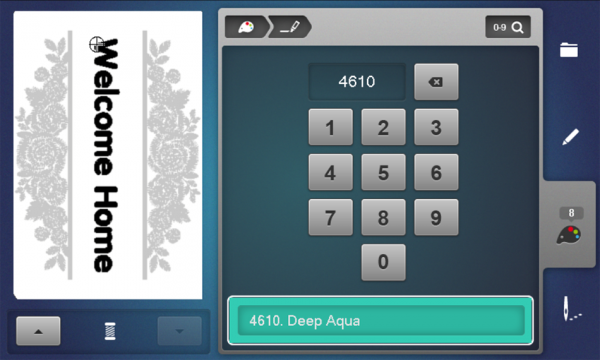
Select the Search (0-9) icon on the display that opens. Type in 4610. Touch the 4610 Deep Aqua color bar at the bottom of the display to change the color of ‘Welcome Home’.
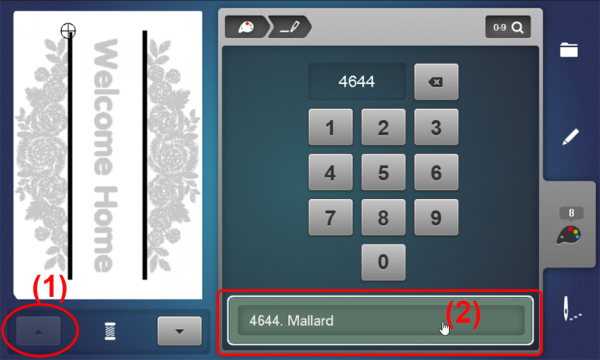
Touch the up arrow (1) under the design. Continue touching the up arrow until the satin stitch bars are selected.
Select the Search icon (0-9) and type 4644 and touch the Mallard color bar (2) to change the color.
Touch the OK icon (needle) at the bottom left of the screen to proceed to the embroidery display. Start the machine and stitch the design.
After the design has stitched, remove the excess tear away stabilizers from the wrong side of the project. The Fusible Woven will remain permanently on the back of the fabric.
Sewing Instructions
Square up the embroidery pillow front to 13” x 21” keeping the design centered.
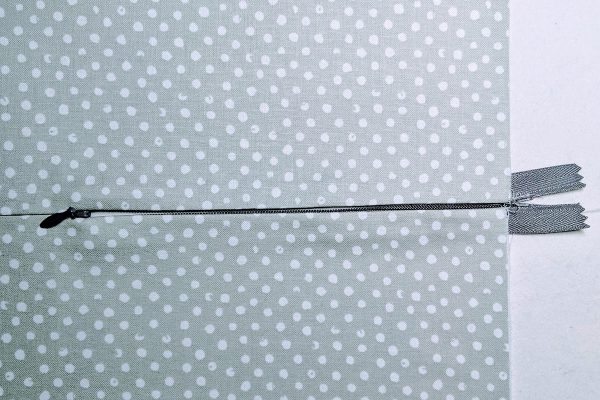
Stitch one side of the invisible zipper to the 13” edge of one of the back pieces. Then stitch the zipper to the 13” side of the other back piece.
After installing the zipper, check that the back is the same size as the front. Trim to 13” x 21”, if needed.
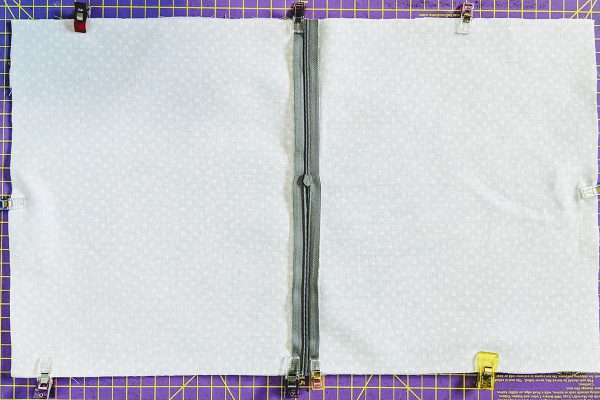
Open zipper ½ way.
Pin or clip front to back with right sides together.
Using a ¼” seam, sew around the entire pillow.
Trim the corners and turn the pillow to the right side. Press edges.
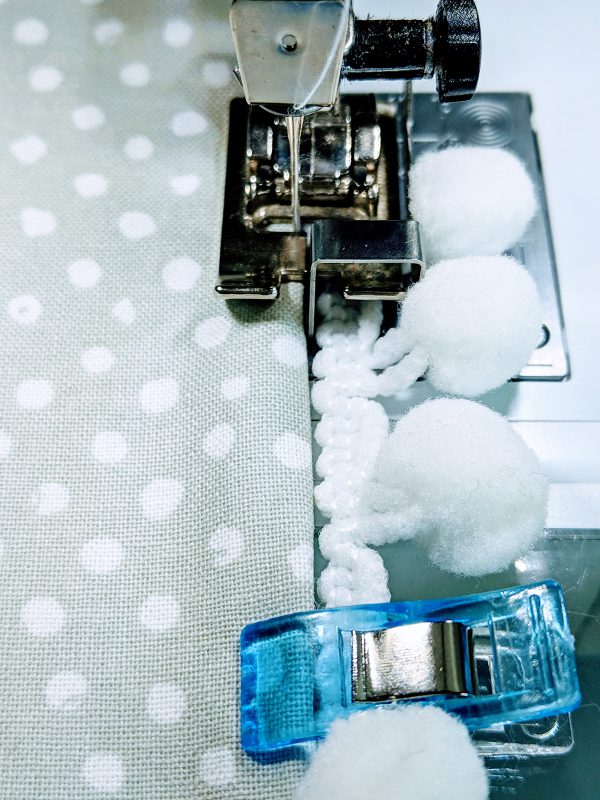
Position the edge of the pom-pom fringe along the pressed edge of the pillow. Attach Edgestitch Foot #10/10C/10D to the machine with the guide between the pillow edge and the trim. Adjust the width of the zigzag stitch wide enough to catch the pillow and the fringe. (photos 12-14)
Create Pillow Insert
Cut 2 pieces of muslin 13” x 21”.
Place right sides together and sew around the edges with a ¼” seam allowance. Leave a 3” to 4” opening in one long edge.
Trim corners and turn right side out and press well.
Stuff pillow with Polyfil to desired firmness and hand-stitch the opening closed.
Insert into pillow cover through zipper opening. Zip it up and enjoy your new pillow!
What you might also like
6 comments on “Embroidered Bench Pillow Plus Free Embroidery Design for Download”
-
-
Sew sweet for a pillow on a bed.
-
Going to try it it’s beautiful!
-
Very pretty. I will give this a try, when I get a bigger hoop.
Thanks. -
Could I resize and make with the 570?
-
Yes, thank you for the instructions on attaching the ball fringe. A new use for my #10 foot! Yeah!
Leave a Reply
You must be logged in to post a comment.



Thank you for the instructions on attaching the ball fringe.