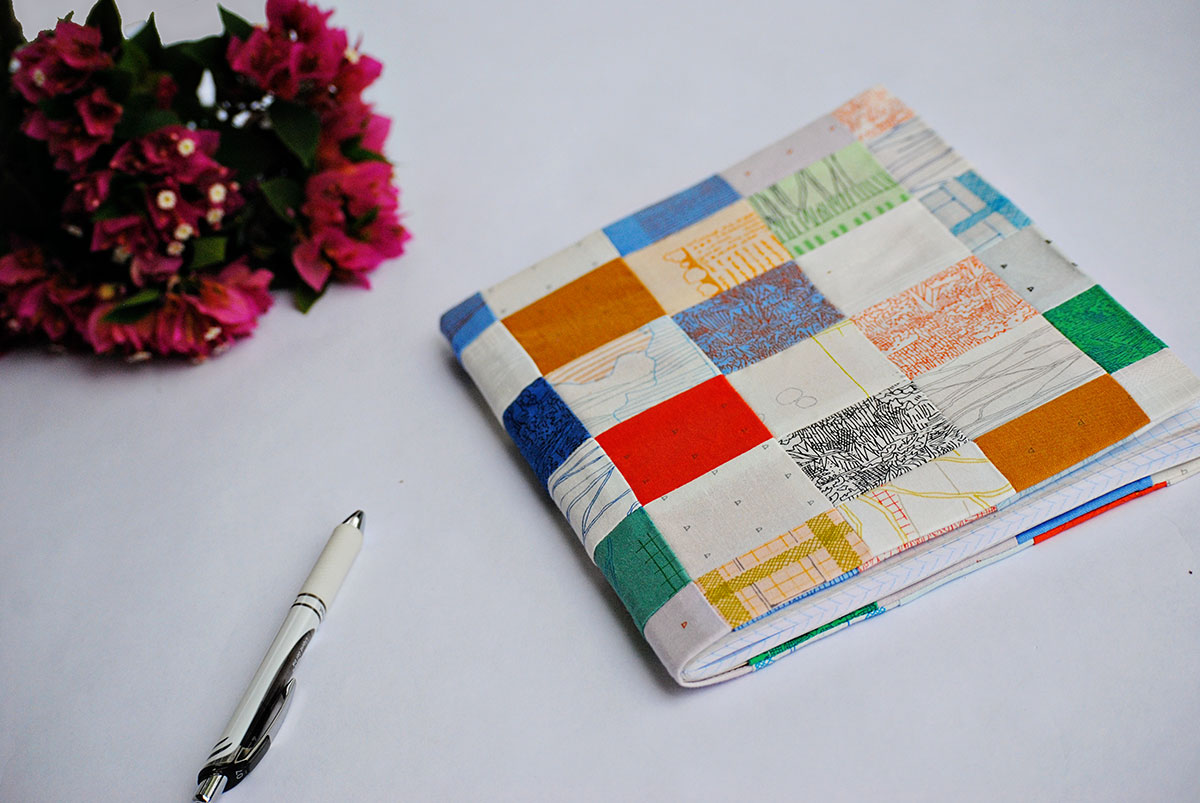
Composition Notebook Cover
Notebooks are great to keep on hand to keep track of to-do lists or project ideas. Add an extra creative touch to your notebook by adding a personalized notebook cover.
Supplies to Sew a Composition Notebook Cover
- BERNINA 590 E
- Patchwork Foot #97D with moveable seam guide
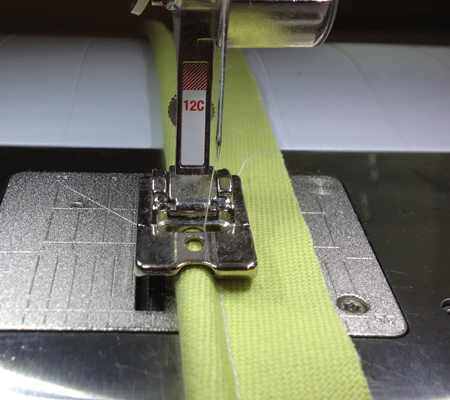
- Edgestitch Foot #10D
- Size 80 Jeans needle
- Polyester thread (Mettler METROSENE)
- Cotton fabric:
- 1 fat quarter for the exterior panel and lining panel
- 1 fat eighth for the cover panels
- 2 scrap fabrics, at least 12” x 14″, for the large and small pockets pieces
- Fusible woven interfacing
- 1 piece, 16 3/4” x 10 3/4”
- 1” wide elastic, 2” long
- Pins
Instructions to Sew a Composition Notebook Cover
All seam allowances are ¼” unless otherwise specified. The finished notebook size will be 16″ x 10″ open and 8″ x 10″ closed, with a notebook inserted.
You can download the instructions here: Made to Create Studio | Composition Notebook Cover
1. Begin by cutting the fabric into the sizes listed below.
- Using the fat quarter, cut 2 – 16 3/4” x 10 3/4” pieces. Set aside for the exterior and lining panels.
- Using the fat eighth, cut 4 – 6” x 10 3/4” pieces. Set aside for the cover panels.
- From one of the scrap fabrics, cut 2 – 6” x 5” pieces. These pieces will form the small pocket.
- From the other scrap fabric, cut 2 – 6” x 7” pieces. These pieces will form the large pocket.
2. Fuse the woven interfacing to the wrong side of the exterior panel (1 piece, 16 3/4″ x 10 3/4″) according to manufacturer’s instructions.
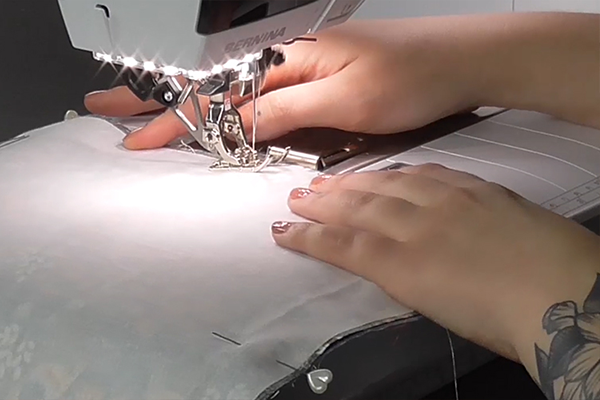
3. Place the large pocket pieces and small pocket pieces right sides together and pin. Sew along one the 6” edges of each pocket.
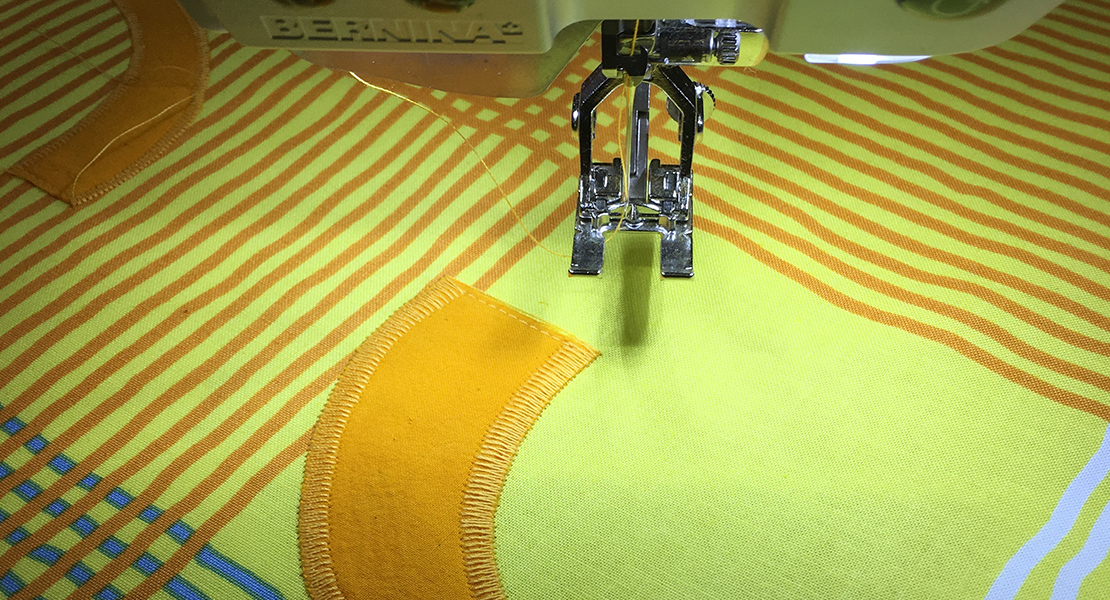
4. Press the seams open then flat with wrong sides together. Topstitch the seamed edges.
5. Place the large pocket on the right side of one of the cover panel pieces (1 piece, 6″ x 10 3/4″), aligning the bottom raw edge and sides. Then place the small pocket on top of the large pocket, aligning it the same way.
6. Baste the sides and bottom edge of the pocket panel with a scant ¼” seam allowance.
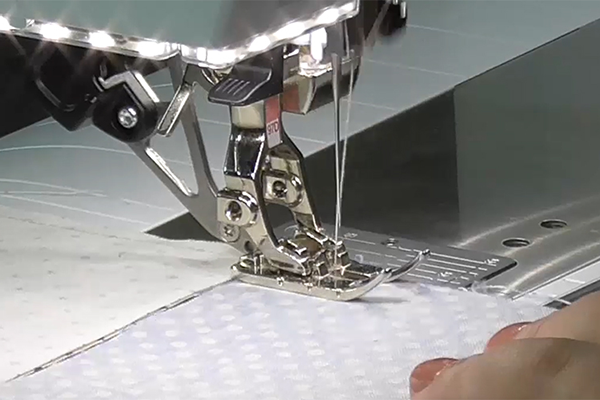
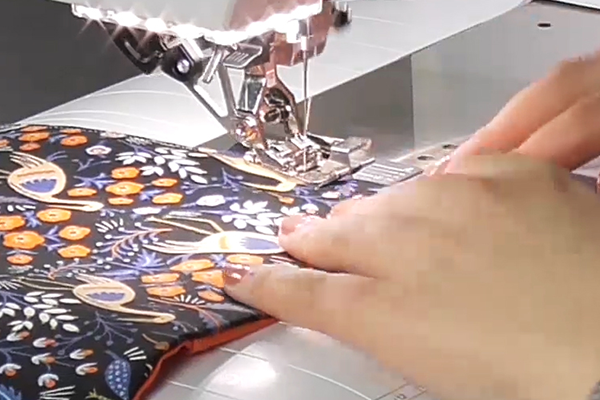
7. Place another cover panel piece right side down on top of the pocket panel, aligning all raw edges, and pin along the right side edge. Sew along pinned edge.
8. Place the remaining two cover panel pieces right sides together. Sew along the long edge.
9. Press the seams open then flat with wrong sides together. After pressing, topstitch the seamed edges.
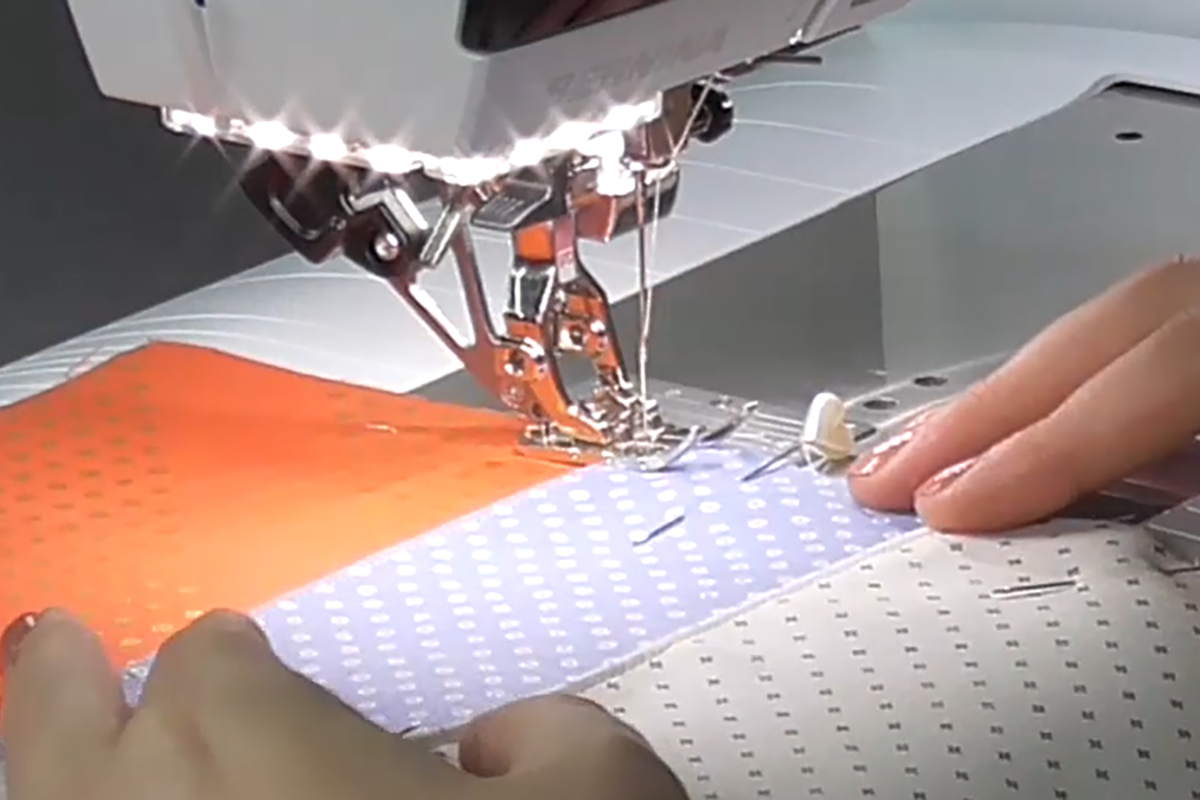
10. Place the left and right cover panels on the lining panel, aligning to the top and bottom edges and at either left or right sides. Pin along the raw edges.
11. Baste cover panels to lining with a scant ¼” seam allowance.
12. After basting the cover panels in place, the next step is to baste the elastic in place. Fold the elastic piece in half, bringing raw ends together. Measure 3” down from upper right corner of lining panel. Pin the elastic tab to the lining at the 3” mark and baste in place.
13. Place the exterior panel right side down on top of the lining panel, aligning raw edges. Pin around the perimeter. Mark two points 4” apart along bottom edge between cover panels to turn the cover right side out after sewing.
14. Beginning and ending with a backstitch, sew the perimeter of the book cover with a 3/8” seam allowance, leaving the area between marked points unsewn.
15. Trim the corners and grade the seam allowance as needed. Flip the book cover right side out through the opening left at bottom edge of cover. Use a point turner to push out sharp corners.
16. Press the newly-sewn edge smooth. Be sure to press the seam allowance in where the gap was left.
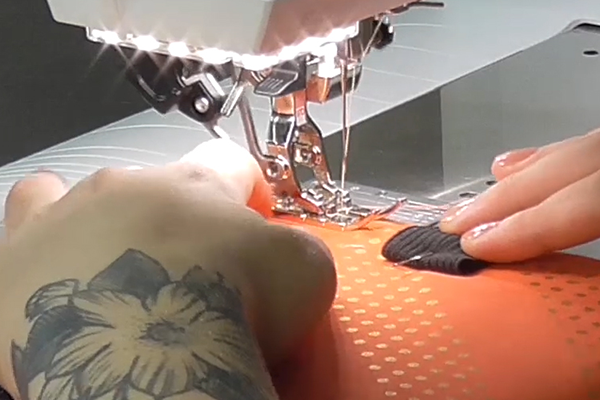
17. Topstitch around the perimeter of book cover to close the gap and finish the cover.
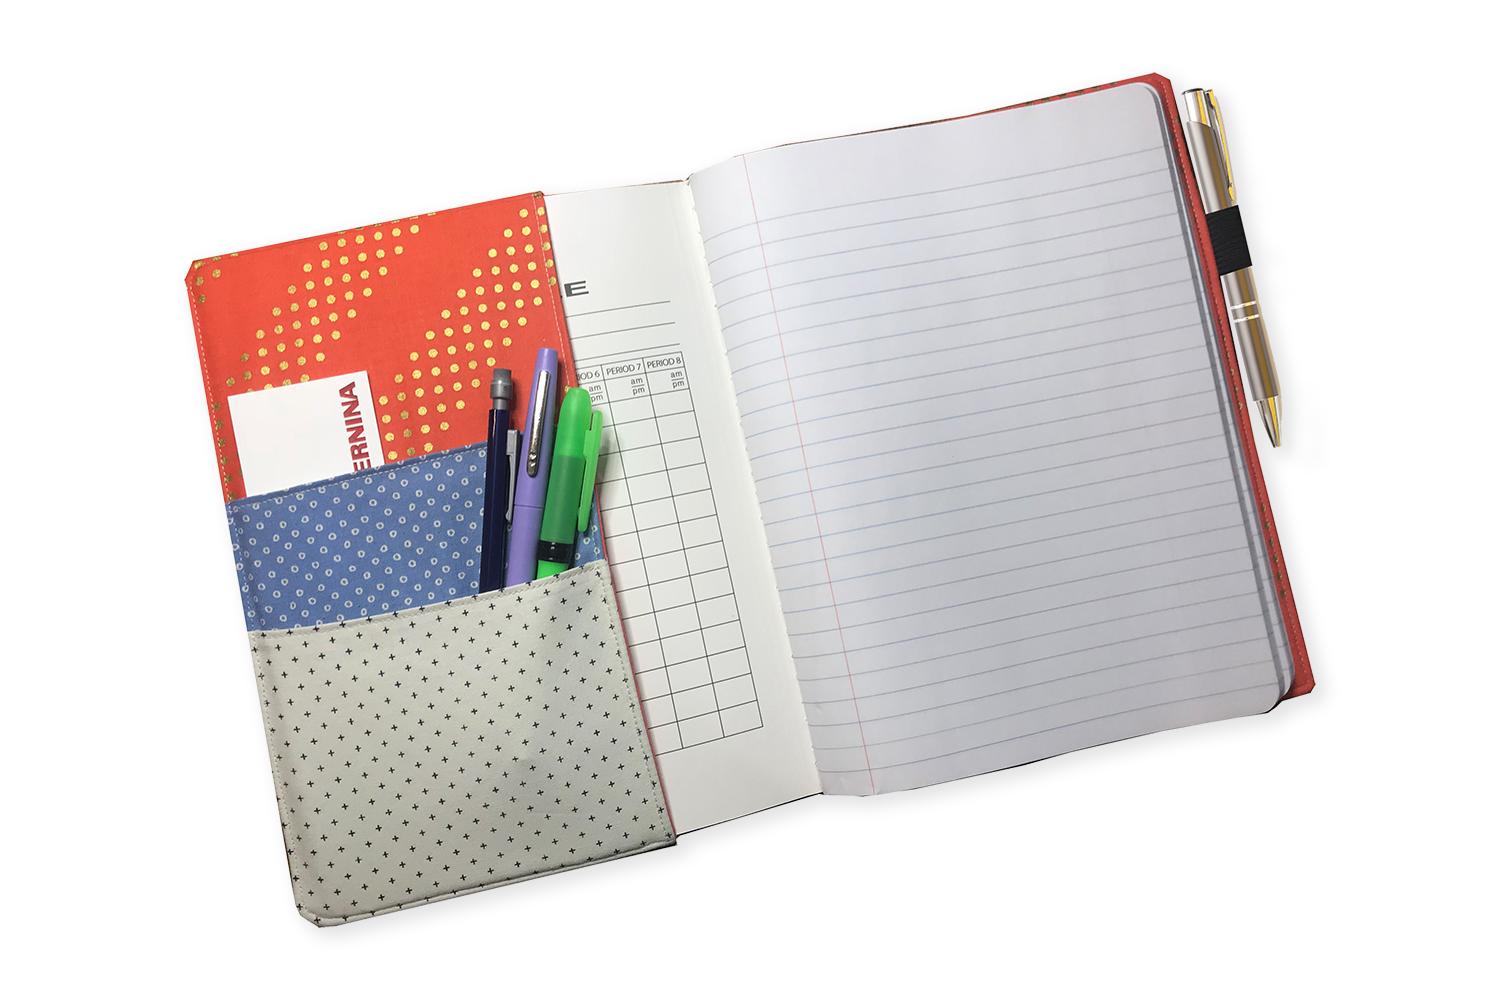
Check out the interior pockets of the completed notebook cover!
Used Products


What you might also like


4 comments on “Composition Notebook Cover”
-
-
Love this idea. I want one for embroidery ideas, one for quilting ideas, one for things I need to remember, and I plan to make some for family and friends. This will also be a great way for me to try out some embroidery on the covers, especially since I am new to doing embroidery. I just got my new 770Qe plus and I love it. The machine I have been sewing on for over 20 years was a Bernina 1630, which I still have and still use since I had so many feet for it.
-
I love this video.
So much better than Pinterest What stitch length did you use ? (besides the basting set at 6)-
After basting, the stitch length can go back down to 2.5.
-
Leave a Reply
You must be logged in to post a comment.

Great project and video tutorial! It’s fun to see the whole project done step by step. Thank you!!