Create Your Own Messenger Bag: Step-by-Step Sewing Guide
What’s up everyone! My name is Scorpio, I’m a self-taught designer who started sewing in 2019 with my brand Sins of Many! It’s an honor to be here with you all, and I promise you I have a great DIY messenger bag in store for you!
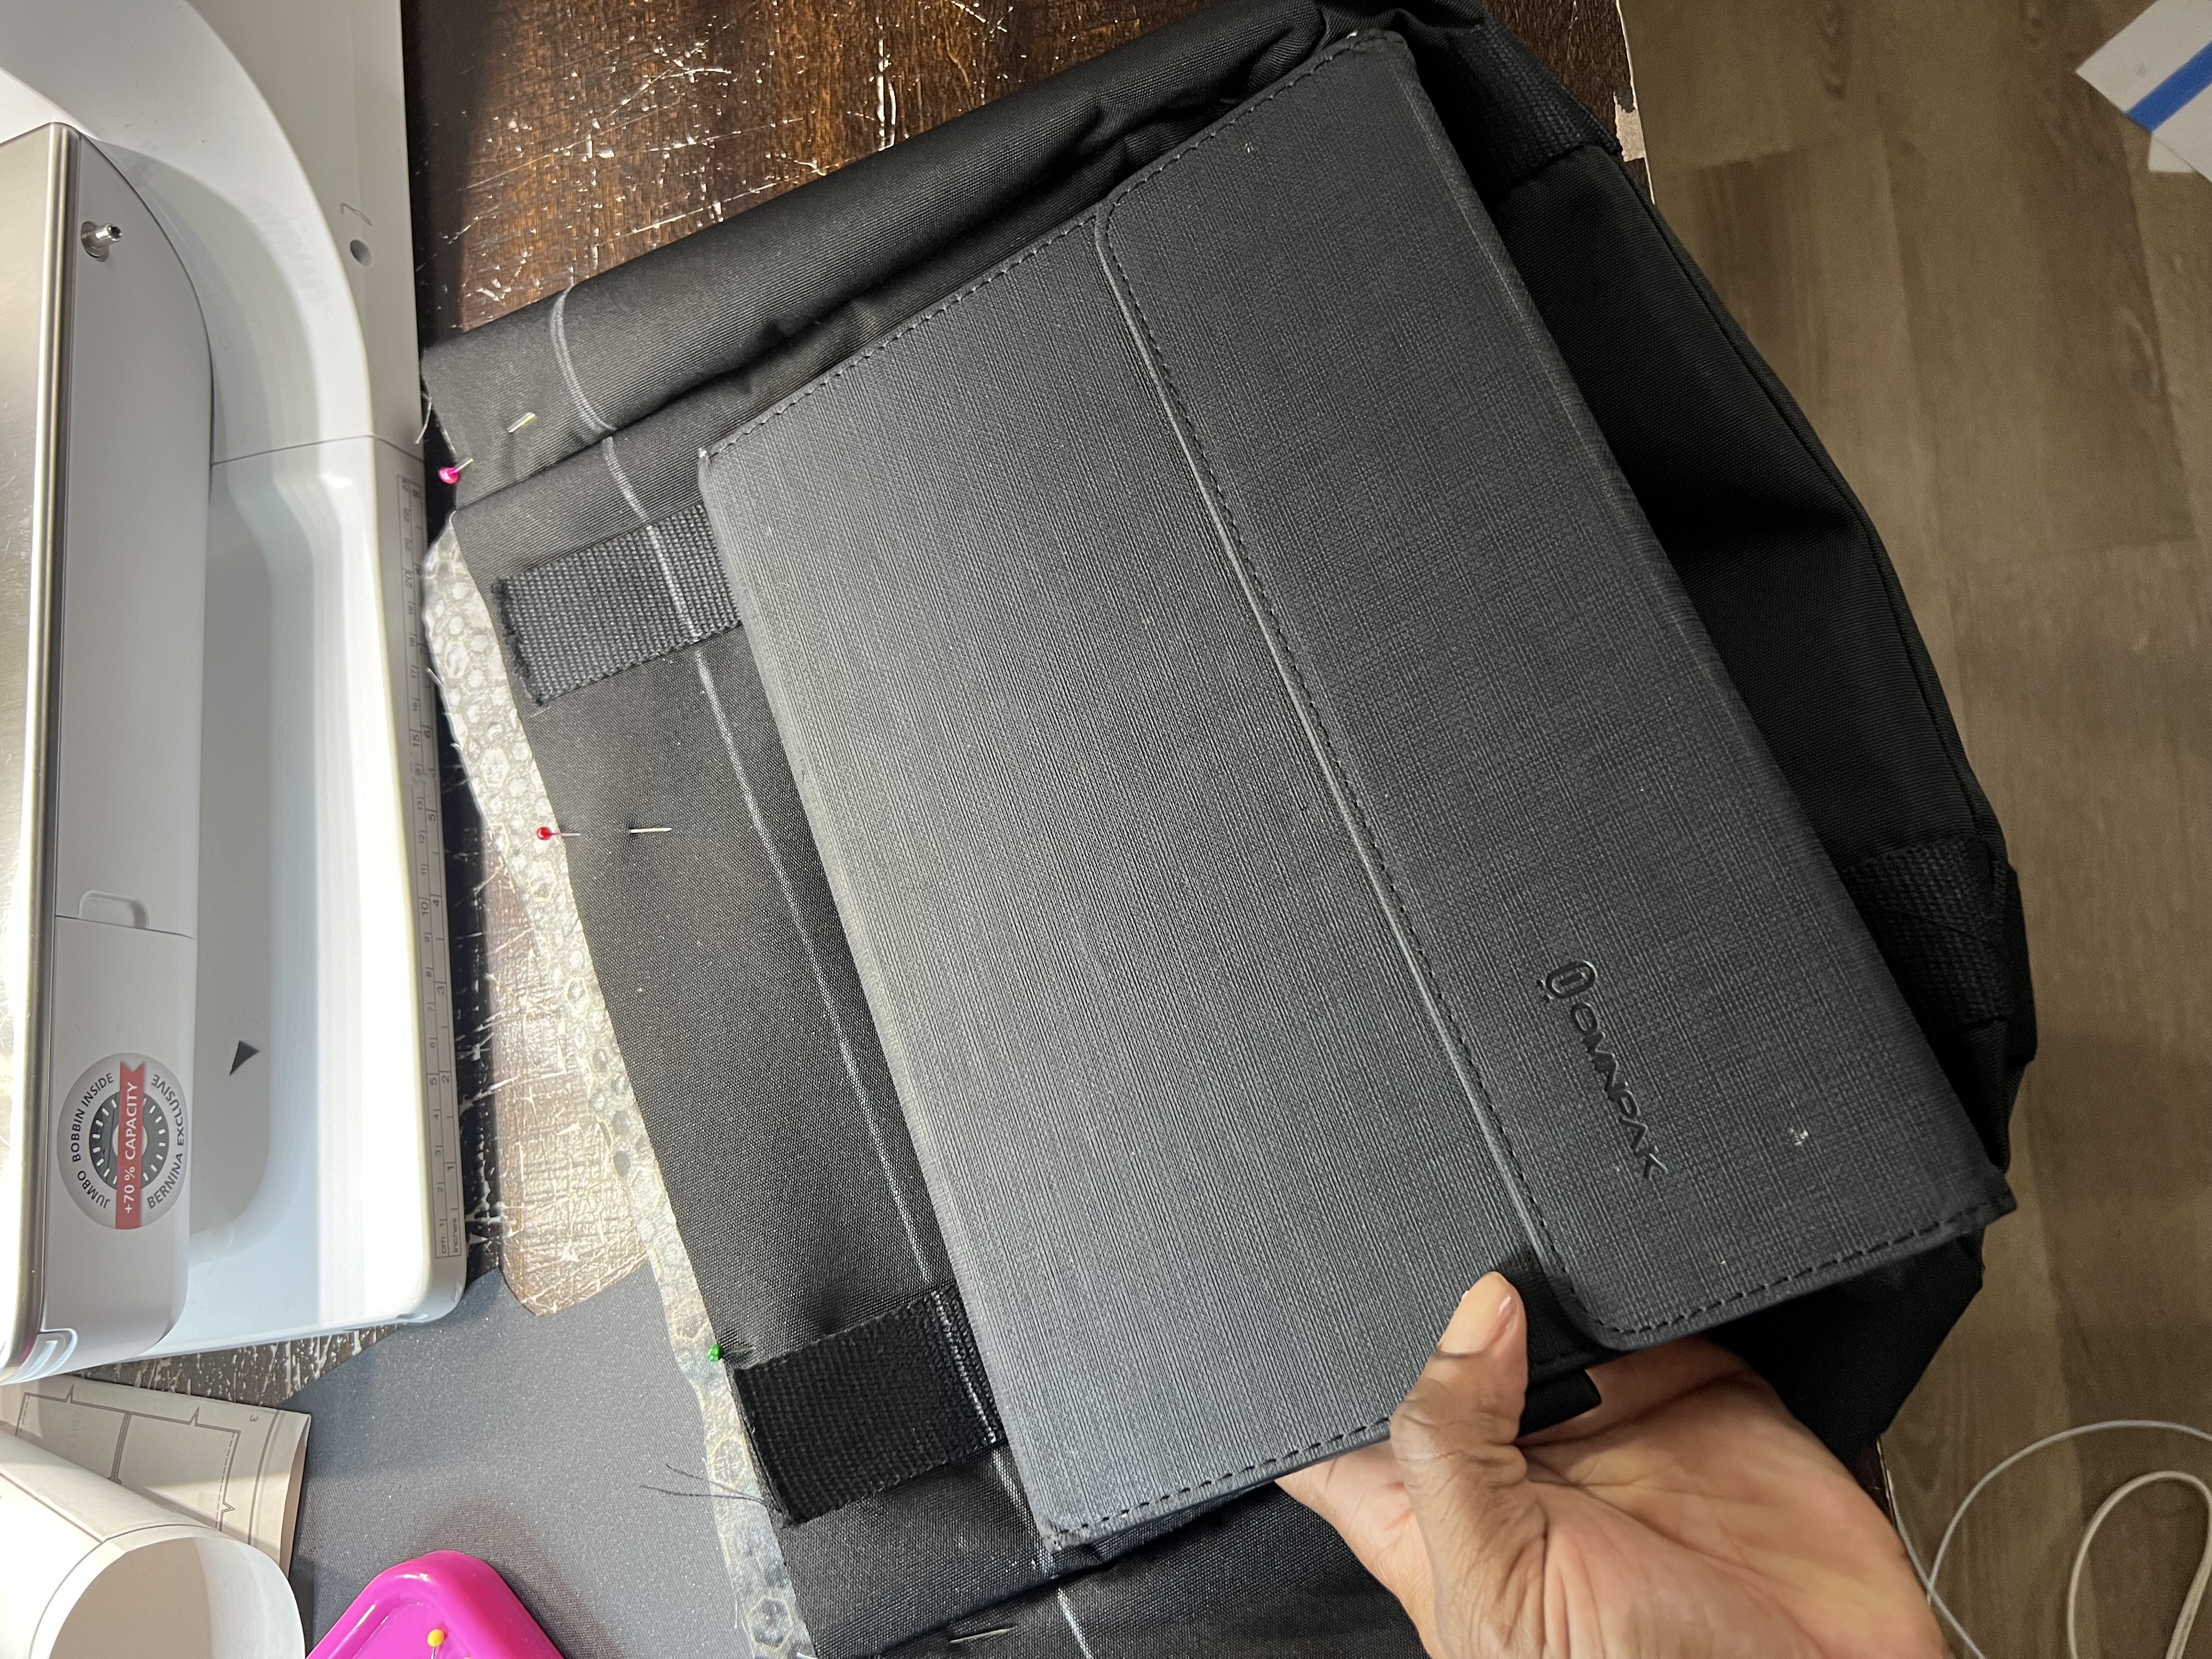
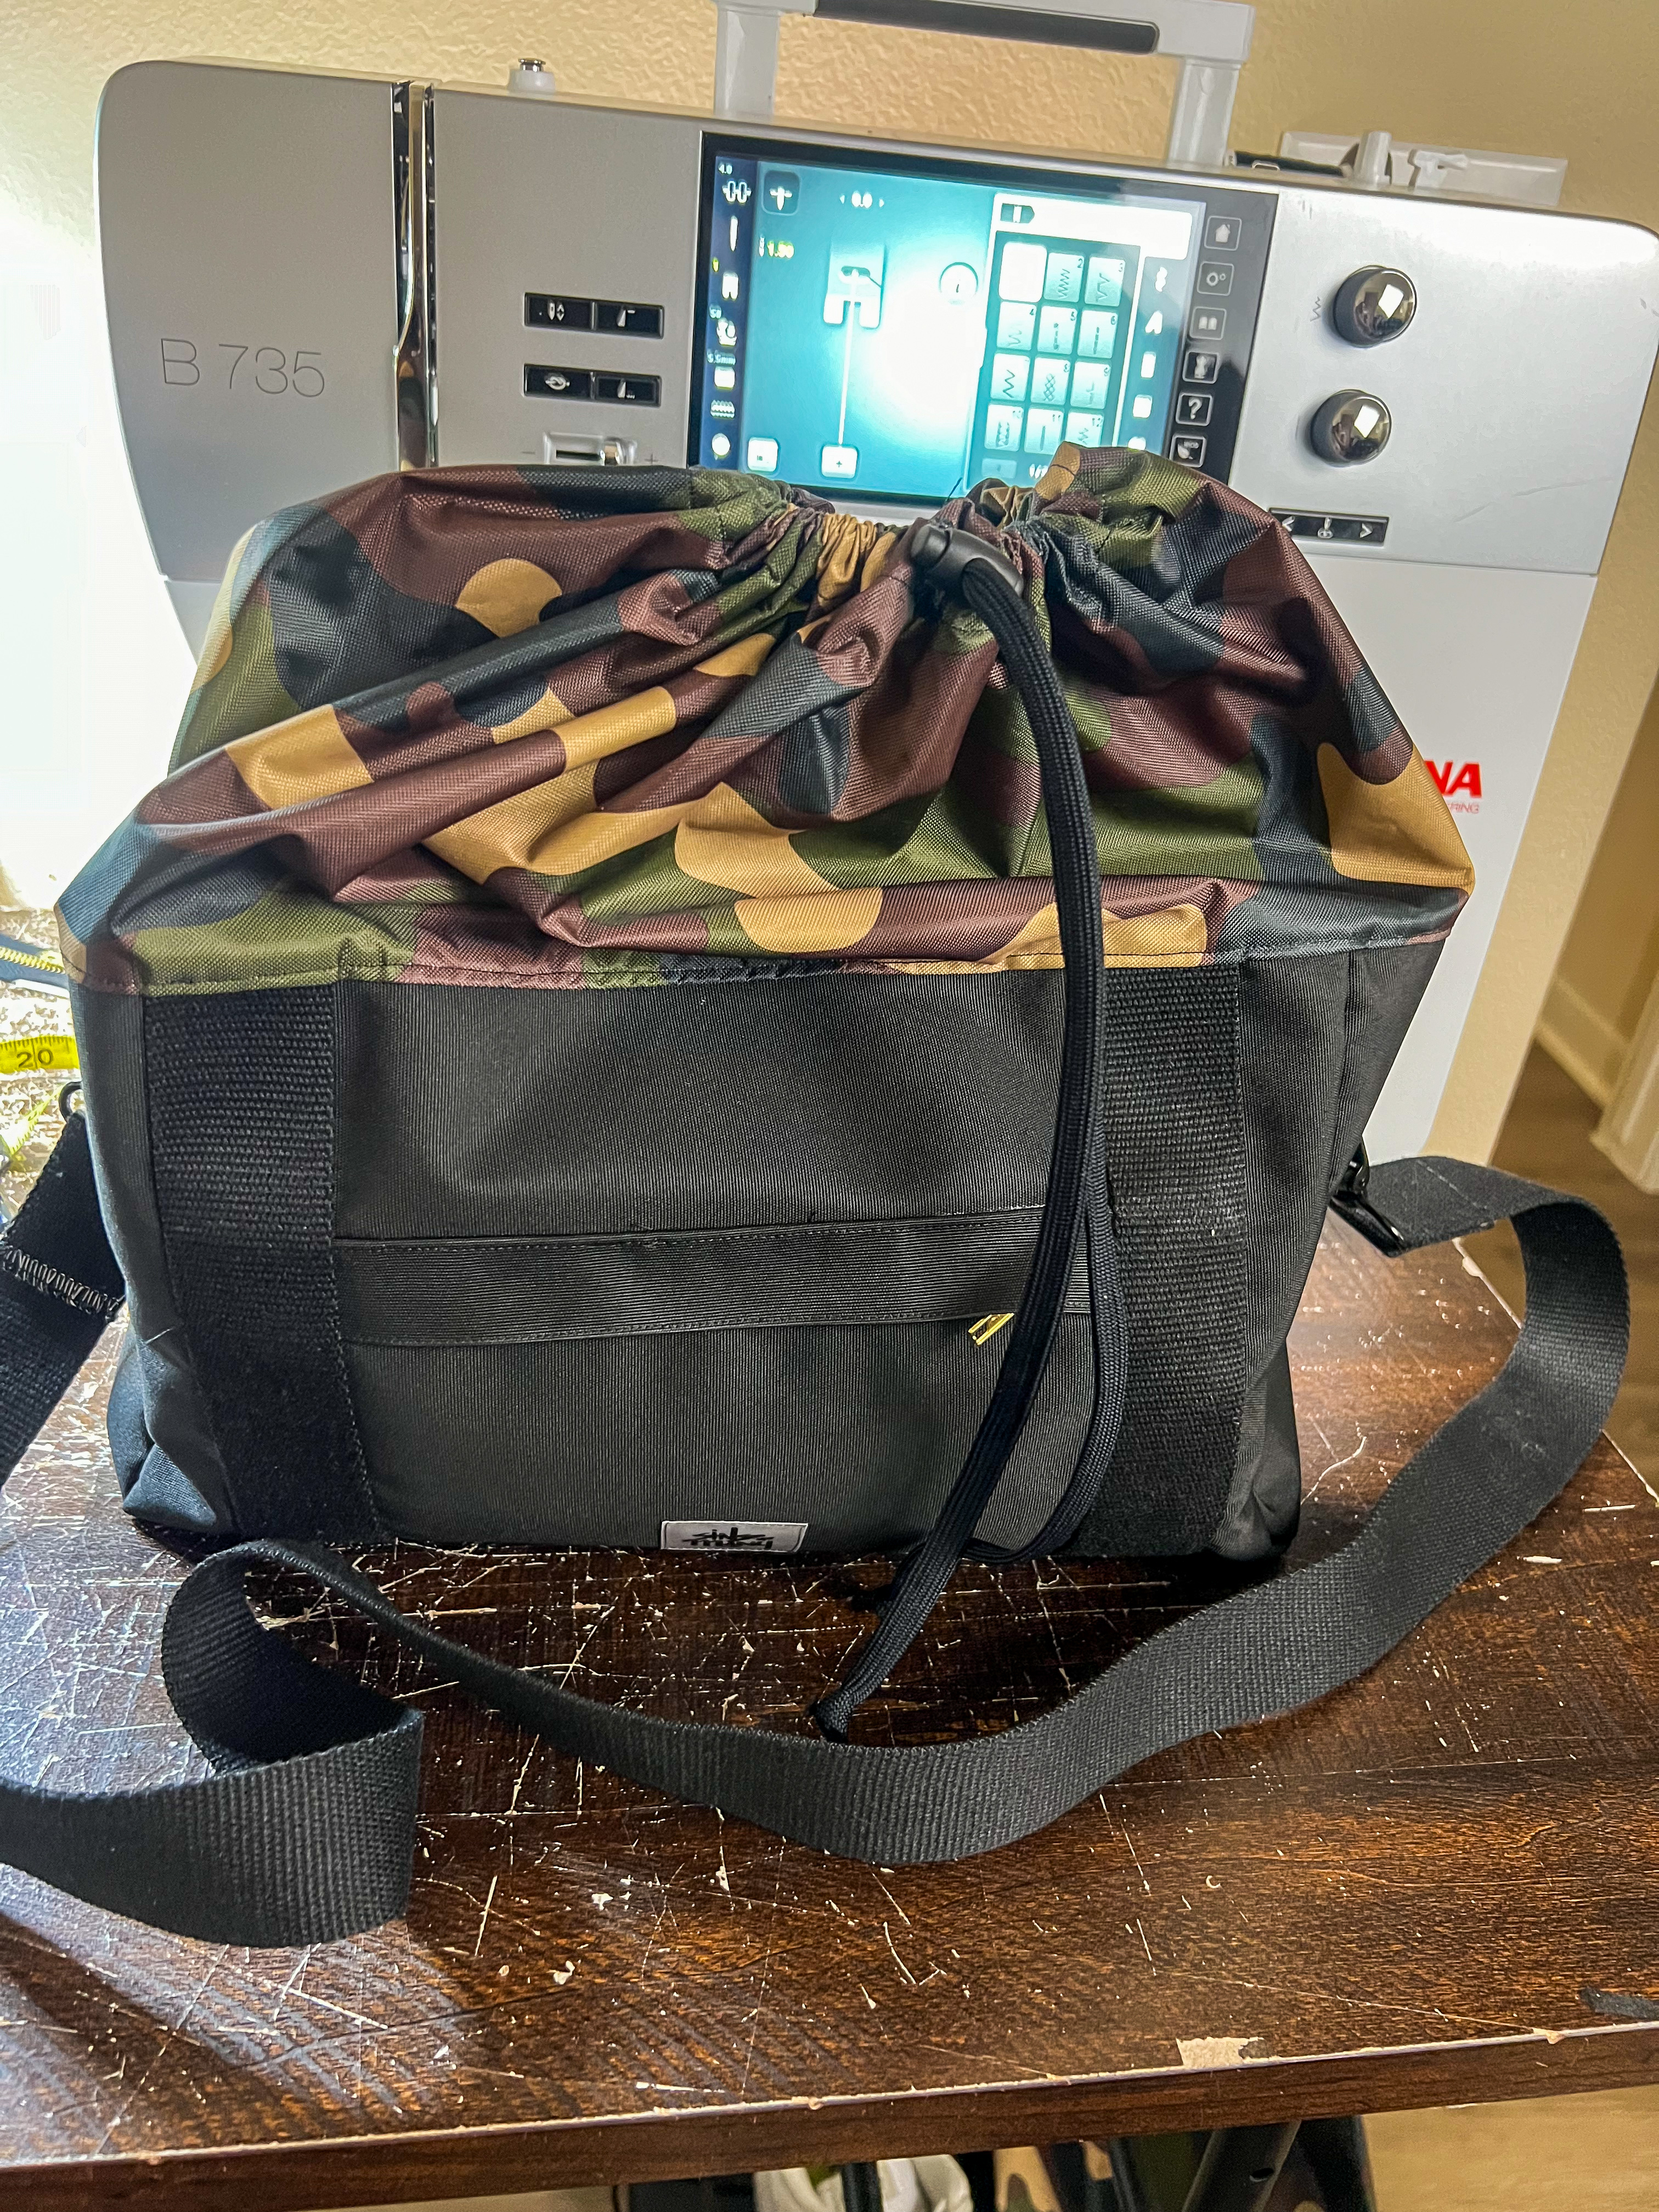
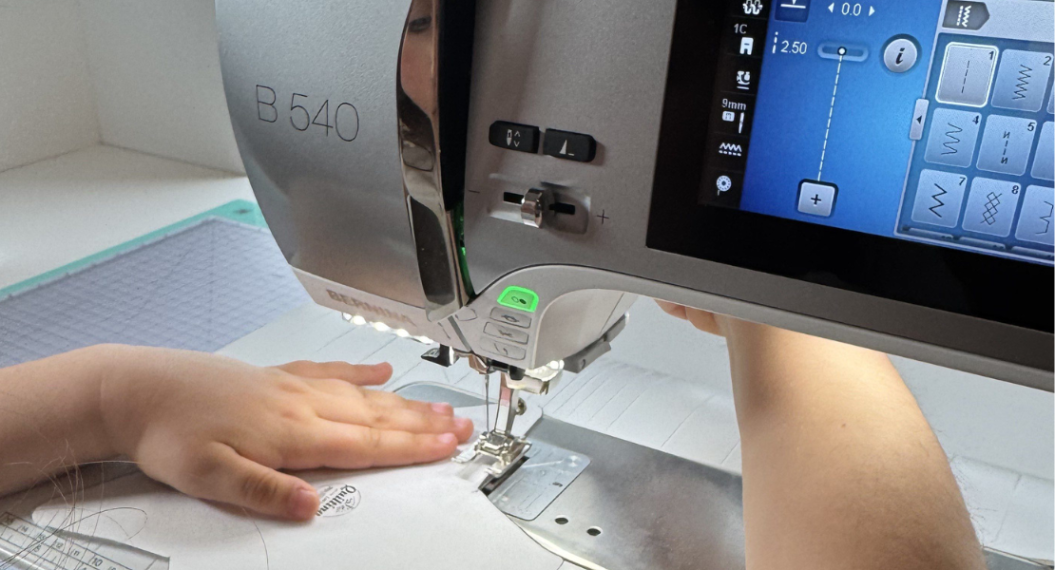
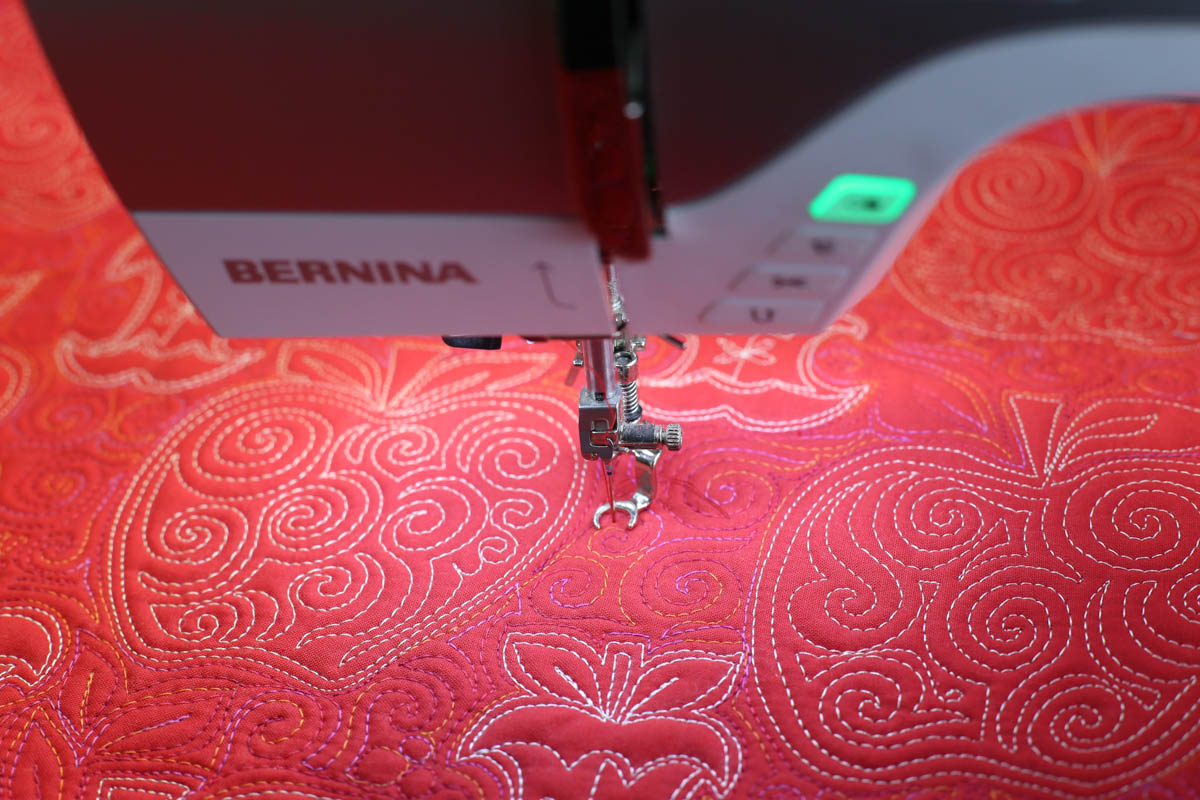
So, for those that don’t know I am currently attending pharmacy school (end of my first year, whoo!), and for the longest I have struggled to find the right messenger bag to carry my essentials: my iPad, my Surface Pro and other smaller necessities. I didn’t want to carry around a bulky backpack nor did I want a minimal tote bag, so I just decided to create a bag pattern that would fulfill my needs: fashionable, mid-size and easily accessible. So grab your sewing machine, I’m using my BERNINA 735, and let’s get started!
Materials to Sew a Messenger Bag
- Simplicity Sewing Pattern S9618
- 1.75 yds of Main Fabric (View B)
- .5 yd of Accent Fabric
- 5/8 yd Lining
- 2 yds Interfacing (if necessary)
- 2 Swivel Clasps
- 2 Cord Stops
- 1.5 yds Rip Cord
- 2 – 5/8 inch D-rings
- 5 yds of 1.5 inch Belting/Strapping
- 1 – 7 inch Closed-end Zippers
- Scissors
- Ruler
- Heat-sensitive Chalk Pencils
- Sewing Thread
- BERNINA Zipper Foot #4
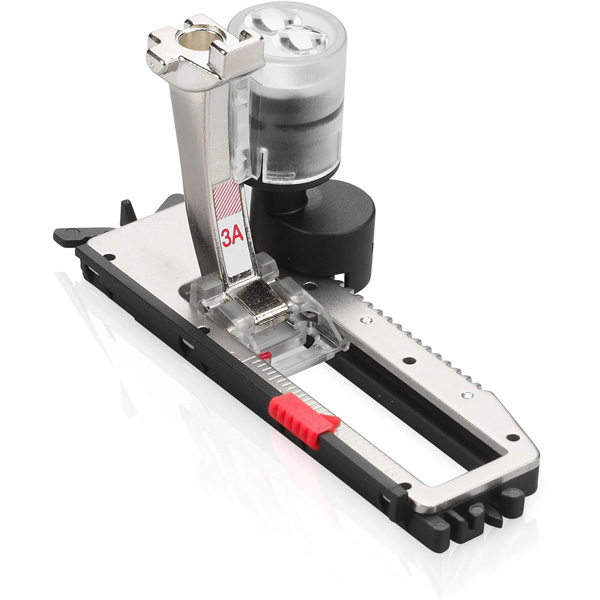
- BERNINA Buttonhole Foot #3A
Instructions to Sew a Messenger Bag
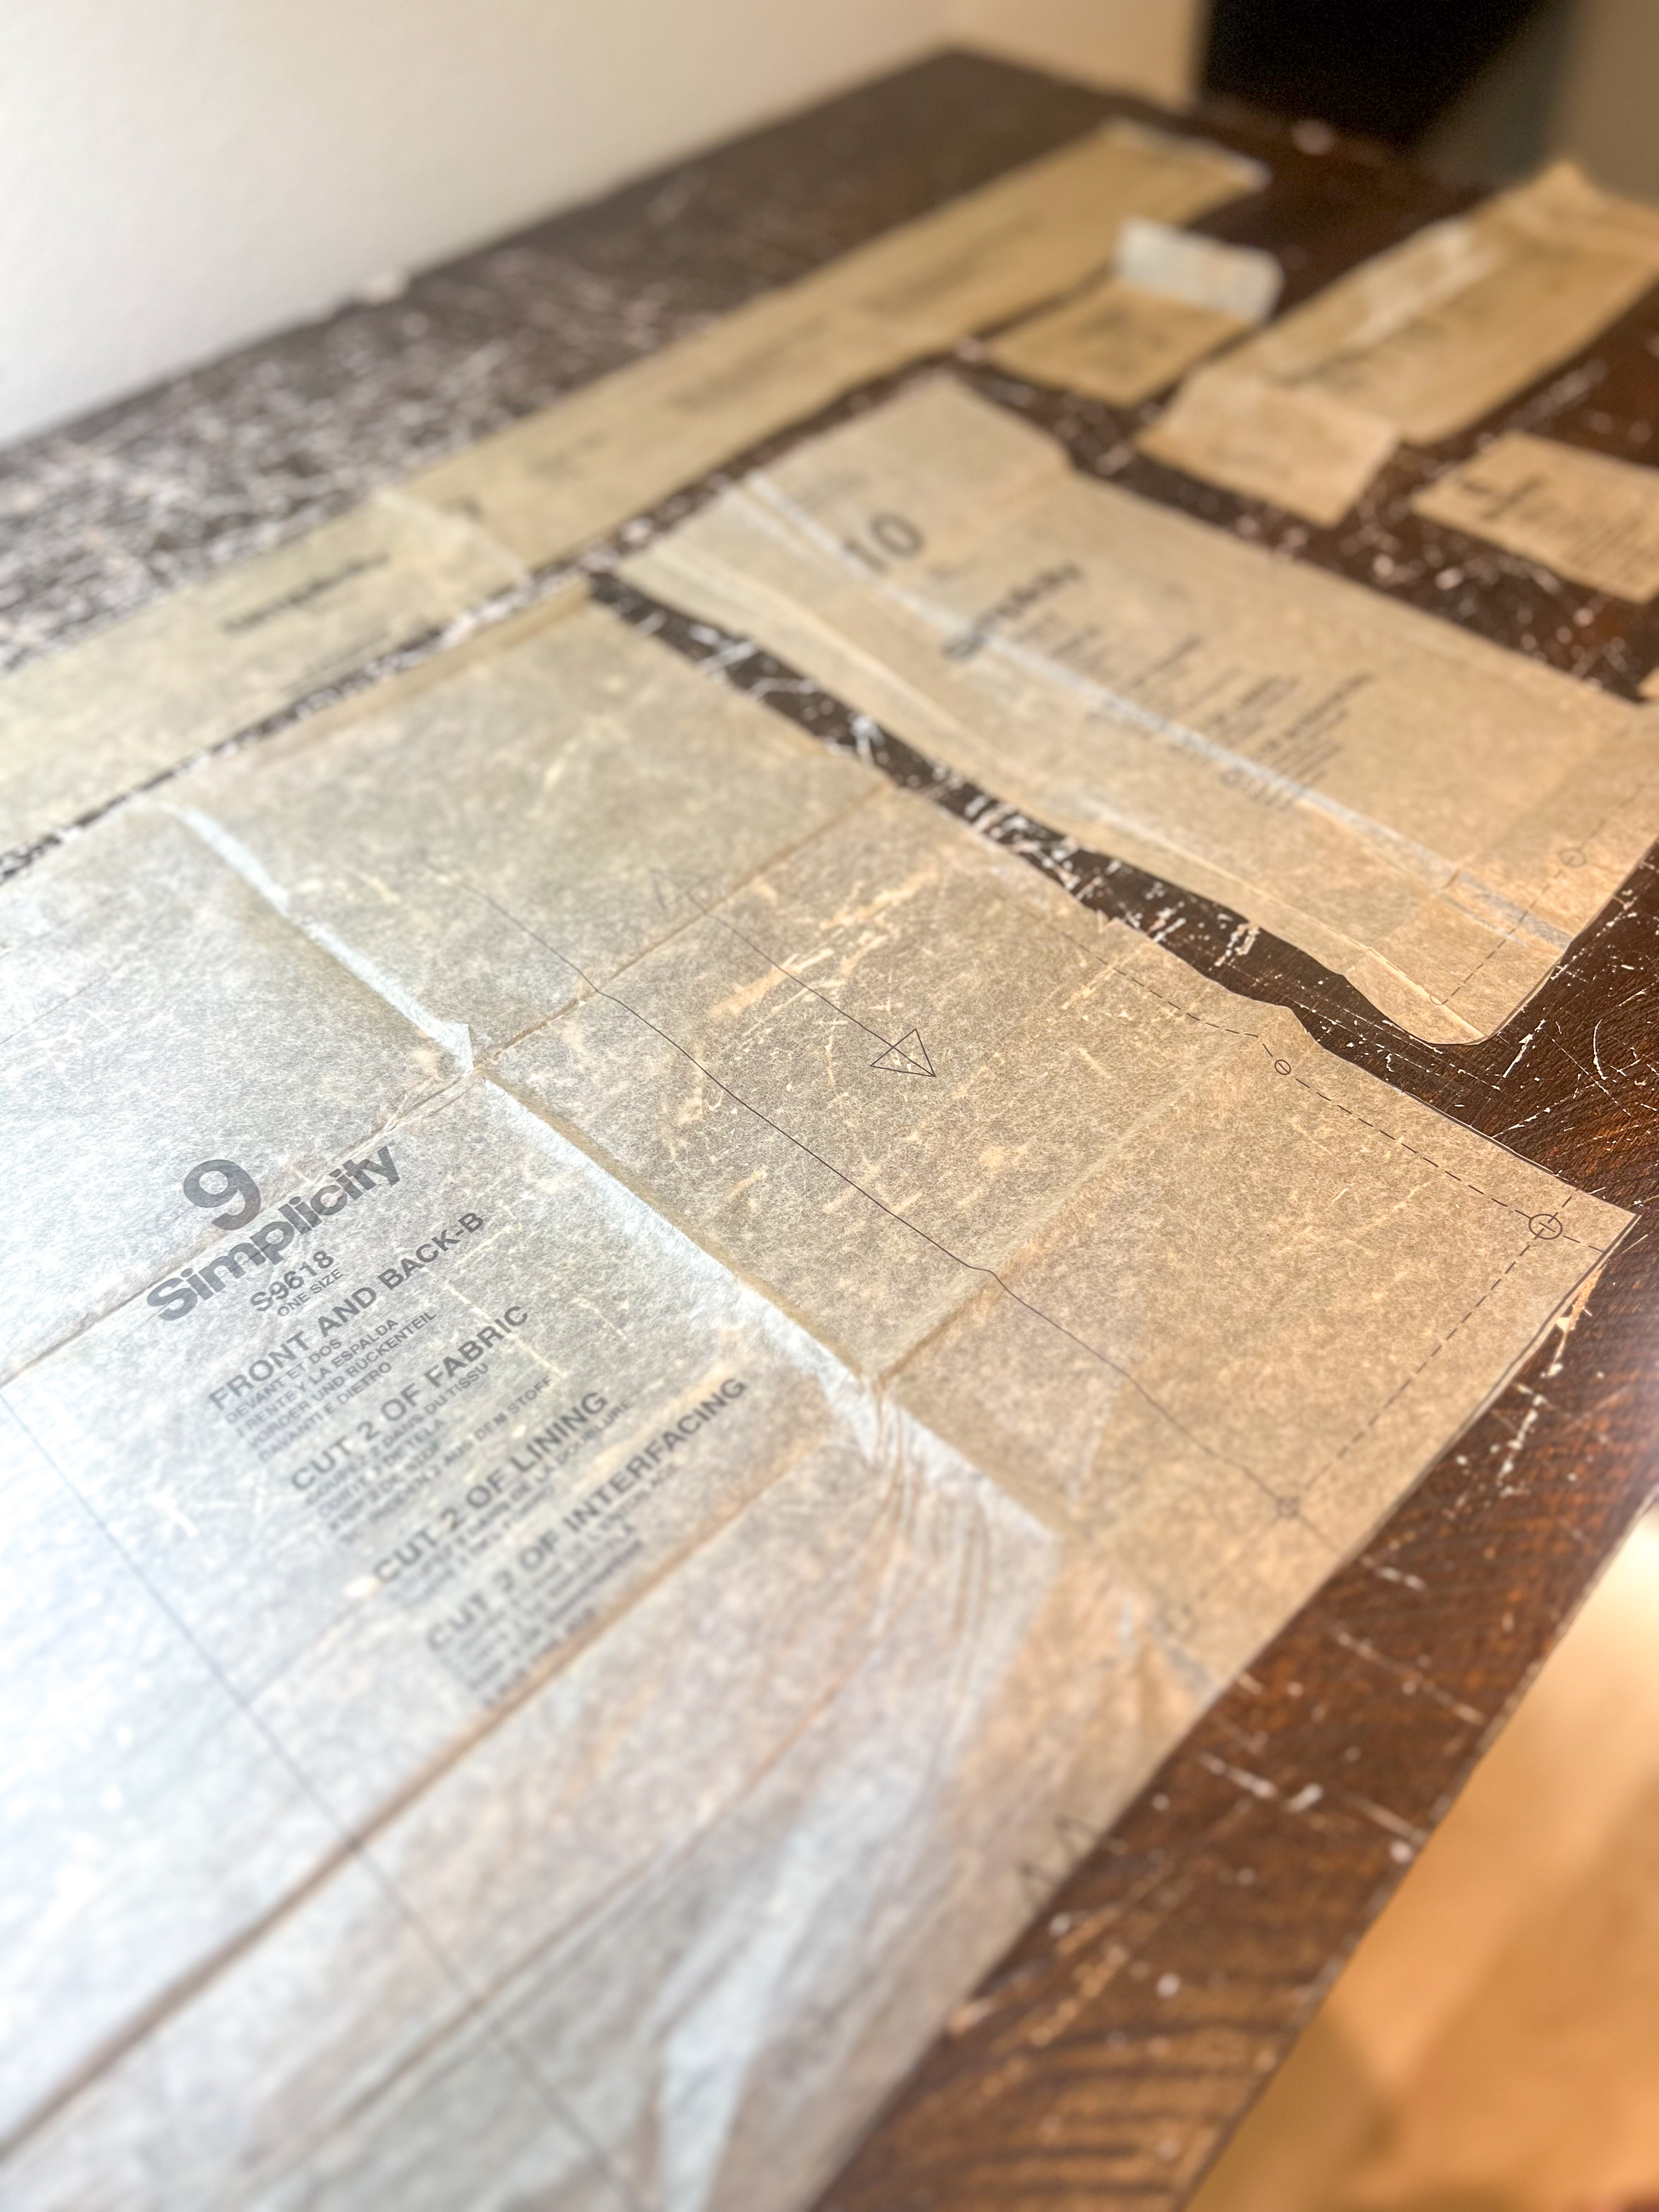
Step 1: Cut Out Pattern Pieces
First things first, we have to cut out our pattern pieces for the messenger bag (I know, this is my least favorite piece first)! Everything should be cut the same according to the pattern instructions EXCEPT for the front, back and side panel pieces. I cut 1.5 inches shorter from the top on all three pieces (front, back & side).
Reminder: The proceeding instructions are for View B. We will not be using pattern pieces 4,8 and 11.
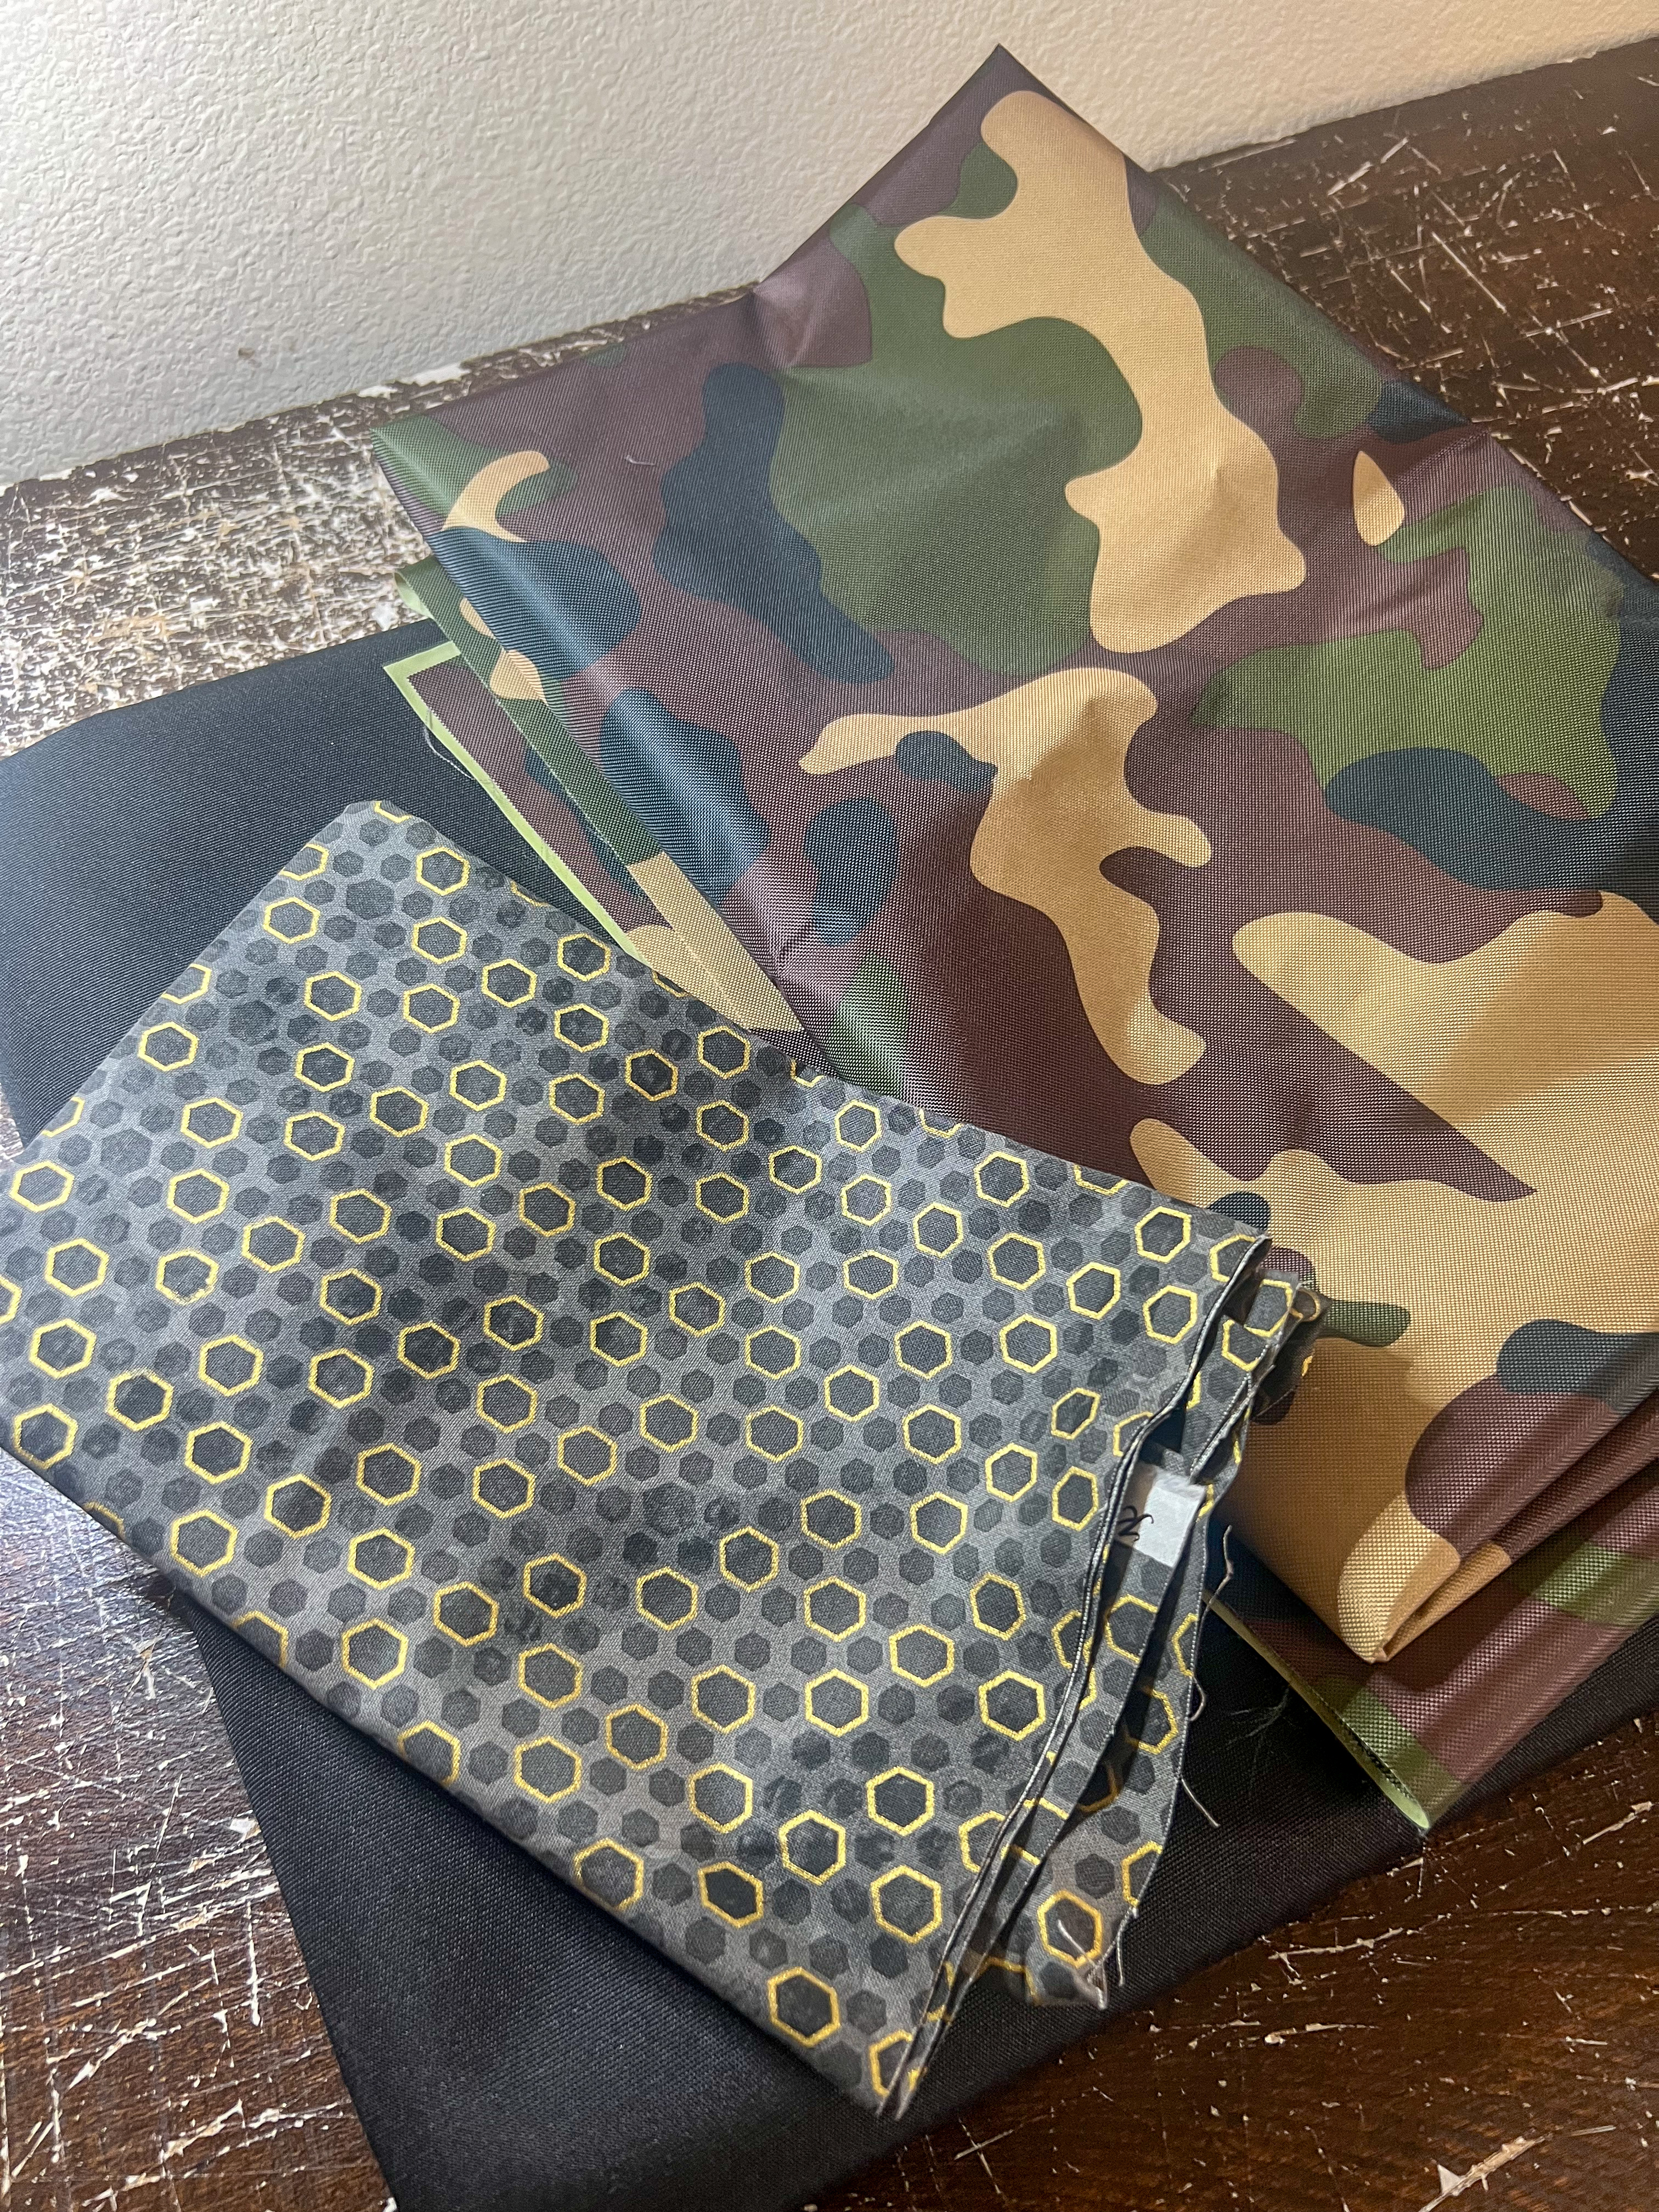
Step 2: Cut Main Fabric, Lining & Interfacing* (according to pattern instructions, *if necessary)
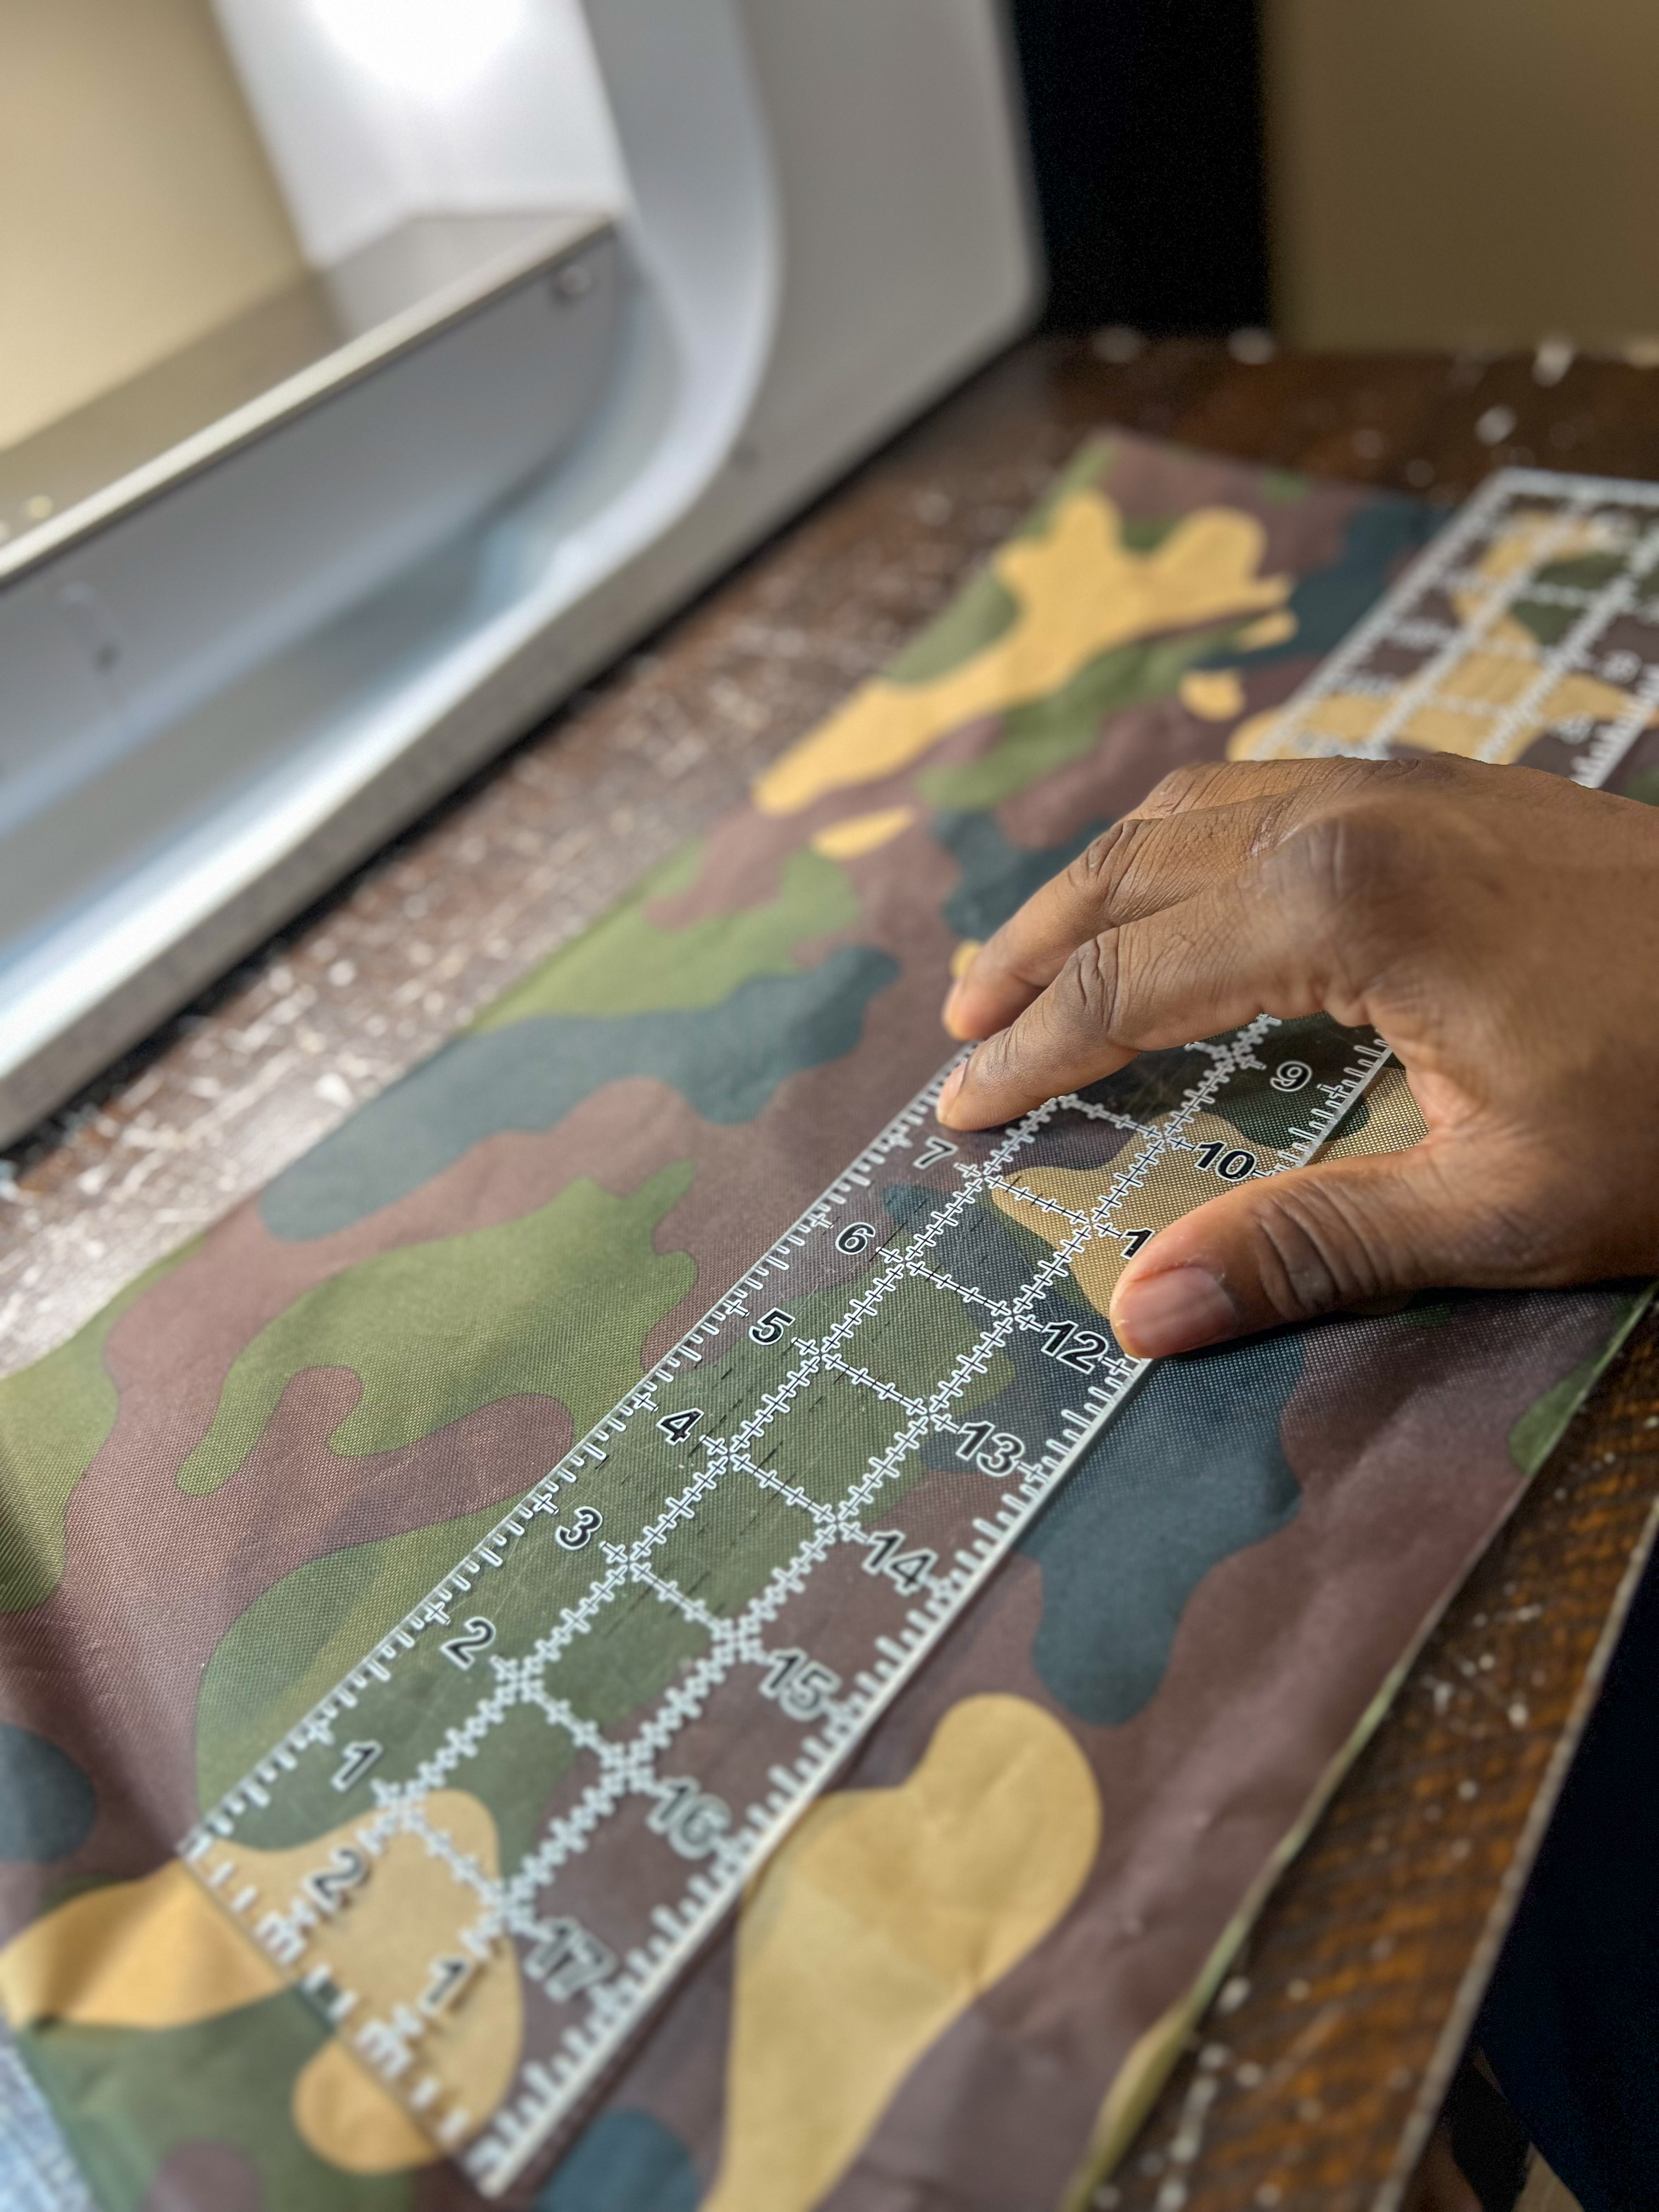
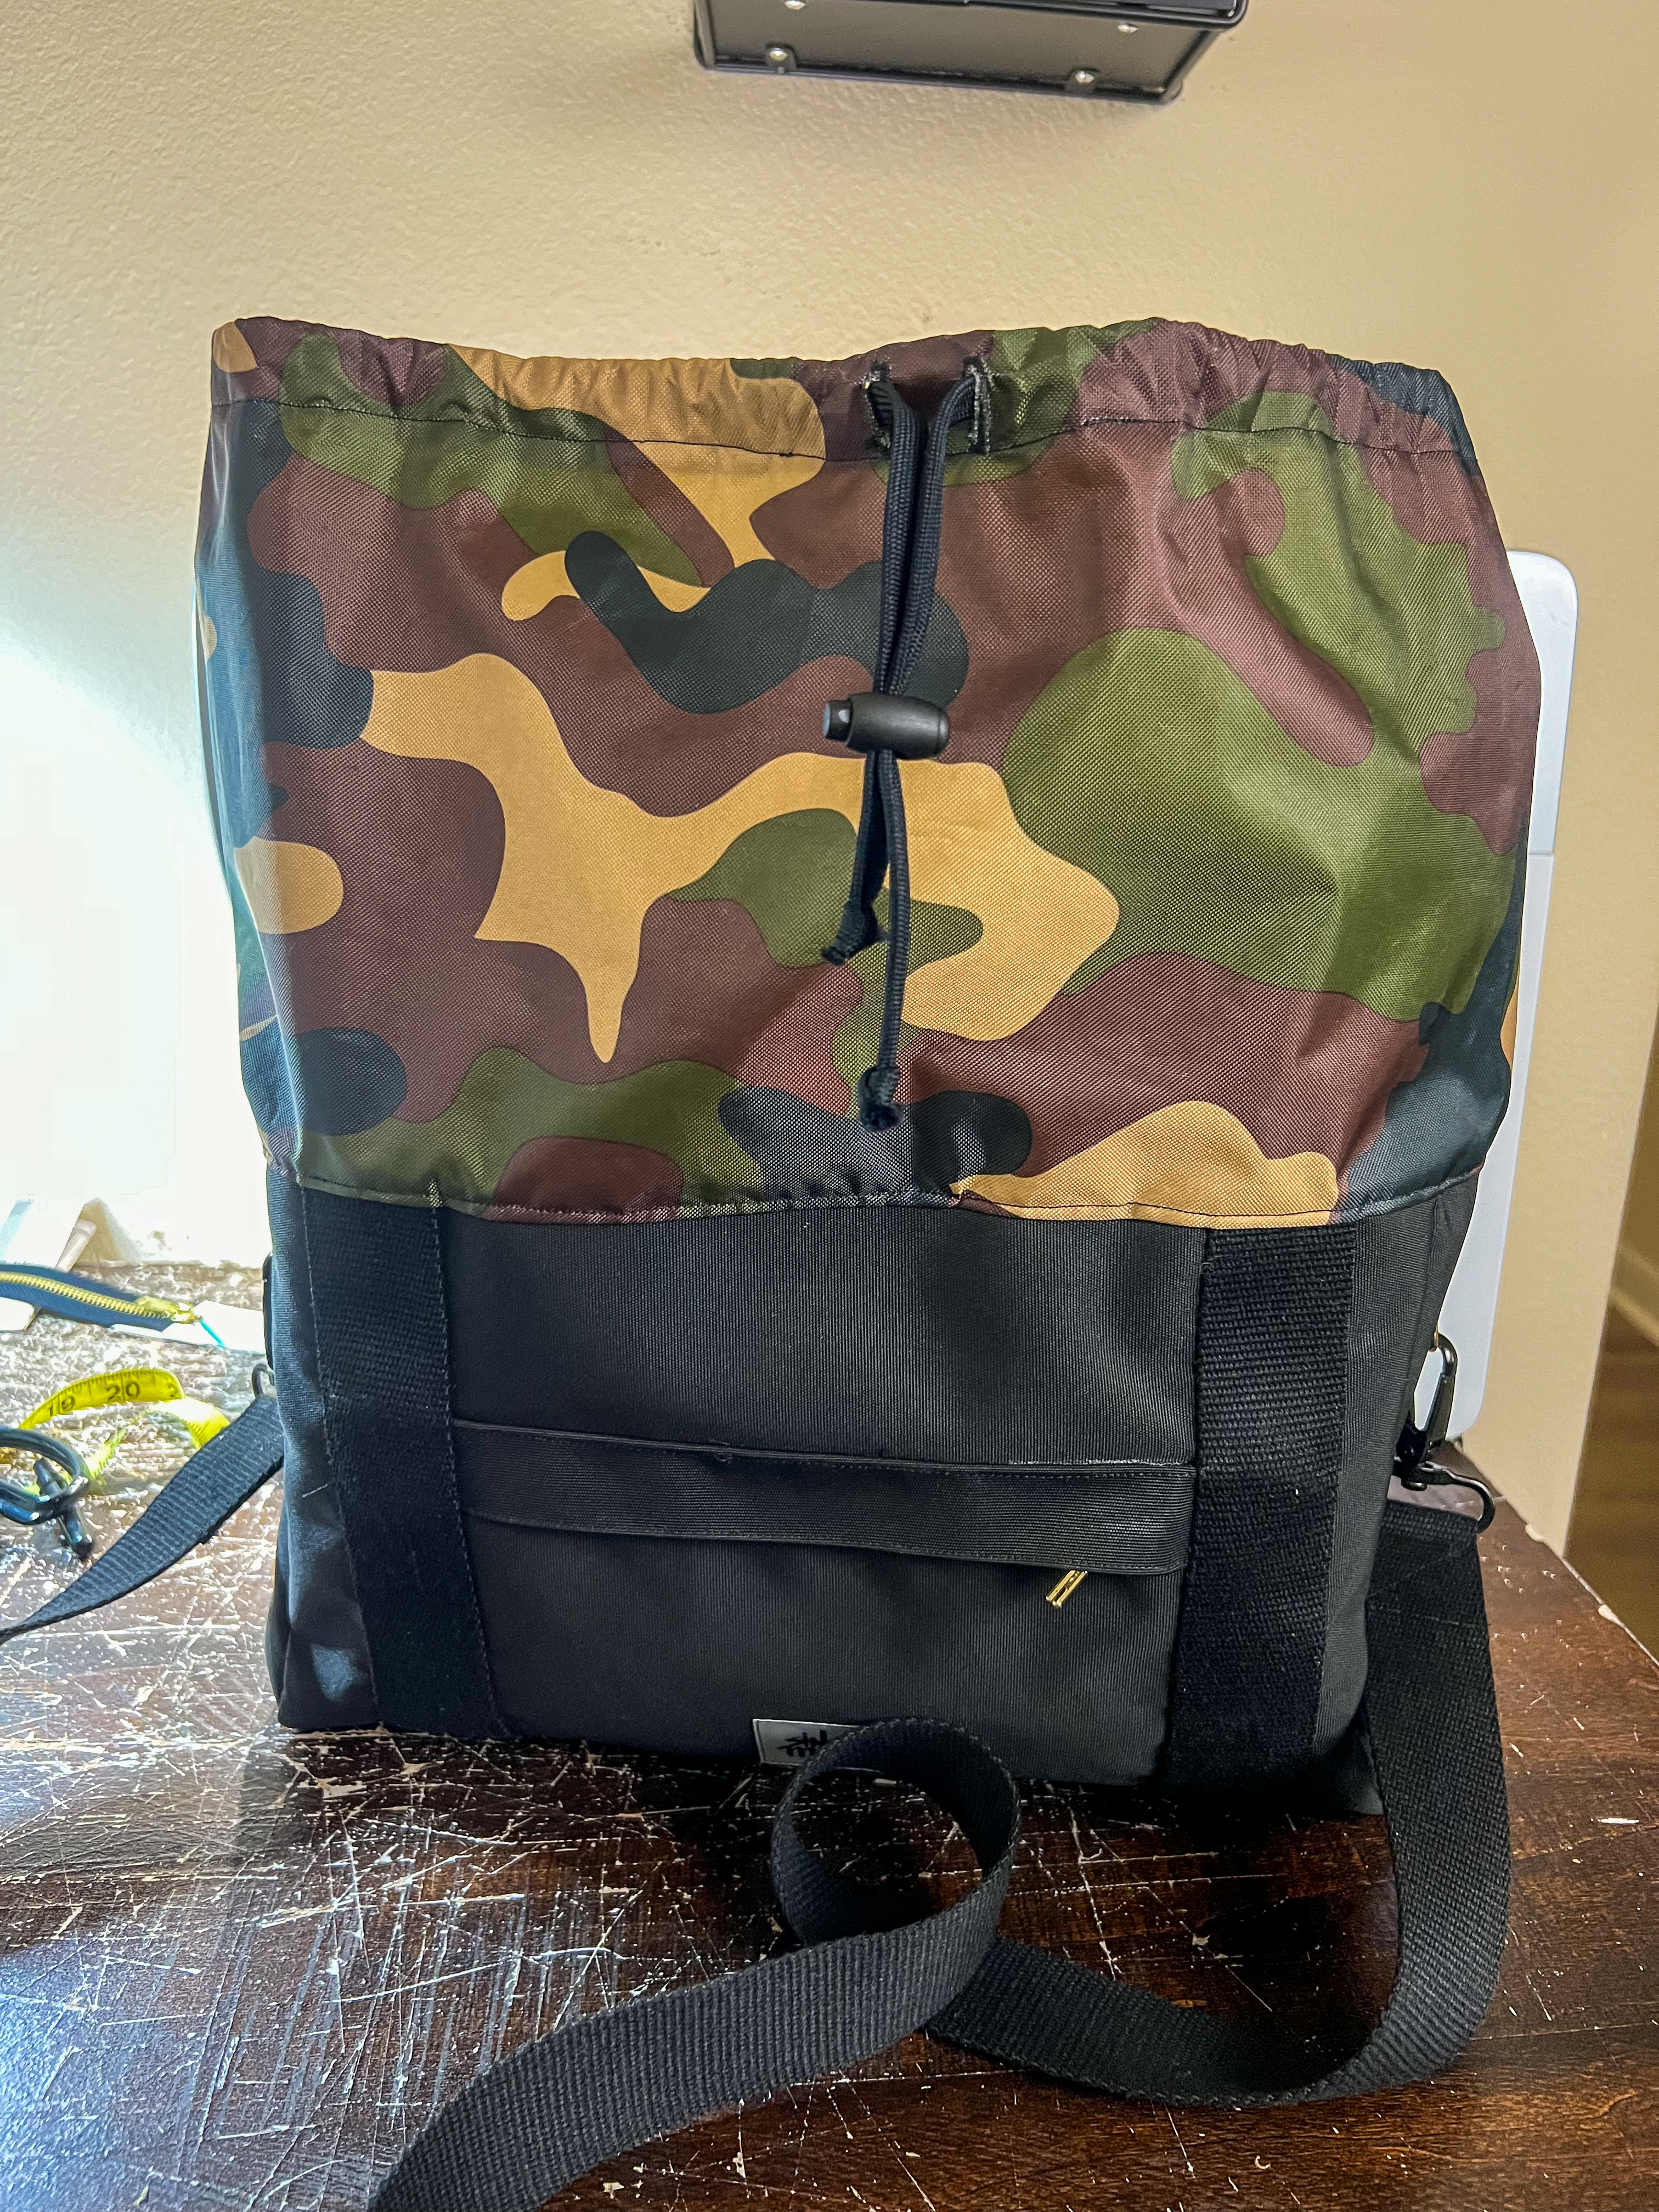
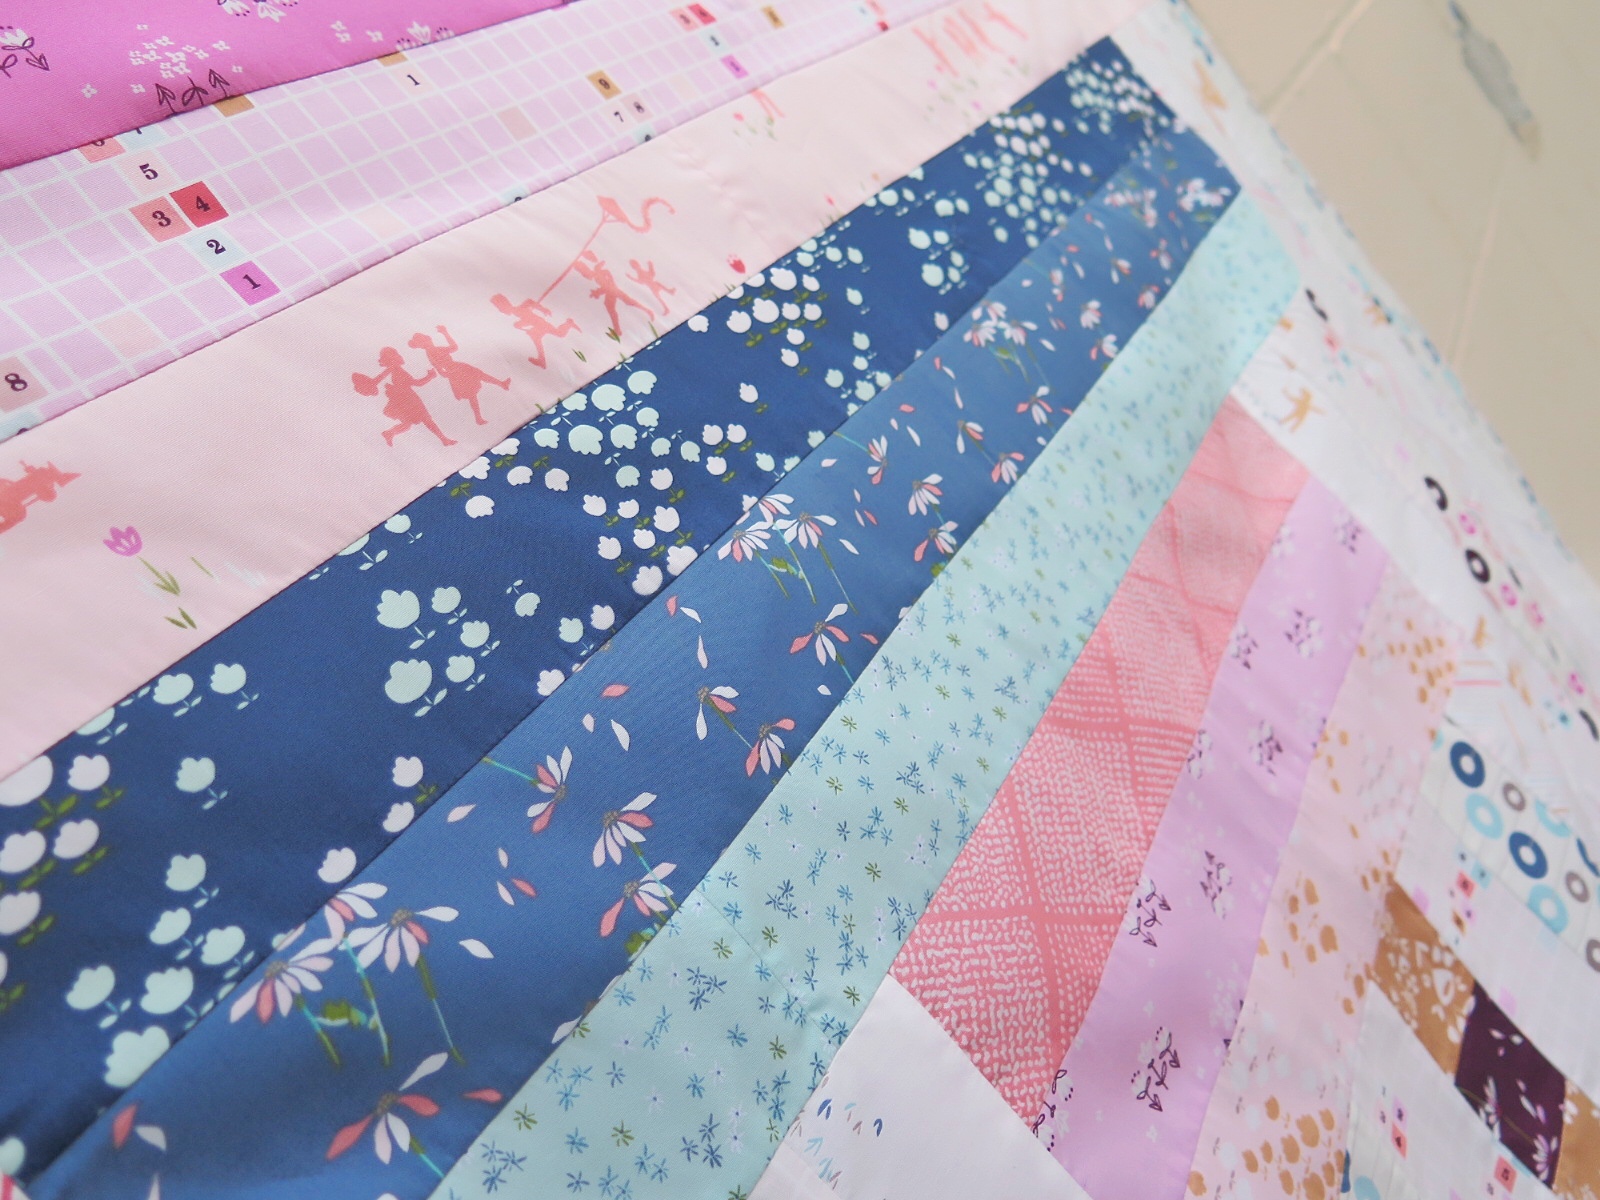
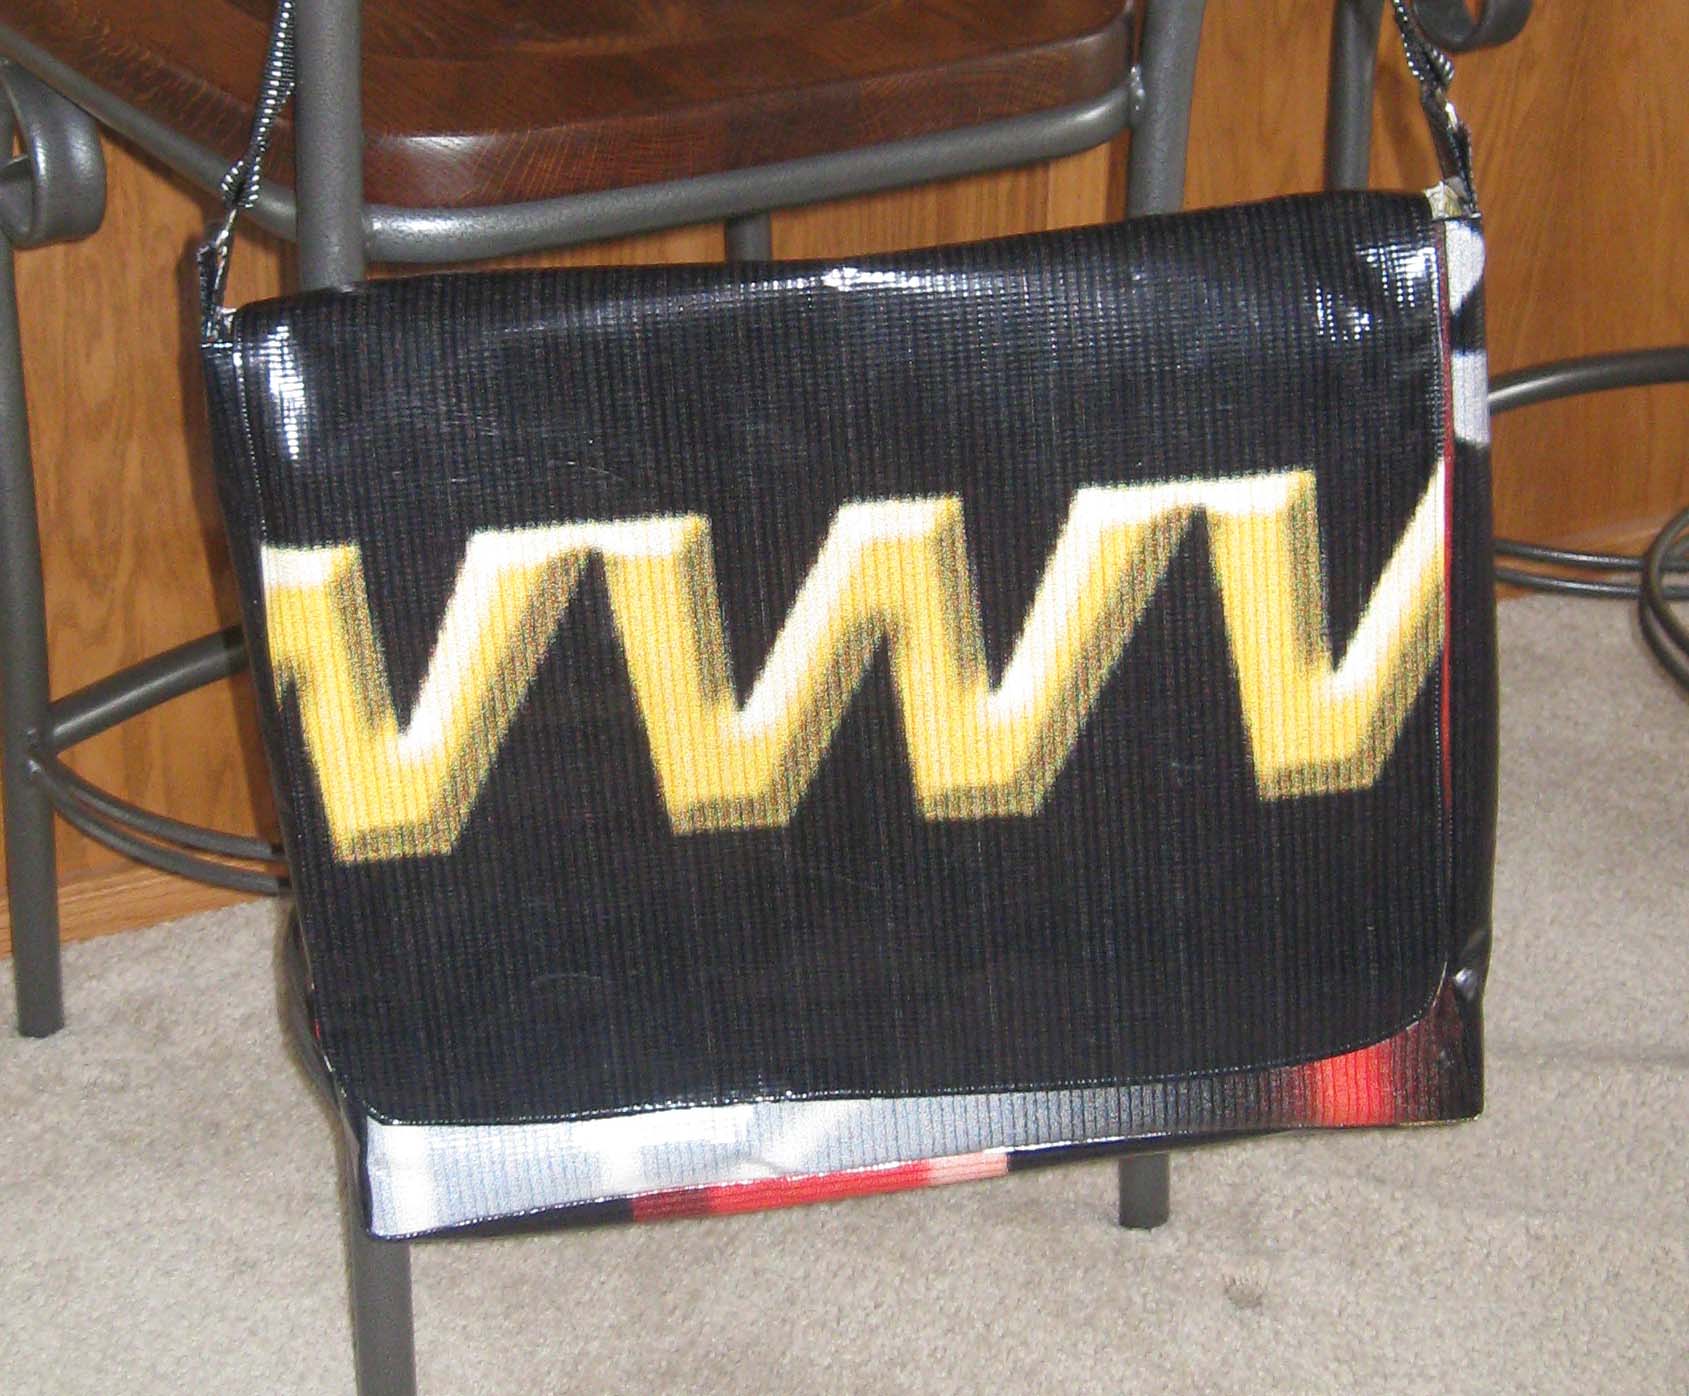
For my messenger bag, I chose to use a black canvas awning for my main fabric and a camouflage high density rip stop fabric by Eddie Bauer. Lining fabric used was a bees/honeycomb printed cotton fabric.
Using the above mentioned pattern pieces, cut out the pieces of your main fabric. For your accent fabric, cut a 40in x 10in piece. For the strap (piece 7), you can either use the fabric, or like me, use belting/strapping instead. Interface accordingly per the pattern instructions.
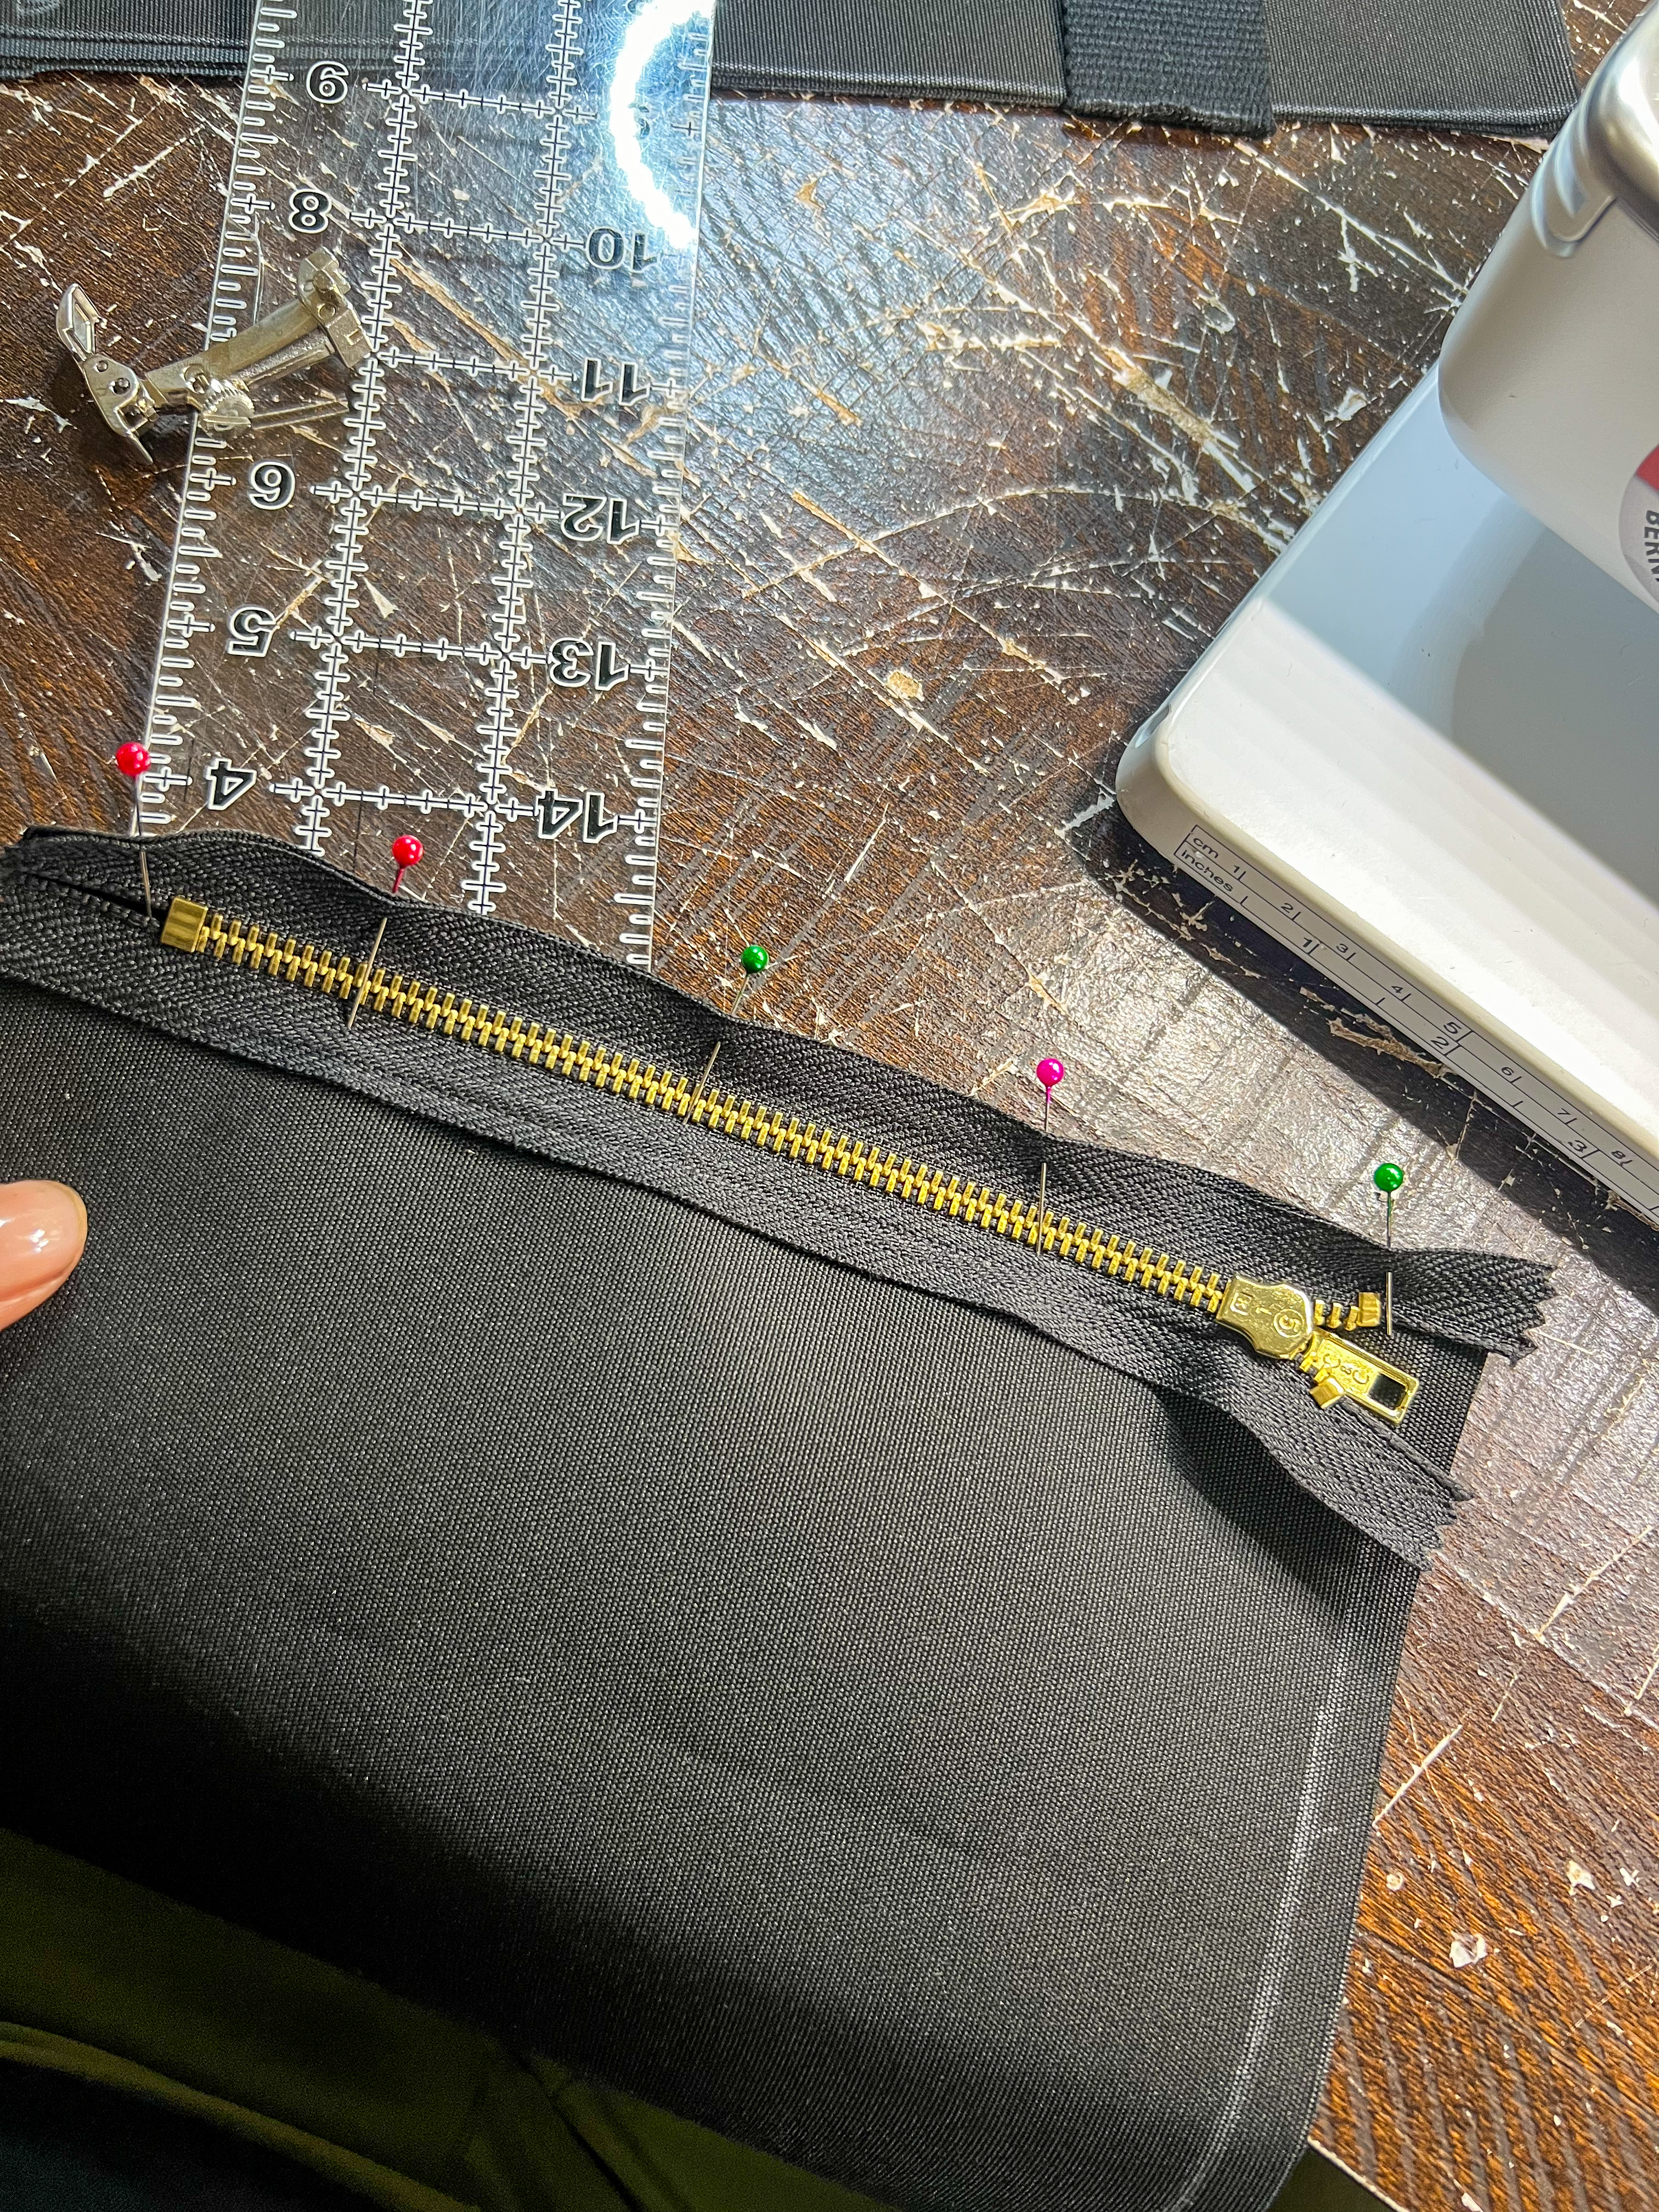
Step 3: Front Pocket Assembly
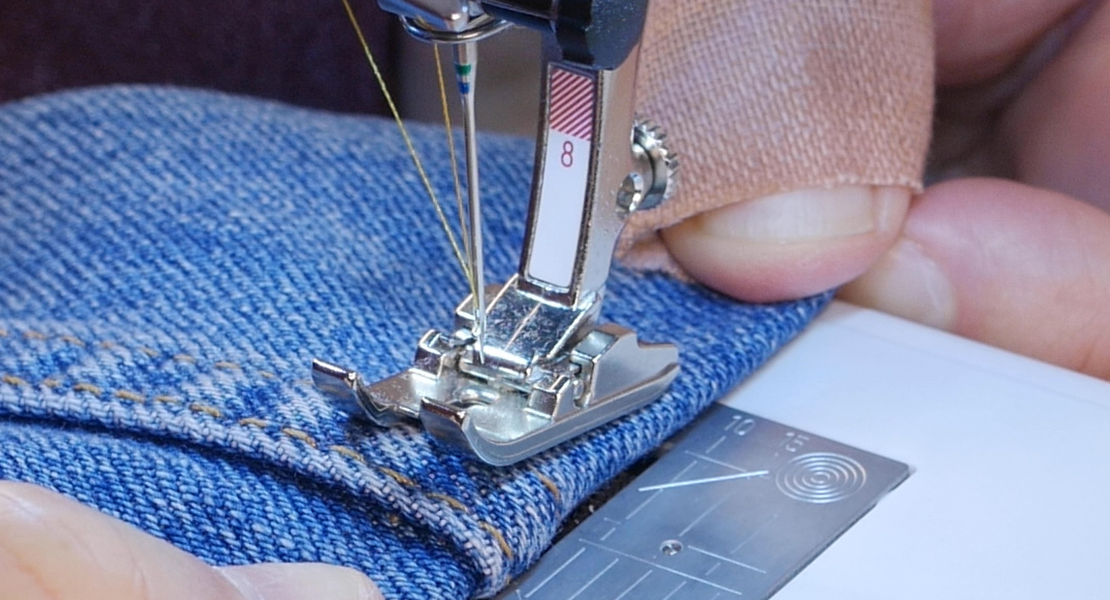
Cut a 8in x 8in piece (pocket piece) and a 8in x 3in (pocket flap piece) piece of fabric. With right sides facing each other and edges lined up, place the pocket piece over and along the bottom length of the zipper and stitch using BERNINA Zipper Foot #4. Turn right side out.
Fold the pocket flap piece in half, and topstitch along the sides and folded edge. Leave the raw edges free. With the right side of the pocket flap, align the unfinished edge to the wrong side of zipper along the top length. Baste stitch to hold it in place. Flip the pocket piece flap over, seemingly draping over the zipper. Topstitch along the length of flap. Once finished, center pocket piece (with pocket flap attached) to the front piece of the messenger bag. Baste stitch sides of pocket.

Step 4: Attach Front & Back Pieces
Attach the front and back pieces. FYI: I serge all my edges to finish.
Step 5: Attach Belting/Strapping
Cut 2 pieces of belting/strapping the length of your front and back pieces and stitch. On the front piece, the straps should align with the edges of the front pocket (slightly overlap). You can see the messenger bag coming together!
Step 6: Attach Side Panels to Front/Back Pieces
With right sides facing, stitch the side panels with the edges of the front and back pieces. using 5/8ths inch seam allowance. Turn right side out.
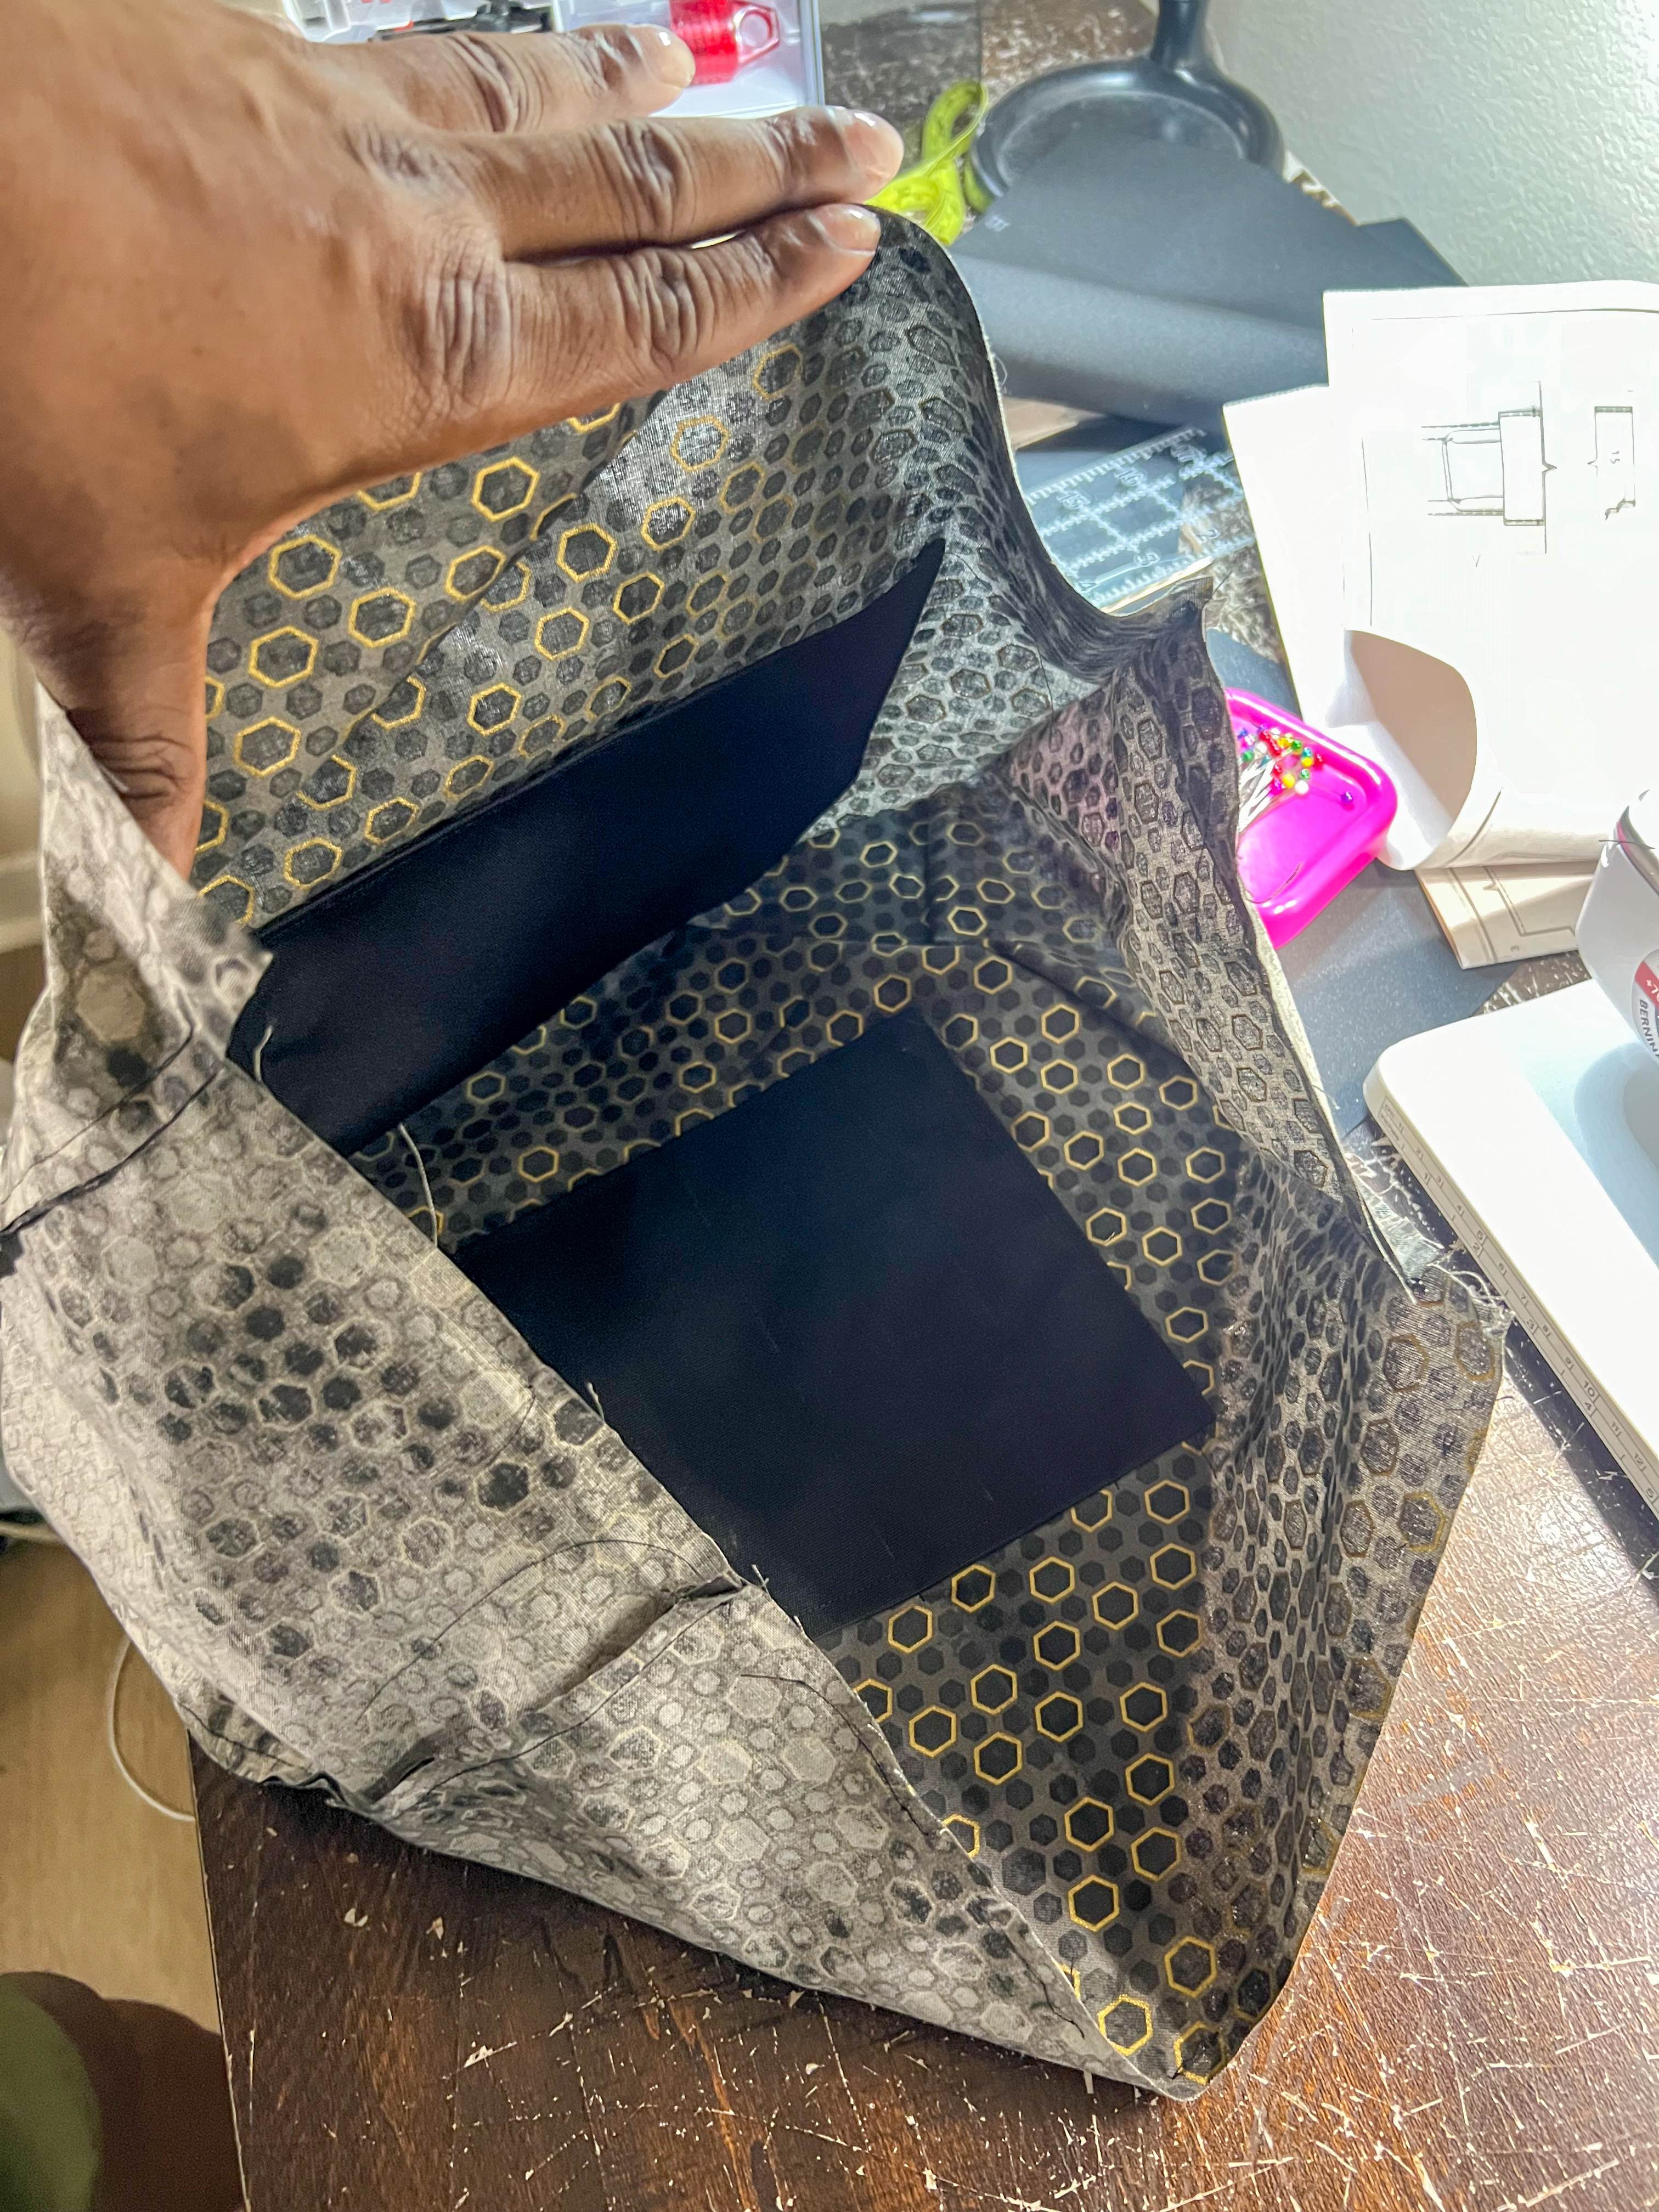
Step 7: Inside Pocket(s) Assembly
***This is optional. I just wanted to have pockets that I can put my pens/pencils and a pocket for my ID card and keys. For the first pocket, I cut out 2 – 8 inch x 8 inch pieces (inside pocket piece) of fabric. For the first one, I folded in the edges .5 inch along all sides. Topstitch the top edge 1/4in from the edge, and another row .5 inch from the edge. This will be the top of the pocket. For the second piece, similar to the first one, fold in .5 inch along all edges. And topstitch similarly as well. Then using a ruler, I measured out 2 – 1 inch sections along the width of the pocket, and marked them using my heat erasable marking pencils. I added both inside pocket pieces to the right side of front and back lining pieces respectively and stitched in place. For the second inside pocket piece with the 2 – 1 inch markings, after stitching the pocket in place, stitch over both line markings. These will serve as pen/pencil inserts for the messenger bag.
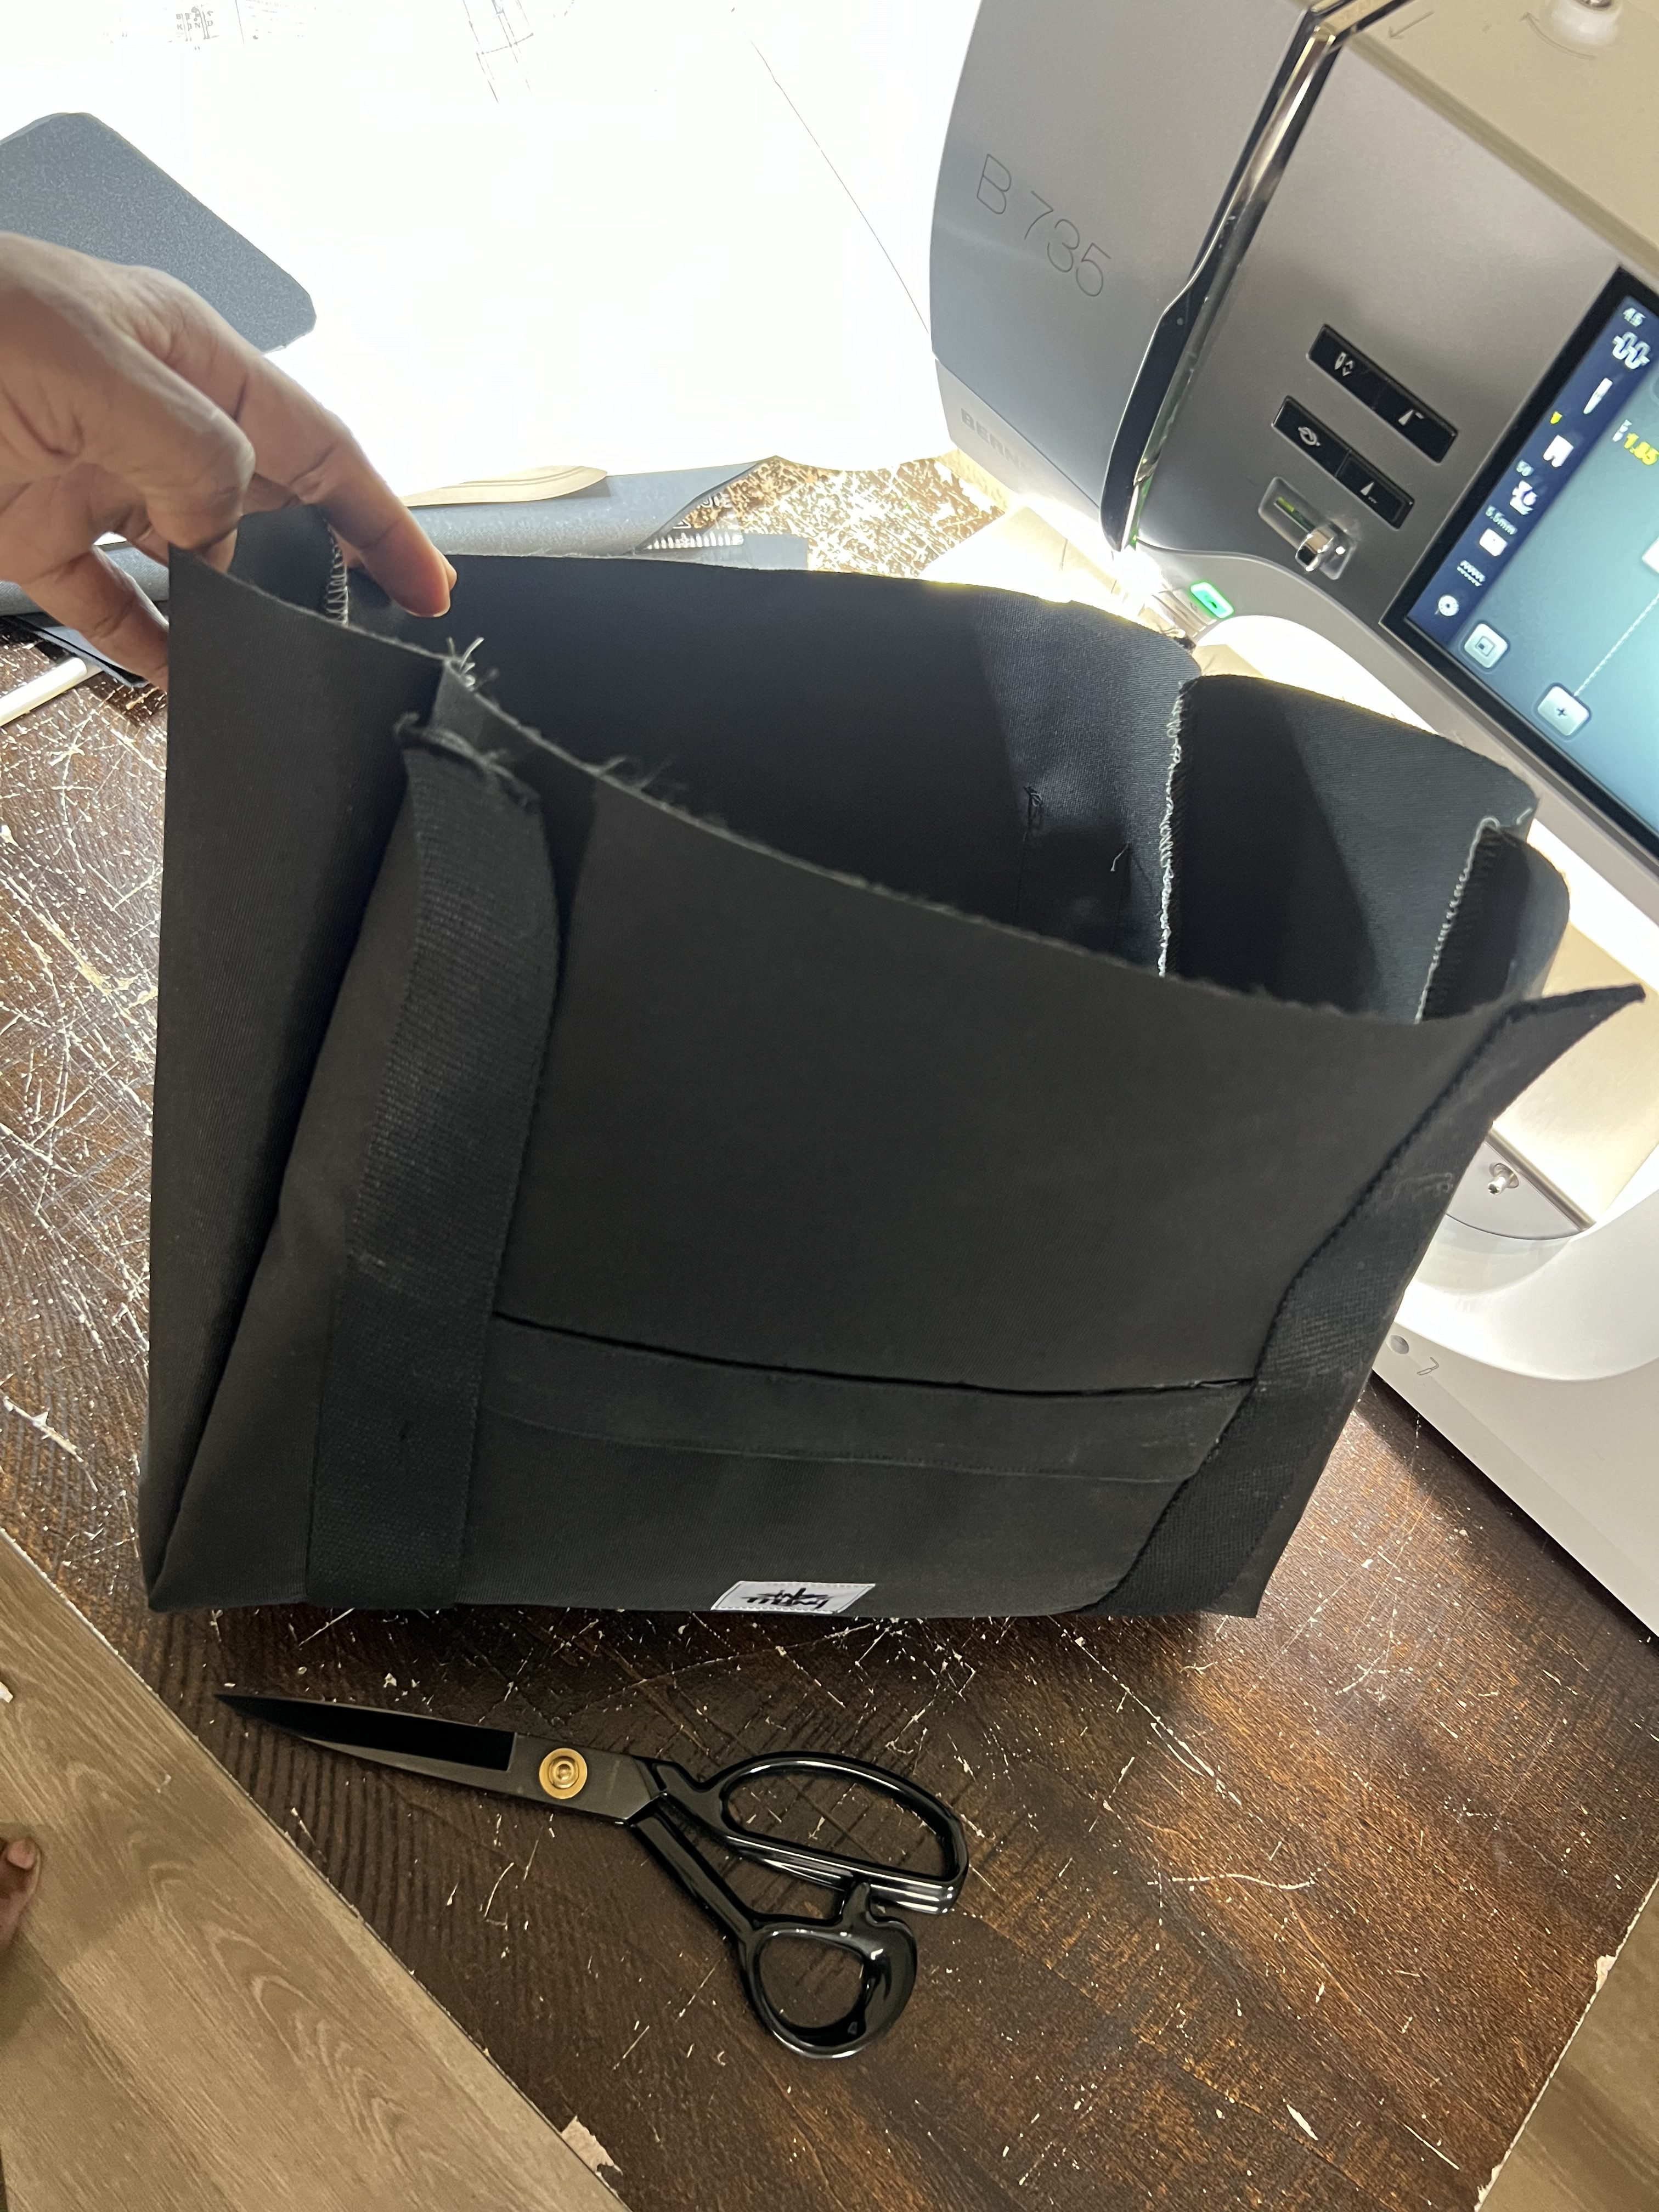
Step 8: Construct Lining Pieces
In the same fashion, we assemble the lining pieces similar to how we constructed the main fabric pieces.
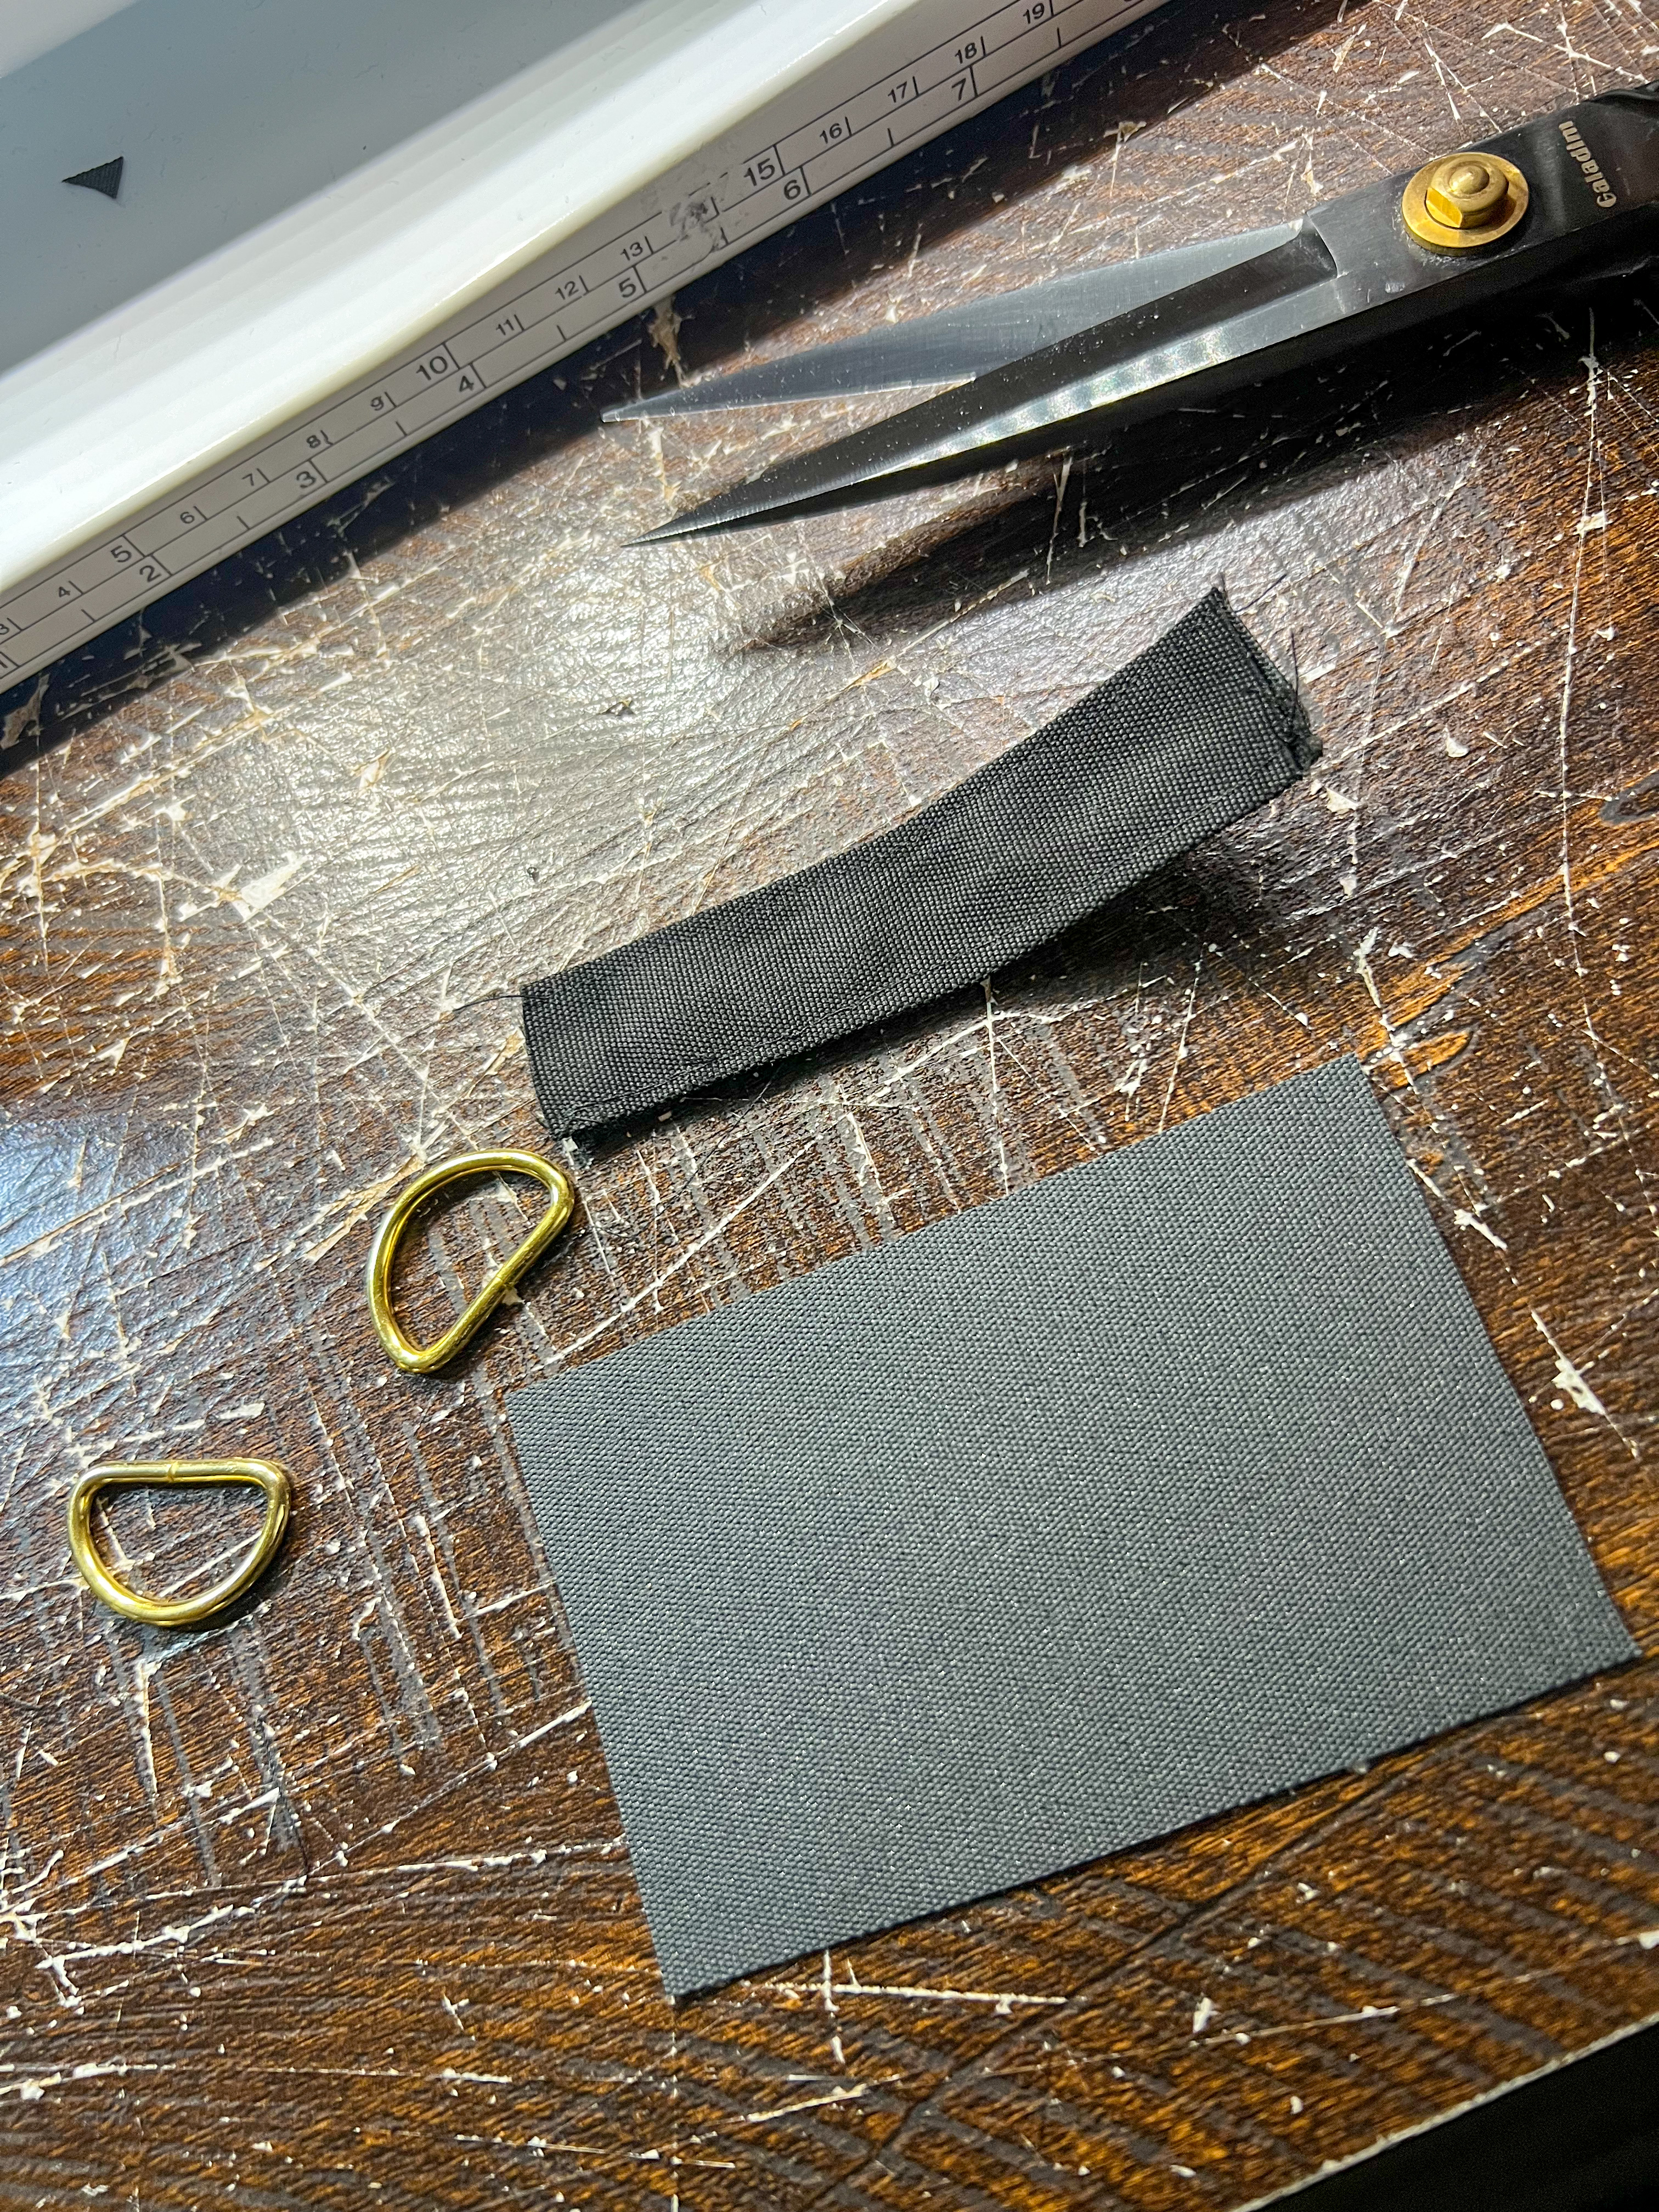
Step 9: Attach Side D-Rings
Using the loop pattern pieces, fold in half with right sides facing each other, lengthwise. Stitch, leaving the ends open. Trim seam and turn right side out. Topstitch close to the edges and stitch the ends closed. Insert a D-ring and stitch the ends together. Turn the loop piece so stitched end are facing the inside.
Pin newly formed loops with D-rings to the side panels of the main fabric, approximately 2 inches from the top. Stitch in place, securing loops to the messenger bag. Insert lining into main bag, matching up pieces and notches.


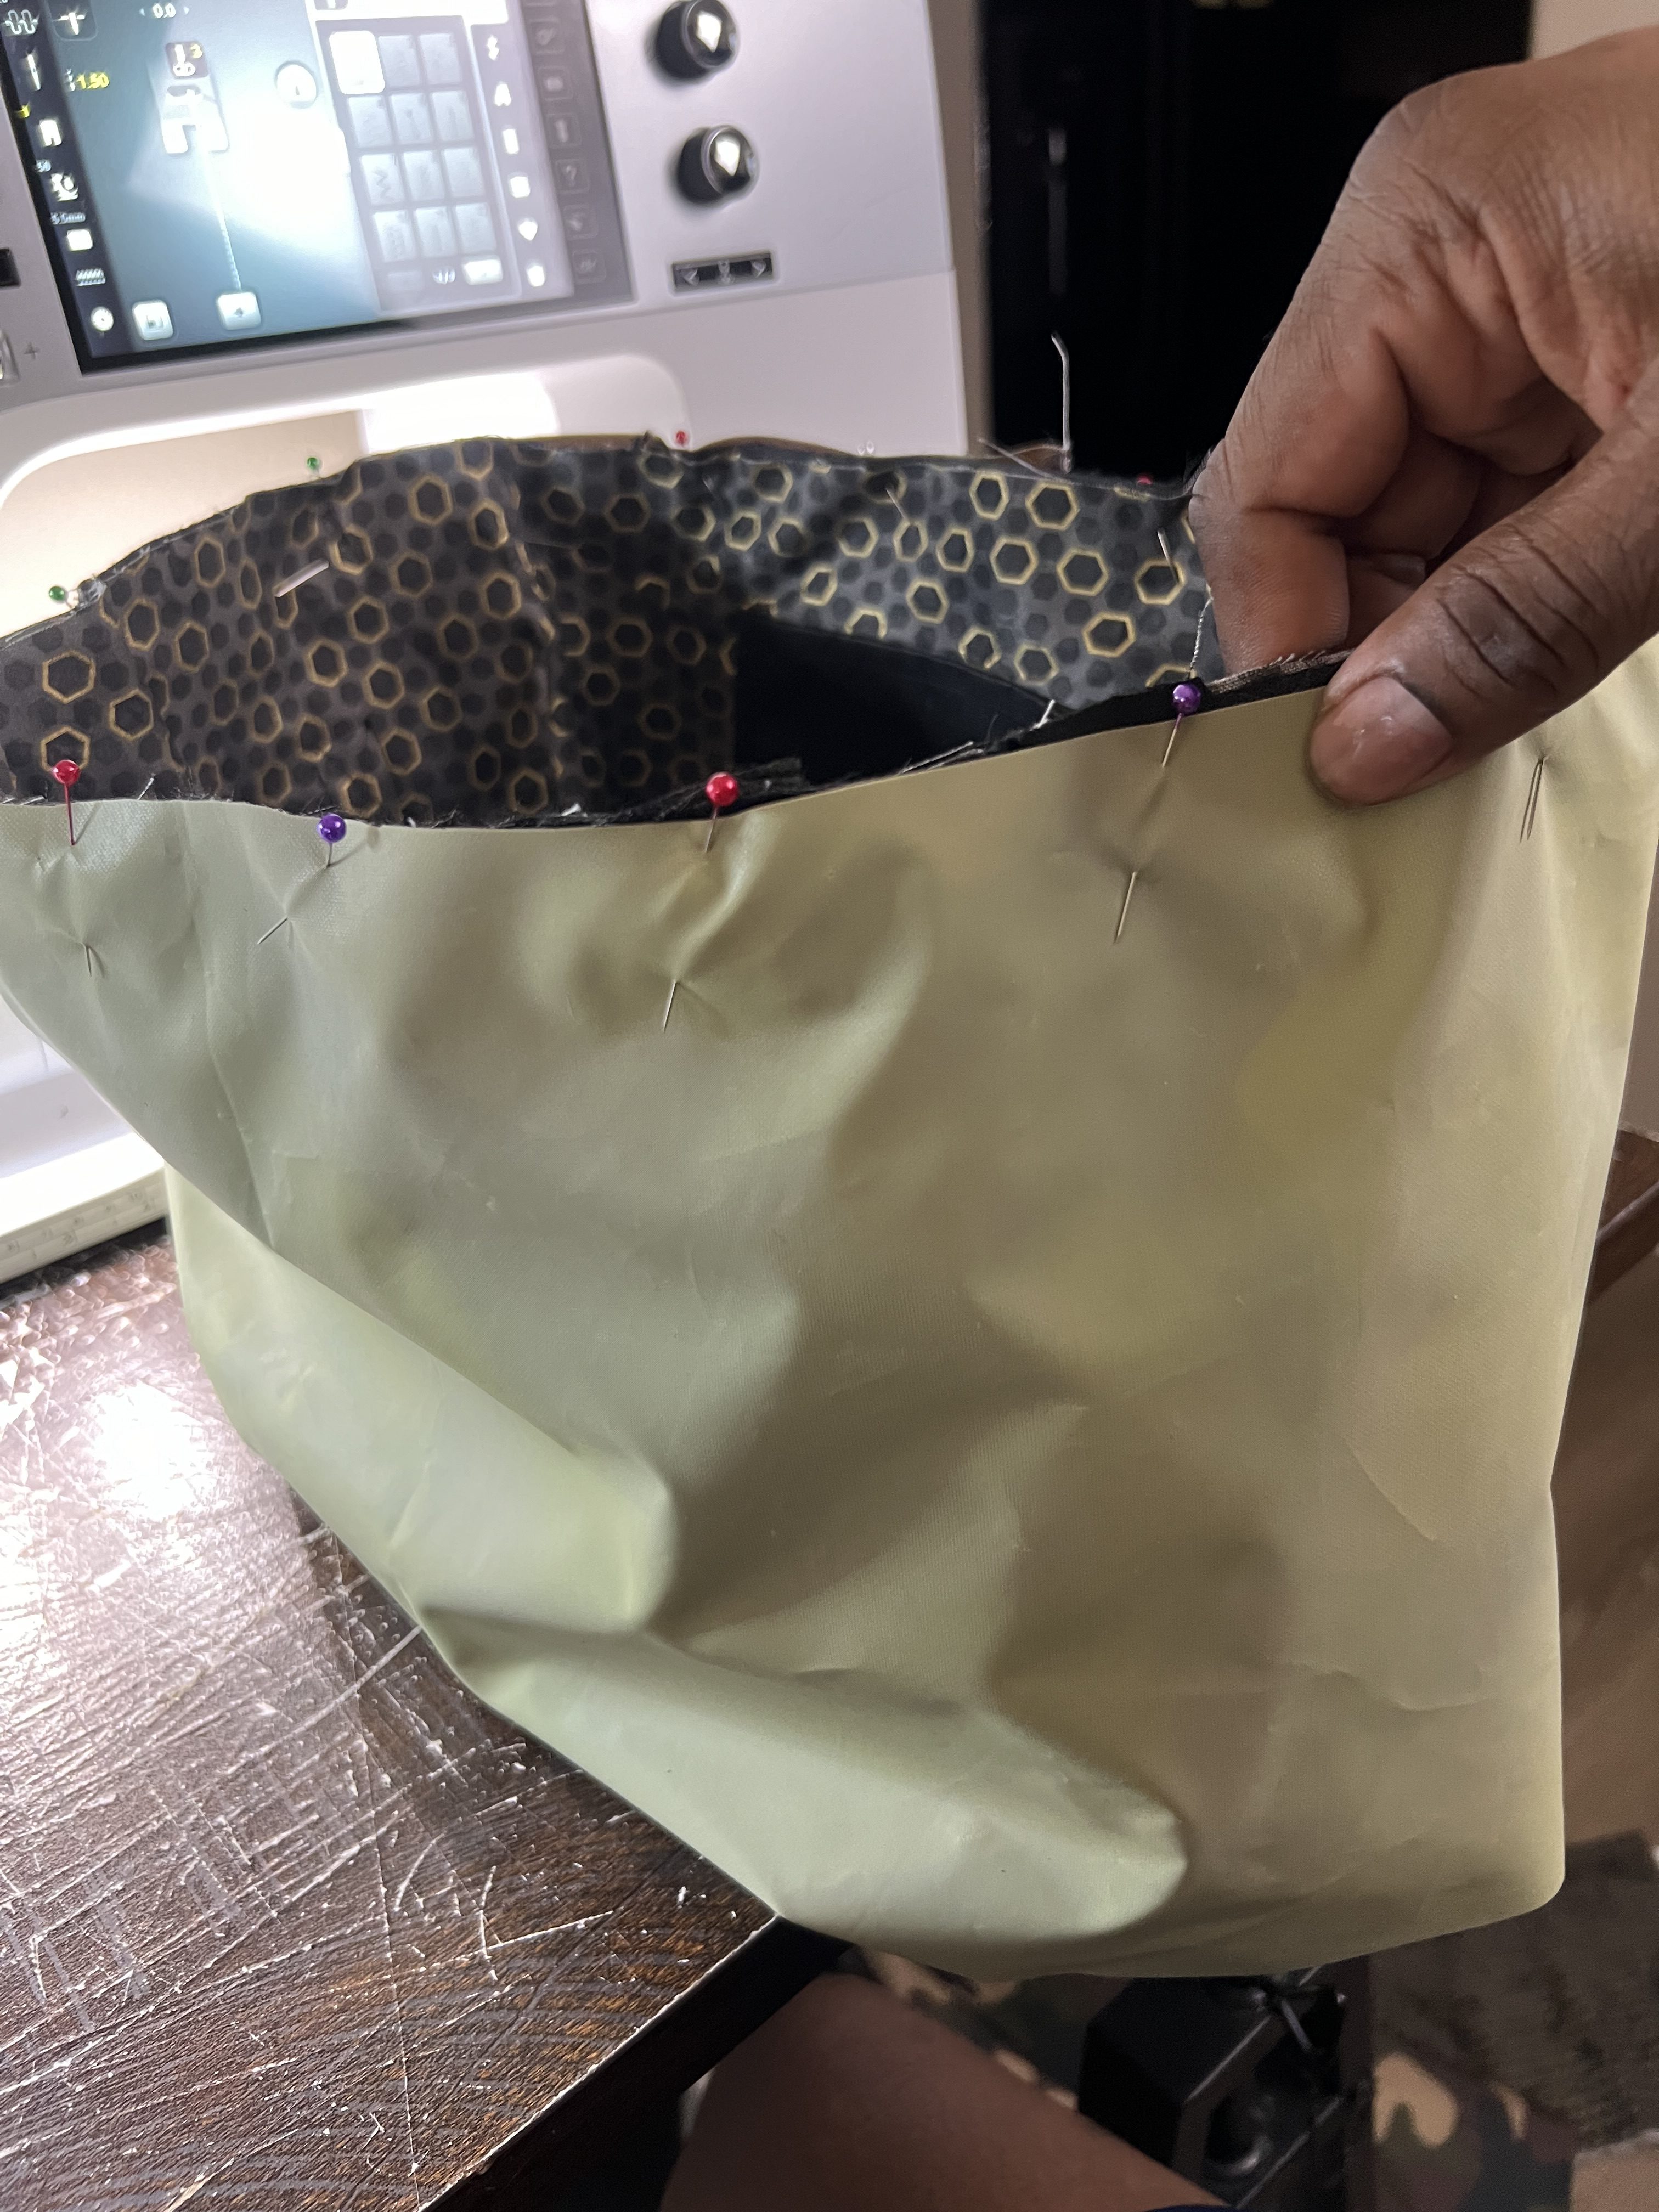
Step 10: Attach Accent Fabric
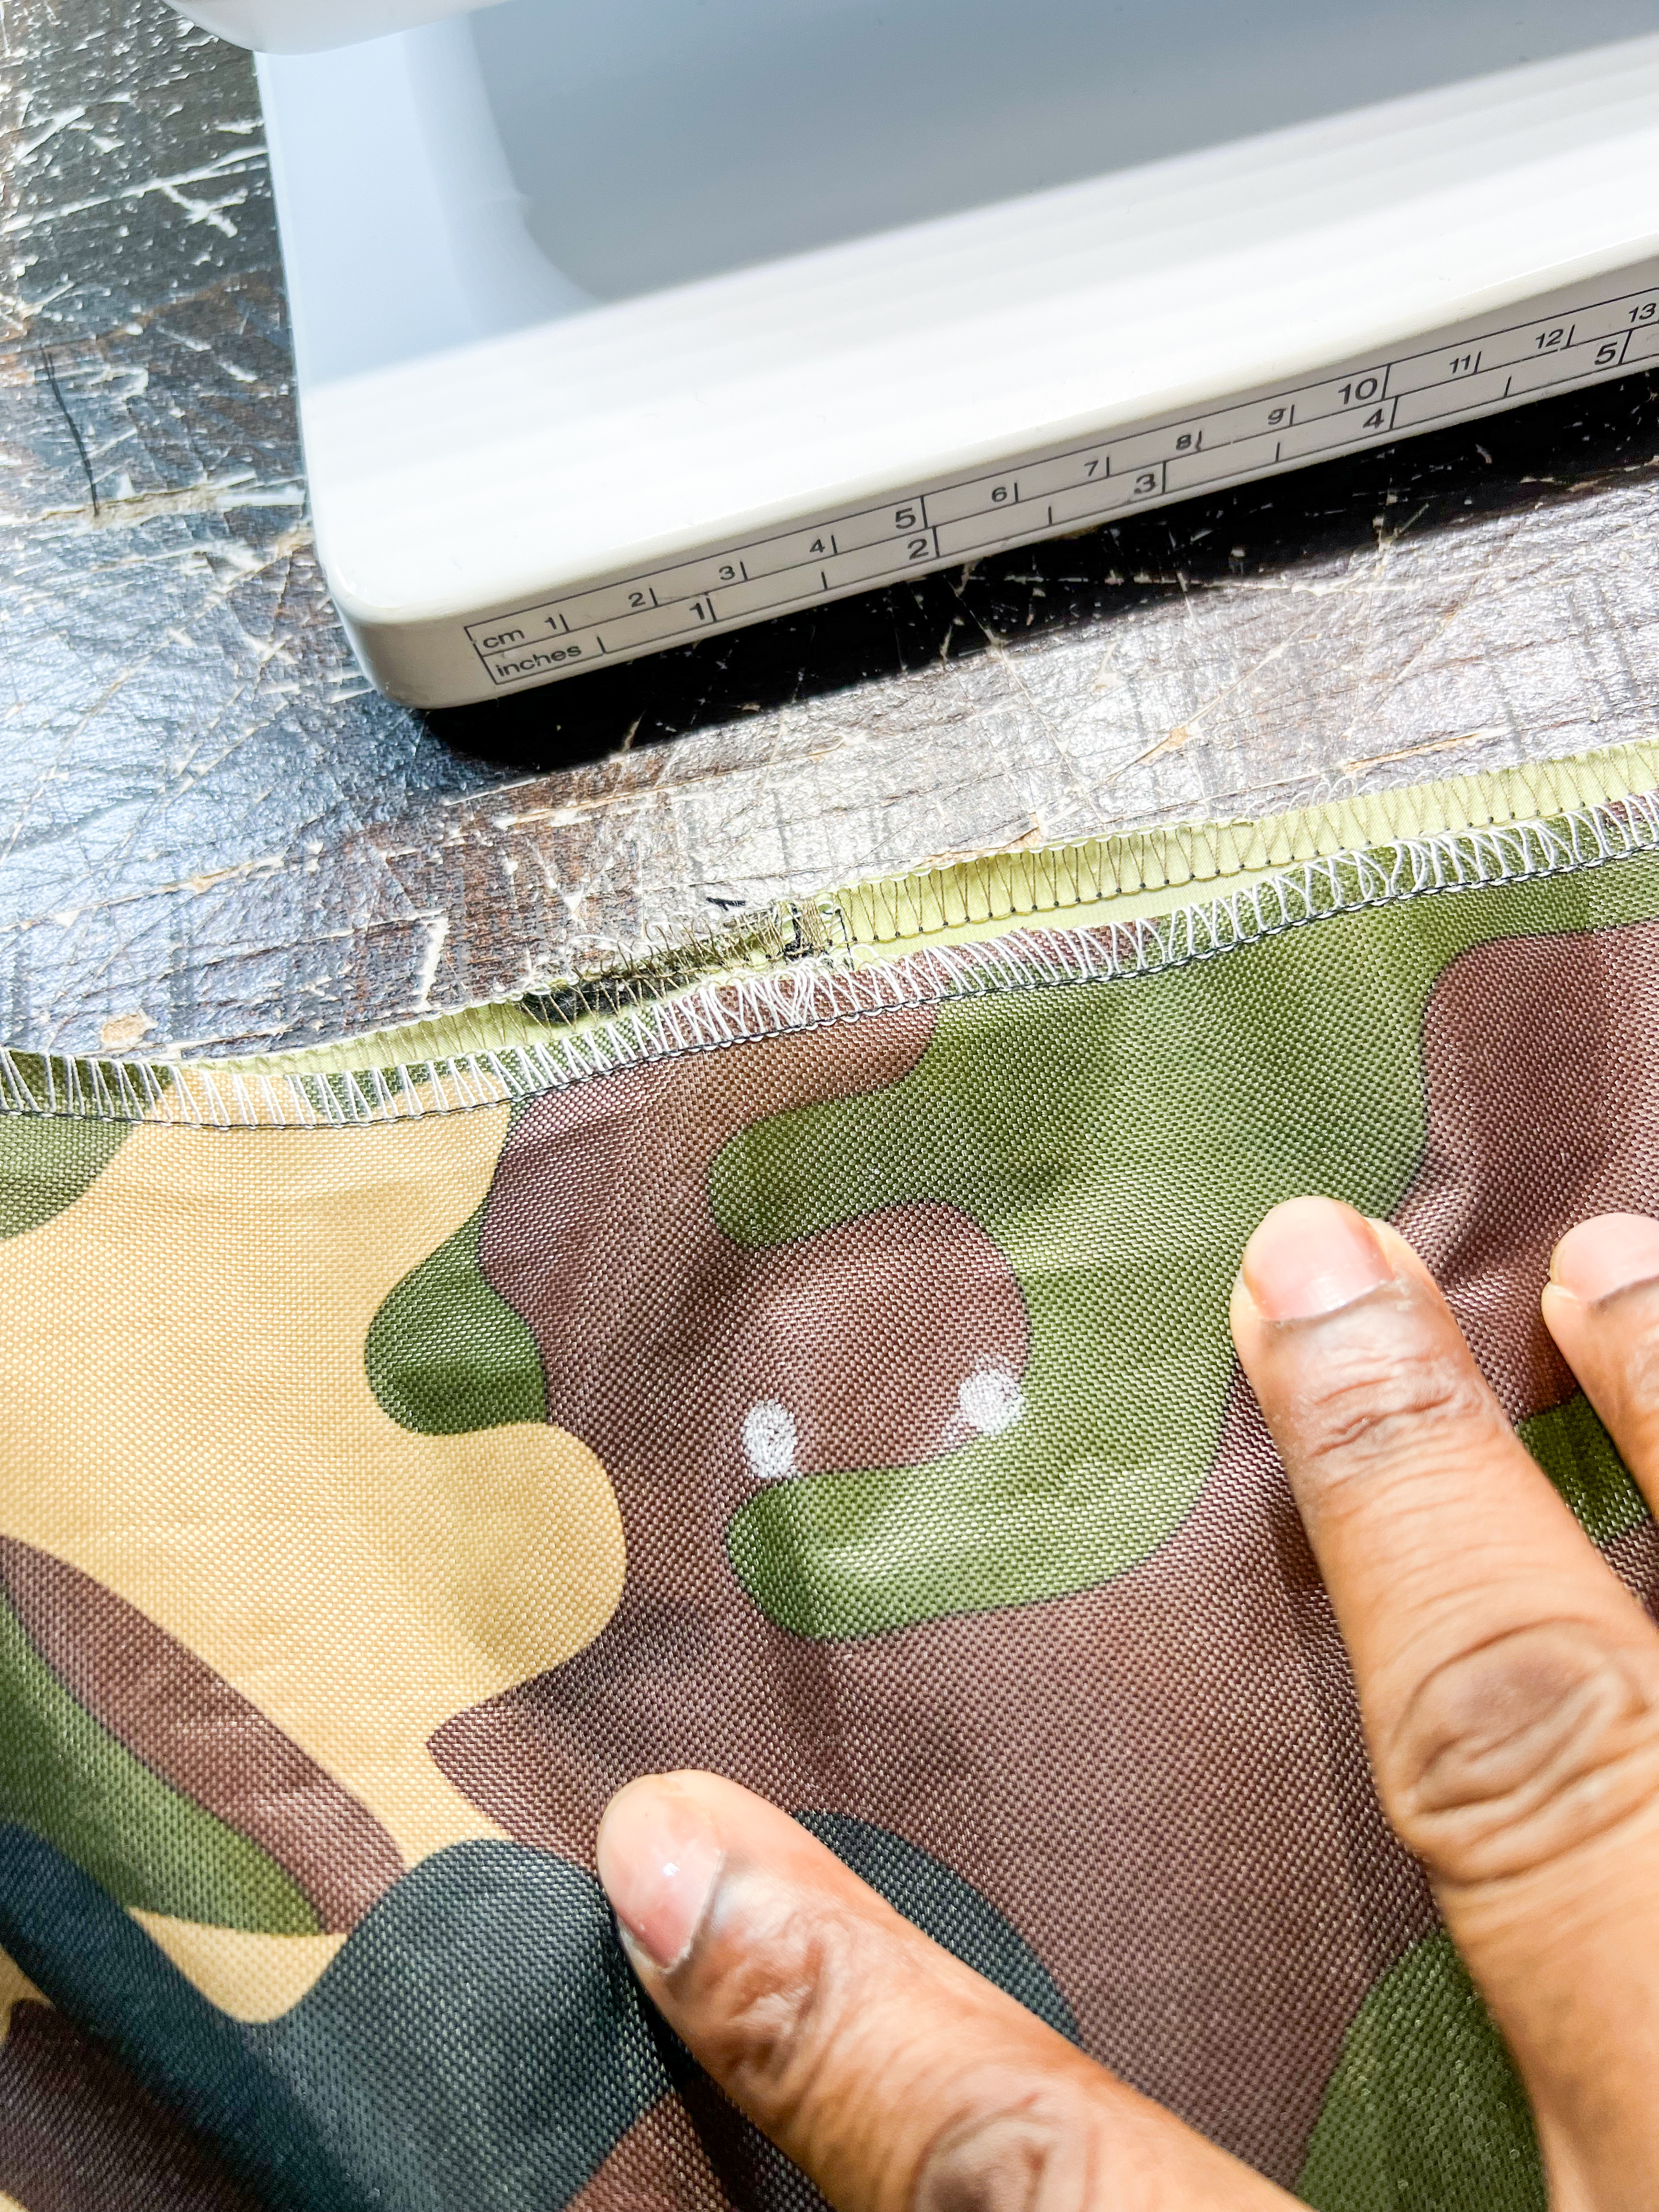
With accent fabric, sew raw edges, width-wise, together and either press the seams flat or finish the edges how you would normally (I used a serger). Then, with ride sides together, attach the accent fabric along the top of the main fabric and lining, pinning in place through all 3 layers. Stitch using 5/8th of an inch. Finish the seams, press accordingly and topstitch 1/4 inch from the contrasting fabrics.

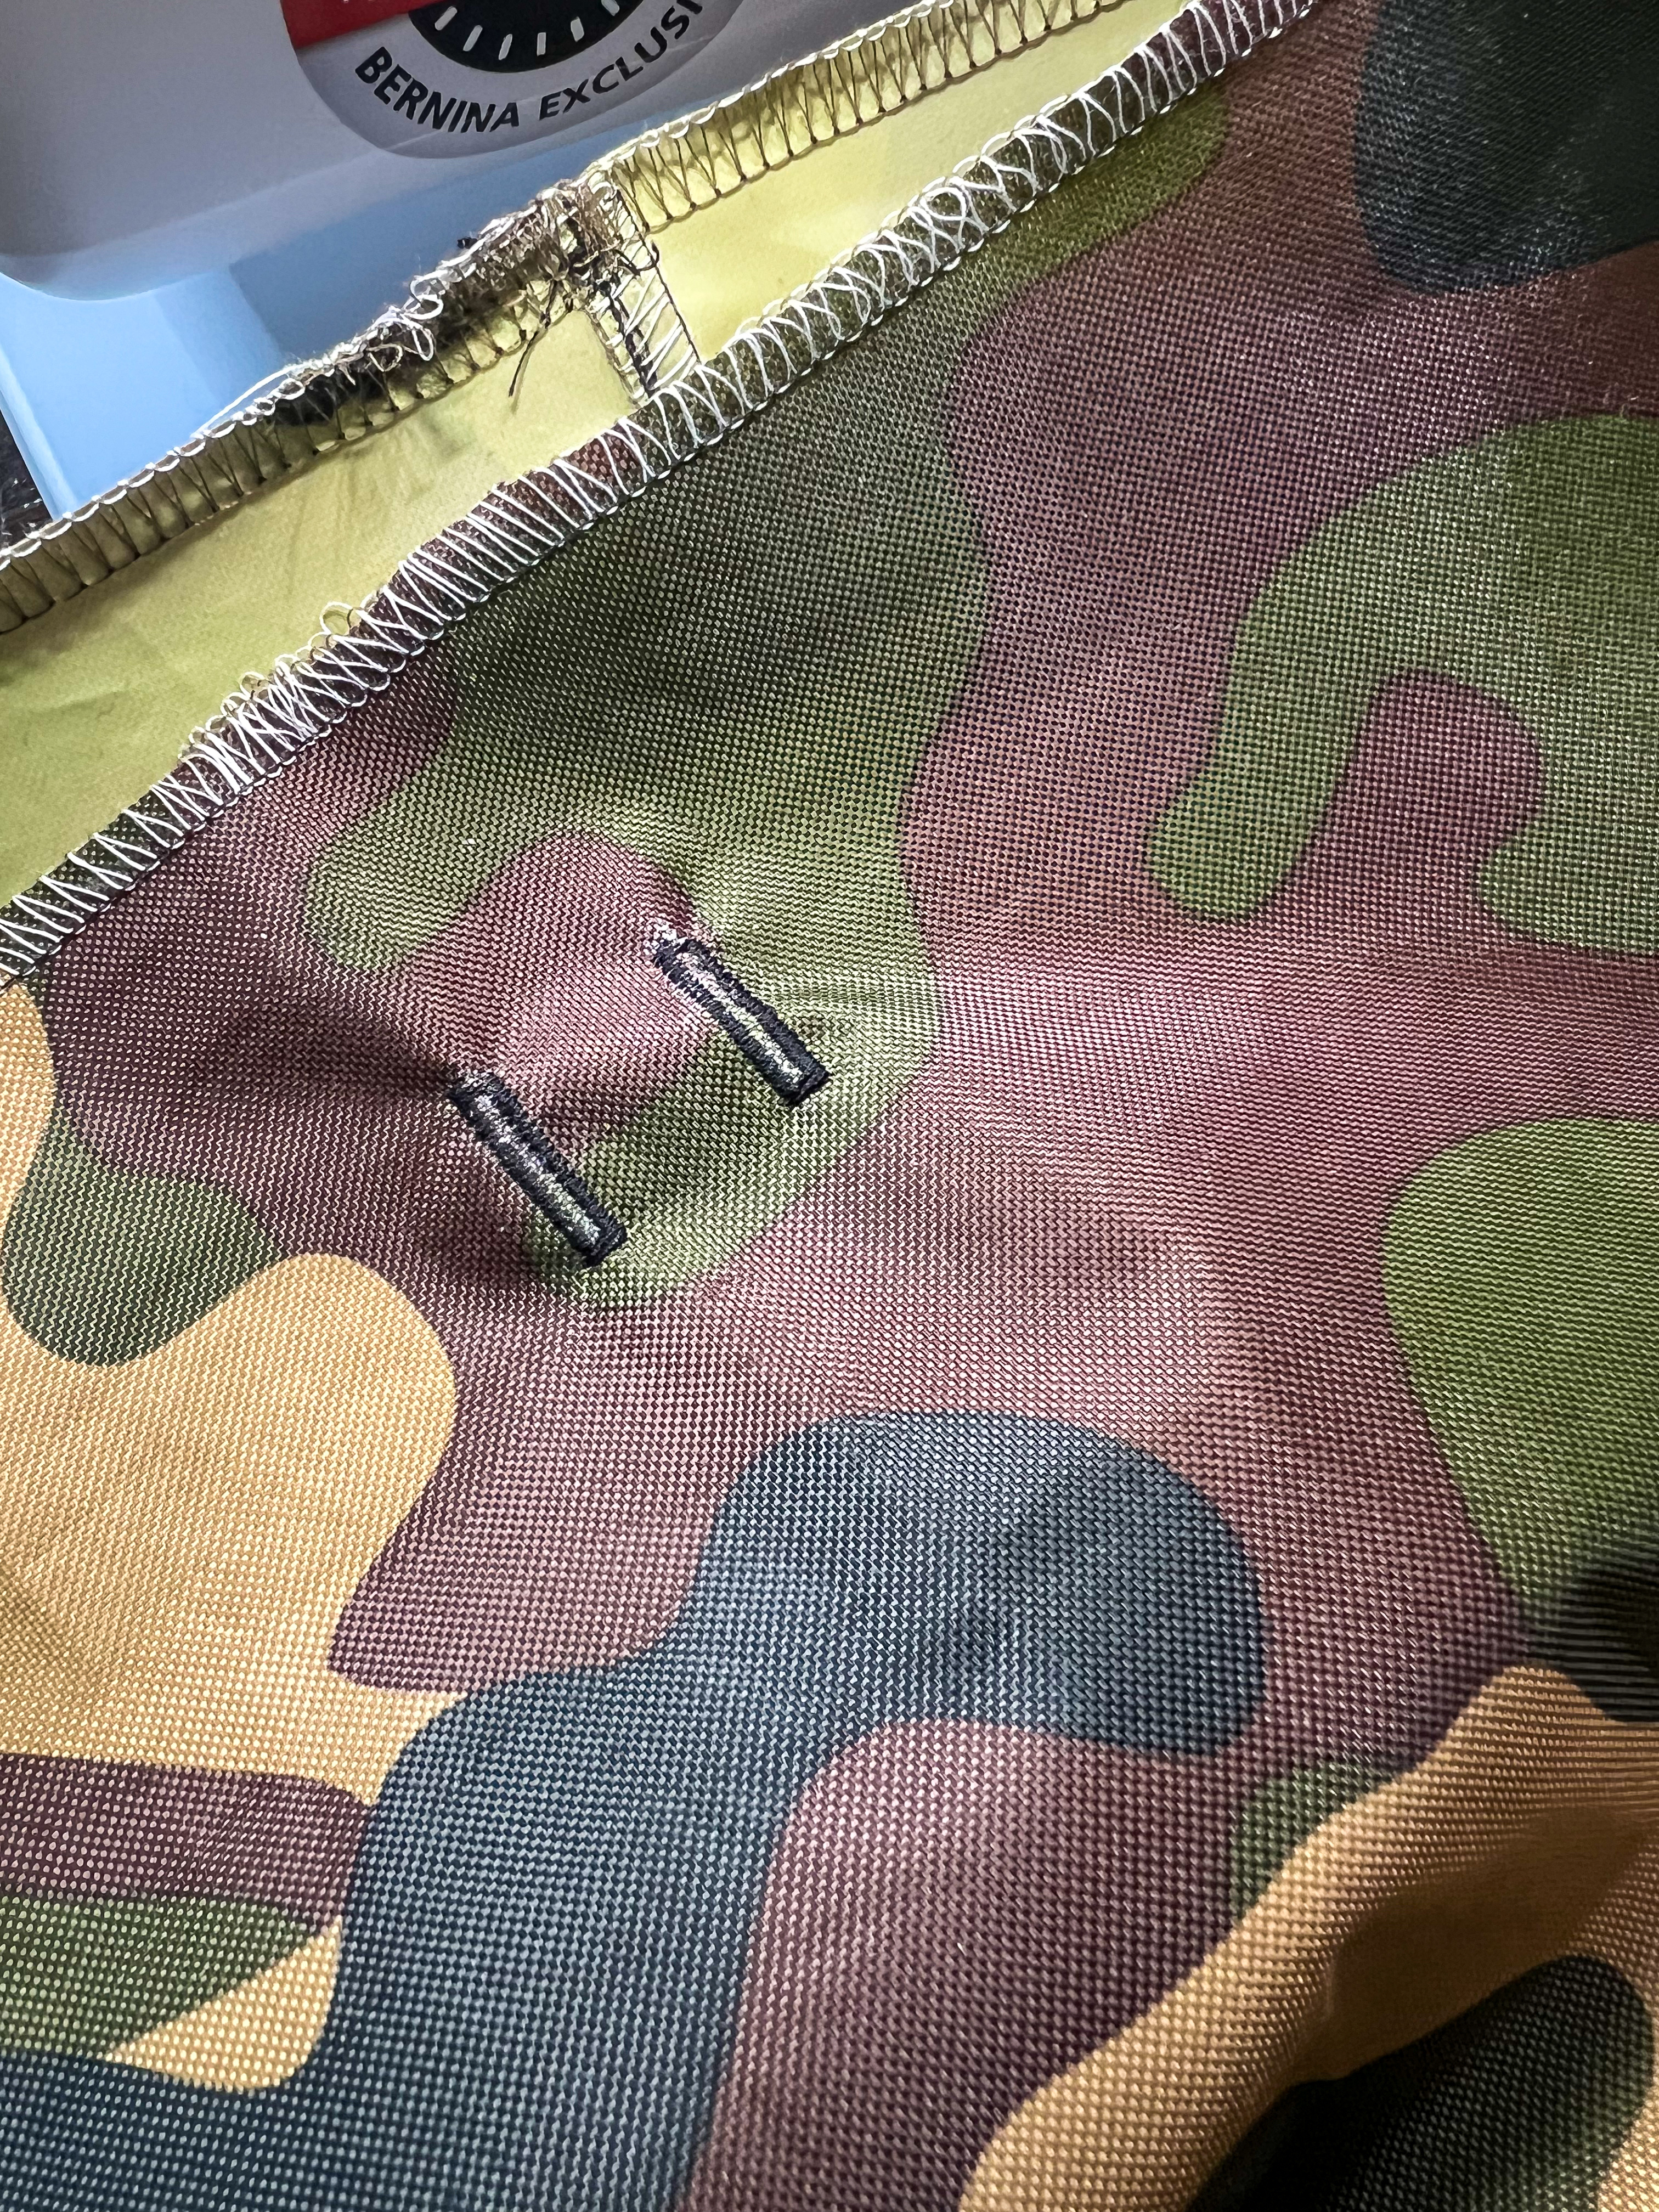
Step 11: Make Buttonholes
Looking at the bag from the front, place 2 marks, centered and 1.5 inches from the top of the accent fabric. Using BERNINA Buttonhole Foot #3A, I made 2 buttonholes next to each other. Also, to make the casing for the cording to go through, I used a double fold technique: from the top unfinished edge of the accent piece, fold the fabric .5 inch, then again 1 inch until the bottom of the fold is just past the alignment of the button holes. Stitch alongside bottom edge of folded fabric (forming a casing), leaving 2 inch opening around the buttonholes. The messenger bag is almost complete!
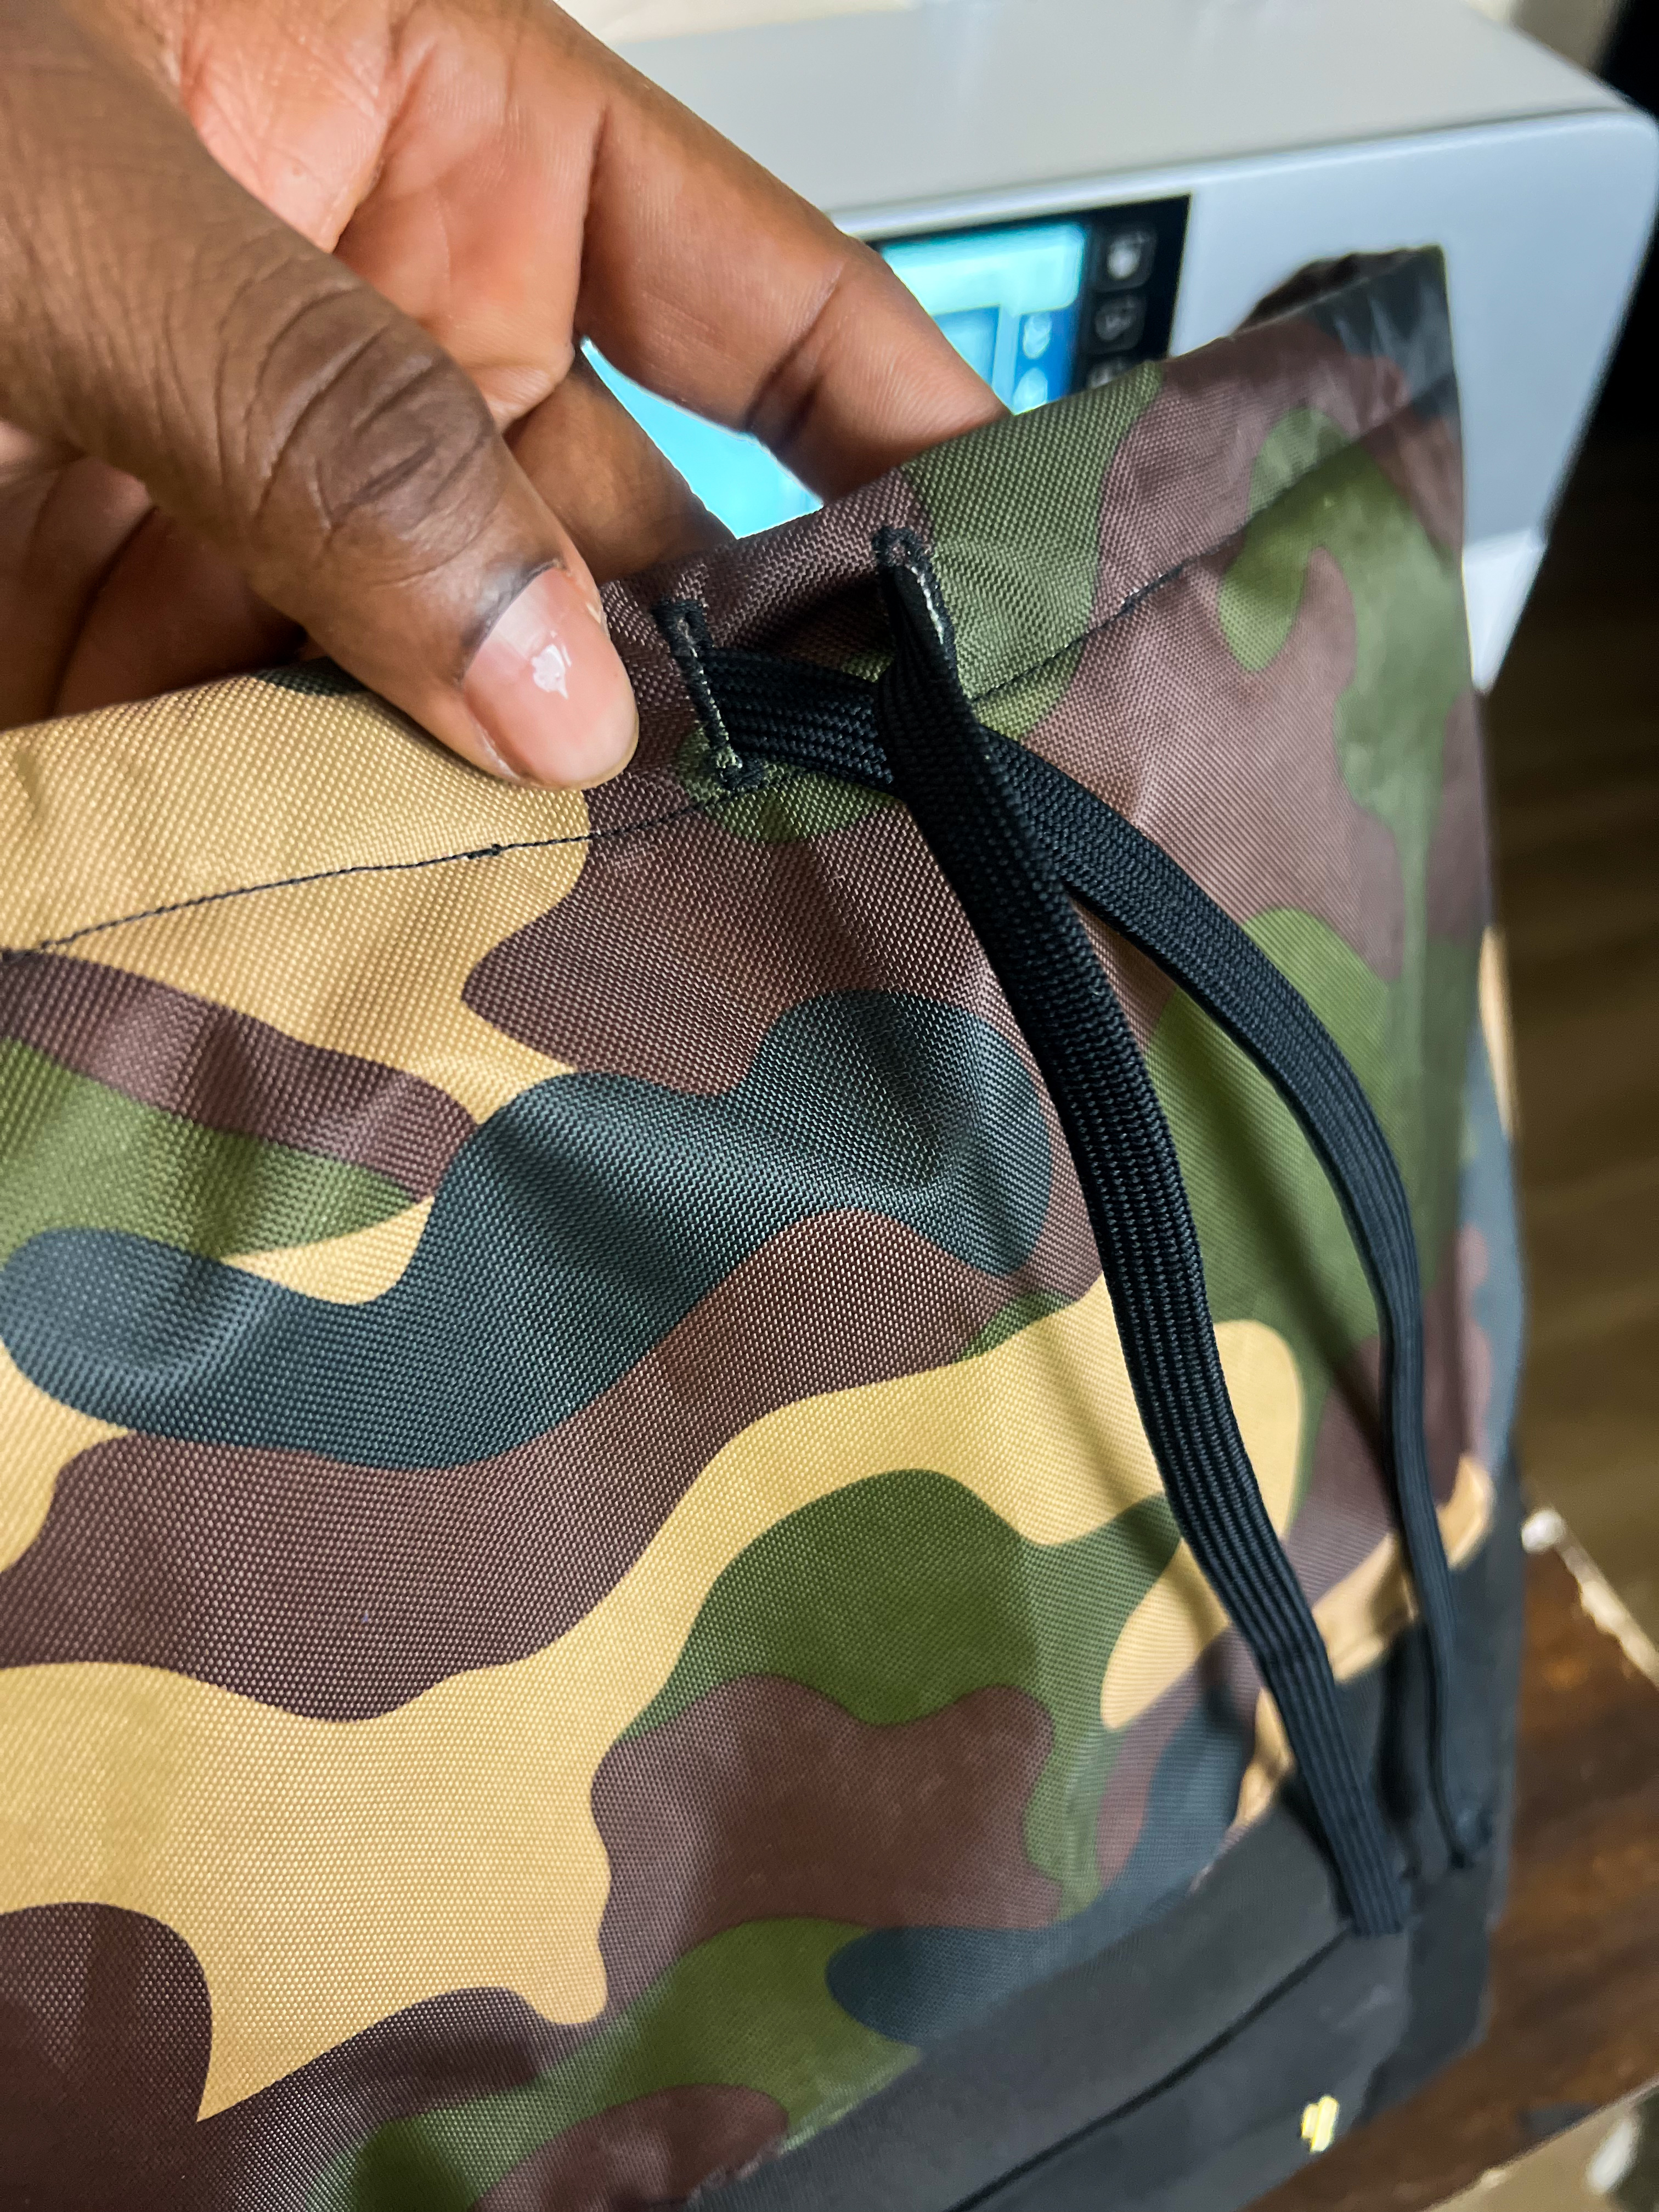
Step 12: Insert Rip Stop Cording
With the rip cord, use an elastic threader to loop in cording within the casing and through the buttonholes themselves. Stitch closed the open 2 inches in the casing and topstitch accordingly. Slide rip stoppers onto each end of the cording and ensure closure is working. Sample open and closing the top of the bag with pulling on rip stop.

Step 13: Attach Shoulder Strap
Instead of using the main fabric for my strap, I opted to use my belting/strapping. Meanwhile, I used the pattern piece guide to cut the length of the strapping, but feel free to adjust the strap length to your desired length. The natural length of the bag on me sat just below the waistline. I prefer if it were above my waistline be a few inches so I ended up taking off a few inches of my strap length. With both ends of the strap, slide in the swivel hook and fold the edges back onto the strap itself (above 1-2 inches). Lastly, stitch over the folded ends, securing the swivel hook in place. Attach swivel hooks to the D-rings and test out your new messenger bag!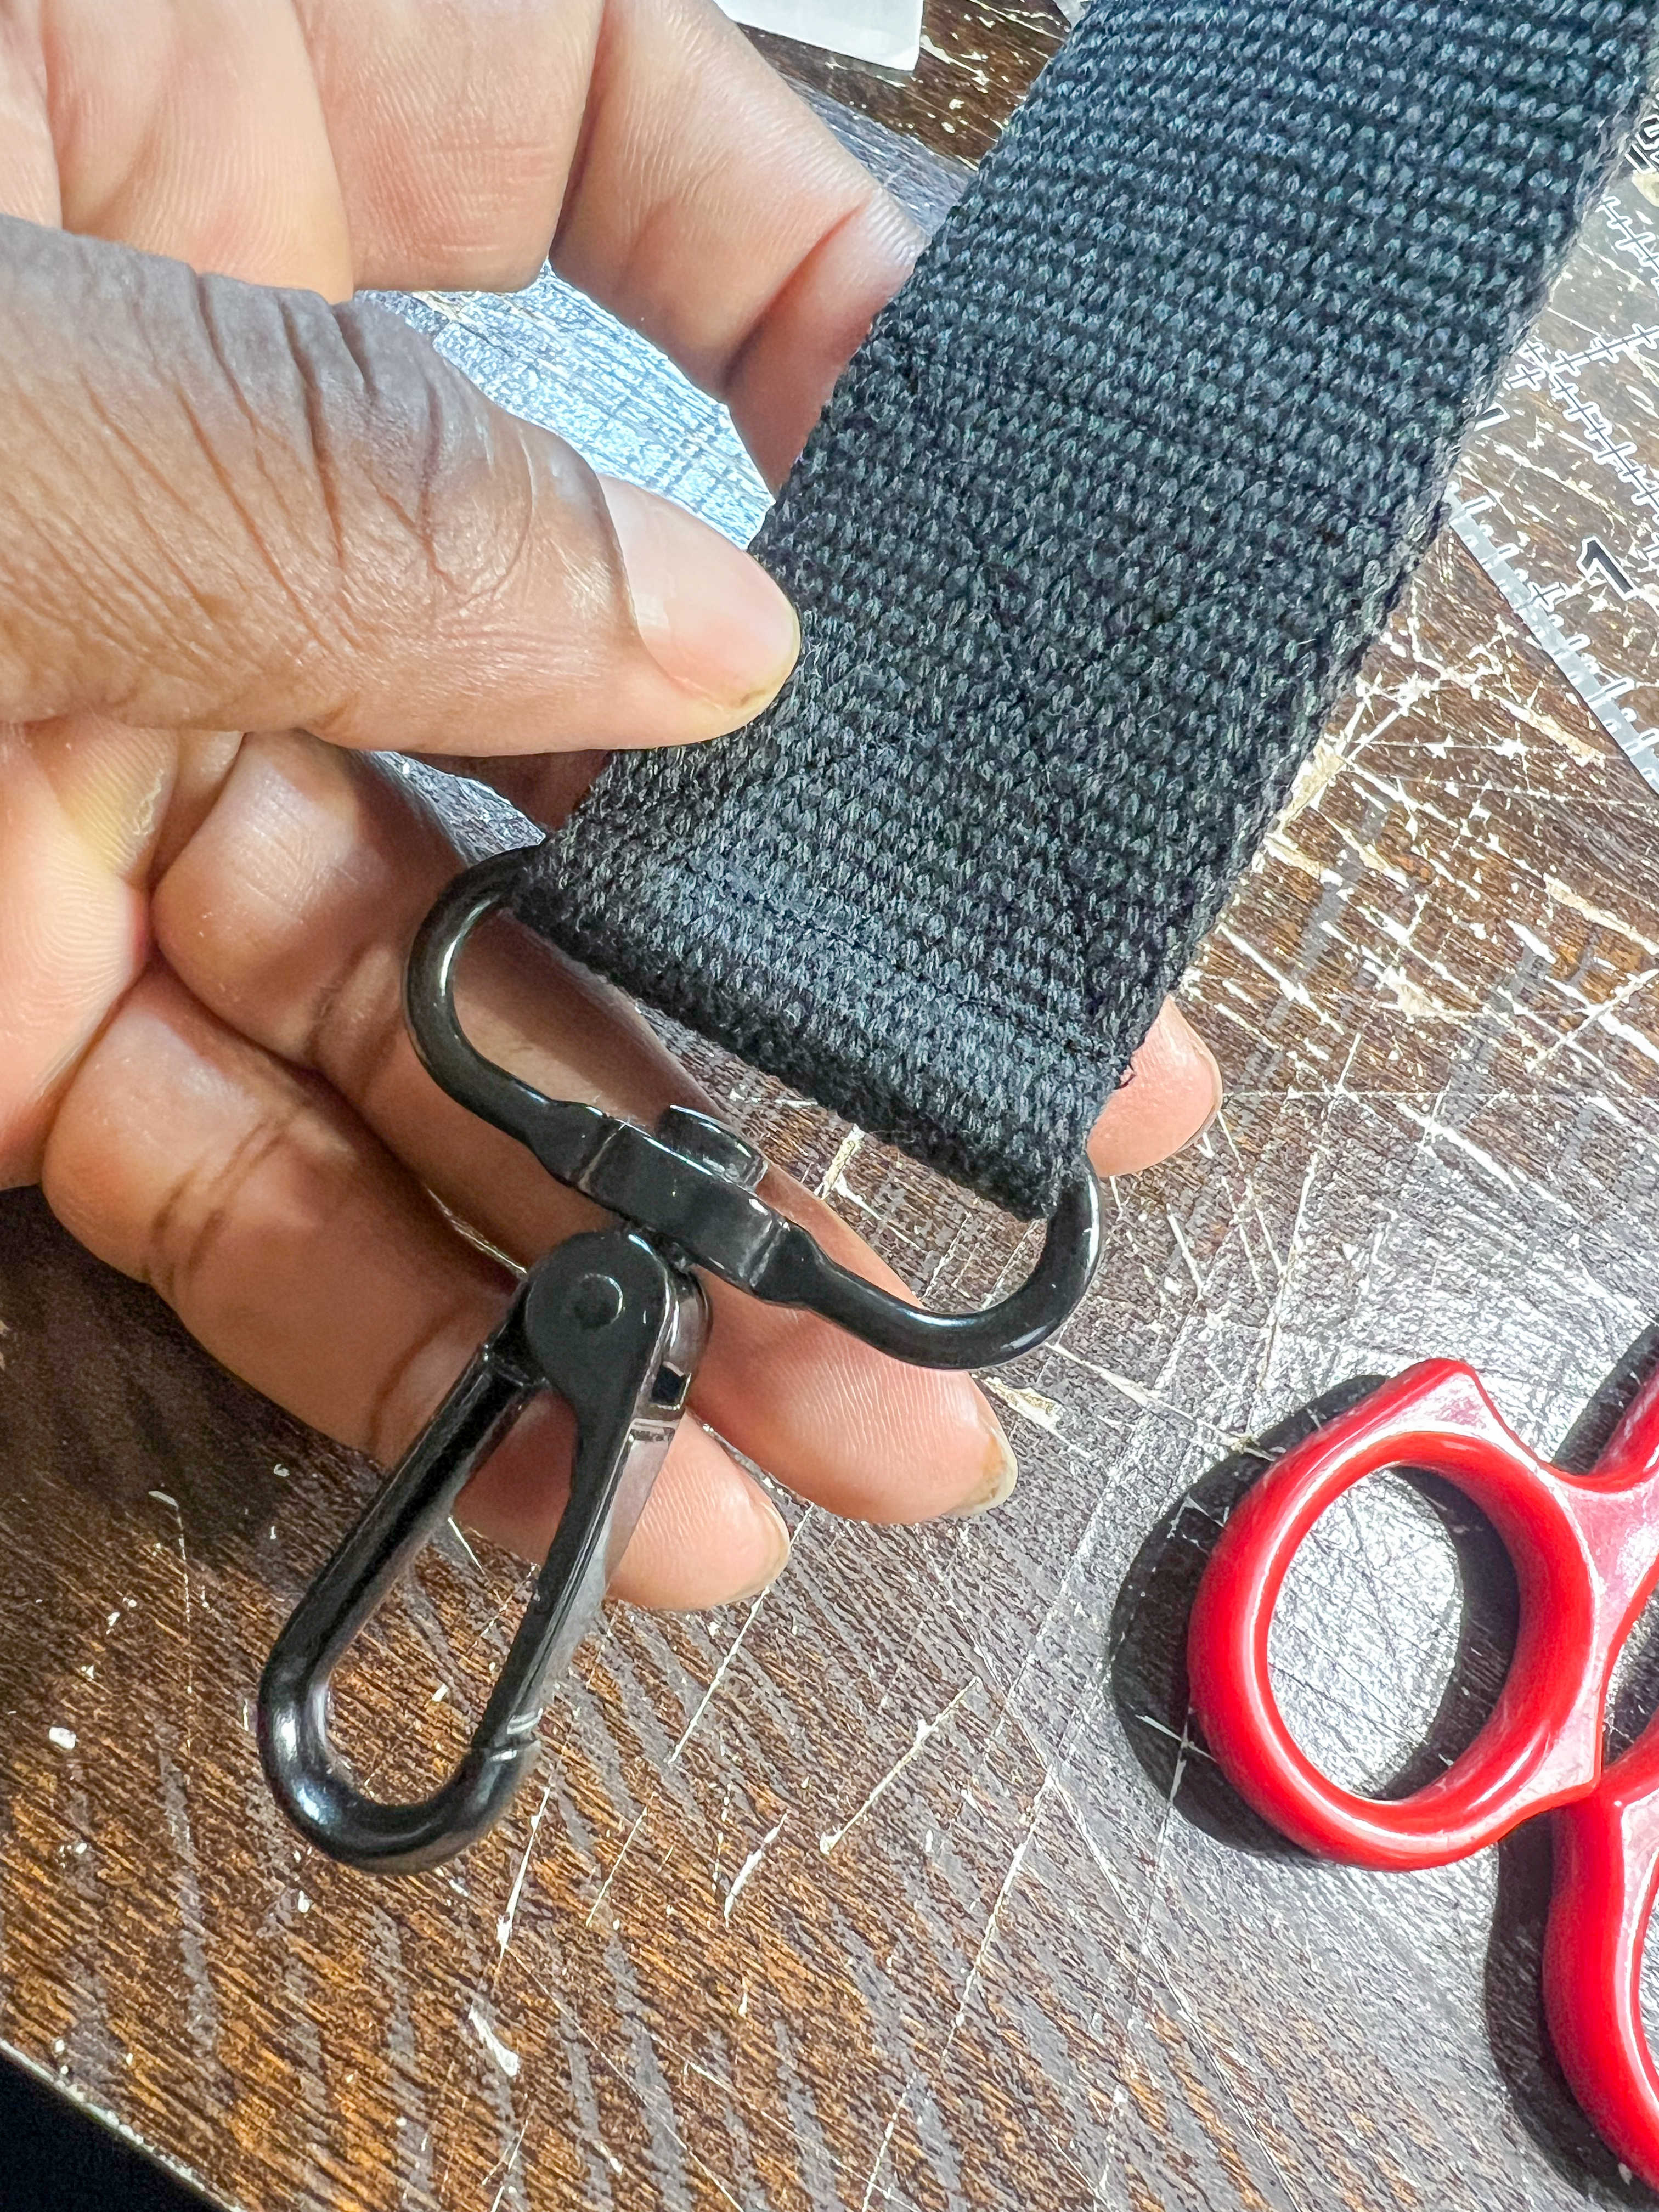
Hope you guys enjoyed making this with me! Who’s up for more content? Until next time….
Used Products

What you might also like


One comment on “Create Your Own Messenger Bag: Step-by-Step Sewing Guide”
Leave a Reply
You must be logged in to post a comment.
Thanks for the super clear directions! You make a hard project look doable! Can’t wait to make one! Fun to use! Thank you.