Eco-friendly Produce Bag
New Years’ resolutions never work for me. Last year I took an idea from a friend to start the new year with a word or phrase rather than a resolution. This year my word is eco-friendly. I am trying to make good choices and start new habits that impact the environment in a positive way. It might not make a dent in this mess (literally) we’ve created, but it raises awareness. And change starts with awareness. So, let’s start with eco-friendly produce bags.
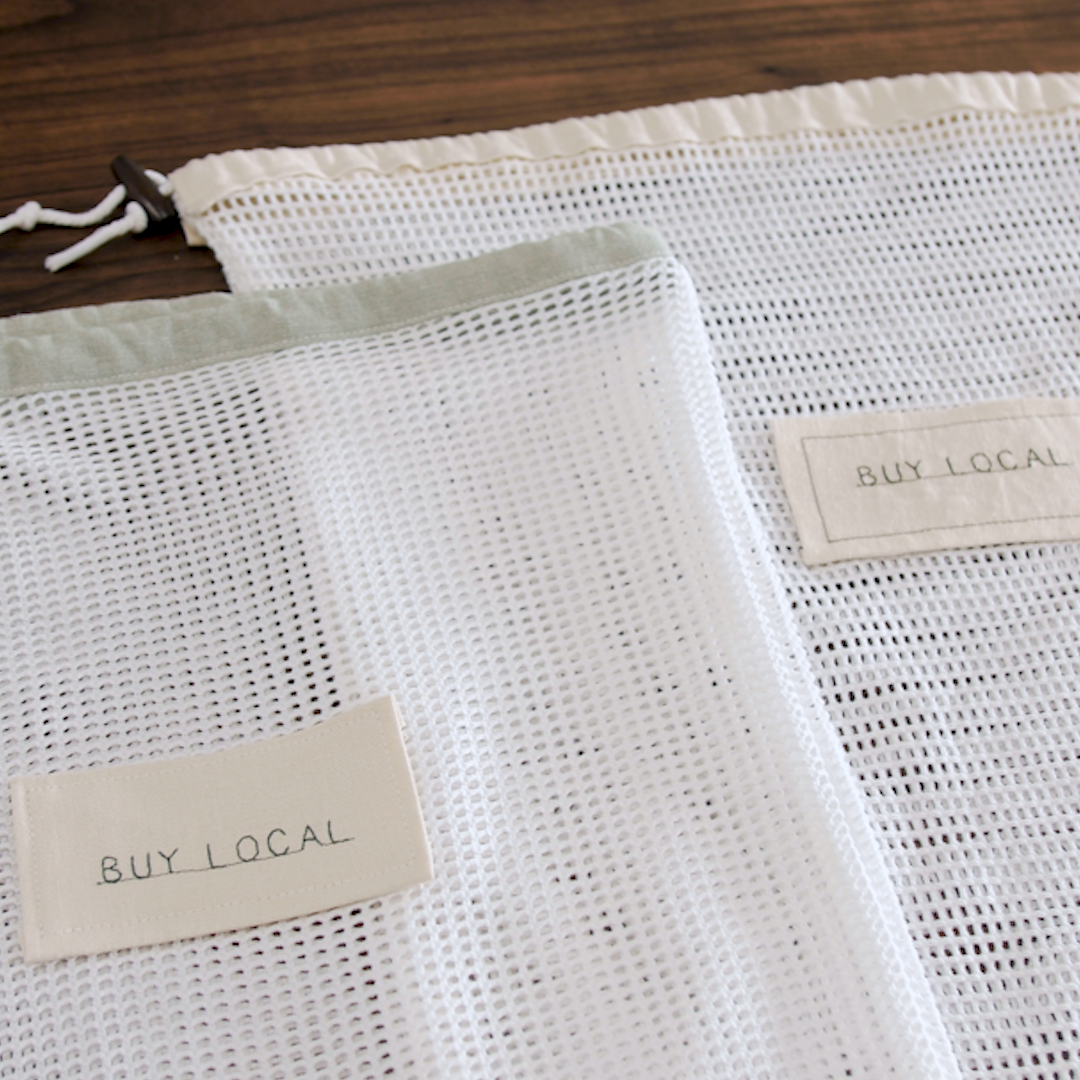
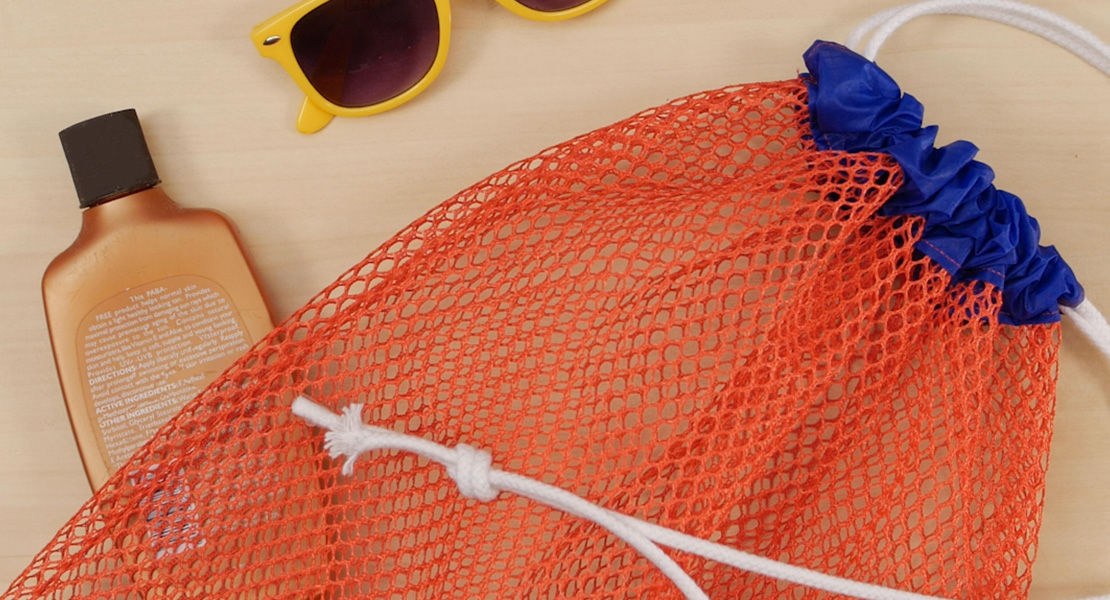
I can’t tell you how many times someone asks me what I’m using or where I bought the mesh bags. Awareness! Today, we are making mesh produce bags that can be reused, washed and reused again. No waste and no plastic! And to personalize the bags, I’ll show you how to add your own label. Let’s get started!
Machine Set Up
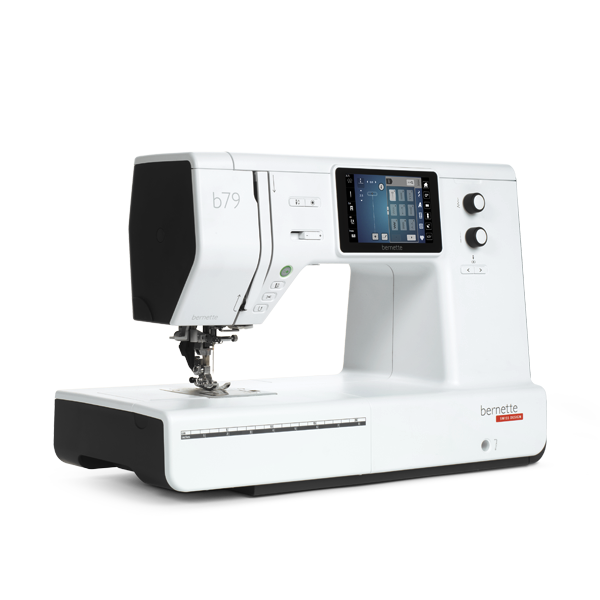
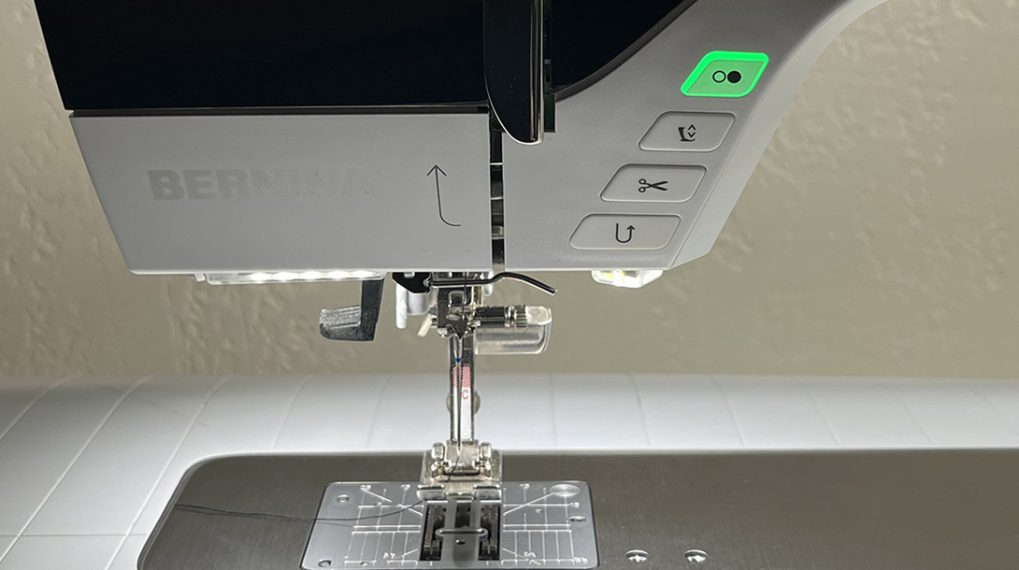
- bernette 79
- DF Straight Stitch Foot
- JK Embroidery Foot
- Straight Stitch Plate
- 7 mm Stitch Plate
Materials to Make an Eco-friendly Produce Bag
- Mesh fabric – 14” x 32”
- Fabric strip – 2 1/2” x 28”
- Fabric for label – 3” x 5”
- OESD Ultra Clean & Tear Stabilizer – 2” x 4”
- Cord – 1 yard
- Wood toggle
Supplies
- Mettler 50 wt cotton thread
- Temporary glue, such as Roxanne Glue-Baste-It
- Clover Wonder Clips
- Pins
- Bodkin
- Rotary ruler and cutter
- EverSewn Seam Gauge
- Scissors
- Iron
Fabric Prep – Tunnel, Bag & Label
Tunnel
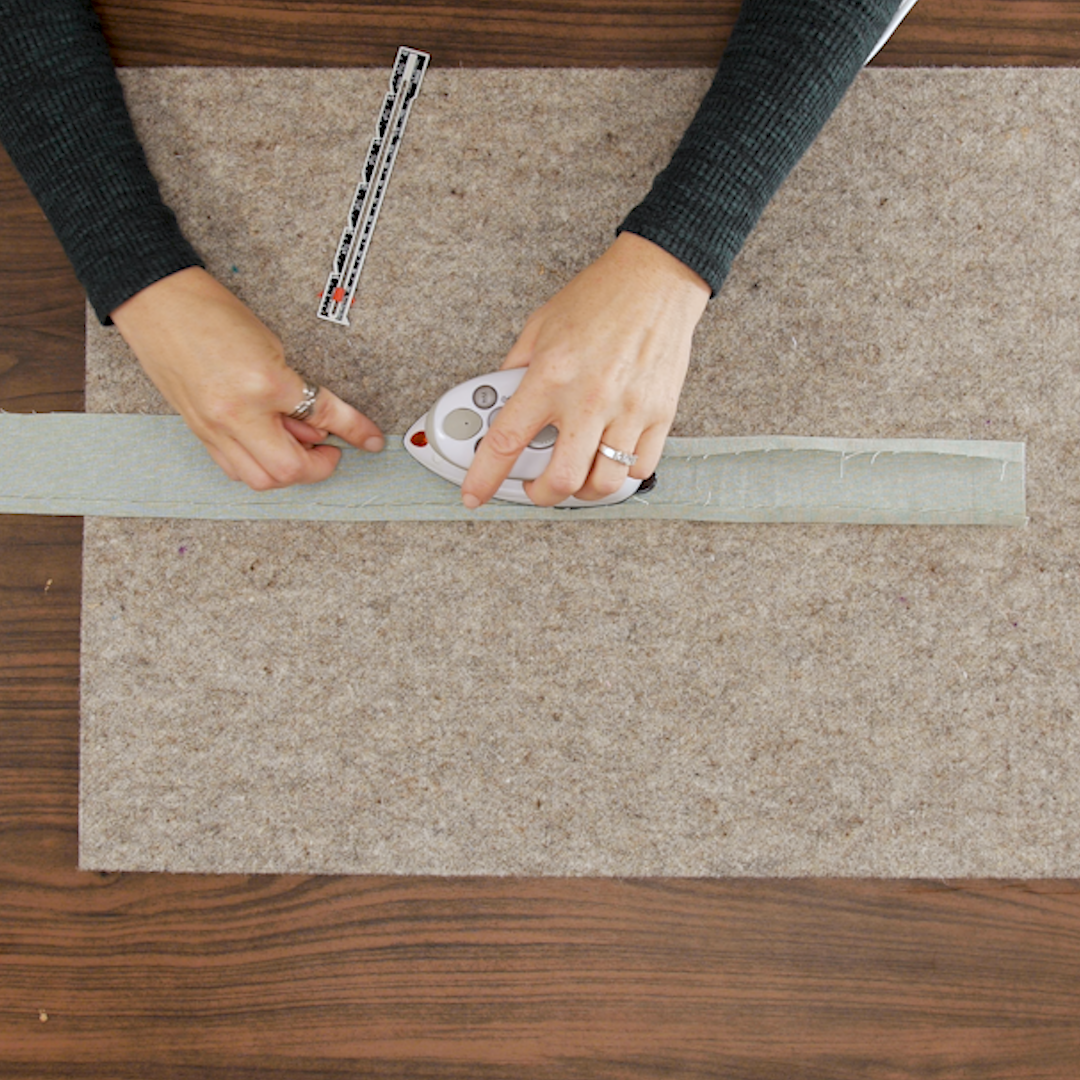
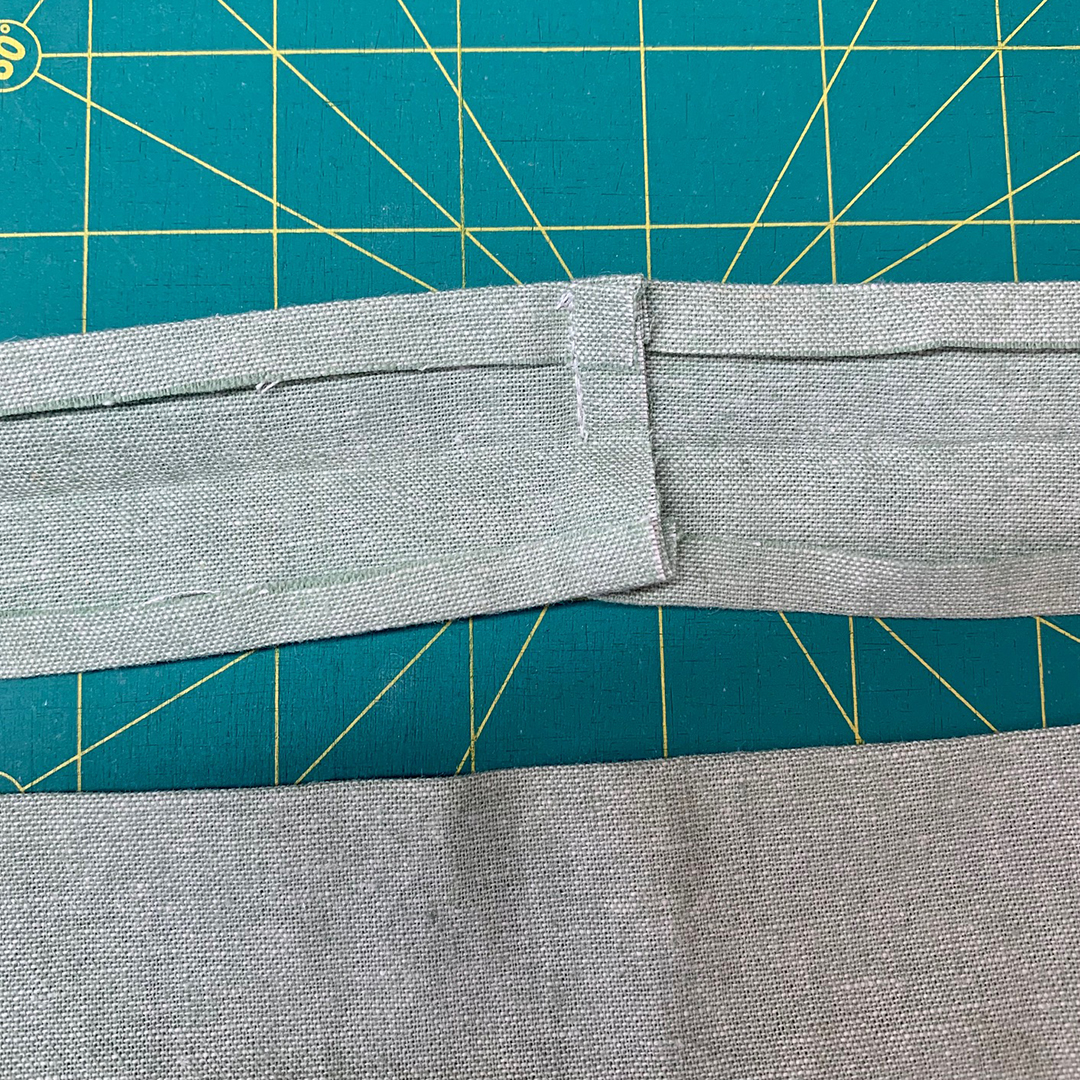
Press the fabric strip 3/8” lengthwise with wrong sides together on both long edges.
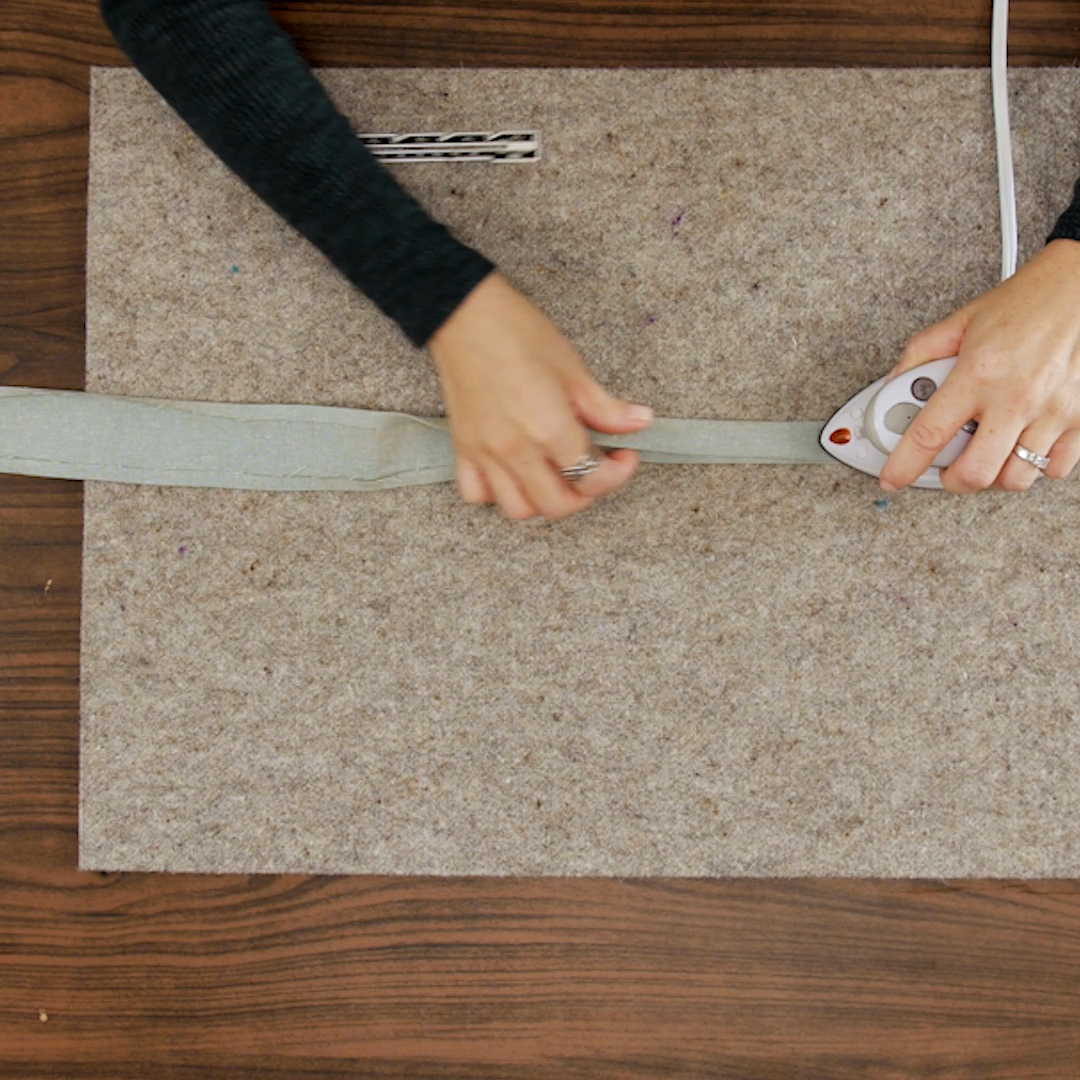
Then, press in half lengthwise aligning the folds. We are creating a tunnel for the cord.
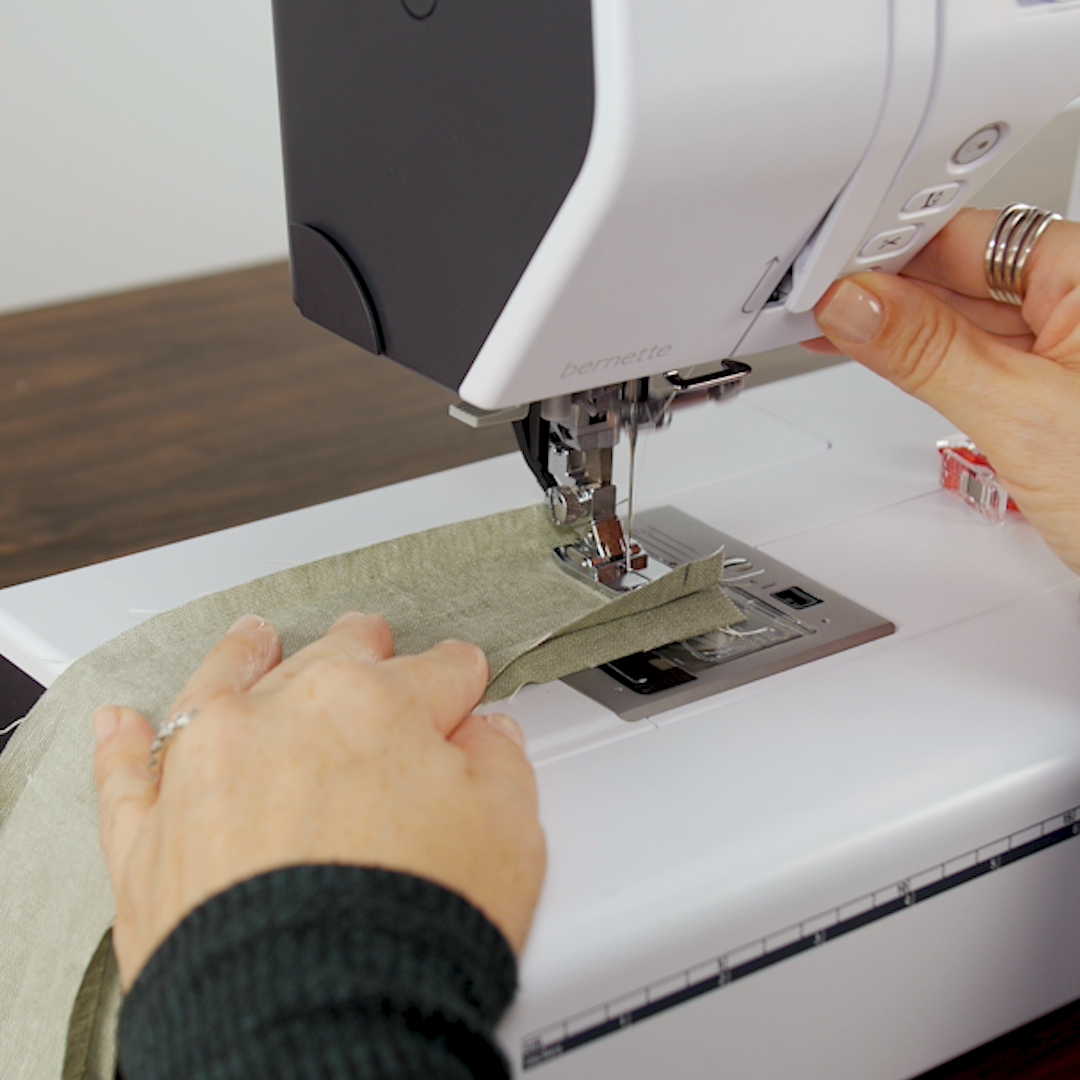
Attach the DF Straight Stitch Foot. Remember to use the bernette Dual Feed with this foot! Place short ends right sides together to create a loop. Place a pin at the center crease to indicate the stopping point. Sew a 3/8” seam to the pin, stop, and backstitch.
Leave the remaining half unsewn – this is where the cord will enter and exit.
Mesh Bag
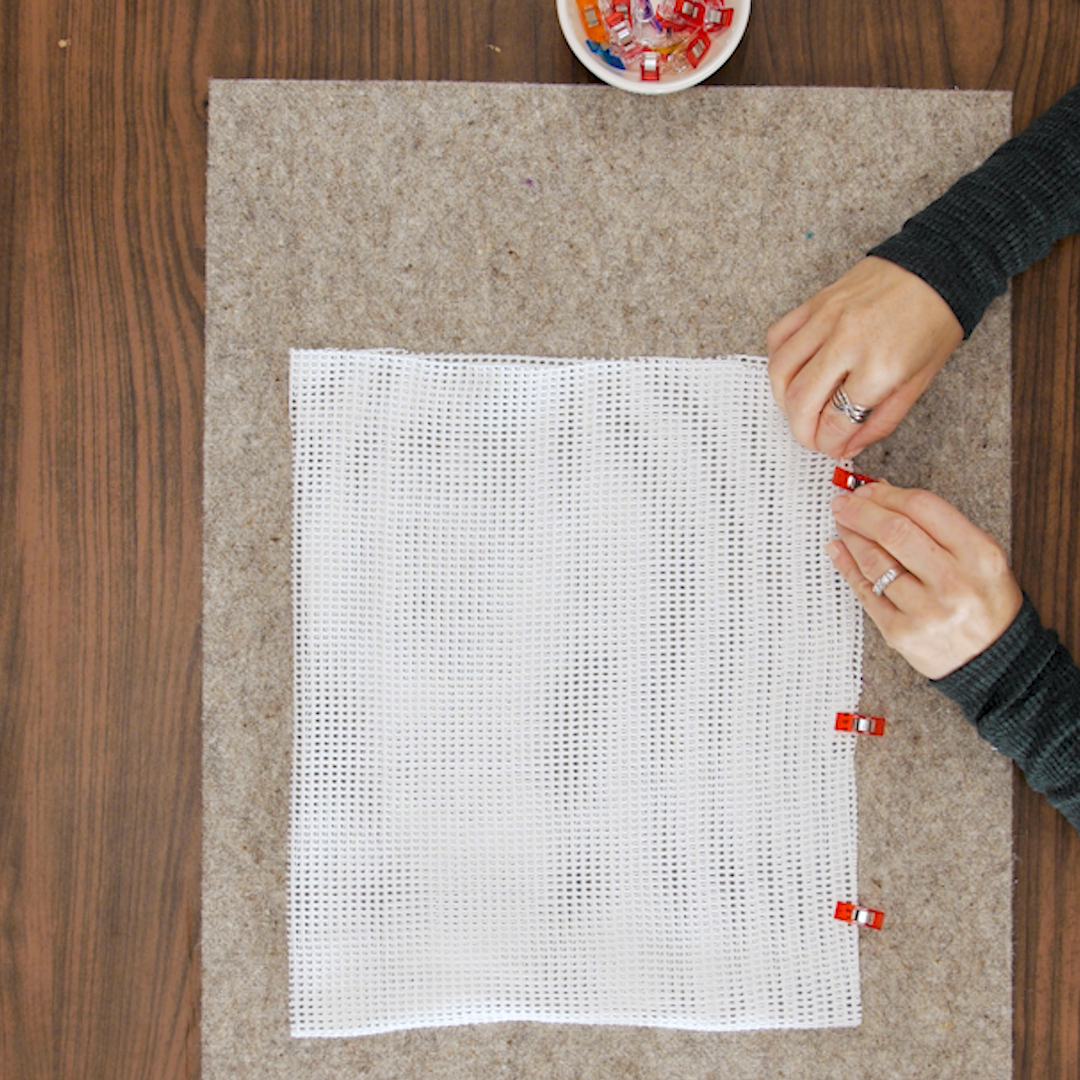
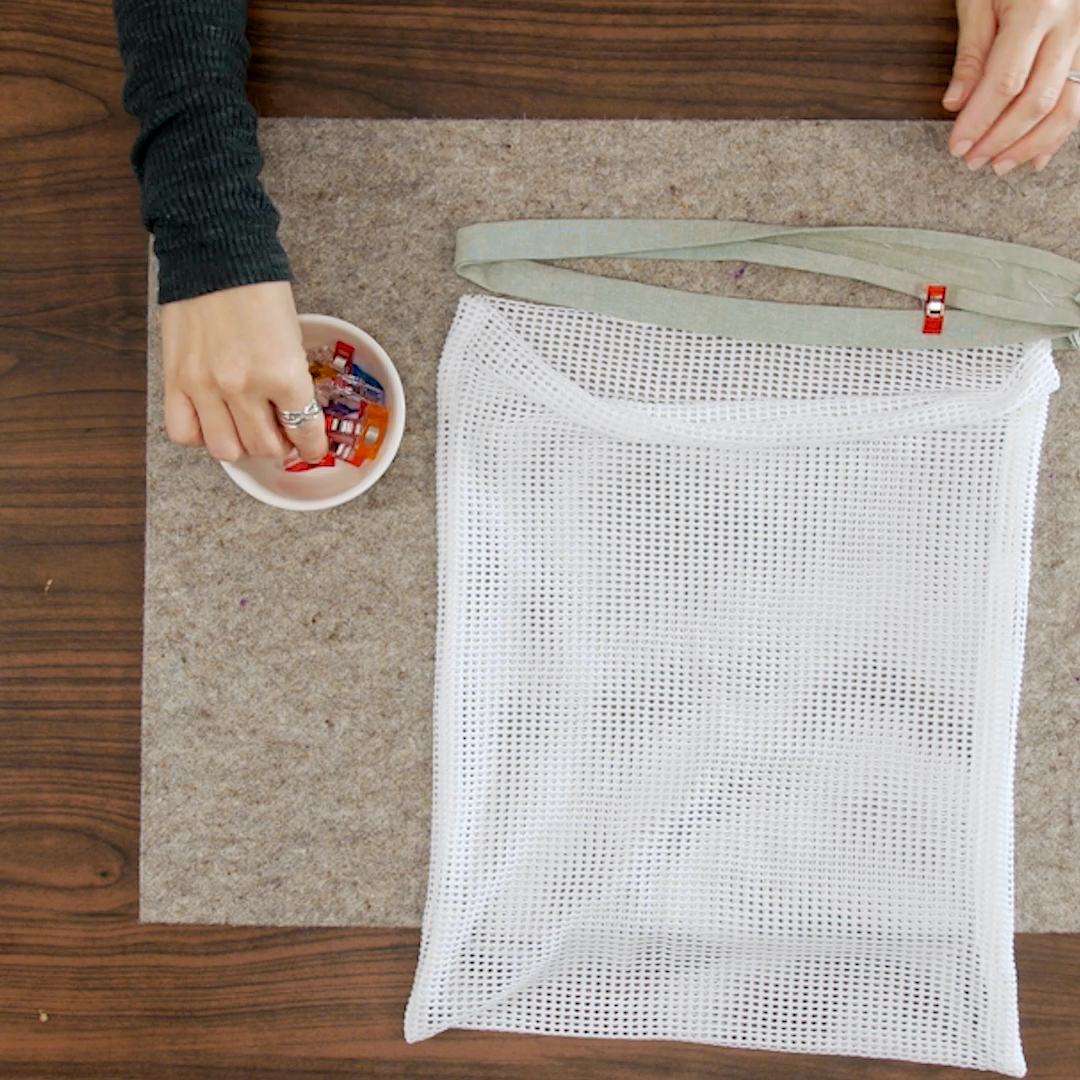
Fold mesh fabric in half so it is 14” wide x 16” high. Secure with Wonder Clips on opposite sides.
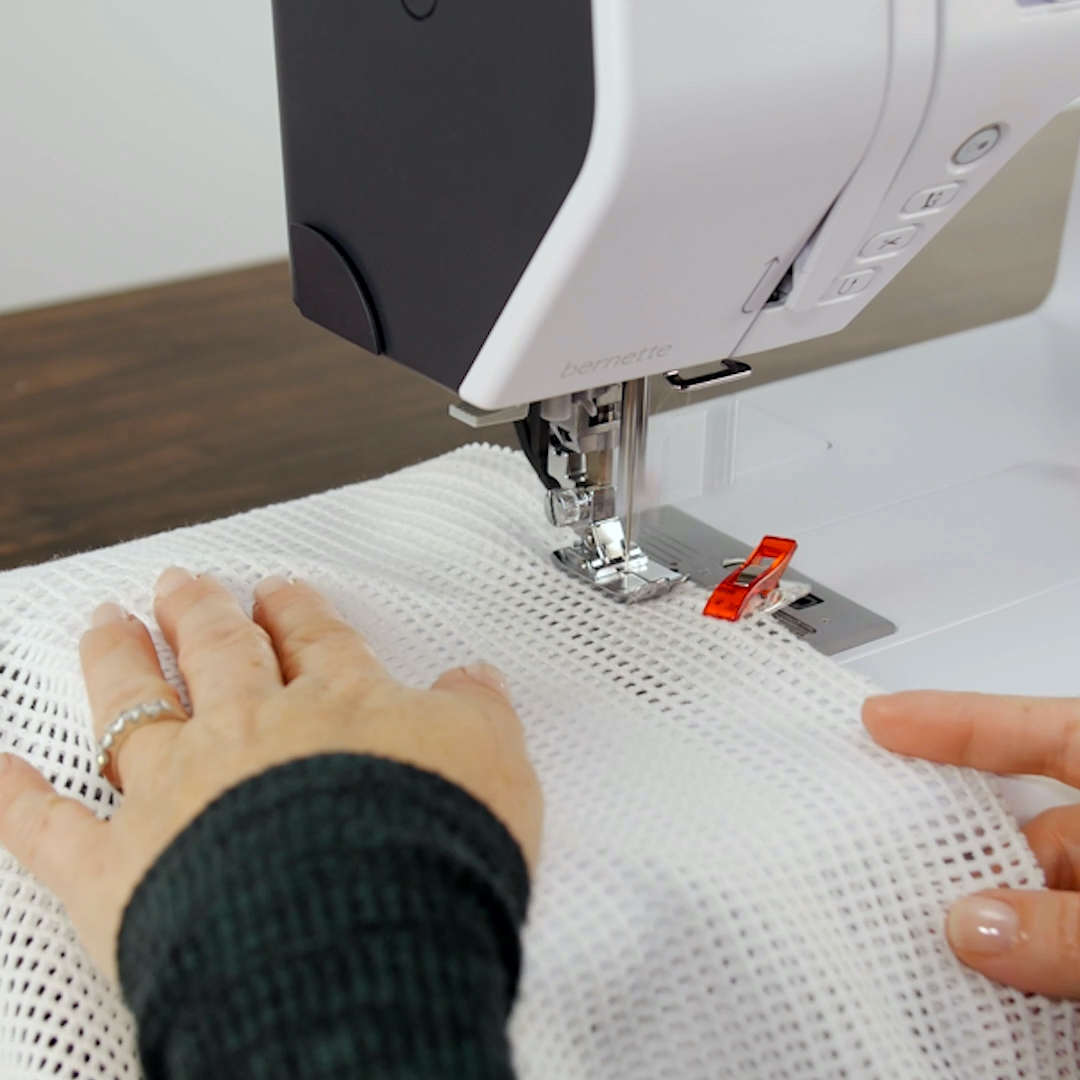
Sew 3/8” seam on both sides securing at start and end.
Label
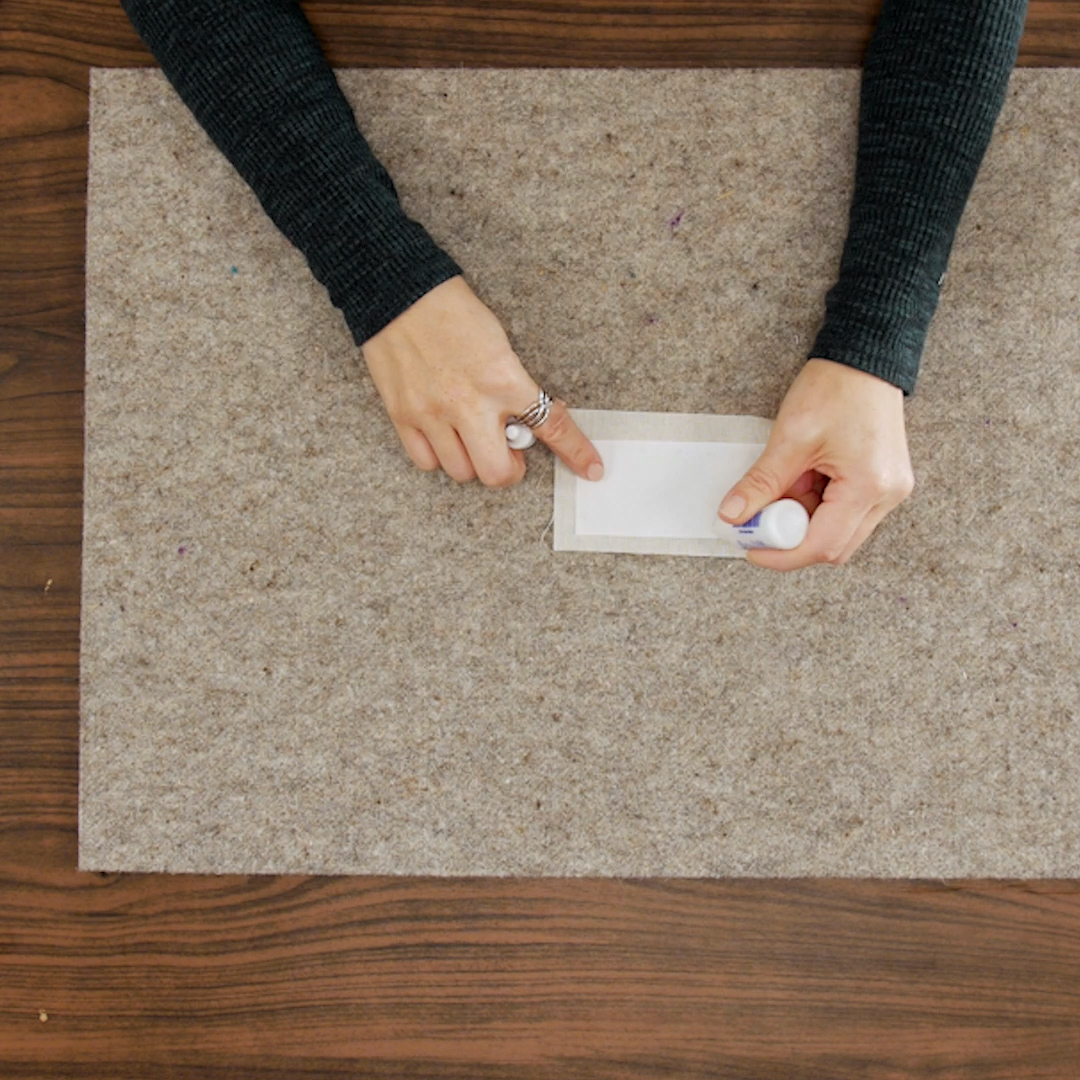
Grab your 3” x 5” fabric and 2” x 4” stabilizer. With temporary glue, add a few dots to secure stabilizer to fabric so it is centered. OESD Ultra Clean & Tear also comes in fusible. If you have this version, go ahead and fuse to the fabric with your iron following the manufacturer’s directions.
Word Play
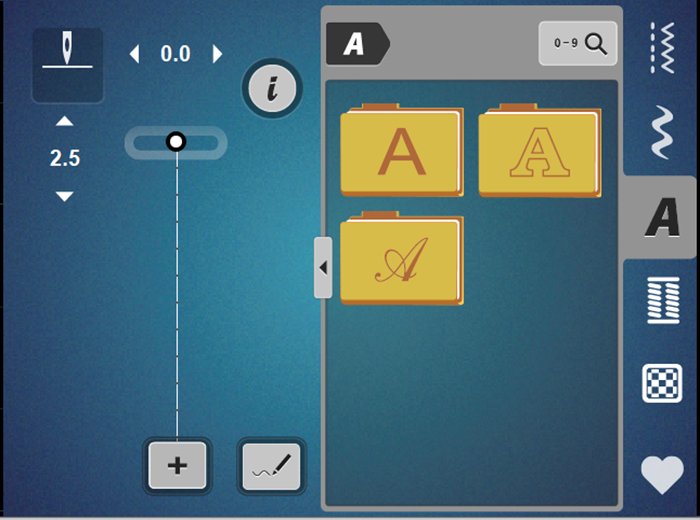
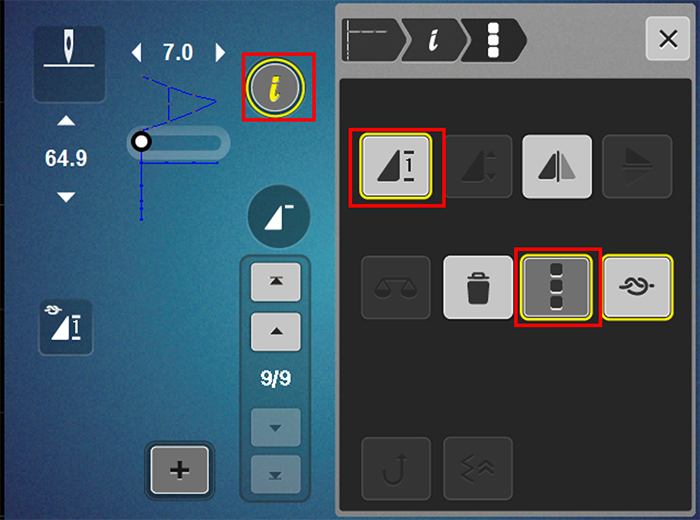
On your Touch Screen, select the Alphabet tab and select the first folder.
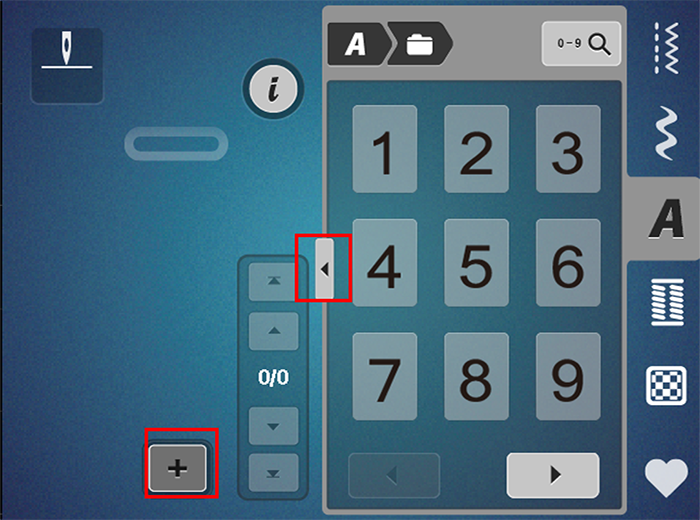
Select Combi-mode. Touch the Transition arrow.
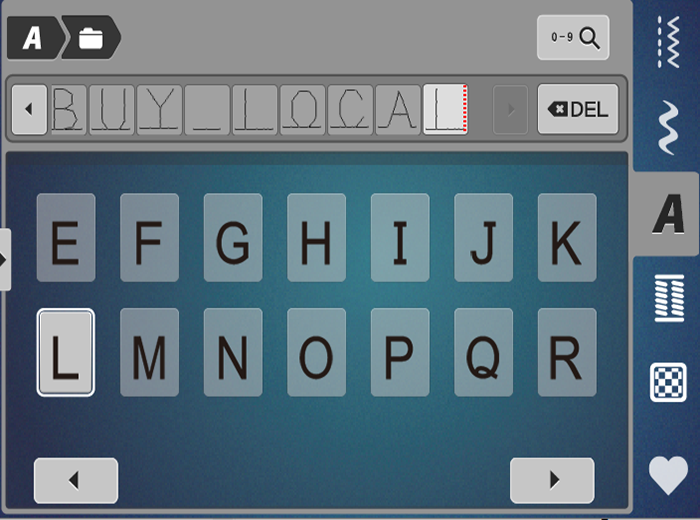
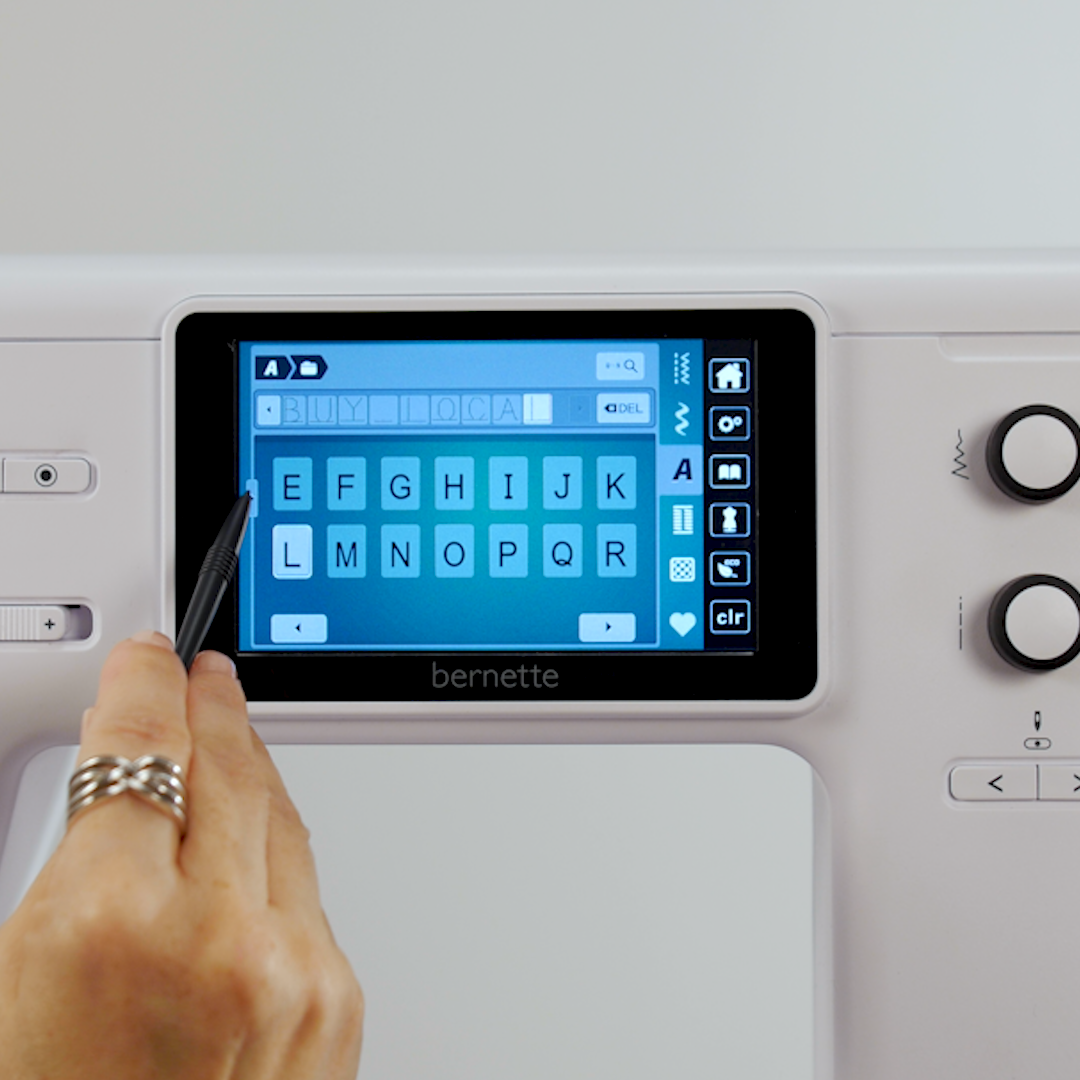
Scroll through, selecting all cap letters – BUY LOCAL. The space symbol is towards the end.
Touch the Transition arrow again to return to the sewing screen.
Touch the Information Menu (the “i” menu). Select Edit the Complete Combination and Pattern Repeat 1. When done, touch the X to exit out of the “i” menu.
Determine the best place to start stitching. The screen shows 64.9 mm in length, which is about 2.5 inches. This gives me a good idea where to start stitching so the words are centered on label.
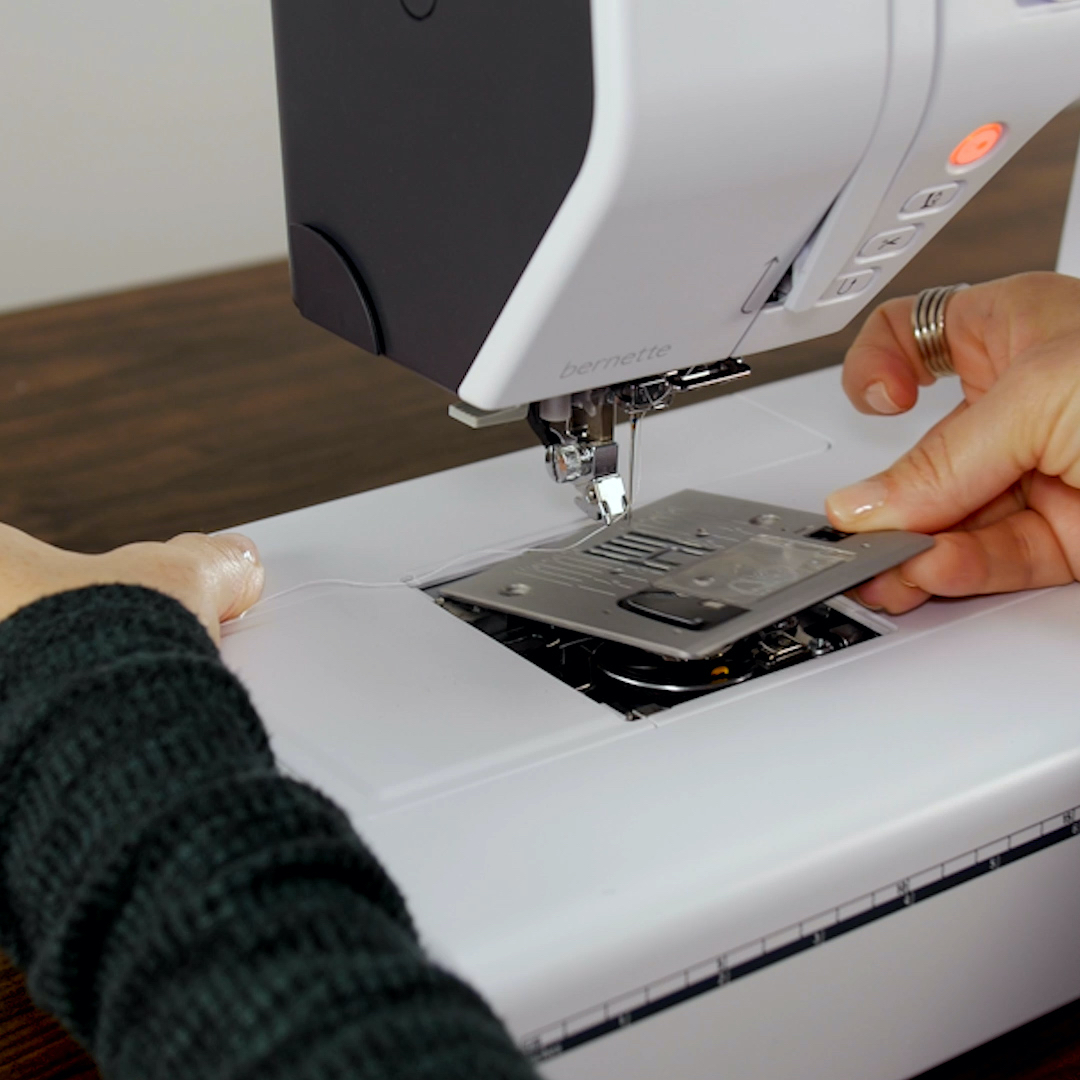
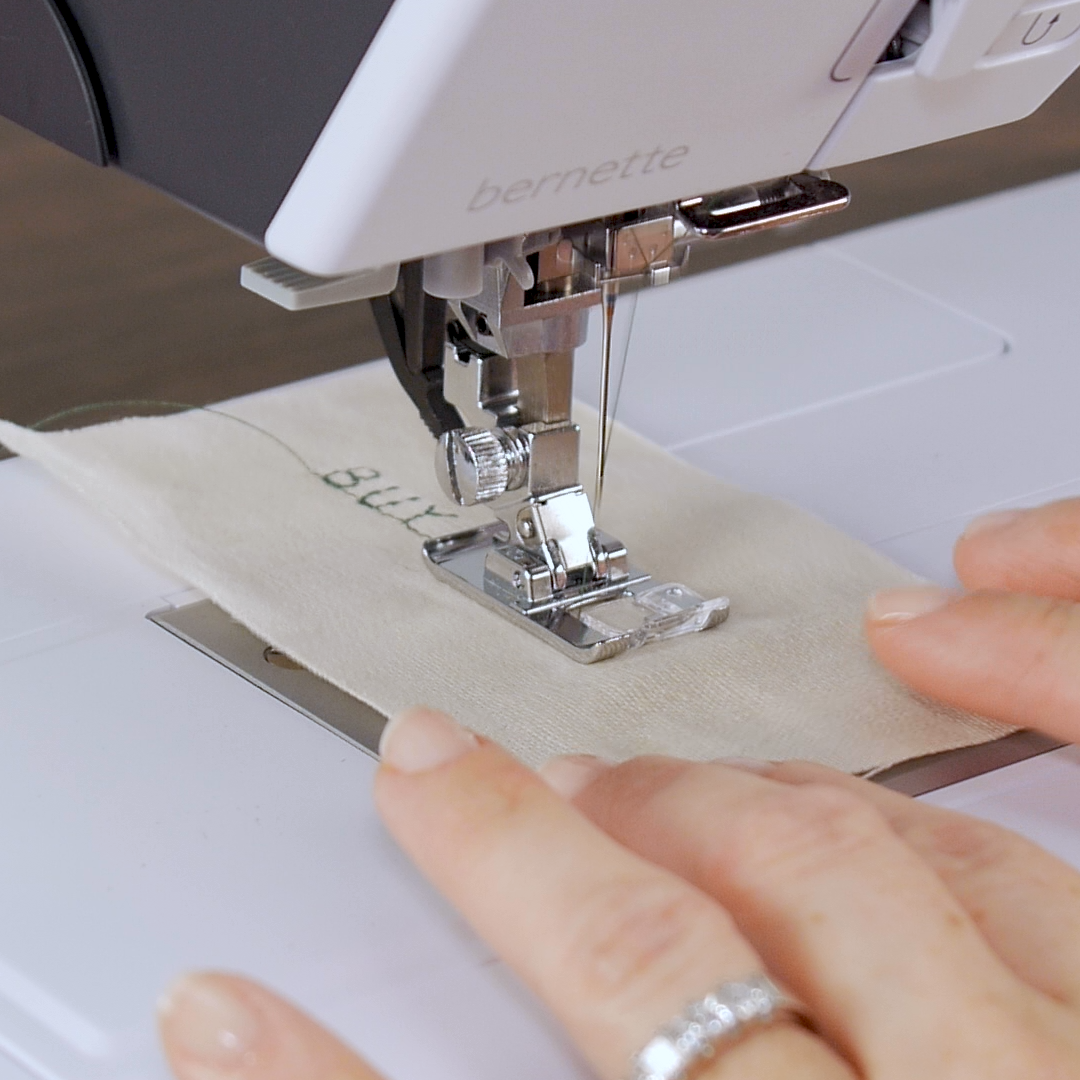
Attach JK Embroidery Foot and 7 mm Stitch Plate.
Add a thread color that will stand out. Make it your own by adding your name, favorite saying or quote. Try “I made this!” or “Less plastic is fantastic” or Farm to Table.”
Stitch out!
Putting It All Together
Turn mesh bag so it is right side out. Place fabric tunnel over the open end of bag enclosing the raw edges. This should fit nicely. If the tunnel is slightly too big or small, adjust accordingly. Pin or clip with cord opening on outside.
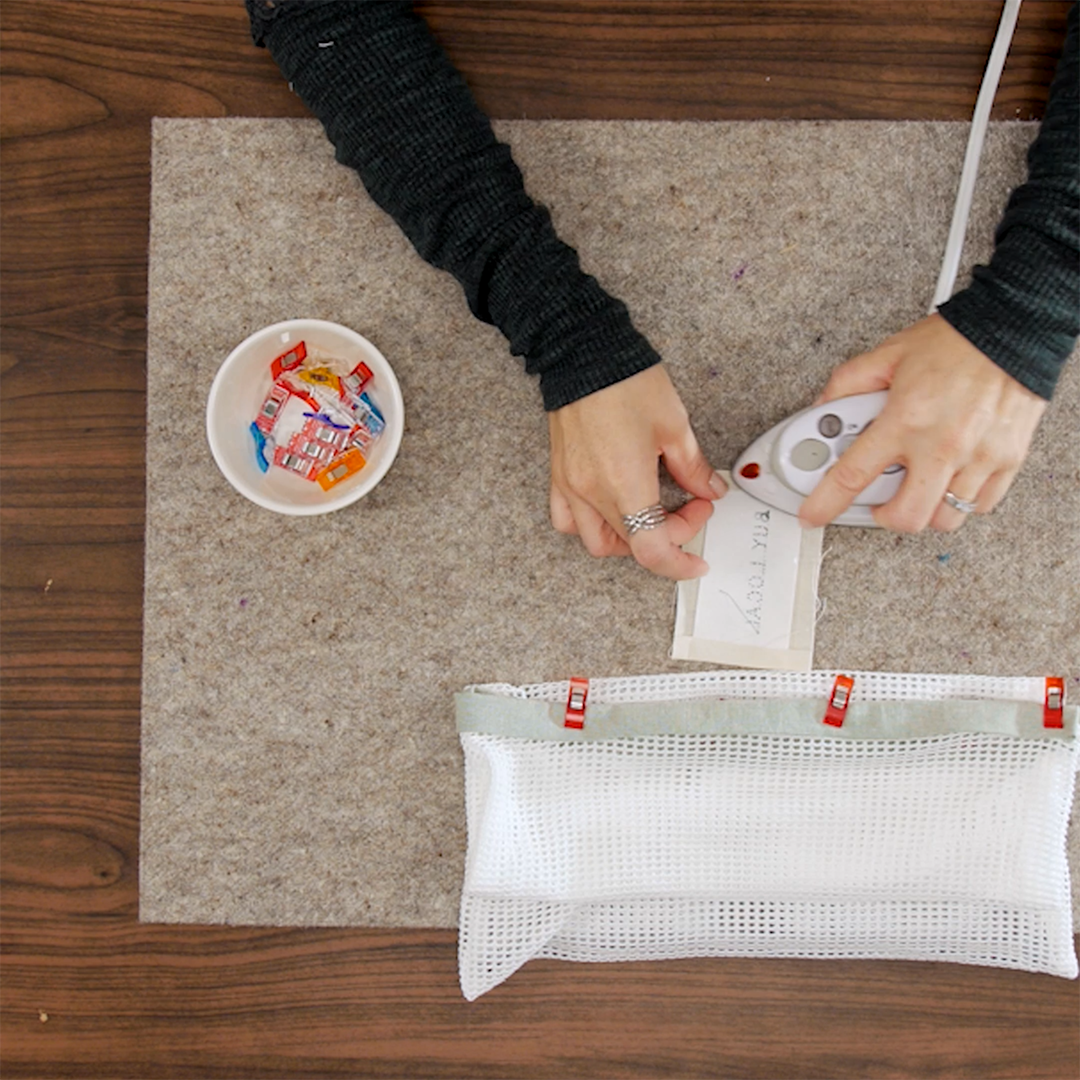
Place label on pressing mat face down and press raw edges over the stabilizer. This will create nice, clean edges.
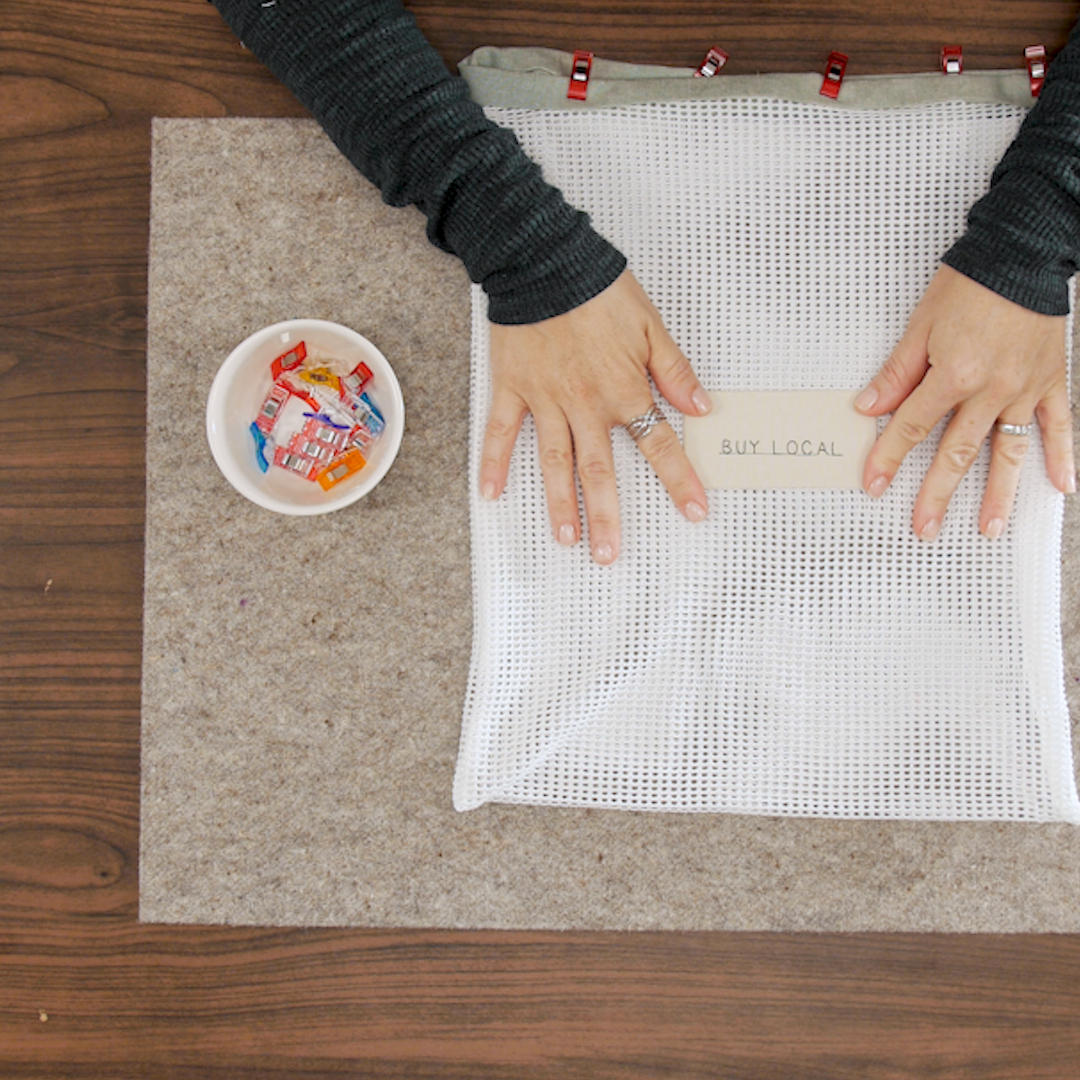
Glue or pin label to center of mesh bag.
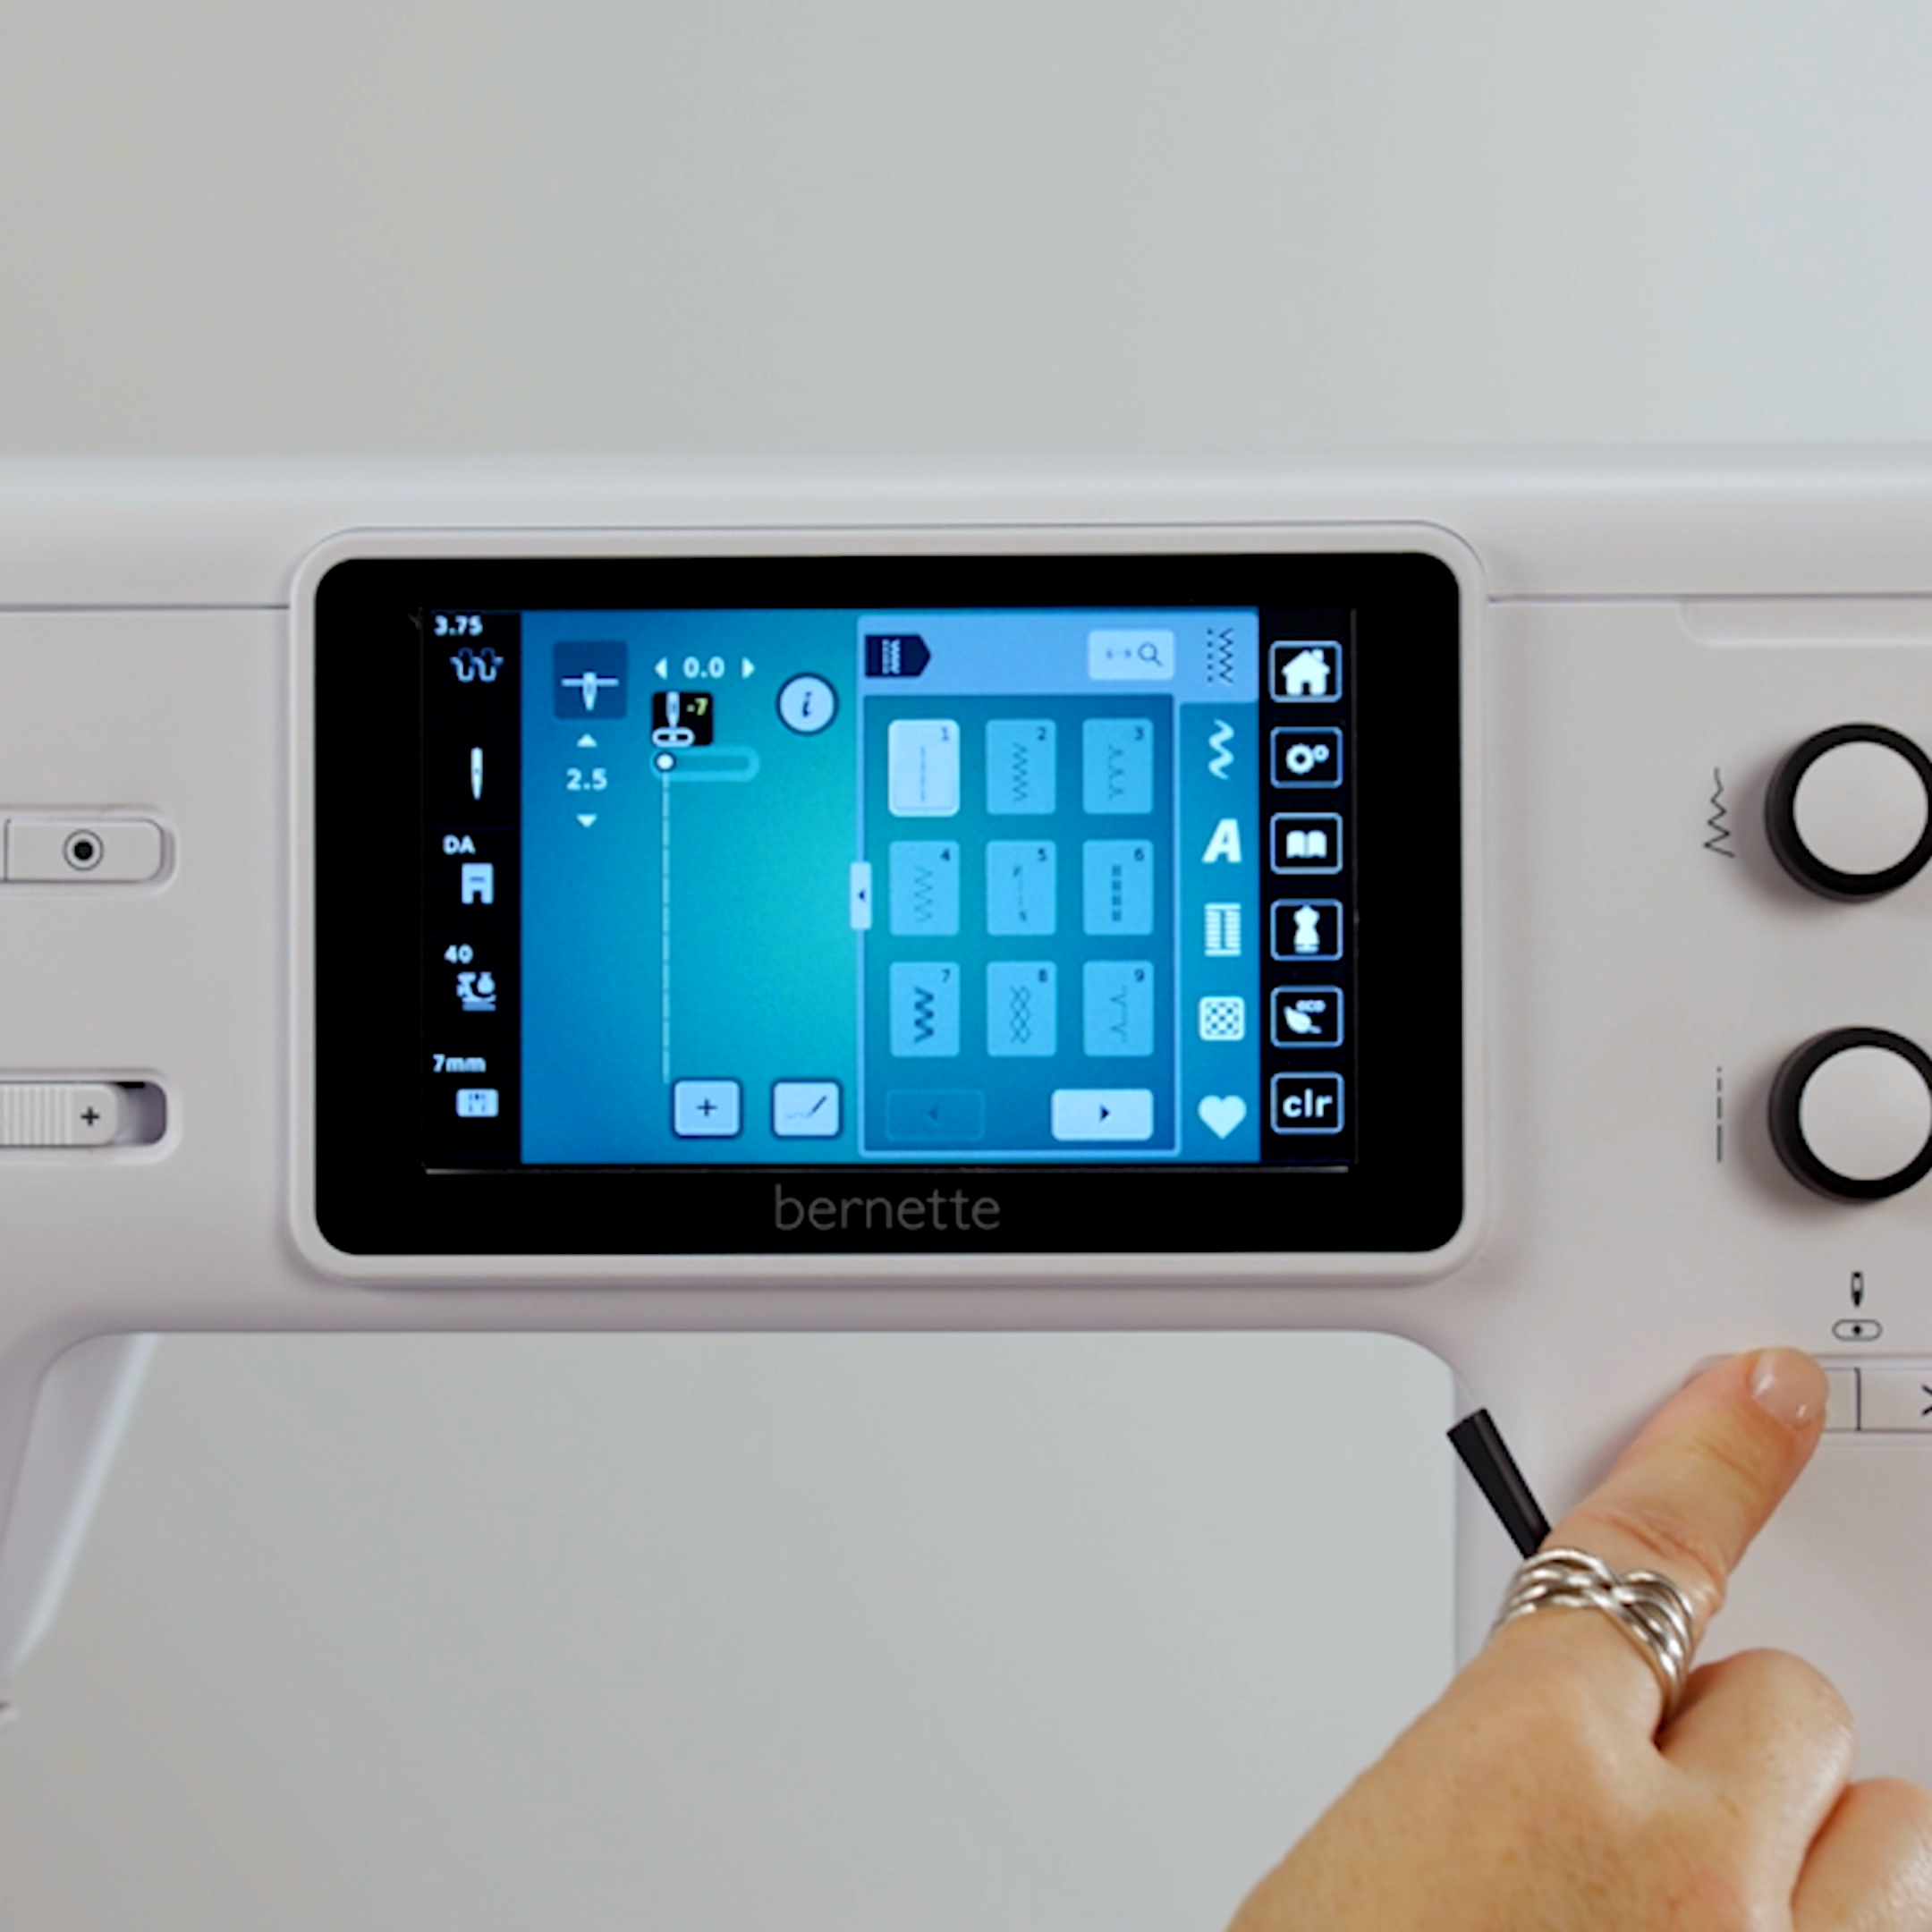
At your machine, return to Single Mode on sewing screen. Select Straight Stitch #1 and move Needle Position to -7.
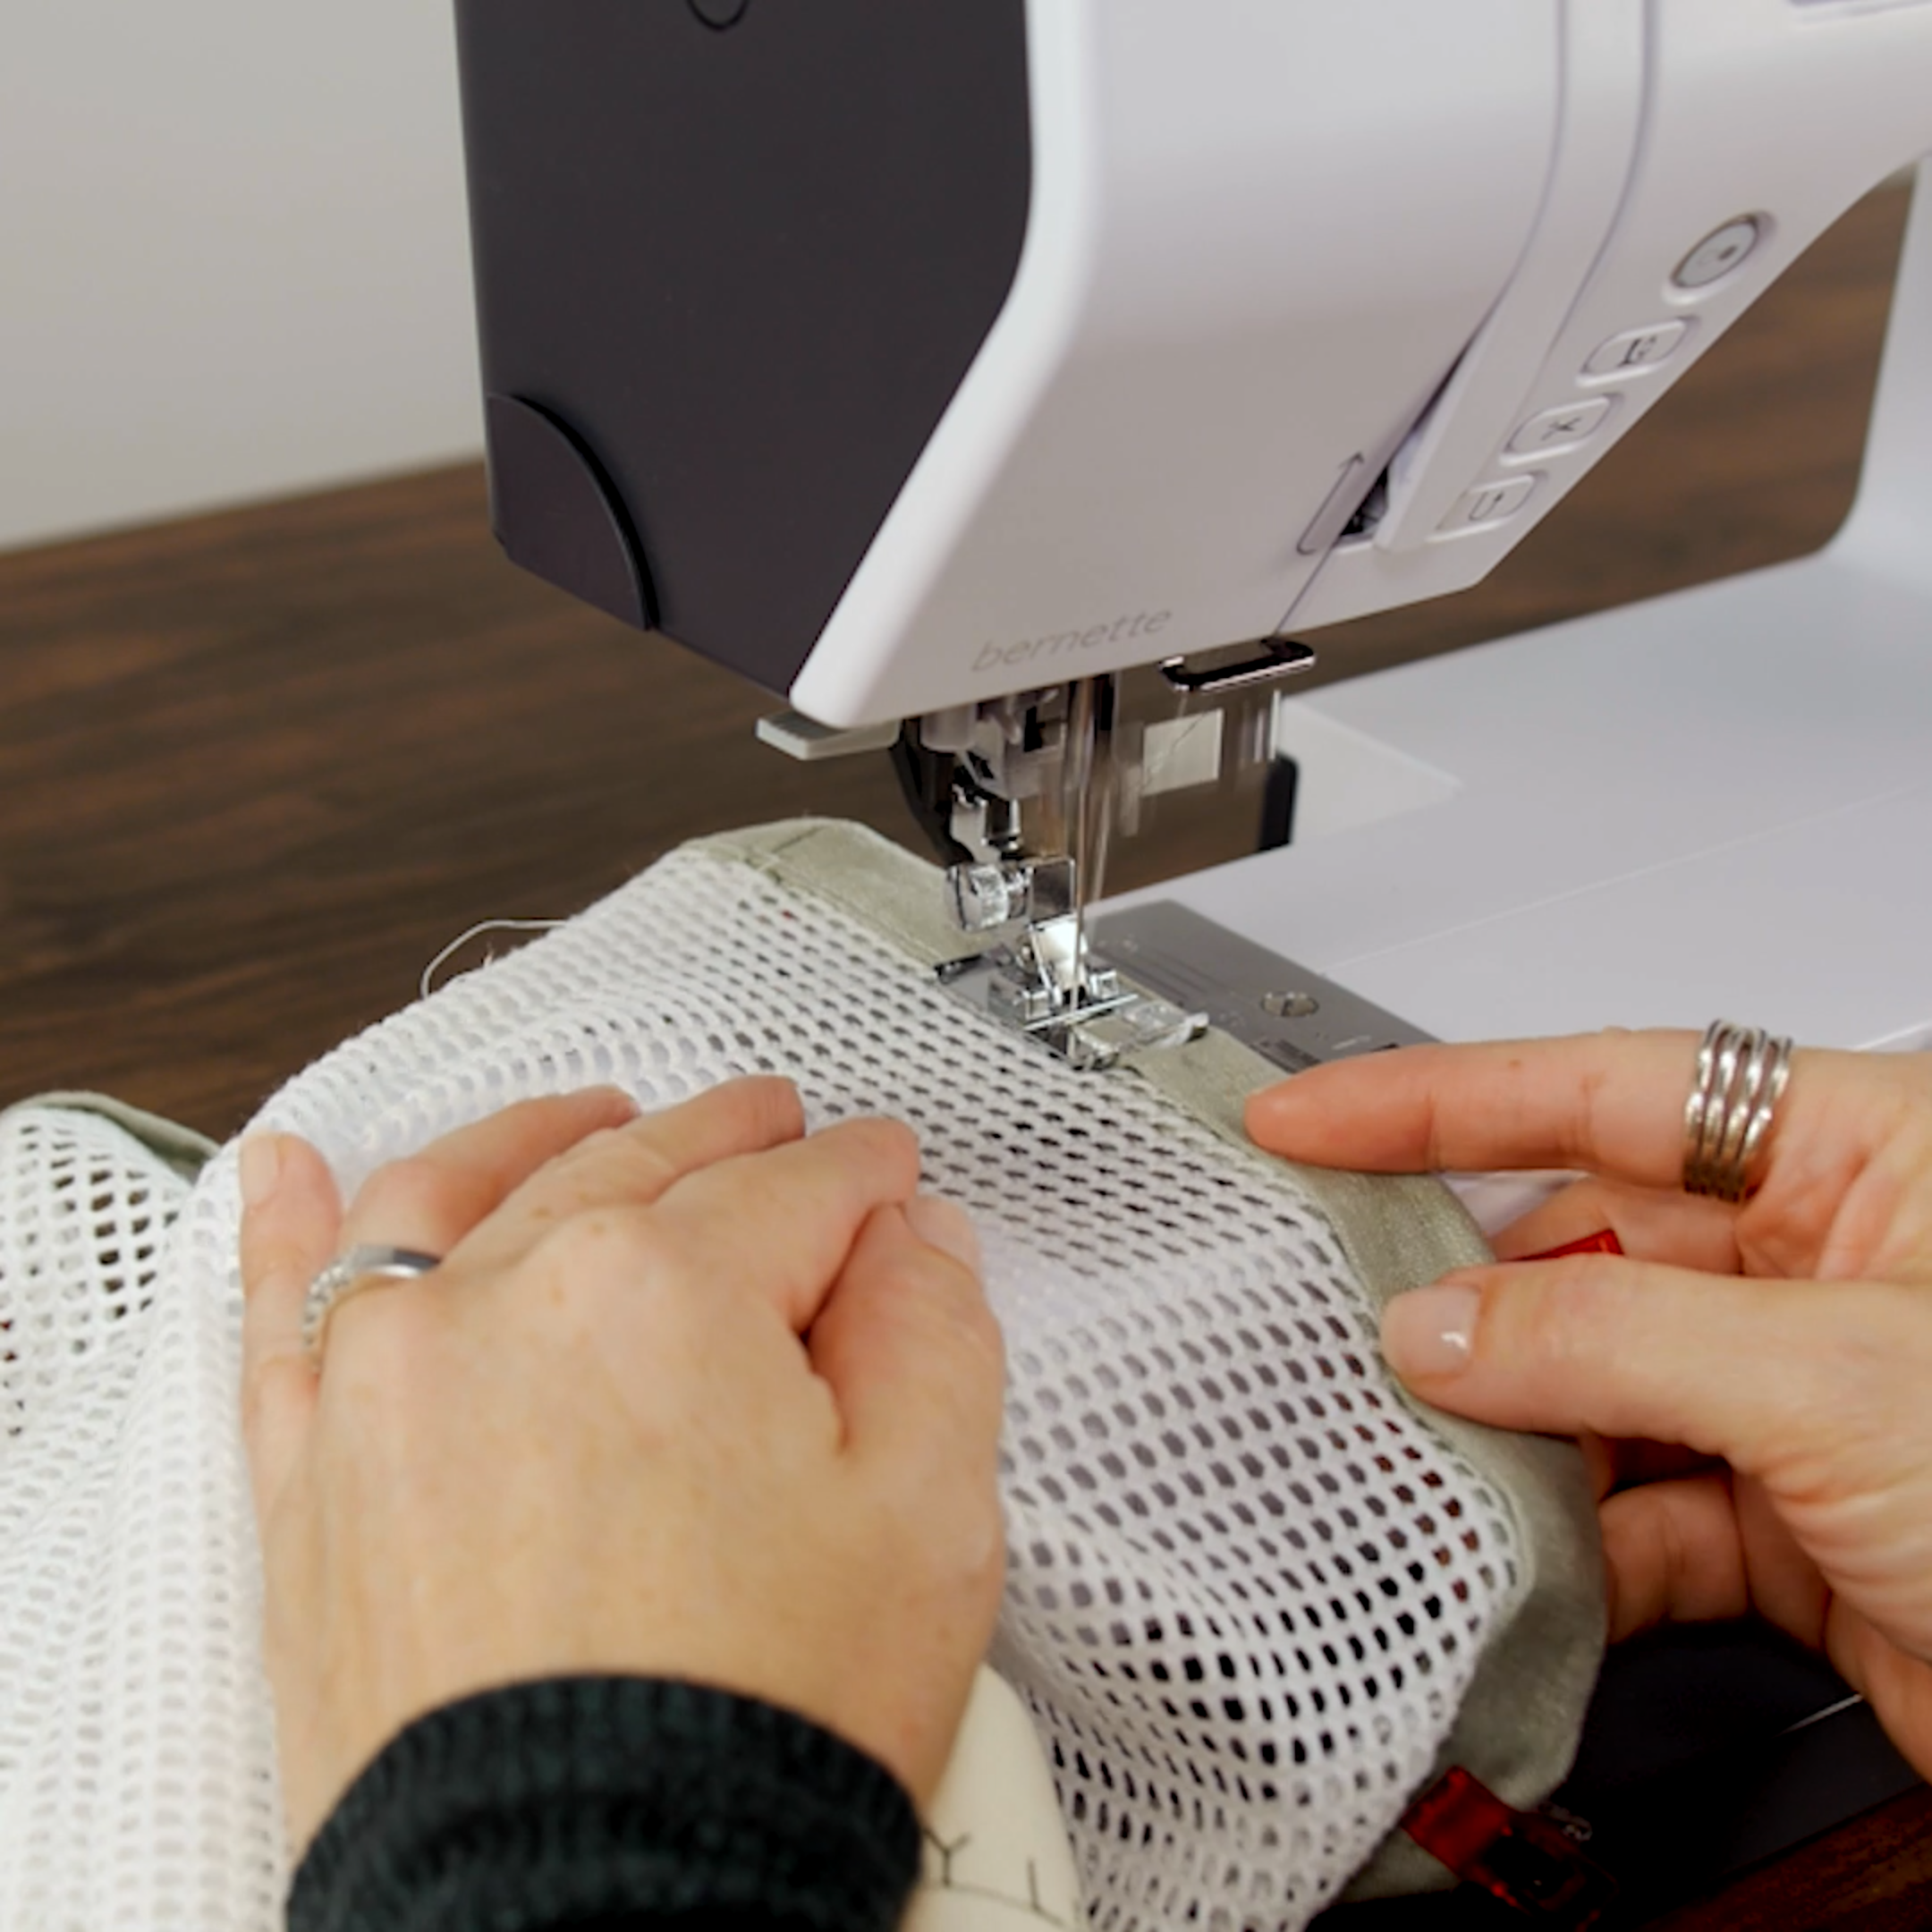
Edgestitch fabric tunnel to bag aligning the inside left toe with edge of fabric. Backstitch at start and end. Also, backstitch where the opening is for the cord to give it extra strength.
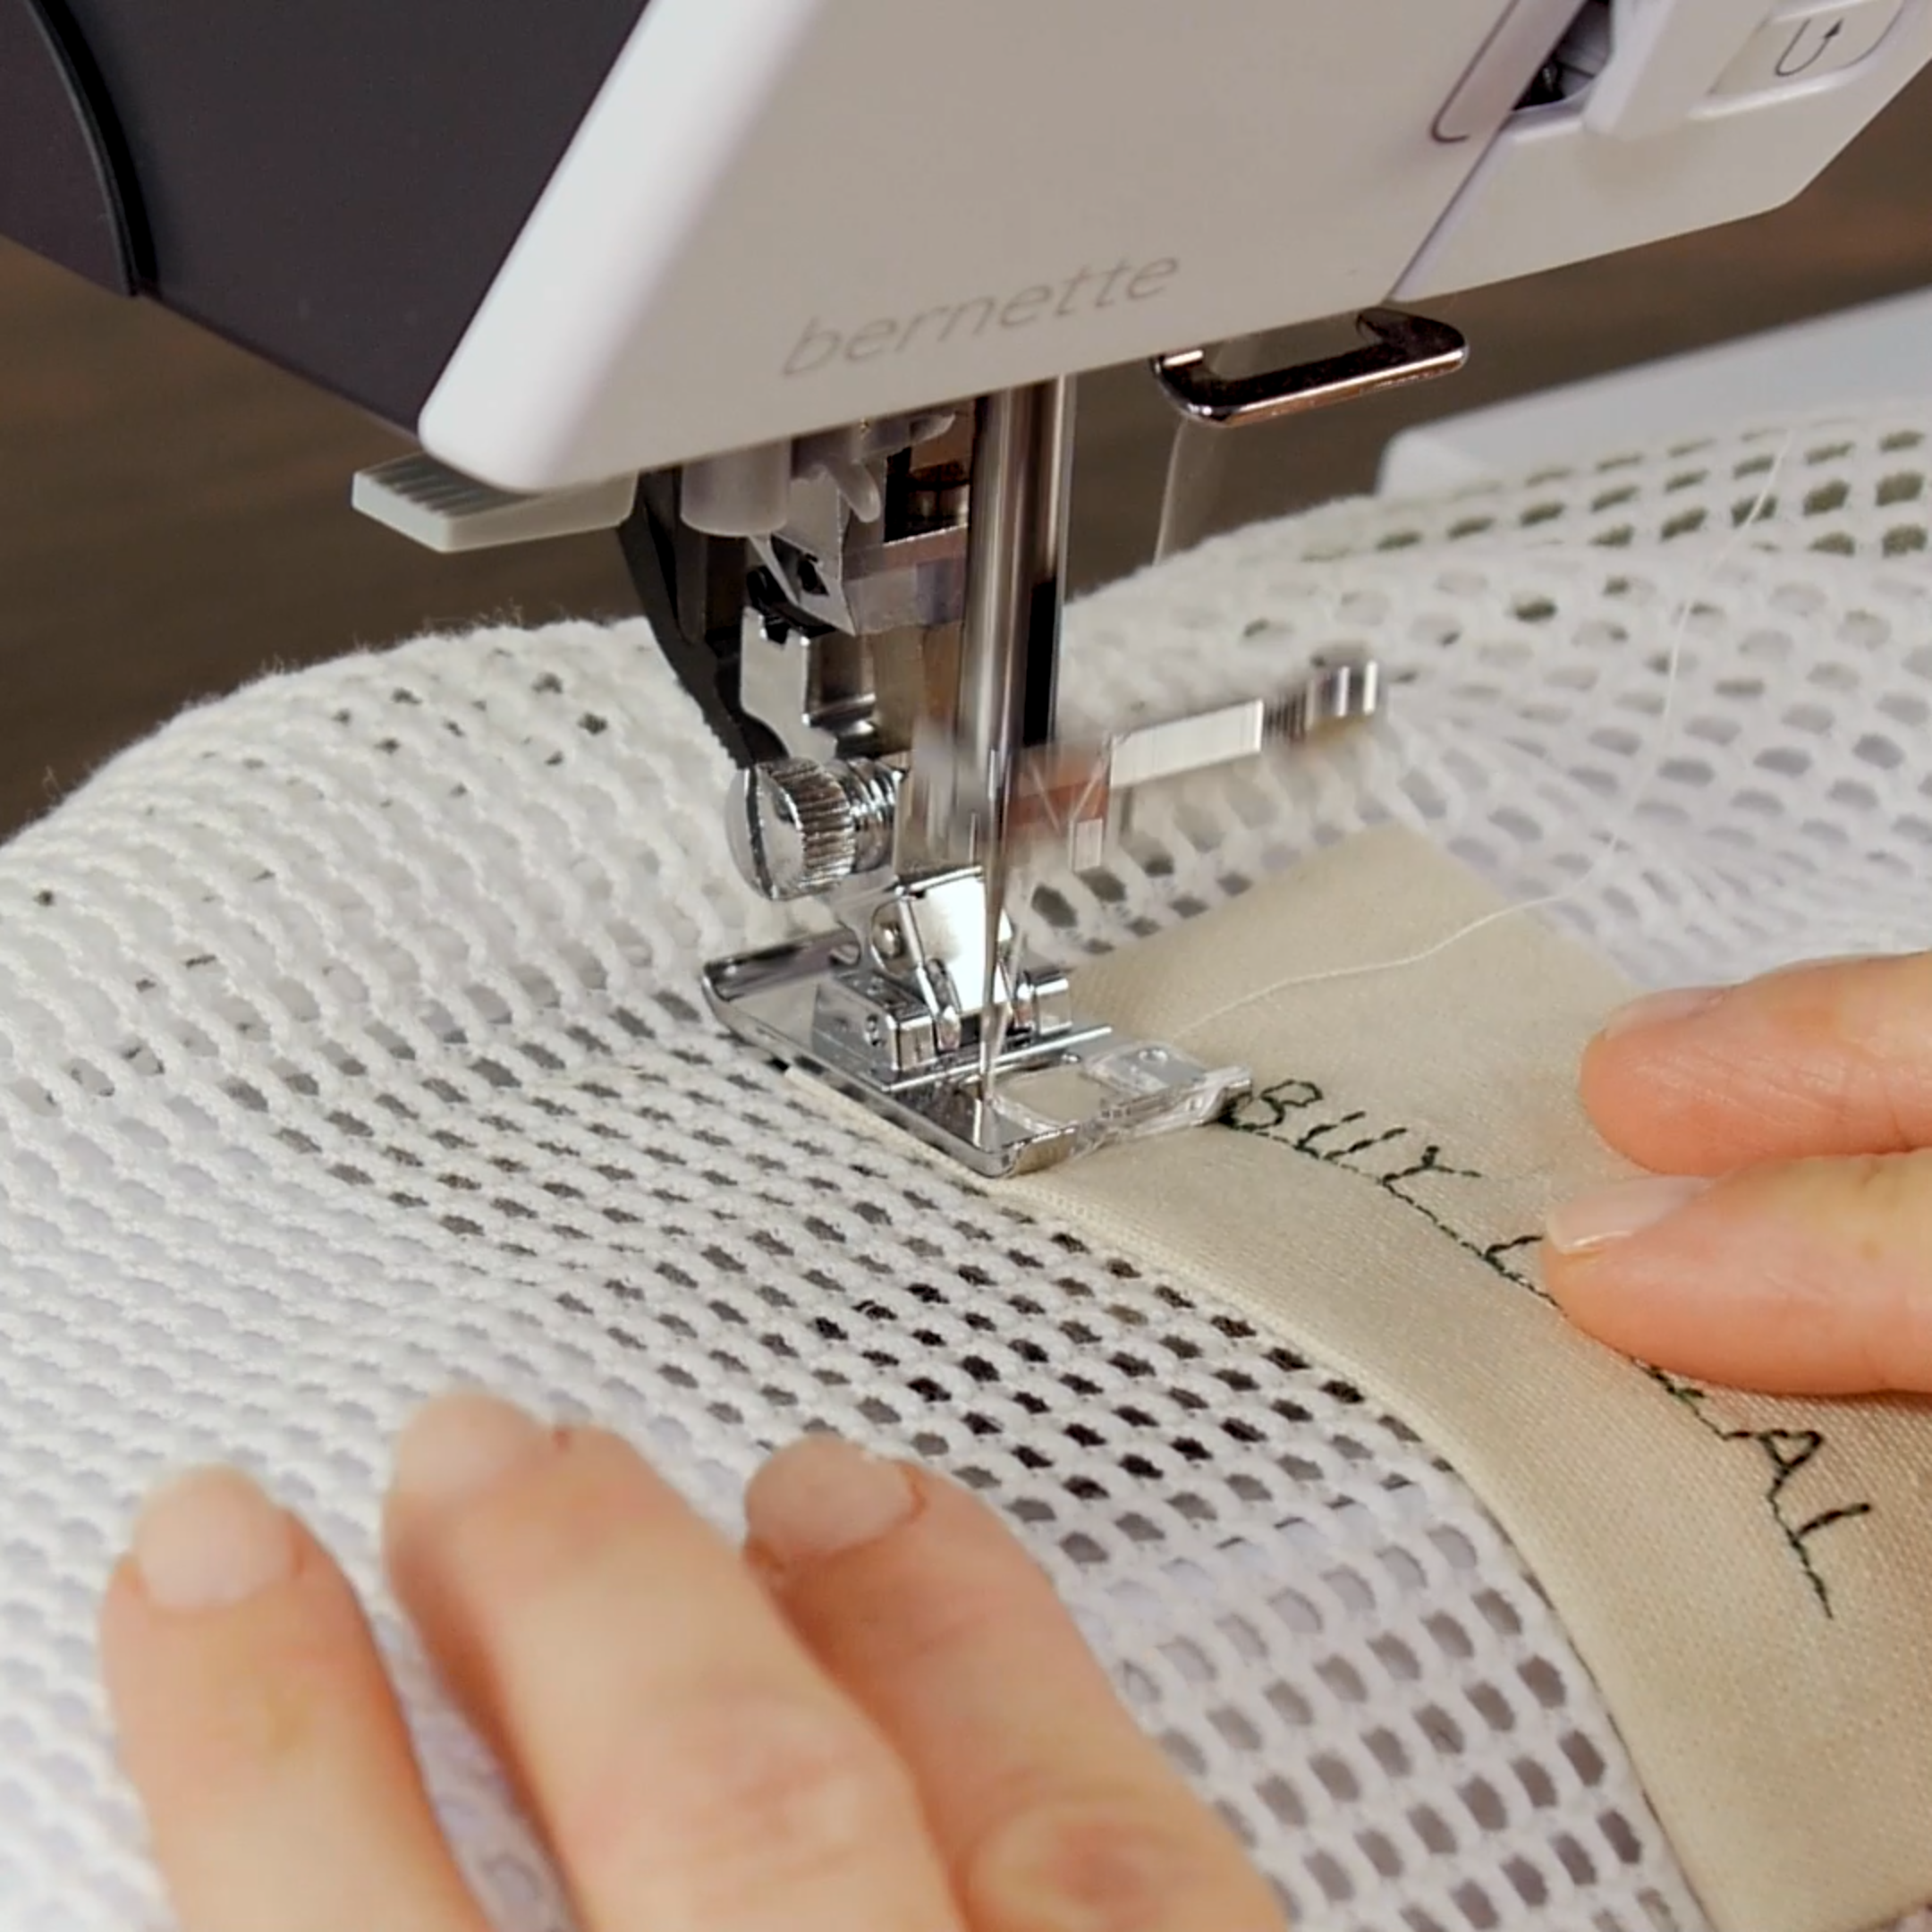
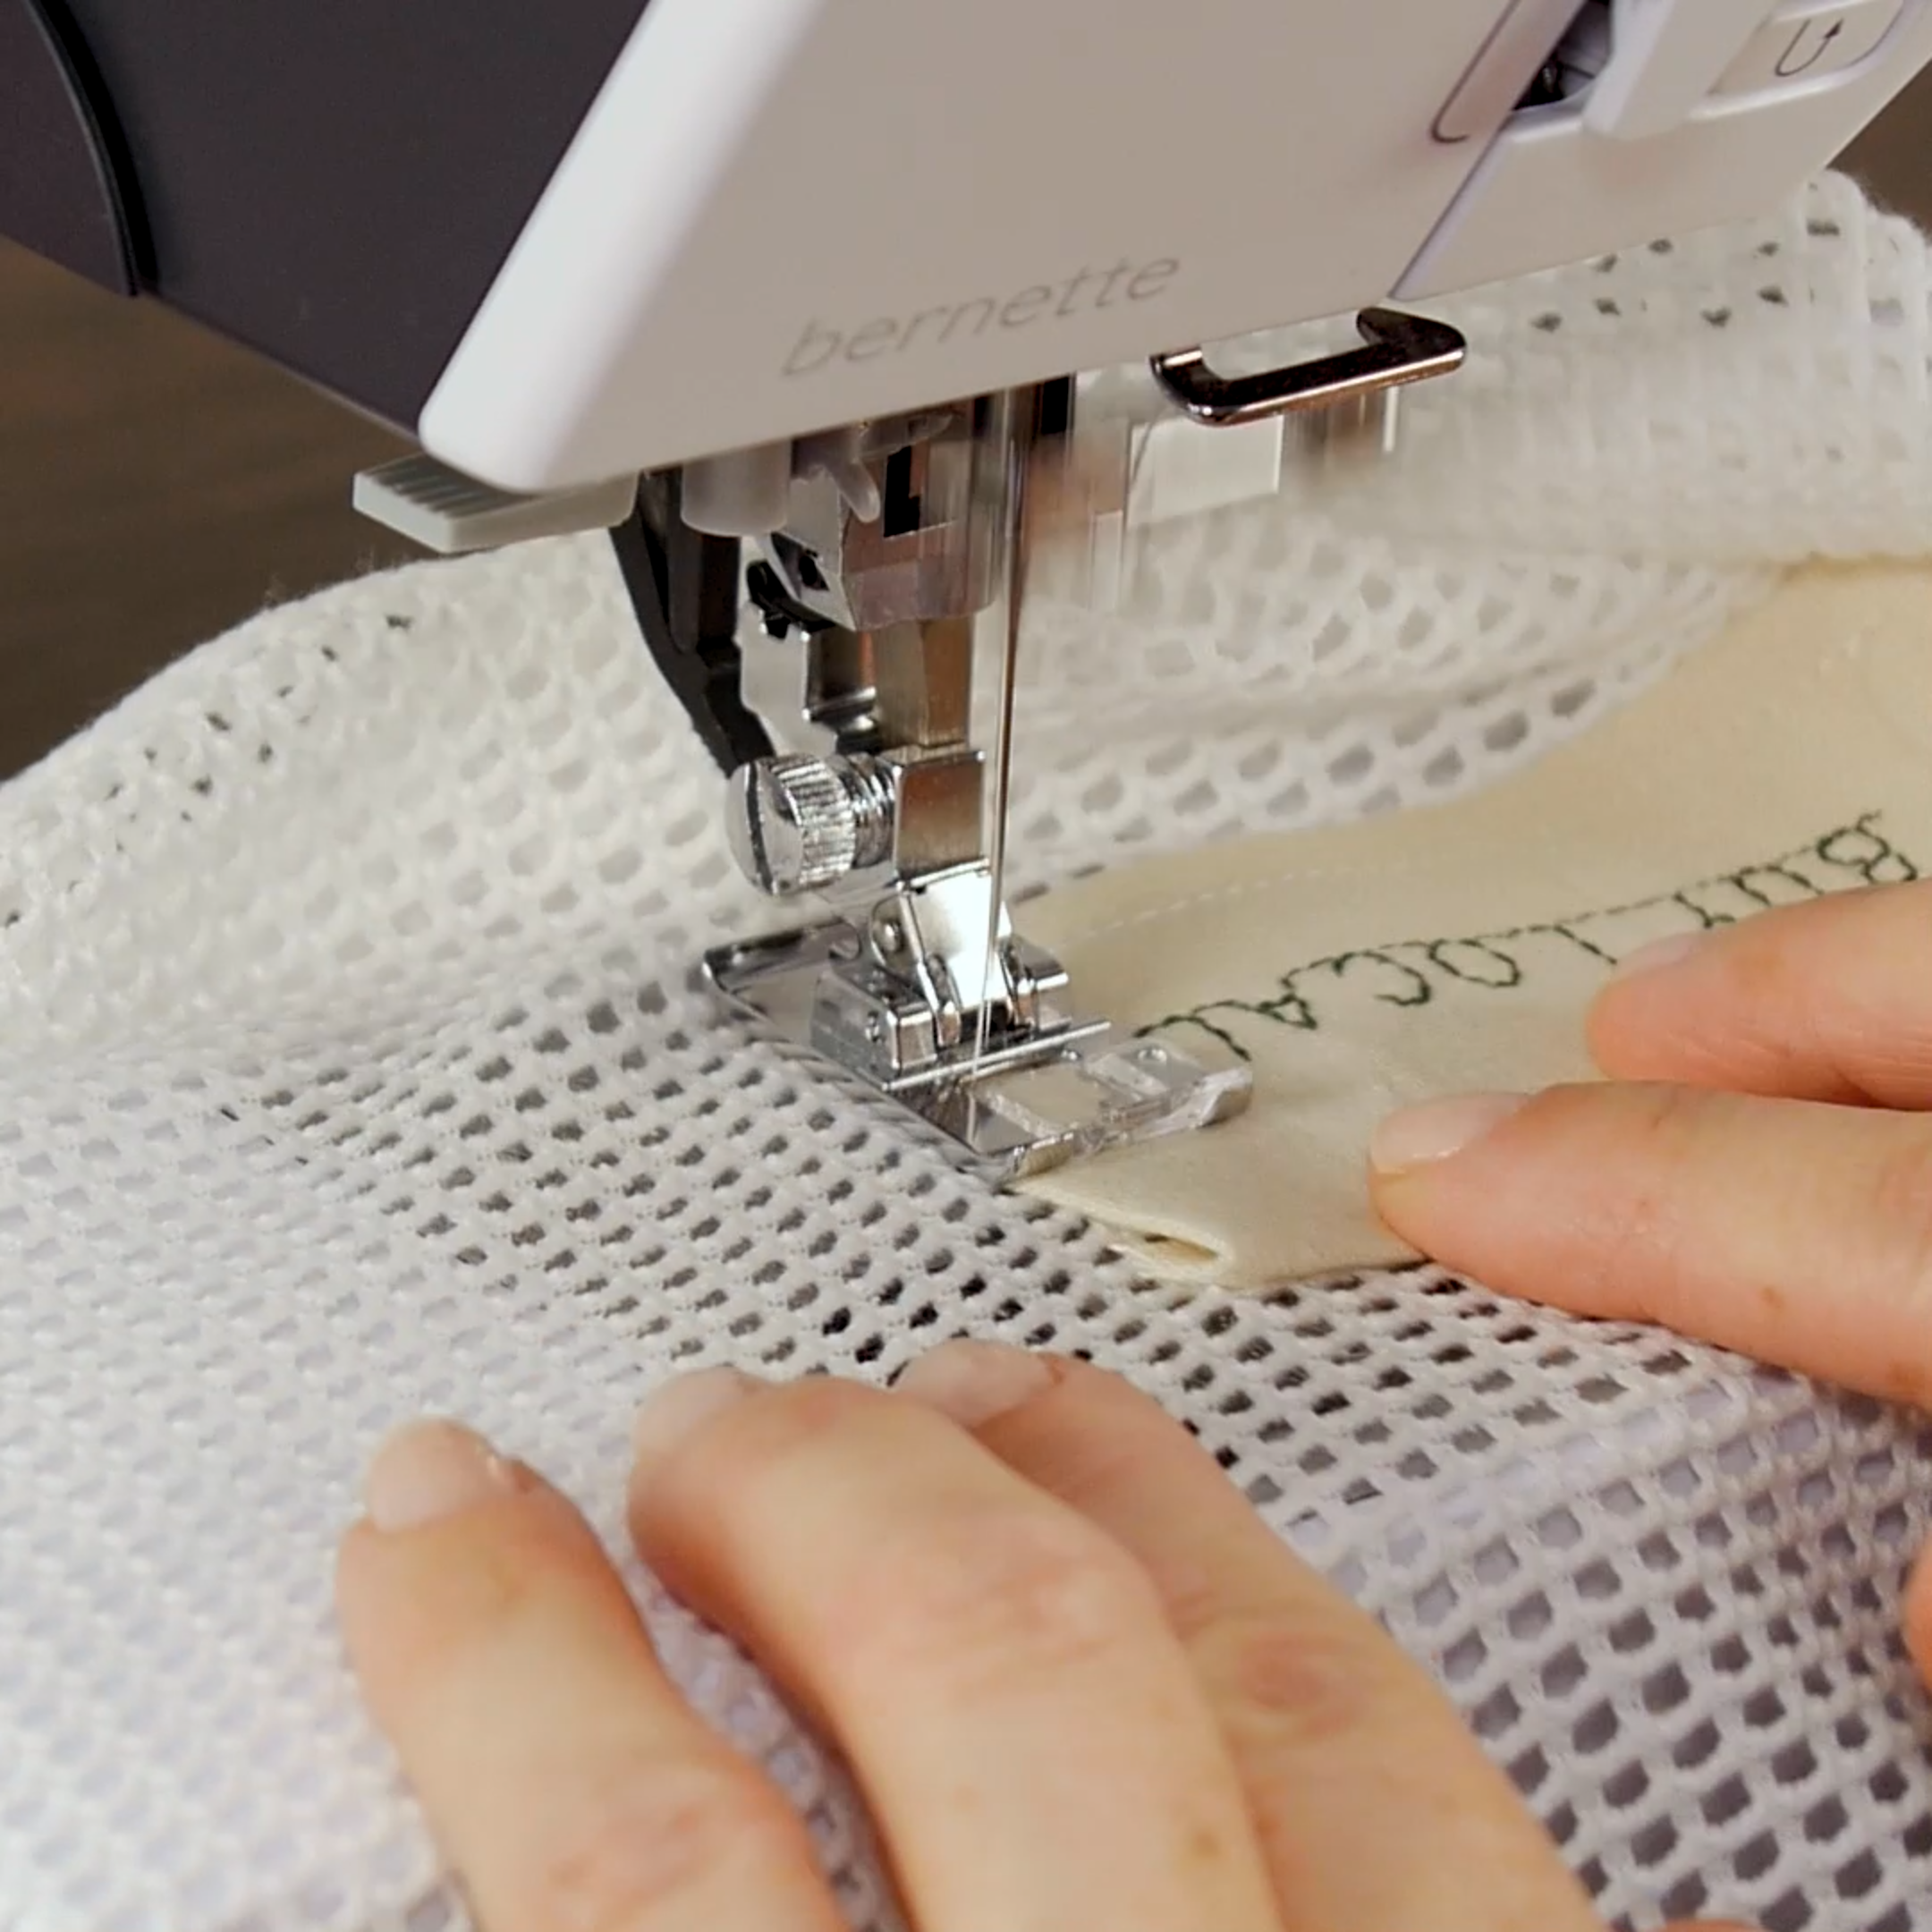
Edgestitch label aligning the outside left toe with edge of label. Make sure needle stops in the down position at corners. This way you can easily pivot at corners without the label shifting from under the foot.
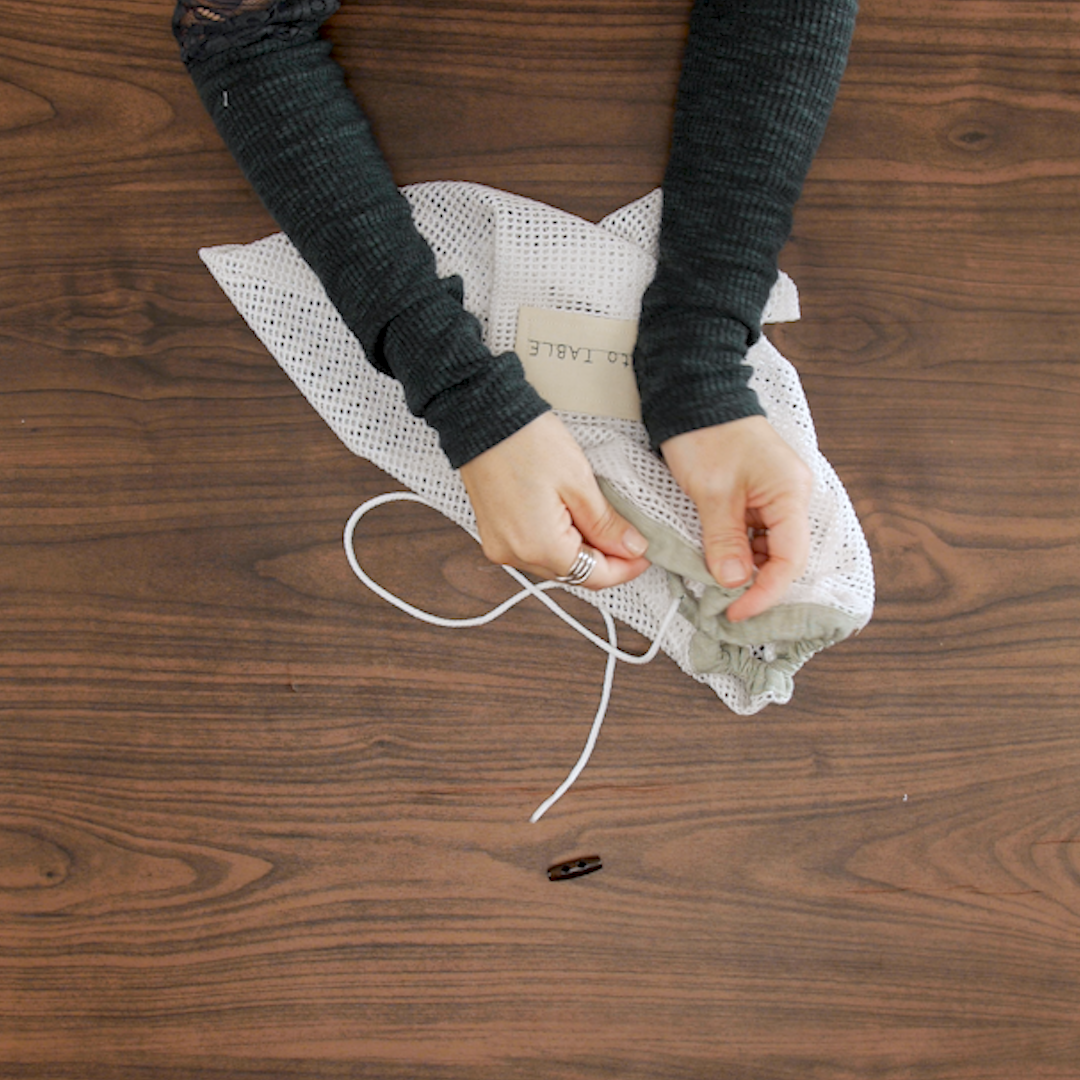
Insert cord with bodkin and add wood toggle.
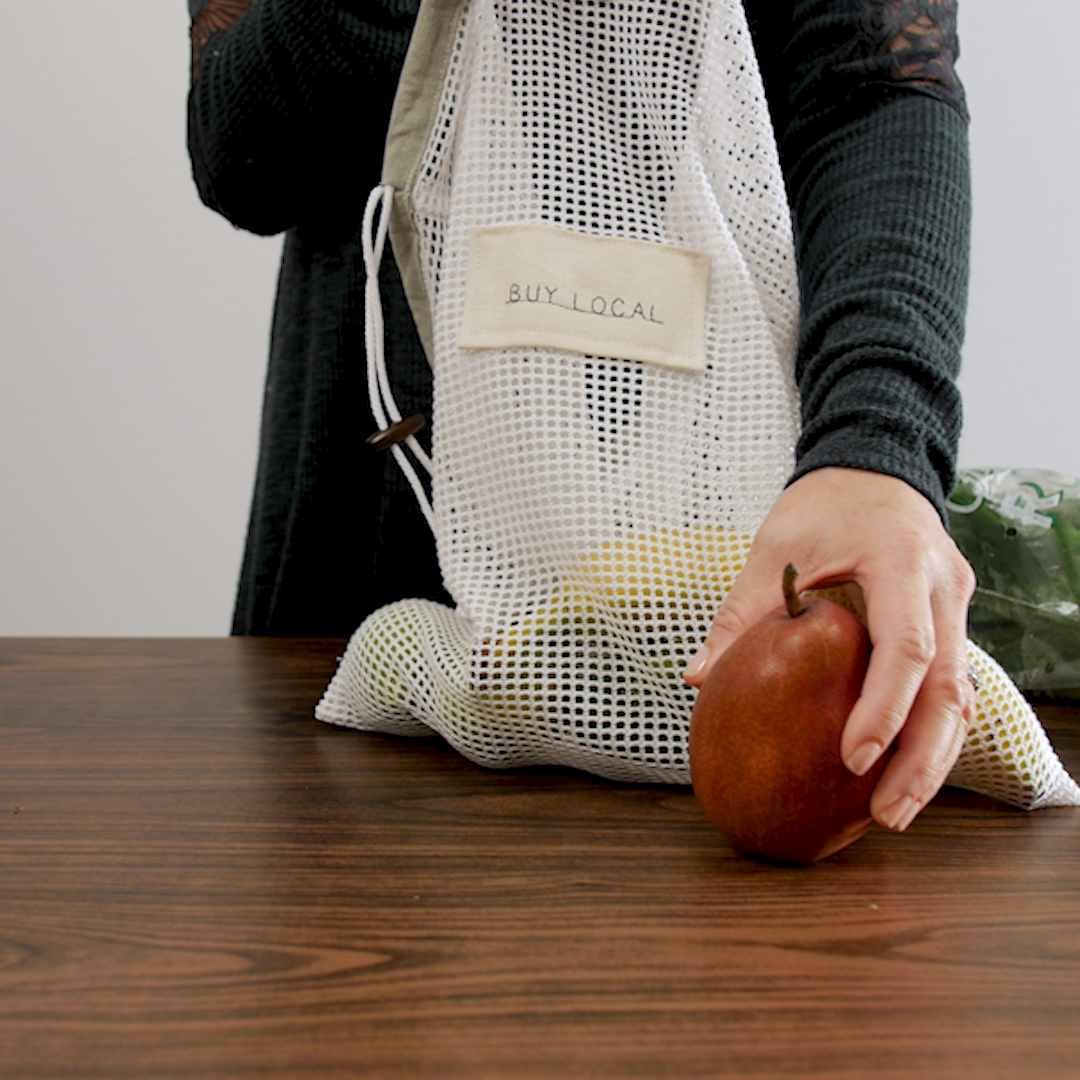
Wasn’t that fun and easy? Now you have produce bags ready to go and reusable for many years. Don’t be surprised if someone asks you about them!



Where did you purchase your mesh and is it cotton or polyster?