Freearm Embroidery Made Easy
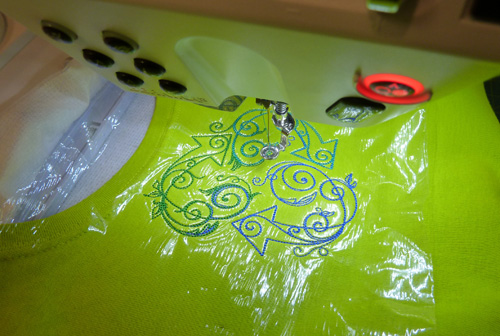
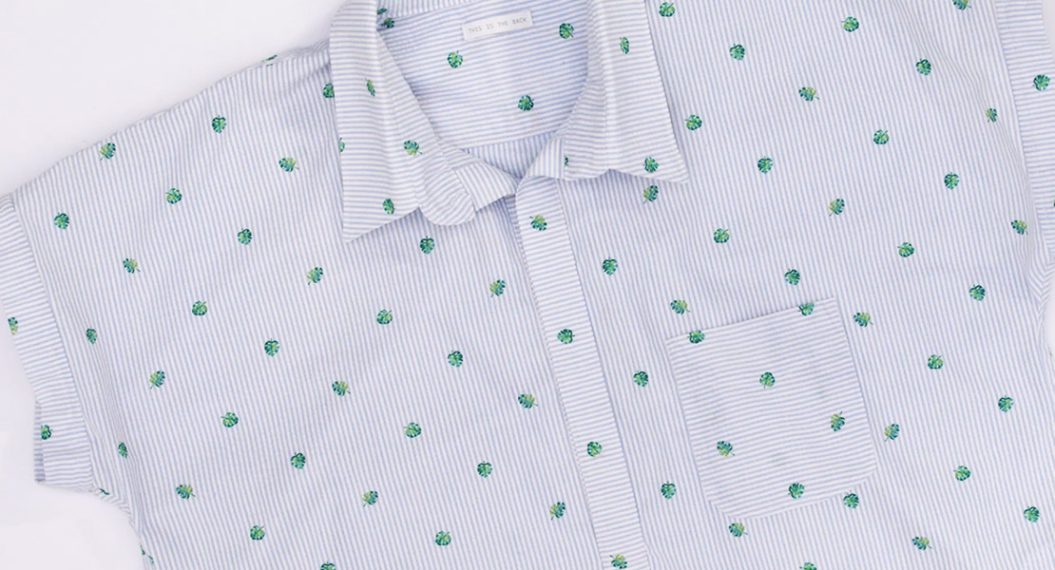
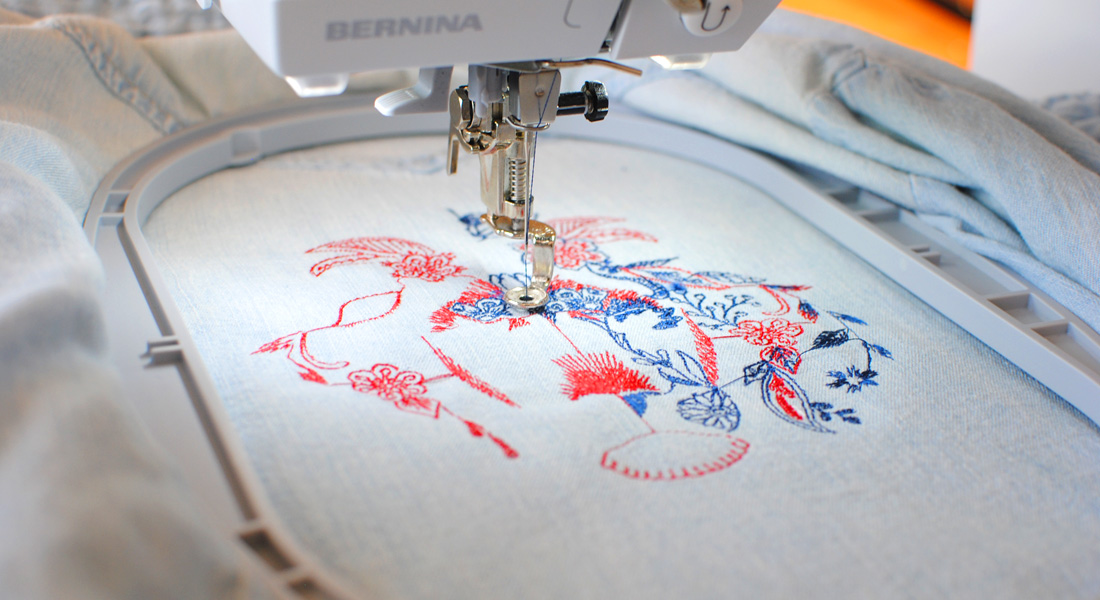
I love adding embroidery, appliqué and embellishments to inexpensive ready-made t-shirts for my daughters. However, small garments can be challenging unless you have a built-in freearm or a Freearm Embroidery Attachment.
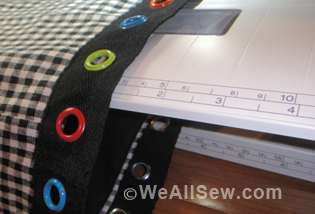
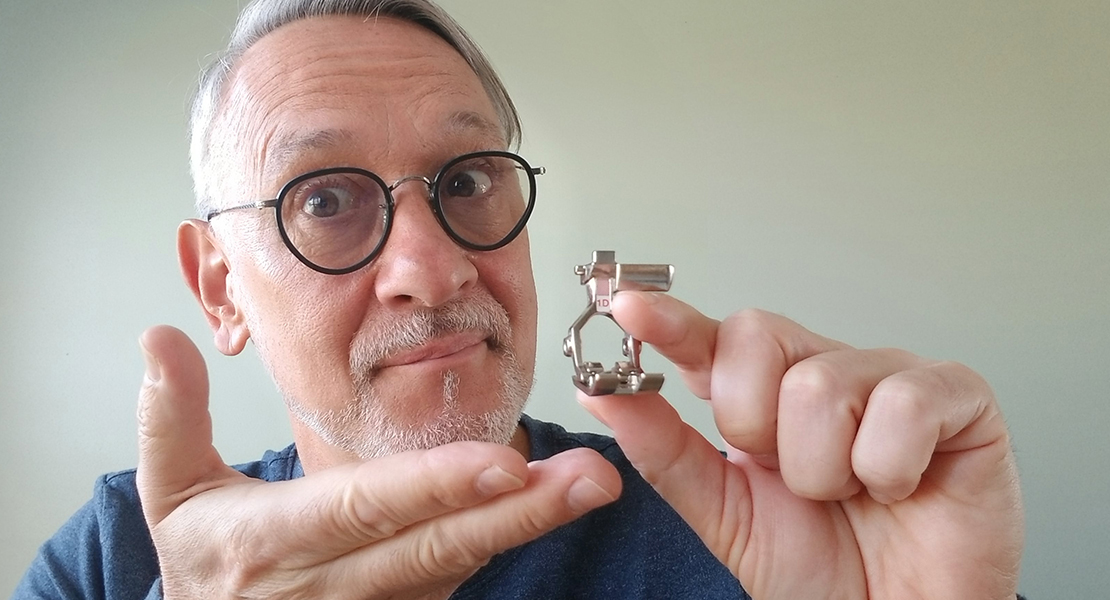
If you have a BERNINA 830, simply slide the tray table away from the sewing machine to create an instant freearm embroidery space. If you don’t have an 830, no worries, BERNINA has a new Freearm Embroidery Attachment that will work with the medium and large oval hoops on other BERNINA embroidery machine models.
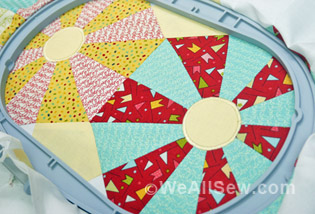
I like to use two layers of OESD Polymesh Cut-Away Stabilizer in the hoop, apply a light layer of 505 Temporary Spray Adhesive, place the t-shirt with the template, and then cover with OESD AquaFilm Wash-Away Topping, which prevents the stitches from sinking down into the knit fabric. The AquaFilm washes away when the item is laundered. To keep scratchy stitching away from tender skin, try OESD Gentle Touch Embroidery Cover Up, which is ironed onto the back of the embroidery.
- Techniques
- embroidery





3 comments on “Freearm Embroidery Made Easy”
this attachment looks so great! I would love this on my child’s t-shirt and even better on some jean pockets!
We just did an AAME club and in the power point your project was featured. I especially loved the embroidery design you chose for your shirt, can you tell me where you got the design? or did you design it in the software yourself. I love it and wondered if I could get it somewhere. Thank you for any help.