Handmade Heating/Cooling Pad
Hello everyone! I’m Kymona Tracey, and I’m so excited to be here for the very first time sharing an easy and fun handmade heating/cooling pad project with you. Heating/cooling pads come in handy when you have a stiff neck or when you need to cool down a joint after a run.
I started sewing two years ago because of my 10-year-old daughter at the time. Yes, she learned how to sew, and wanted me to join her, so I did. You can find me on Instagram @kreativekymona and my blog Kreative Kymona.
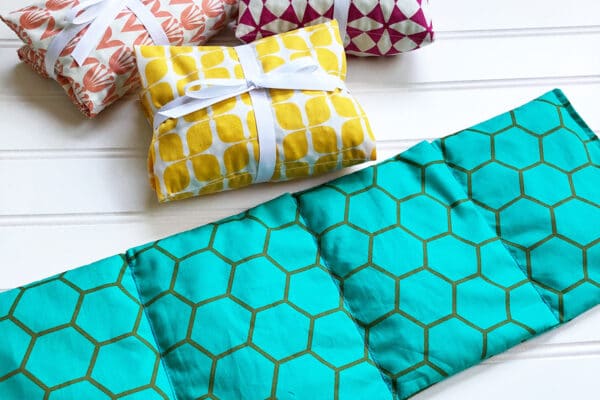
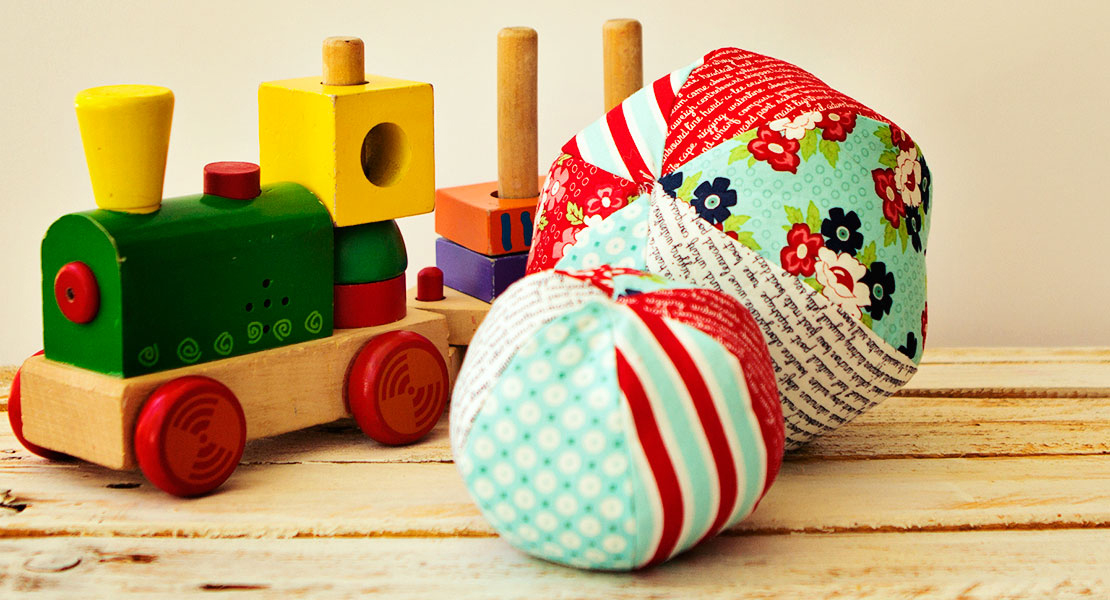
Finished size: 17-3/4″ wide x 5-3/4″ height (the larger one)
14.5″ wide x 5.5″ height (the smaller one)
Materials to Create a Handmade Heating/Cooling Pad
Fabric and Notions
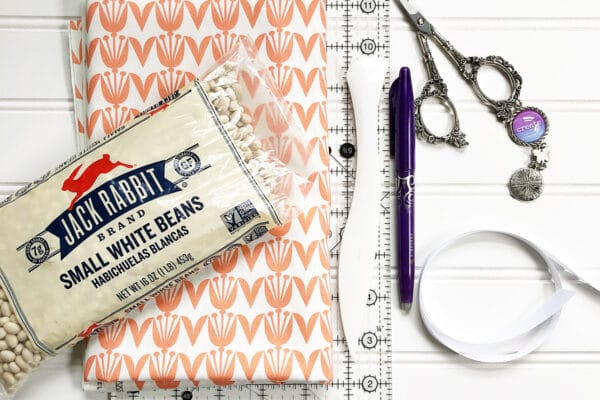
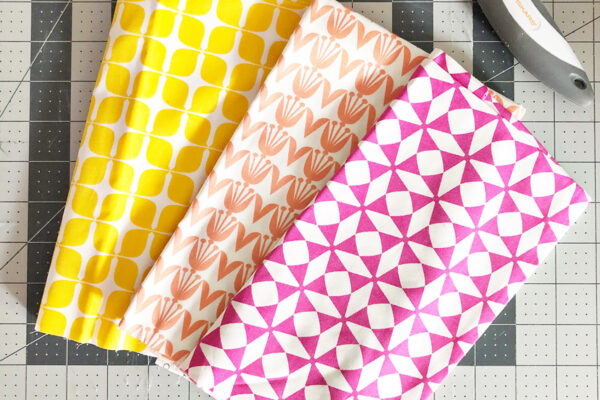
- 1 Fat quarter (Blush Collection by Dana Willard)
- Fabric Pen
- Point Turner
- Ruler
- Embroidery scissors
- Pins/clips
- Rotary cutter and ruler
- Thread to match the fabric
- One cotton twill tape 3/8″ (optional)
Other
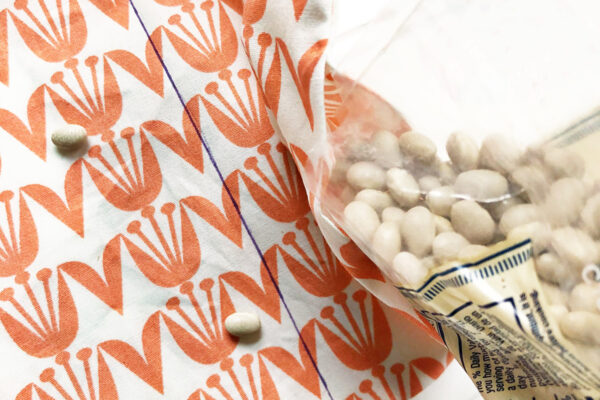
- Two bags of beans (small white beans)
Instructions to sew a handmade heating/cooling pad
Step 1 – Cut the fabric
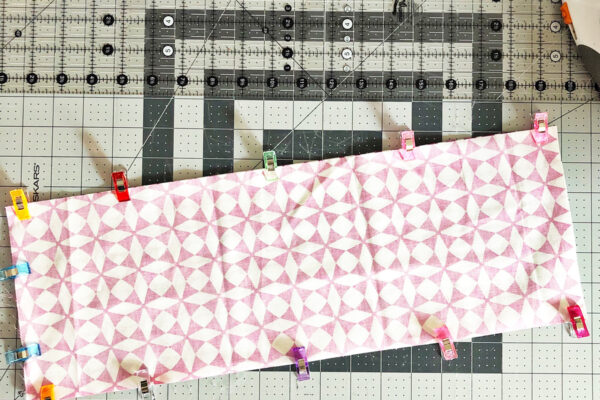
Cut (2) pieces of the fat quarter to 18.5 inches x 6.5 inches (the larger one).
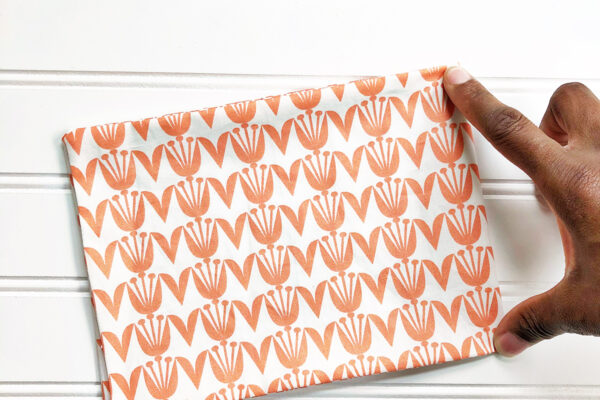
Cut (2) pieces of the fat quarter to 15-1/4 inches x 6-1/4 inches (the smaller one- peach).
Note: All seam allowances are 1/4 inch unless otherwise noted.
Step 2 – Prepare the fabric for sewing
Pin/clip the two fat quarters right sides together, leaving a small open space on one of the shortest sides.
Step 3 – Sew the front and back together
Beginning sewing at the small opening, remembering to backstitch. Sew around the entire piece stopping at the small opening. Remember to backstitch again.
Step 4 – Ironing and Cutting
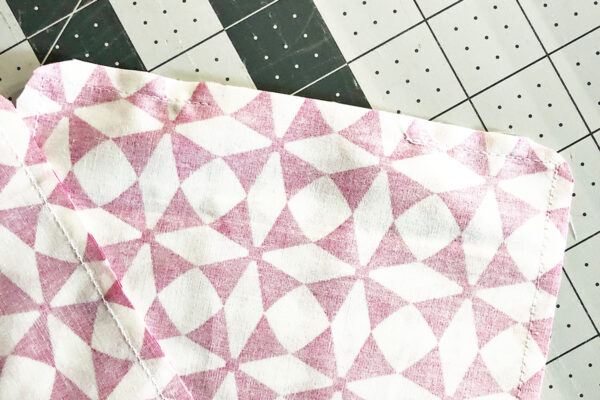
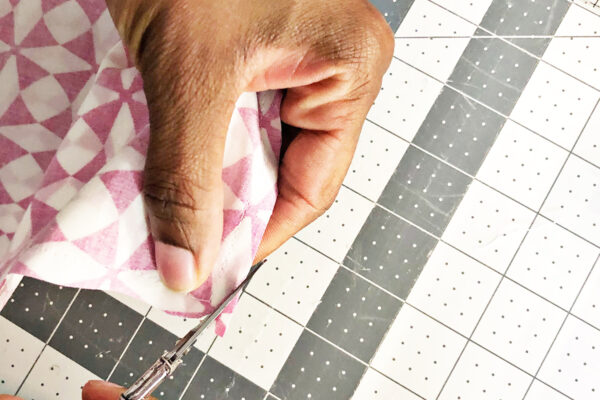
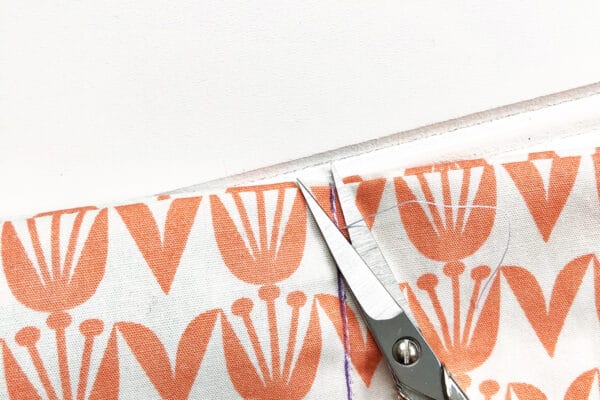
Iron all of the stitches to set them in place. Use the embroidery scissors and round all of the corners.
Step 5 – Turning the project
Turn the fabric inside out. Use a point turner to poke out the corners.
Step 6 – Marking the fabric
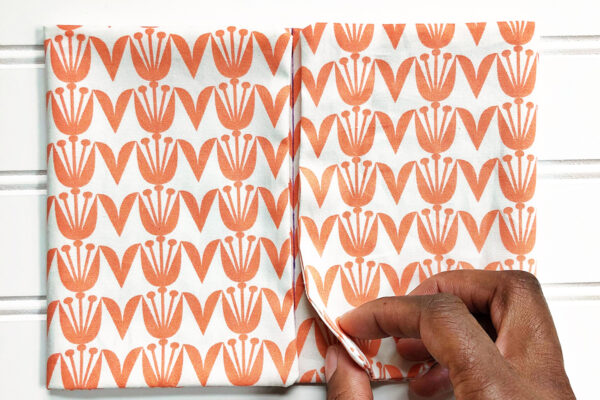
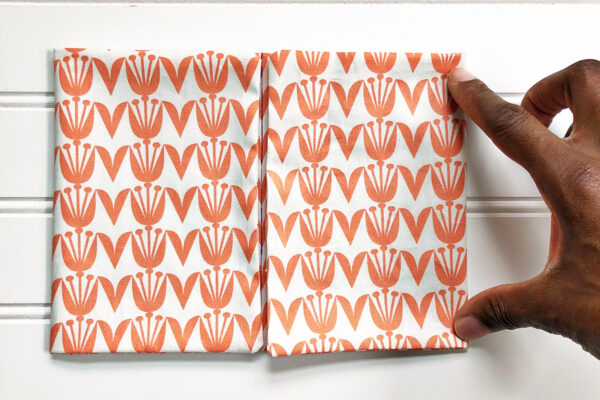
Fold the entire piece in half on the longer side, finger score. Open and fold the left side to the center, finger score. Fold the right side to the center, finger score.
Open and fold the left side to the center, finger score. Fold the right side to the center, finger score.
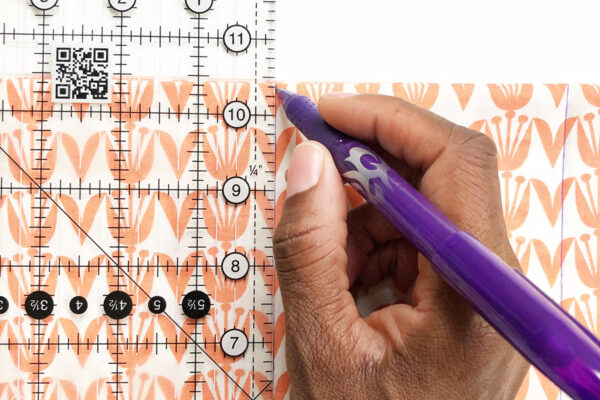
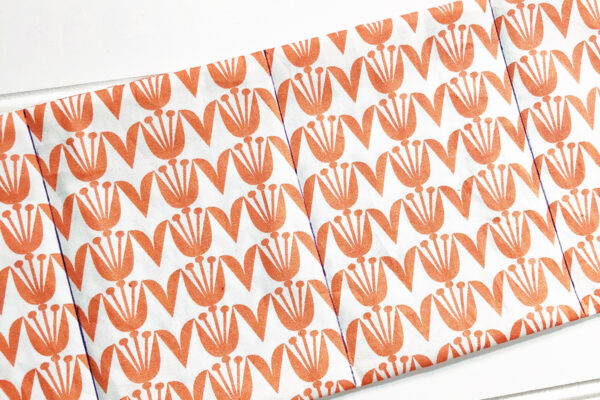
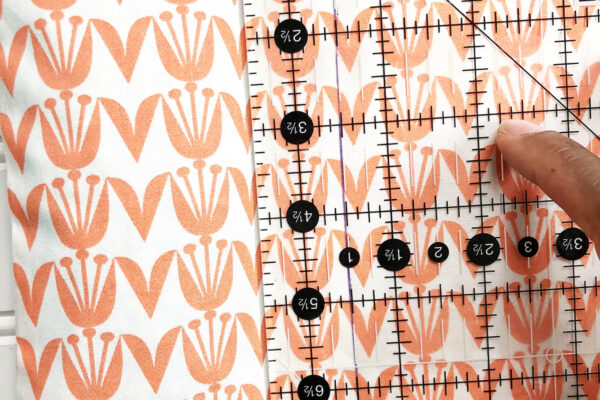
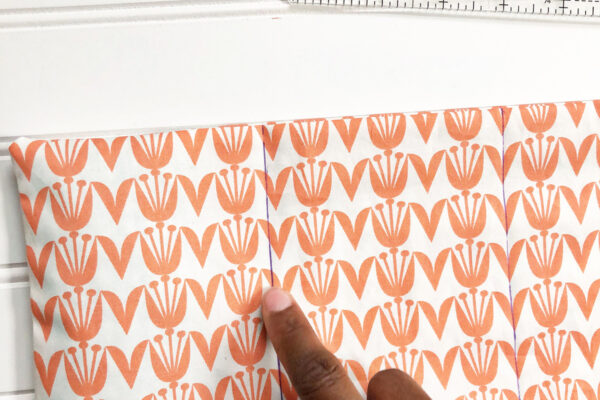
Use the fabric pen and ruler to mark all of the score lines.
Now you have four even sections of the handmade heating/cooling pad.
Step 7: Fill each section and sew
Fill the first section with beans up to an inch from the pen line.
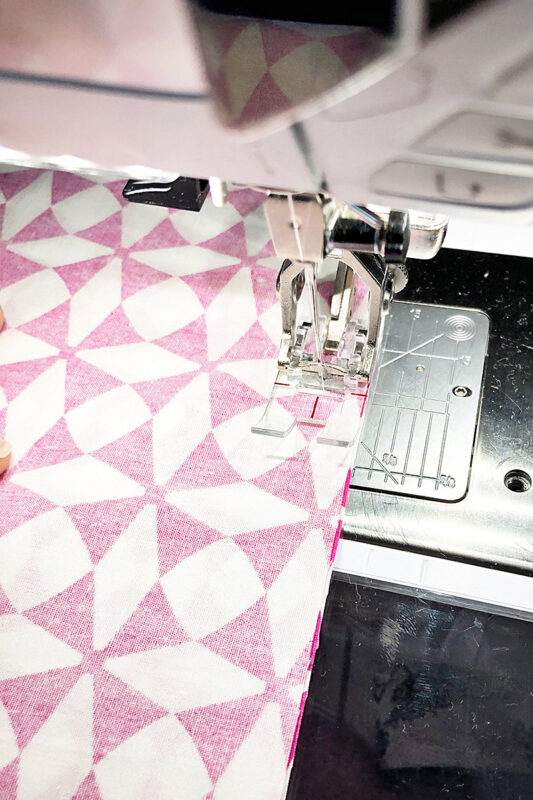
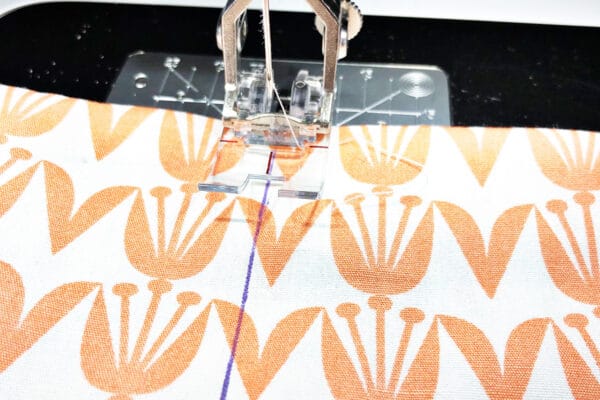
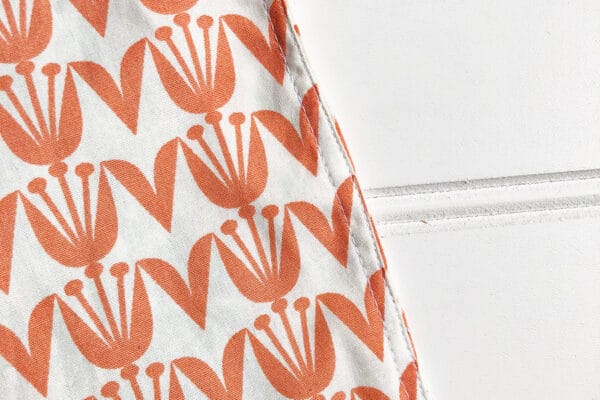
Use the drawn lines to sew a straight line keeping the beans in place.
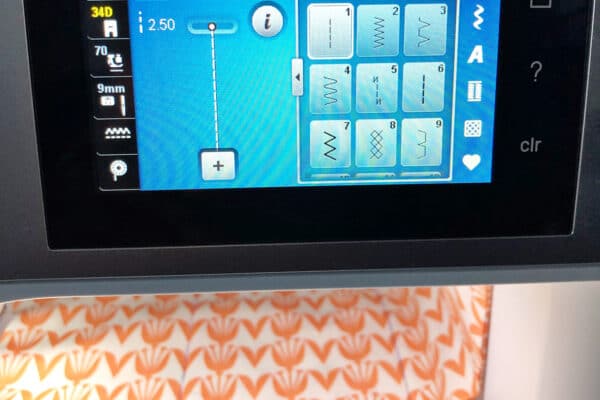
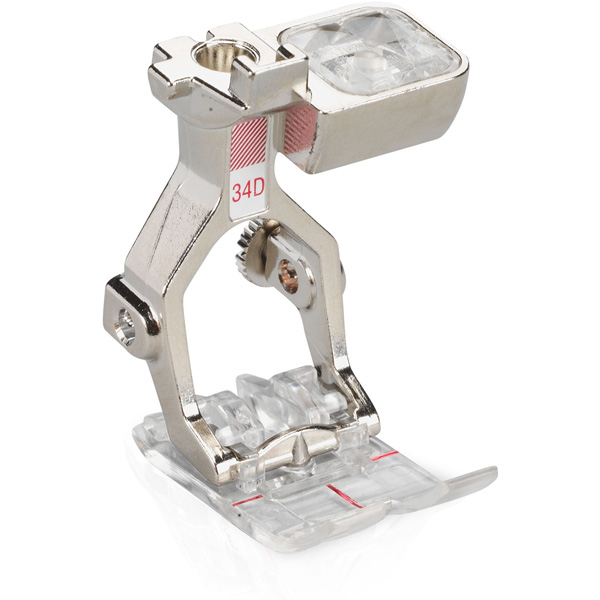
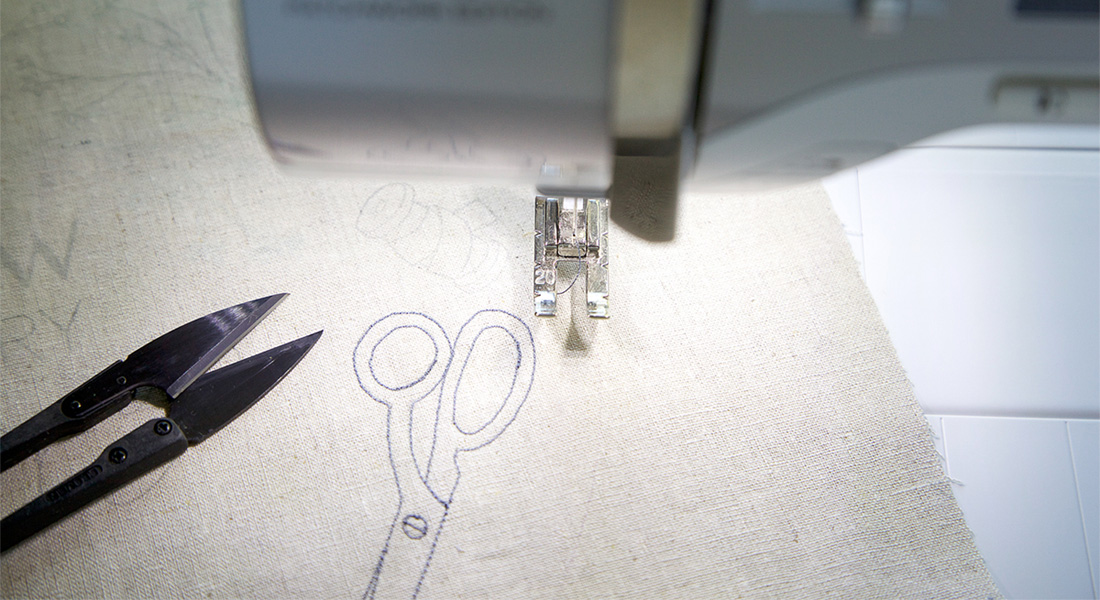
The clear sole on foot #34D makes it easy to see exactly where the needle is going, especially when you have to keep the beans out of the way of the needle.
Sew with the default setting for stitch number one is the easiest way to go.
Snip all of the loose thread after sewing each section.
Repeat until the entire length of the fabric is full.
Step 8: Stitch the small opening closed
Double stitch the full length of the short end with the small opening.
Step 9: Finishing up the handmade heating/cooling pad
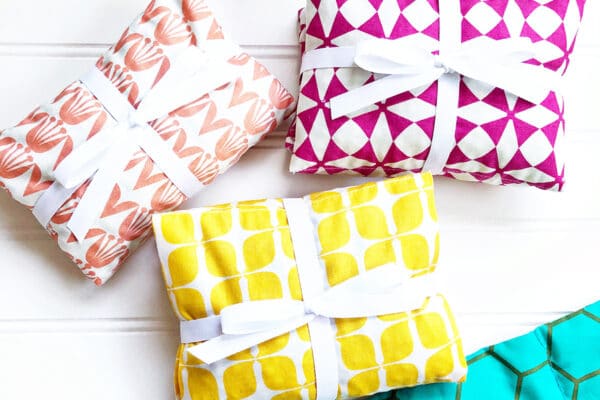
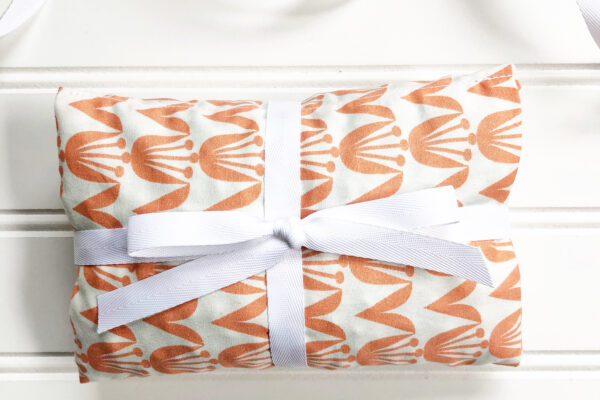
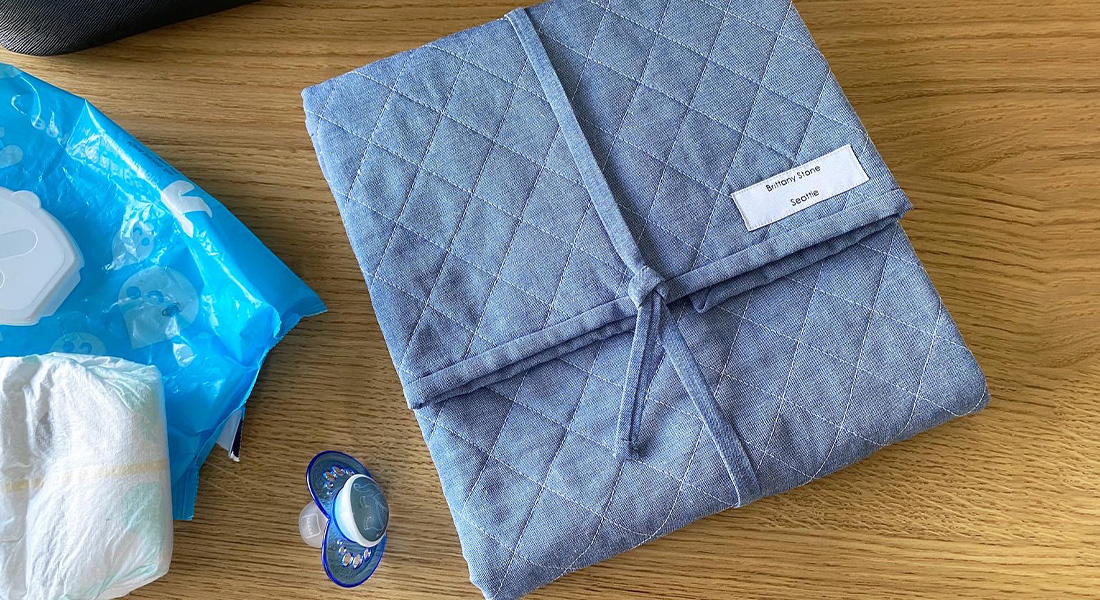
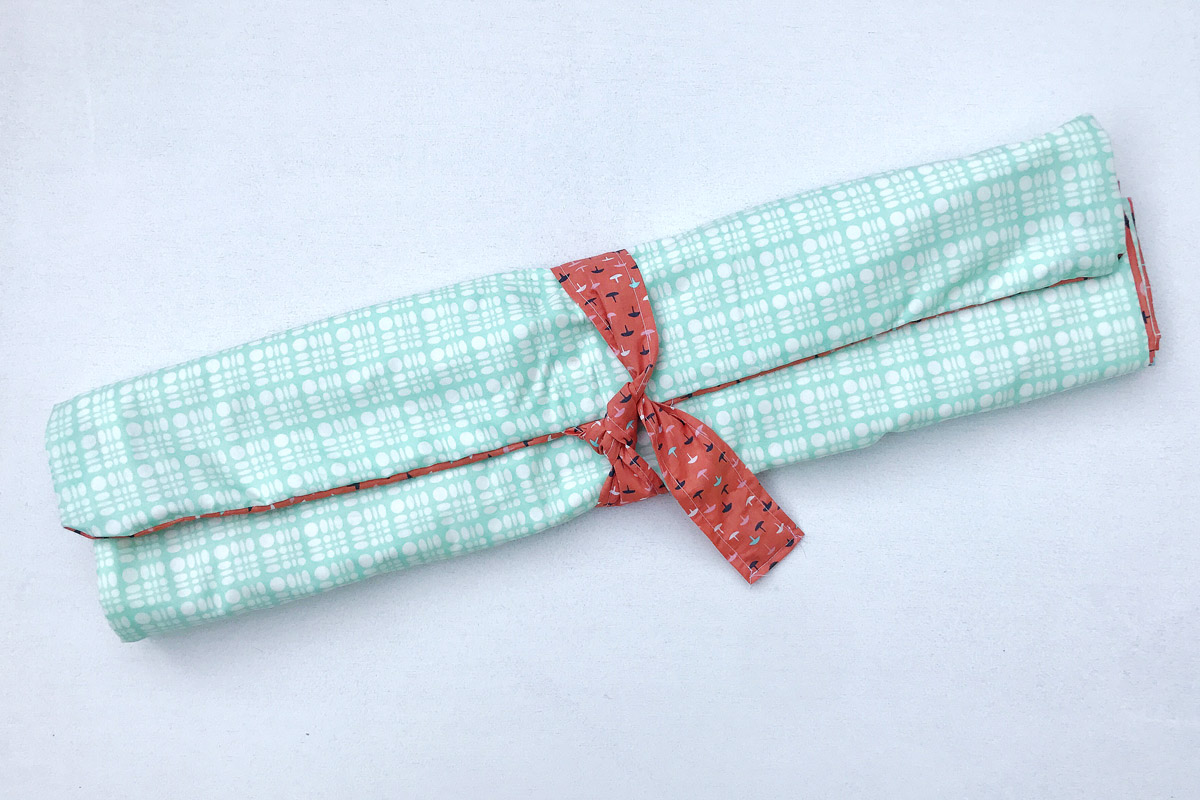
Smooth out the beans evenly in each section and fold. Wrap with a pretty ribbon to give as a gift.
To heat the pad, place it in the microwave for 3 minutes. To cool it, put it in the freezer for your desired temperature. Amazingly fun and easy to make these handmade heating/cooling pad.
What you might also like
22 comments on “Handmade Heating/Cooling Pad”
-
-
I’m guessing that if the divider lines were sewn first – there would be no way to get the beans in! ??? Great tutorial. Thank you. I will definitely be making some of these.
-
Yes, shibastitcher you are absolutely correct. I add the beans then sew the section close as oppose to adding all of the beans and fighting to keep them in their section, LOL. I can’t wait to see what you create. Please share them with us.
-
-
Hey grrannyh!! Yes, I fill each section first then sew that section close. That way I don’t have to worry about the beans getting in the way of the presser foot.
-
-
You can do the same with rice. And mix in some dried herbs for a sweet smell. I like lavender.
-
Hello Sue! Yes, you can use rice and lavender. The lavender will smell so good. I didn’t have any that is why I didn’t use it.
-
-
Would rice work if you do not have white beans? Great project -want to give it a try. Thank you.
-
Thank you. Yes, rice will work. I had the beans on hand that I don’t use, so I used those and saved the rice that I cook with every day. LOL!! Please share what you make.
-
-
It is very important that you use 100% cotton fabric and thread for this project! Polyester will melt in the microwave.
-
Absolutely!!
-
-
Great idea. I may have to try a few of these for stocking stuffers.
-
Thank you so much! Did you make a couple as stocking stuffers?
-
-
Will the beans / rice last for a year or two?
-
I have some that are years old that have beans, dried corn, or rice in them. Maybe heating and reheating keeps them from going rancid? I have no idea!! I like the ones that have rice in them, since the grains are small they conform to your body better.
-
-
I have used Flax seed and put in Microwave. I have never put it in the freezer. Does that work? Will try Rice. Thanks.
-
Just made this as my first project with my new sewing machine (haven’t used one in 30+ years!) Had some “user-error” issues haha, but I love it! Thanks for good directions.
-
Yay!! I’m so glad you are back to sewing and that you tried this project. That makes me so happy. I can’t wait to hear about all of the other things you create. You are more than welcome on the directions.
-
-
Also, fwiw, 3 minutes might be too long in your microwave! I stopped mine at 2 1/2 and I think I cooked the rice!
-
LOL, that is why I use the beans. They are hard enough and will take a lot to become soft.
-
-
This is an interesting way to make these and I do prefer beans to rice since it’s not as dense. I’ve made them, perhaps not as decoratively, but I use a removable cover made like a pillow sham, with the open edge made like a pillow sham with an overlapping closure so that it can be washed.
-
Hello Nancy!! That is a brilliant idea. I love that. Being able to keep the outer covering clean is so important. I’m so glad you thought of that. I would love to see what you made.
-
-
I’m in Australia, so what are the white beans. I had used rice, sometimes not a good idea with the mice plague that’s happened prior the floods
Leave a Reply
You must be logged in to post a comment.




Is there some reason you aren’t sewing the section divider lines first before filling each section with beans?