How to Free-motion Quilt Pencils
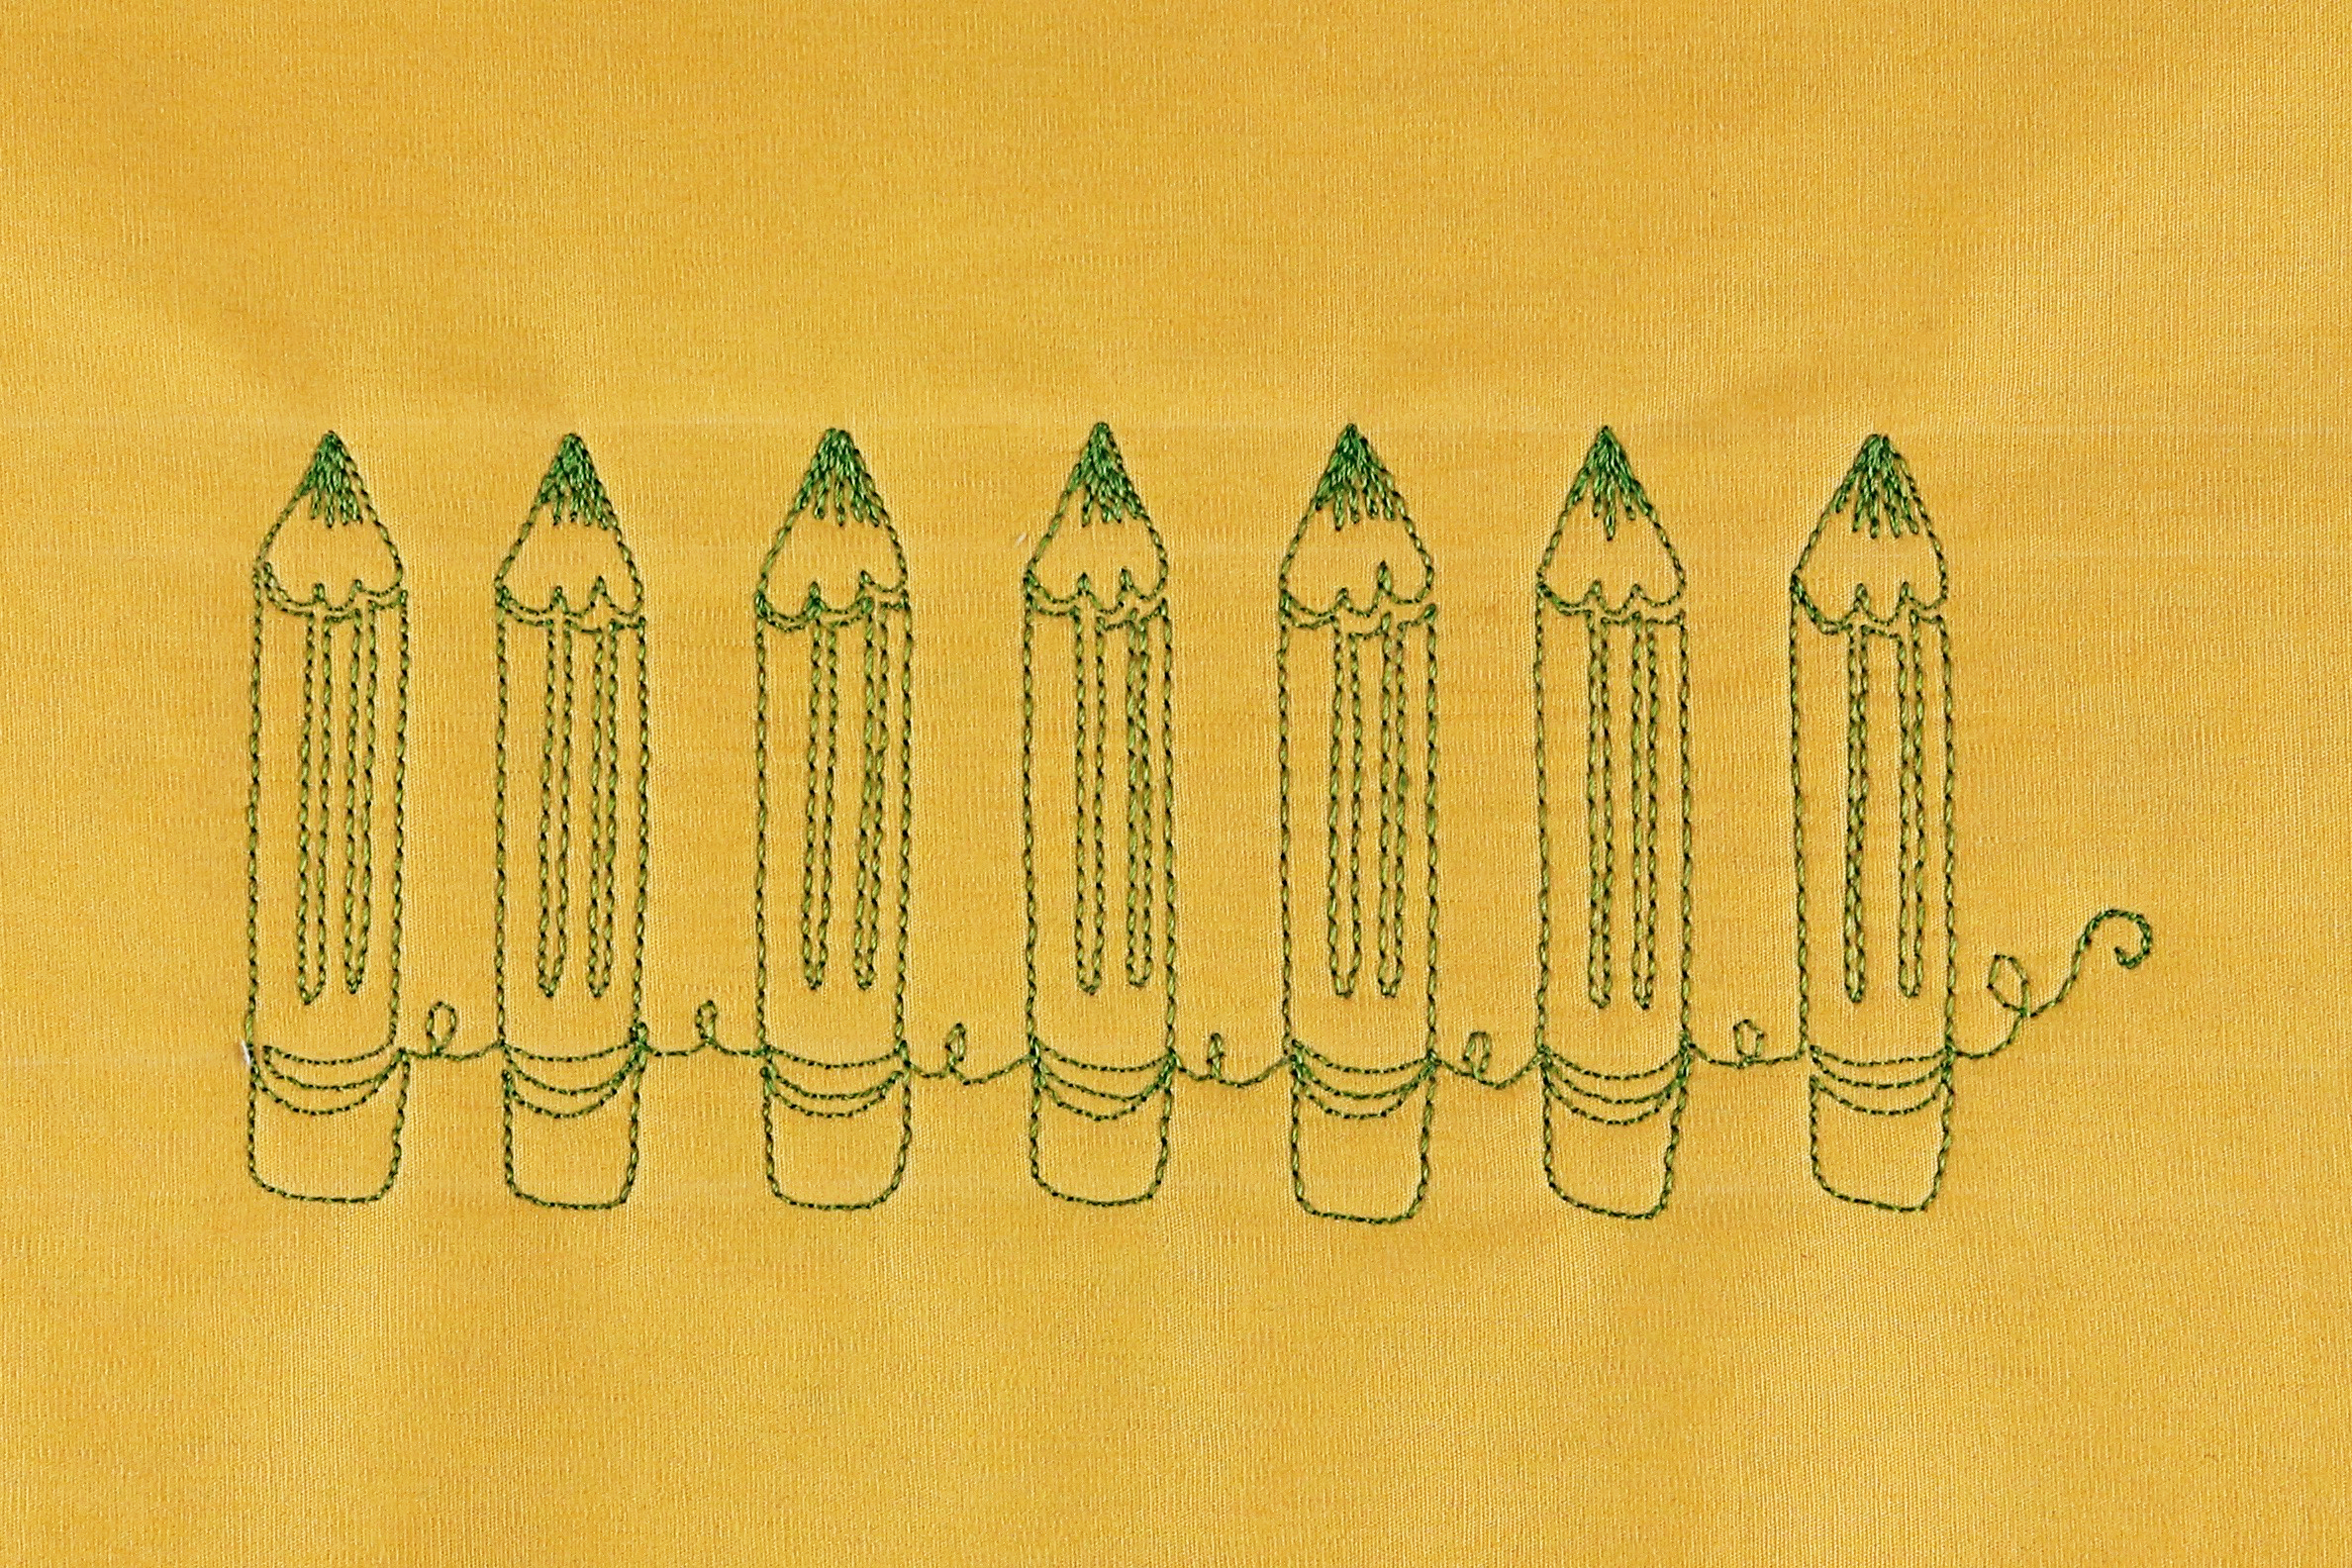
It’s back to school time! One of my favorite times of the year! I’m Lori Kennedy from Lori Kennedy Quilts and I’m back with another machine quilting tutorial and video. Today’s motif, the Perfect Pencil will make a great border pattern, or add loops between the motifs to create a background fill design.
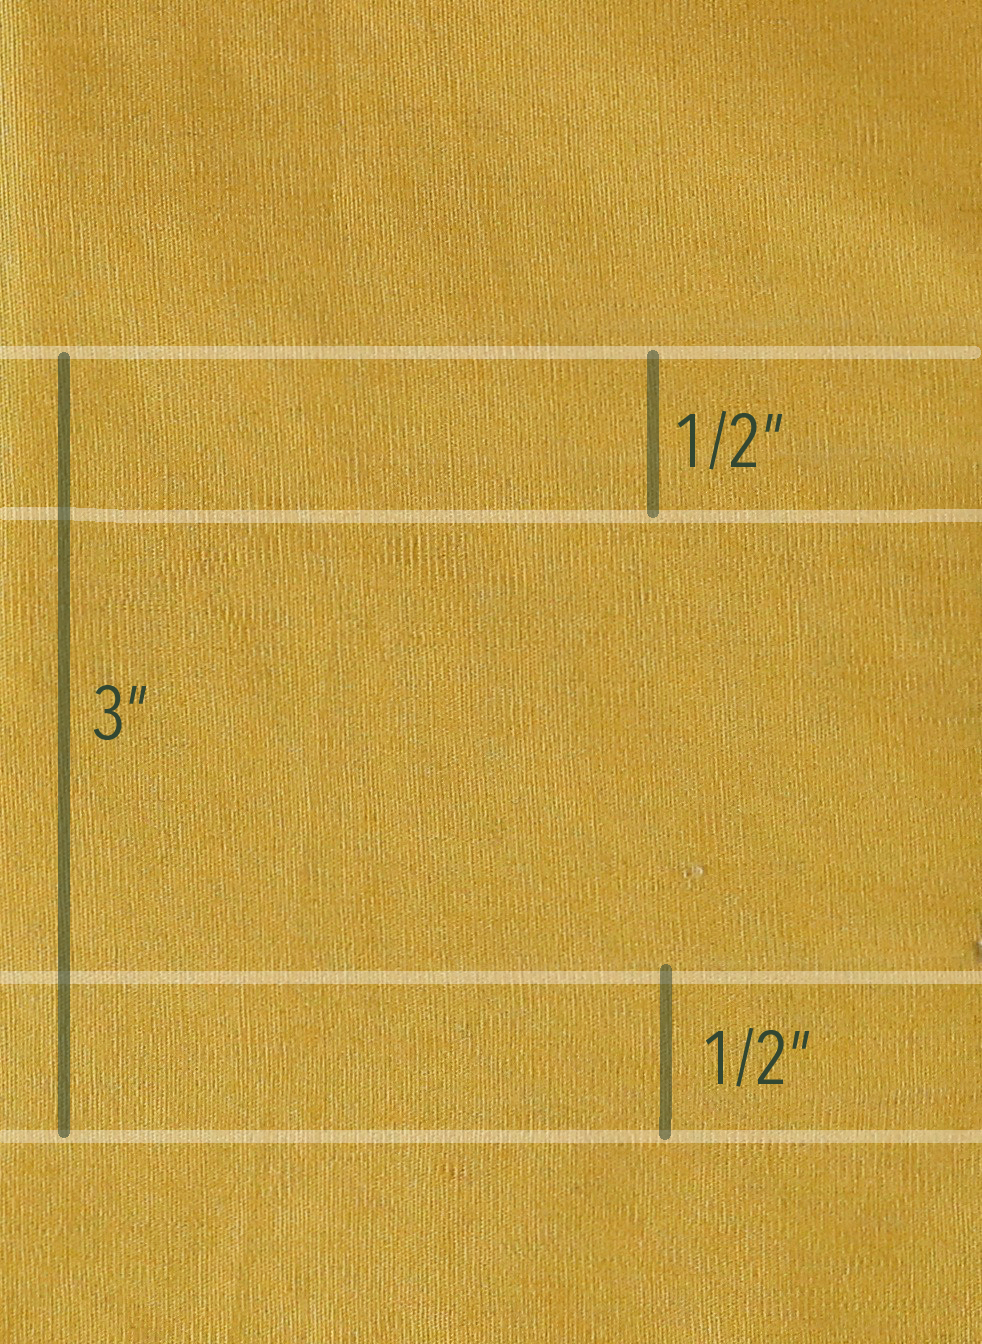
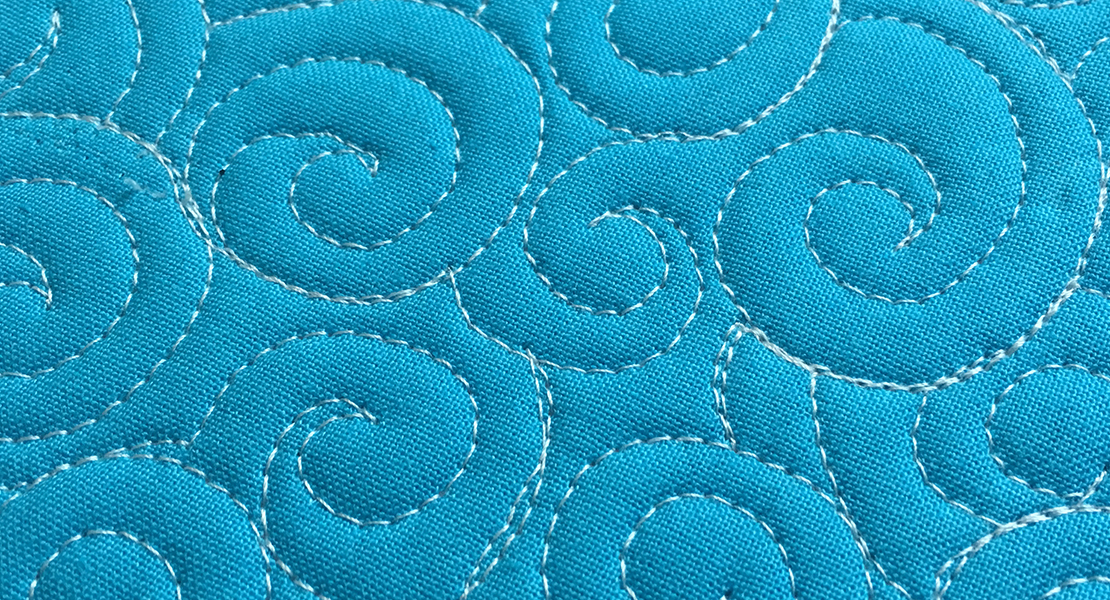
To get started, use chalk or your favorite marking tool to draw guidelines. In the sample below, the top and bottom lines are three inches apart. Additional lines were added ½ inch above the top and bottom lines. Create different proportions for your border by doodling first.
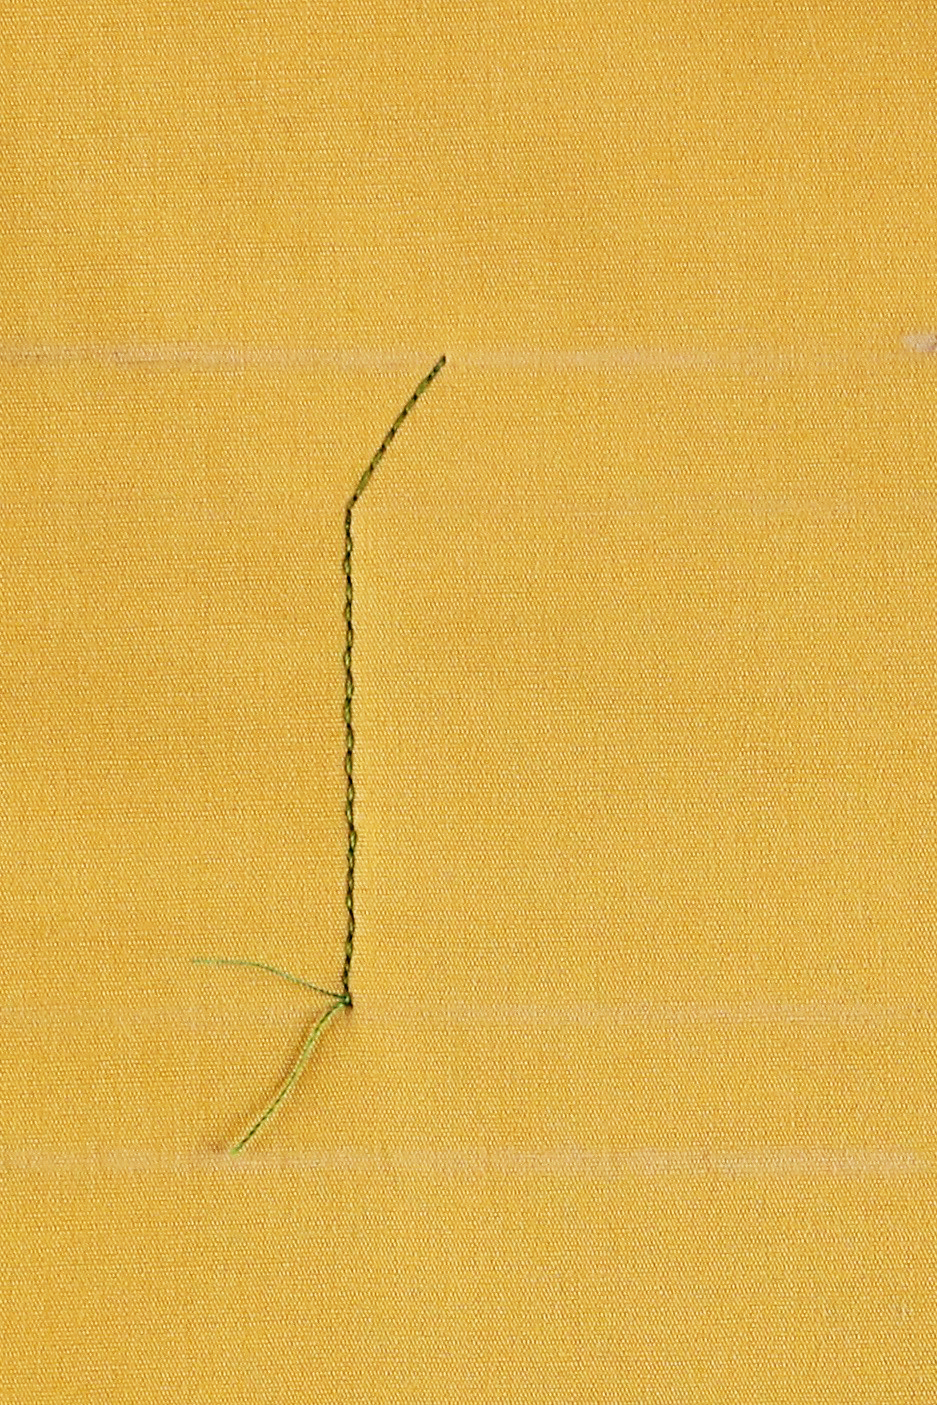
Begin stitching above the bottom line. Stitch a vertical line then angle toward the top line.
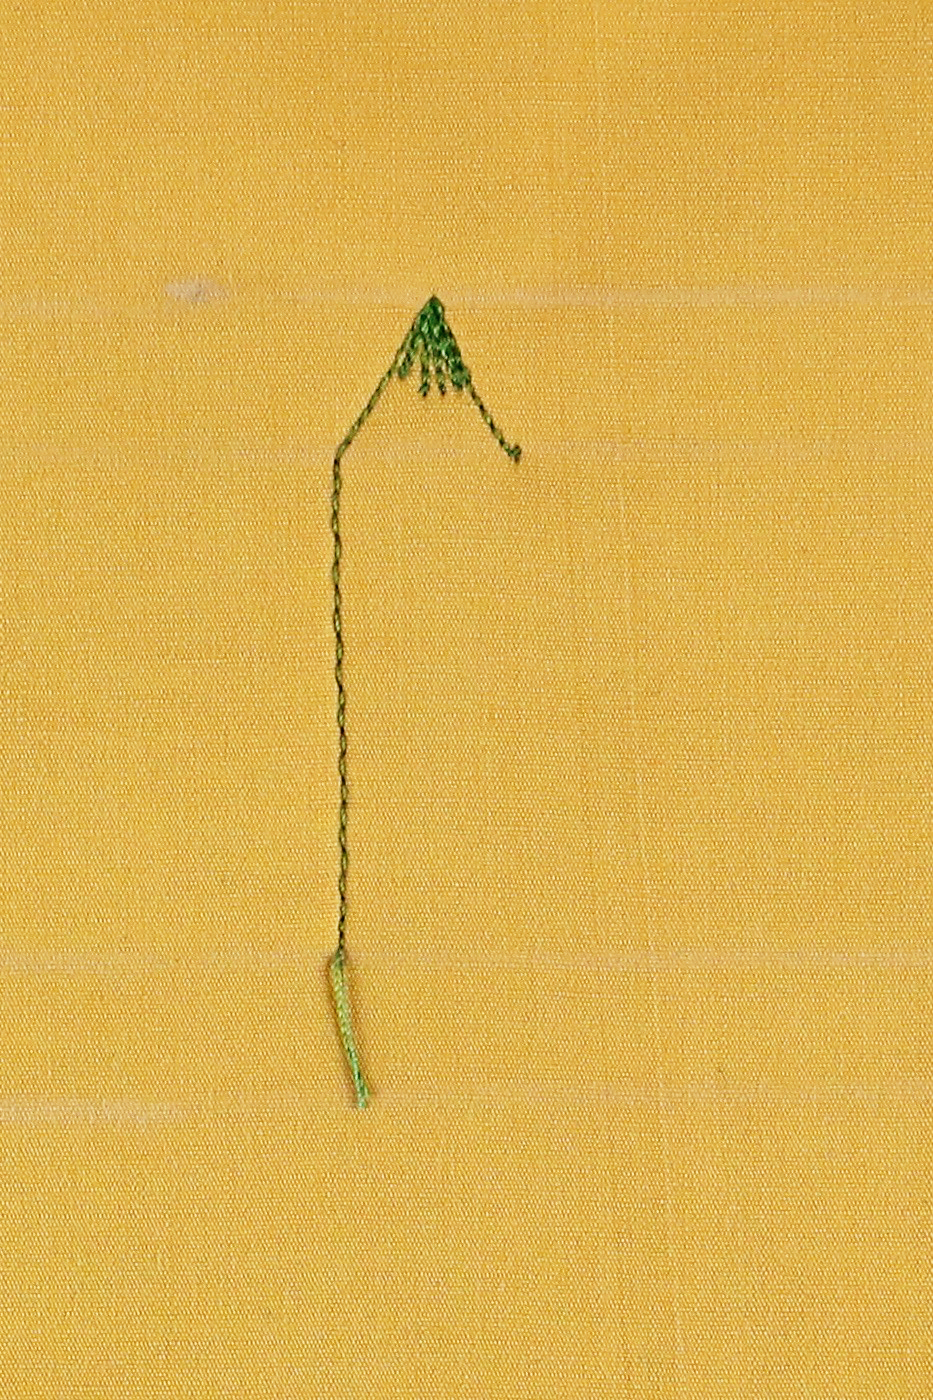
Stitch a short line and over stitch the line. Repeat by stitching several short lines fanning out the lines to create the tip of the pencil. Stitch a single line at an angle.
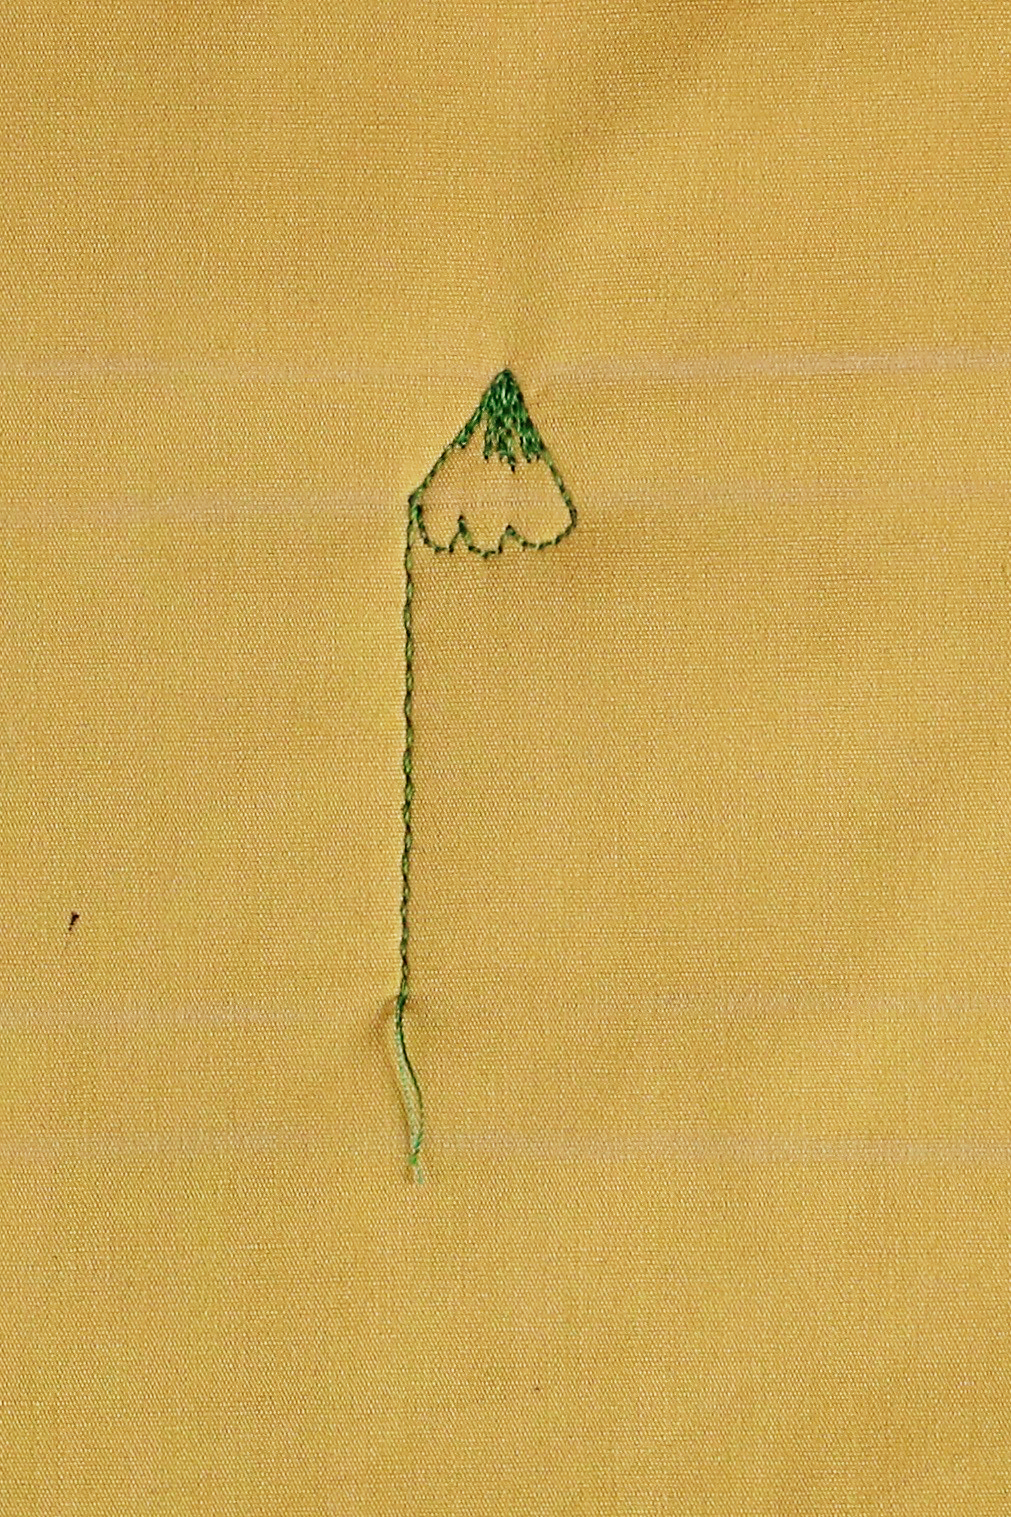
Stitch three small scallops from right to left.
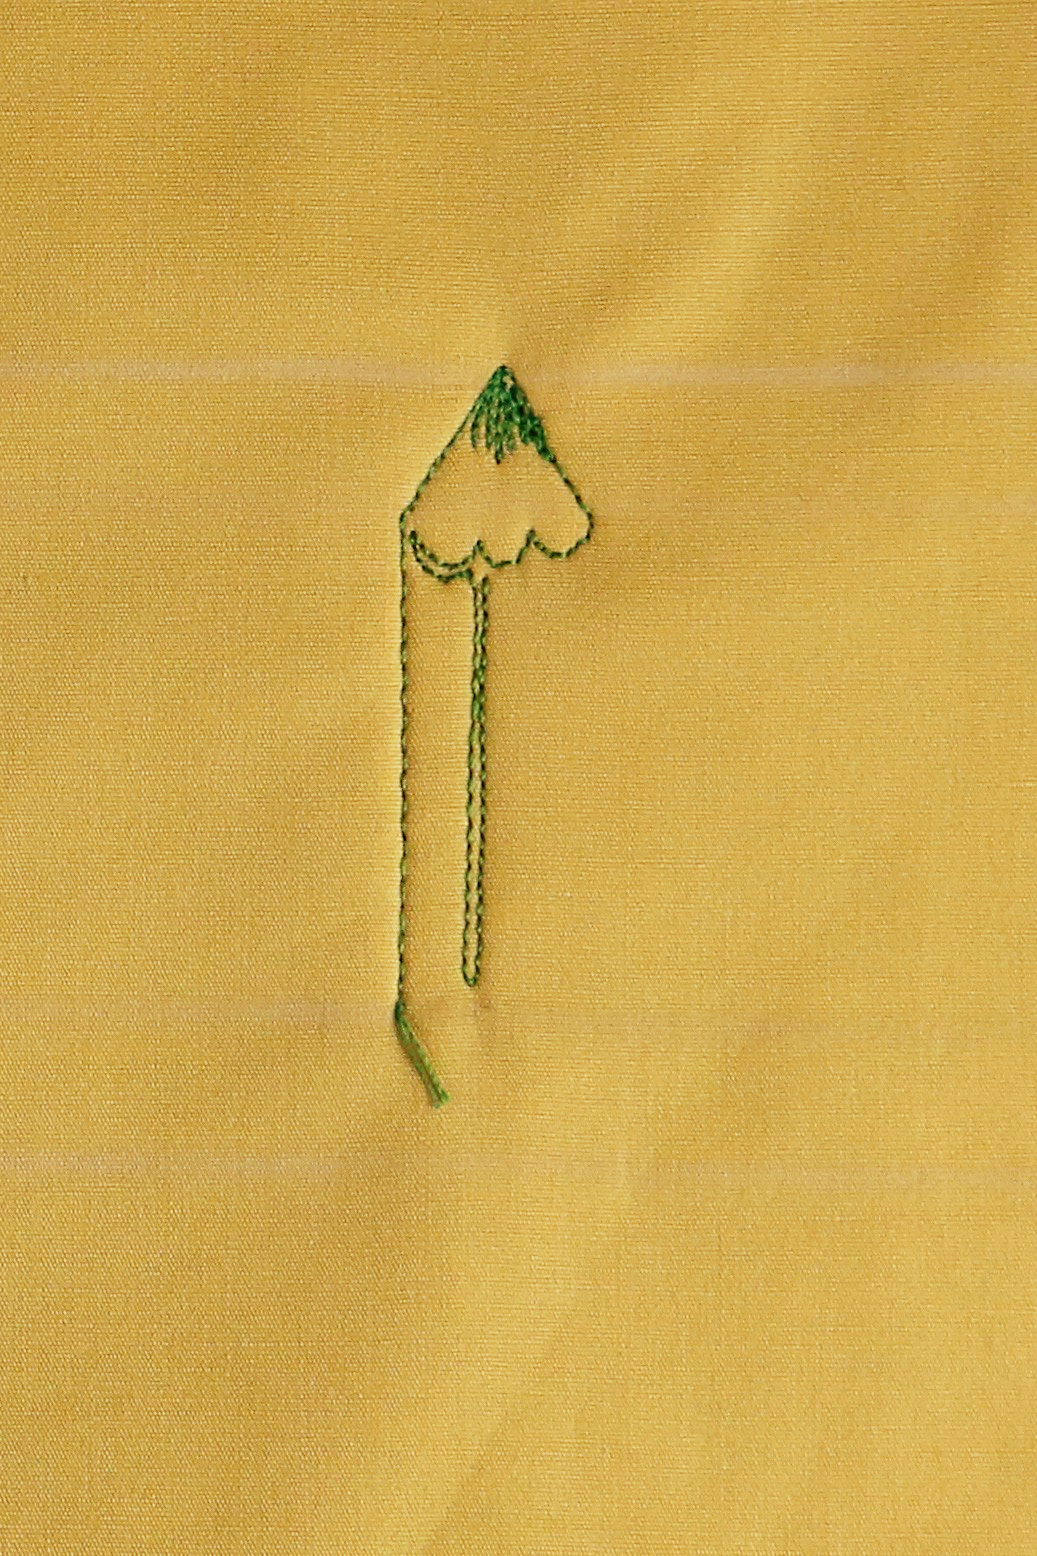
Echo stitch the first scallop. Add a vertical line, then echo stitch the line.
Echo stitch the next scallop and add another vertical line. Echo stitch back to the top and echo stitch the last scallop.
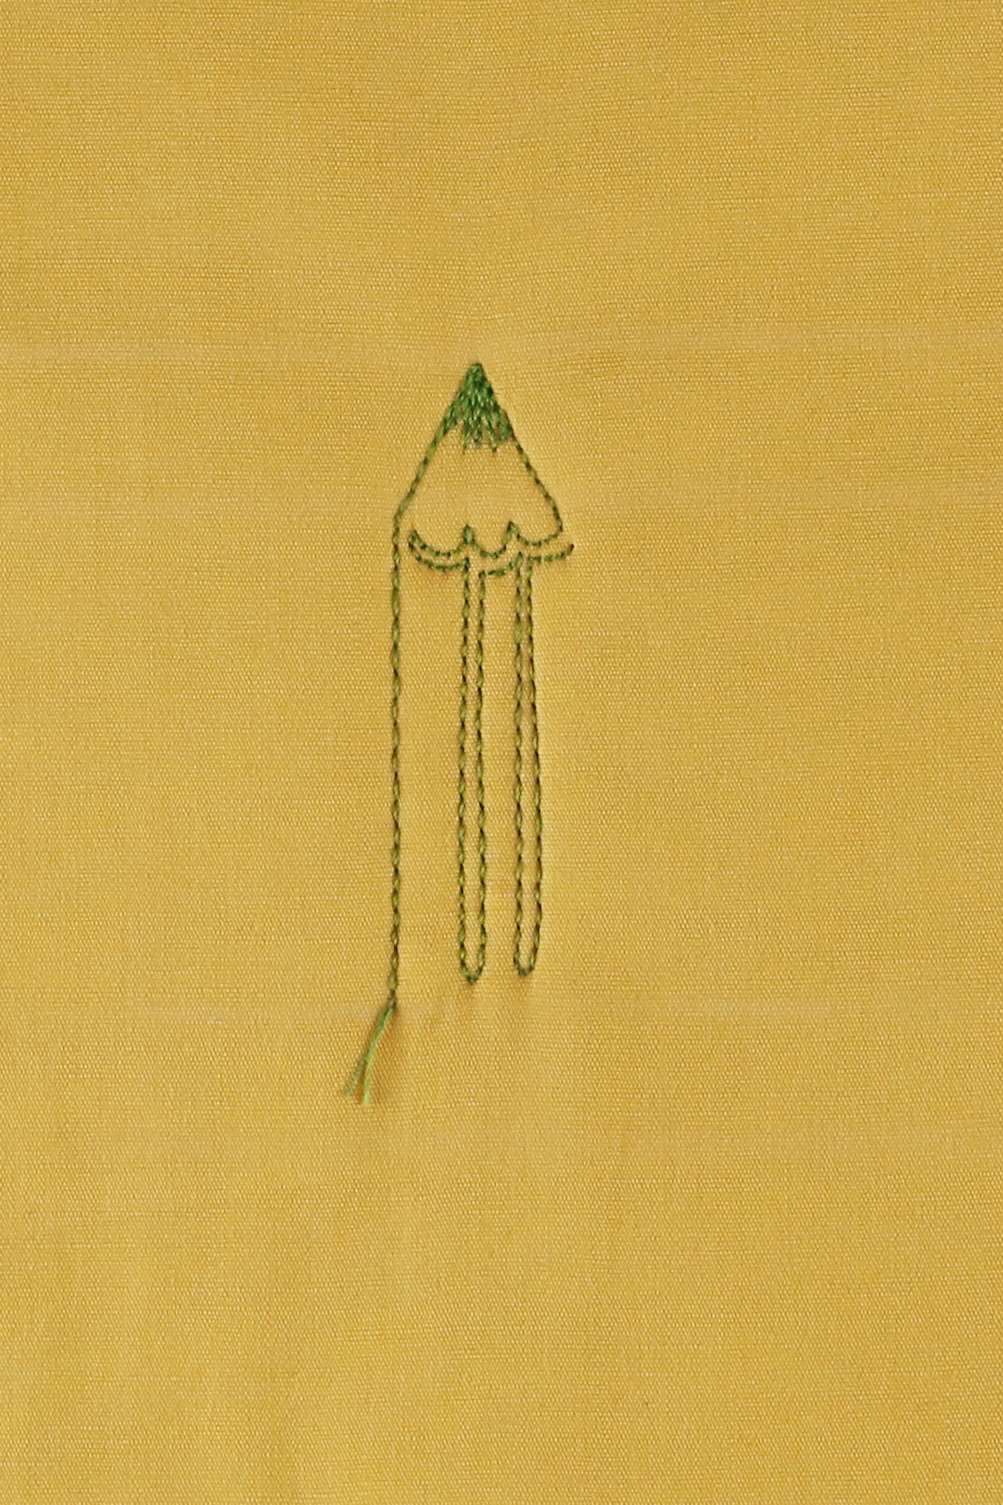
Stitch a vertical line to create the right border of the pencil. Add three curved lines, ending on the left side of the pencil.
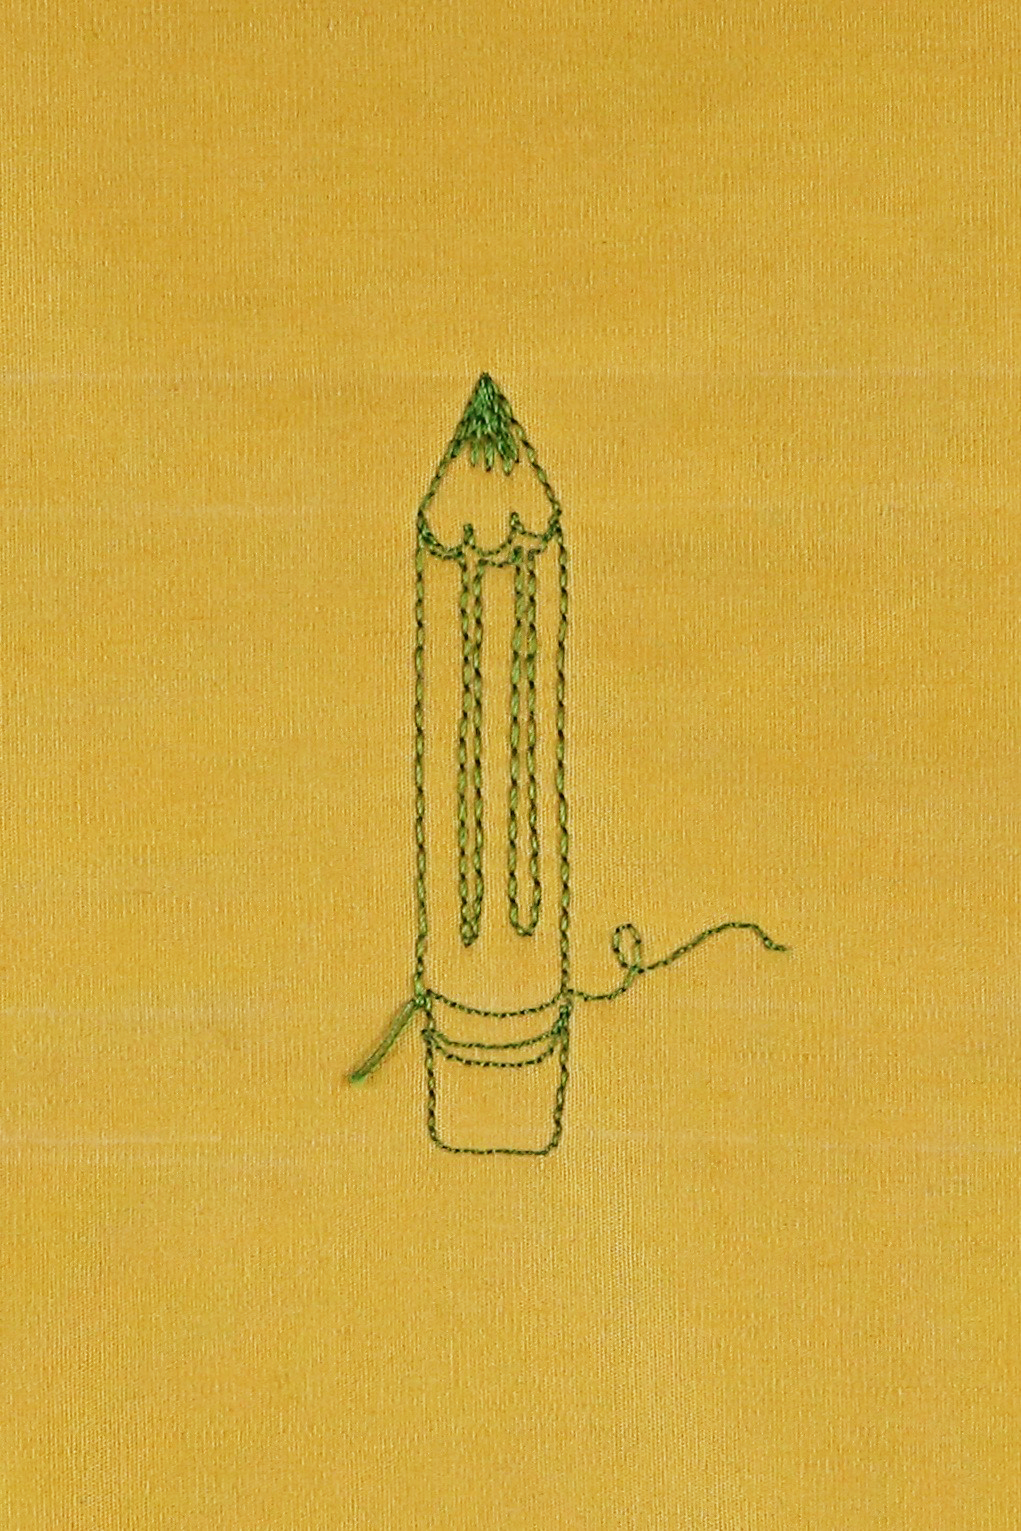
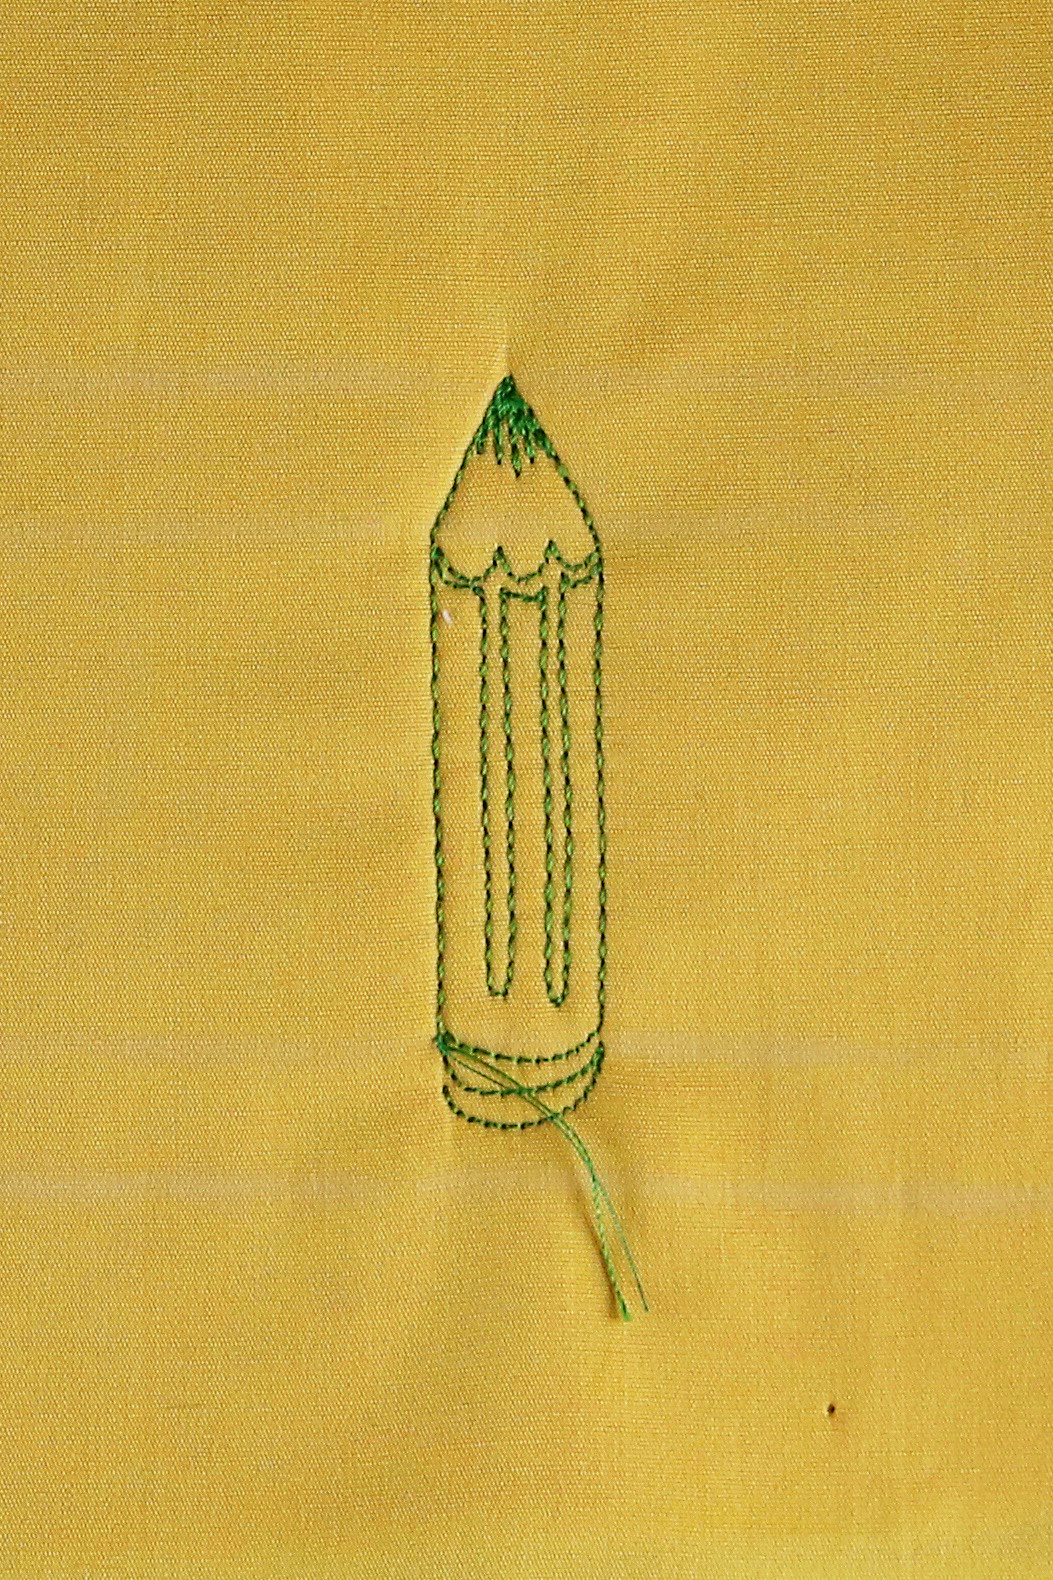
Stitch a rectangle to create the eraser, then add a loopy line to begin the next motif.
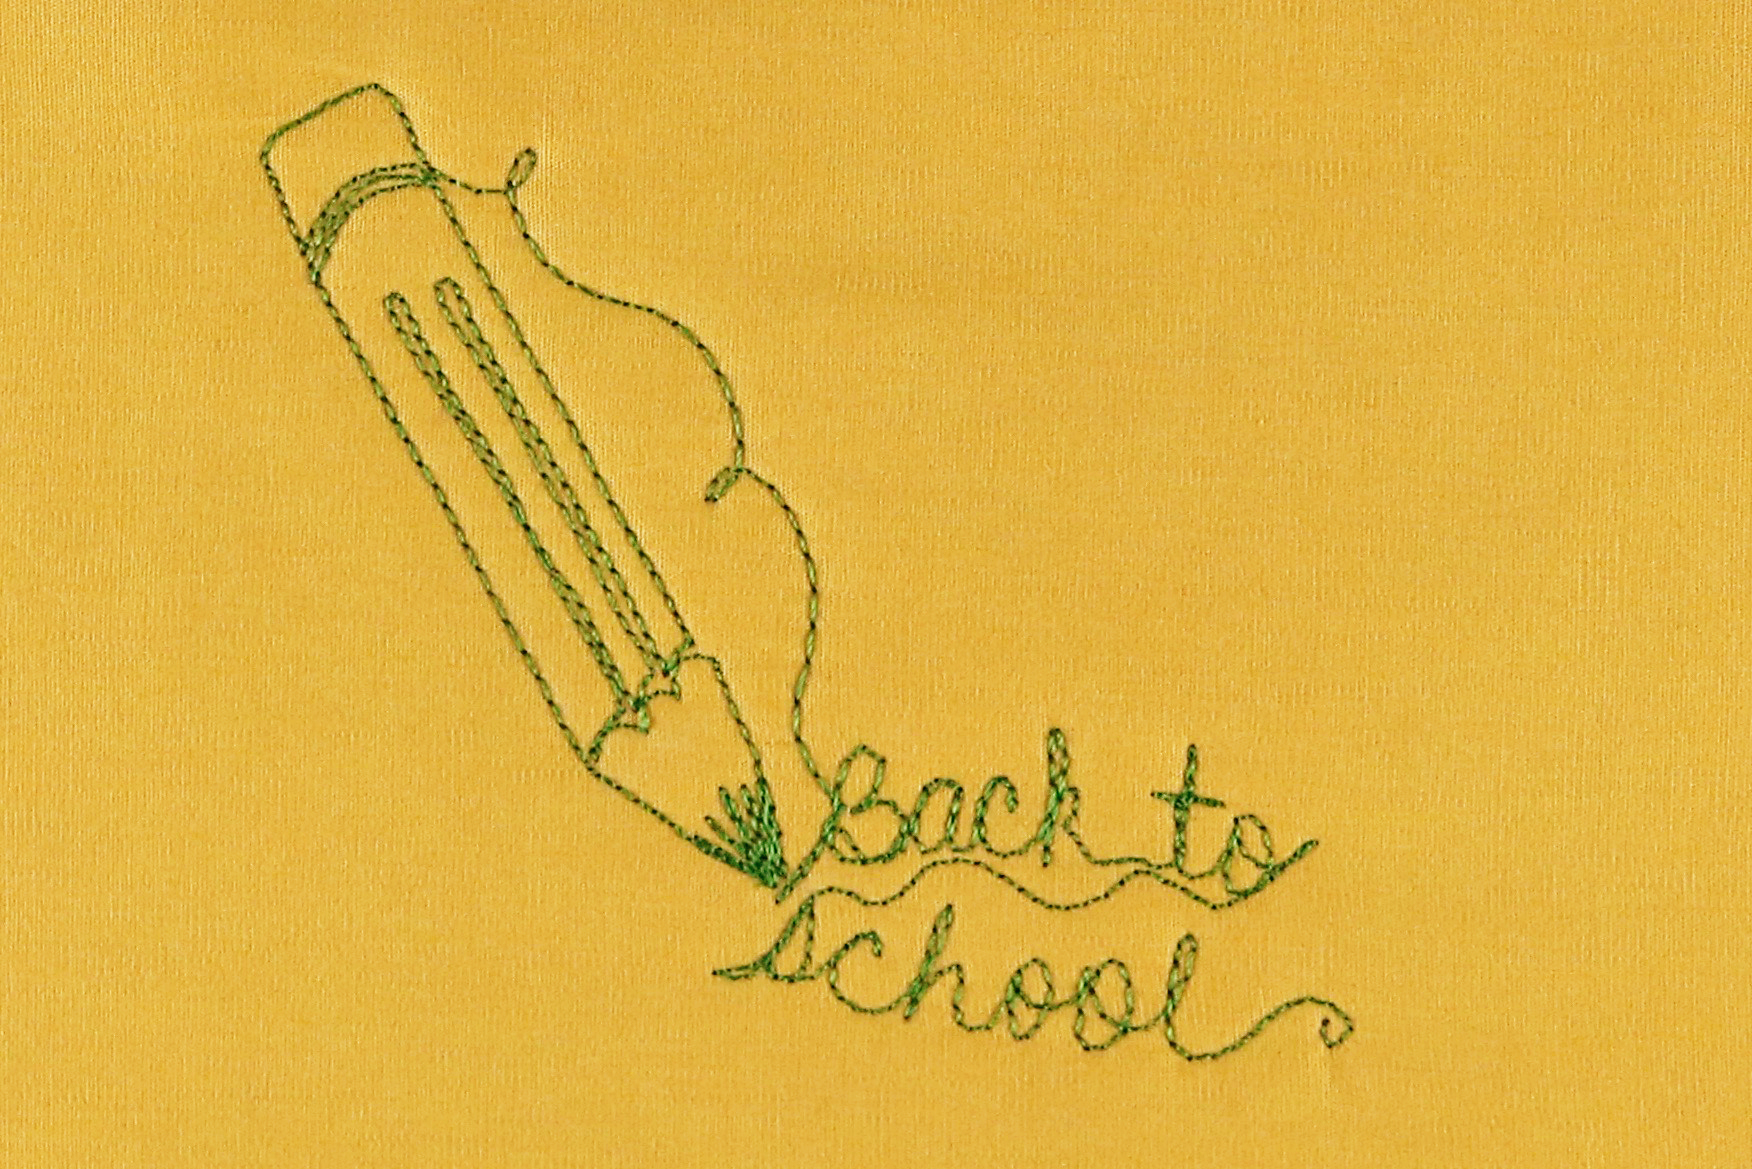
Add your best penmanship and you’re ready to go back to school!
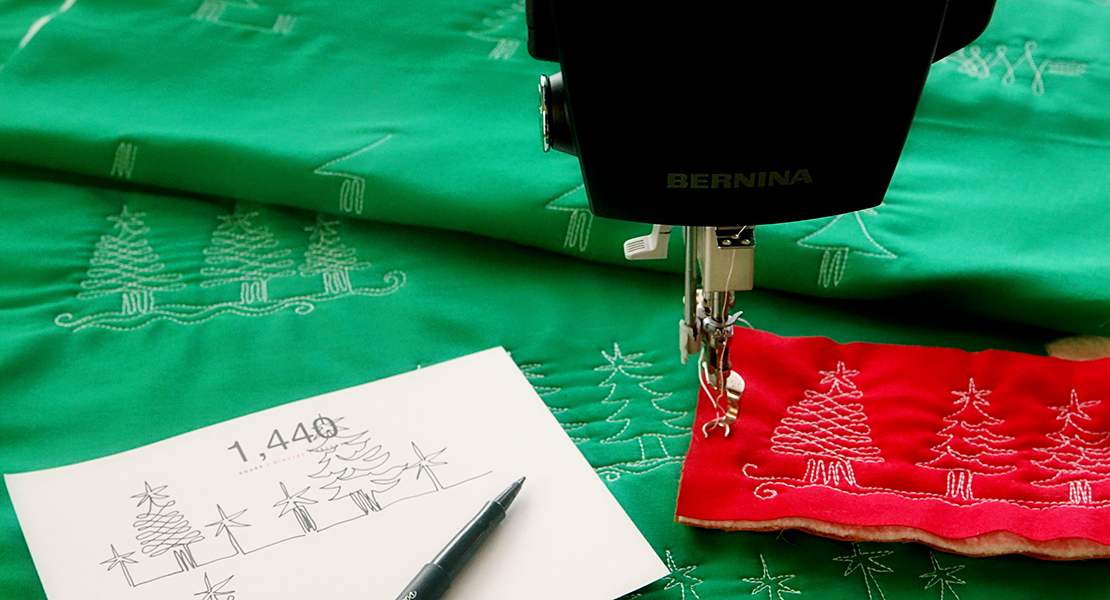
To make your pencils stand out, use 28 or 40wt (heavy weight) thread in a contrasting color. Pair the thread with a size 90 Topstitch needle to prevent skipped and broken stitches.
As always, doodle first!
For more tips, techniques and motifs, be sure to visit me at LoriKennedyQuilts.com!
- Difficulty level
- Intermediate
- Time to Complete
- Evening
- Seasons
- Back to School, fall
- Techniques
- free-motion quilting, quilting