How to Make a Leather Notebook Cover
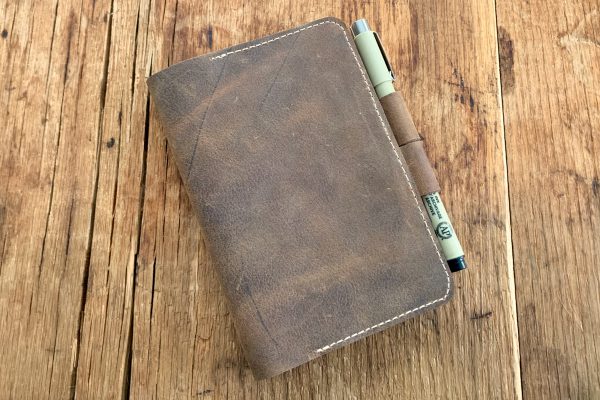
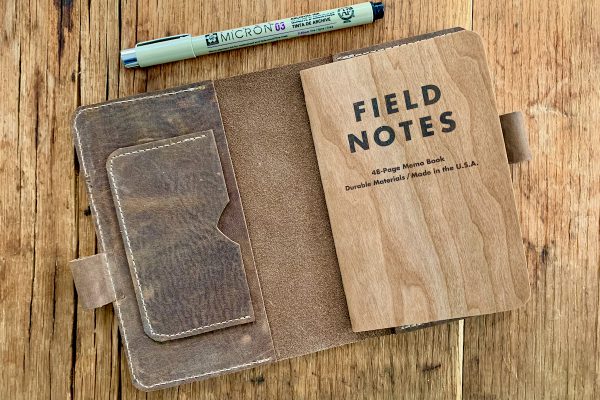
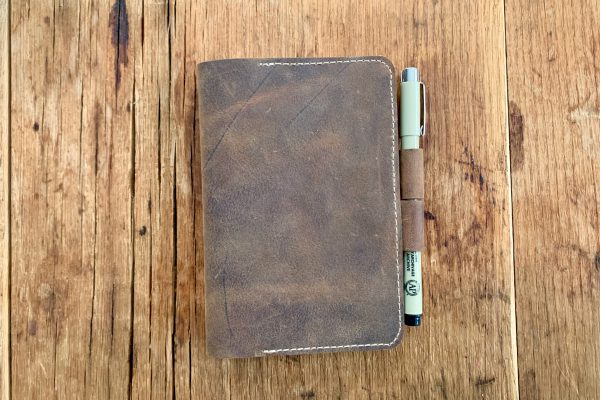
With our lives becoming increasingly digital and our phones being right beside us at all times, we don’t have as much need for a paper notebook as we once did. At the same time, for me at least, writing with an actual pen to paper has become a good way to slow down and take a minute to think. This leather Field Notes notebook cover is a great way to make something simple like writing a grocery list or jotting down some work notes feel almost luxurious. And with Valentines Day approaching, this would make a great gift for just about anyone special to you.
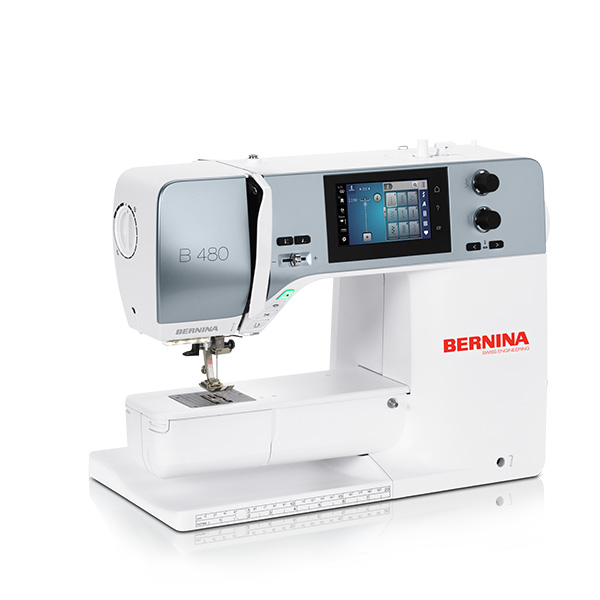
Please check out my introductory post on sewing leather with your BERNINA here if you have not sewn with leather before.
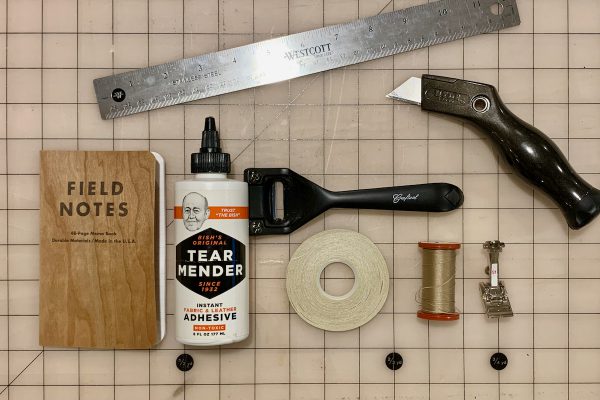
Materials for a Leather Field Notes Cover
- Piece of thin leather (2-3oz), ~18″ x 6″
- Utility knife and cutting mat for fixed blades
- Steel ruler
- Skiver
- Glue for leather, such as Bish’s
- Double sided tape
- Nylon upholstery thread, such as Coats and Clark
- Non stick or roller presser foot (see below)
- Leather needle
- Optional: Corner rounding tool
- Field Notes or small notebook
Presser feet
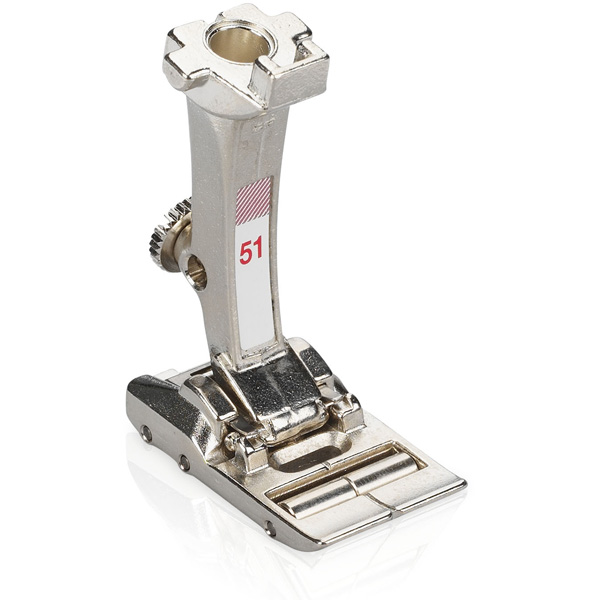
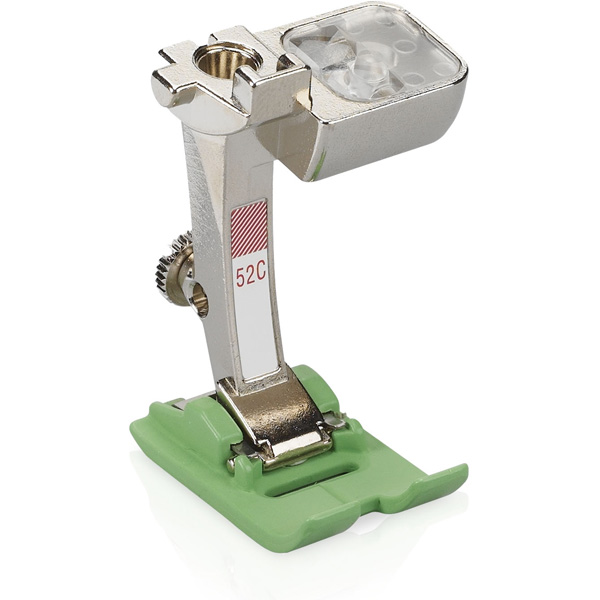
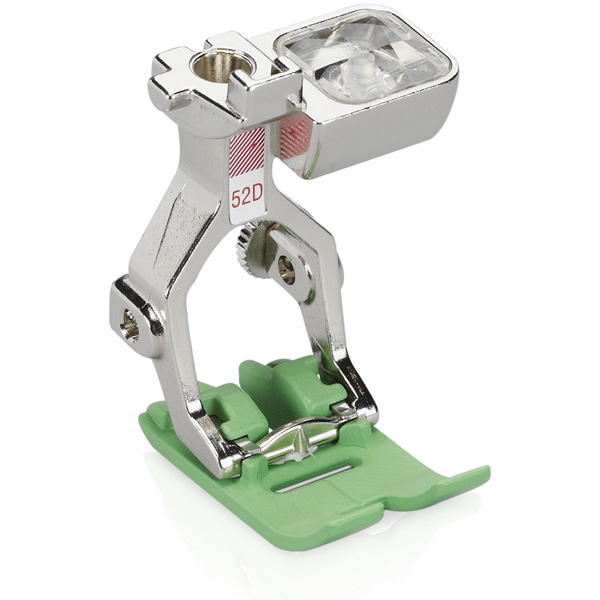
With leather it is best to use a non-stick or roller presser foot so that the leather glides smoothly through your machine. You can use BERNINA Roller Foot #51, BERNINA Zigzag foot with non-stick sole #52, BERNINA Straight-stitch foot with non-stick sole #53 or BERNINA Open embroidery foot with non-stick sole #56.
Instructions to Make a Leather Field Notes Cover
Step 1: Cutting the Pieces
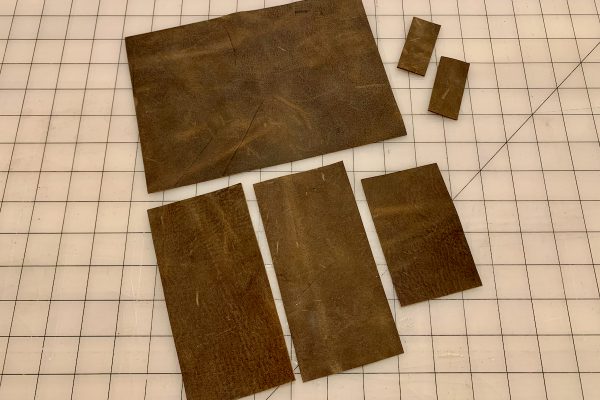
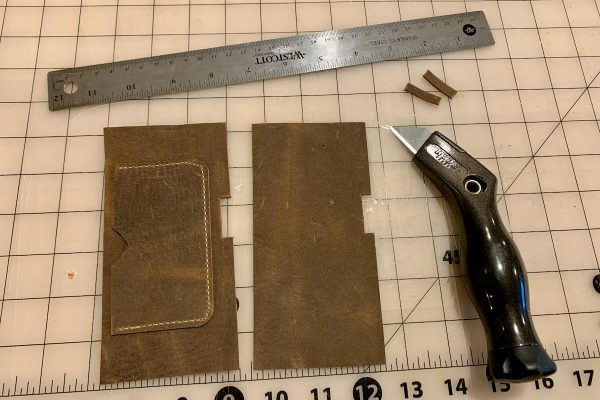
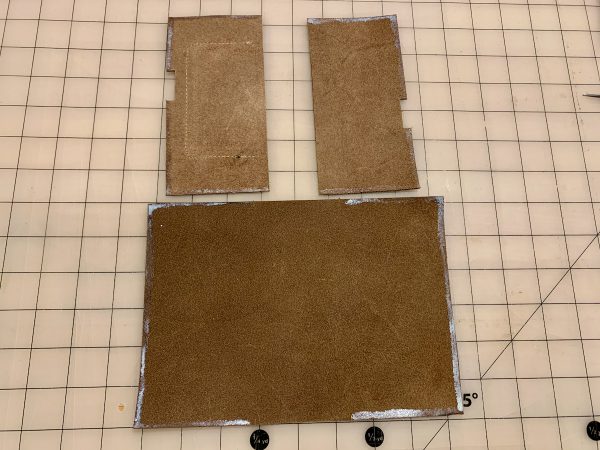
Using your utility knife and steel ruler on a cutting mat for fixed blades, cut the following pieces of leather:
(1) 8.5″ x 6″ cover piece
(2) 6″ x 3″ flap pieces
(1) 4″ x 2.25″ card piece
(2) 2″ x 1″ pen tabs
Step 2: Skiving the Pen Tabs
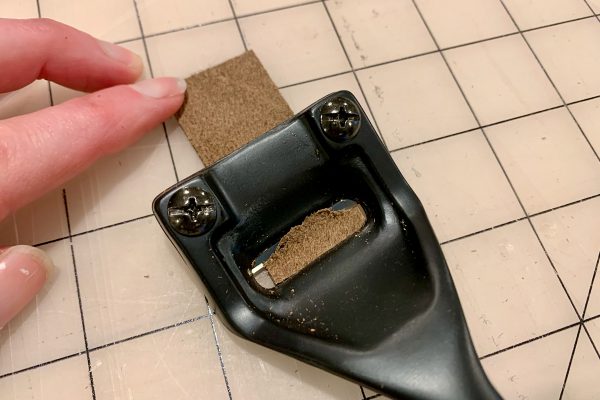
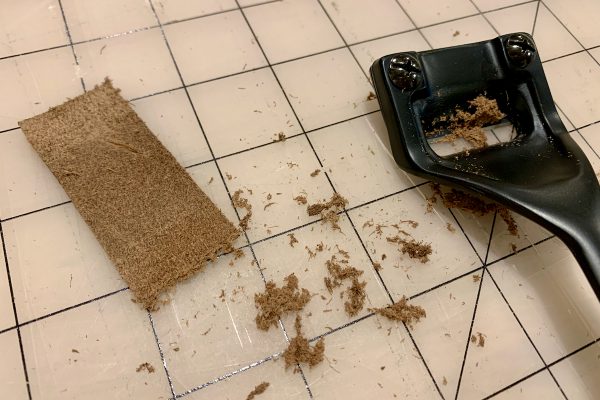
Skiving is the process of thinning a piece of leather so that when layers of leather are stacked on top of each other, the resulting thickness is thin enough to sew through with your machine. There are many tools that can be used for skiving, but the easiest and safest to use as a beginner is a Super Skiver (link in materials list above). It takes a little bit of practice to get this right, so I suggest trying it out on a few scrap pieces to start.
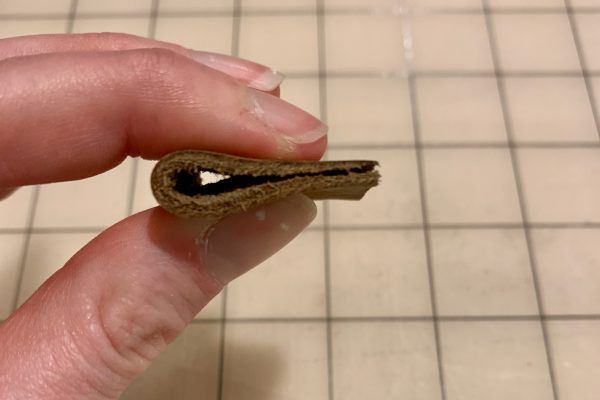
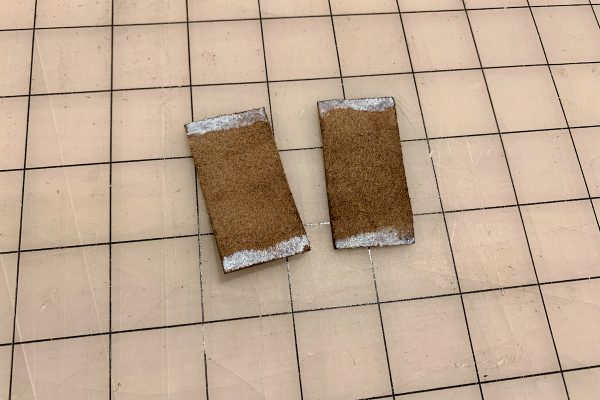
Using your skiver, remove a thin layer from the back side of each end of each pen tab. Your aim is to remove about half the thickness of the leather from the last 1/2″ of each end of the pen tabs. This way when they are folded in half to make a loop, the end of the loop is only the thickness of one layer of leather. You are basically shaving away thin layers; this sometimes comes off looking more like sawdust than a layer depending on the type of leather you use.
Step 3: Attaching the Card Pocket
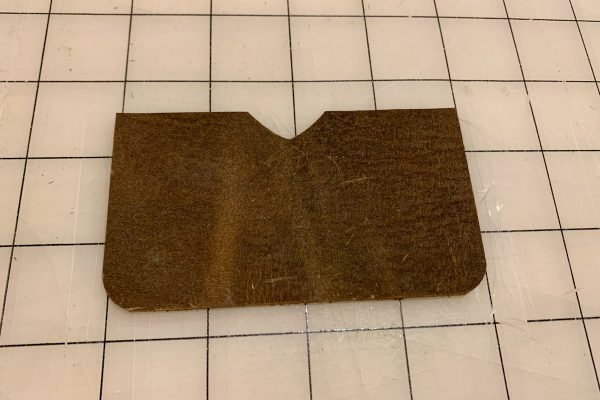
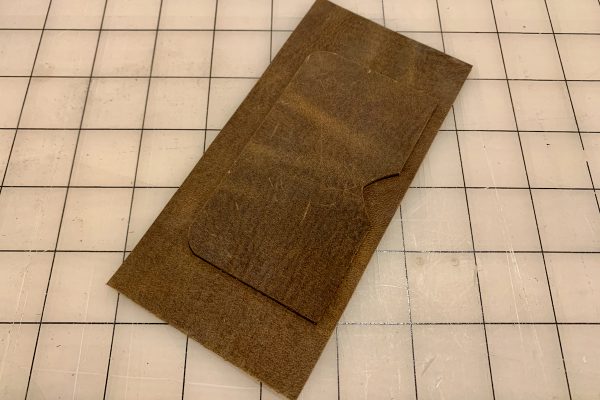
As an added optional detail you can cut a small notch out of the long edge of the card pocket. You can do this either with your utility knife or with a belt end punch. This will make it easier to remove a card from the pocket. You can also use your corner rounding tool to round the bottom two corners at this point if desired.
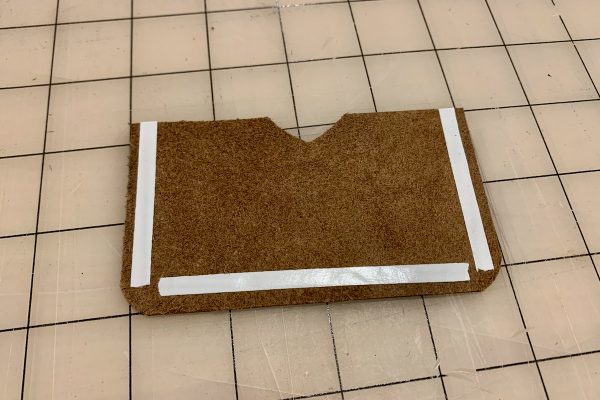
Place a strip of double sided tape on the back side of each of the short sides of the card pocket, as well as the long side of without the notch. Press the tape down well.
Peel the paper side of the tape off, and place the pocket in your desired location on one of the flaps.
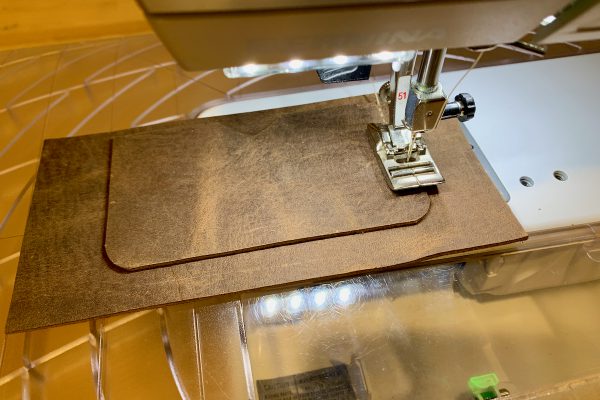
With a leather needle, upholstery thread, and an appropriate foot loaded onto your BERNINA, edgestitch the pocket down to the flap. Remember to set your stitch length to at least 3.5 (I used 4.0). If your machine has a speed setting, slow it down to the lowest setting possible. You may also need to tighten your top tension. Start at the top of one short side, stitch down and across the bottom, and back up the other side. Back stitch at the beginning and end.
Step 4: Notching the Flaps
Before they can be attached to the cover, the flaps need to have notches cut out of them to accommodate the pen tabs.
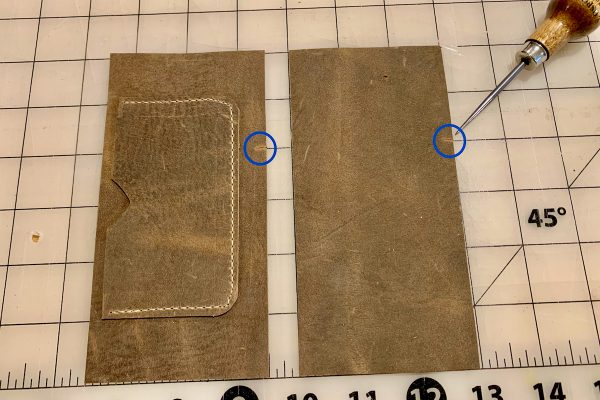
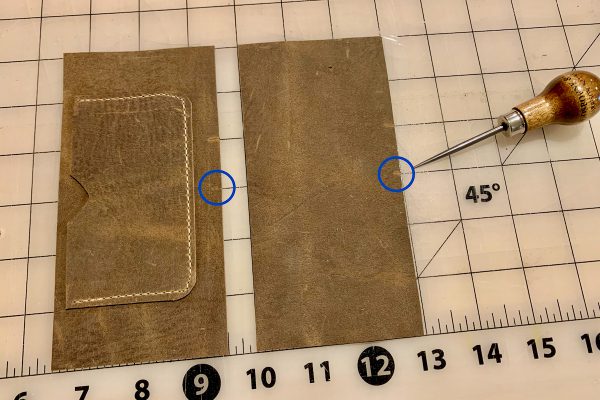
Lay the two flaps down on your cutting mat, making sure the flap with the card holder has the opening for the card facing to the LEFT (this is the opposite way it will be placed on the cover). On the RIGHT long edge of each flap, measure down 2″ and mark this point (I use an awl to do this, but you can also make a small scratch with any hard object such as a pin, nail, etc).
Measure down 3″ and mark.
Using your utility knife, cut a 1/4″ deep notch on each flap between these two points. You can use your steel ruler to make sure the cuts are straight.
Step 5: Prepping Cover for Stitching
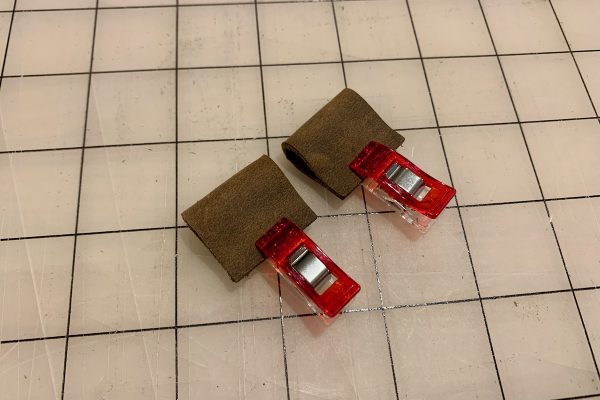
On each pen tab, put a small dab of leather glue on the back side of each end. Let the glue dry slightly until it is mostly clear so that it is tacky.
Fold the tabs over to make loops, pressing the glue together. You can put a Clover Wonder Clip on this spot to allow the glue to set, but it doesn’t take long.
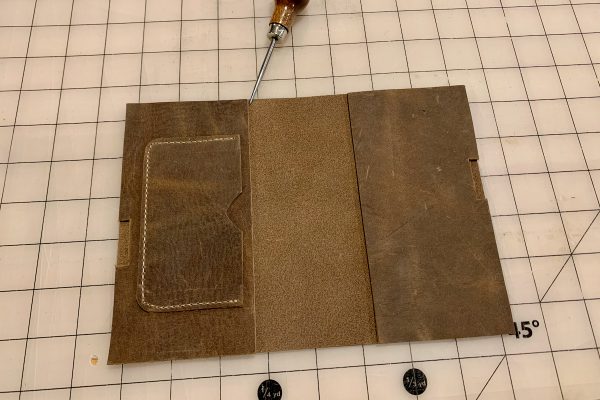
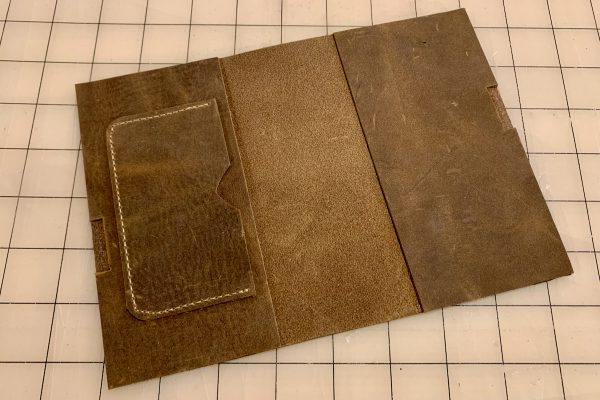
Place the flaps onto the cover, wrong sides together, with the notches in the flaps towards the outside of the cover. Mark where the edge of the flap stops, so you will know how far to glue on the next step.
Flip the flaps over so the wrong side is up. Spread a very thin and narrow layer of glue on the two short edges and the long side with the notch. DO NOT glue the long side with no notch. This needs to be left open for the pocket to work. You can spread the glue with your finger (if using a natural glue like Bish’s) or with any small plastic tool.
With the wrong side of the cover up, spread a very thin and narrow layer of glue between each mark that you made in the previous step.
When the glue has dried slightly and is clear and tacky, place the flaps onto the cover, wrong sides together, one edge at a time, notches to the outside, being very careful to line up the edges as you go. This glue works like contact cement, so you only have one chance to get it right. If you haven’t done this process before, you may want to try it out on some scraps. Press the flaps down firmly.
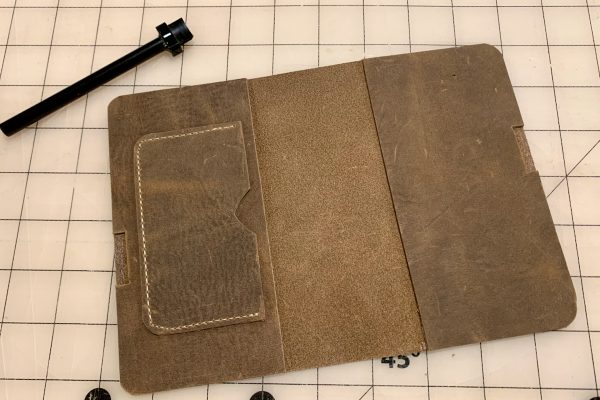
Optional: This is the point where you should round the corners of your cover if you would like to.
Step 6: Final Assembly
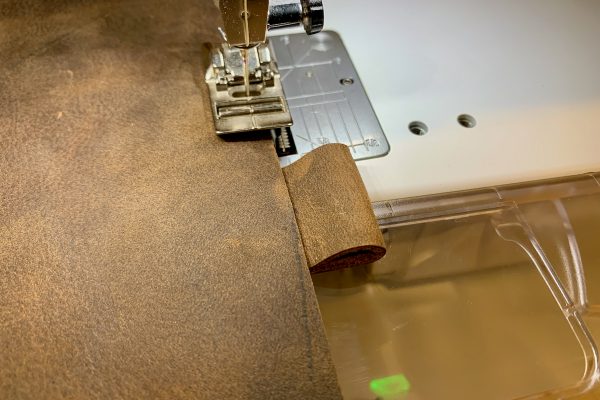
Return to your BERNINA. Edgestitch each flap down to the cover separately along the outside edge. Make sure that the front of the cover is up, as that side of the stitching will look best from that side. It is a little more difficult to see where to stop and start this way, but it is worth it for the results. As you come to the notch, place a pen loop tightly into that space and continue stitching. Make sure the loop is lined up well as you stitch. Backstitch at the beginning and end of each flap.
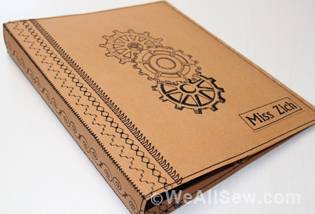
And that is it! Your leather Field Notes cover is complete! Insert your favorite pen into the loops which will keep your cover closed when not in use. As an extra detail, you can use metal stamps to emboss initials into the front cover for a special detail.
For other gift ideas, check out my gift post!
What you might also like
2 comments on “How to Make a Leather Notebook Cover”
-
-
Nice work. Please can I get the PDF format file of this work for download? Thanks
Leave a Reply
You must be logged in to post a comment.




It is awesome to watch the step-by-step of constructing this notebook cover! I am looking forward to using my new-to-me vintage #51 roller foot for my Bernina 1530.