How to Make a Spring Baby Quilt
Hello fellow makers!
Spring has finally sprung, which means that it’s time to put away the winter decor and adorn your homes with bright, colorful projects. I just love this season because I get to sew with many different dazzling springtime colors. What better way to embrace the warmer weather and blooming flowers ahead than that?
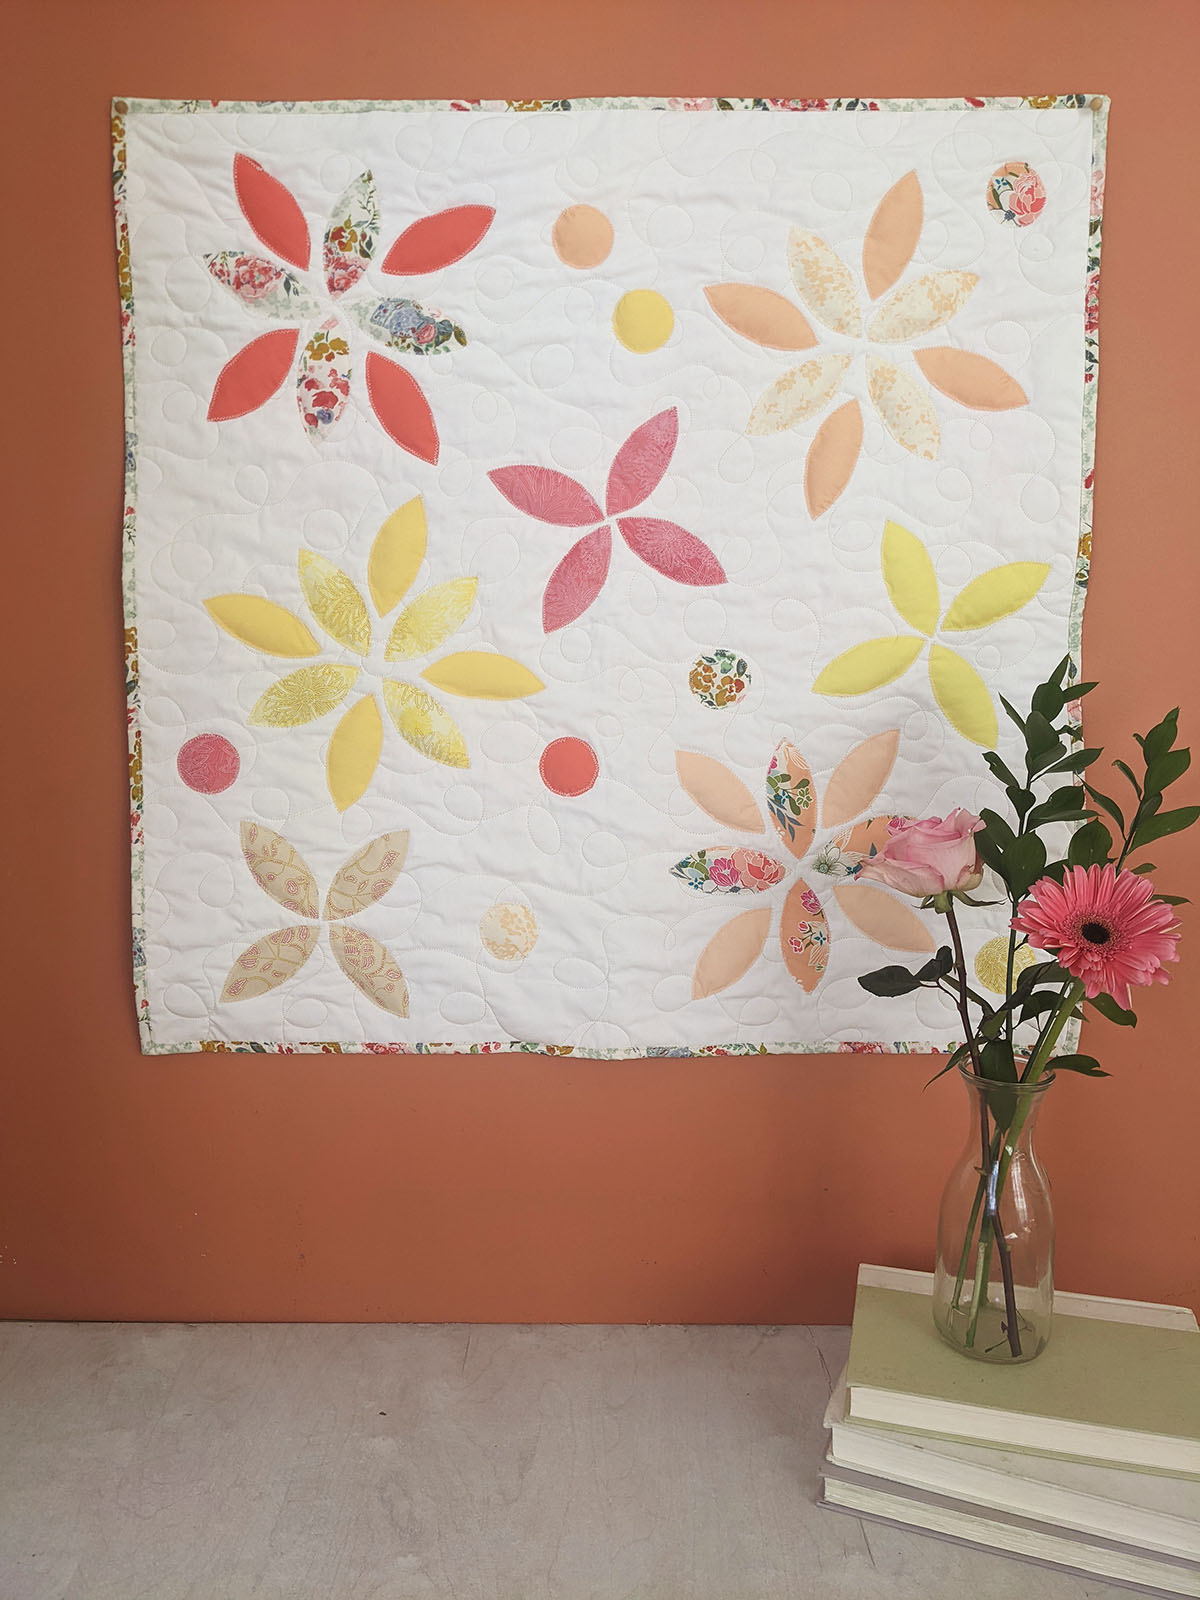
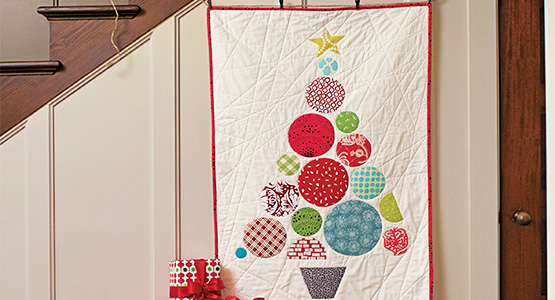
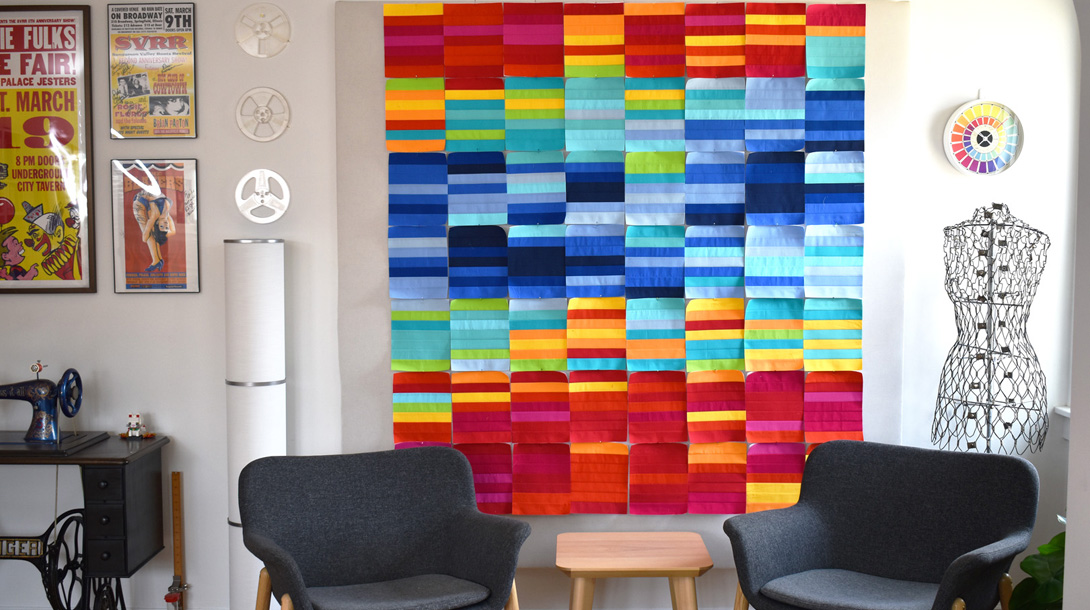
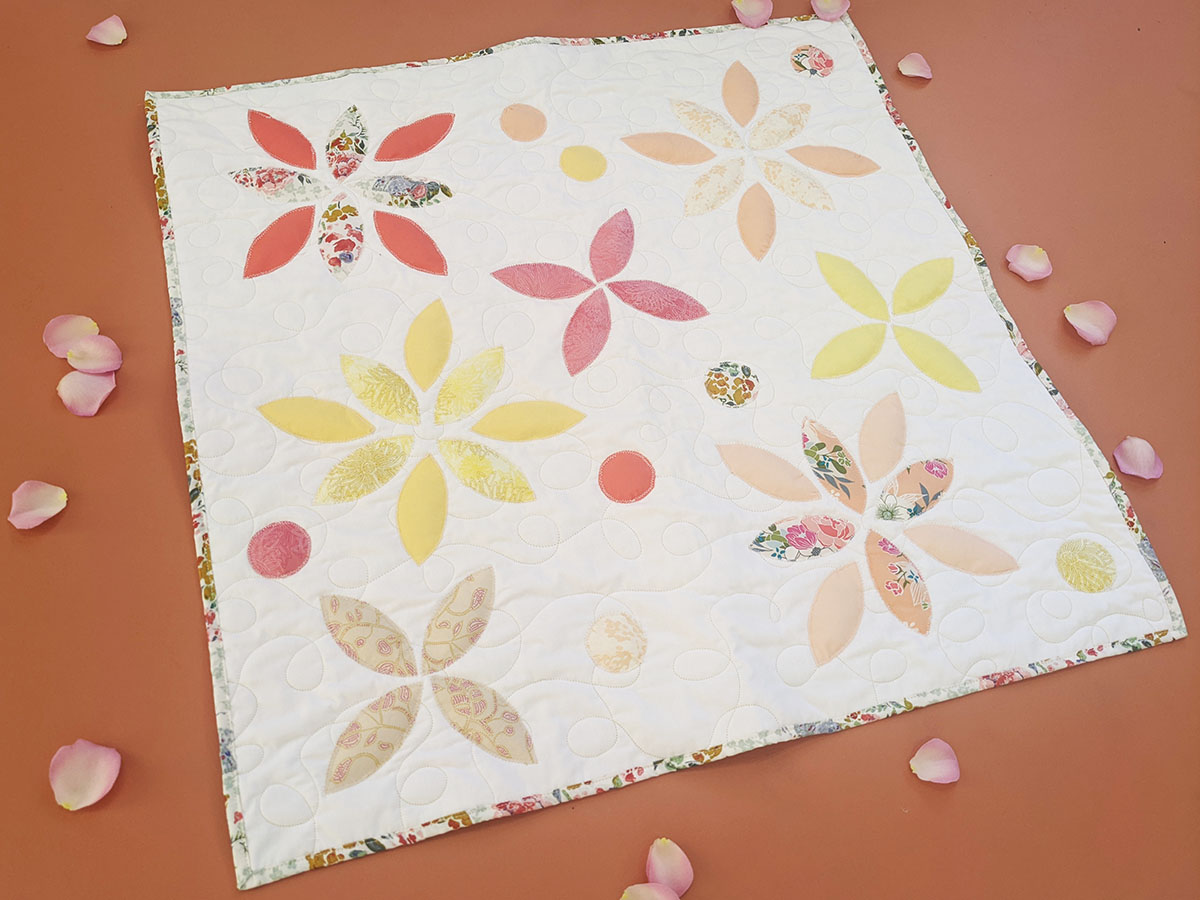
That being said, I decided to create this baby quilt that’s perfect for inside a crib, a cozy playmat on the floor, or a statement piece for a nursery wall. It has a finished size of 30” x 30” and utilizes free motion quilting and applique flower petals gently stuffed with polyfill.
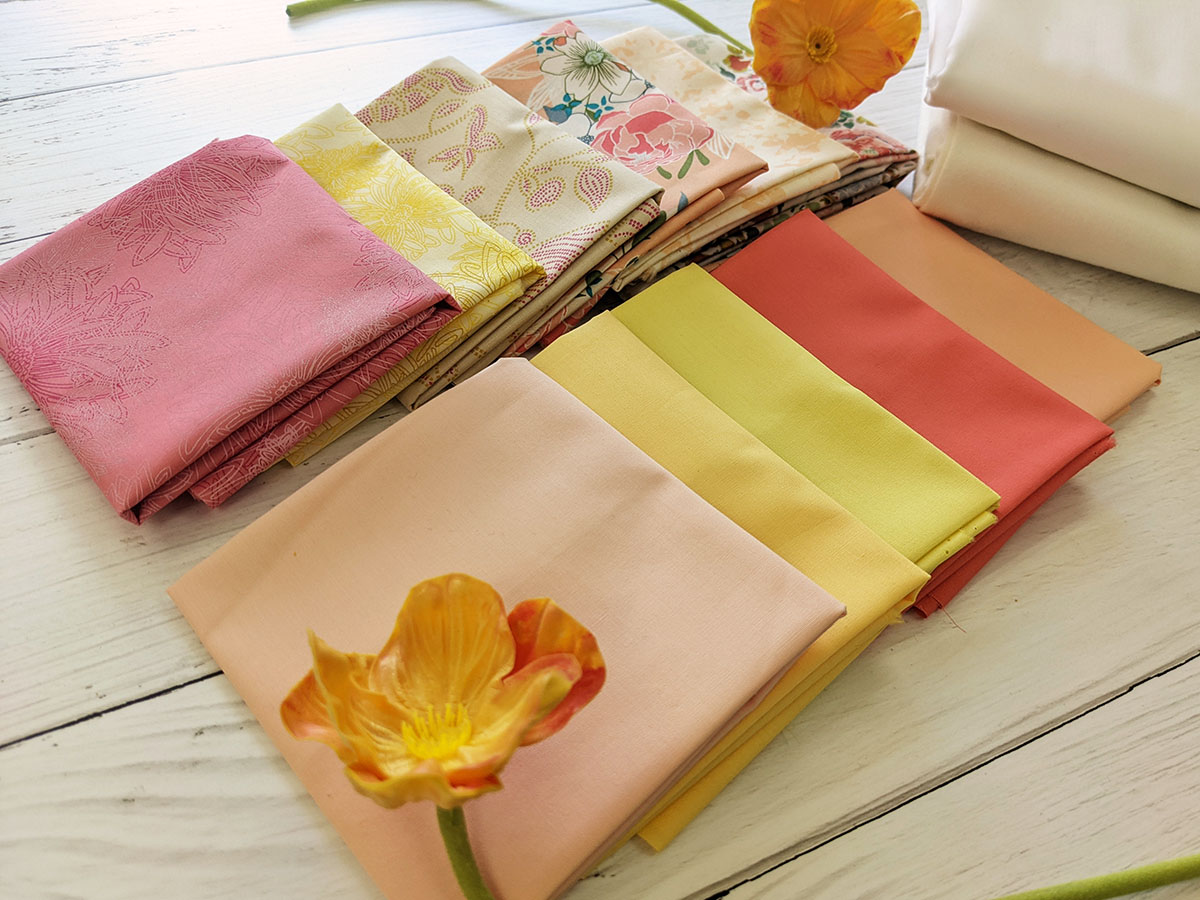
For this quilt, I used a variety of our AGF’s Floral Element and Pures Solids in addition to Jardin Delicate from Eve Collection, Nectarine Fusion’s Everblooming Nectarine, Open Heart’s Flowering Hope from Open Heart, and my print Buenos Aires Sud from Nuncia. To add a little extra softness to this quilt, I used one of our Flannel’s in White Linen for the backing.
Have fun making this project!
Supplies to Make the Spring Baby Quilt
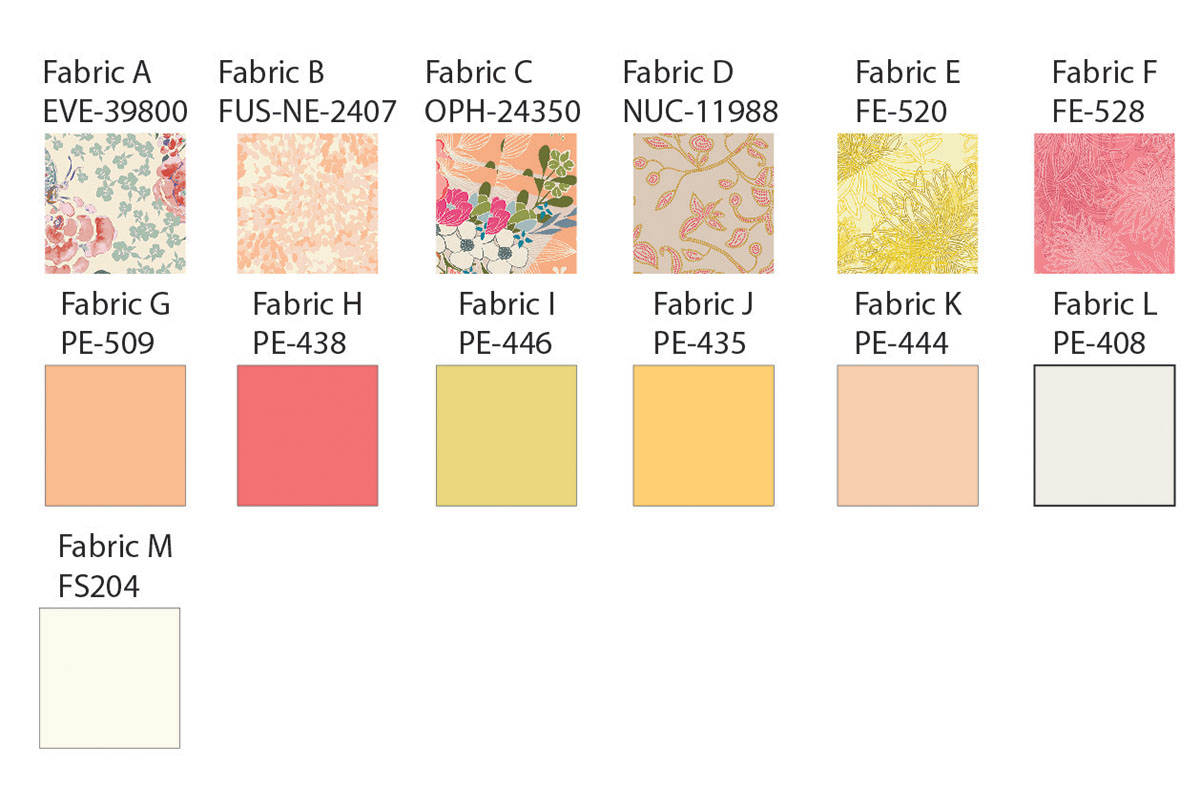
Fabrics Required
- Fabric A 3/8 yds
- Fabric B F8
- Fabric C F8
- Fabric D F8
- Fabric E F8
- Fabric F F8
- Fabric G F8
- Fabric H F8
- Fabric I F8
- Fabric J F8
- Fabric K F8
- Fabric L 7/8 yd
- Fabric M 1 yd
 Additional Materials Needed
- 35” square of batting
- Quilting and sewing thread
- Paper scissors
- Reverse Pattern Foot #1D
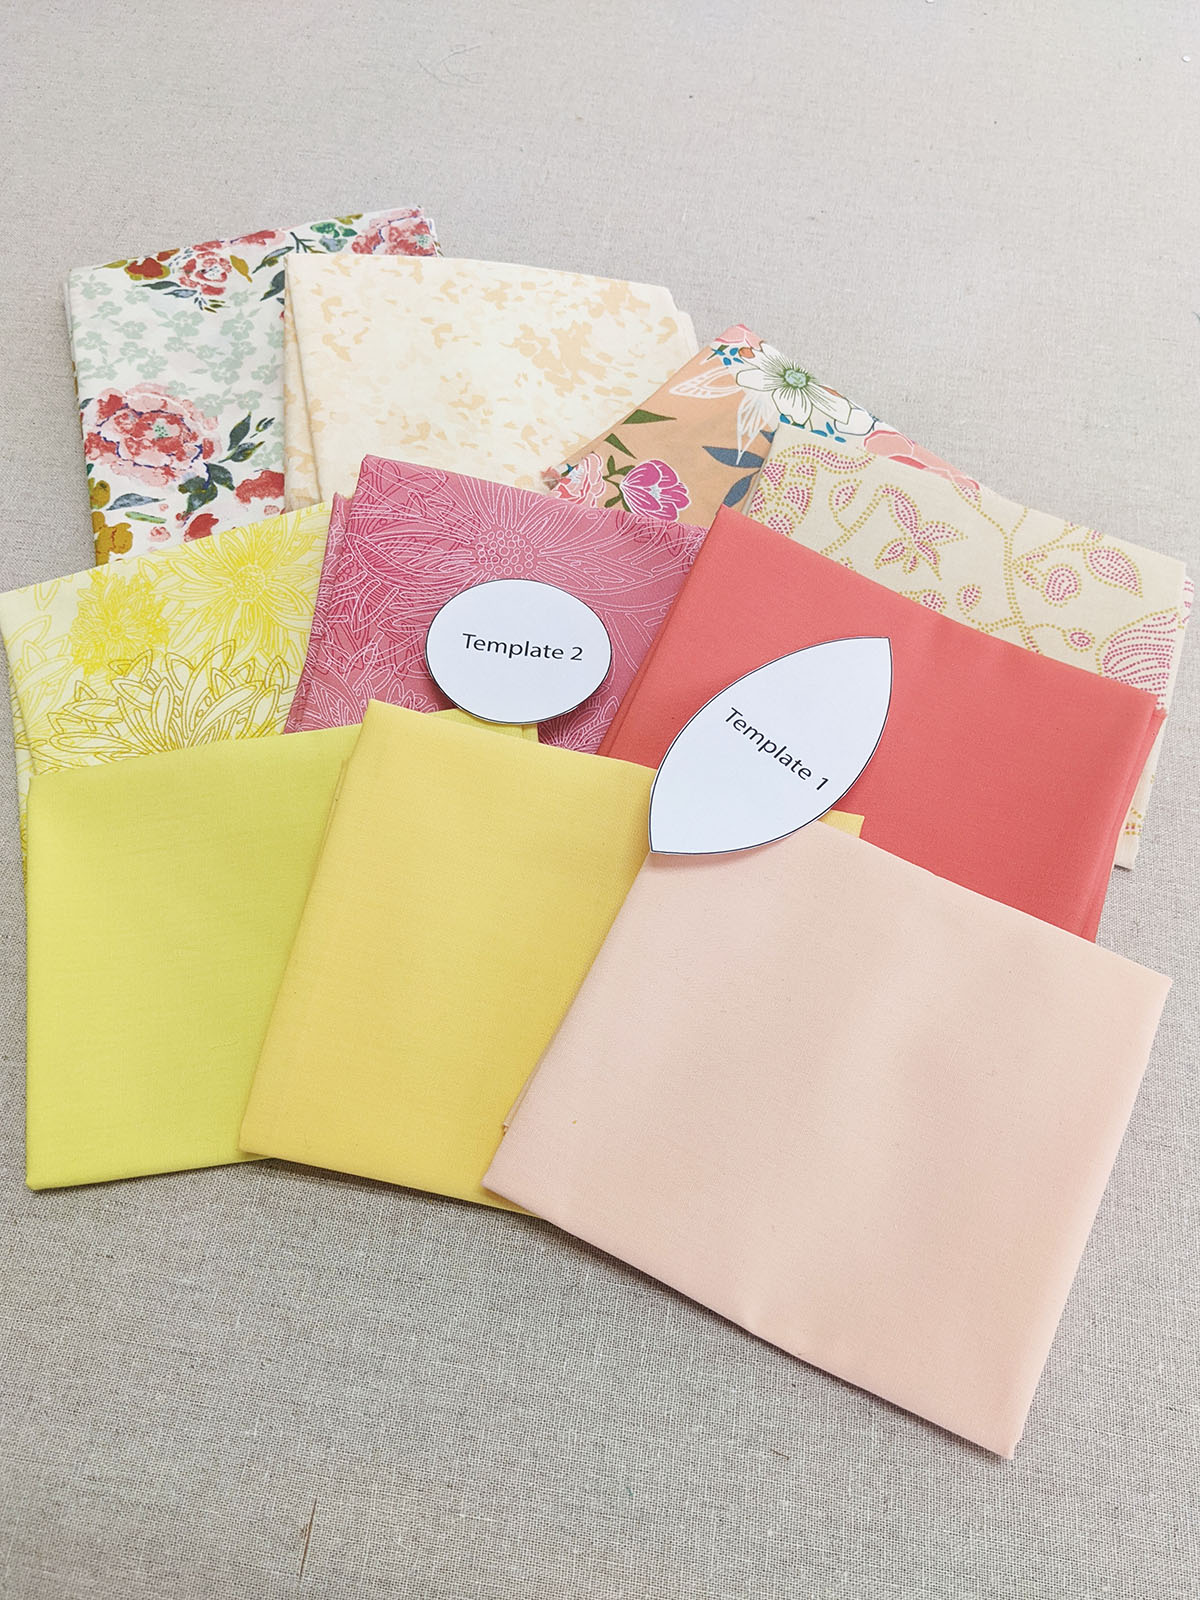
- Petal and circle templates
- Pillow stuffing

Cutting Directions
- Four (4) template 1 from fabrics A, B, C, D, E, F, G, H, I, J and K.
- One (1) template 2 from fabrics A, B, C, E, F, G, H and J.
- One (1) 30 1/2’’ square from fabric L.
Instructions to Make the Spring Baby Quilt
Step 1
Take your petal and circle templates and cut out all of your pieces from fabrics A through K for template 1 and from fabrics A through J for template 2.
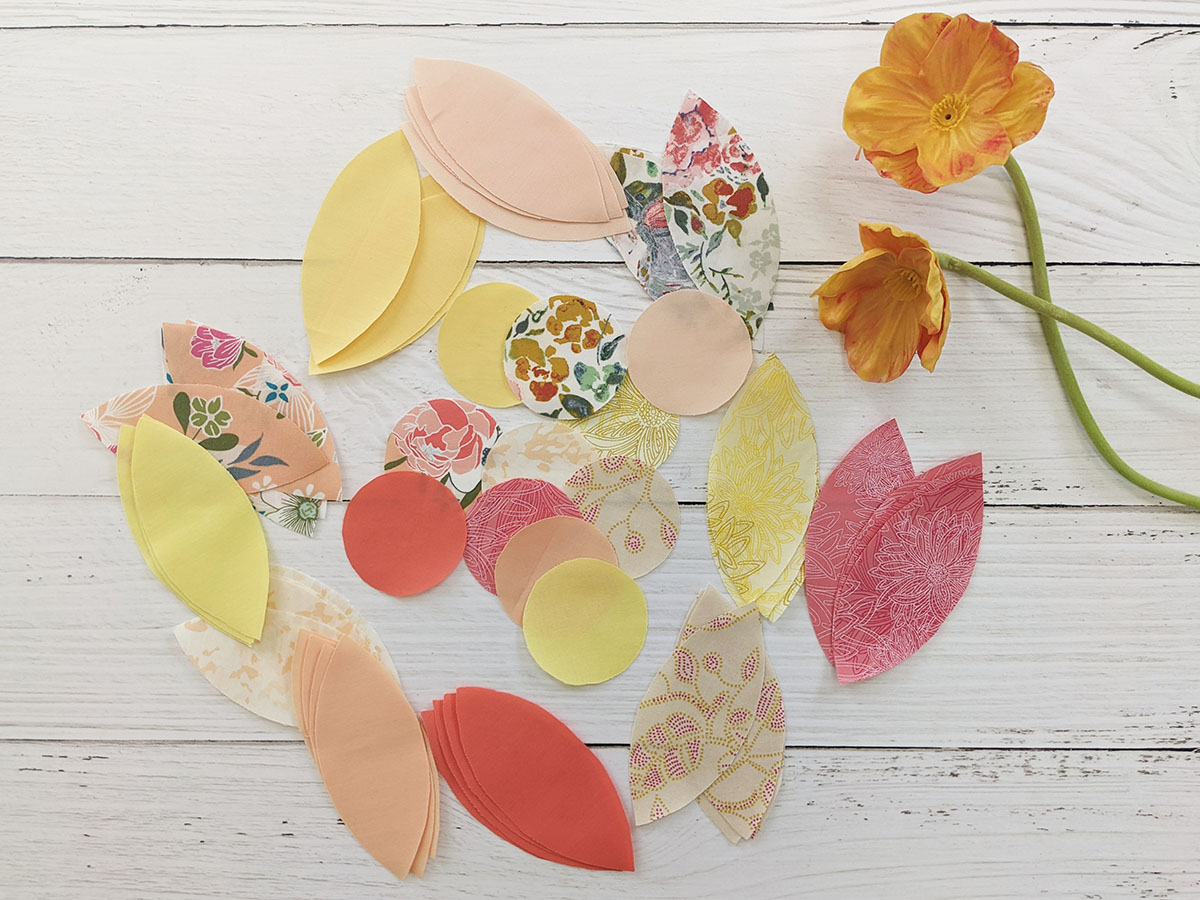
Set them aside.
Step 2
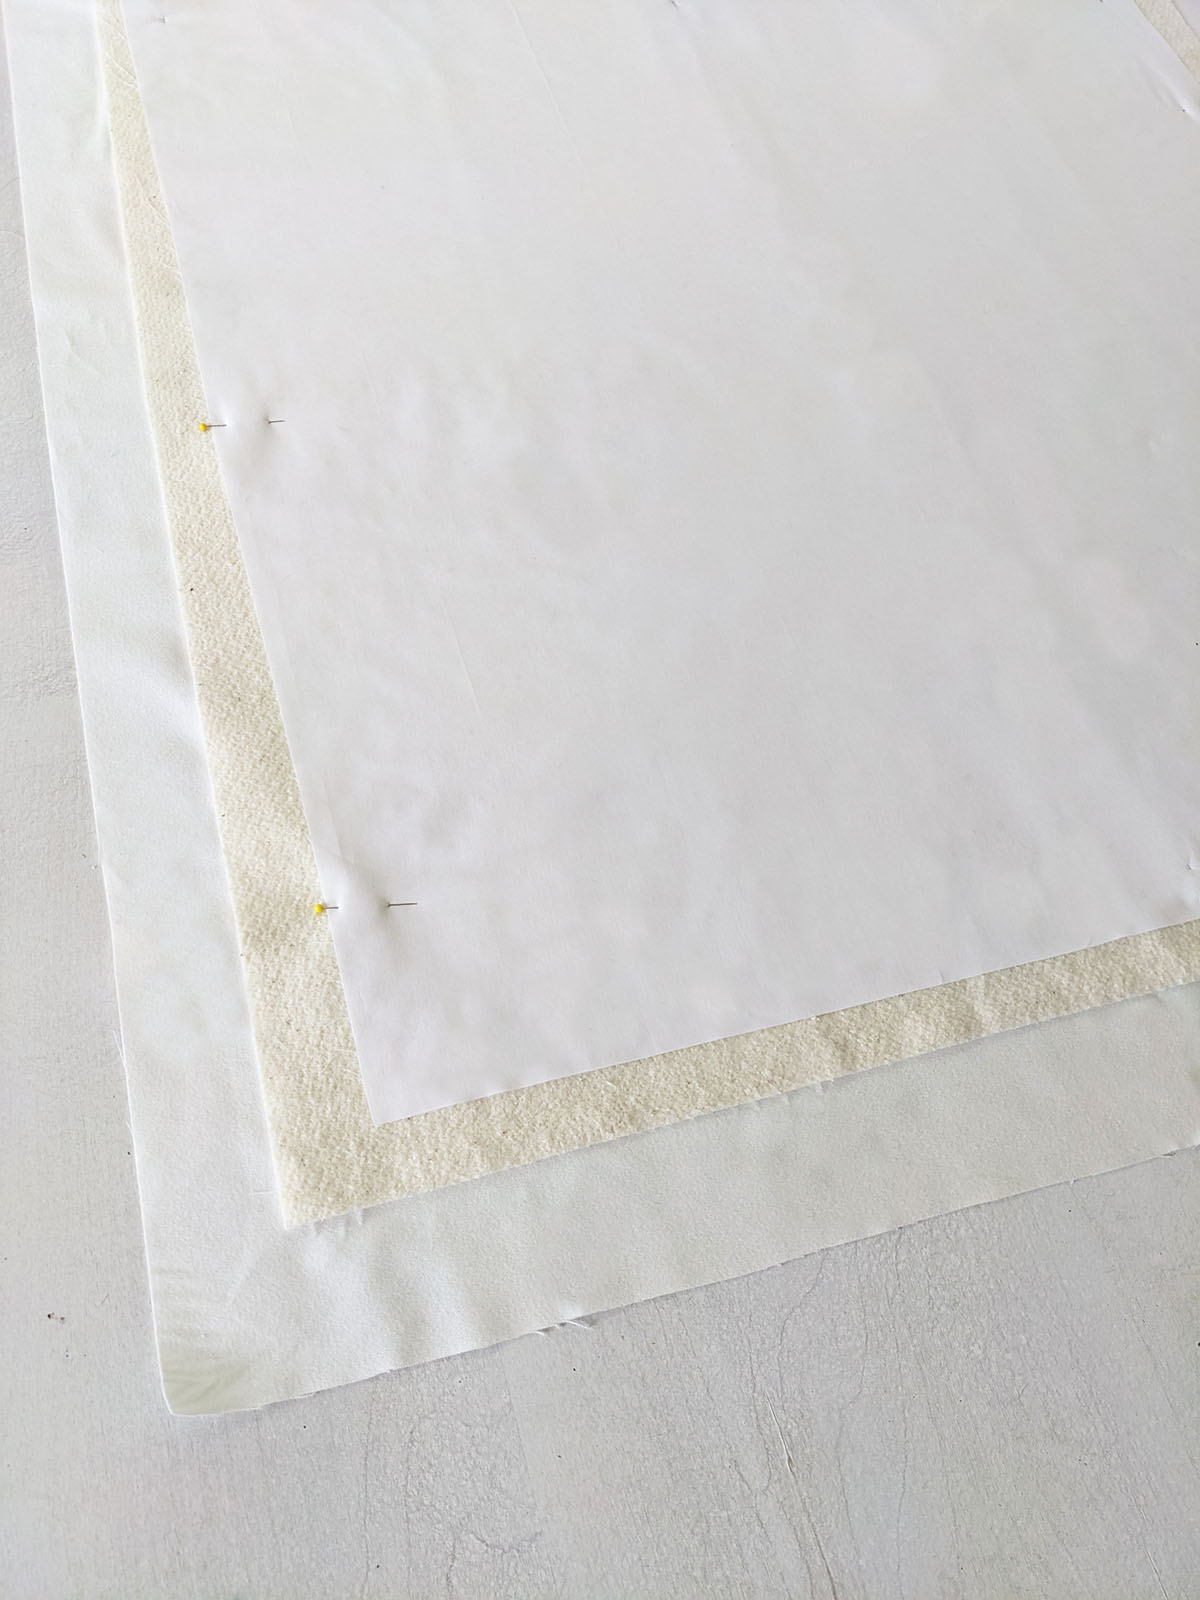
Place one (1) 36” x 36” square from fabric M, one (1) 35” square of batting on top and then place fabric L 30 1/2” x 30 1/2” square.
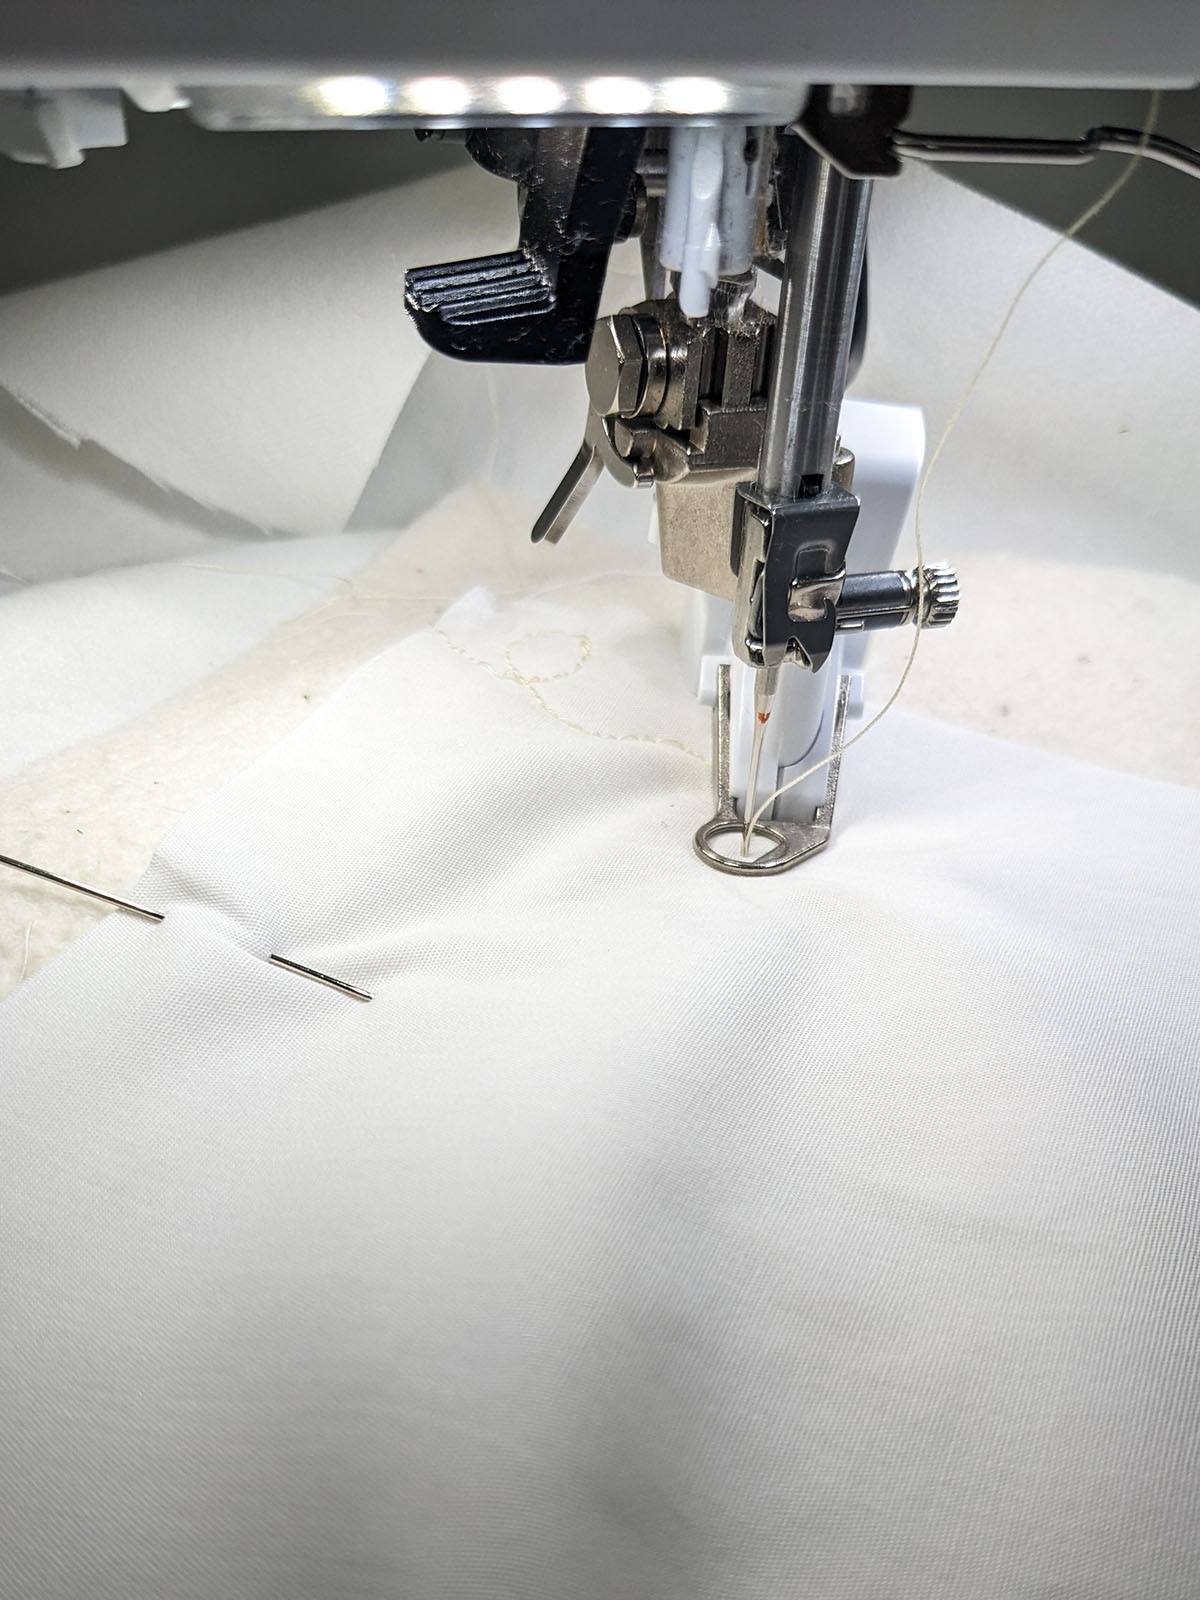
Pin your pieces together. Take any desired color thread to quilt your quilt top. Attach your BERNINA Stitch Regulator (BSR) for some free motion quilting.
Step 3
Once you are finished quilting, trim away excess fabric and square it off to 30” x 30” square.
Step 4
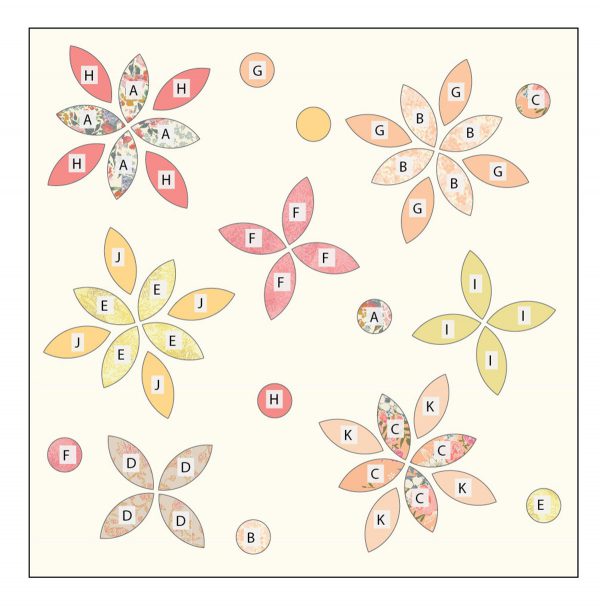
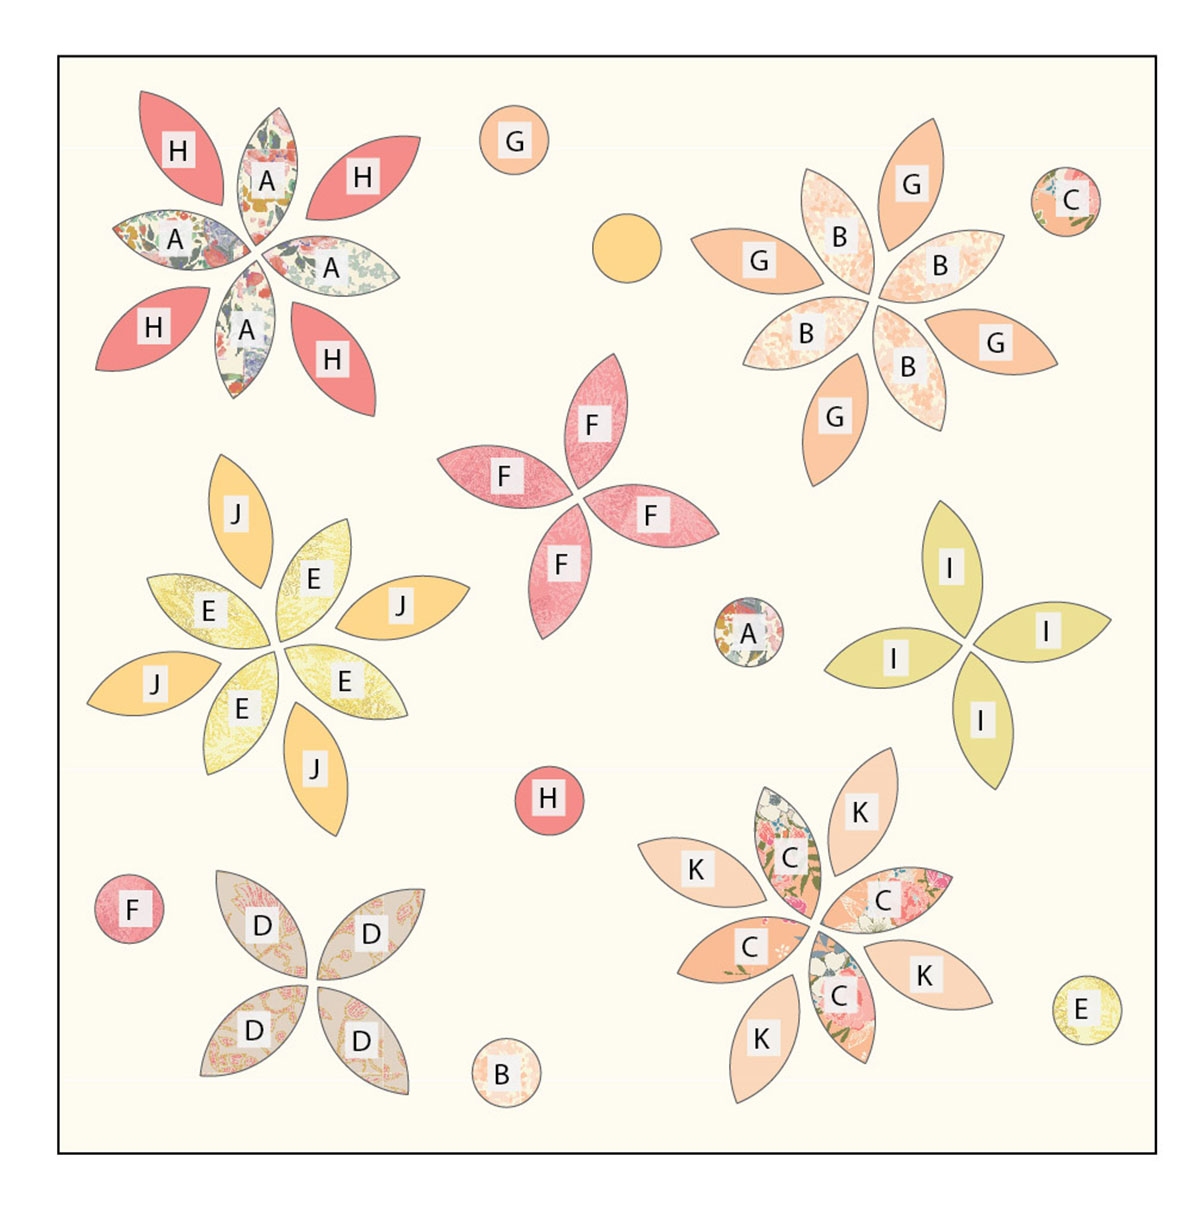
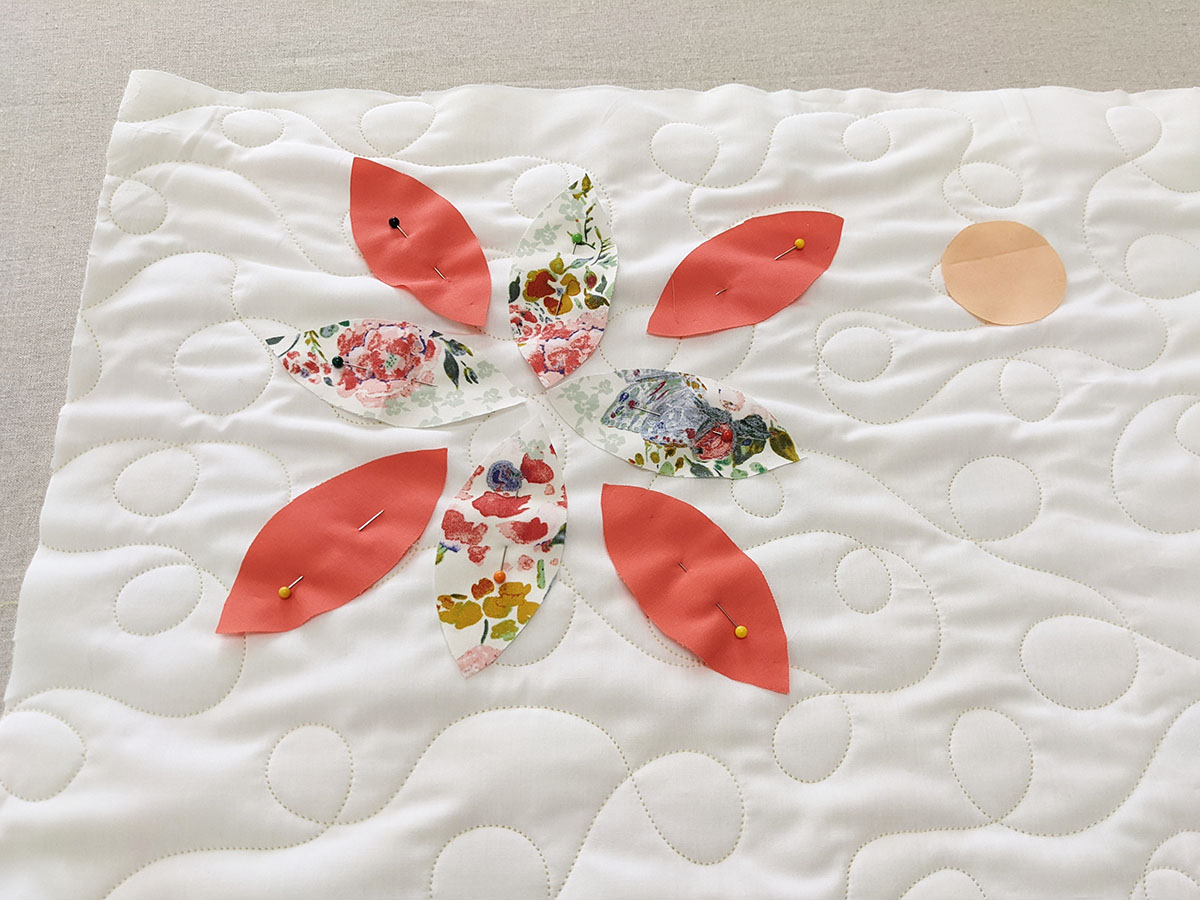
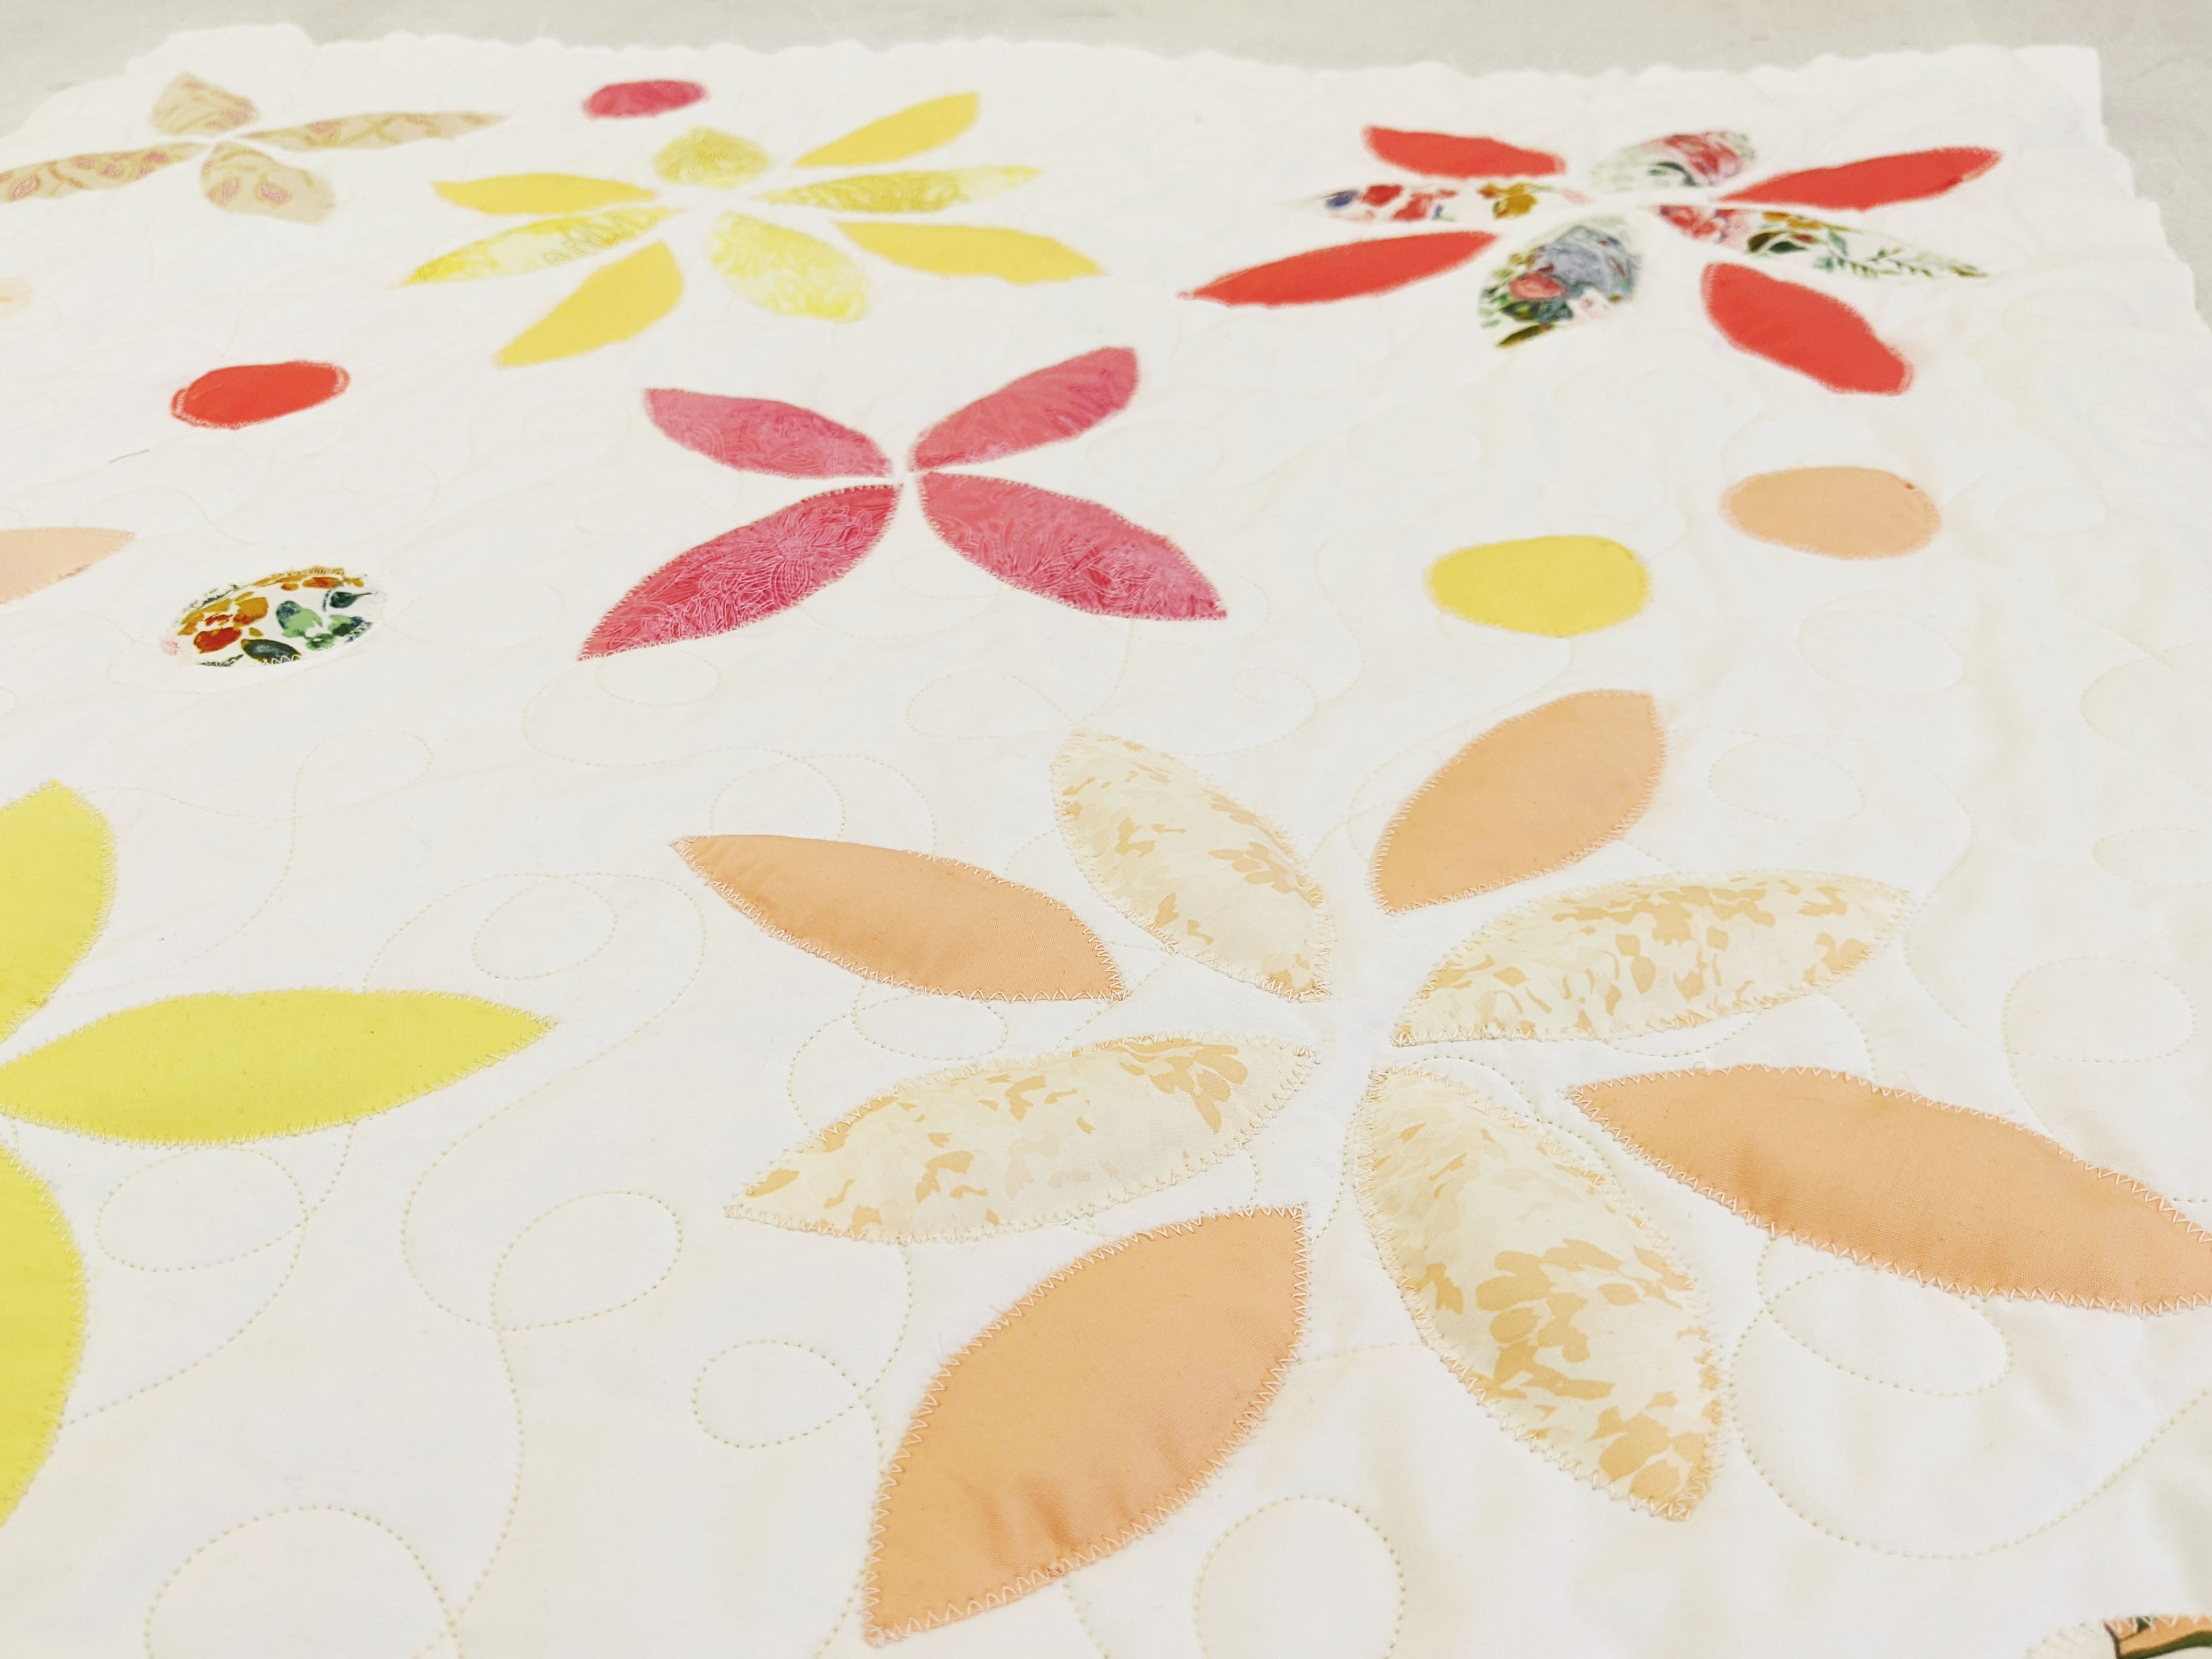
Take your fabric petals and enjoy the process of positioning however you desire. See the diagram below if you need more guidance on how I positioned it.
 Step 5
Once you are satisfied with the petal and circles it’s time to pin your pieces.
After pinning my pieces, I realized halfway thru that I should have used safety pins!!! Much comfortable when sewing your petal pieces.
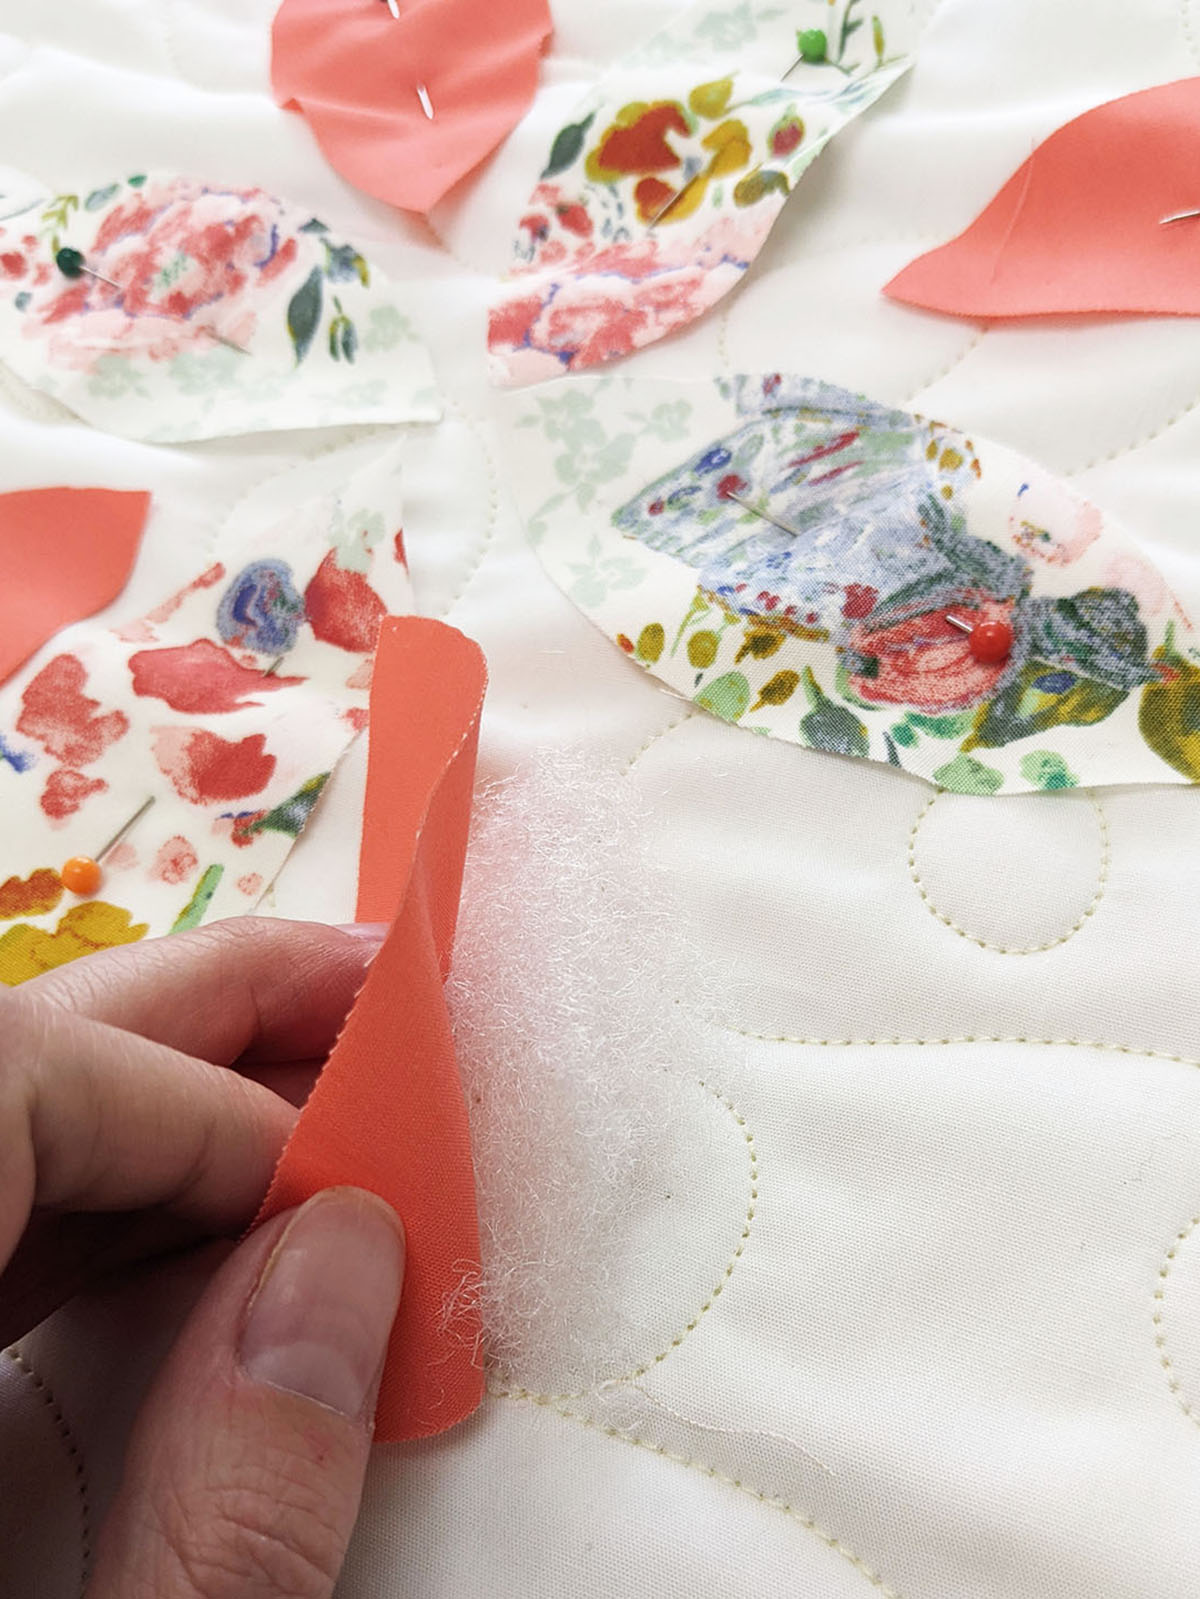
I also added a bit of pillow polyfill stuffing inside of each piece since I wanted the petals to pop.
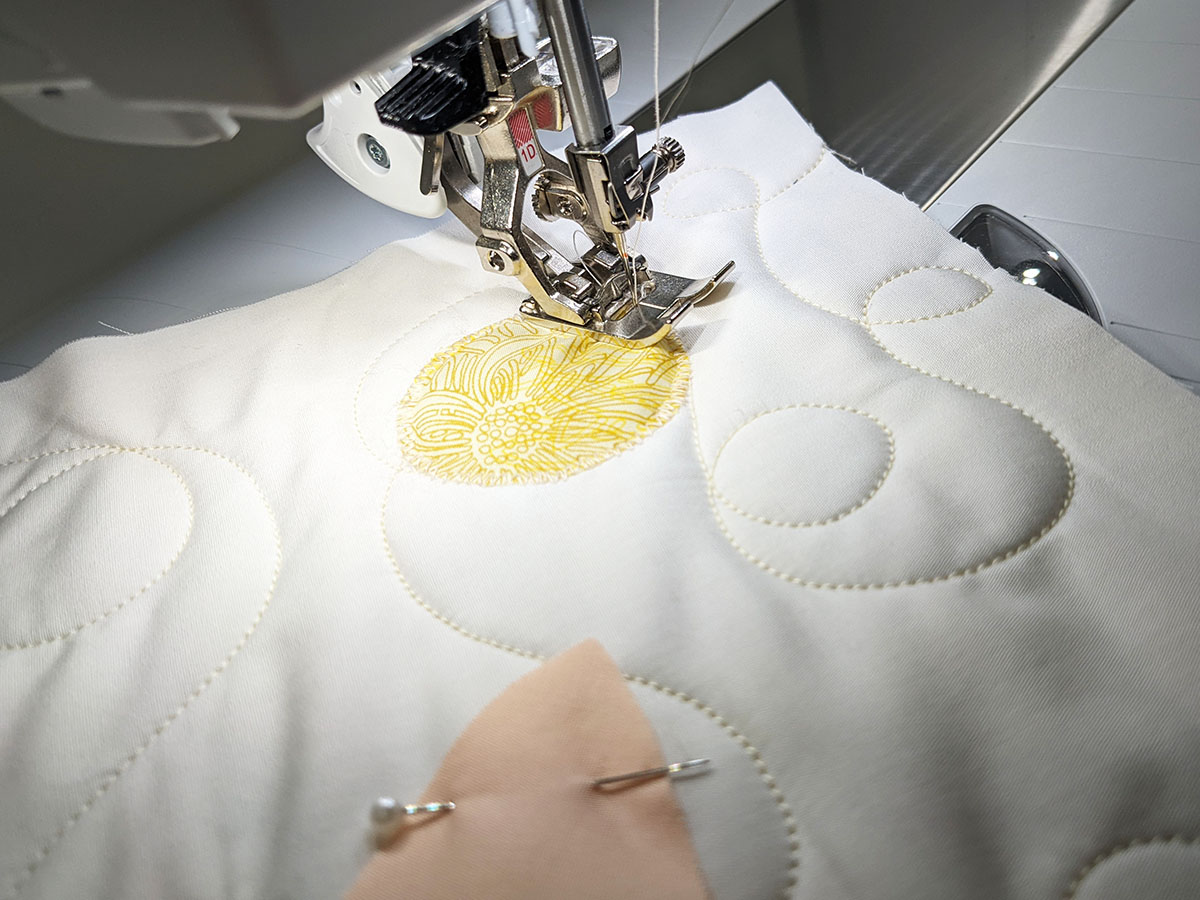
To sew your petals and circles, I decided to zigzag my edges. Feel free to use any other edge stitch!
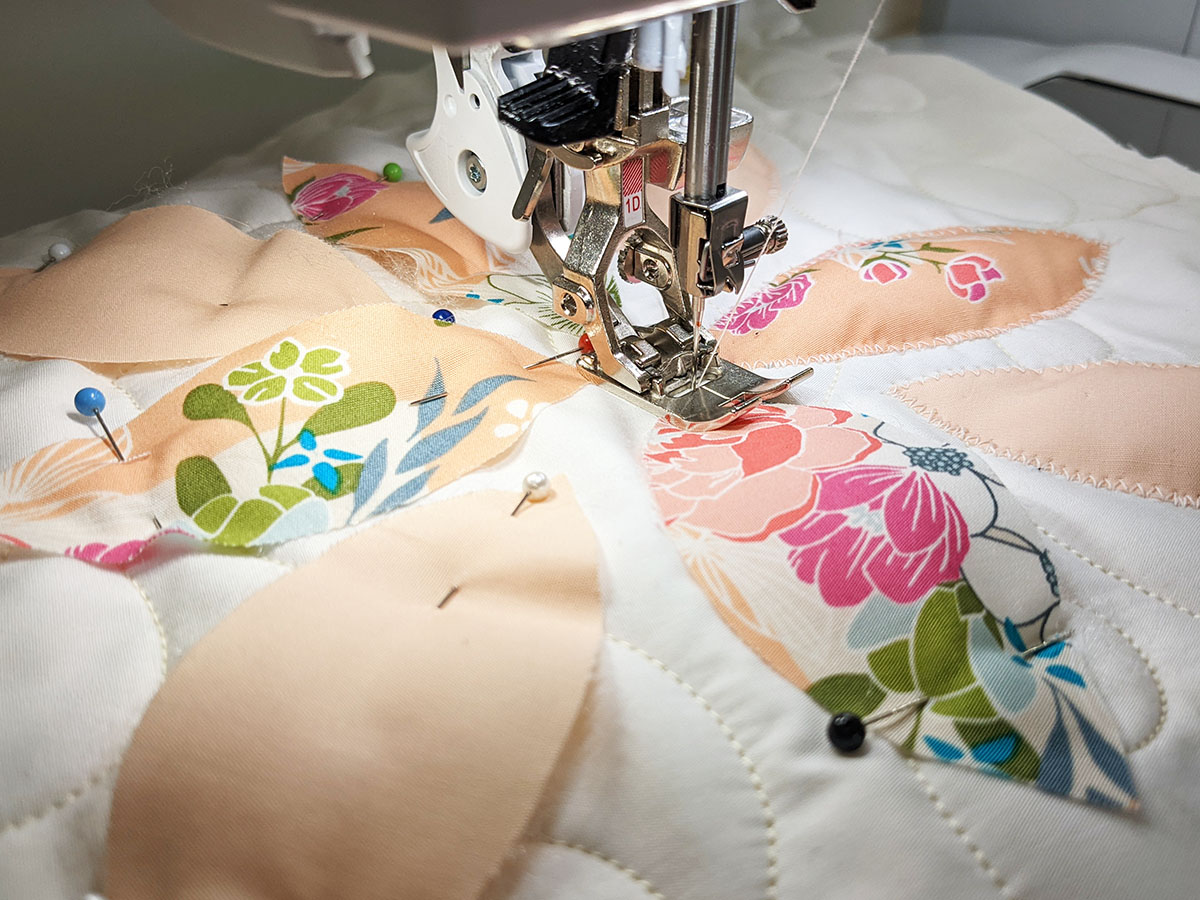
Your quilt should look like this.
Step 6
To bind our quilt, we used our walking foot which helps to move all your layers of fabric smoothly while creating perfect stitches. Click here to find a great tutorial on binding for beginners.

And your spring baby quilt is complete!
Enjoy!!